“Exploring the Art of Text Animation in After Effects”
Introduction – “Unlocking Creative Potential: A Comprehensive Guide to Text Animation in After Effects”
After Effects is a powerful tool for creating stunning visual effects and animations, and text manipulation is a key aspect of any motion graphics project. When you move text within compositions in After Effects, it adds depth, intrigue, and style to your designs. Whether you’re a seasoned After Effects user or a beginner, mastering text movement is essential.
In this article, we’ll explore techniques and strategies for moving text within After Effects compositions. By the end, you’ll have the skills and tools to create dynamic and visually appealing text animations that elevate your projects. Let’s dive in and unlock the potential of text movement in After Effects.
How to Move Text in After Effects
Step 1: Create a Text Layer
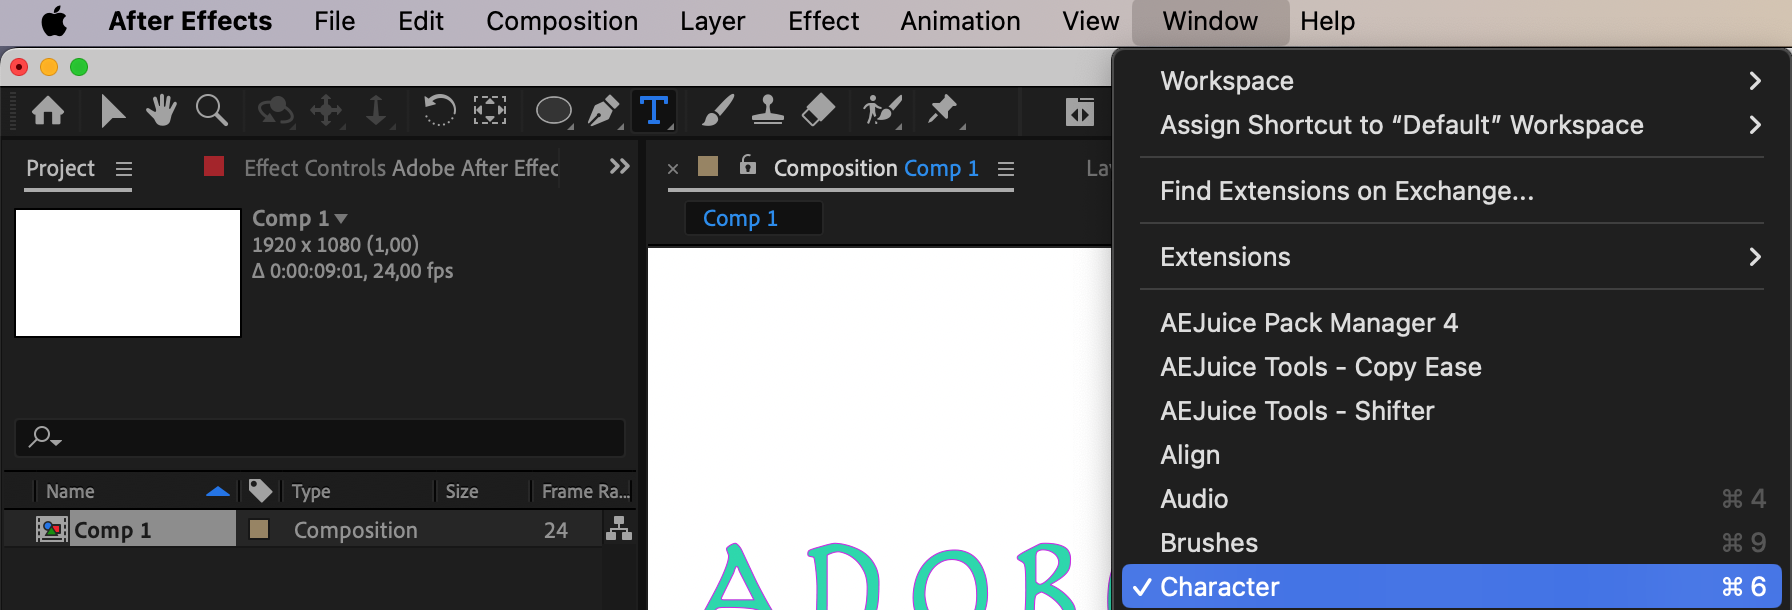
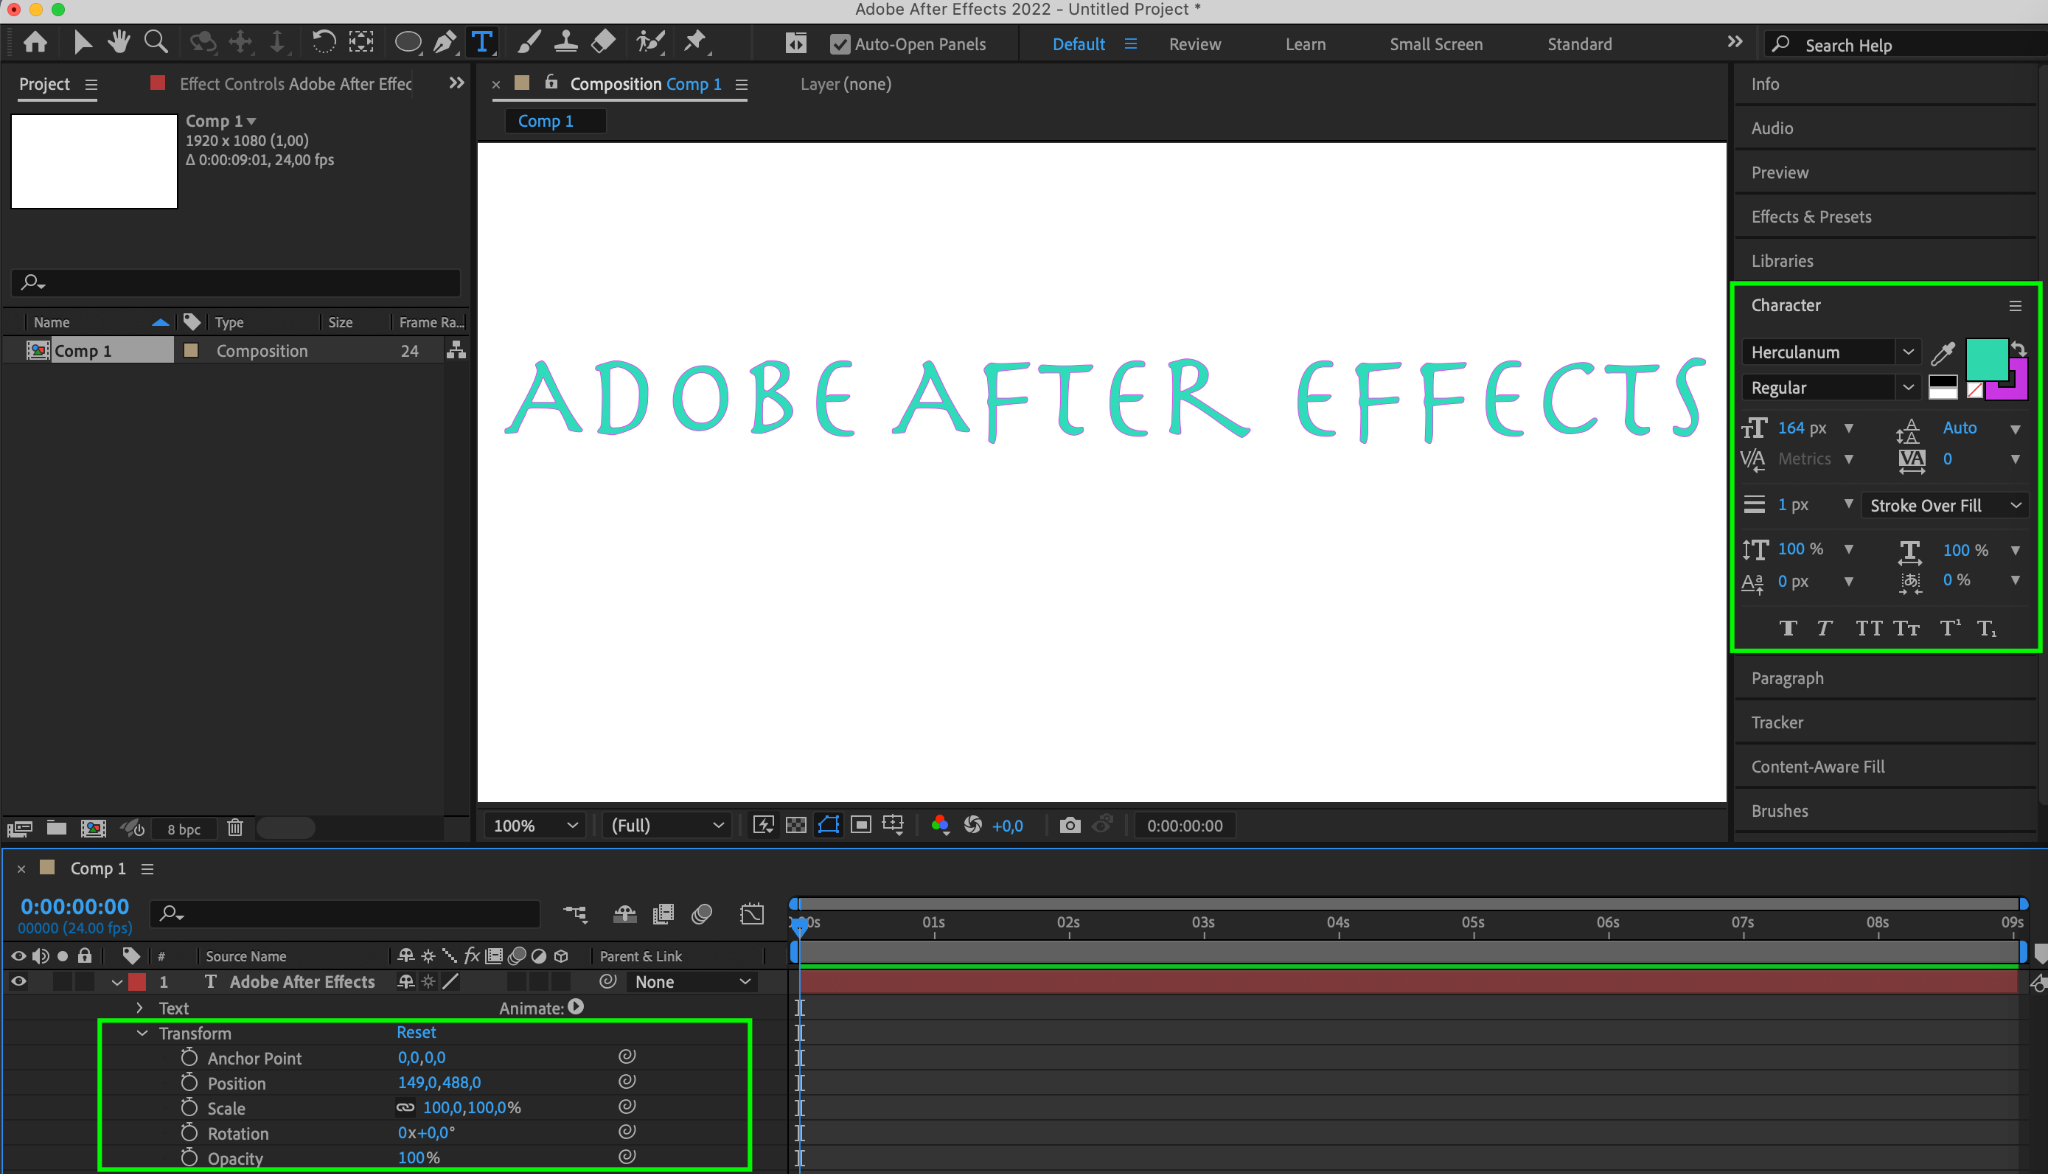
Use the Horizontal Type Tool to create a text layer. In the Character panel, adjust text properties such as color, size, stroke color and size, font, etc. Utilize the Transform panel for precise editing.
Get 10% off when you subscribe to our newsletter


Step 2: Basics of Keyframe Animation
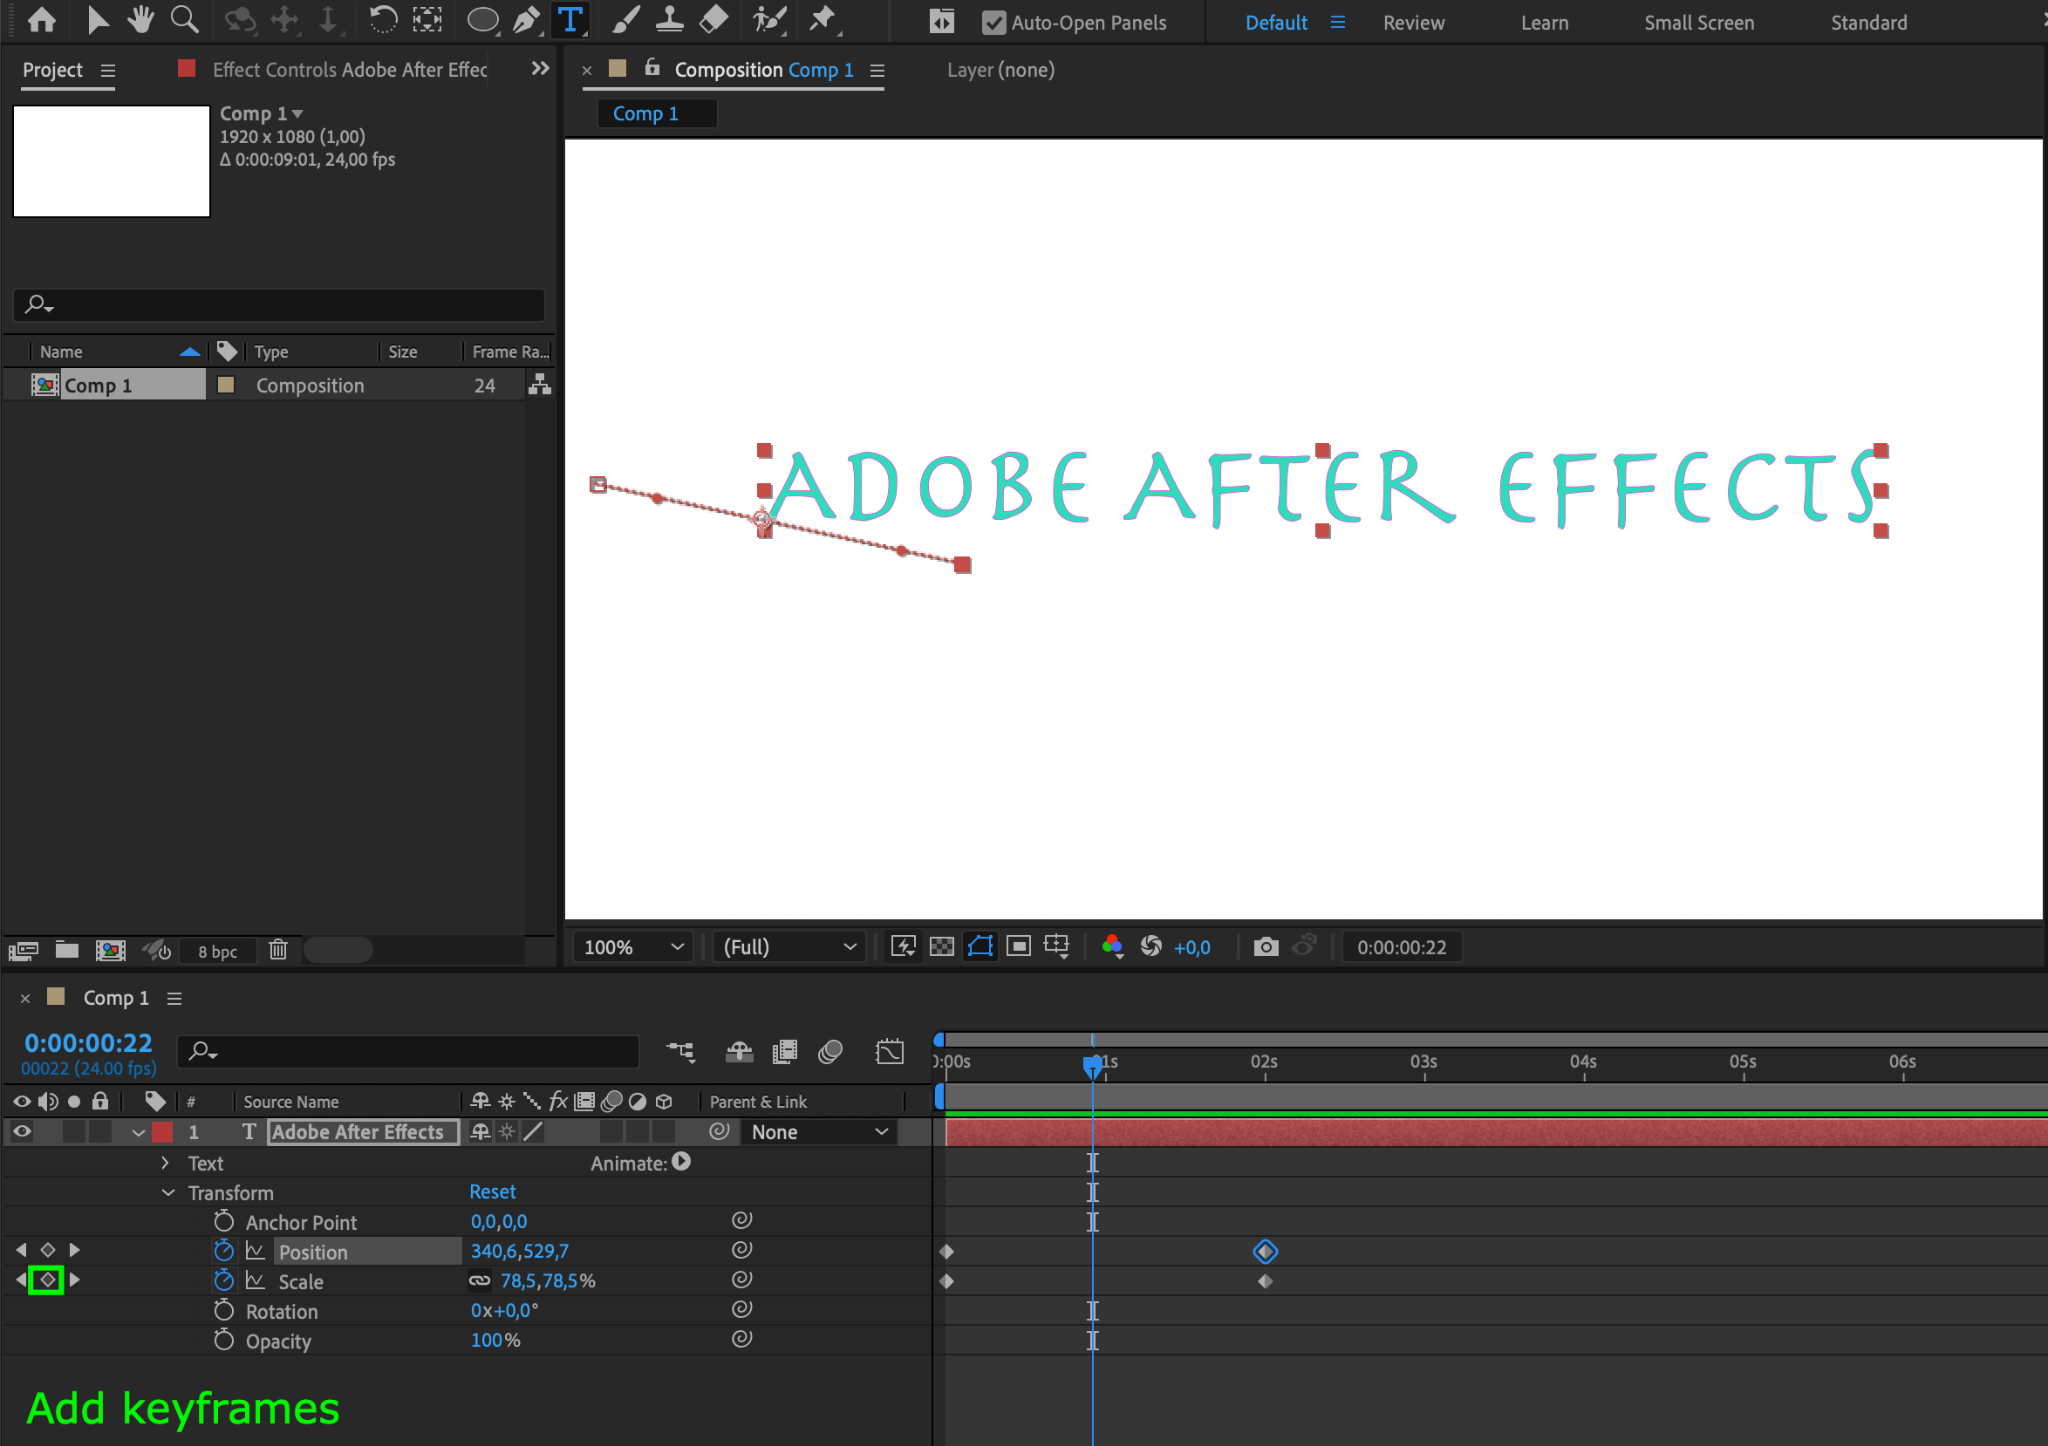
Use keyframes to create captivating motion animations for your text. Learn to set keyframes for text properties like position, scale, and rotation for smooth text animations.
Step 3: Optimizing Text Animations
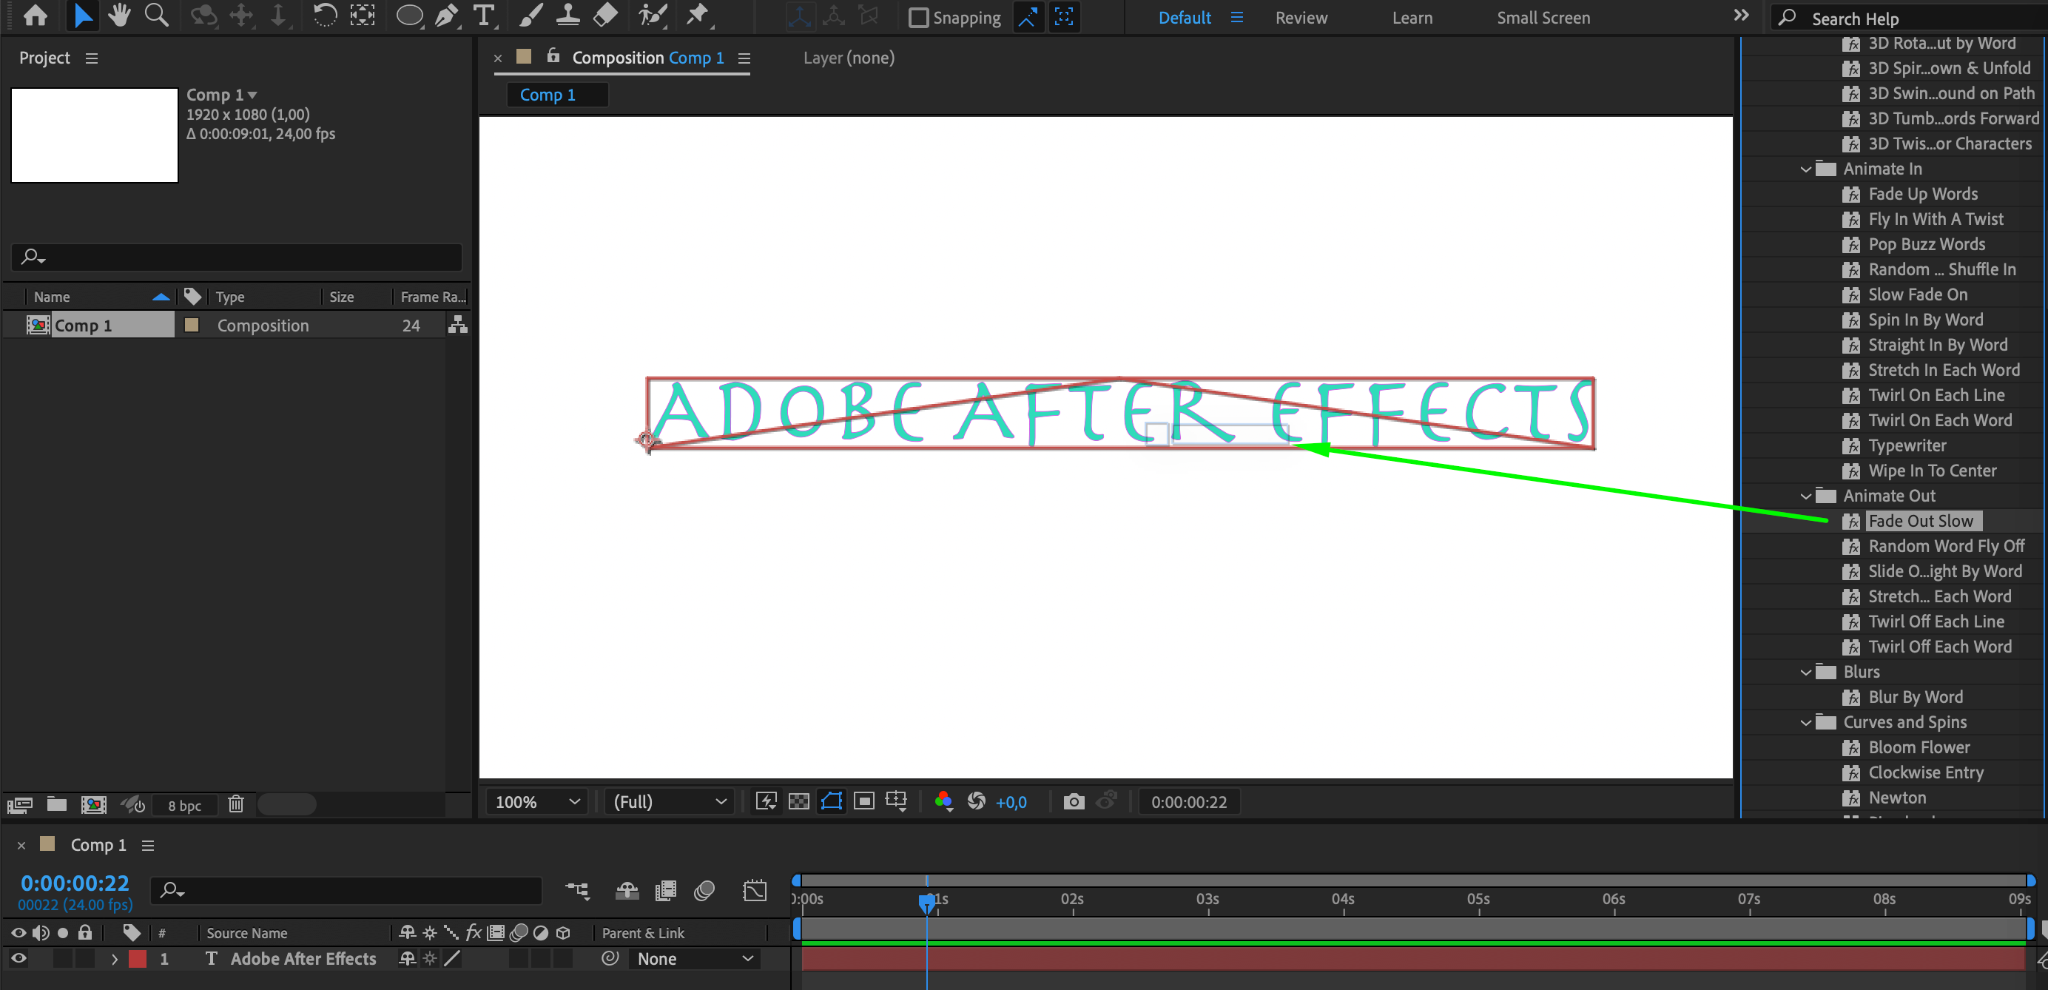
Gain essential tips and tricks, including using motion blur for realistic movement and incorporating expressions for advanced control. Explore effects such as “Fade out slow” for mesmerizing animations.
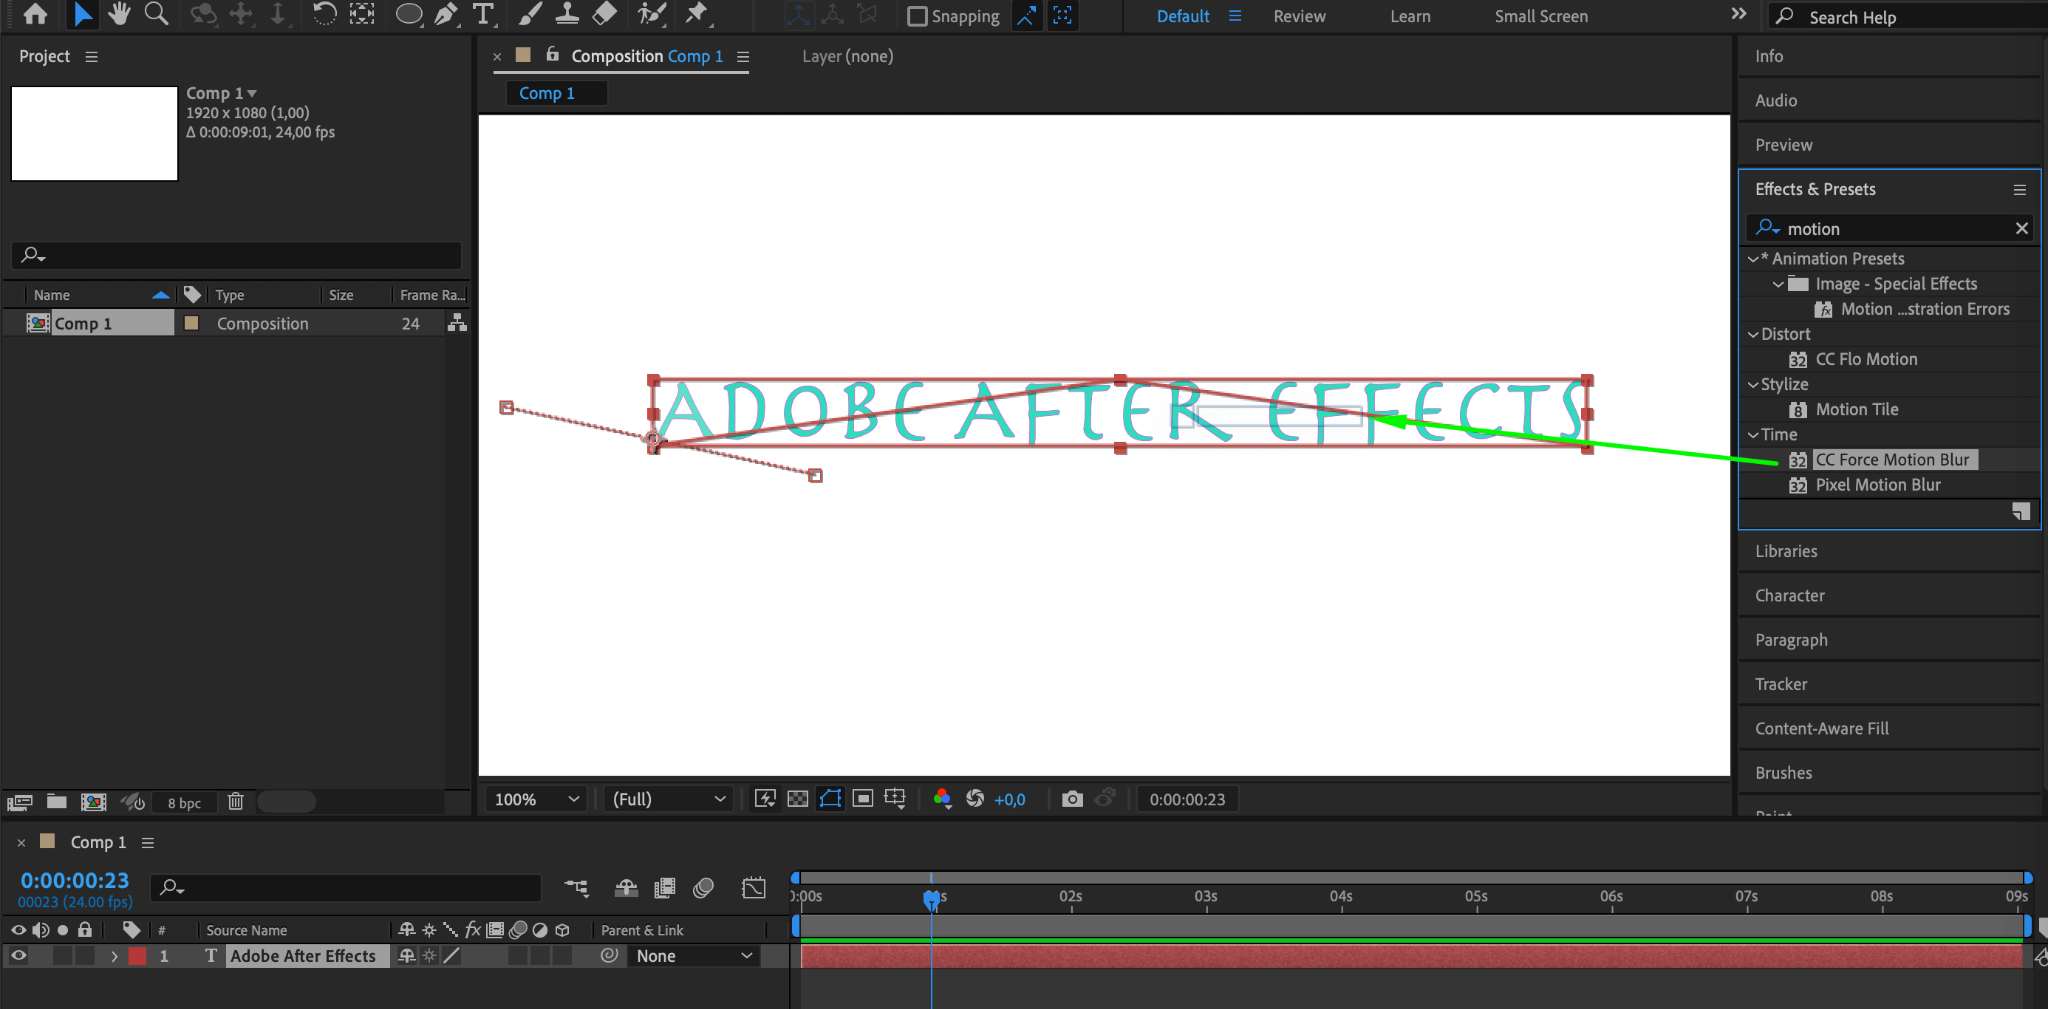
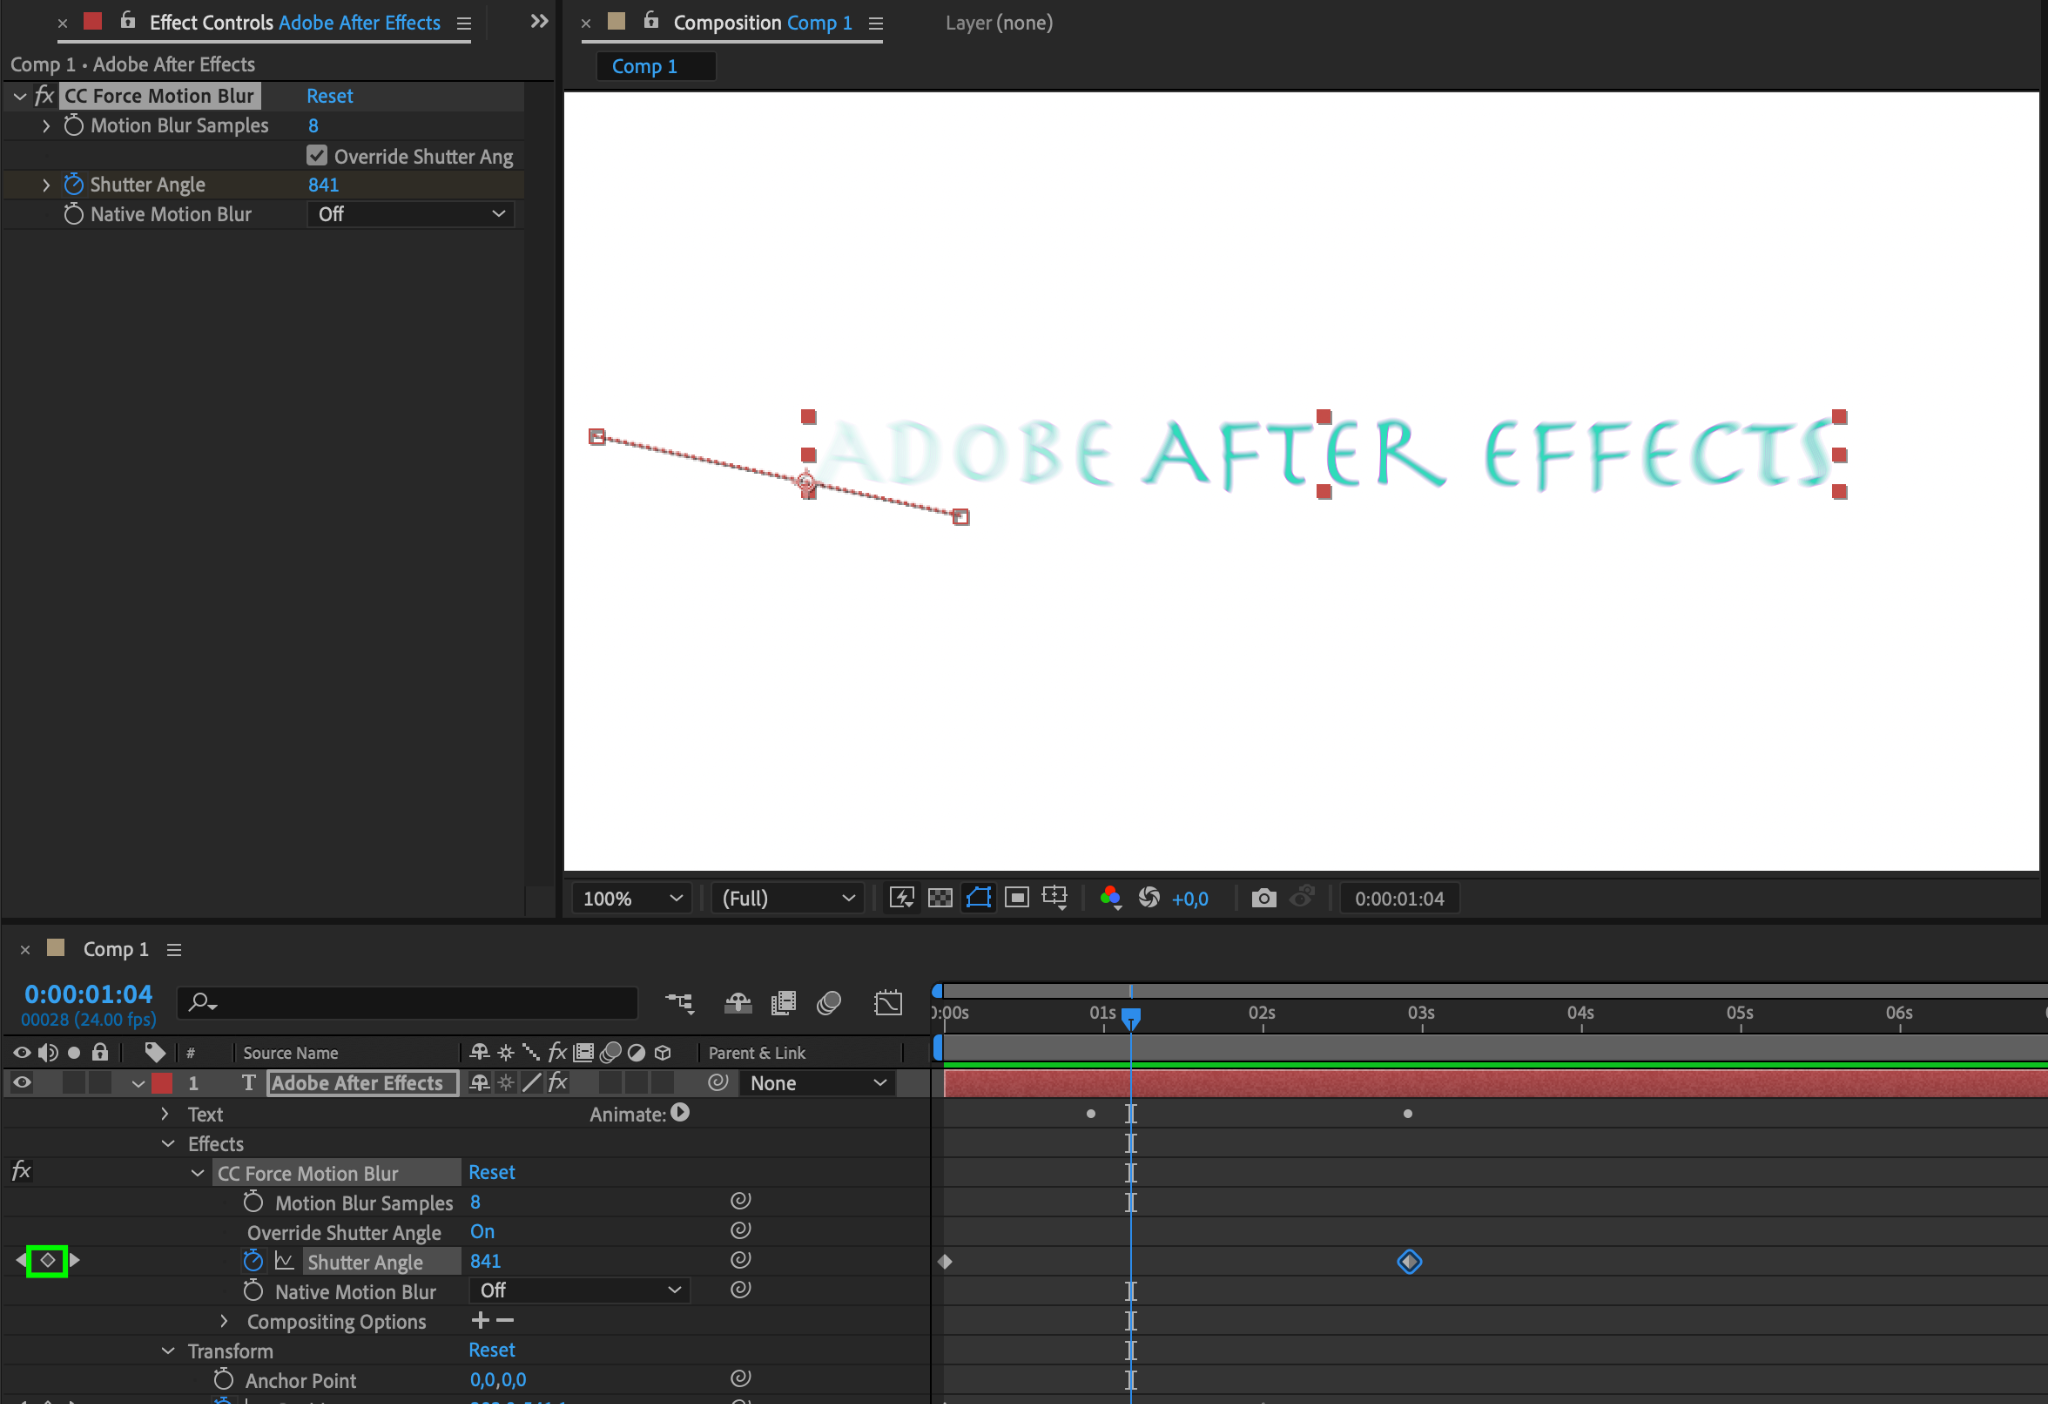
Step 4: Motion Blur Enhancement
Add realism to fast-moving text by enabling and customizing motion blur for text layers. Experiment with effects like “CC Force Motion Blur” to elevate the visual appeal of your animations.
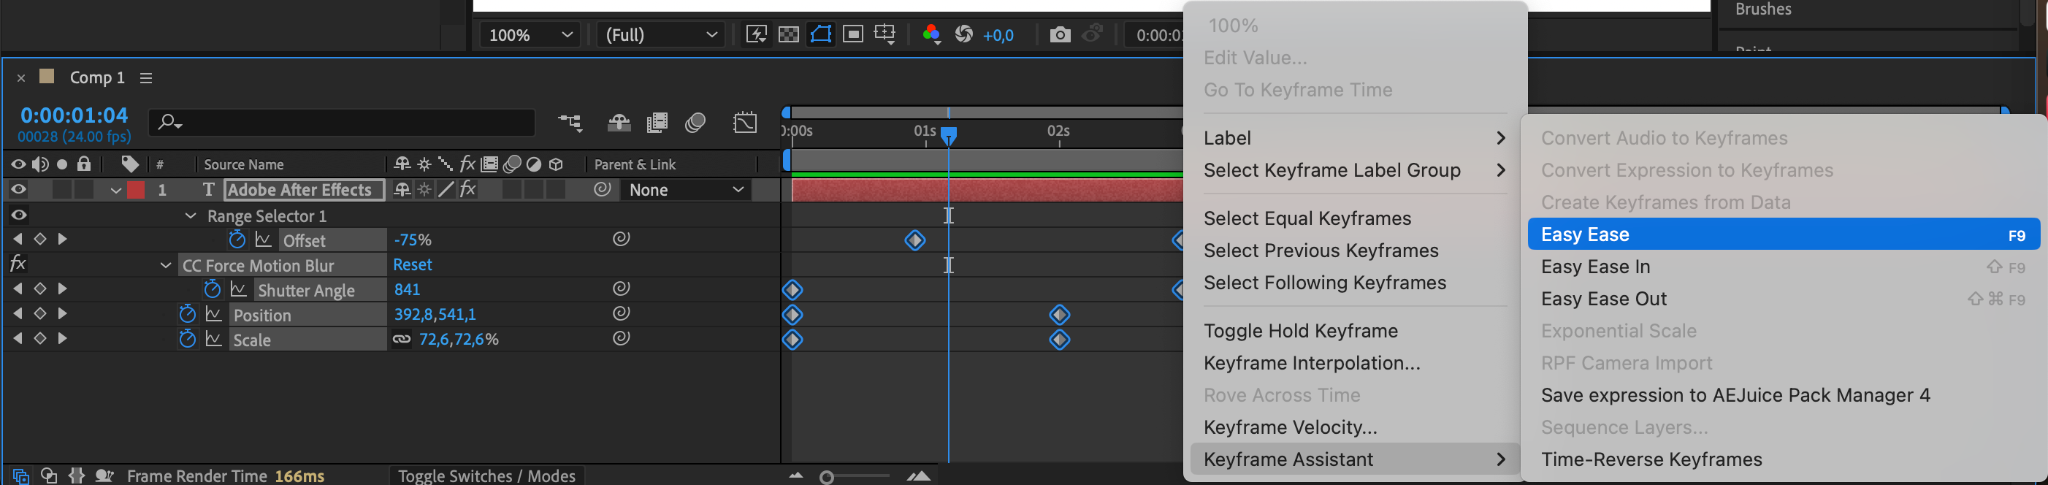
Step 5: Easy Ease for Smooth Transitions
Use easy ease to add smoothness to keyframes. Utilize the hotkey U to view all created keyframes across all layers.
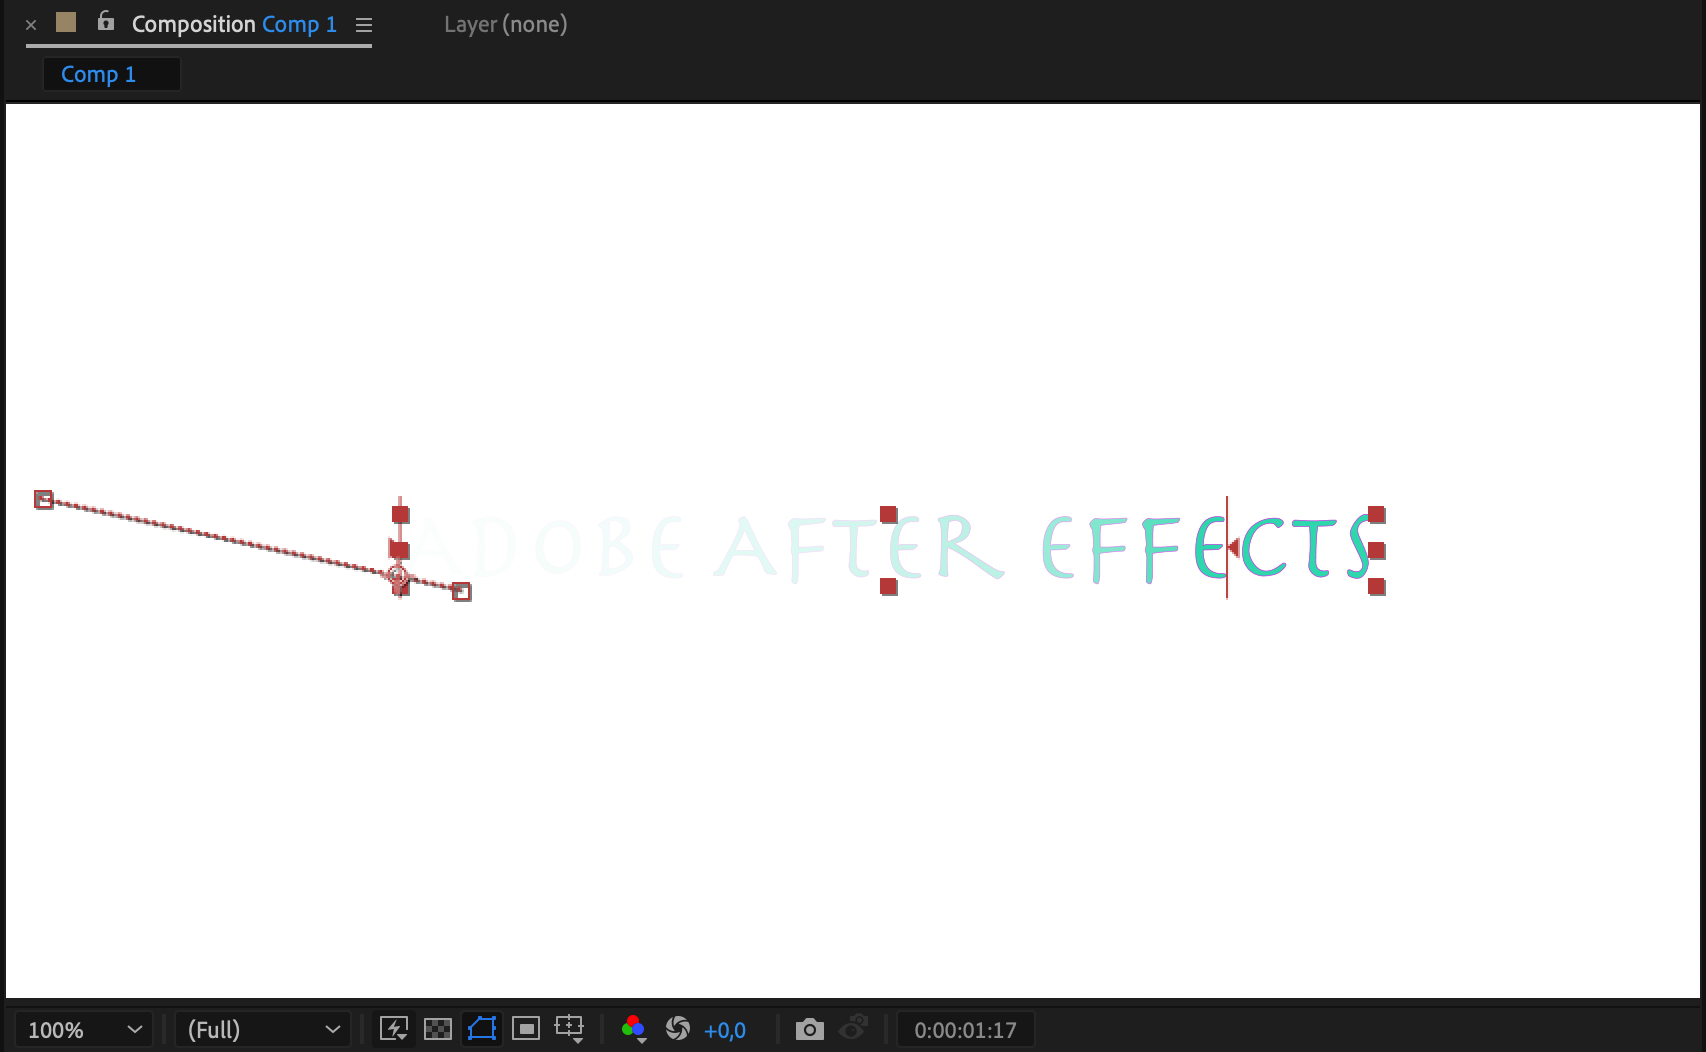
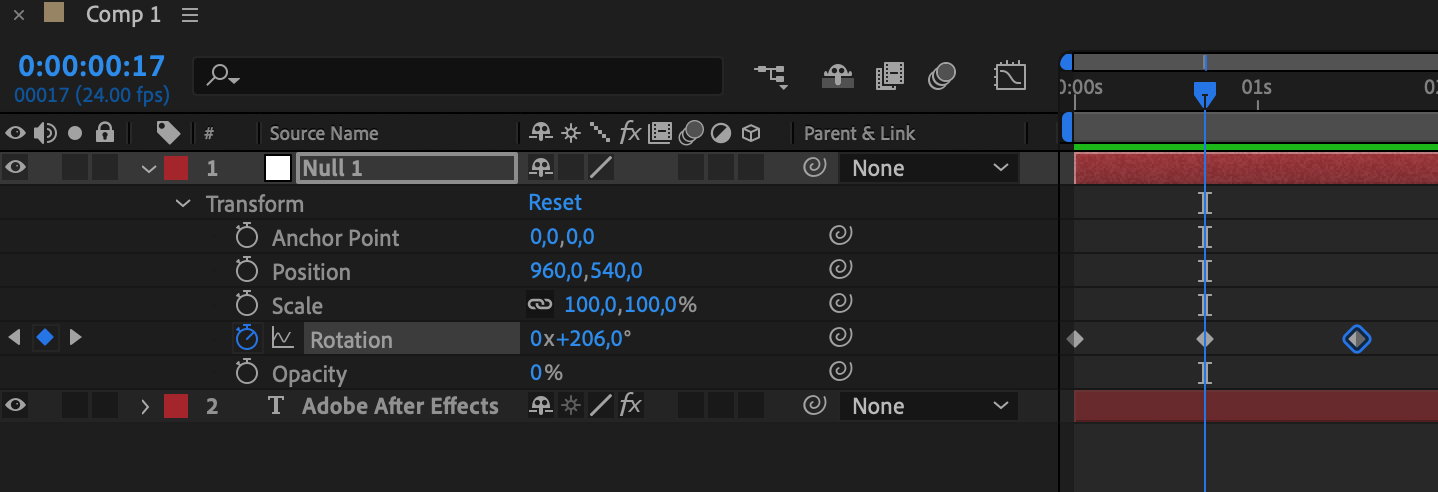
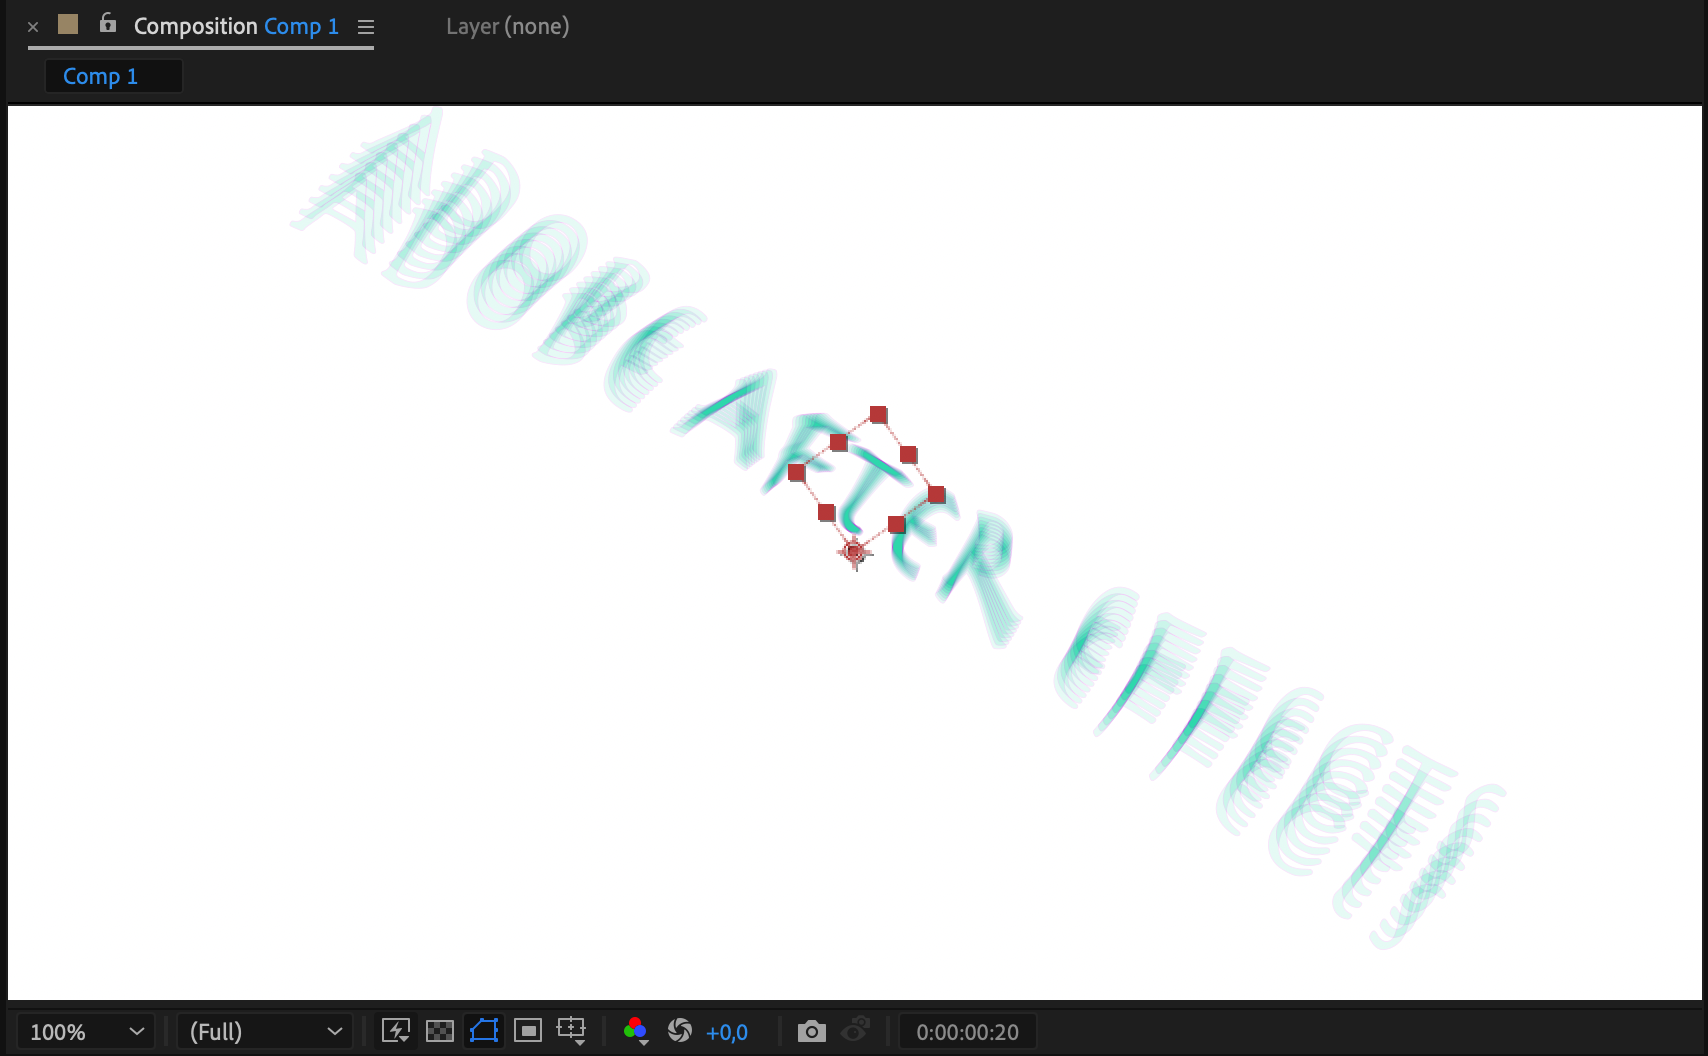
Step 6: Creating Custom Motion Paths
Craft intricate patterns and curves, adding elegance to your animations. Create a Null object, set keyframes (e.g., rotation), and make your text layer a child of the Null object for synchronized movement.


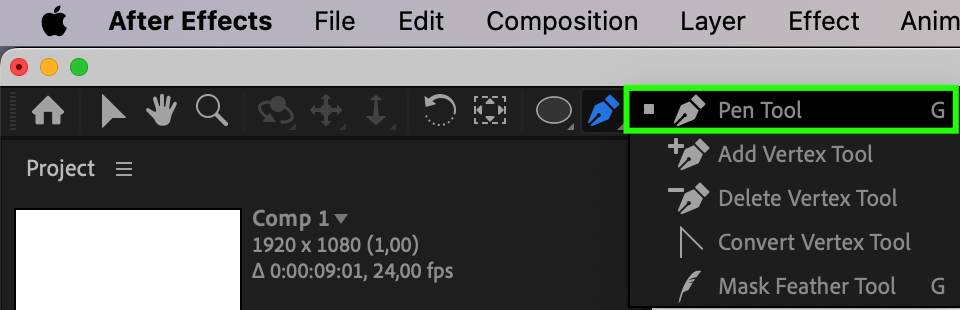
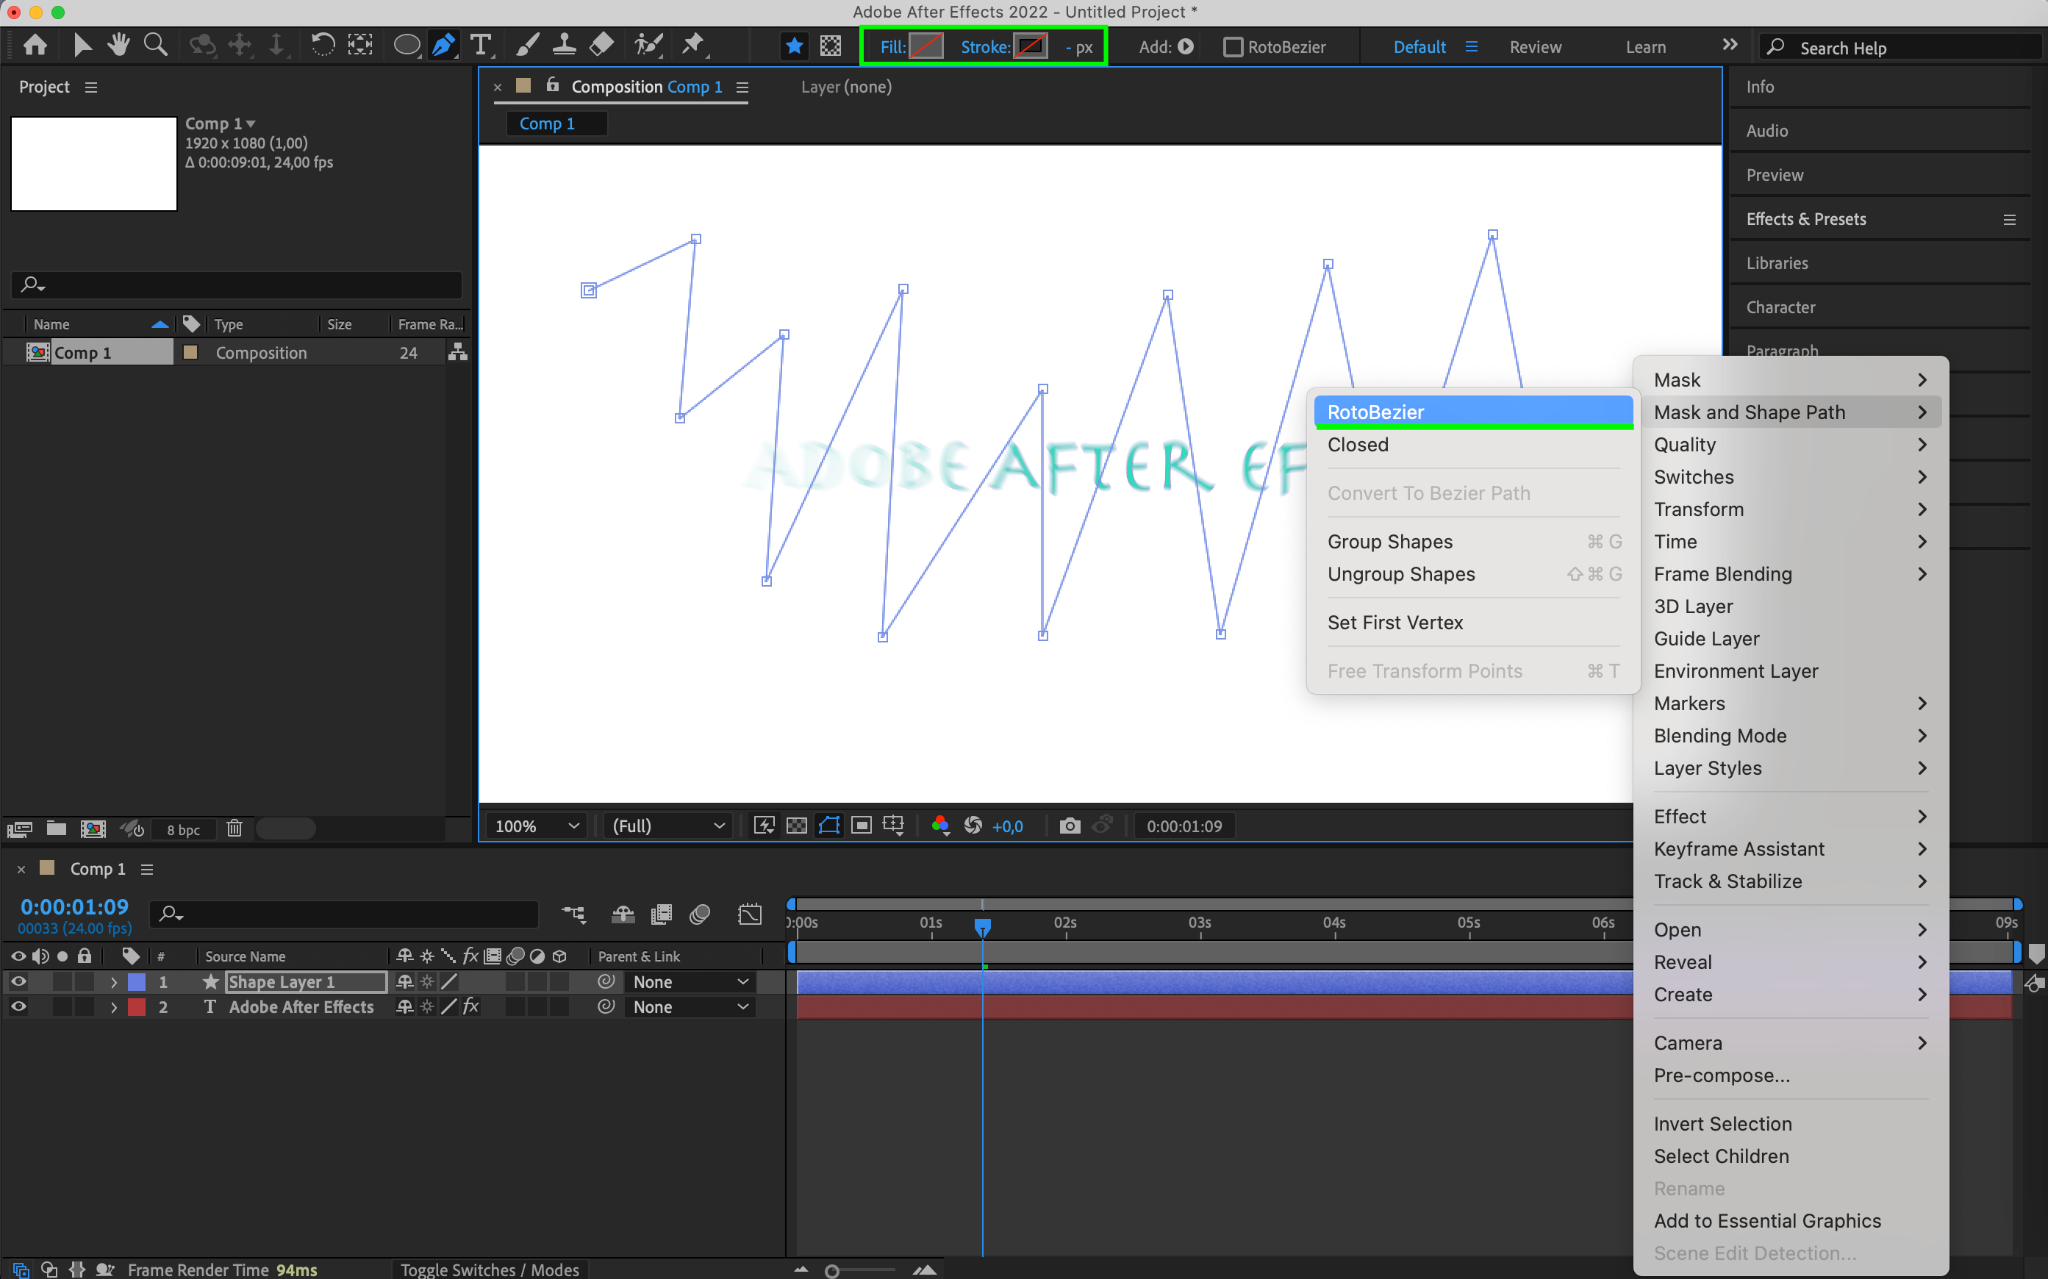
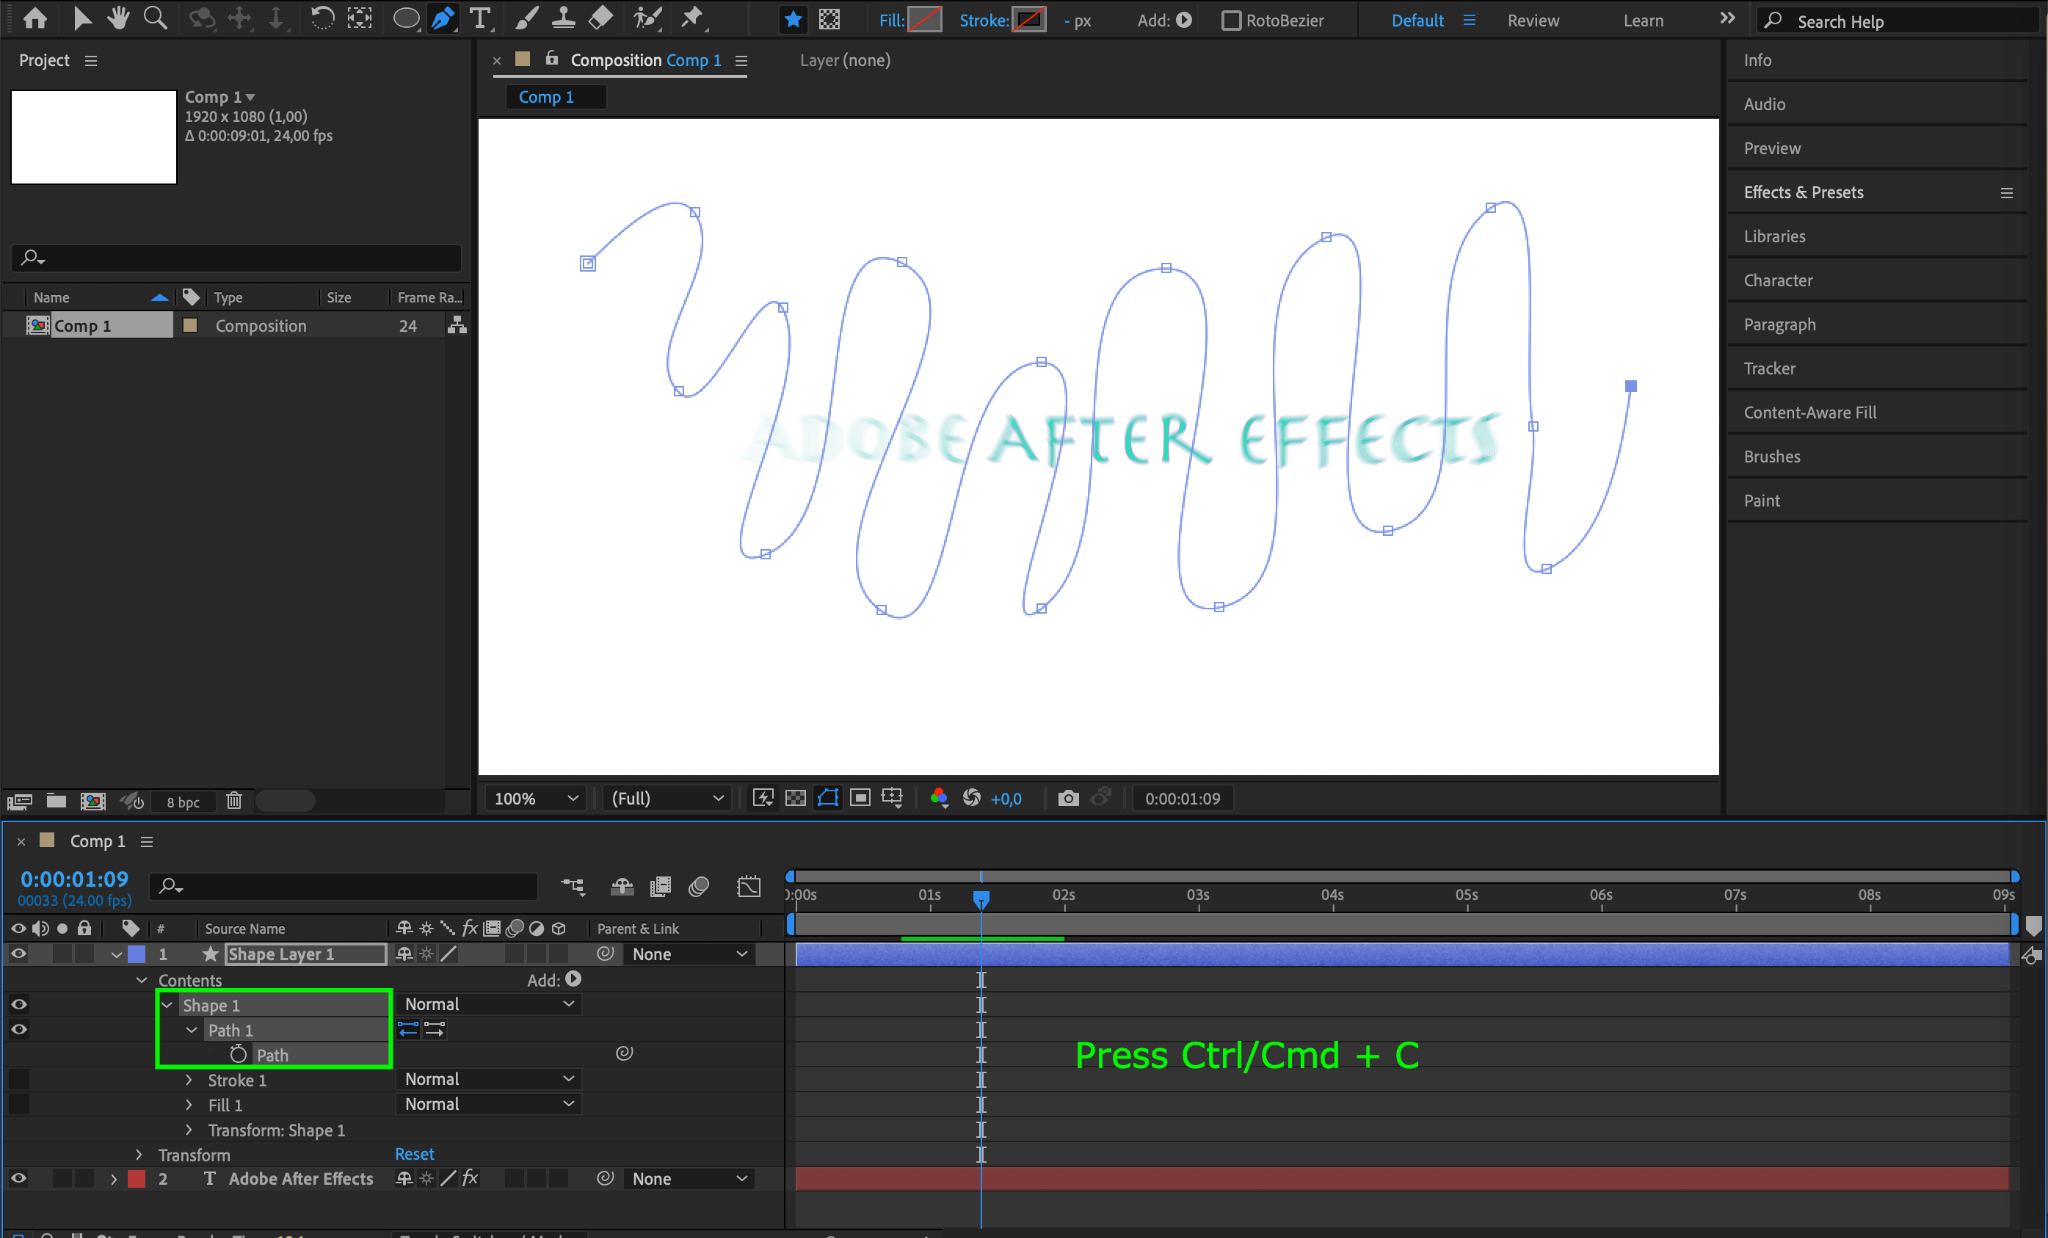
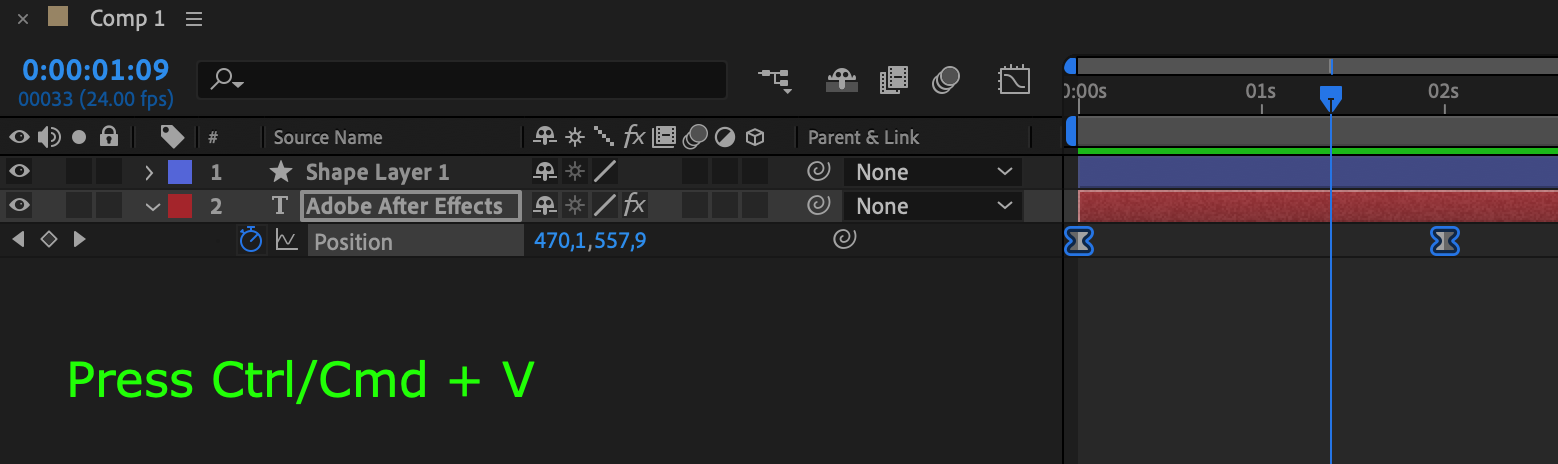
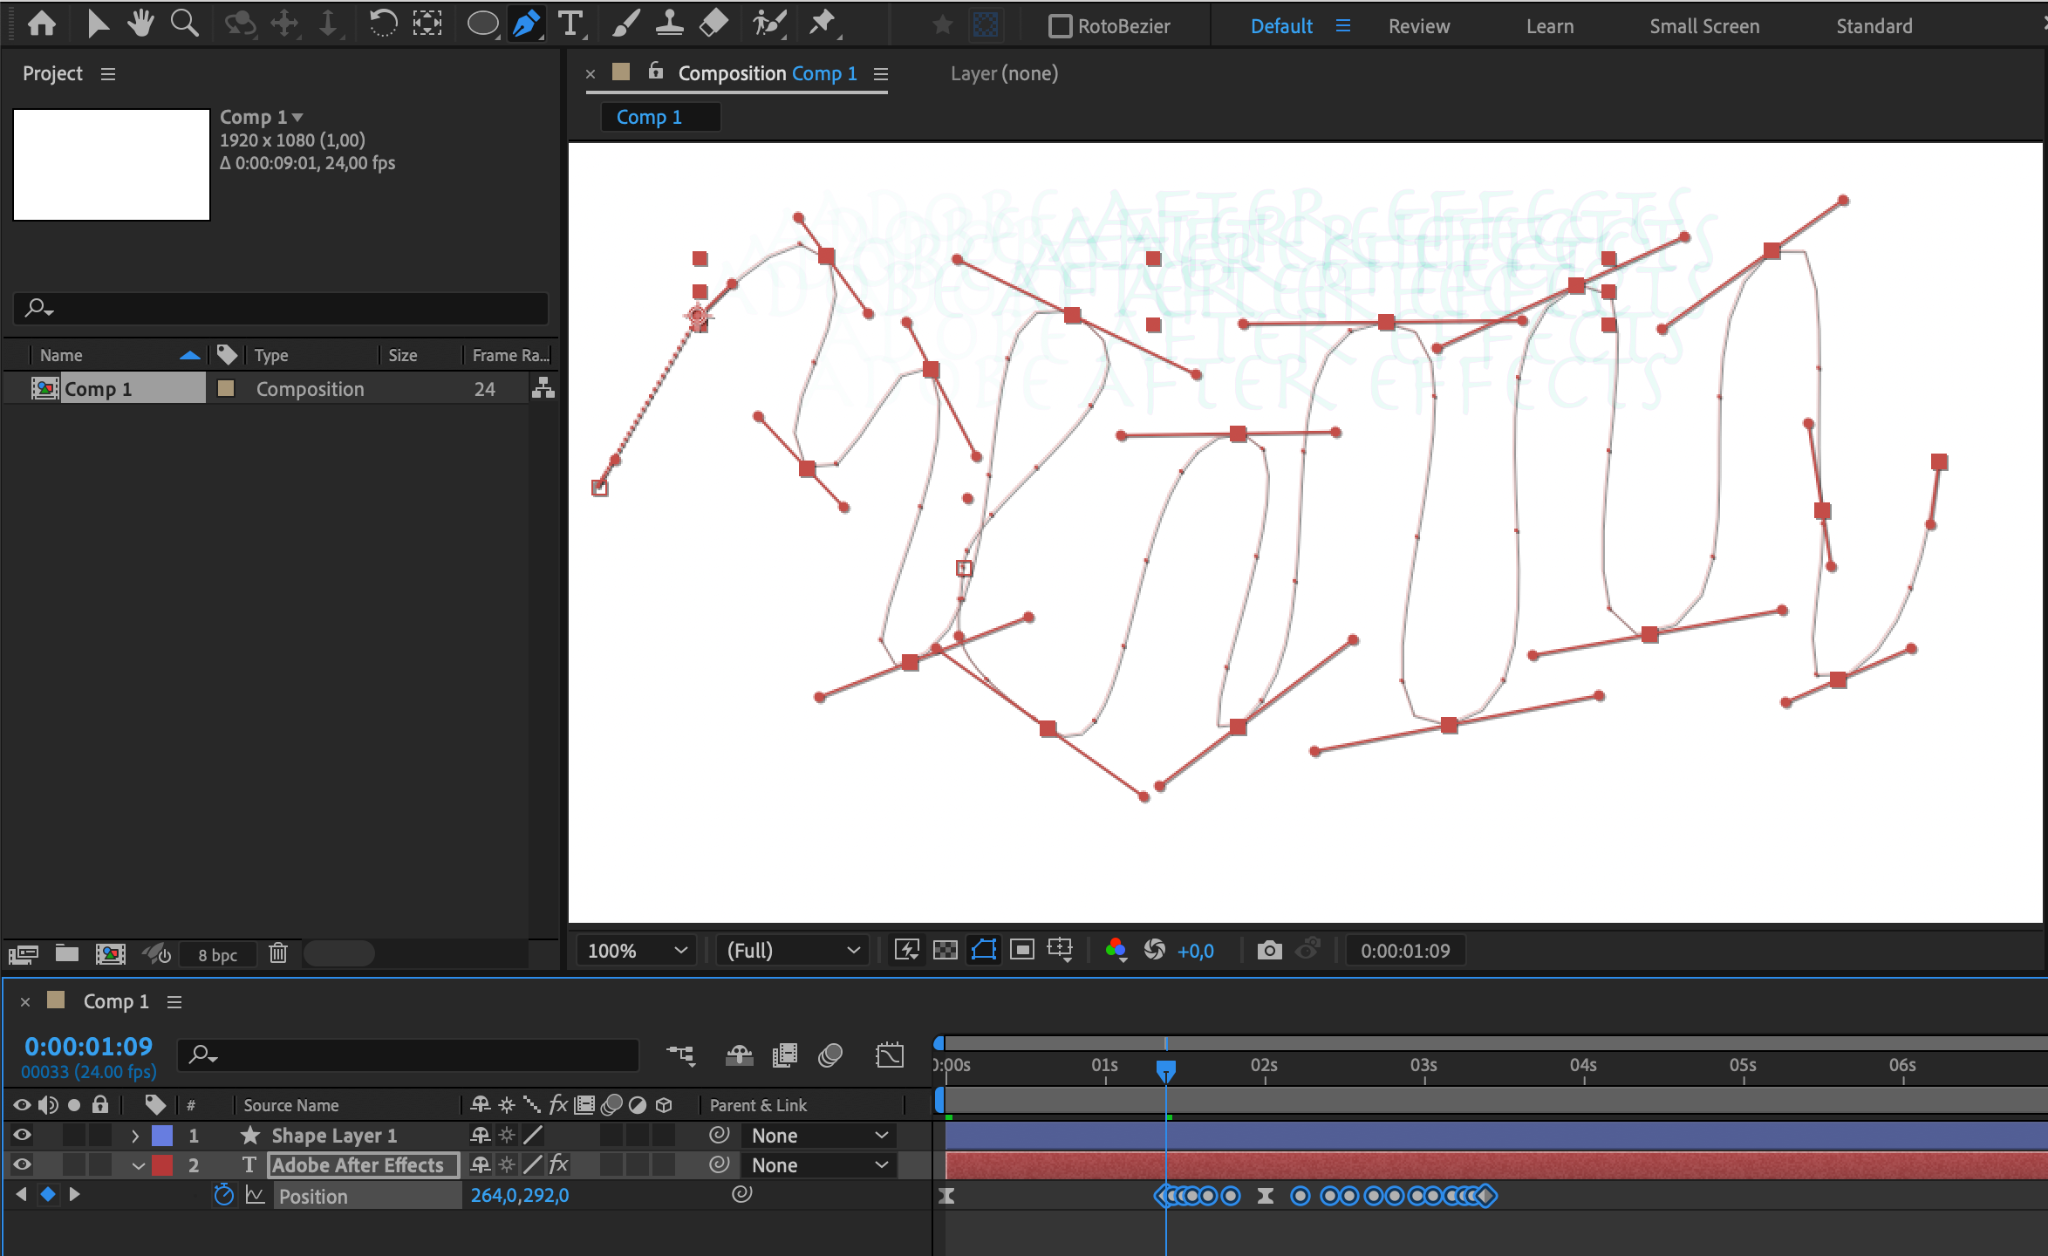
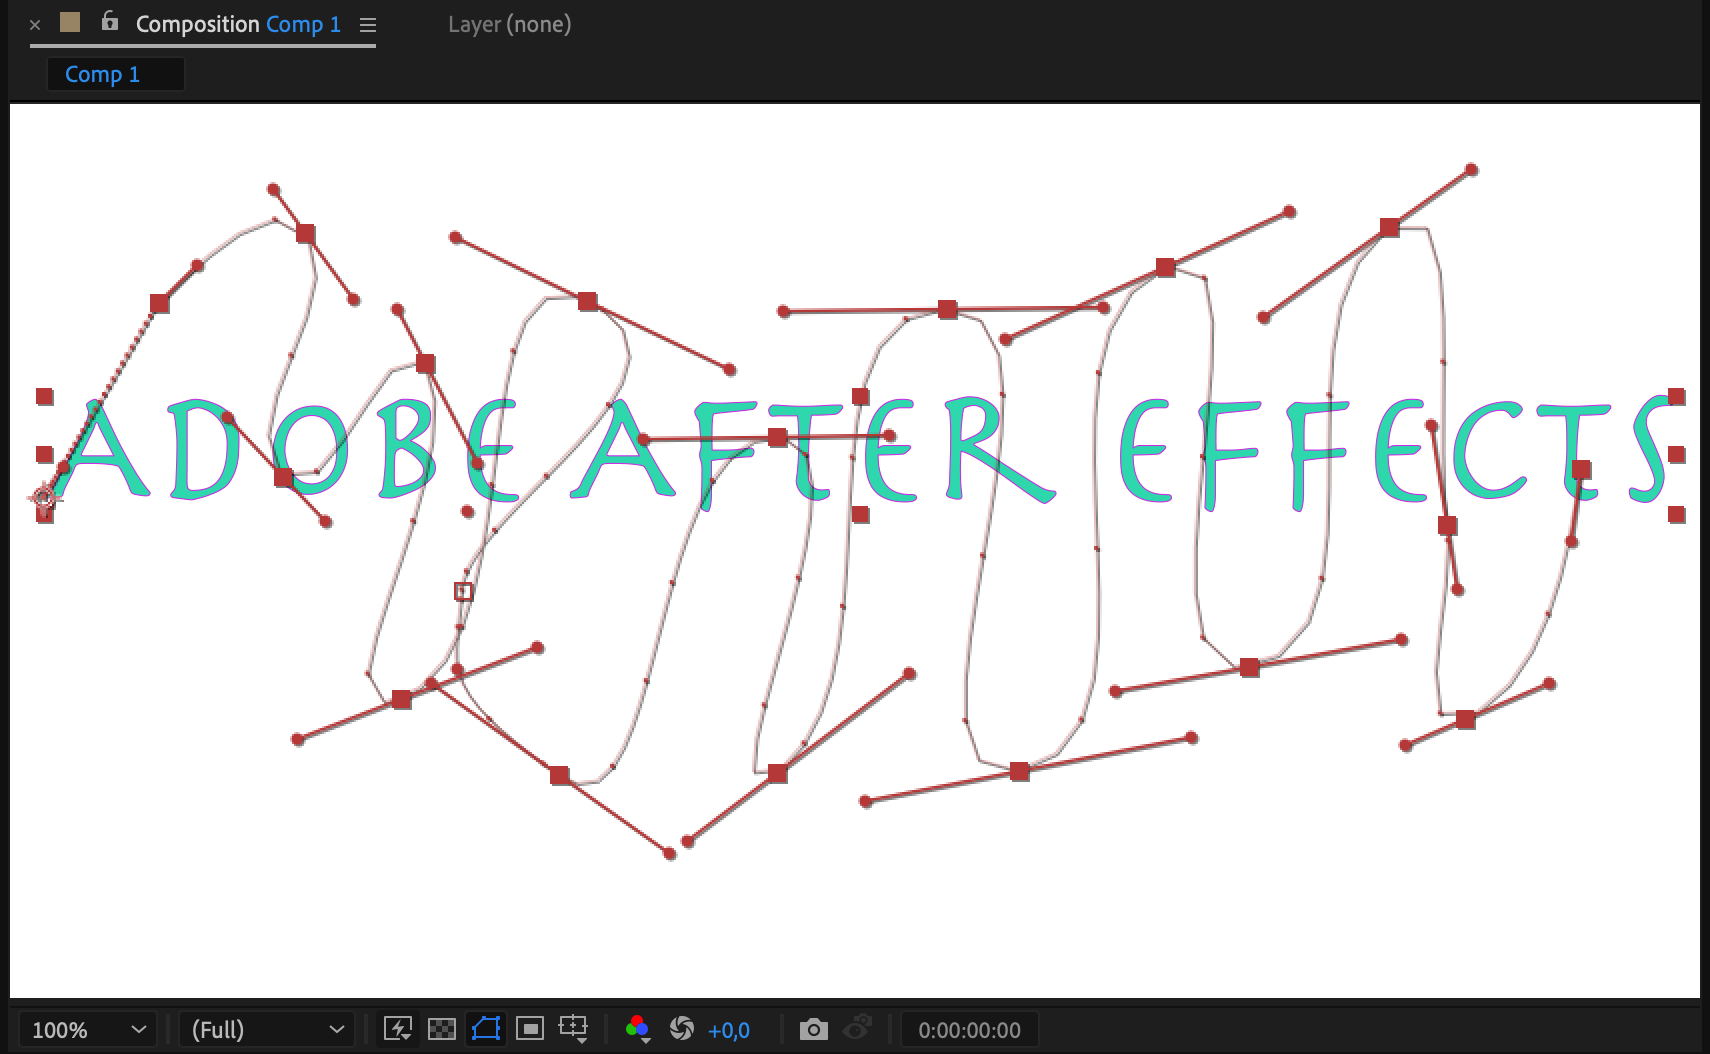
Step 7: Drawing Custom Motion Paths
Use the Pen Tool to draw a custom path for your text layer’s movement. Copy the path, paste it into the text layer’s position property, and now your text follows the created path.
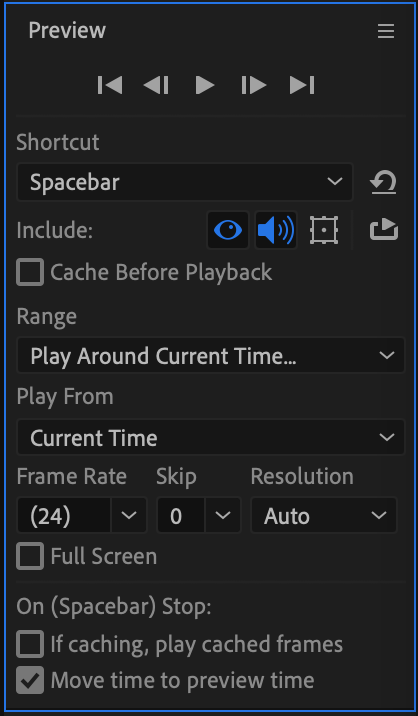
Step 8: Preview Your Animation
Before finalizing your project, use the Preview feature to ensure your text animations are smooth and visually appealing. Press the spacebar to initiate a preview and make any necessary adjustments.
Follow these steps to master the art of moving text in After Effects and elevate your animation projects.
Conclusion: Elevate Your Motion Graphics with After Effects Text Animation
Sum up your journey into the art of text animation. Reflect on the skills gained and the creative potential unlocked, empowering you to craft visually stunning videos that captivate and inspire your audience.
Mastering text animation in After Effects opens a realm of creative possibilities. Armed with these skills, elevate your motion graphics projects, turning them into compelling visual stories that resonate with your audience.
Our Bestsellers


