Creating Animated Bullet Points in After Effects”
Learn the Basics of Adding and Animating Bullet Points in After Effects”
Adding animated bullet points in After Effects is a great way to present text dynamically in videos. By combining shape layers, animation effects, and text tools, you can create professional-looking bullet points that captivate your audience. Follow this step-by-step guide to learn how to do it.
Get 10% off when you subscribe to our newsletter

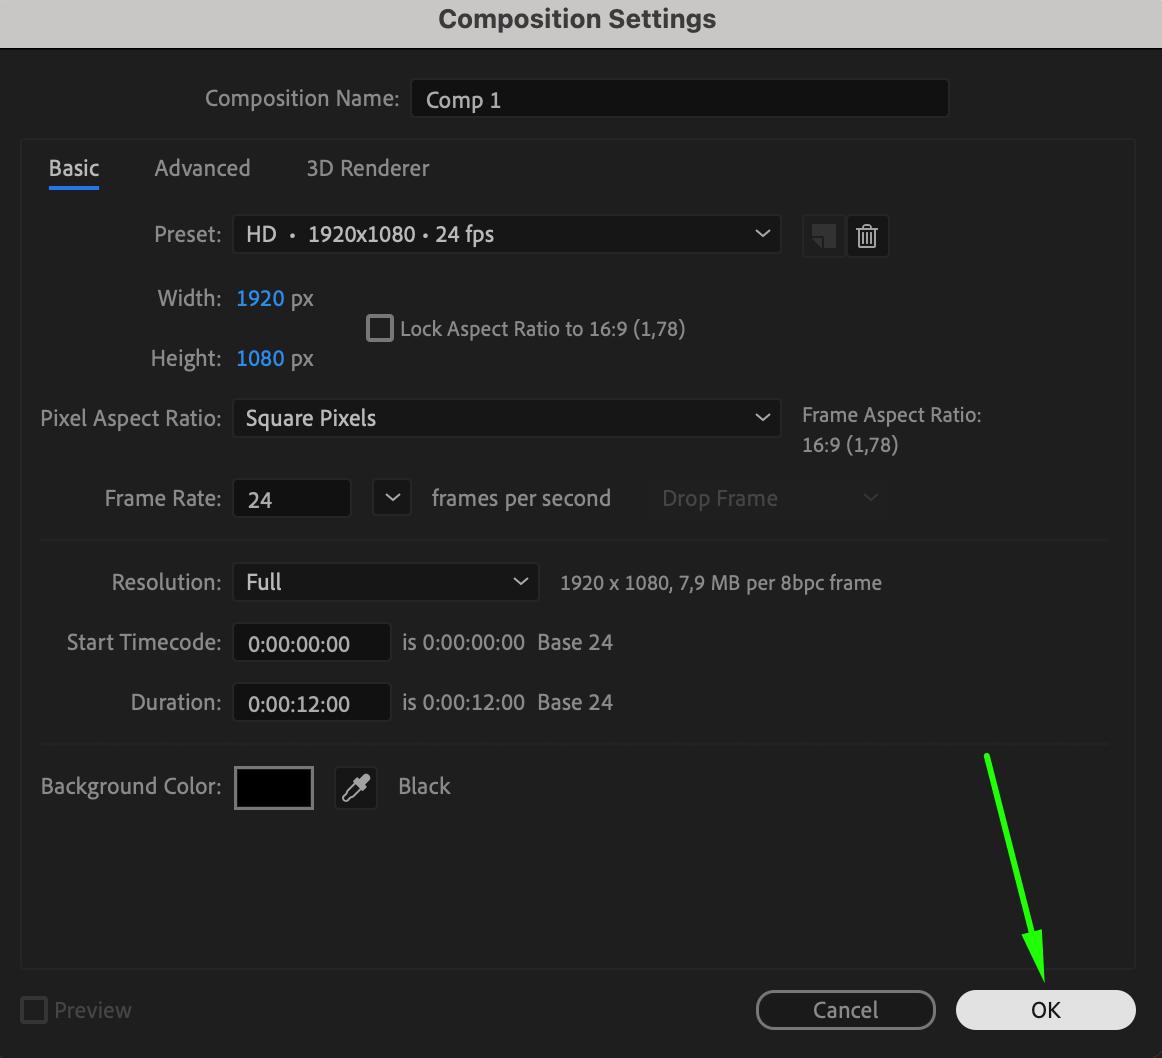
Step 1: Create a New Composition
Start by creating a new composition. Go to Composition > New Composition, set the resolution (e.g., 1920×1080), frame rate, and duration, then click OK. This will serve as your workspace for the animation.
 Step 2: Draw a Circle for the Bullet Point
Select the Ellipse Tool (Q) from the toolbar. Hold “Ctrl/Cmd + Shift” while dragging to create a perfect circle. Ensure the Anchor Point is in the center of the circle. In the toolbar above the composition panel, set Fill to “None” and choose a Stroke color and width to outline the circle. Step 3: Add Trim Paths to Animate the Circle
In the timeline, expand the Contents section of the shape layer. Press the Add button and select Trim Paths.
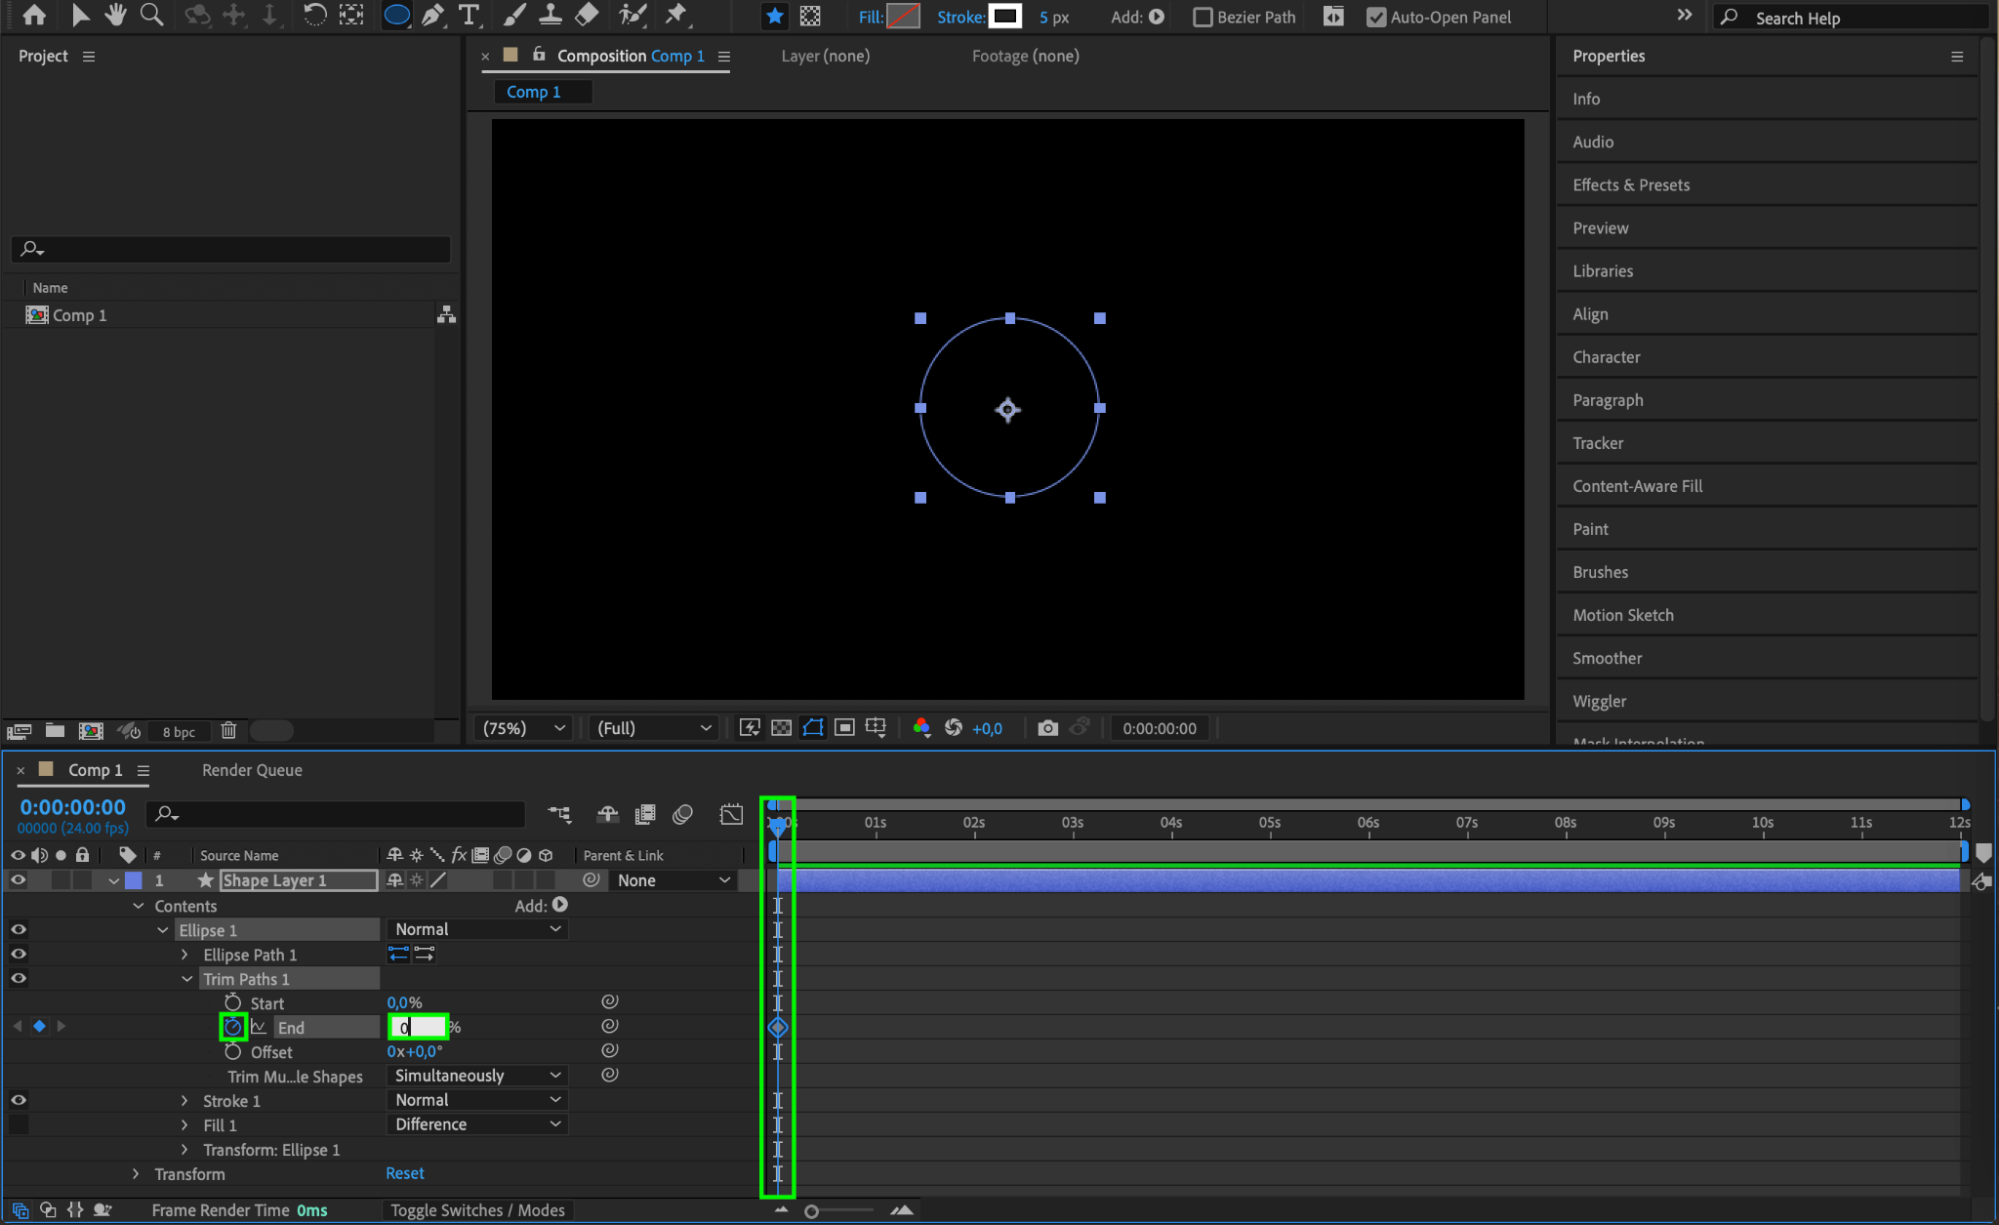
Animate the End parameter of the Trim Paths:
Set End to 0 at the start of the timeline and create a keyframe.
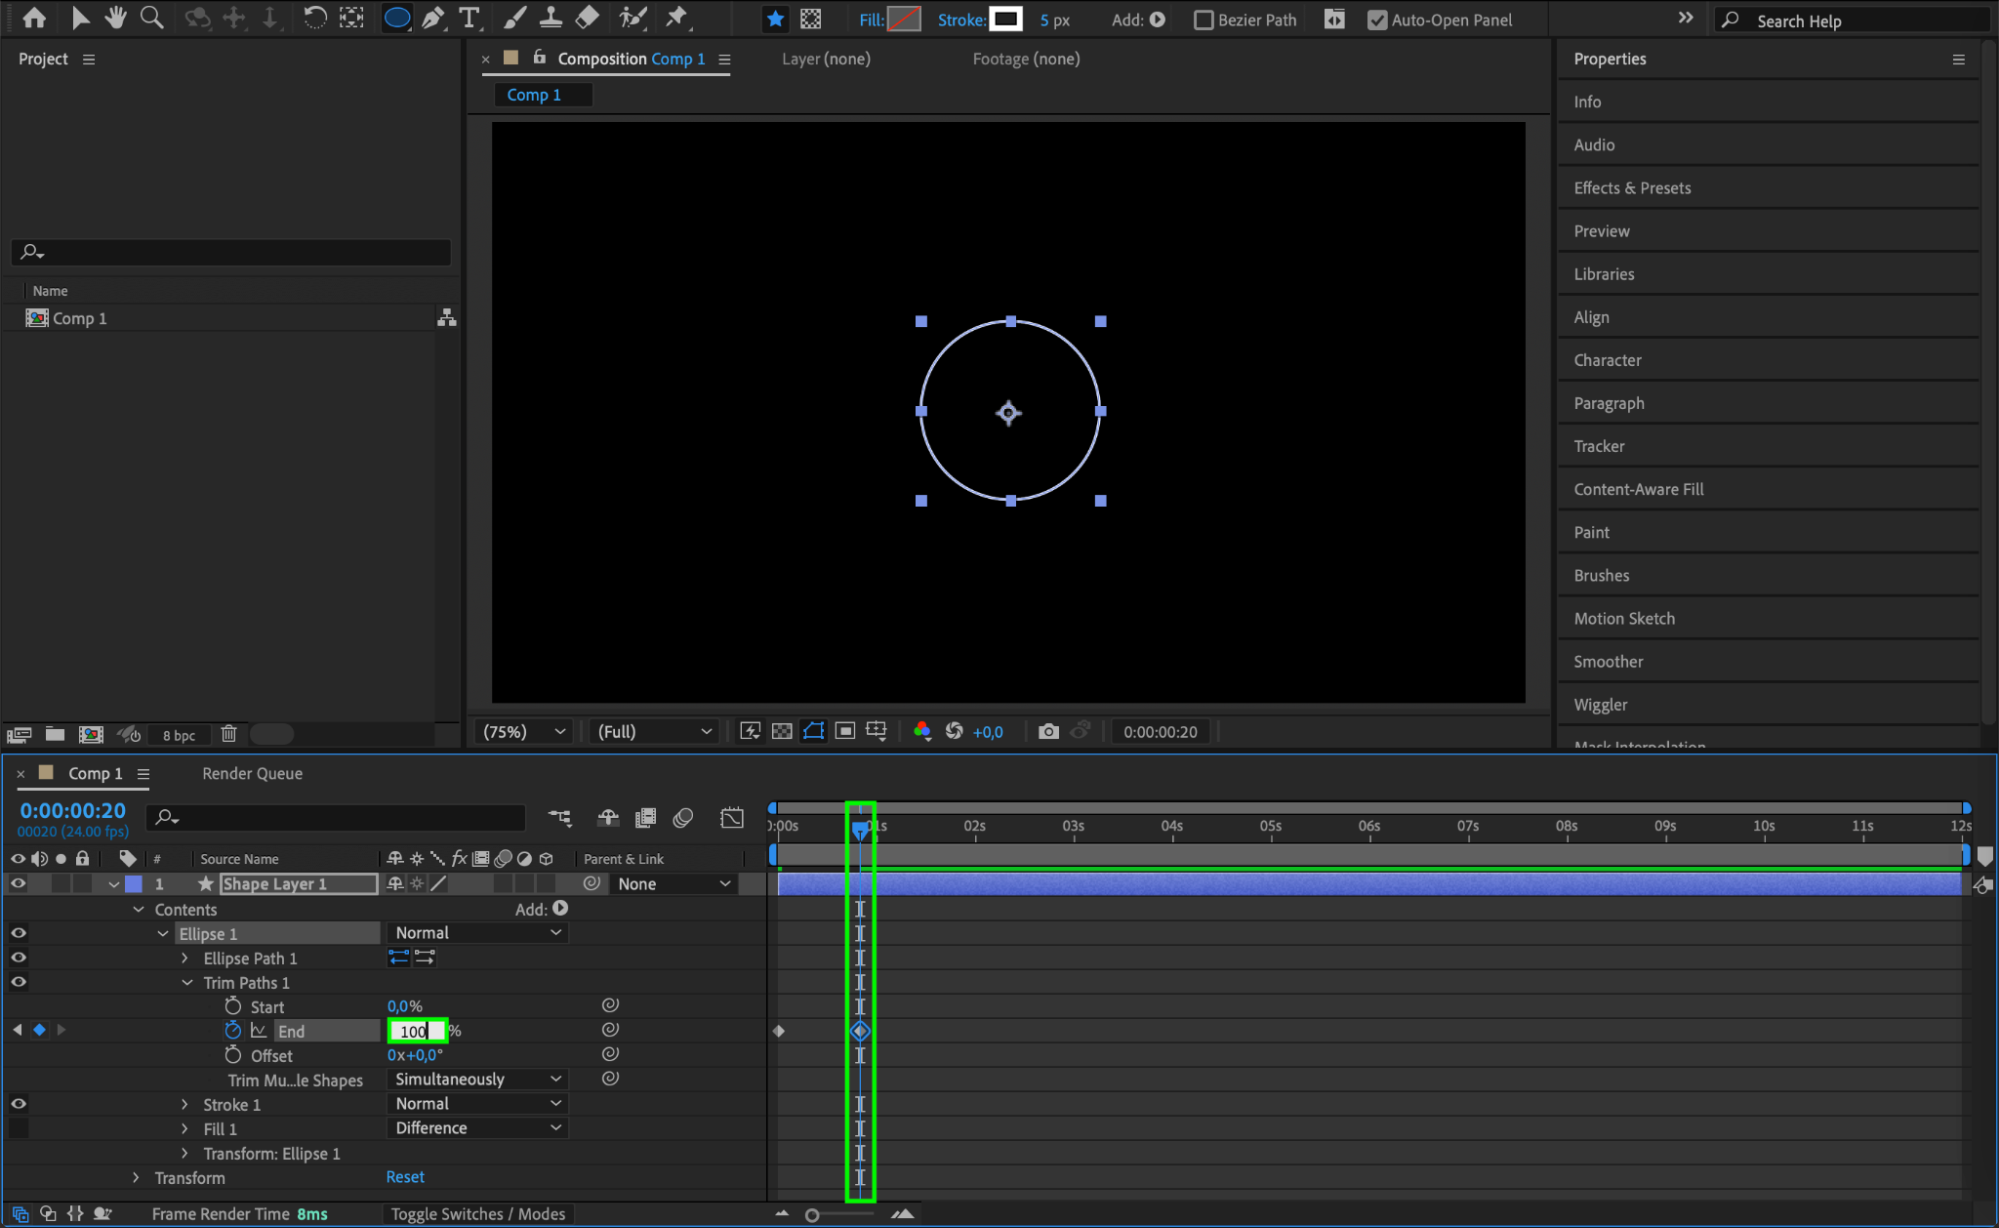
Move the CTI forward a few frames and set End to 100.
This creates a drawing effect for the circle.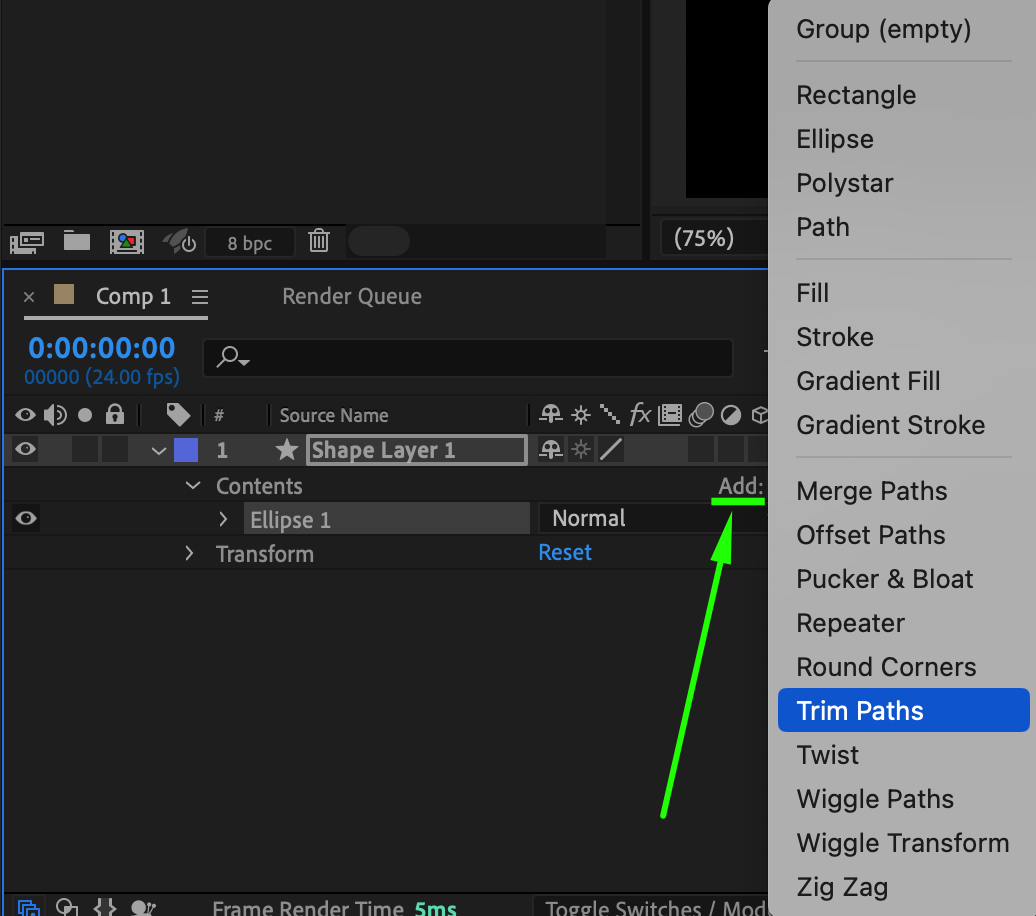
 Step 4: Adjust the Circle’s Position and Scale
Resize and reposition the circle to the desired location on the screen. This ensures there’s enough space next to it to add text. Step 5: Add Text Next to the Bullet Point
Use the Type Tool (Ctrl/Cmd + T) to create a text layer. Type your first bullet point and, in the Paragraph panel, set the alignment to Left Align Text. Adjust the text position to align it properly with the circle.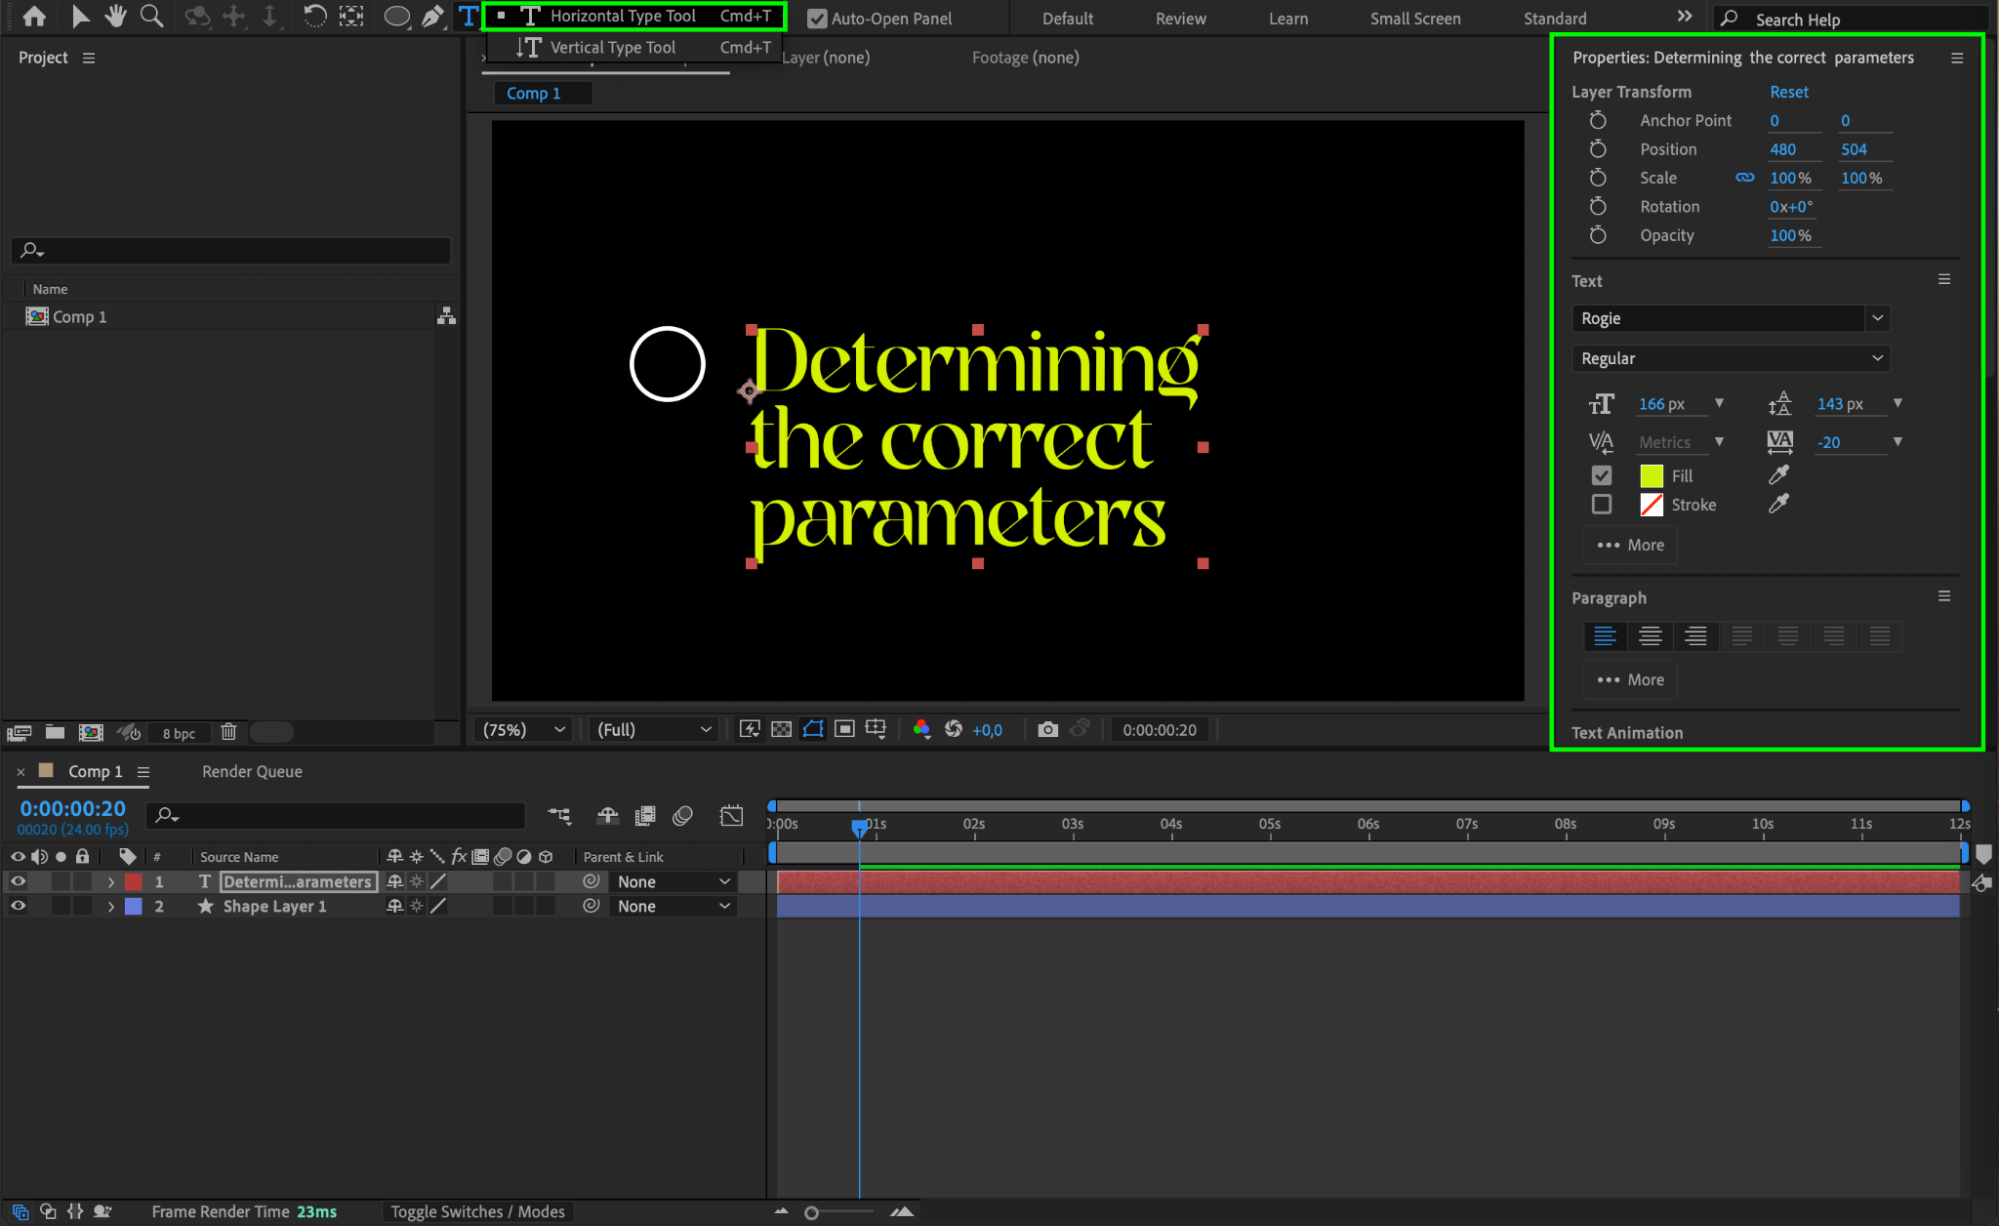 Step 6: Animate the Text with Typewriter Effect
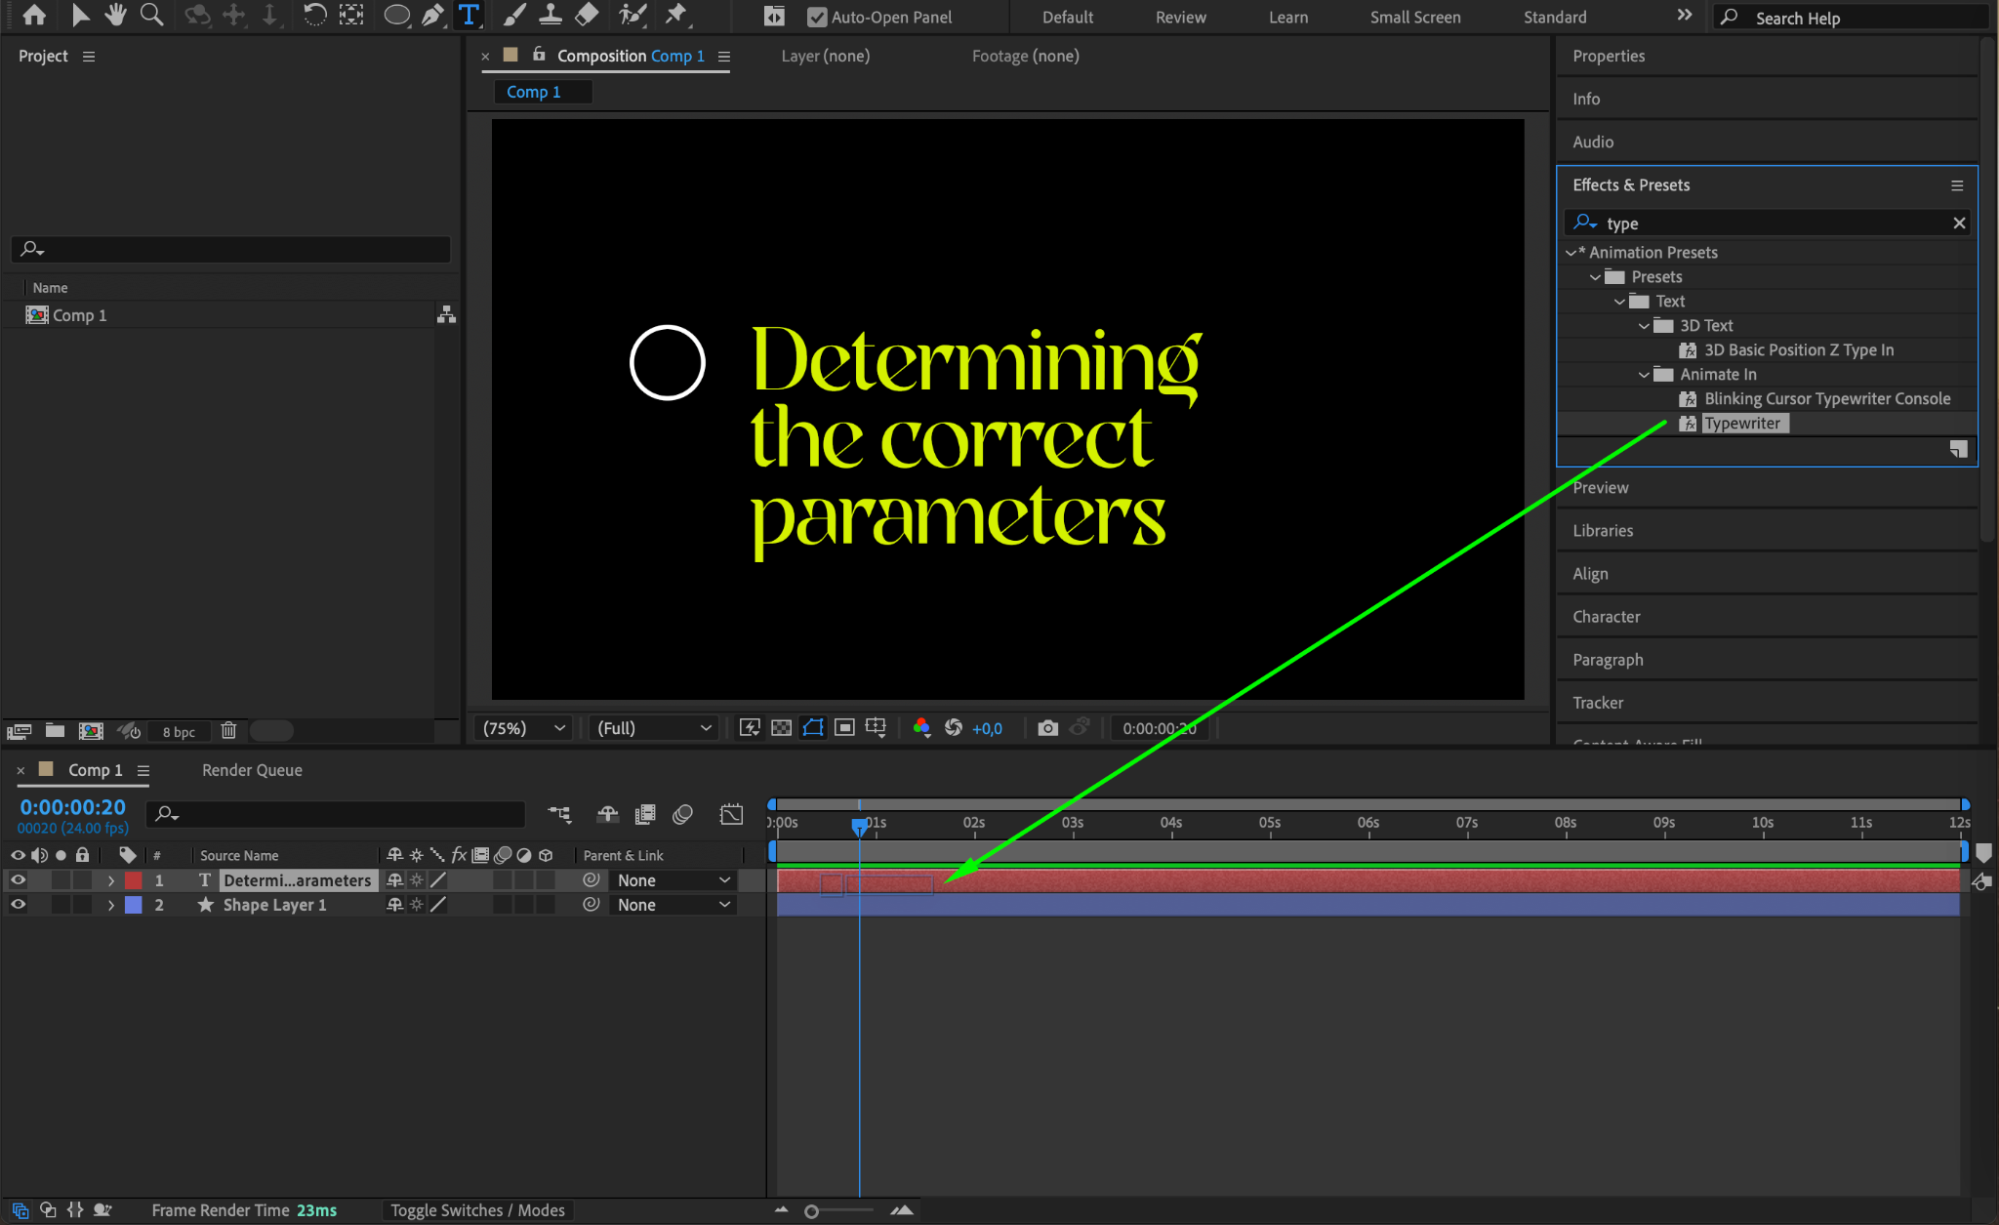
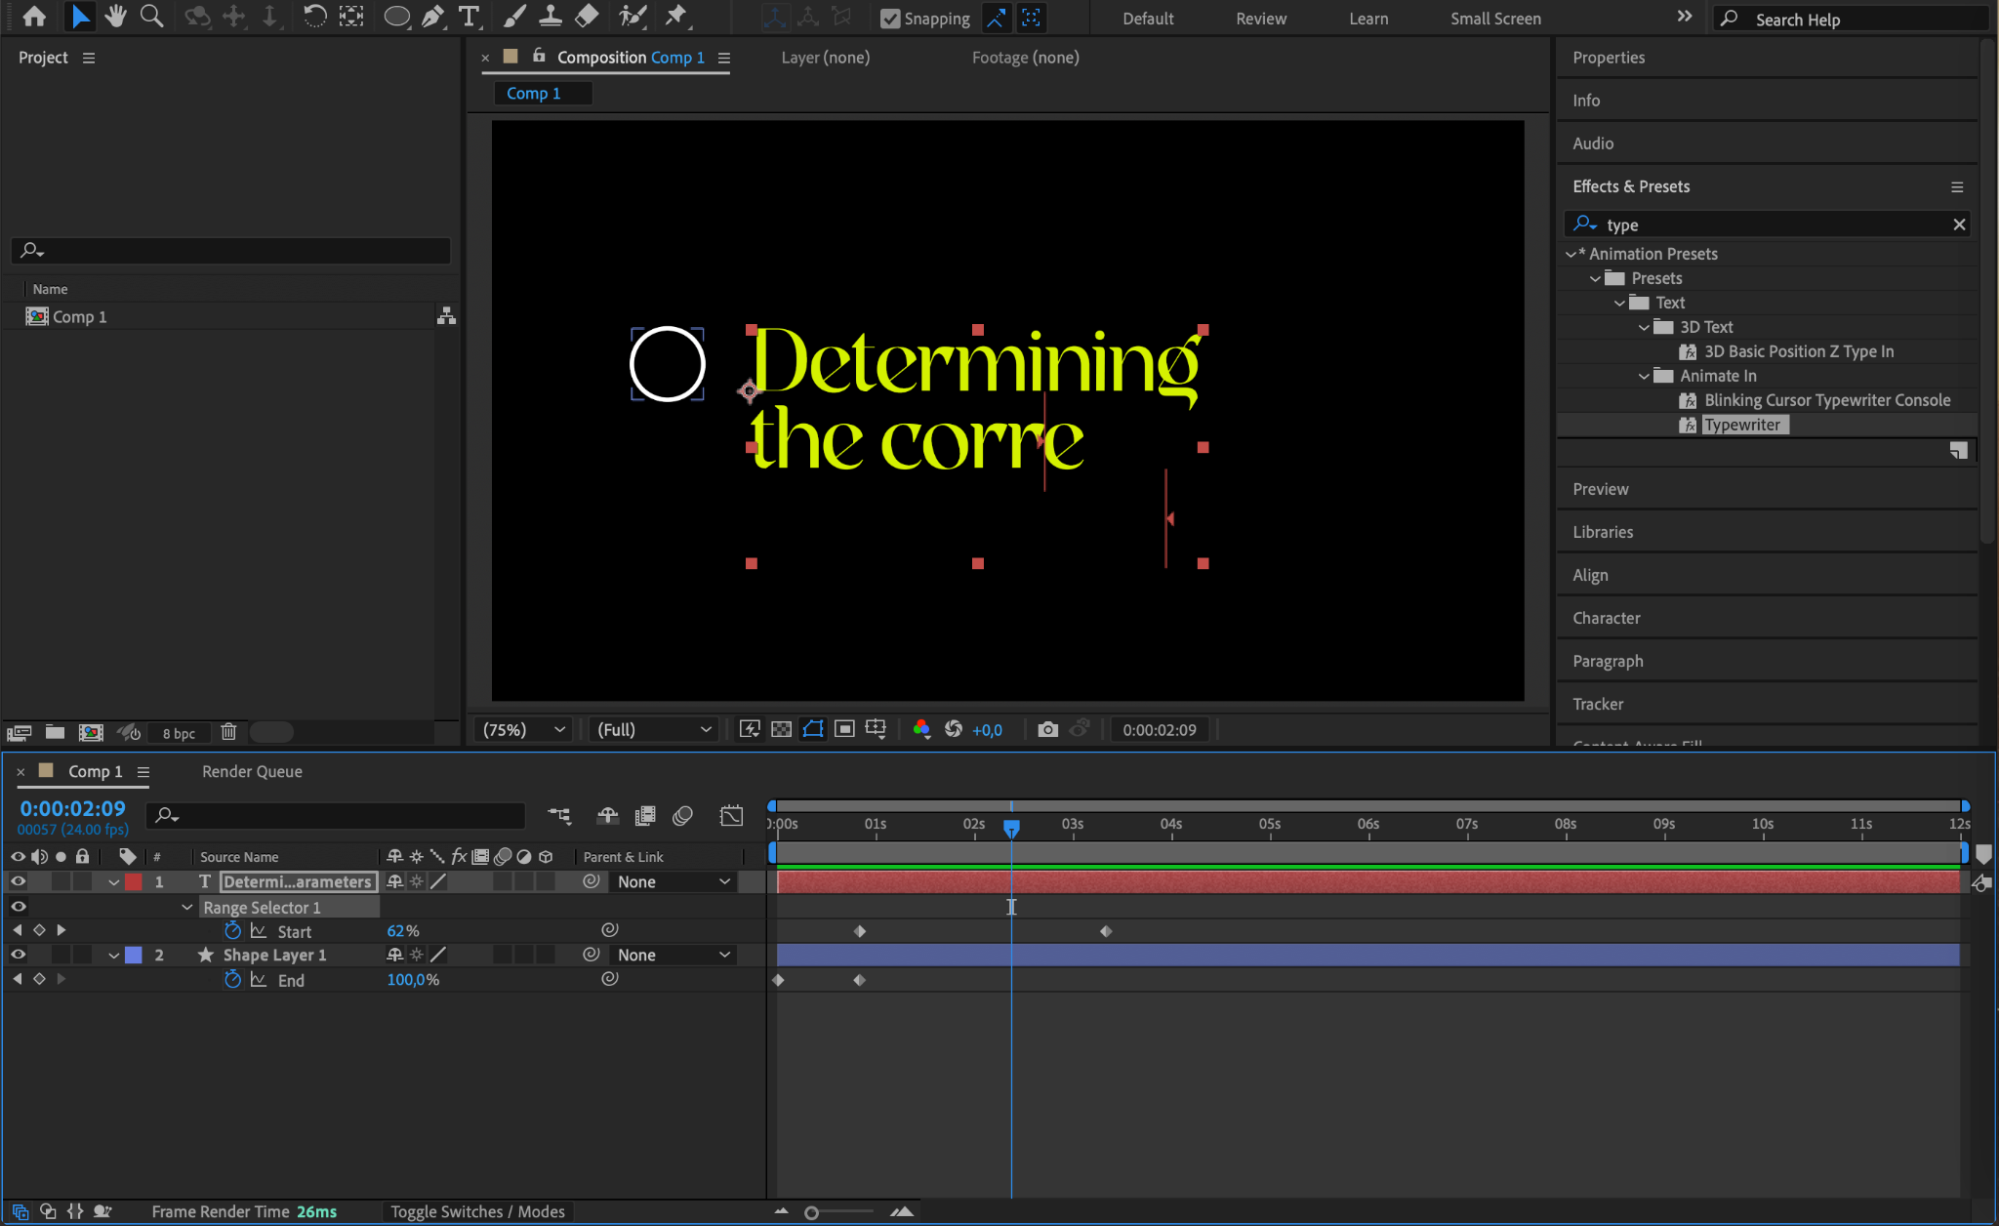
Go to the Effects & Presets panel and search for Typewriter. Drag and drop the effect onto your text layer. This creates a typing effect for the text.
 Step 7: Preview Your Animation
Press the Spacebar to preview the animation. Ensure the bullet points and text appear in sync, and make any necessary adjustments to timing, position, or animation effects.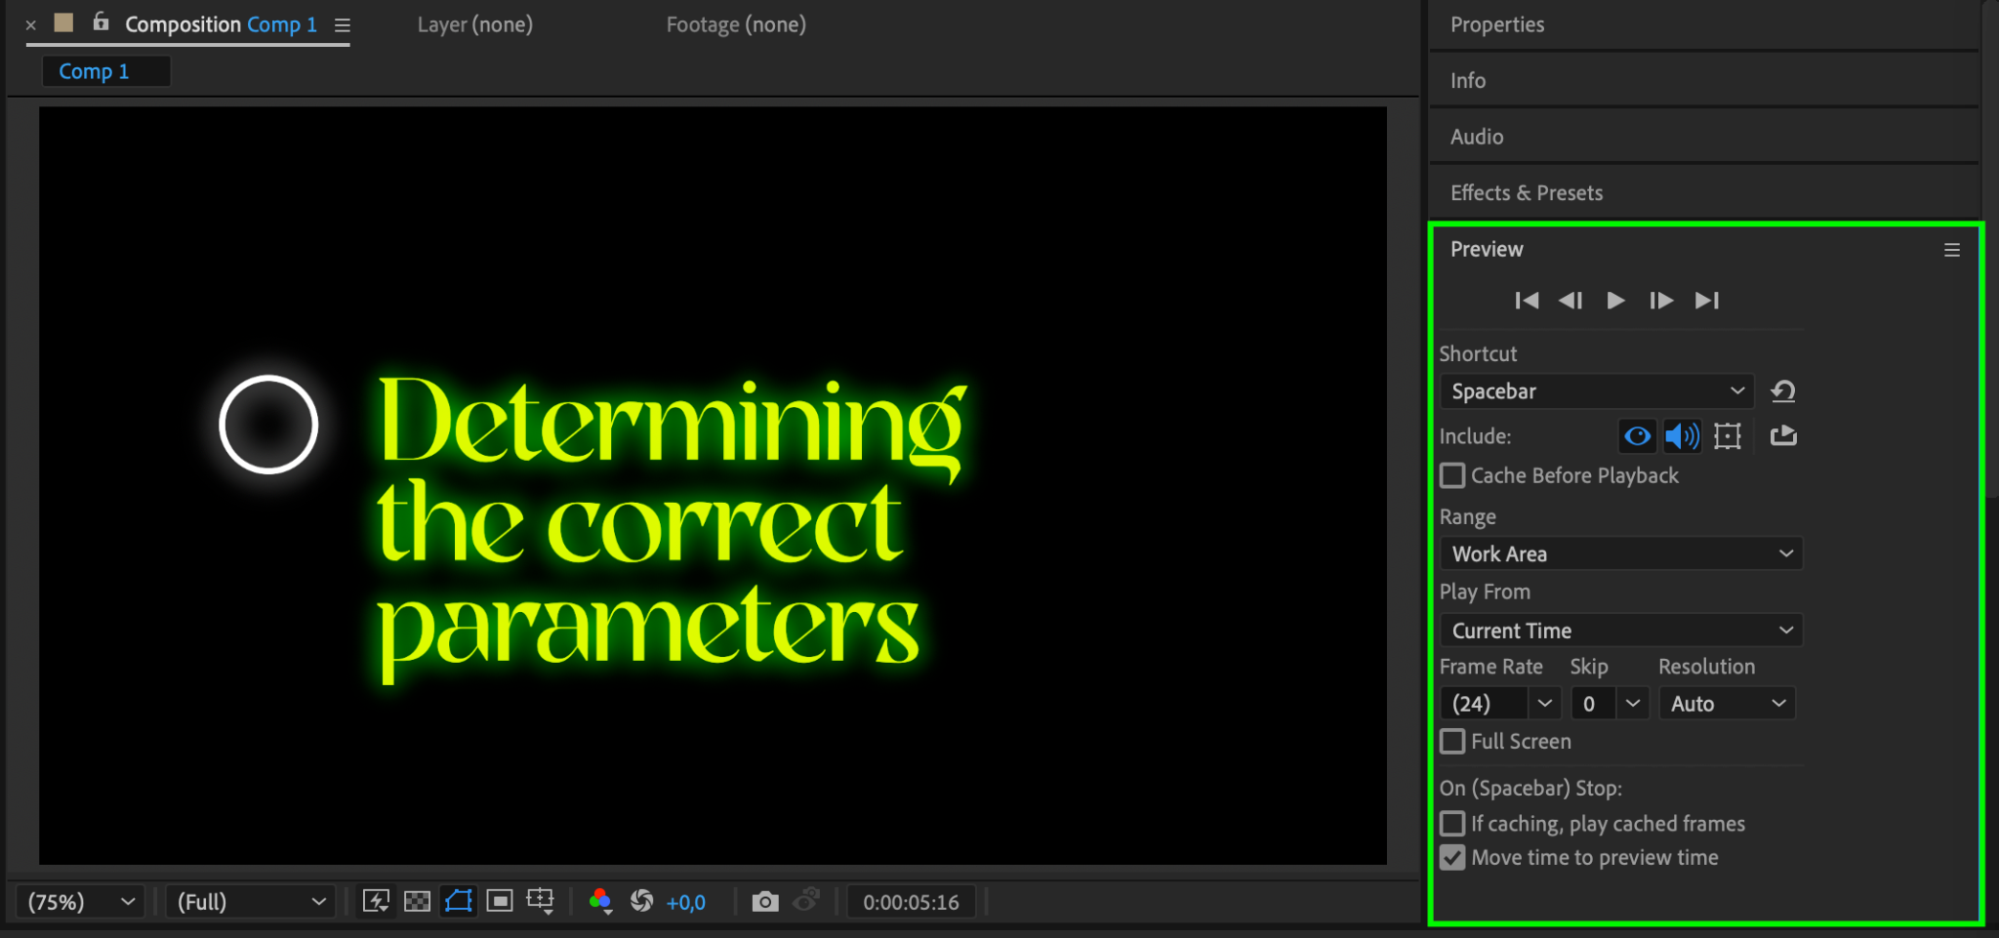 Step 8: Render Your Composition
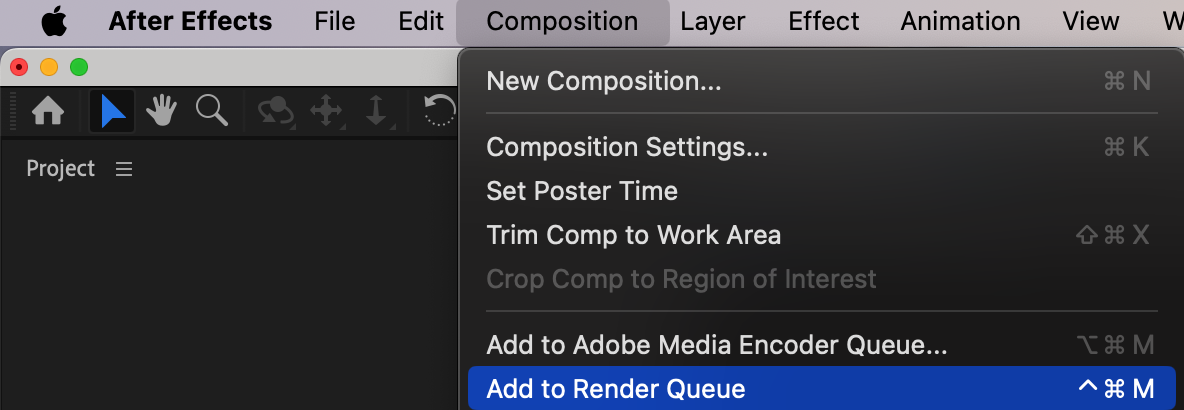
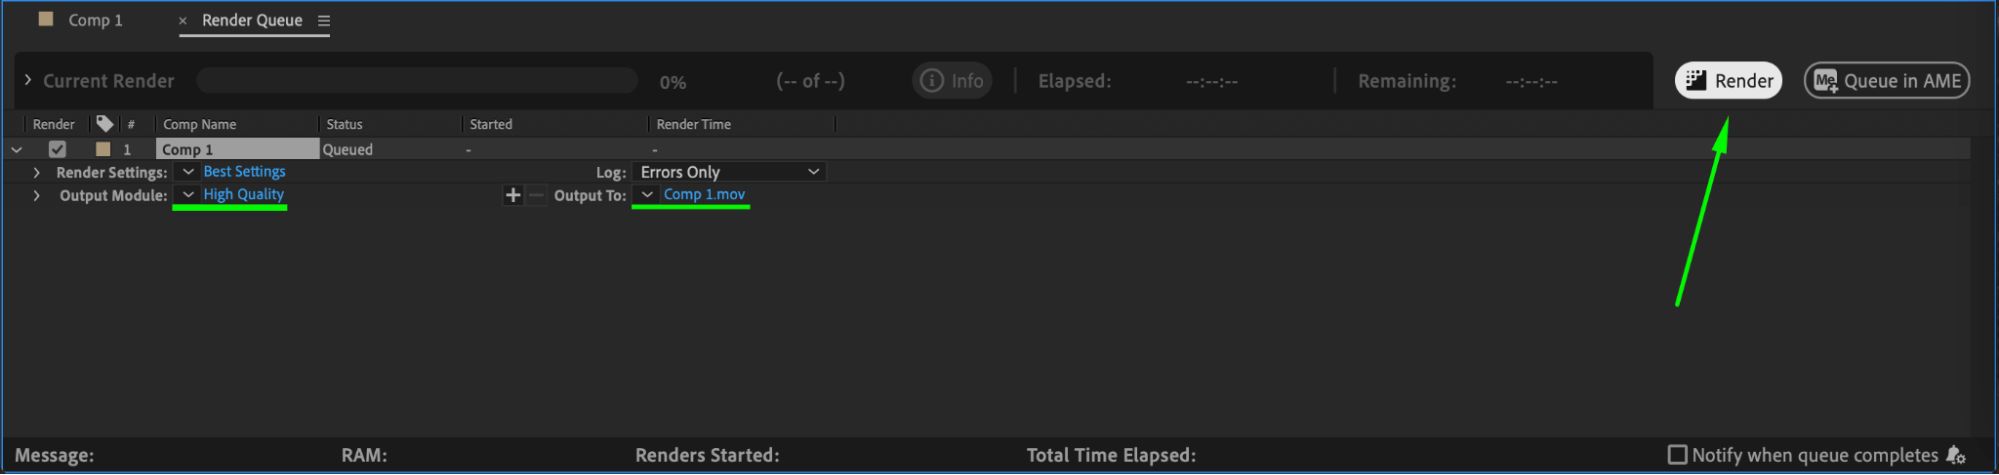
When satisfied with your animation, render the composition by going to Composition > Add to Render Queue. Adjust the settings and export the final video.
 Conclusion
Adding animated bullet points in After Effects is an easy way to elevate the professionalism of your video presentations. By using shape layers, Trim Paths, and text animations, you can make your information more engaging and visually appealing. Experiment with colors, fonts, and timing to customize your bullet points to fit your project’s style.
Our Bestsellers


