Adding 3D Depth to Text in After Effects
Introduction to Enhancing Text with Depth in After Effects
Creating text with depth adds a professional 3D look to your projects. Using the Cinema 4D renderer in After Effects, you can extrude text, add custom colors, and animate it for a polished design. Follow these steps to learn how.
Step 1: Create a New Composition
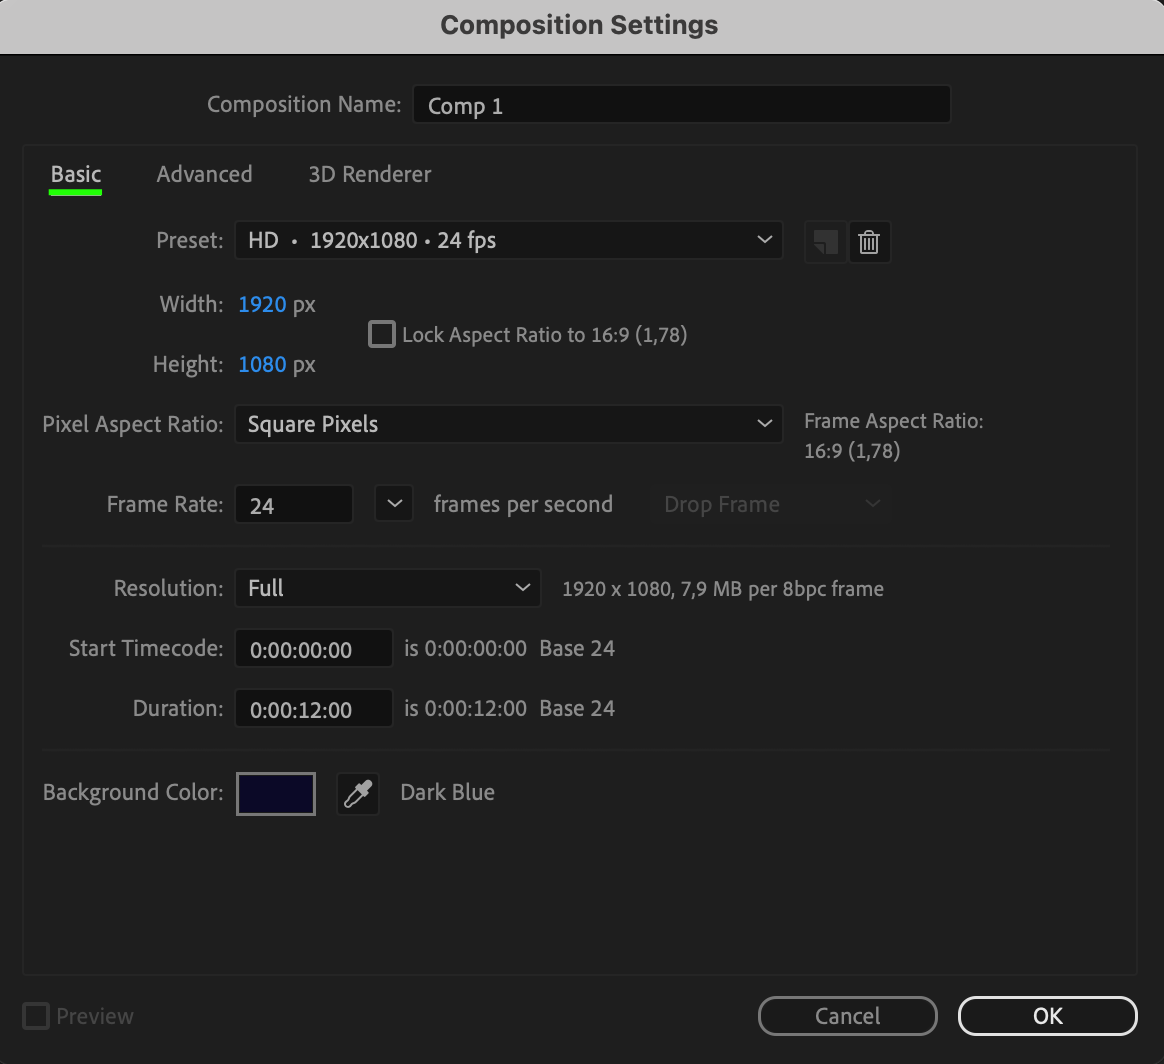
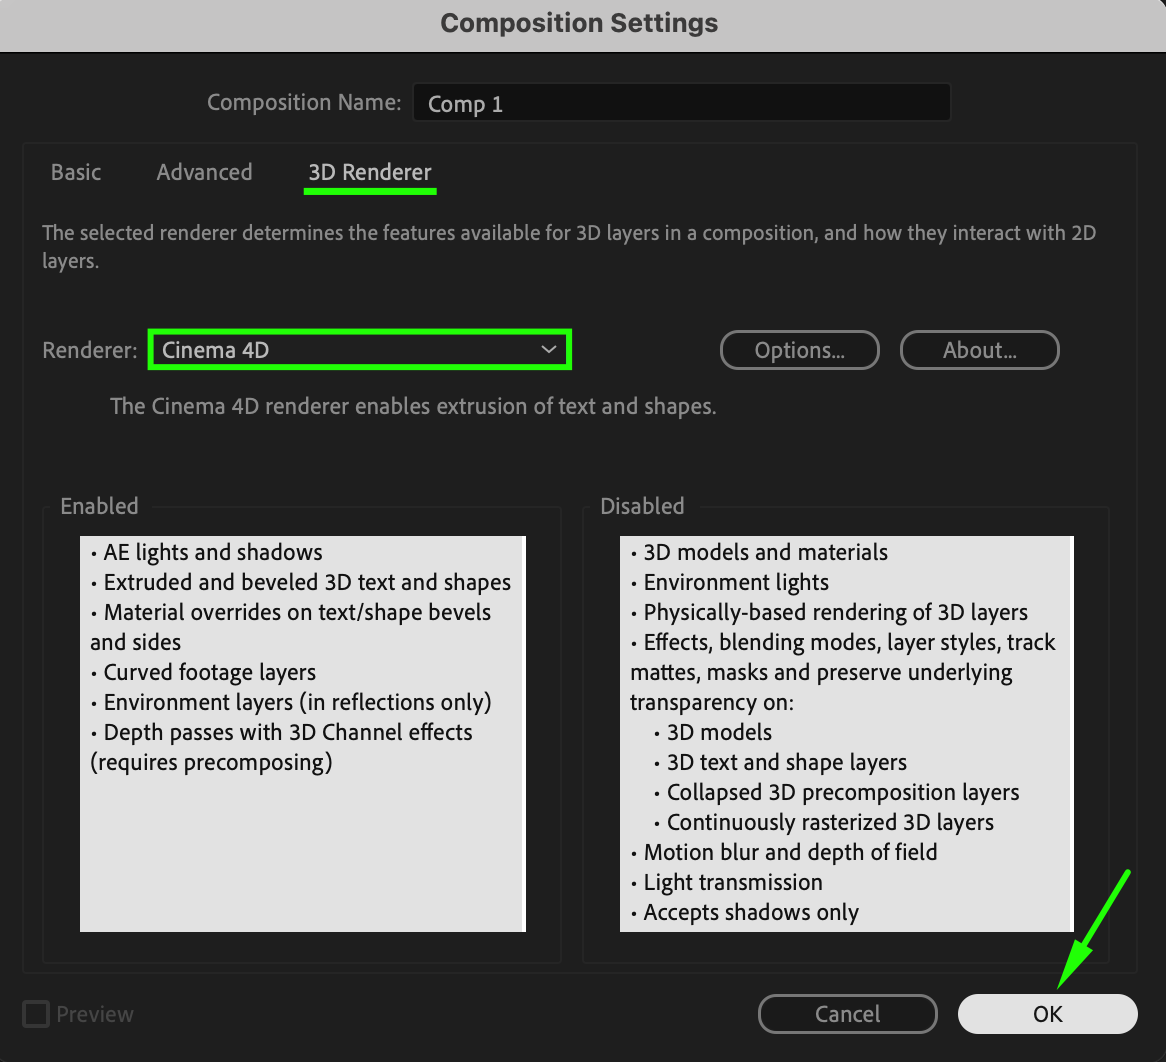
Go to Composition > New Composition to create a project. In the Composition Settings window, locate the 3D Renderer section. Set the renderer to Cinema 4D to unlock 3D capabilities like extrusion depth.
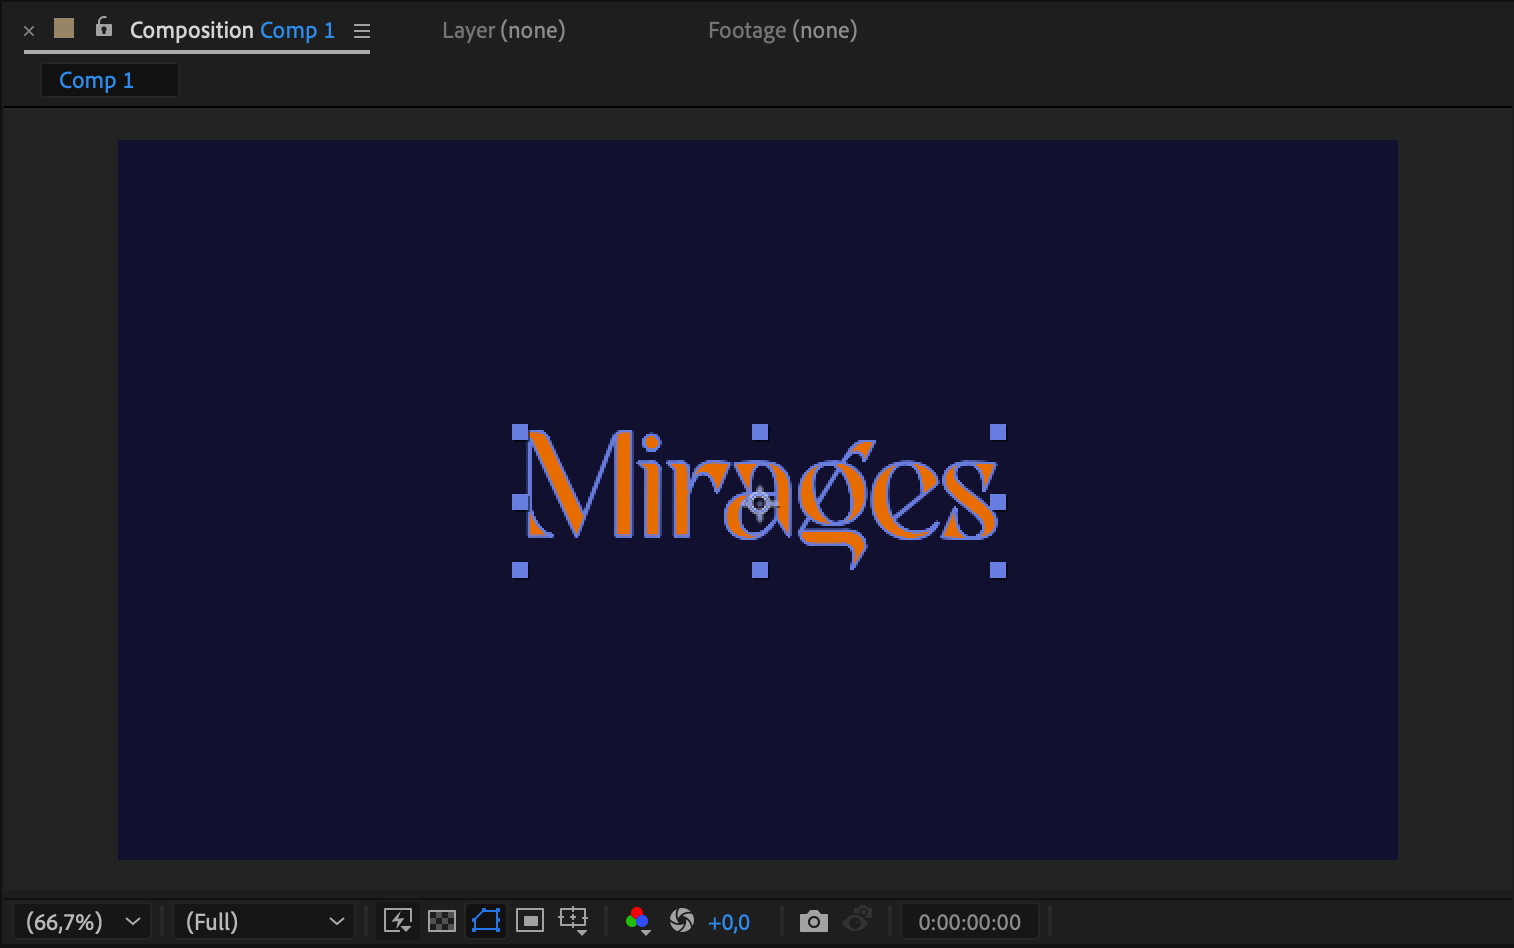
 Step 2: Add Text with the Type Tool
Get 10% off when you subscribe to our newsletter

Select the Type Tool (Ctrl/Cmd + T) from the toolbar and type your desired text. Adjust the font, size, and position in the Properties panel to match your creative vision. Step 3: Convert Text to Shapes
Right-click on the text layer in the timeline and select Create > Create Shapes from Text. This will generate a new shape layer called “Text Outlines.” Work only with this new shape layer going forward.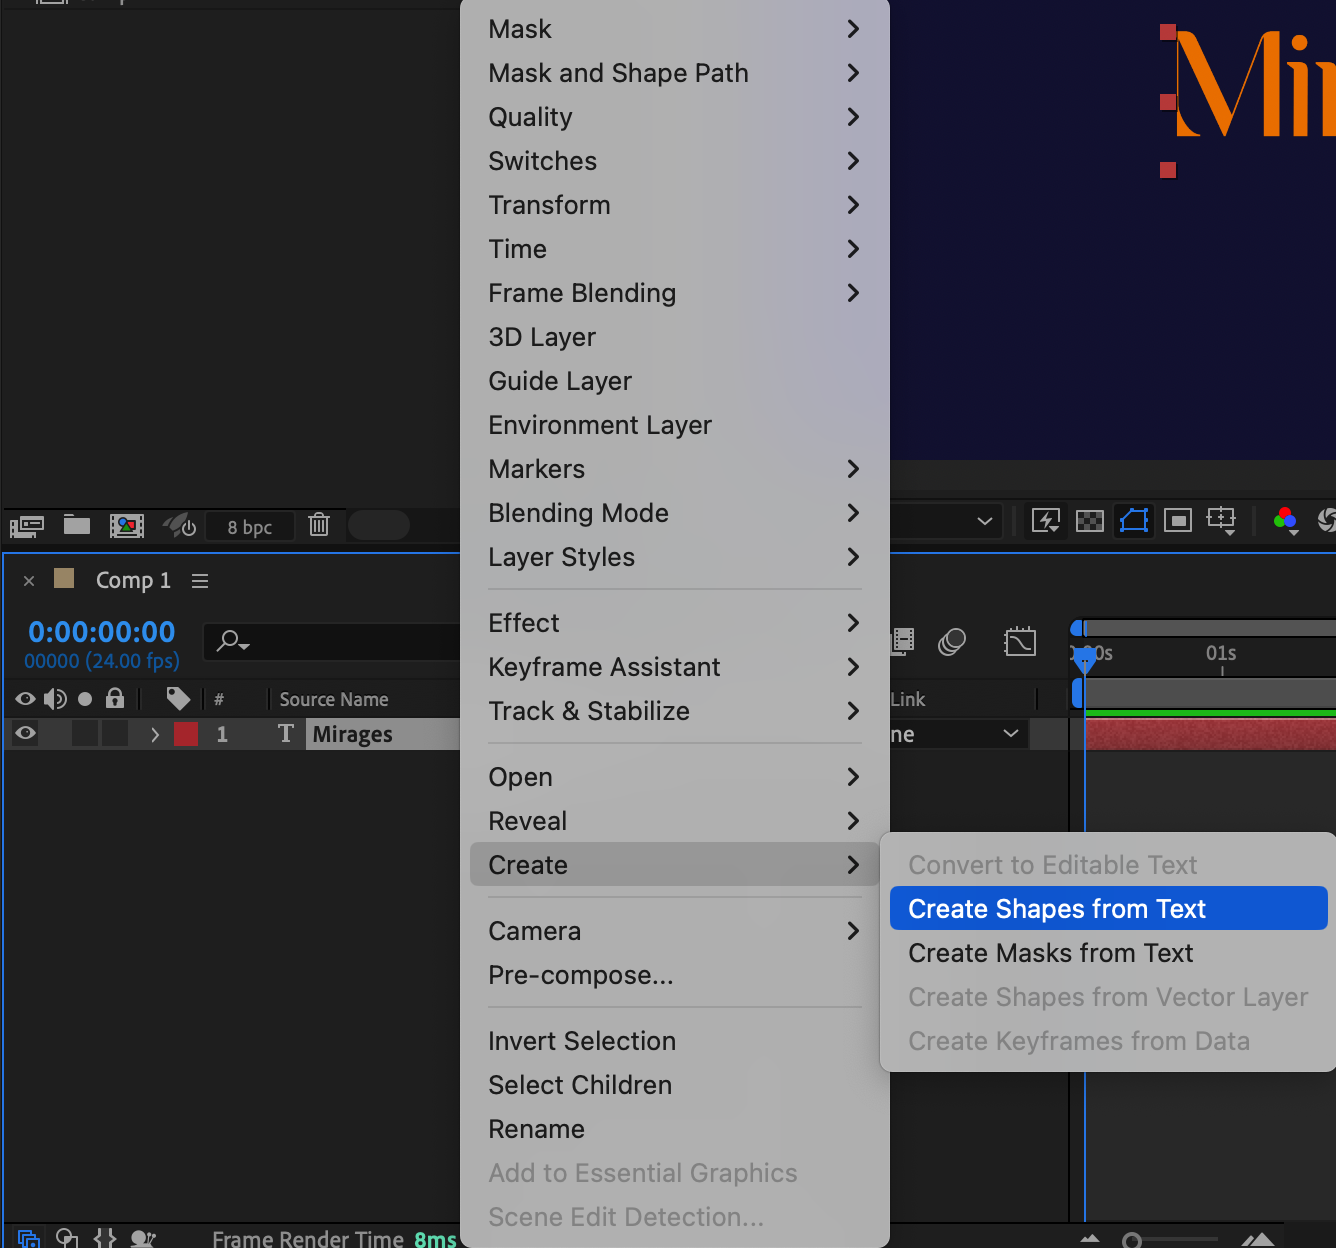 Step 4: Adjust the Anchor Point
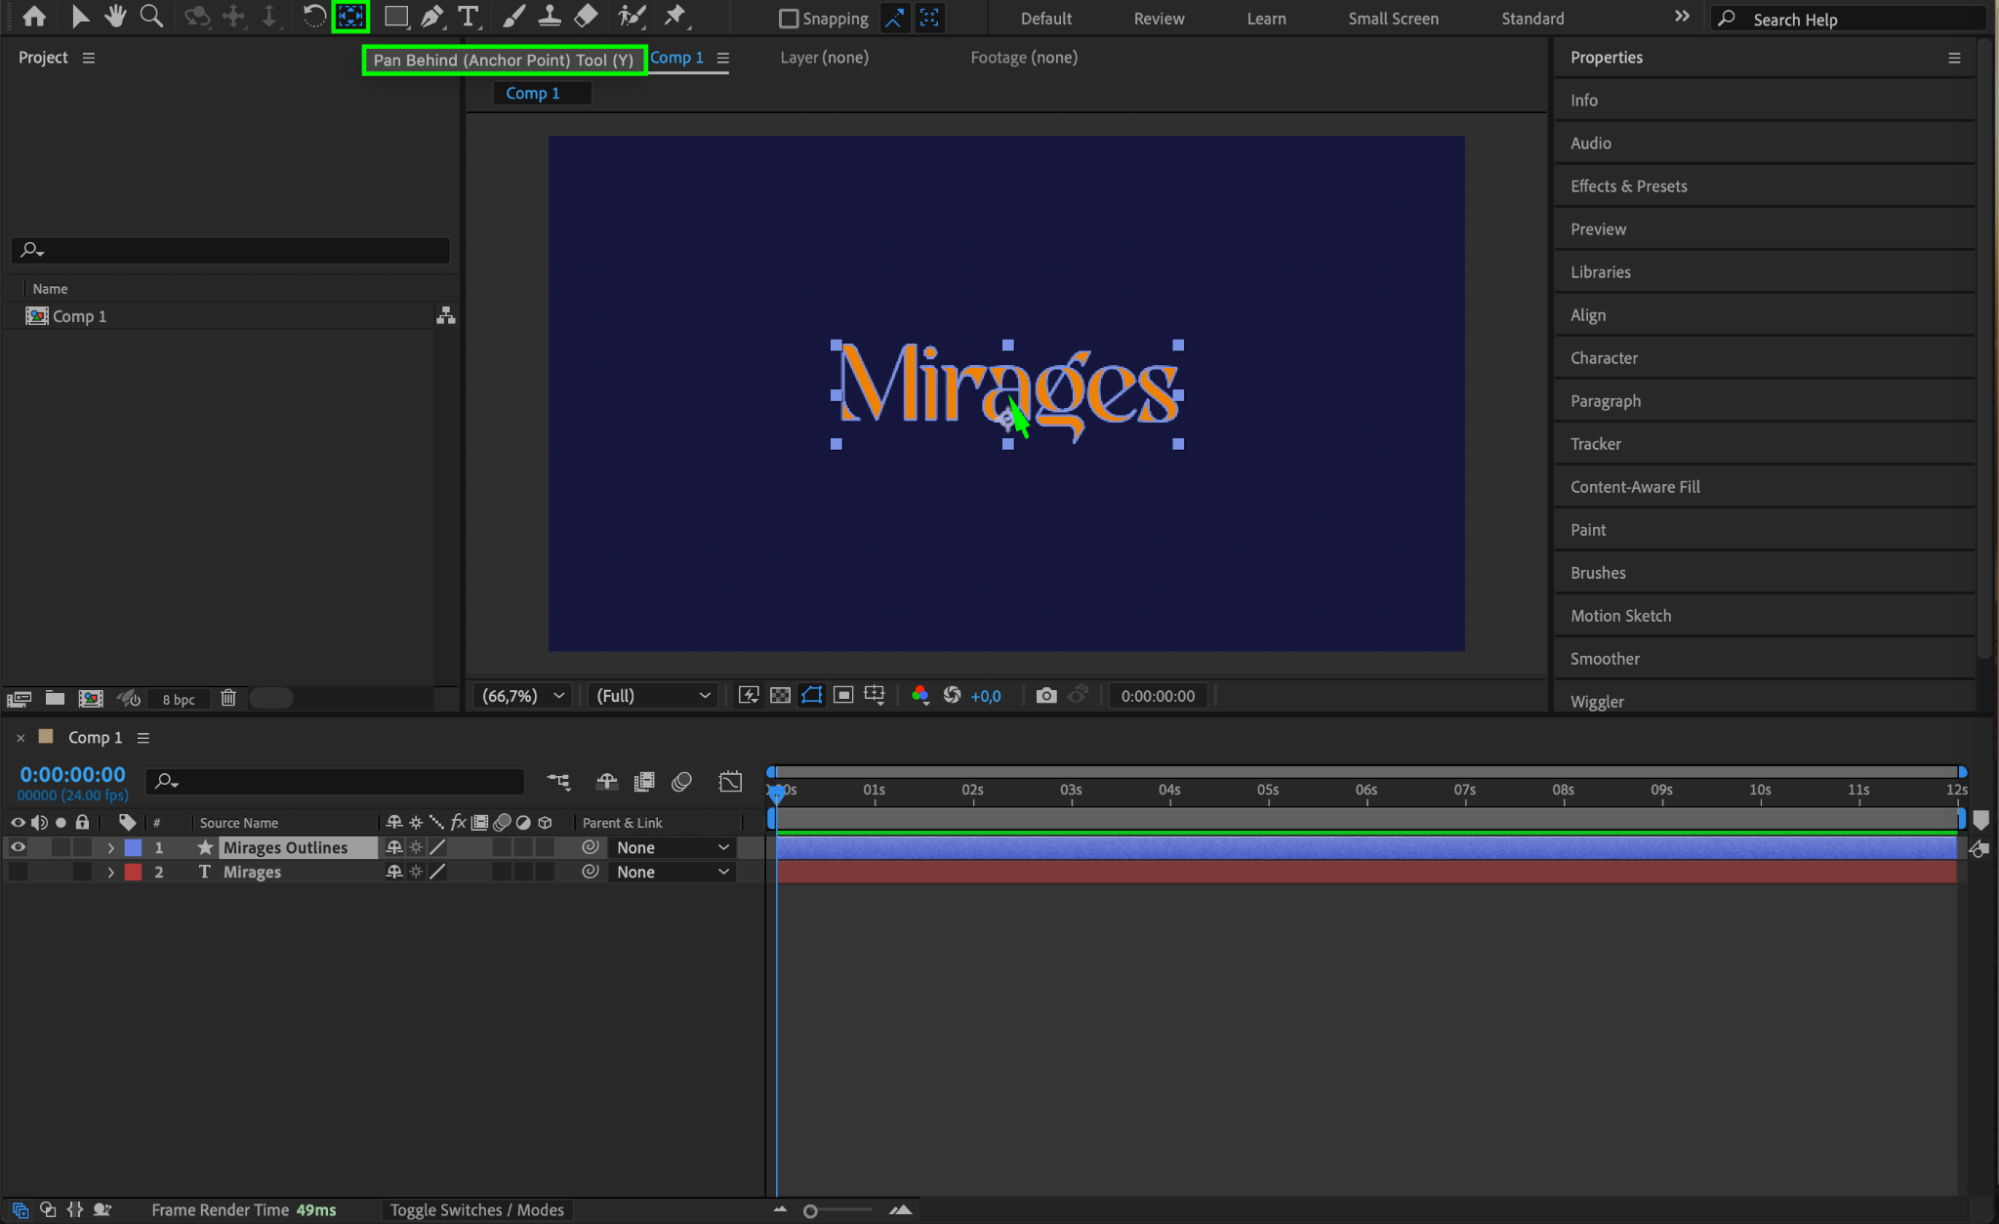
Select the Pan Behind Tool (Y) from the toolbar and move the anchor point to the center of the word. This adjustment ensures the text rotates evenly around its center axis when applying transformations.
 Step 5: Enable 3D for the Layer
Click the cube icon in the timeline to enable 3D for the “Text Outlines” layer. This activates 3D properties, such as rotation and extrusion depth, in the layer’s settings.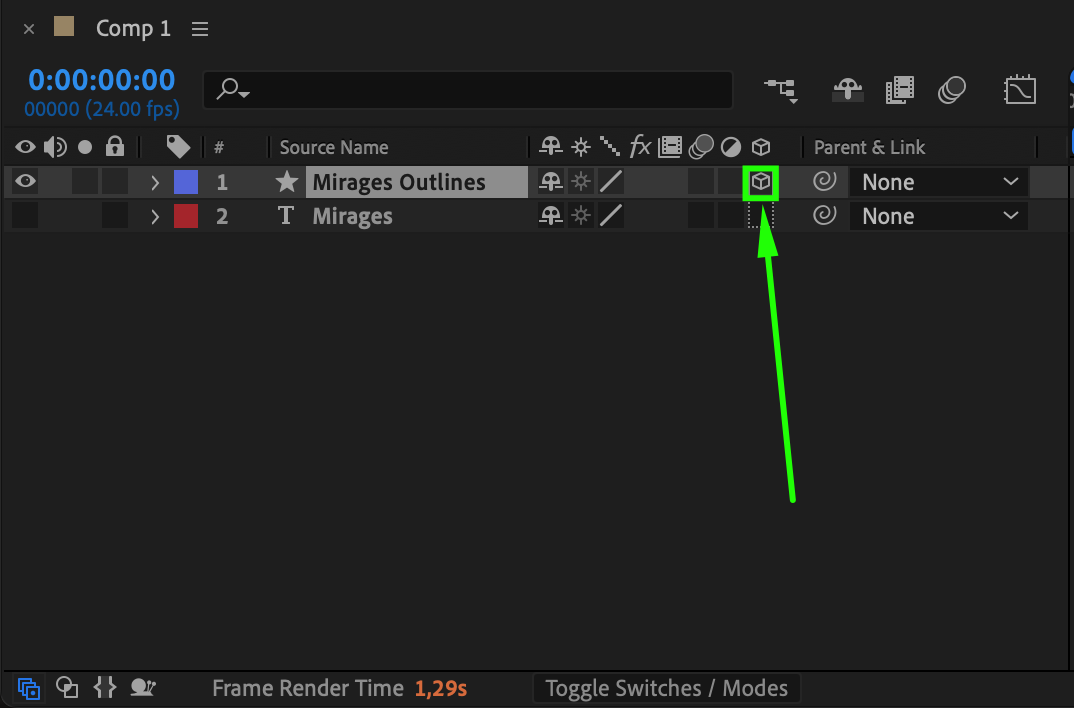 Step 6: Rotate and Extrude the Text
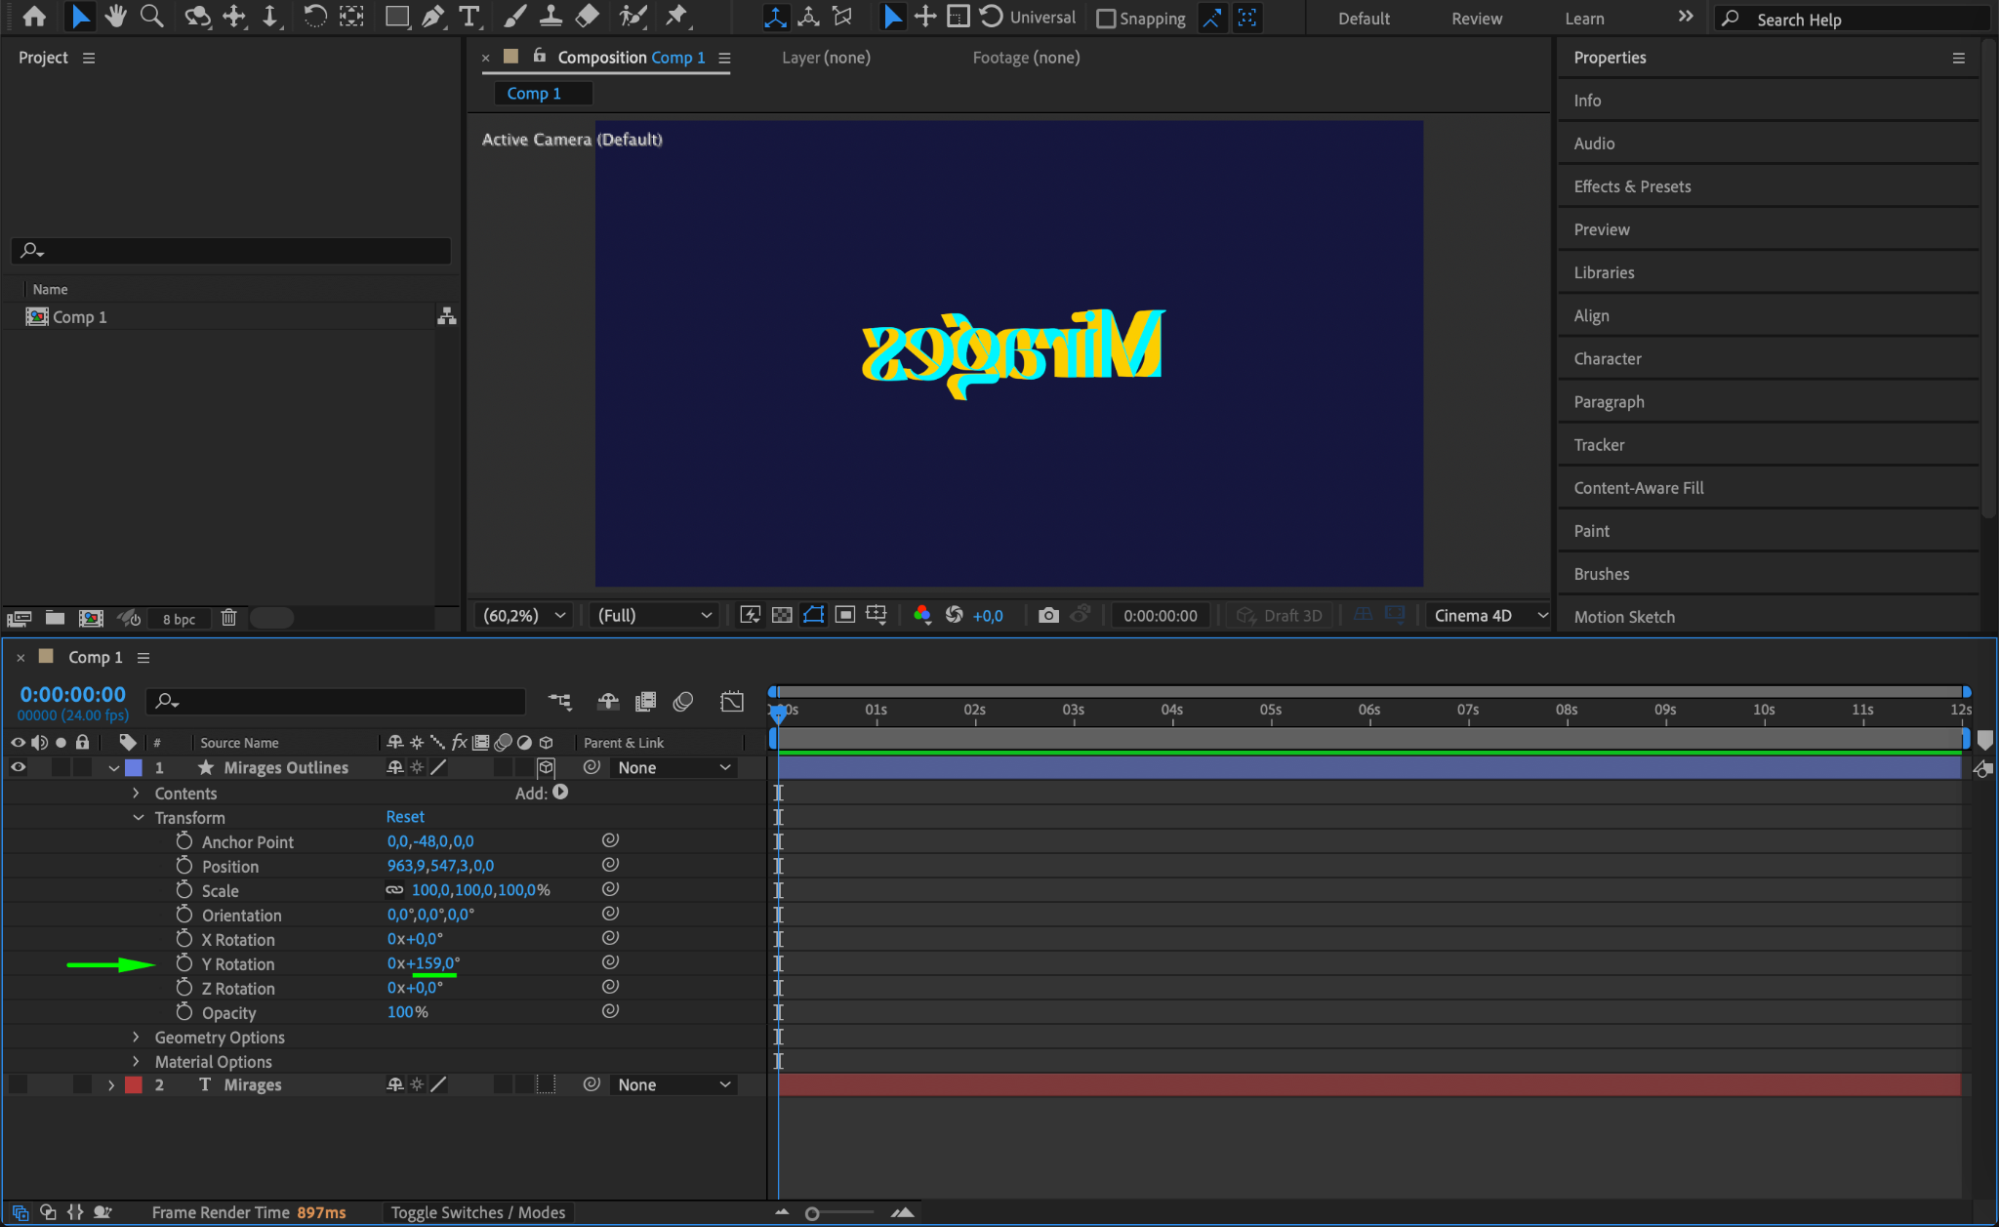
Expand the layer properties by clicking the arrow next to the layer name:
Under Transform, set the Y Rotation to 34 for a dynamic angled look.
Under Geometry Options, set the Extrusion Depth to 78 to create visible depth for the text.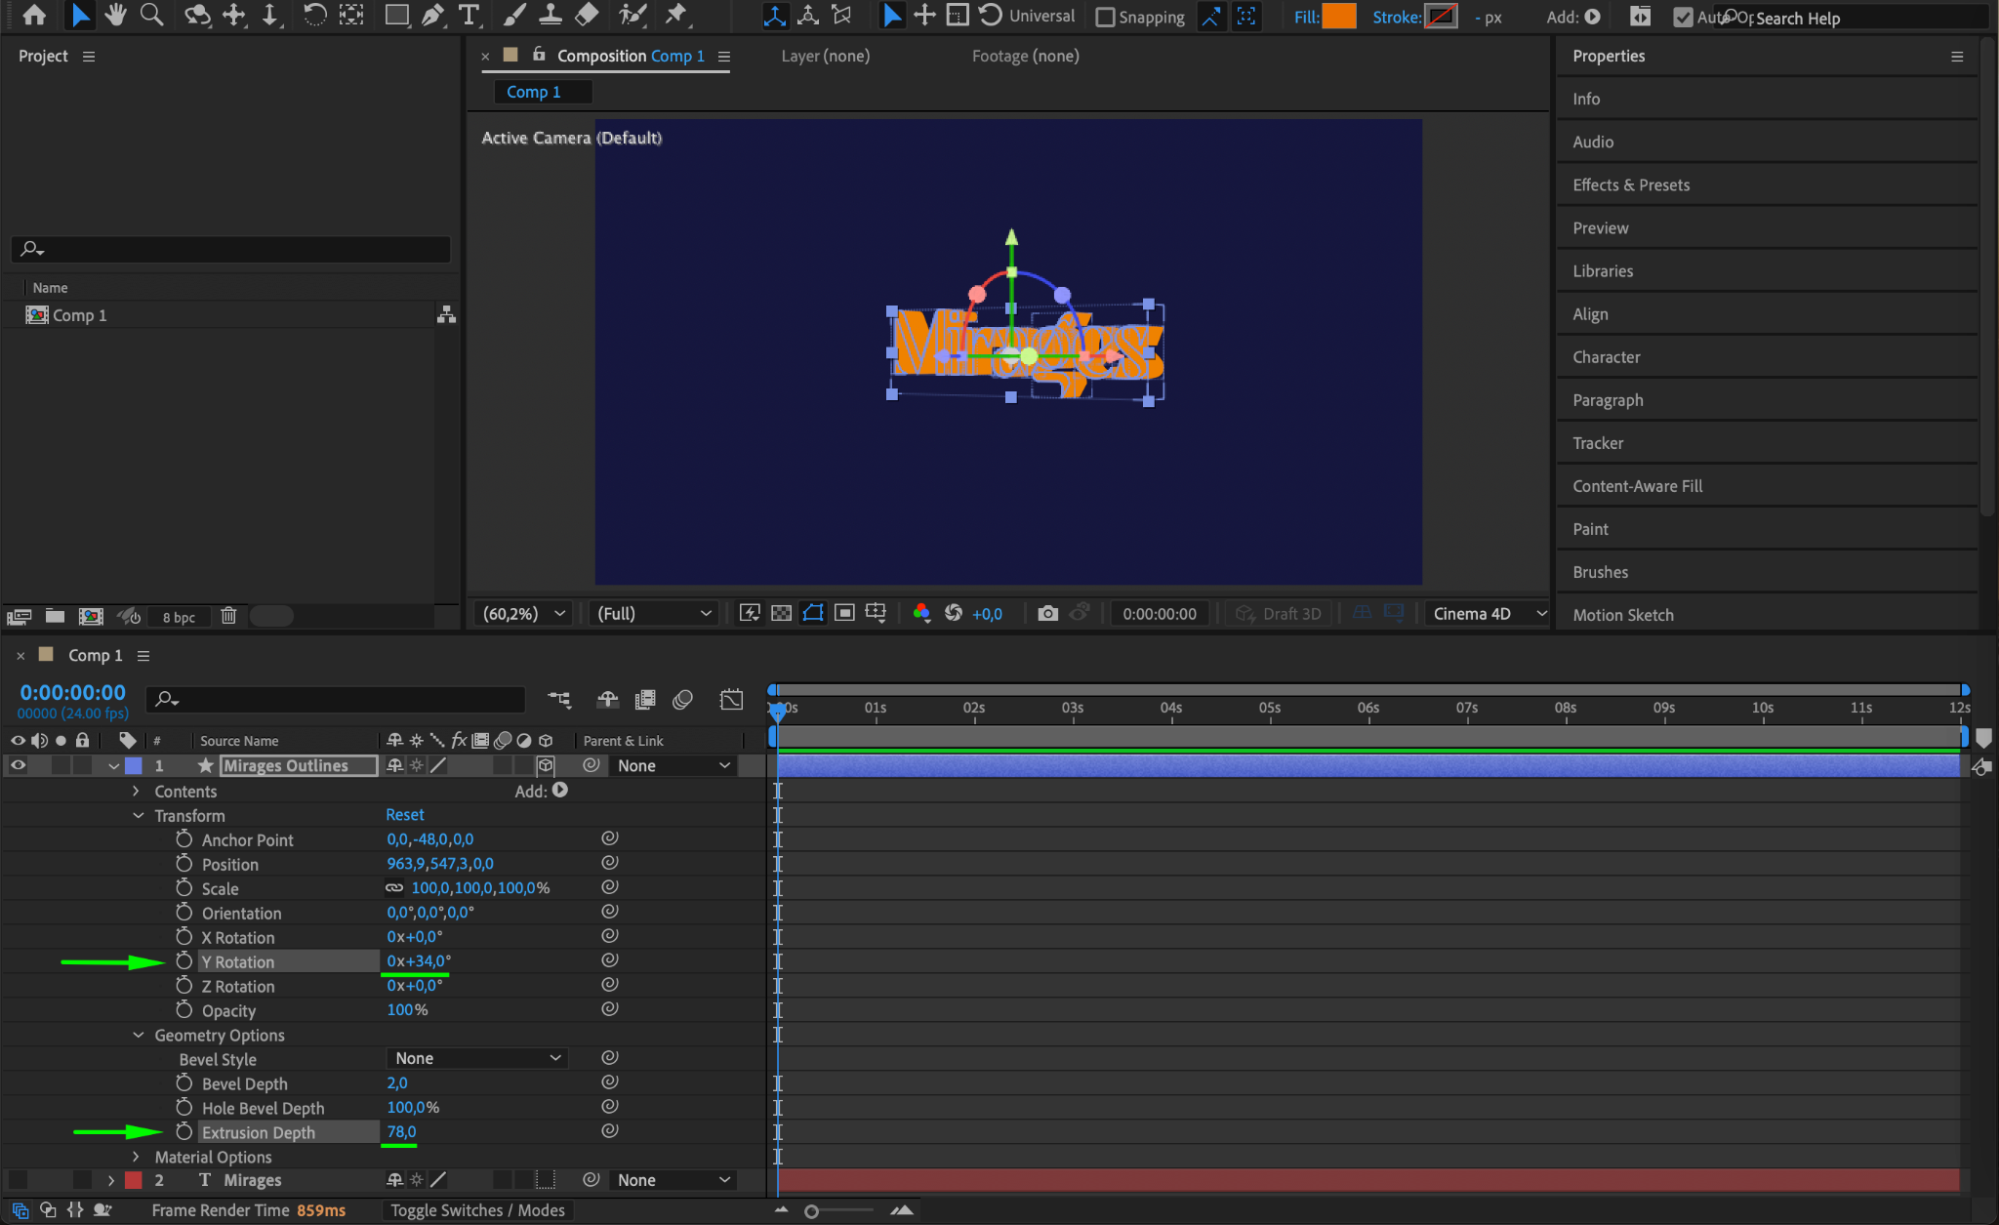 Step 7: Add Colors to the Text
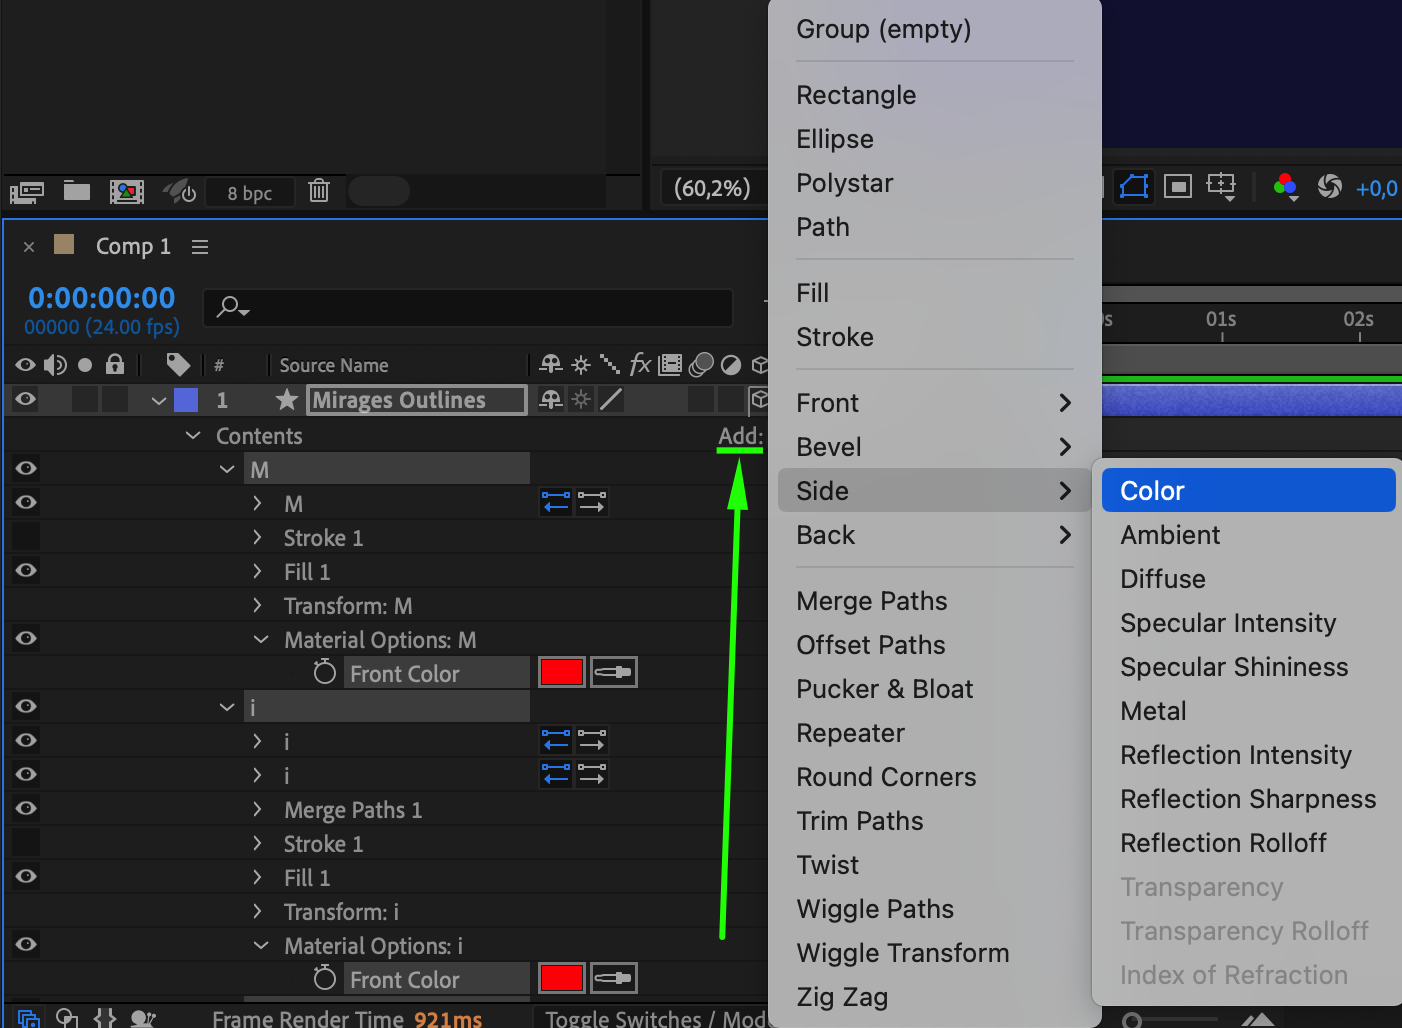
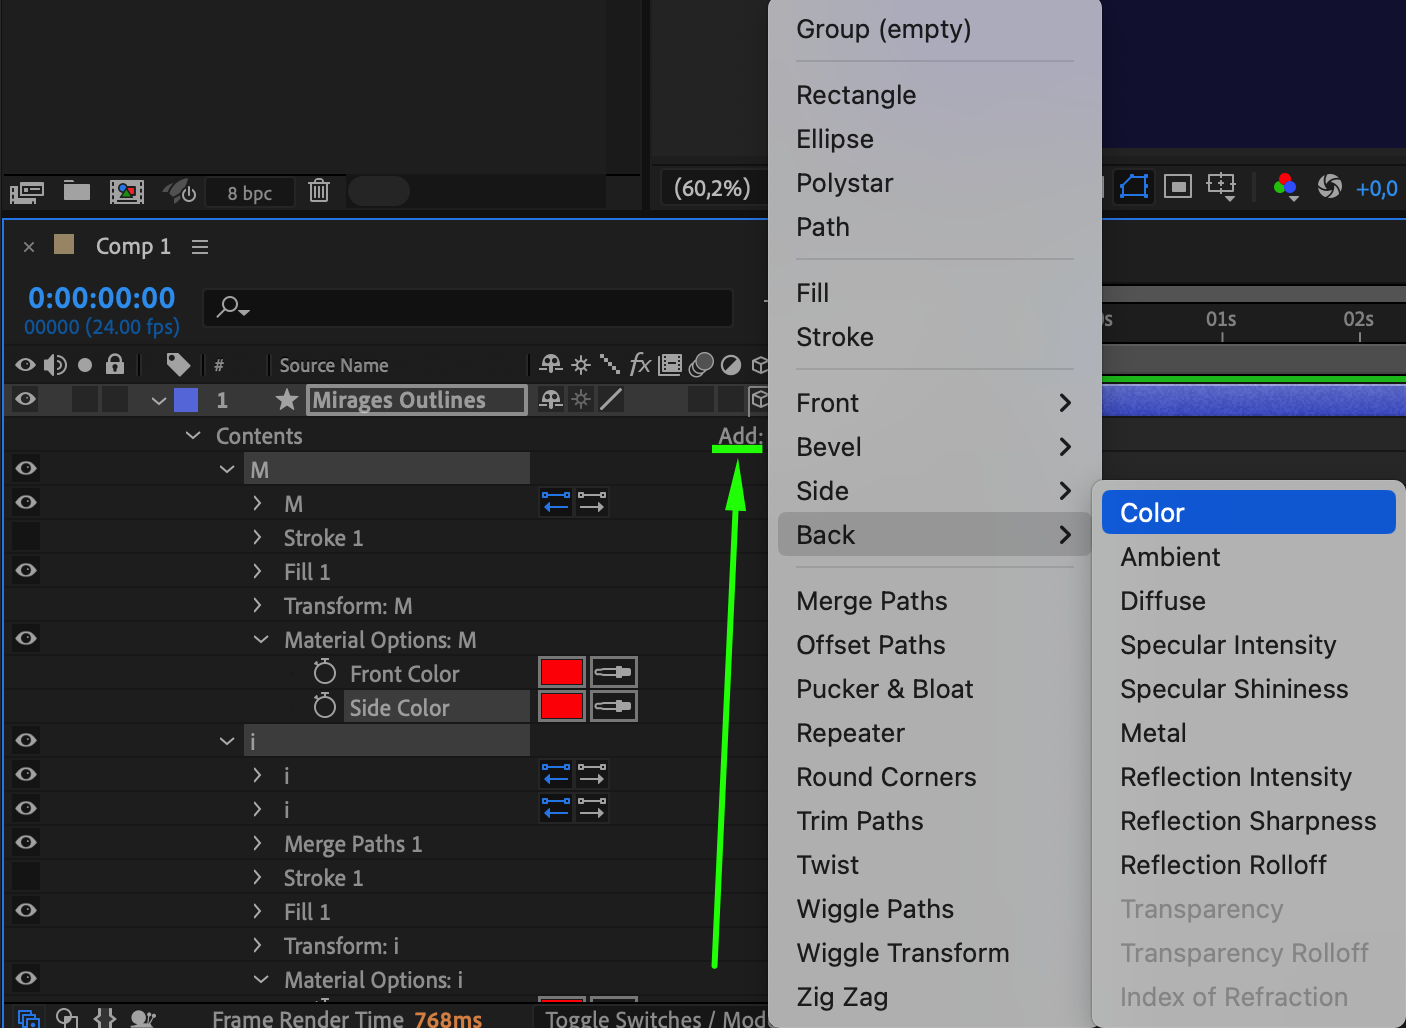
Expand the Contents section in the “Text Outlines” layer. For each letter:
Select the letter under Contents.
Press Add and choose Front Color, Side Color, and Back Color.
Set unique or complementary colors for each section to give the text a vibrant and polished appearance.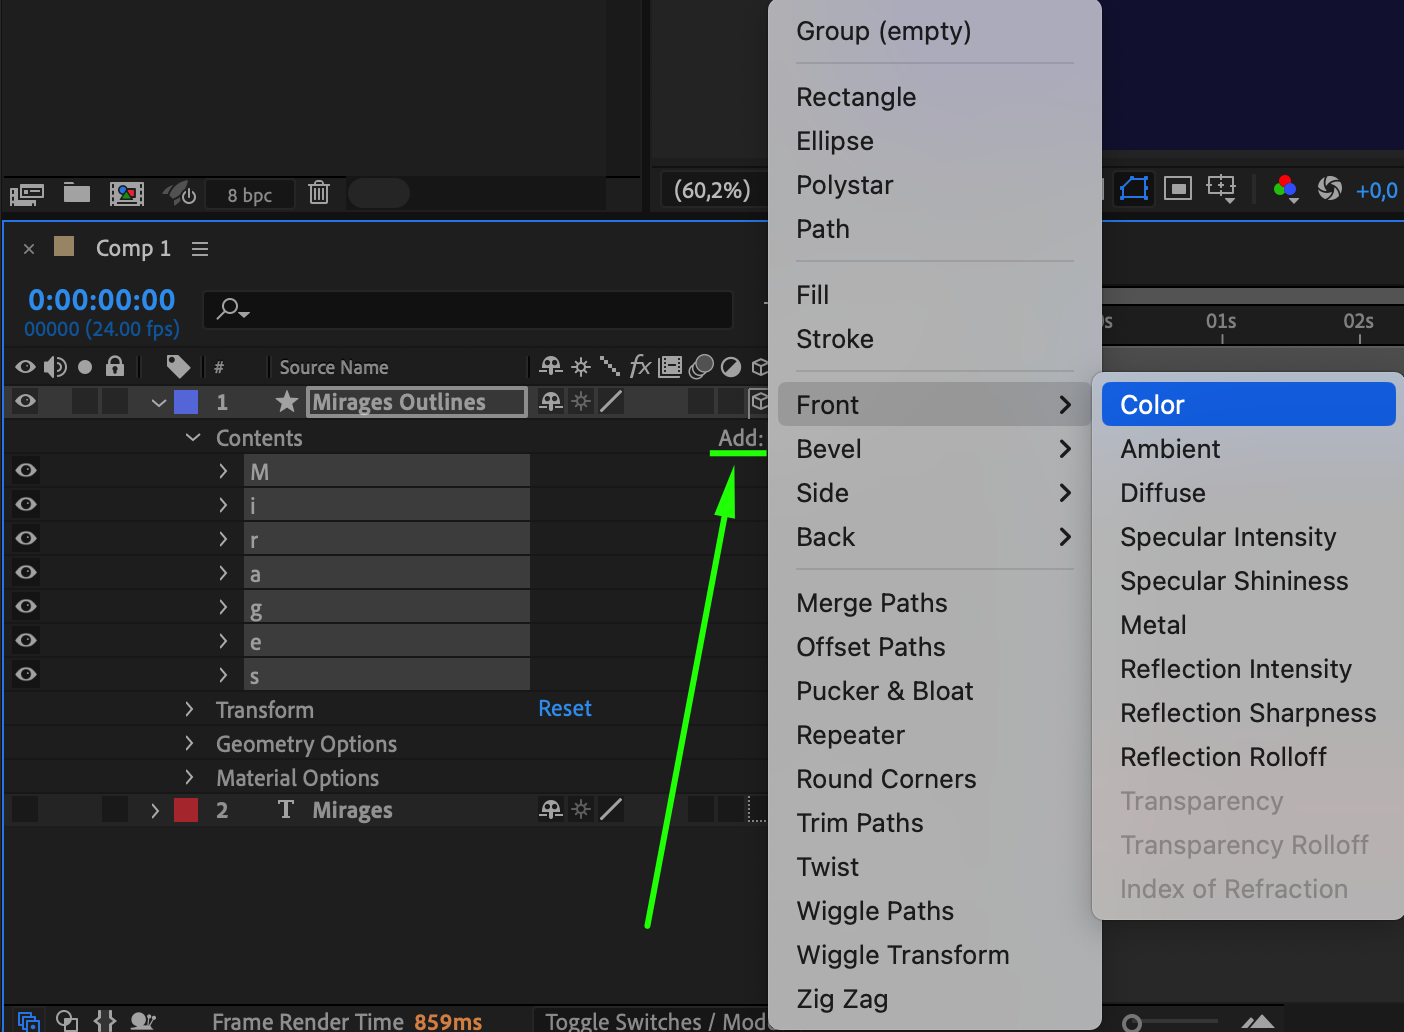
 Step 8: Finalize the Look
Once all letters have their colors assigned, review the text in the Composition panel. Adjust any colors or transformations to ensure everything looks cohesive.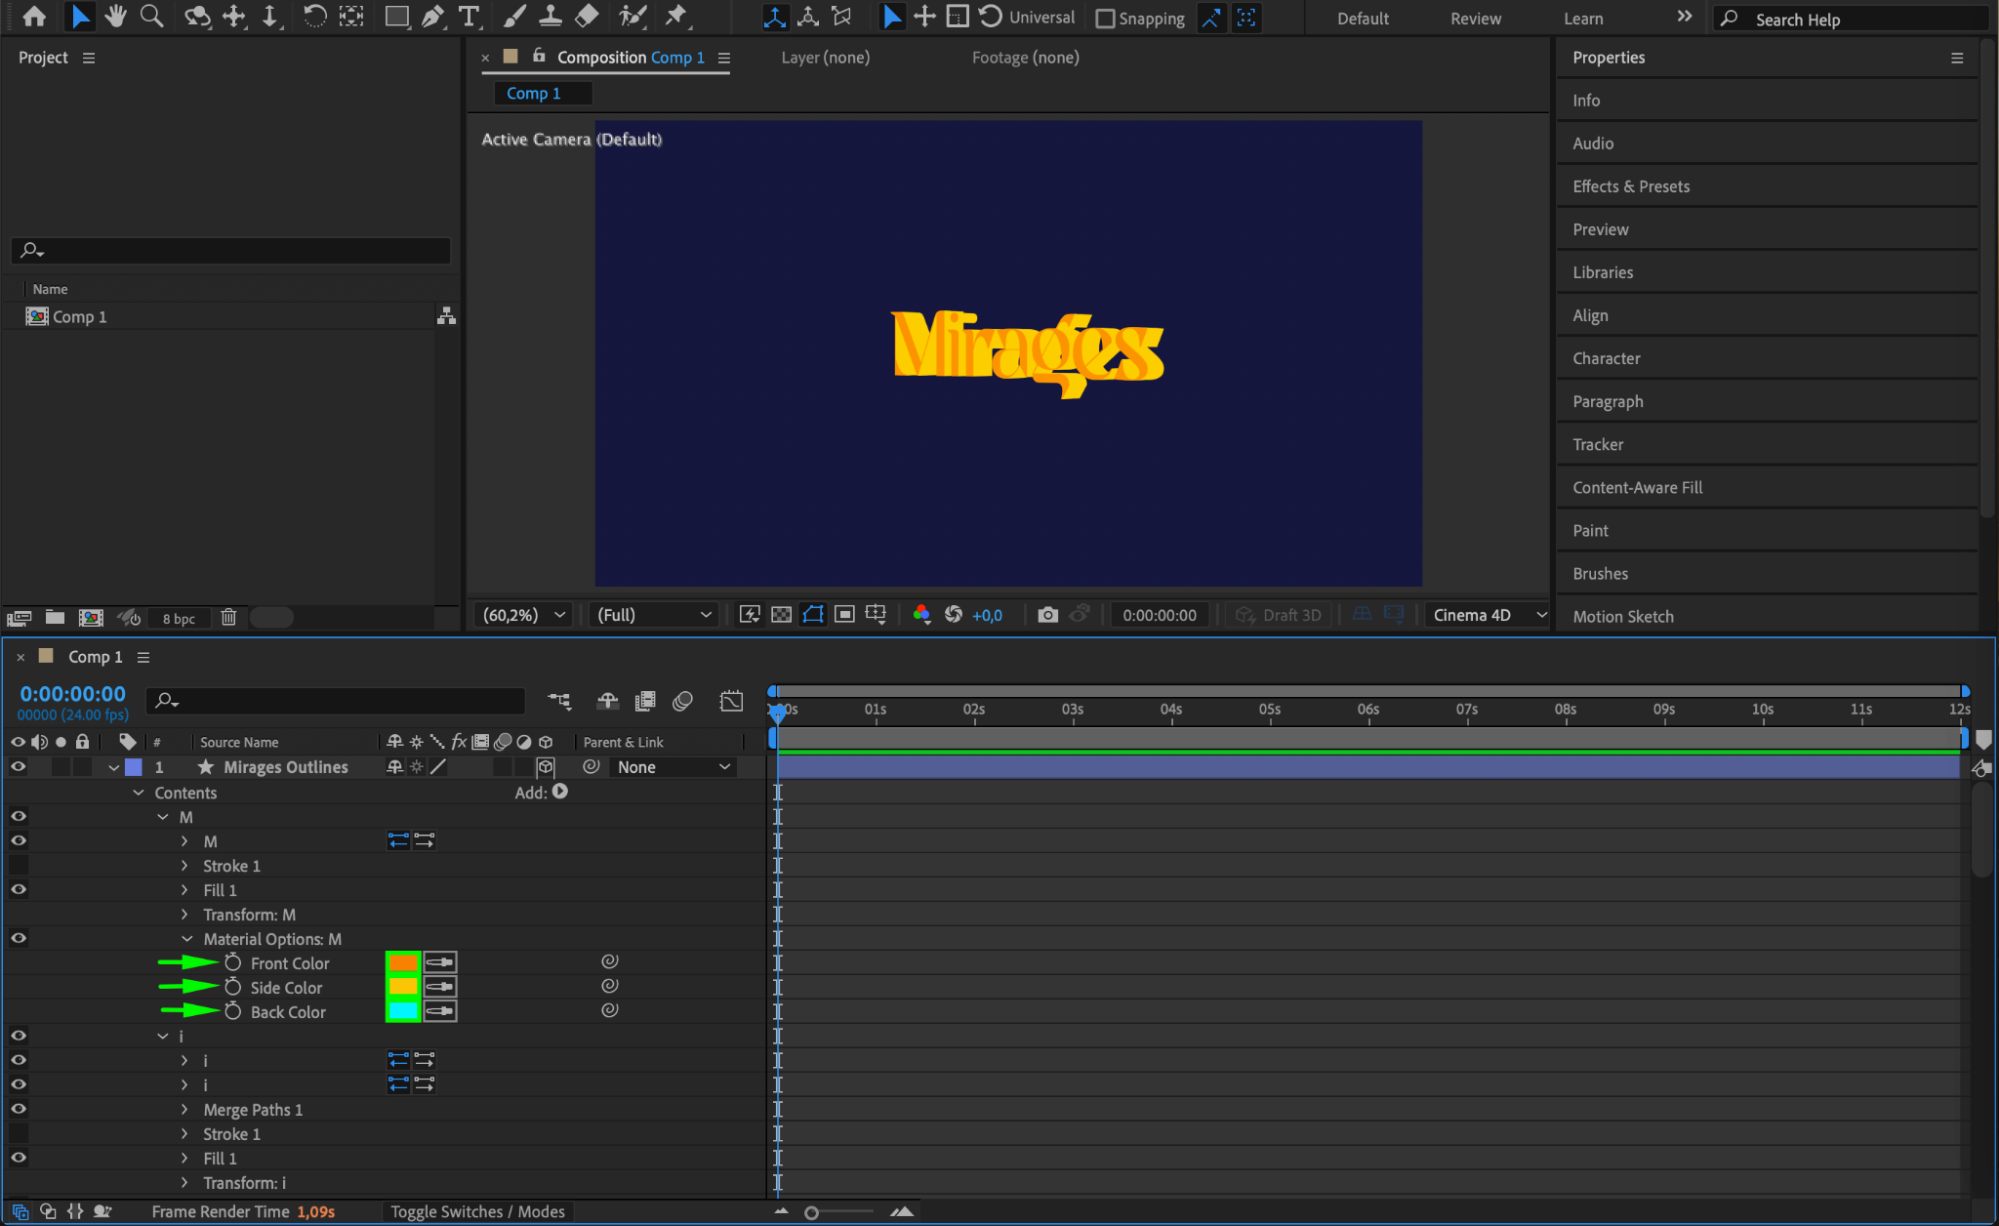
 Step 9: Preview Your Animation
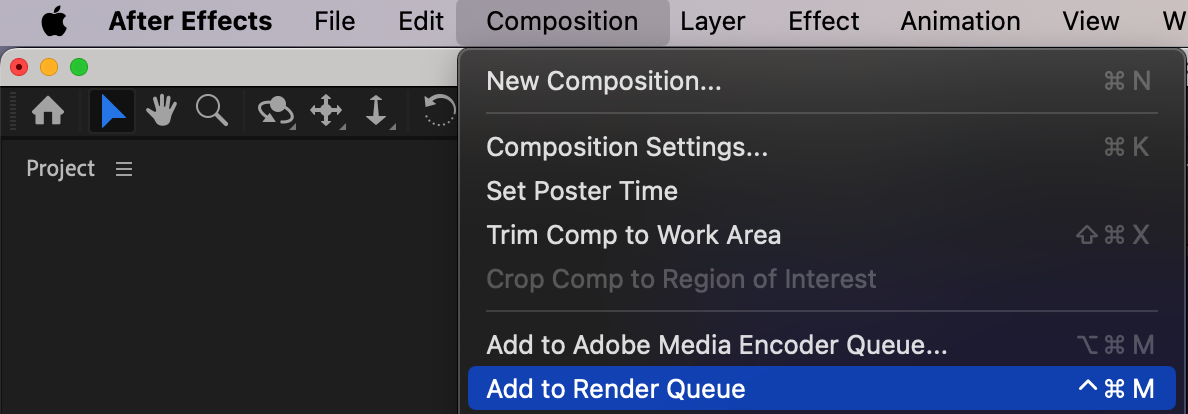
Press Spacebar to preview the text animation or static design in real time. Confirm that all transformations, colors, and depth appear as intended.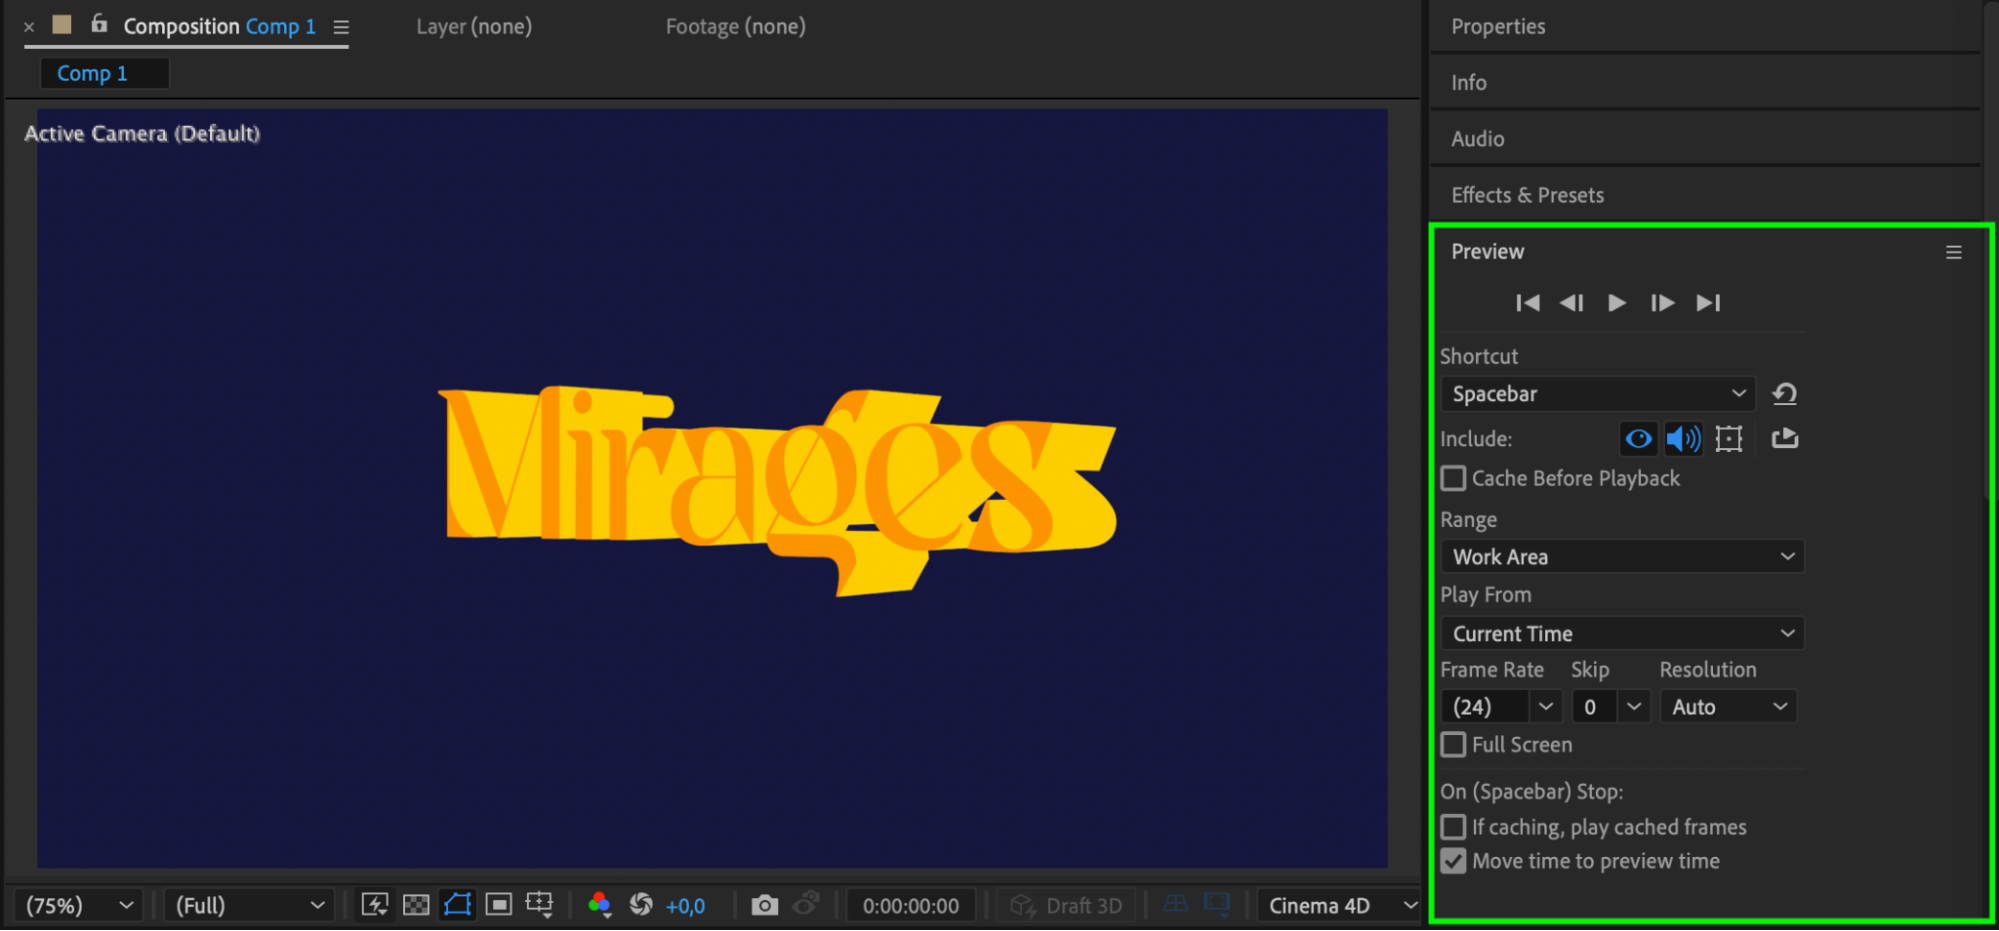 Step 10: Render Your Project
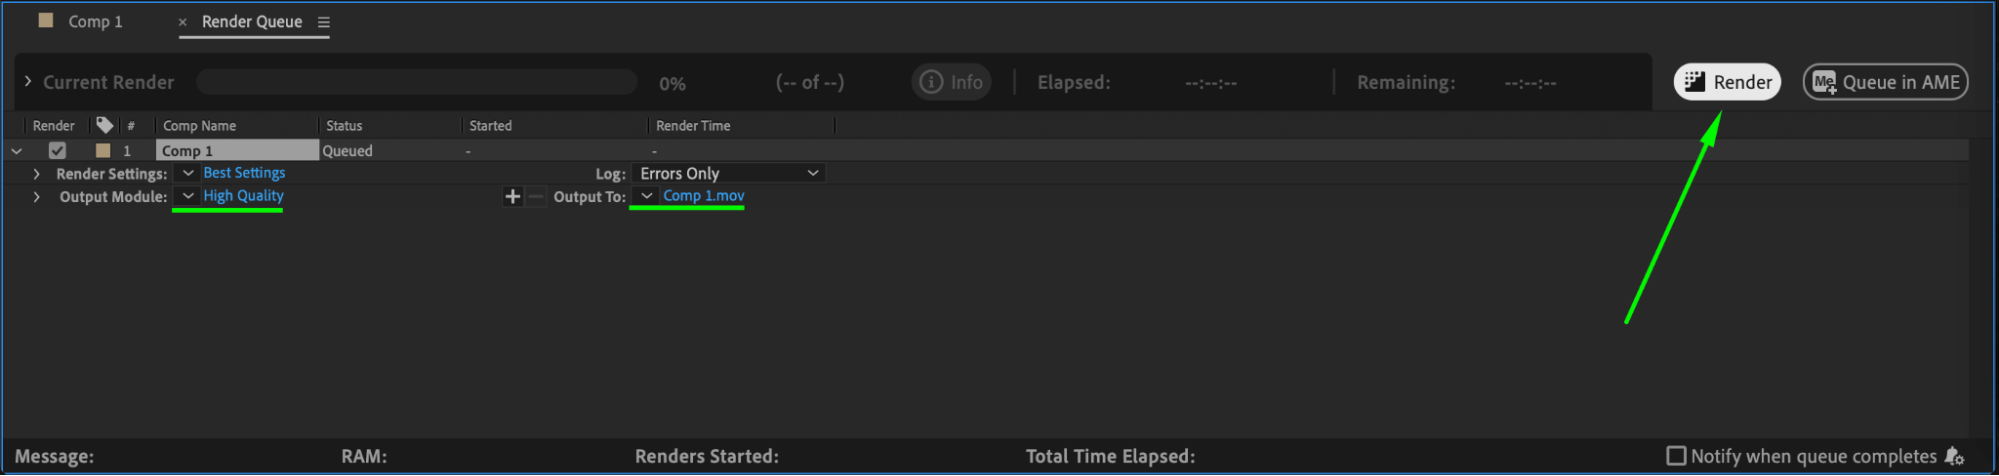
Go to Composition > Add to Render Queue. Set the desired output format and click Render to export your project with the finalized 3D text effect.
 Conclusion
Adding depth to text in After Effects with Cinema 4D renderer transforms simple designs into professional-grade 3D elements. Experiment with extrusion depth, rotation, and colors to customize the effect for your project.
Our Bestsellers


