Creating a Handwritten Signature Animation in After Effects
Introduction
Animating a signature in After Effects allows you to create a realistic handwriting effect for branding, presentations, or motion graphics. This effect is achieved by tracing the signature, animating its stroke with Trim Paths, and refining the movement for smooth playback. Follow these steps to create a professional-looking animated signature.
Get 10% off when you subscribe to our newsletter

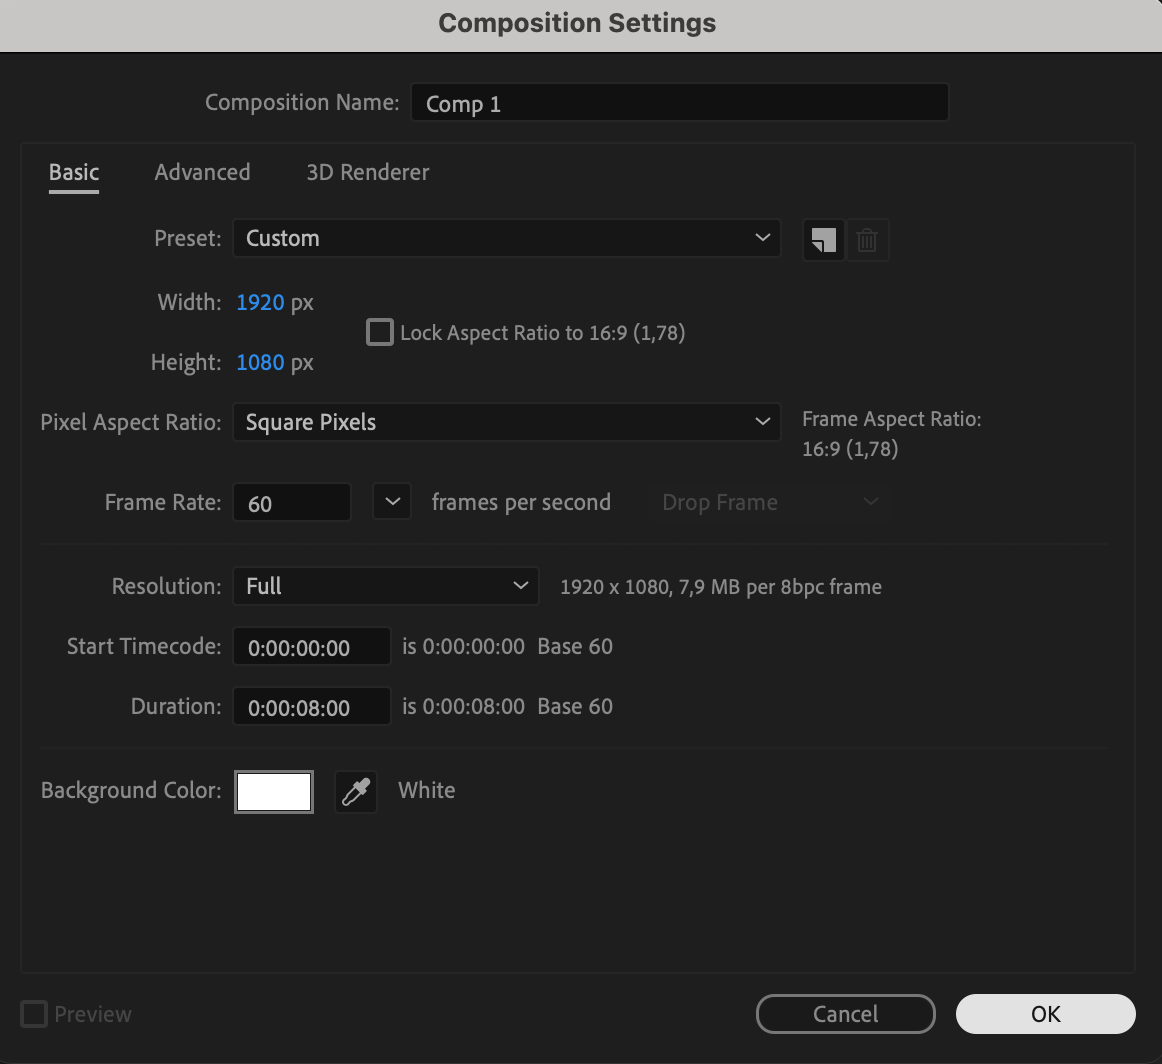
Step 1: Create a New Composition
Go to Composition > New Composition and set the resolution to 1920×1080 pixels, frame rate to 60 fps, and duration to 8 seconds. This will serve as the workspace for your animation.
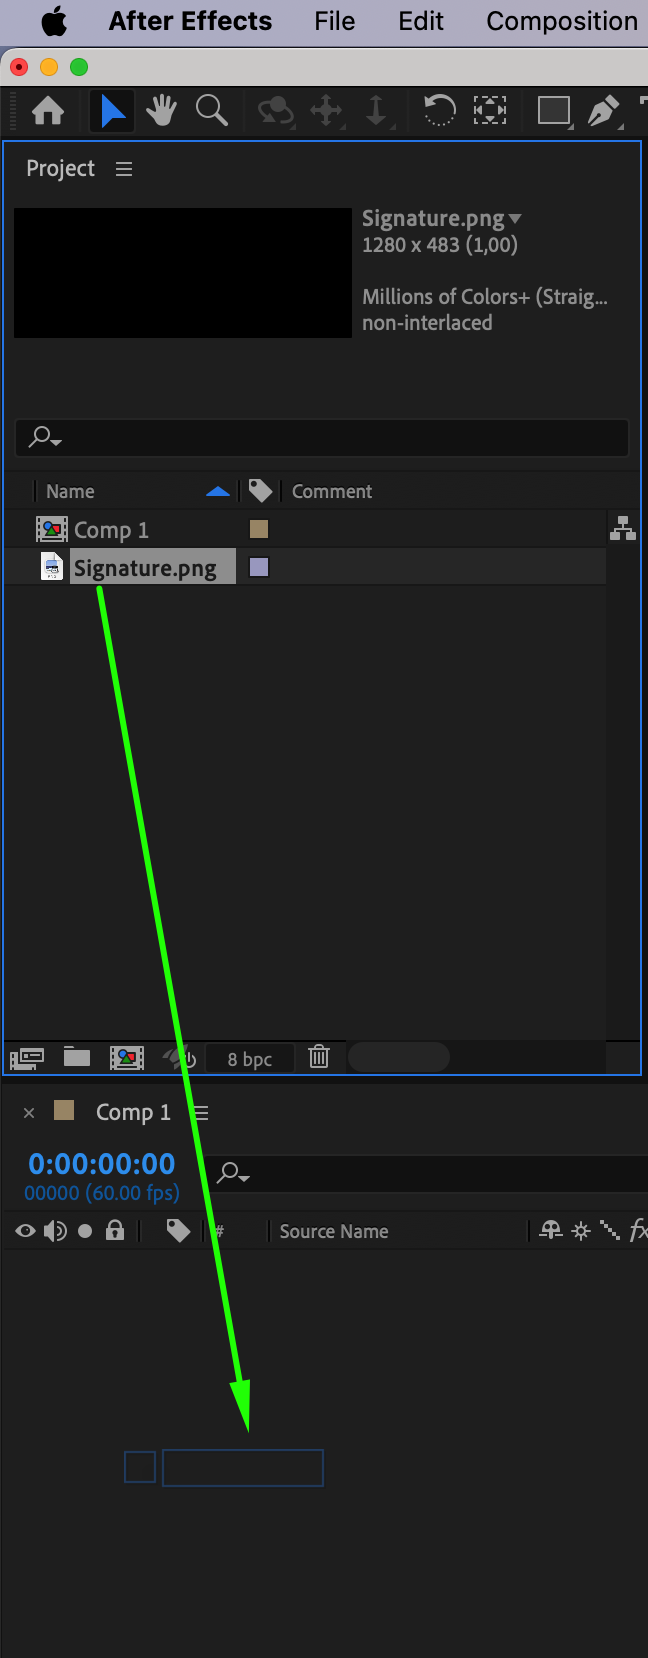
 Step 2: Import the Signature Image
Import the signature image by going to File > Import > File. Drag the image onto the timeline – this will be used as a reference for tracing.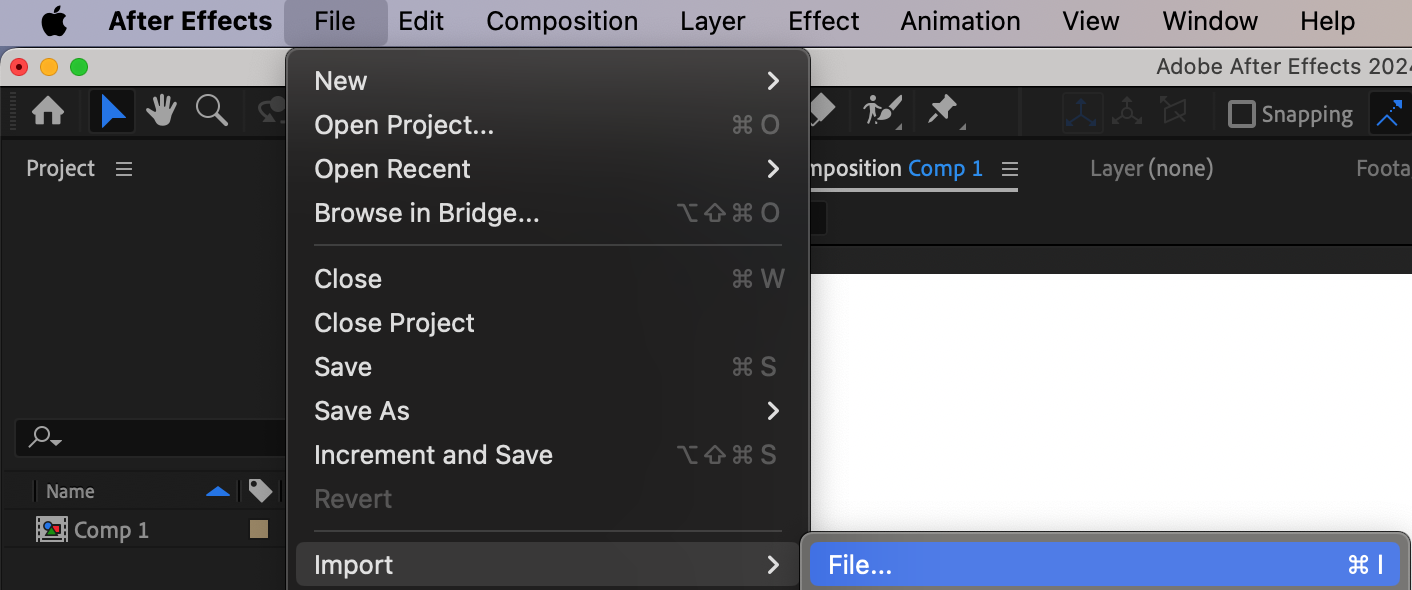
 Step 3: Lower the Opacity of the Signature
Select the signature image layer, press “T” to open Opacity, and reduce it to 28%. This makes the image semi-transparent, making it easier to trace.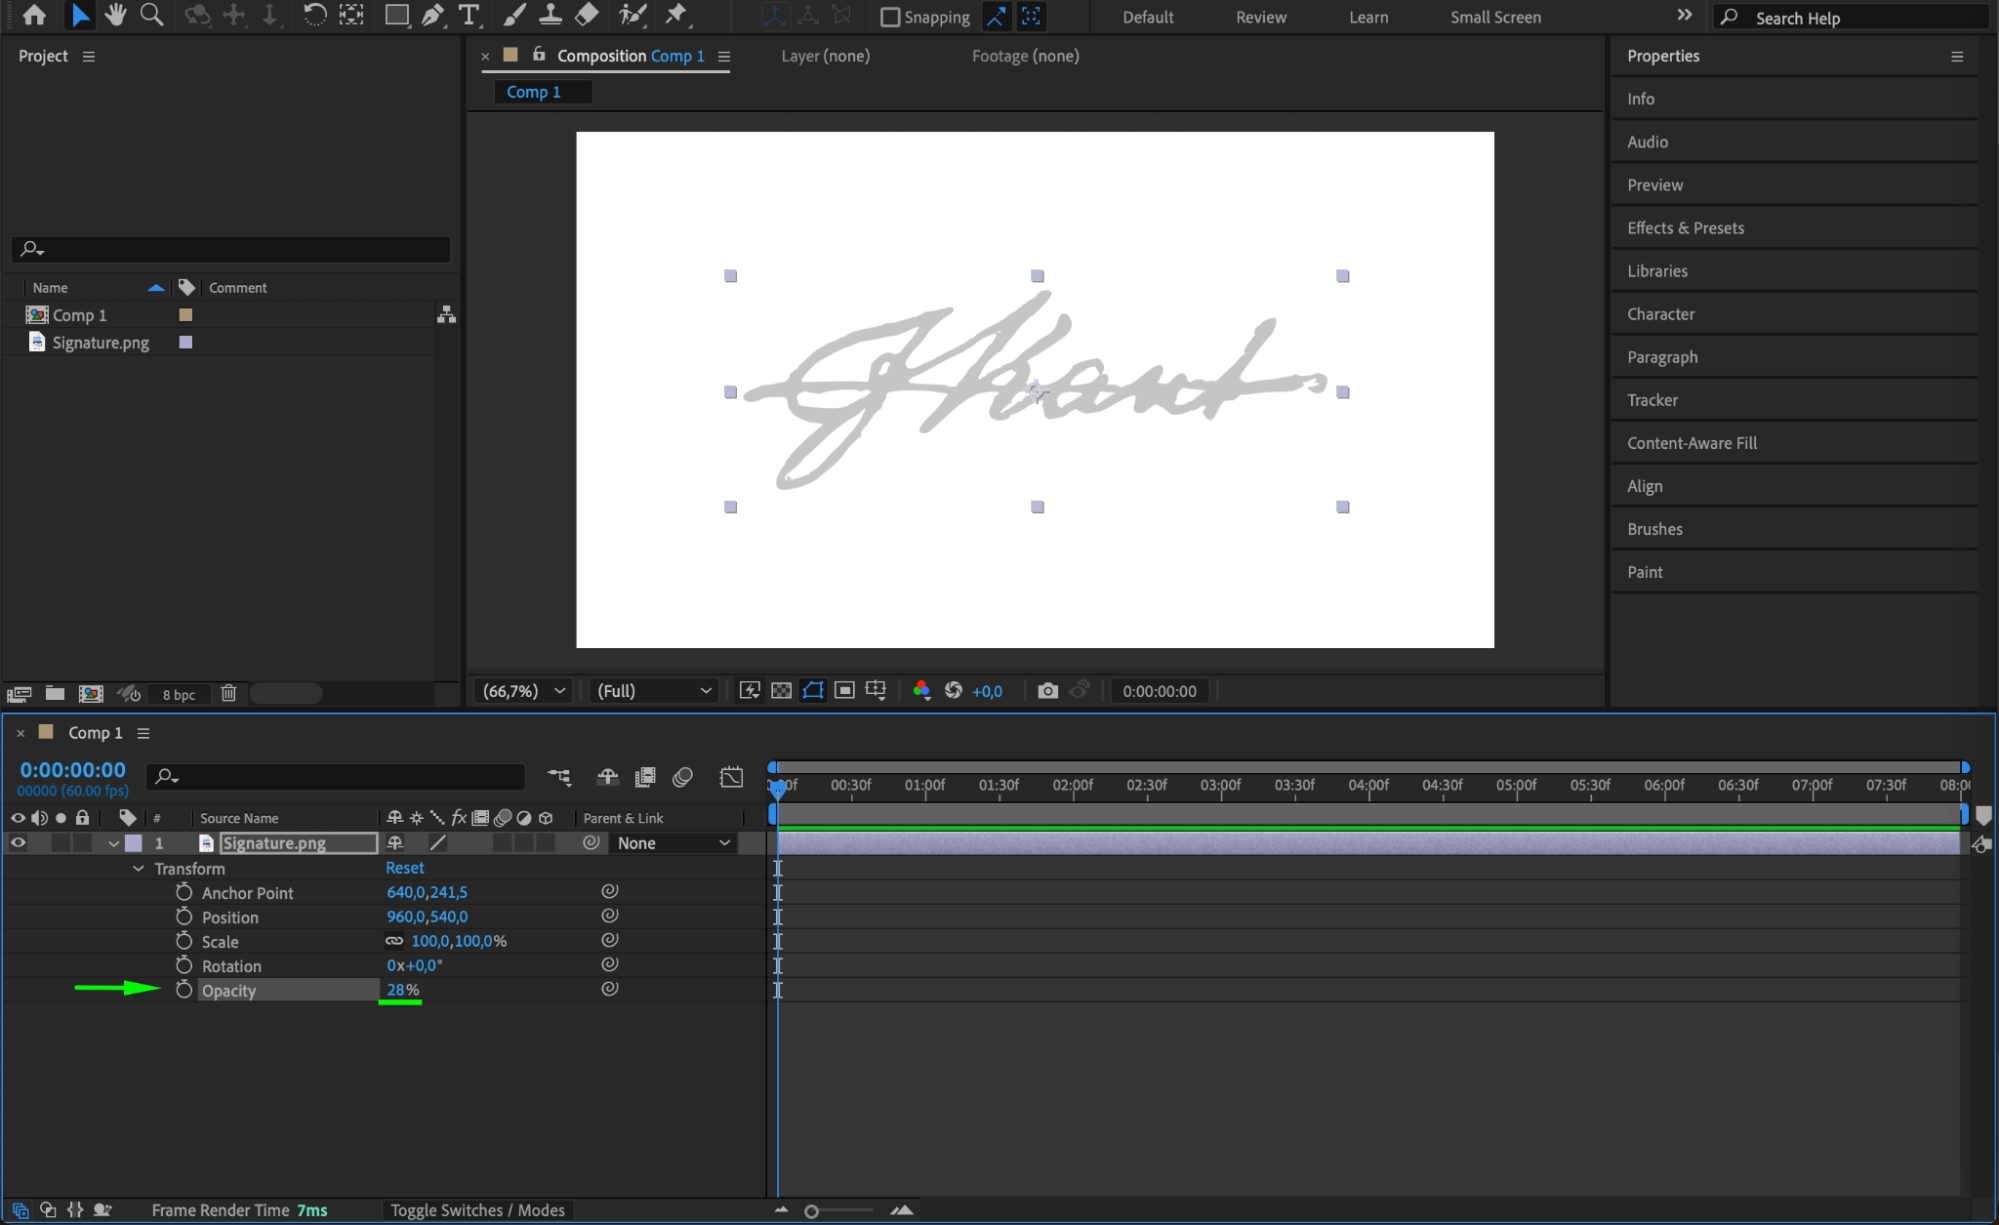 Step 4: Trace the Signature with the Pen Tool
Select the Pen Tool (G) and carefully trace the signature on a new Shape Layer. This will create a path that follows the original signature. Step 5: Adjust Stroke Properties
Expand Shape Layer 1 > Contents > Shape 1 > Stroke 1, then modify the following settings:
Line Cap: Set to Round Cap for smooth stroke endings.
Line Join: Set to Round Join to ensure seamless curve connections.
Wave Effect (optional): Expand Wave, set Amount to 20 and Wavelength to 253 to create a more natural, hand-drawn effect.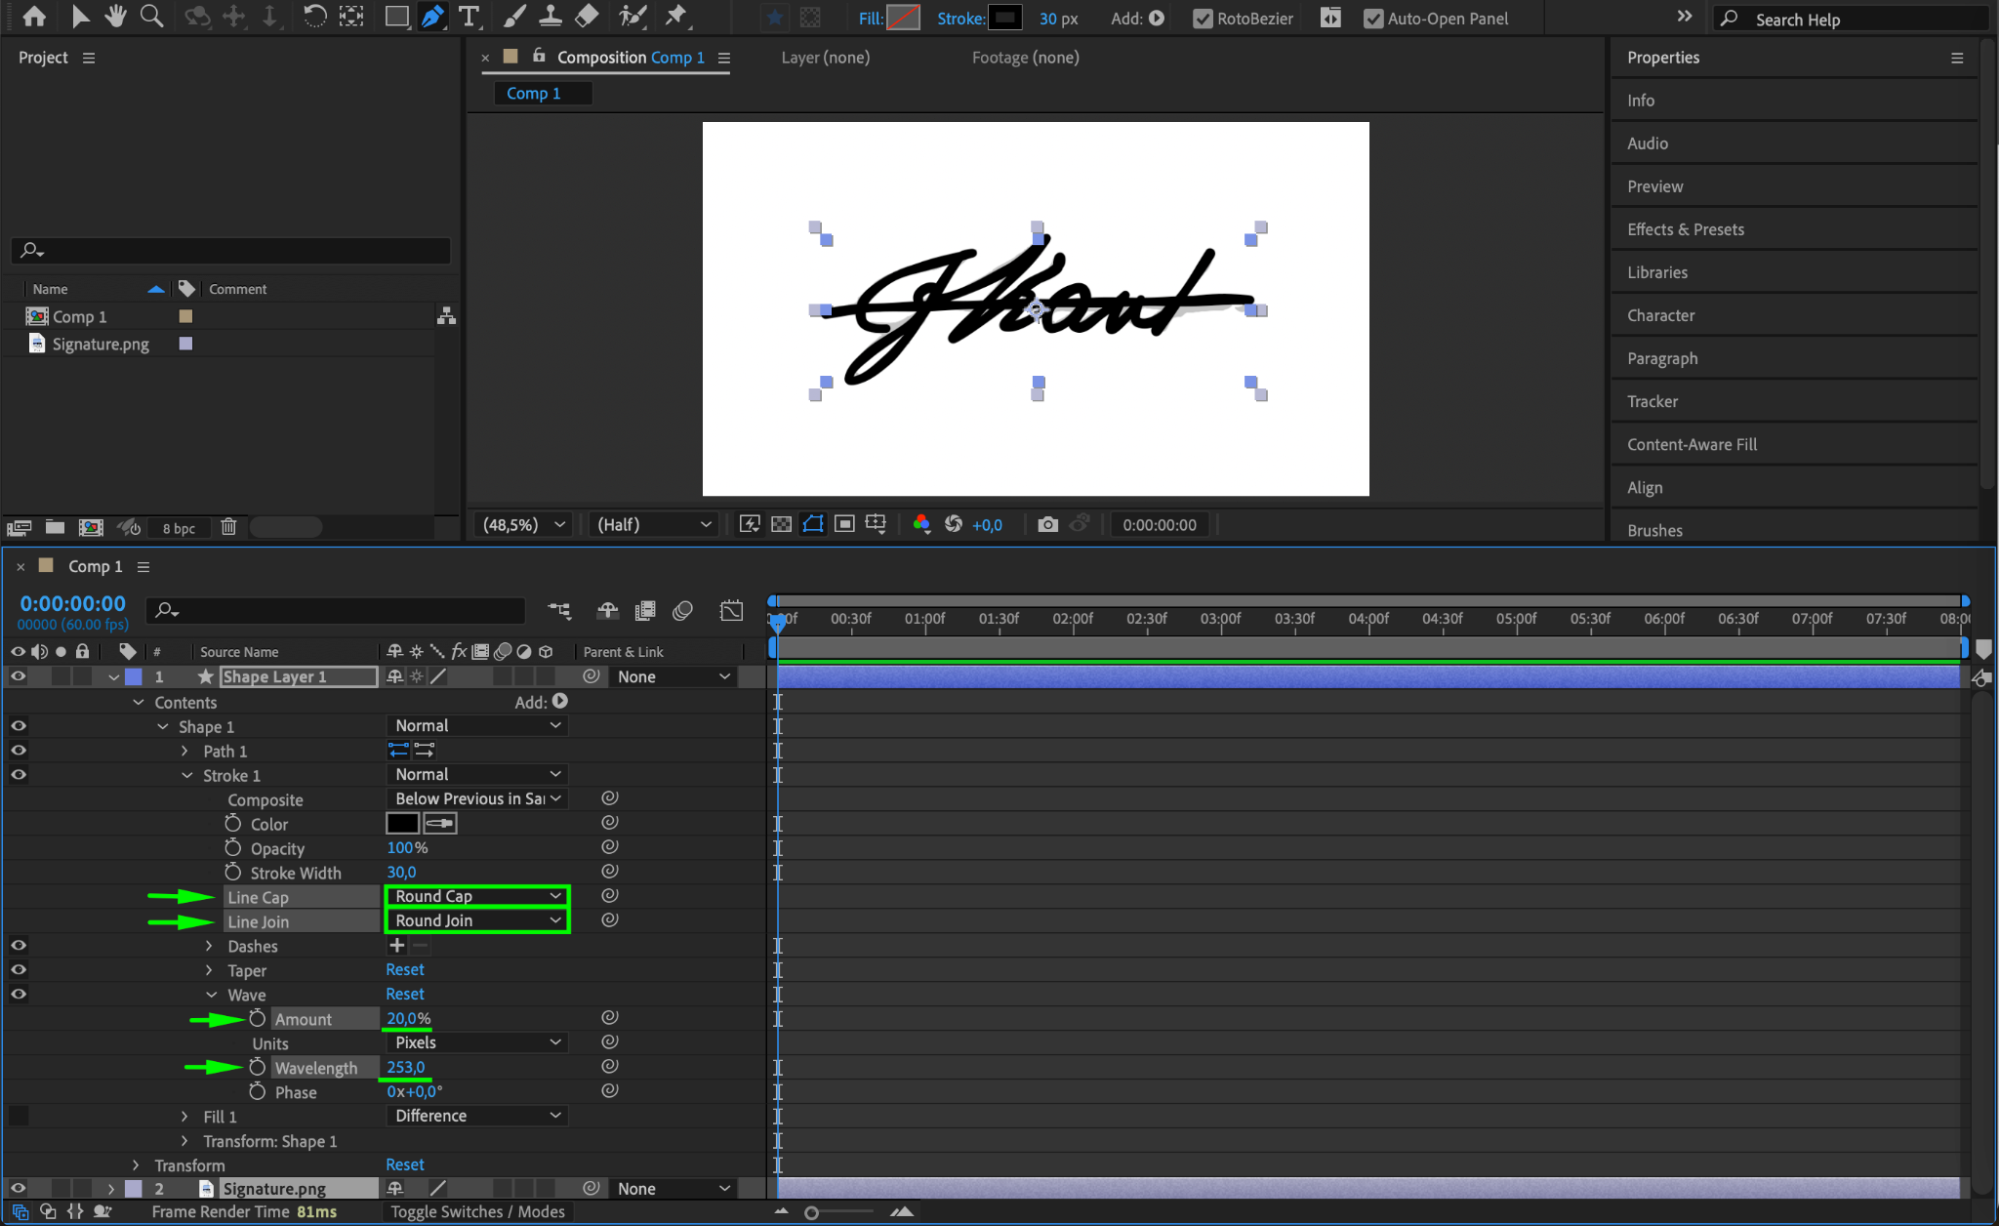 Step 6: Hide the Original Signature
Turn off the visibility of the signature image layer by clicking the eye icon in the Timeline panel.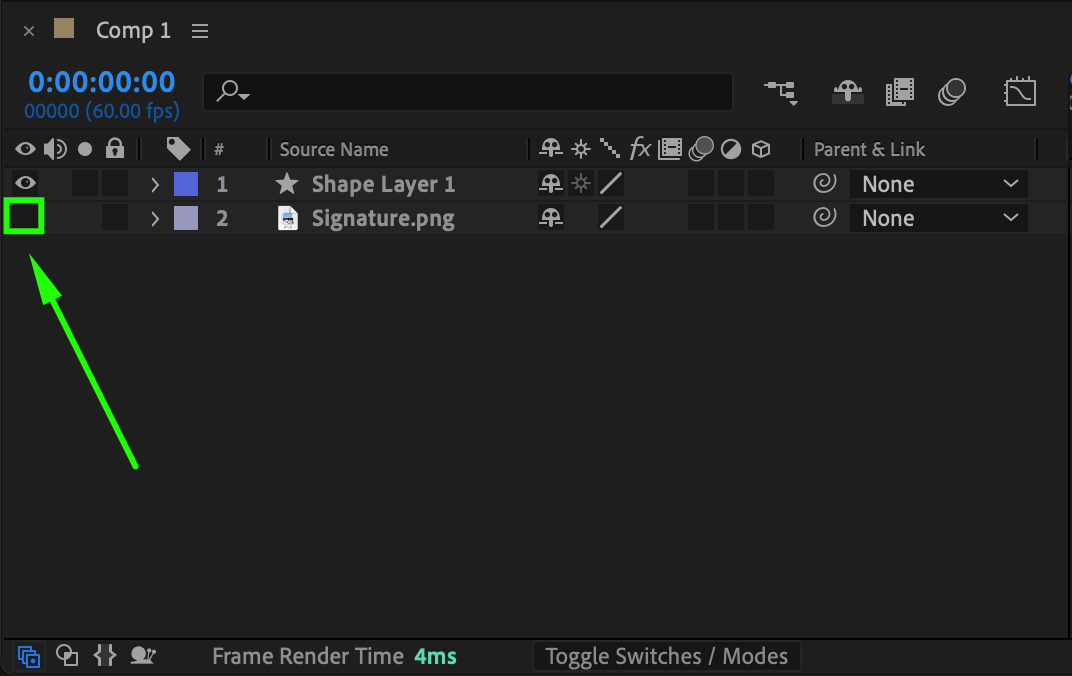 Step 7: Add Trim Paths to Animate the Signature
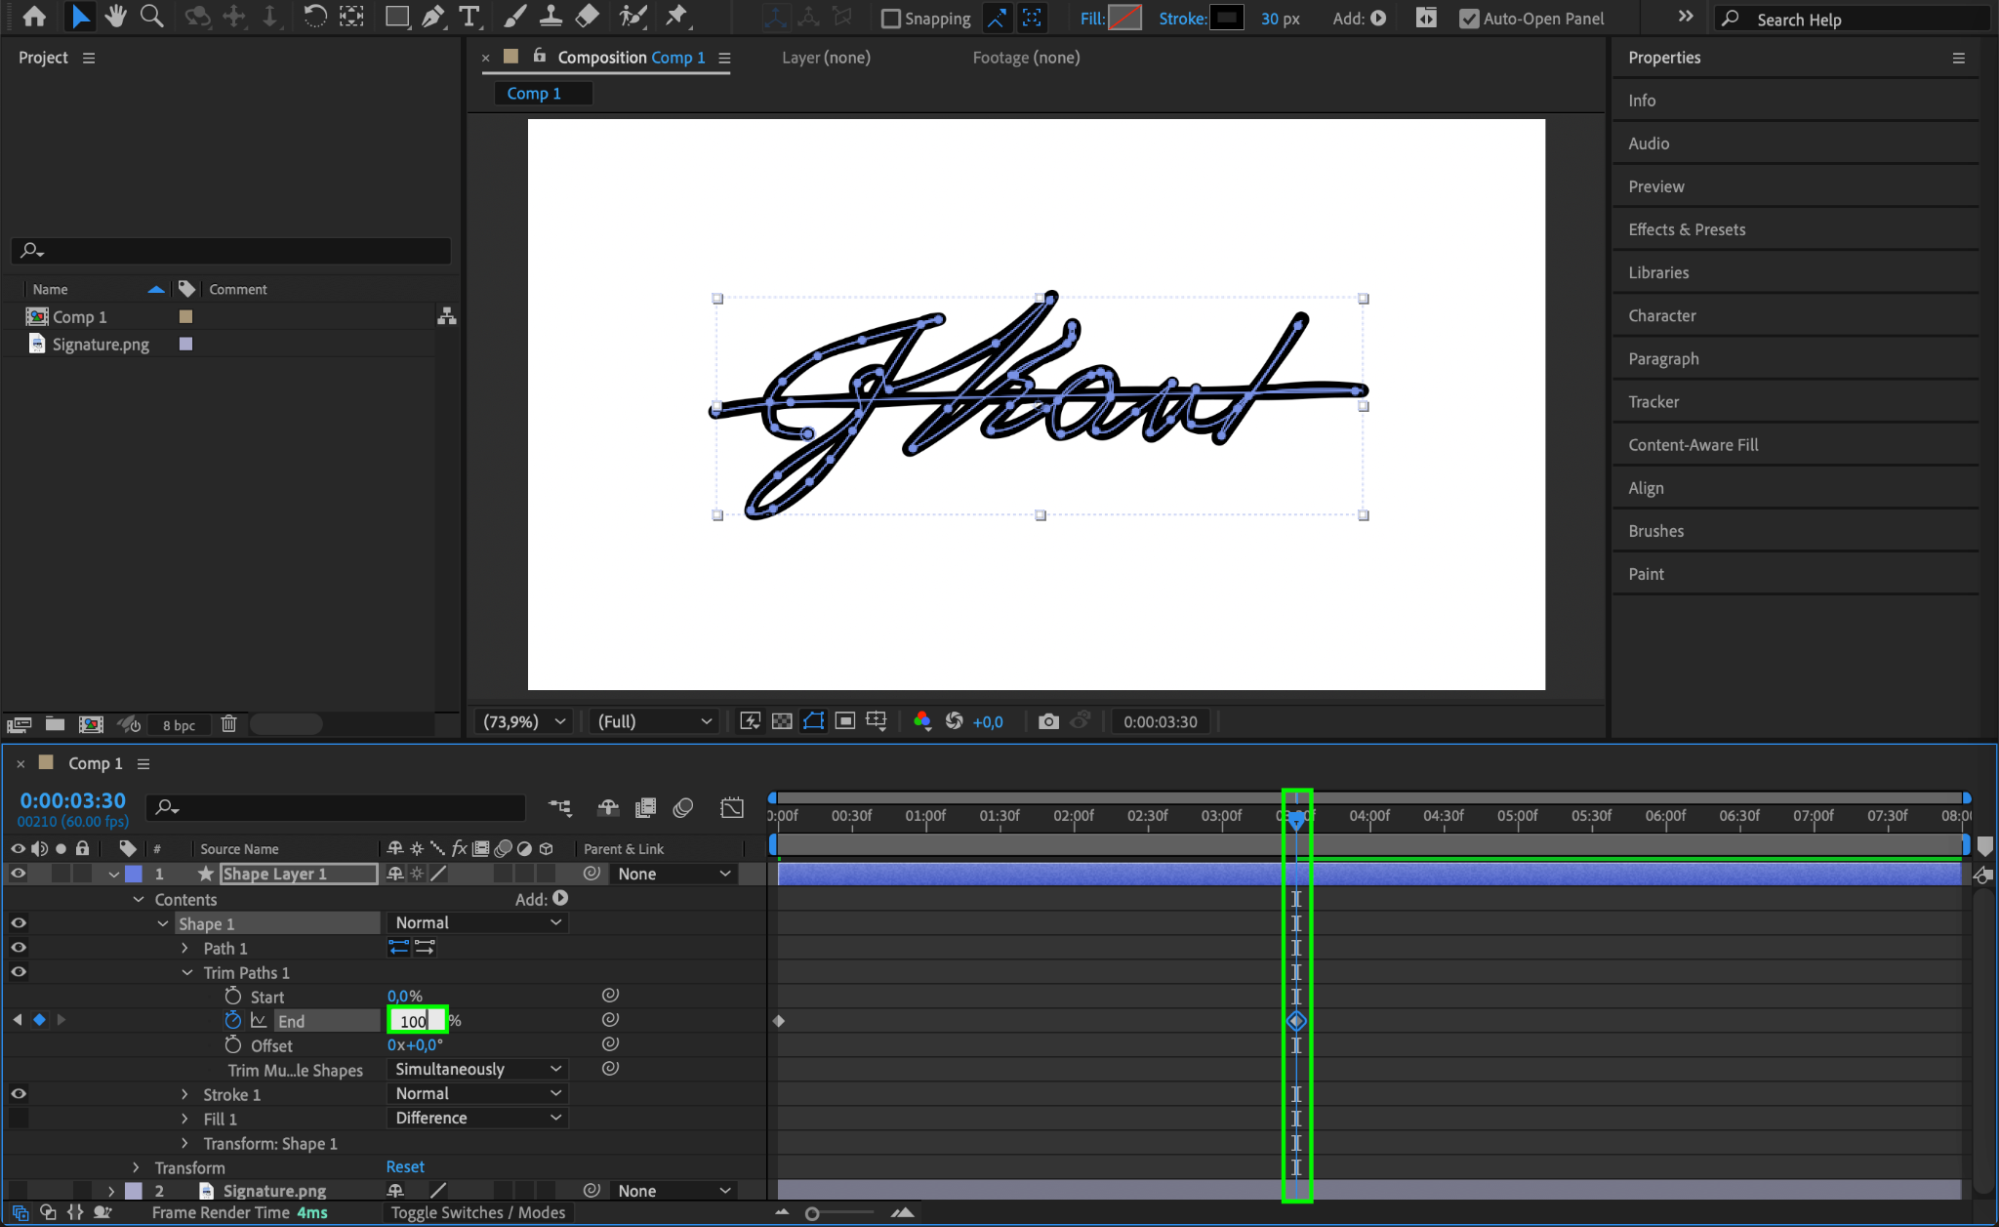
Expand the Shape Layer properties and navigate to Contents. Click the small inverted triangle next to Add, then select Trim Paths from the dropdown menu.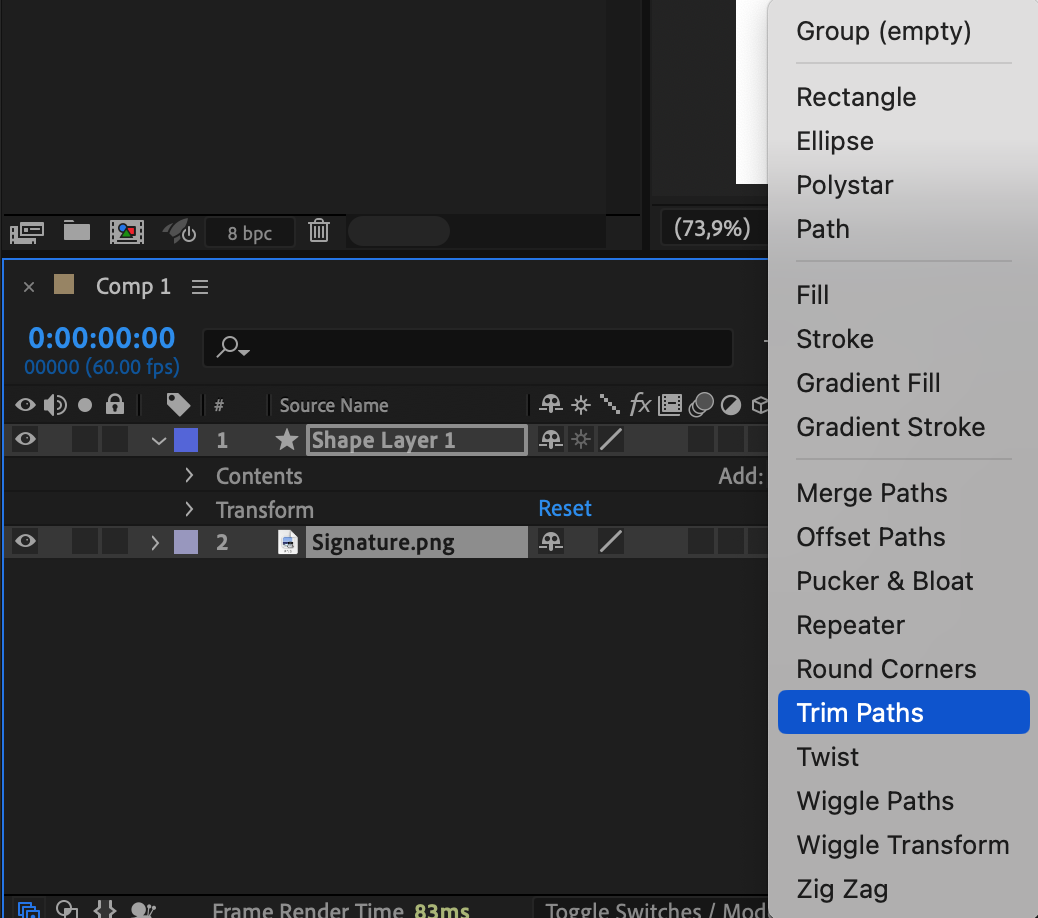 Step 8: Animate the Stroke
Expand Trim Paths 1 and locate the End property.
Move the Current Time Indicator (CTI) to the start of the timeline.
Set End to 0% and click the stopwatch to create a keyframe.
Move the CTI forward to the desired time (e.g., 2–3 seconds).
Set End to 100% to animate the full signature reveal.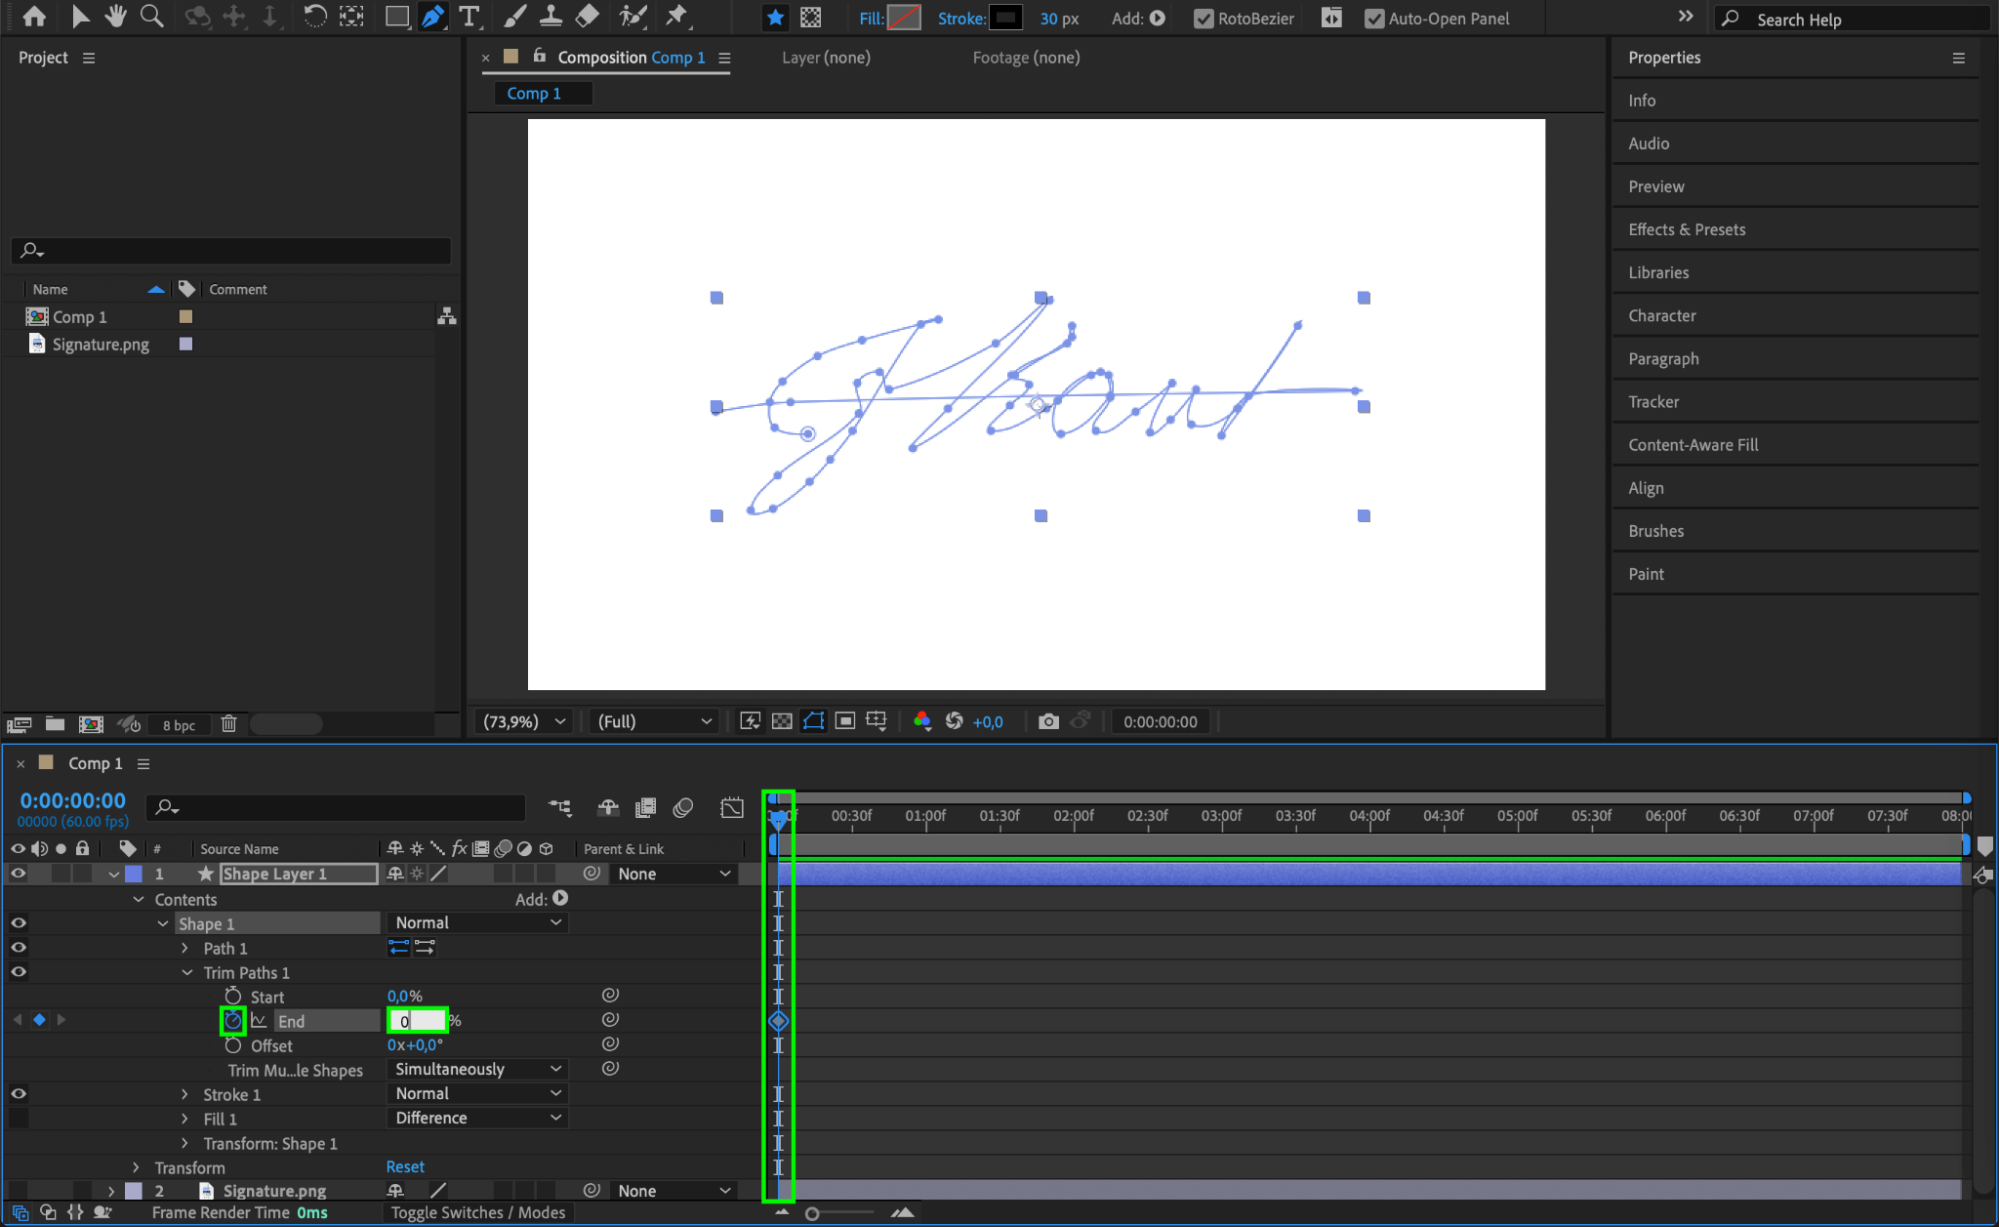
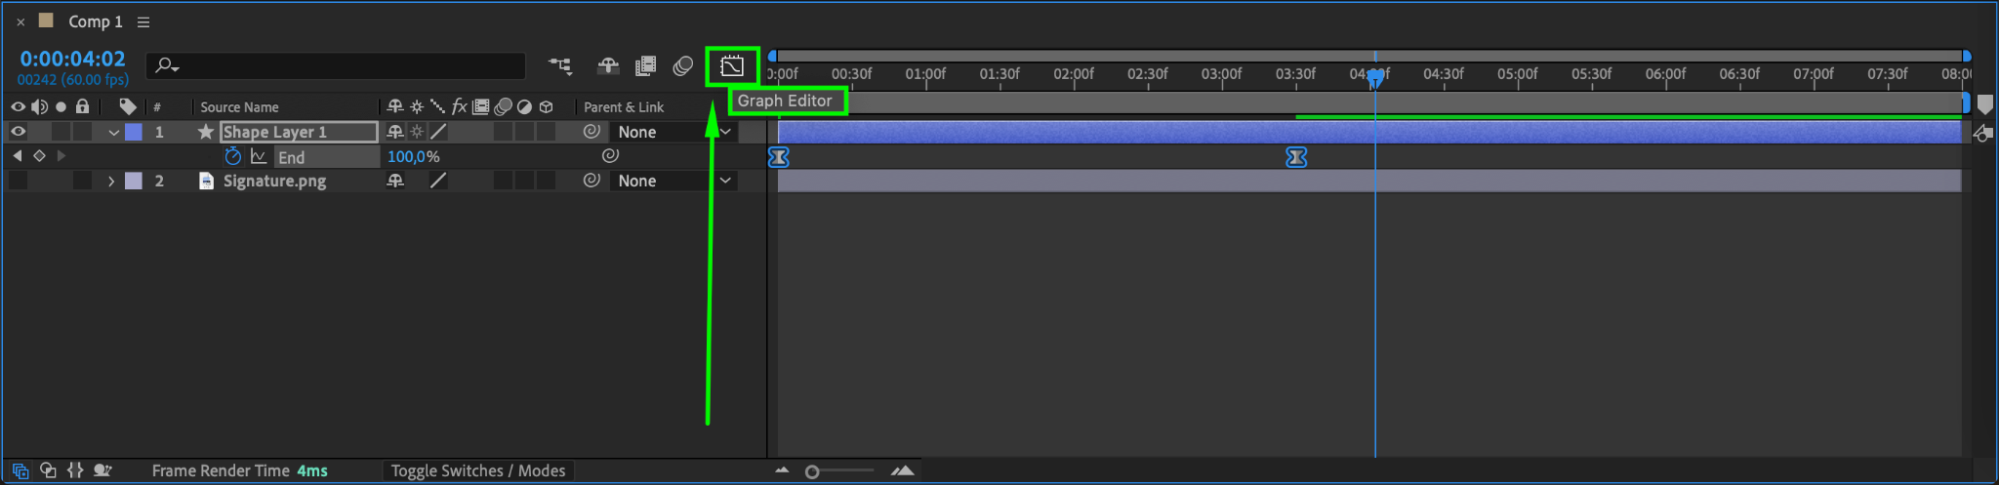
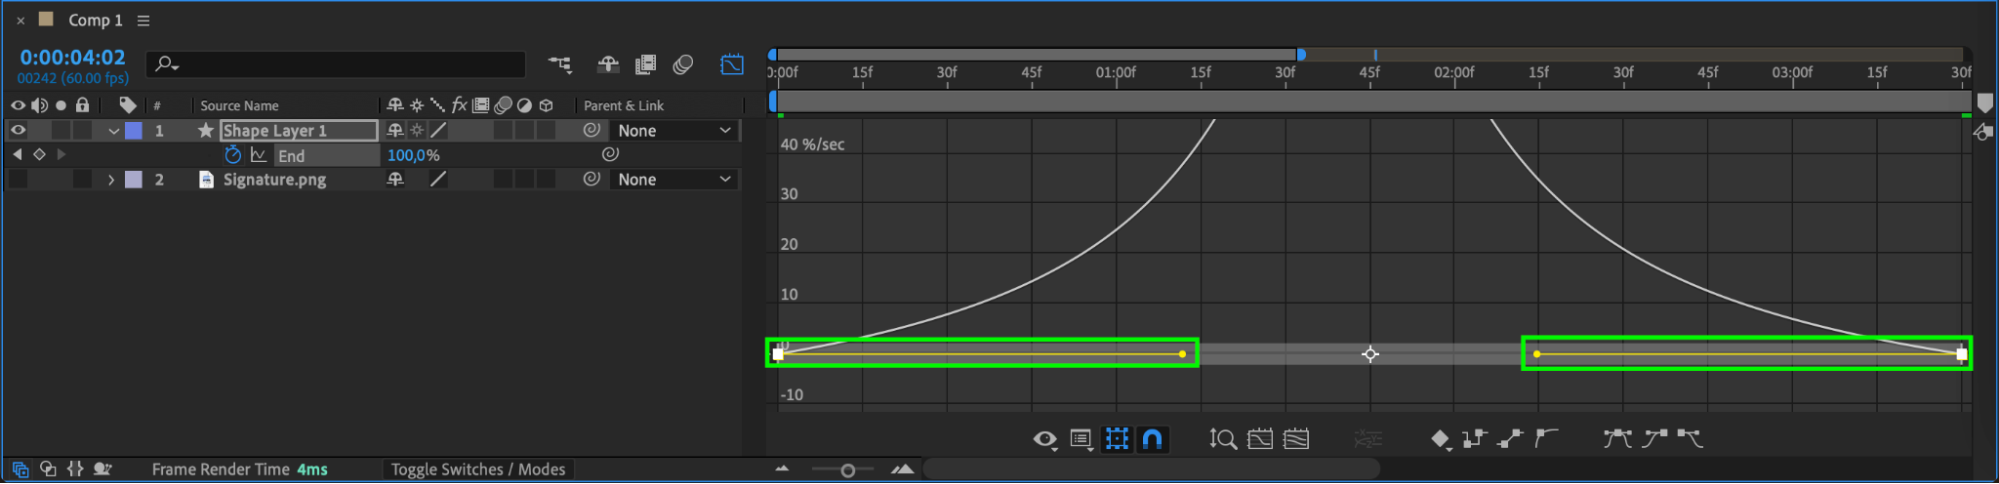
 Step 9: Smooth the Animation
Right-click the keyframes and select Keyframe Assistant > Easy Ease. Open the Graph Editor and adjust the curves to create a natural handwriting motion.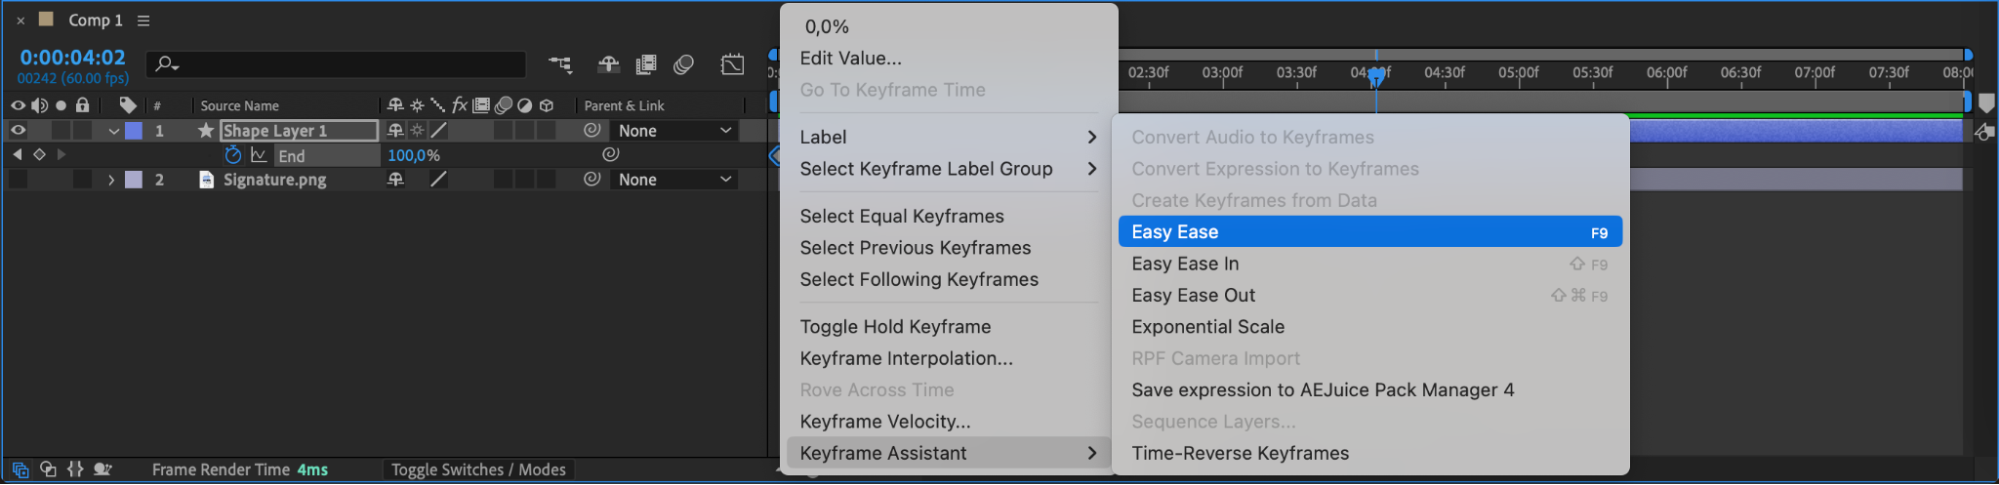
 Step 10: Preview and Make Adjustments
Press Spacebar to preview the animation. Fine-tune the stroke width, animation timing, or easing curves if needed.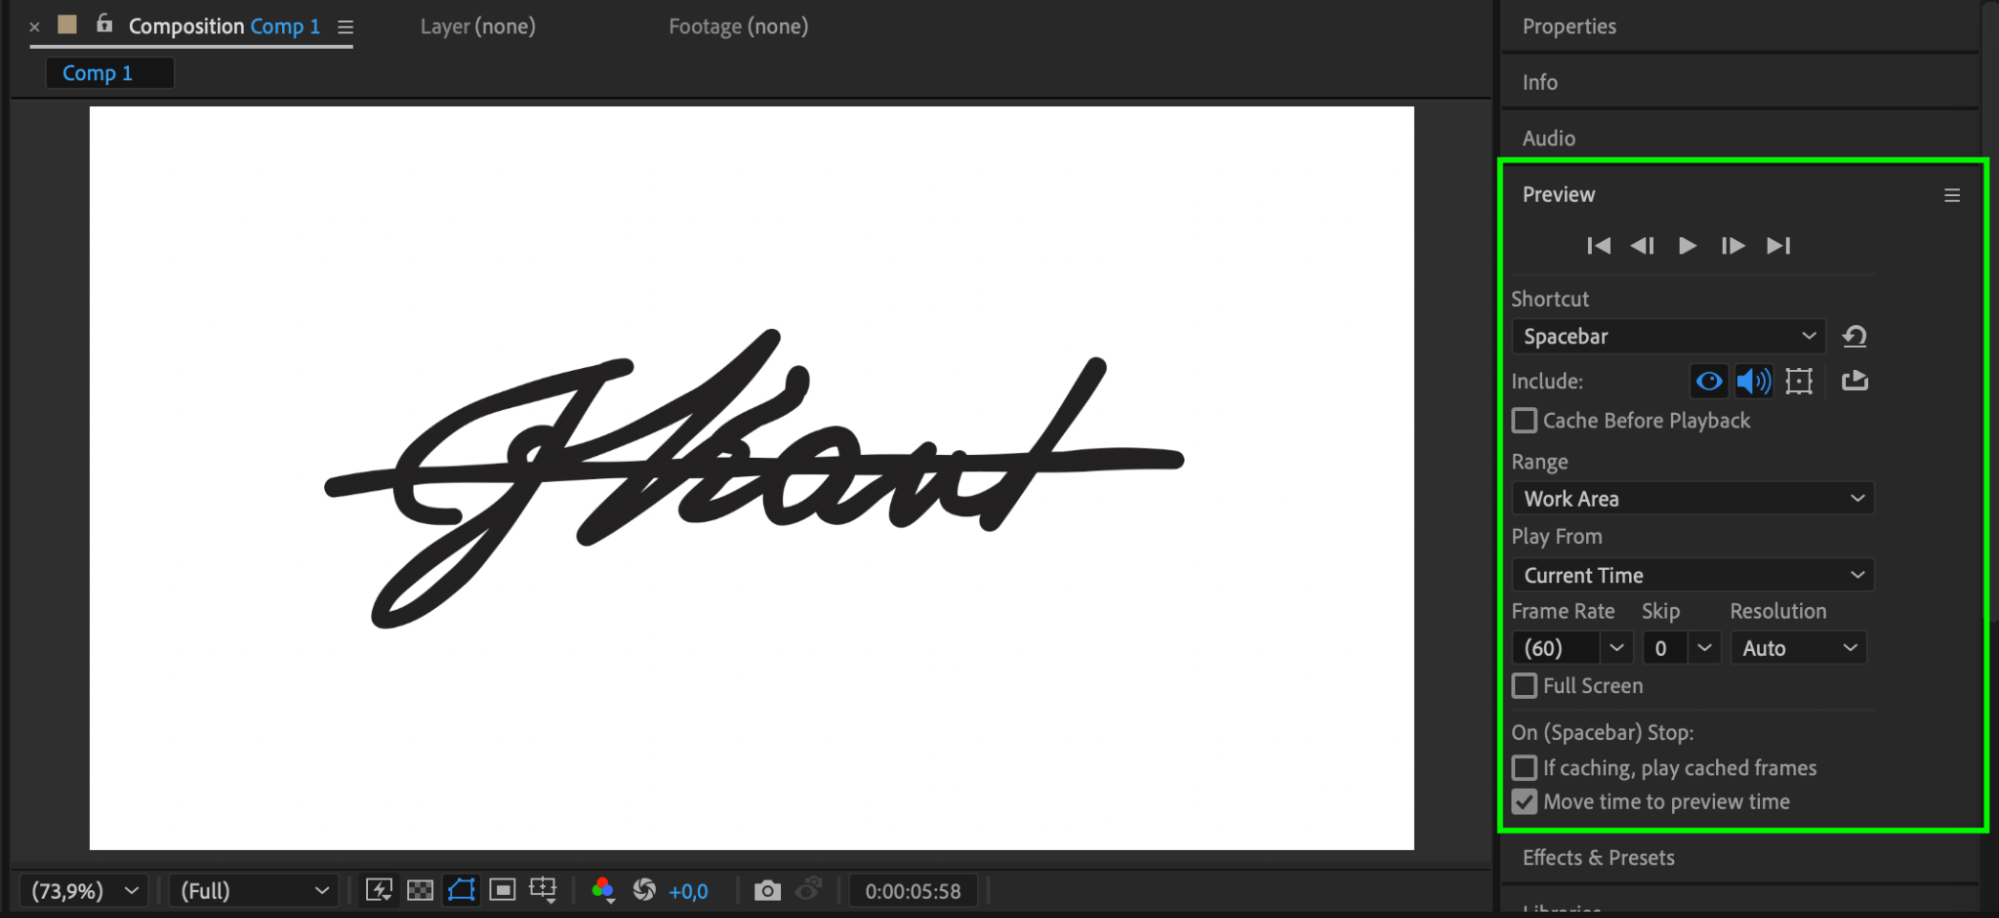
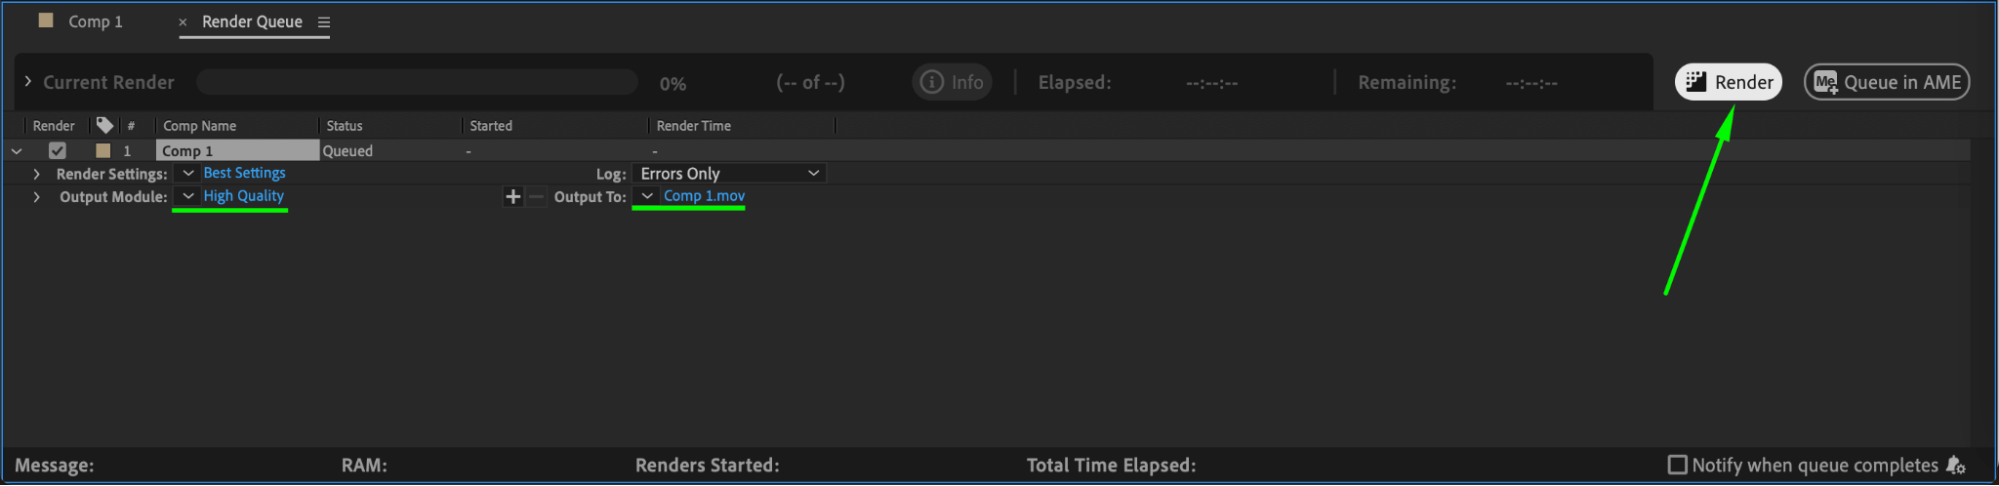
Step 11: Render the Final Animation
Go to Composition > Add to Render Queue, choose your preferred format, and click Render to export the animated signature.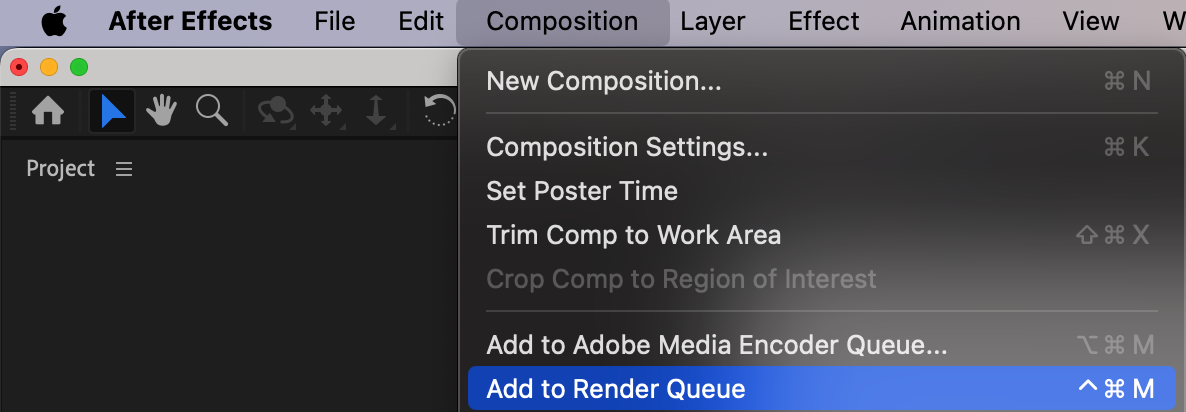
 Conclusion
Animating a signature in After Effects using Trim Paths creates a smooth and professional handwriting effect. This technique is useful for logo animations, branding, and title sequences, adding a personal and dynamic touch to any project.
Our Bestsellers


