Introduction
Animating text color in After Effects is an easy way to bring energy and style to your titles or captions. By adding color transitions, you can make your text look more dynamic and visually appealing. This tutorial shows you a simple method using the Fill effect to create smooth, professional color animation.
Step 1: Create a New Composition
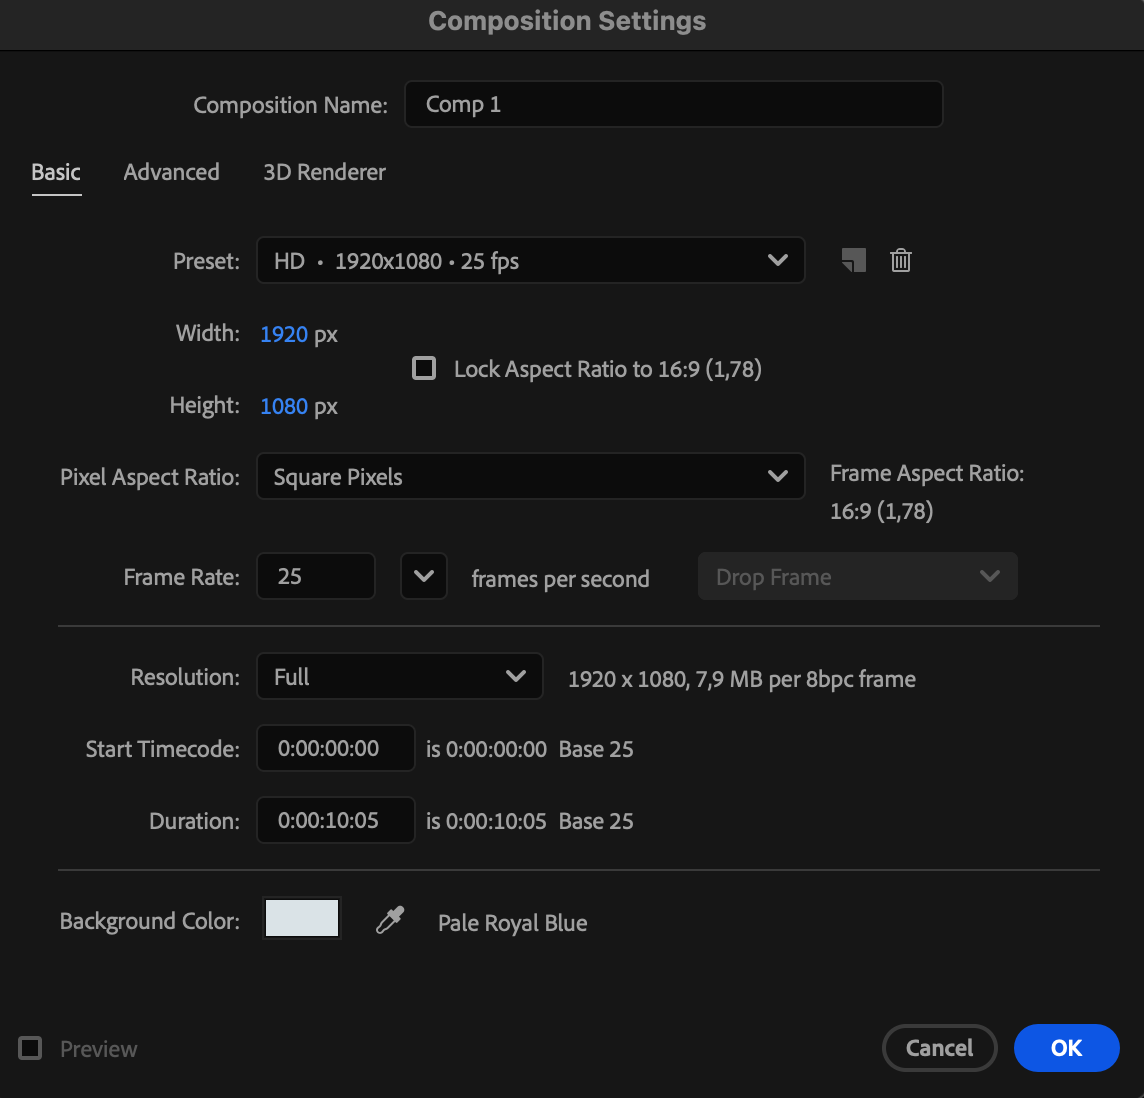
Open After Effects and go to Composition > New Composition. Set your desired resolution, frame rate, and duration, then click OK.
 Step 2: Create Your Text
Select the Type Tool (Ctrl/Cmd + T) and click anywhere in the Composition panel to type your text. Adjust the font, size, and alignment from the Character panel.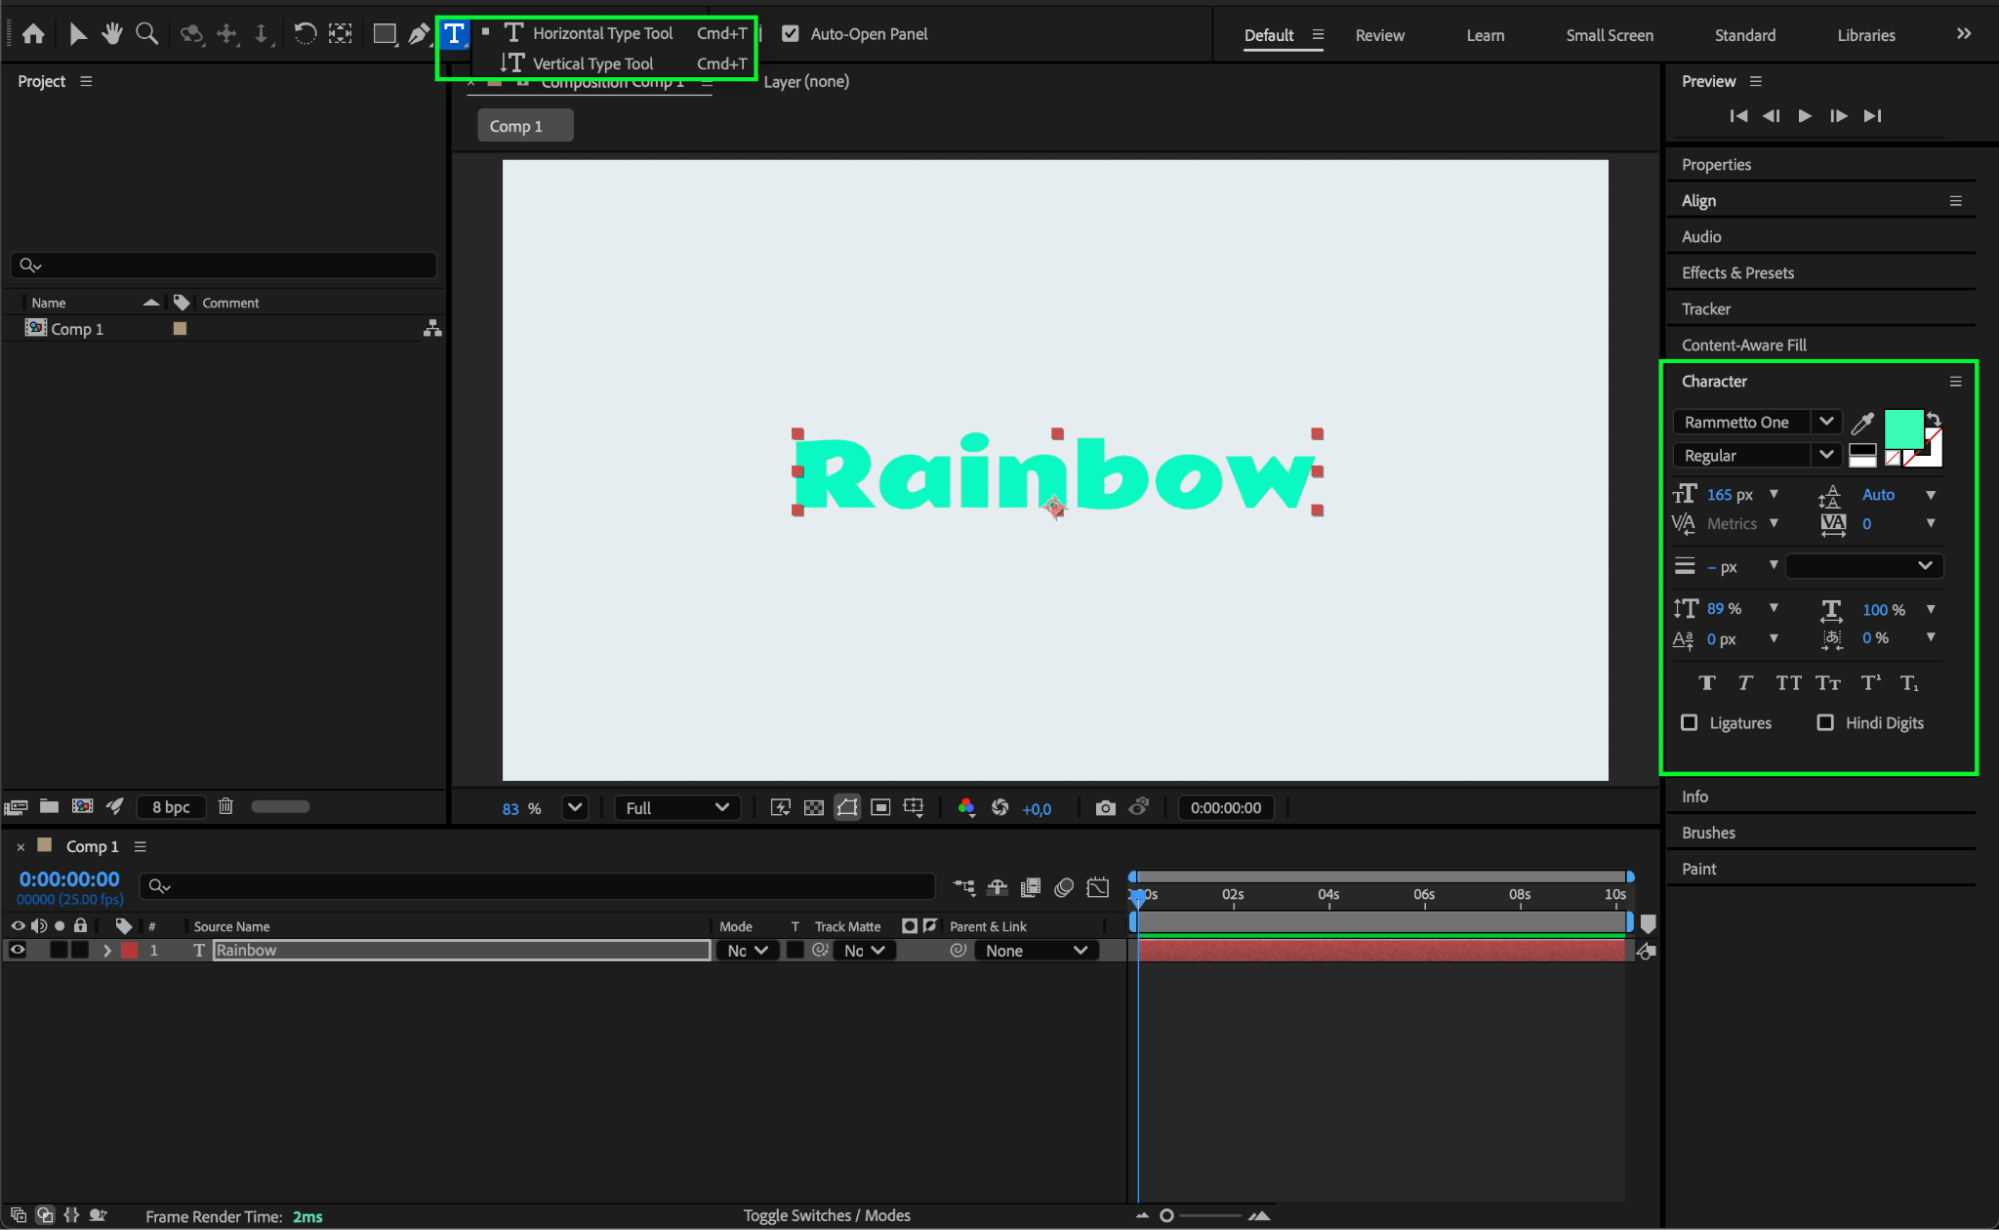
Get 10% off when you subscribe to our newsletter

Step 3: Apply the Fill Effect
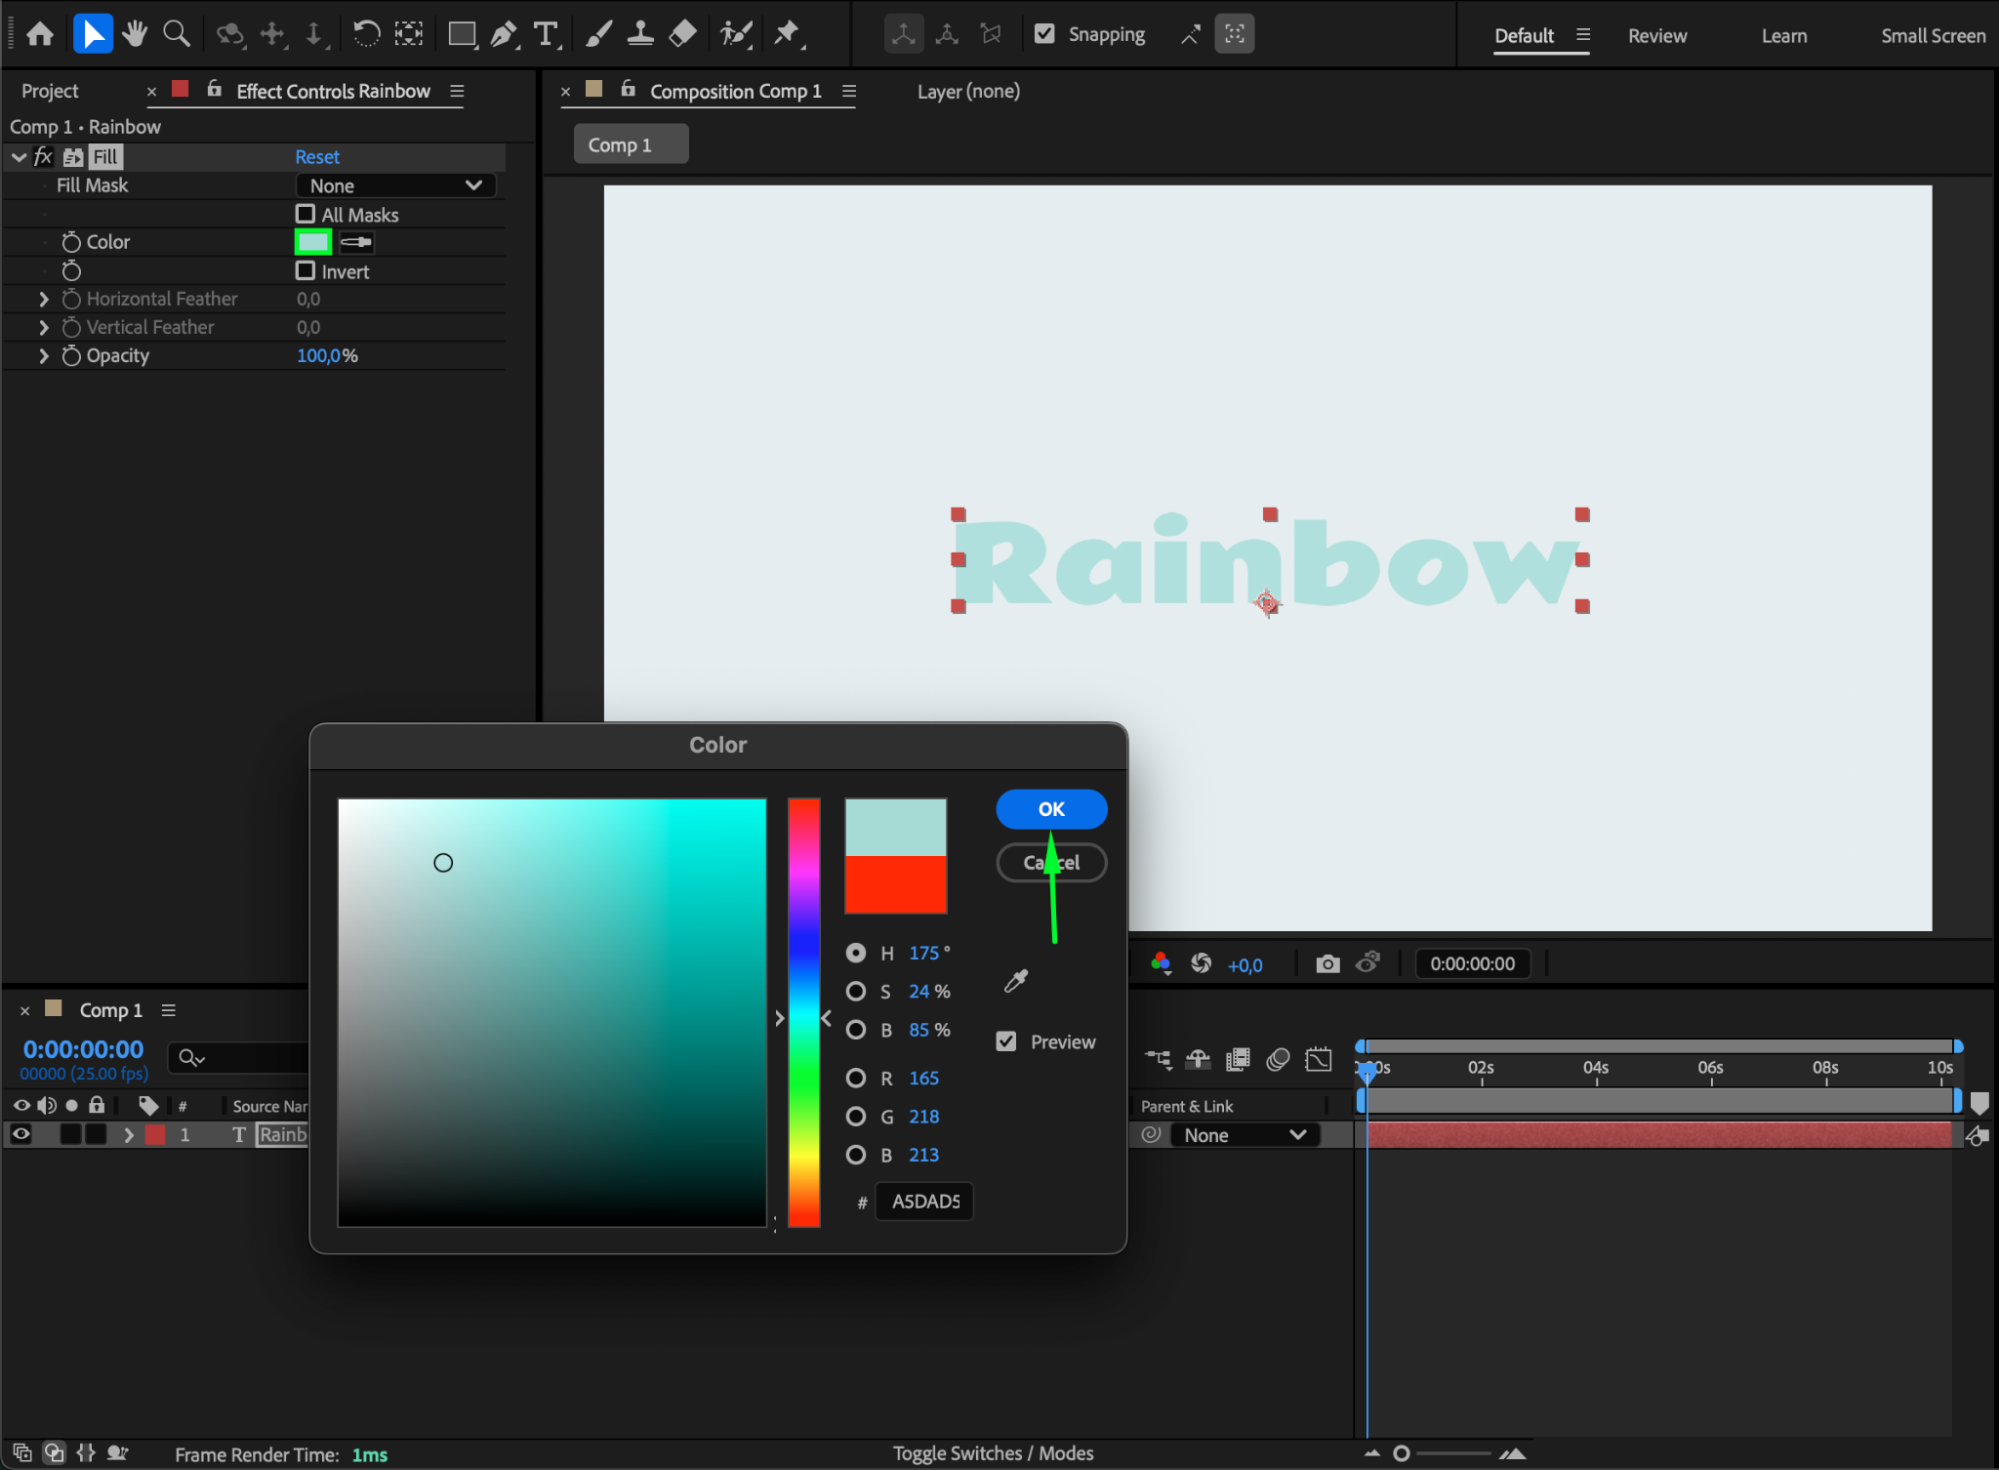
With the text layer selected, go to the Effects & Presets panel and search for Fill. Drag it onto your text layer. In the Effect Controls panel, click the color box to choose your starting color.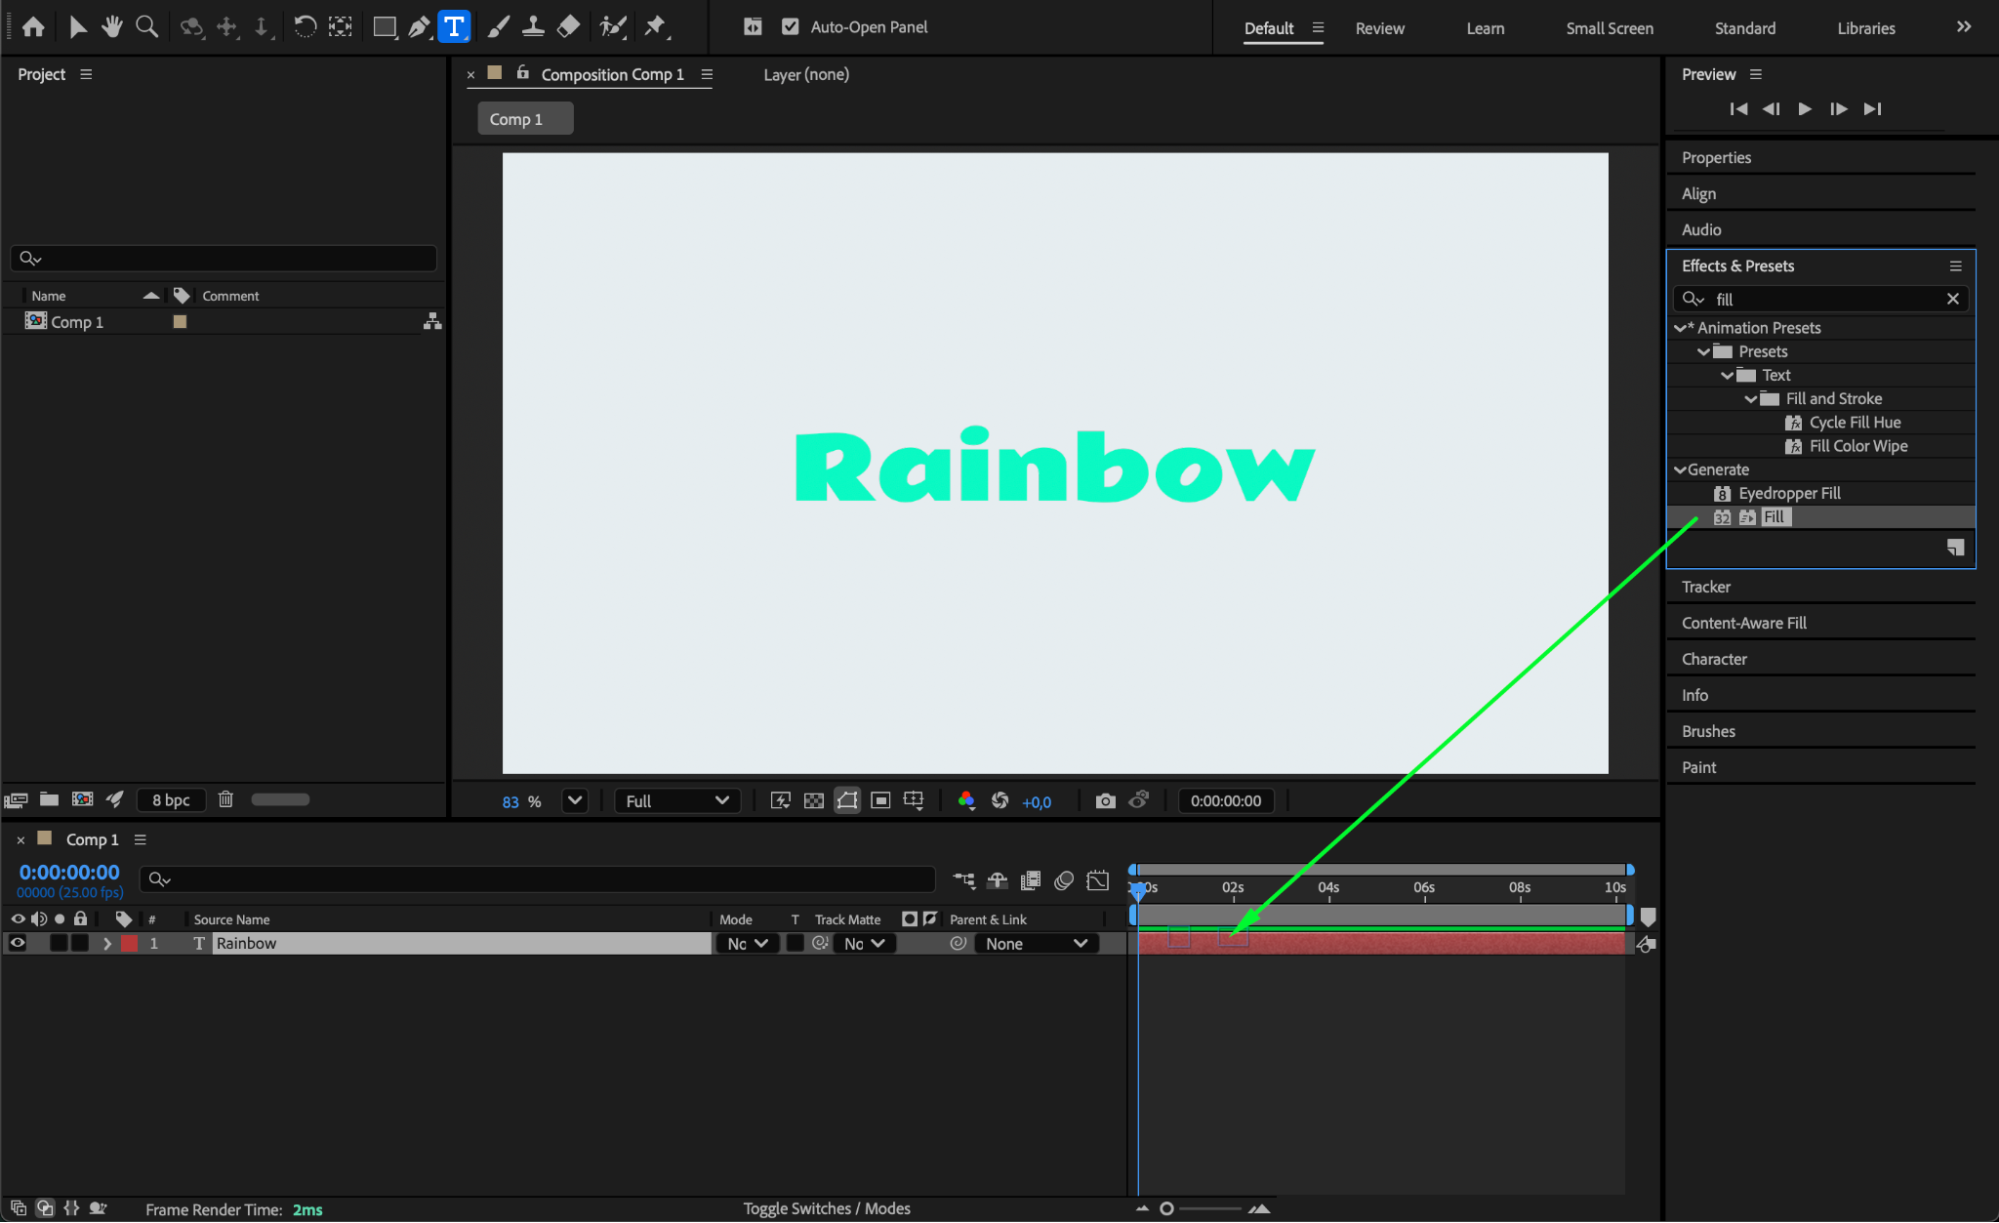
 Step 4: Animate the Fill Color
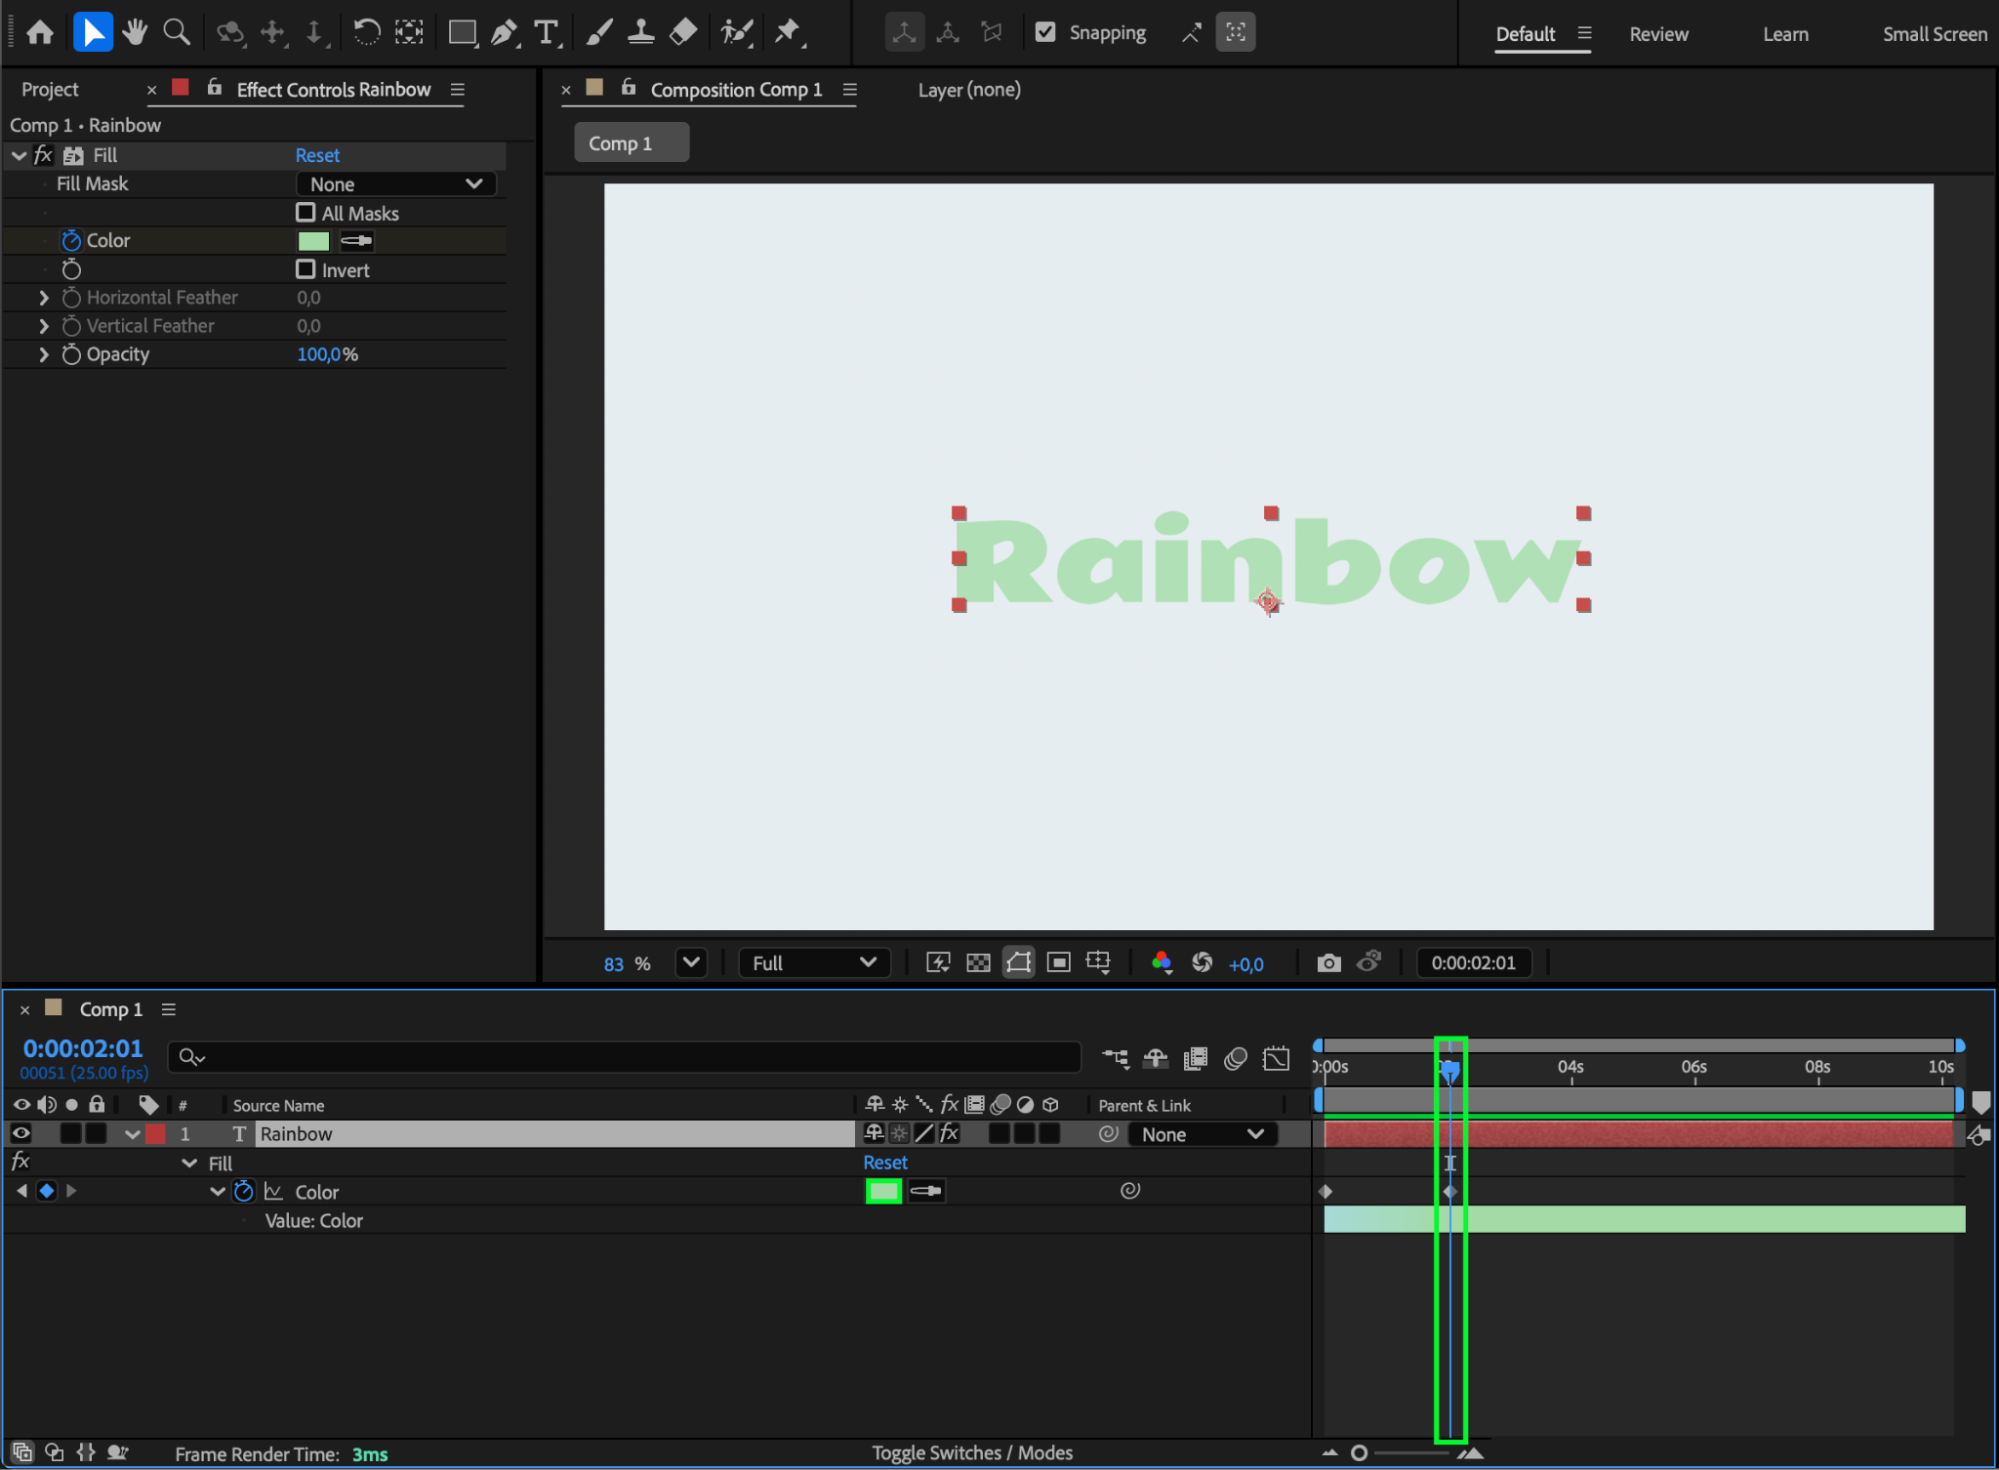
Move the CTI (Current Time Indicator) to the start of the composition. Click the stopwatch next to Color in the Fill effect to create your first keyframe. Then move the CTI forward in time and change the color to another one — After Effects will automatically create a transition between these two colors.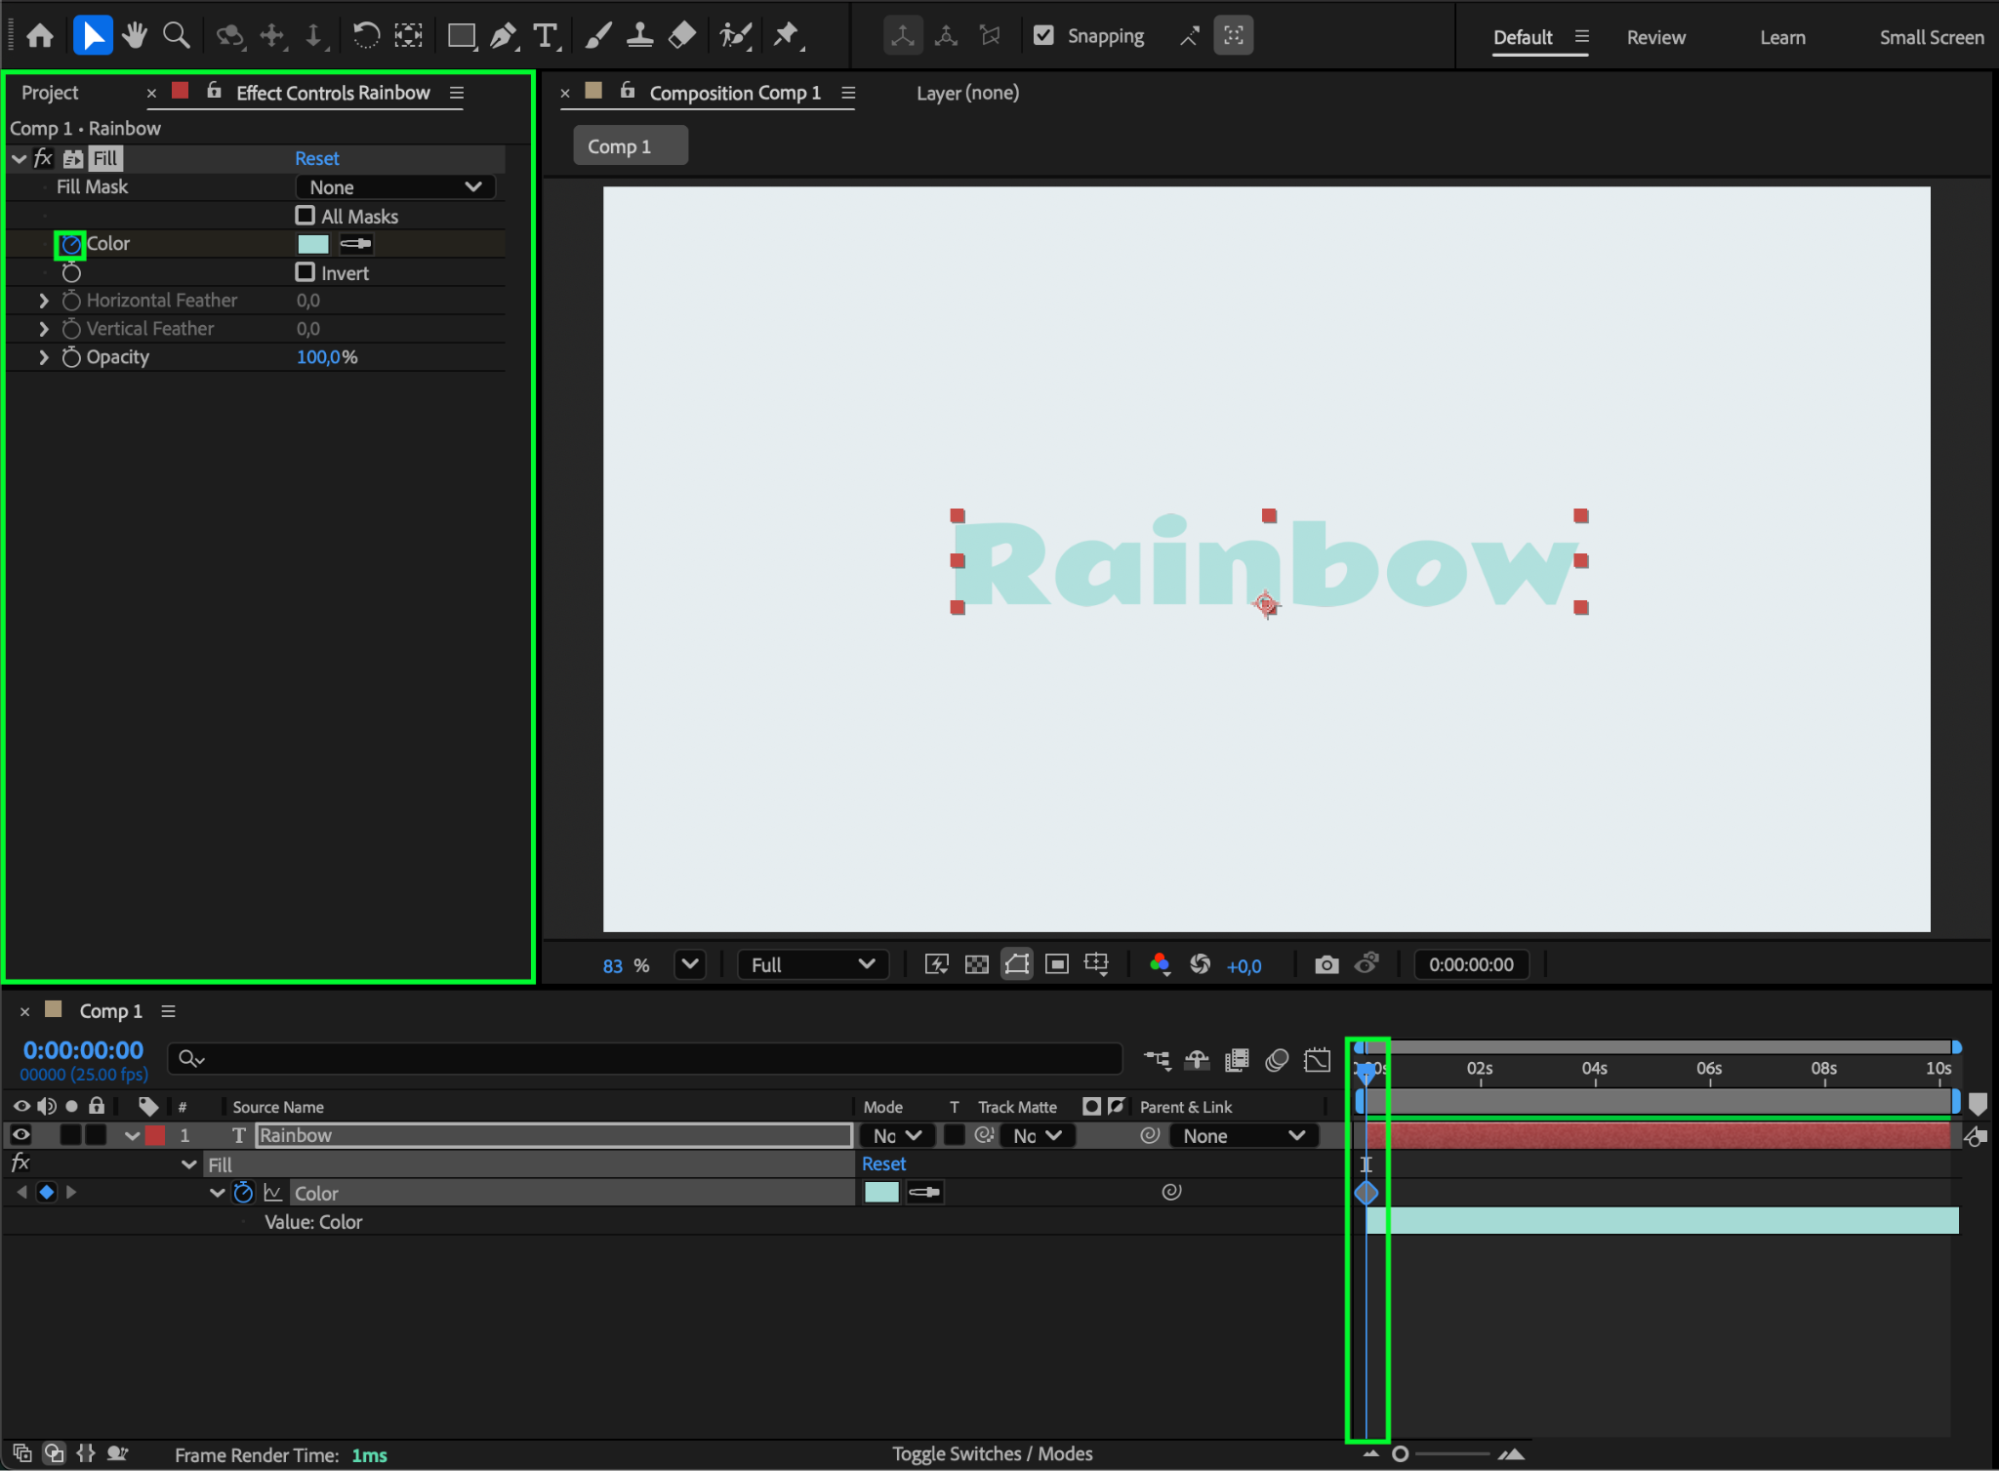

Step 5: Refine with Easy Ease
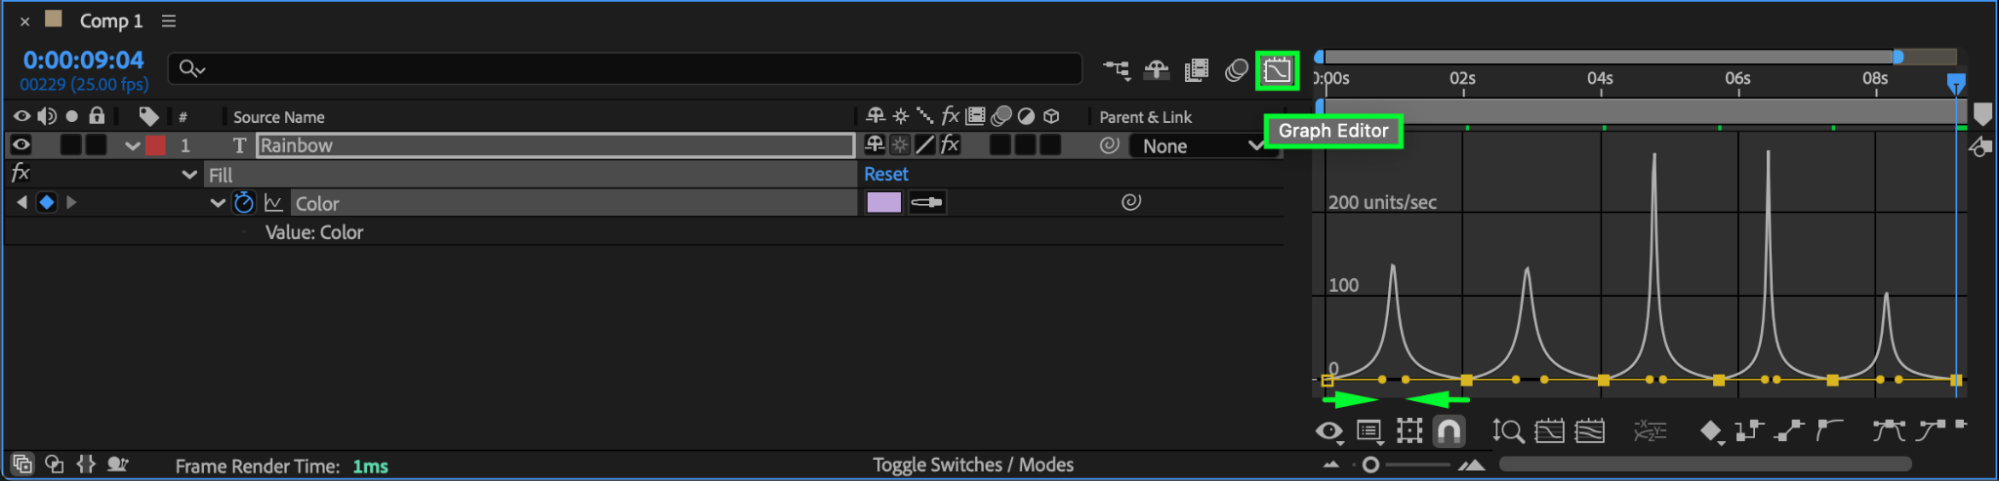
Select your color keyframes, right-click, and choose Keyframe Assistant > Easy Ease to make the color transition smoother. You can also open the Graph Editor to fine-tune the animation speed.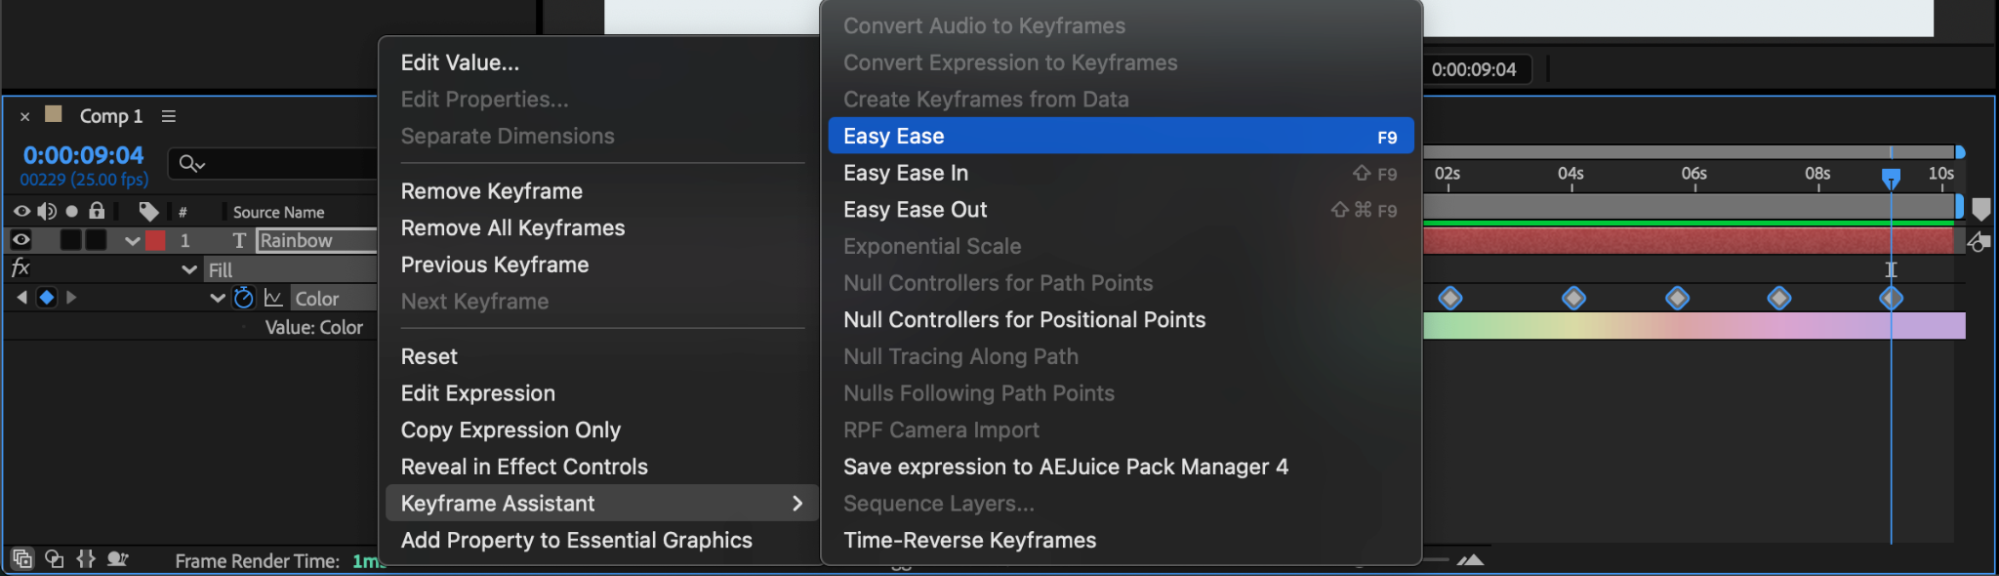
Step 6: Preview and Adjust
Press Spacebar to preview your animation. If needed, adjust the timing or add additional keyframes for a more complex color sequence.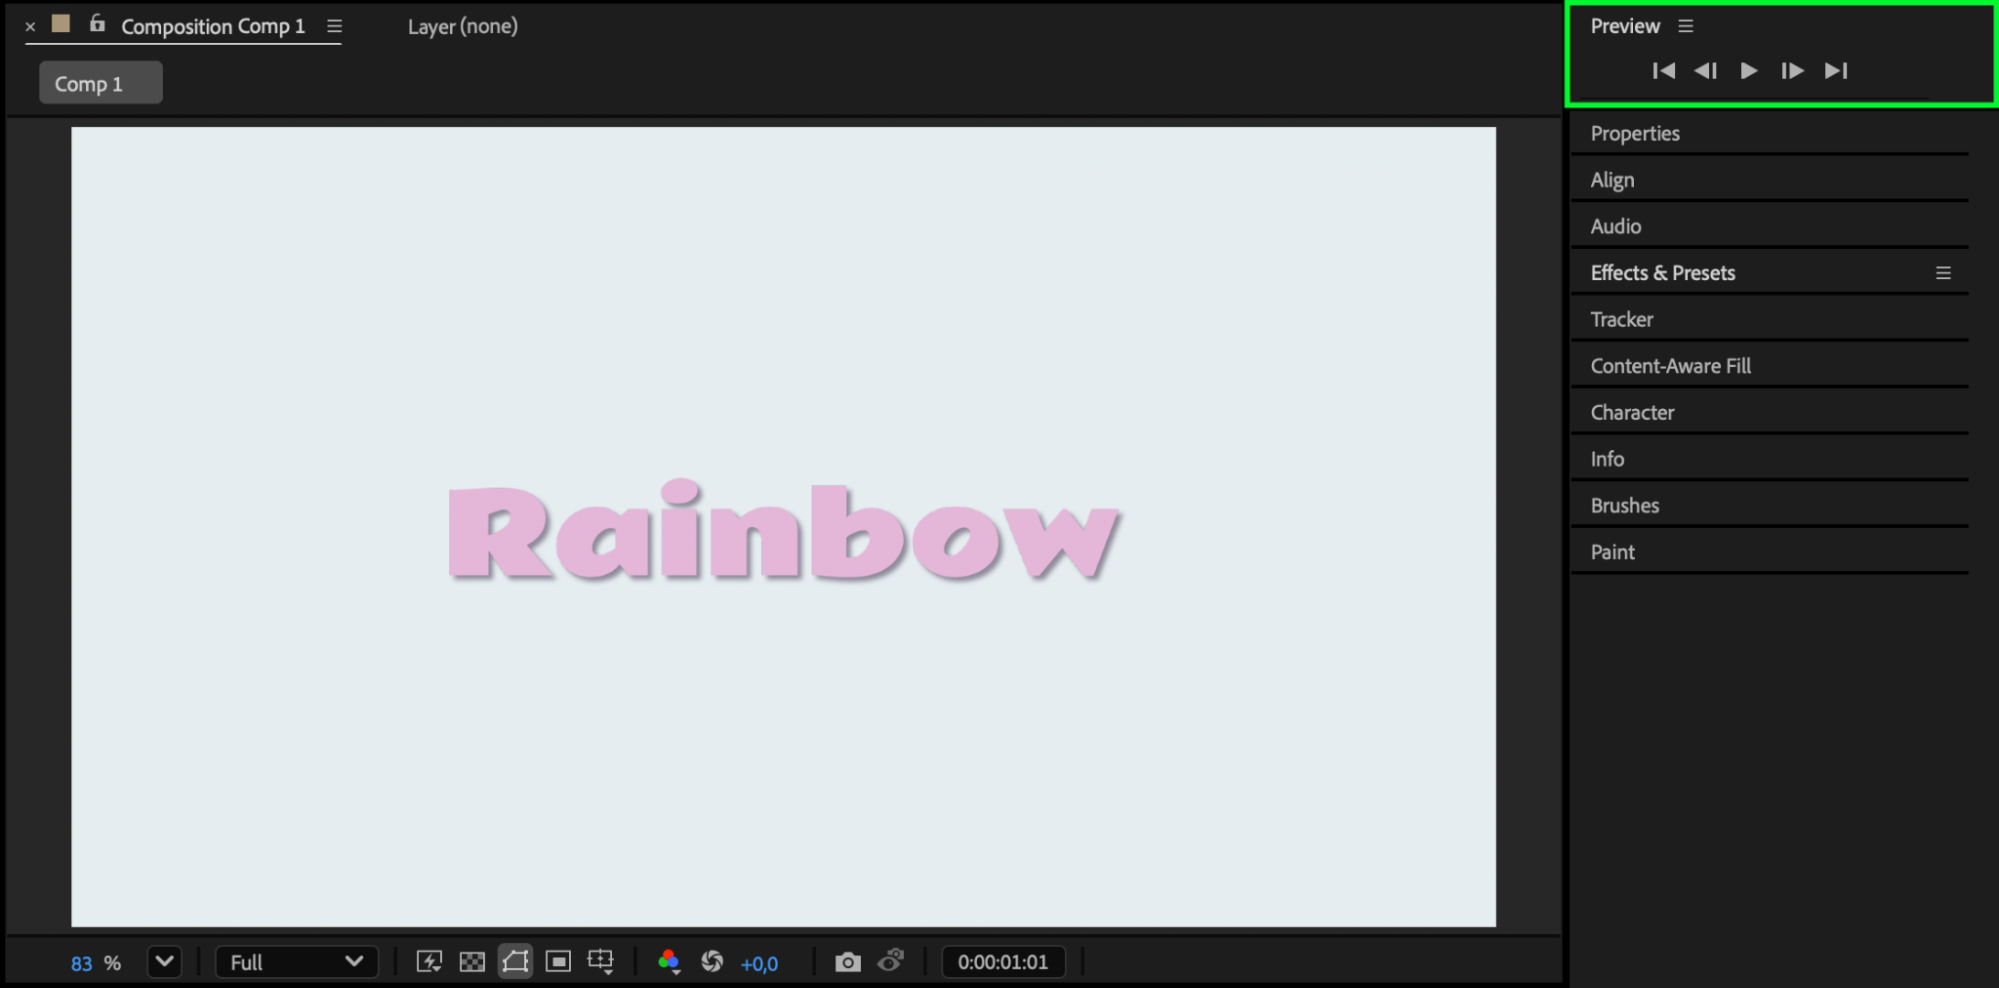
Conclusion
Animating text color in After Effects is a quick and effective way to enhance your motion design. With just a few keyframes, you can create smooth color changes that make your text more engaging and visually appealing.
Our Bestsellers


