How to Use Auto-Trace in After Effects for Animated Outlines
Overview of the Auto-Trace Tool in After Effects
Auto-tracing in After Effects is a powerful feature that allows you to convert images or logos into vector-based masks. This is particularly useful for creating animated outlines, logo reveals, or stylized motion graphics. By following this guide, you’ll learn how to use the Auto-Trace tool, apply effects, and animate strokes for a dynamic visual result.
Step 1: Import Your Image
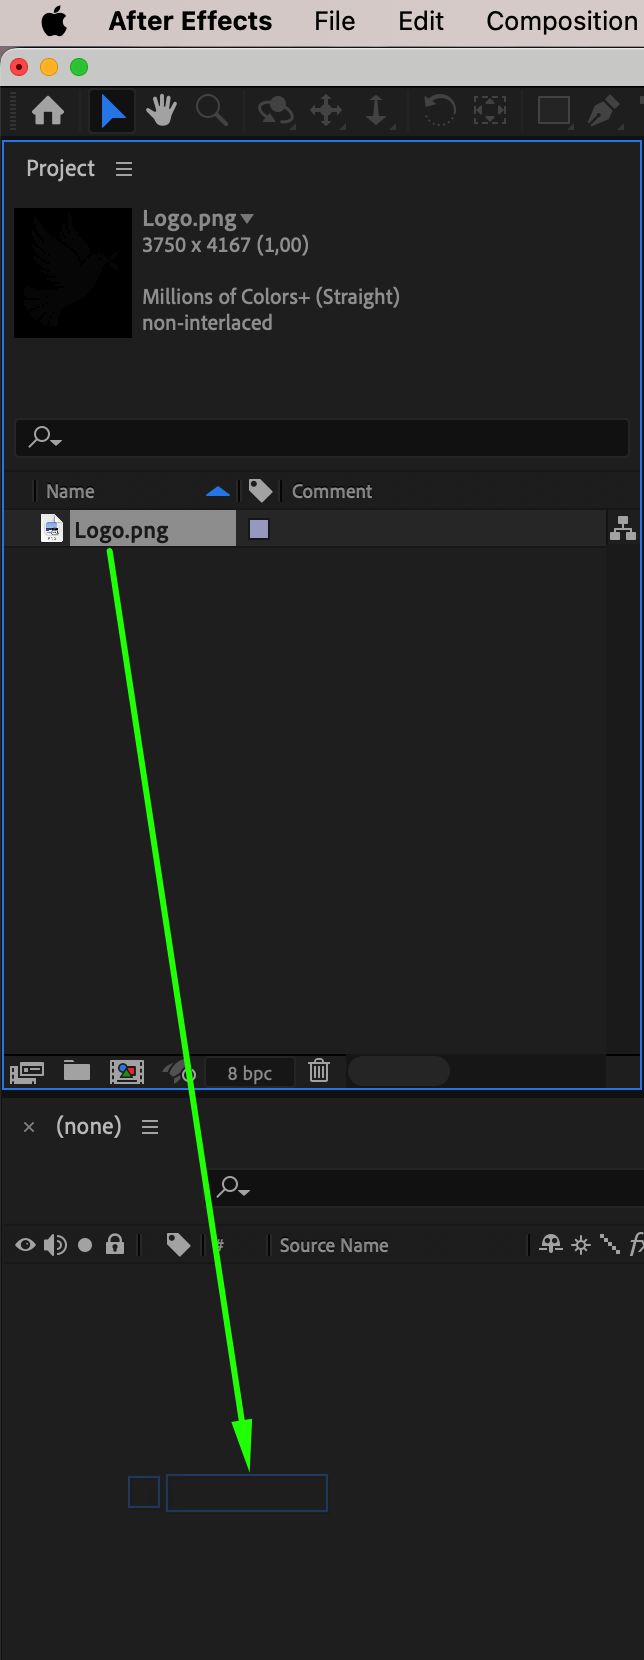
Go to File > Import > File, select your image or logo, and click Open. Drag the imported file onto the Timeline to create a composition.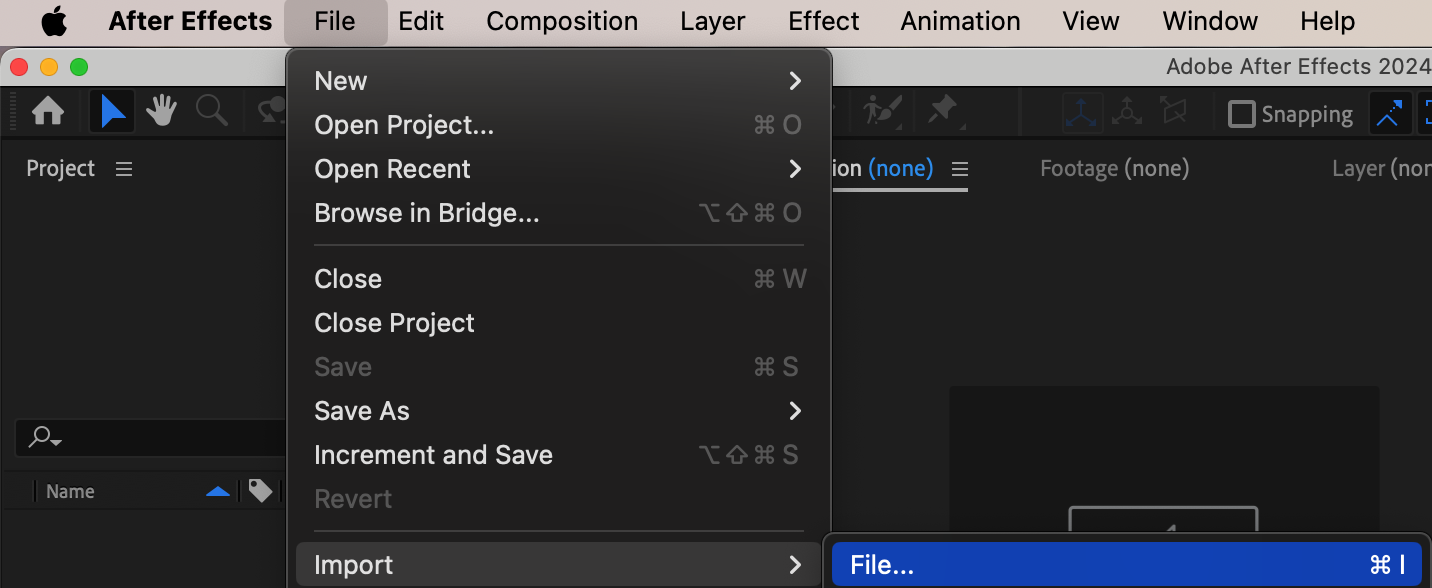
 Step 2: Enable Transparency Grid
Get 10% off when you subscribe to our newsletter

At the bottom of the Composition Panel, click the Toggle Transparency Grid button. This will help you see the cutout shape clearly when applying auto-trace.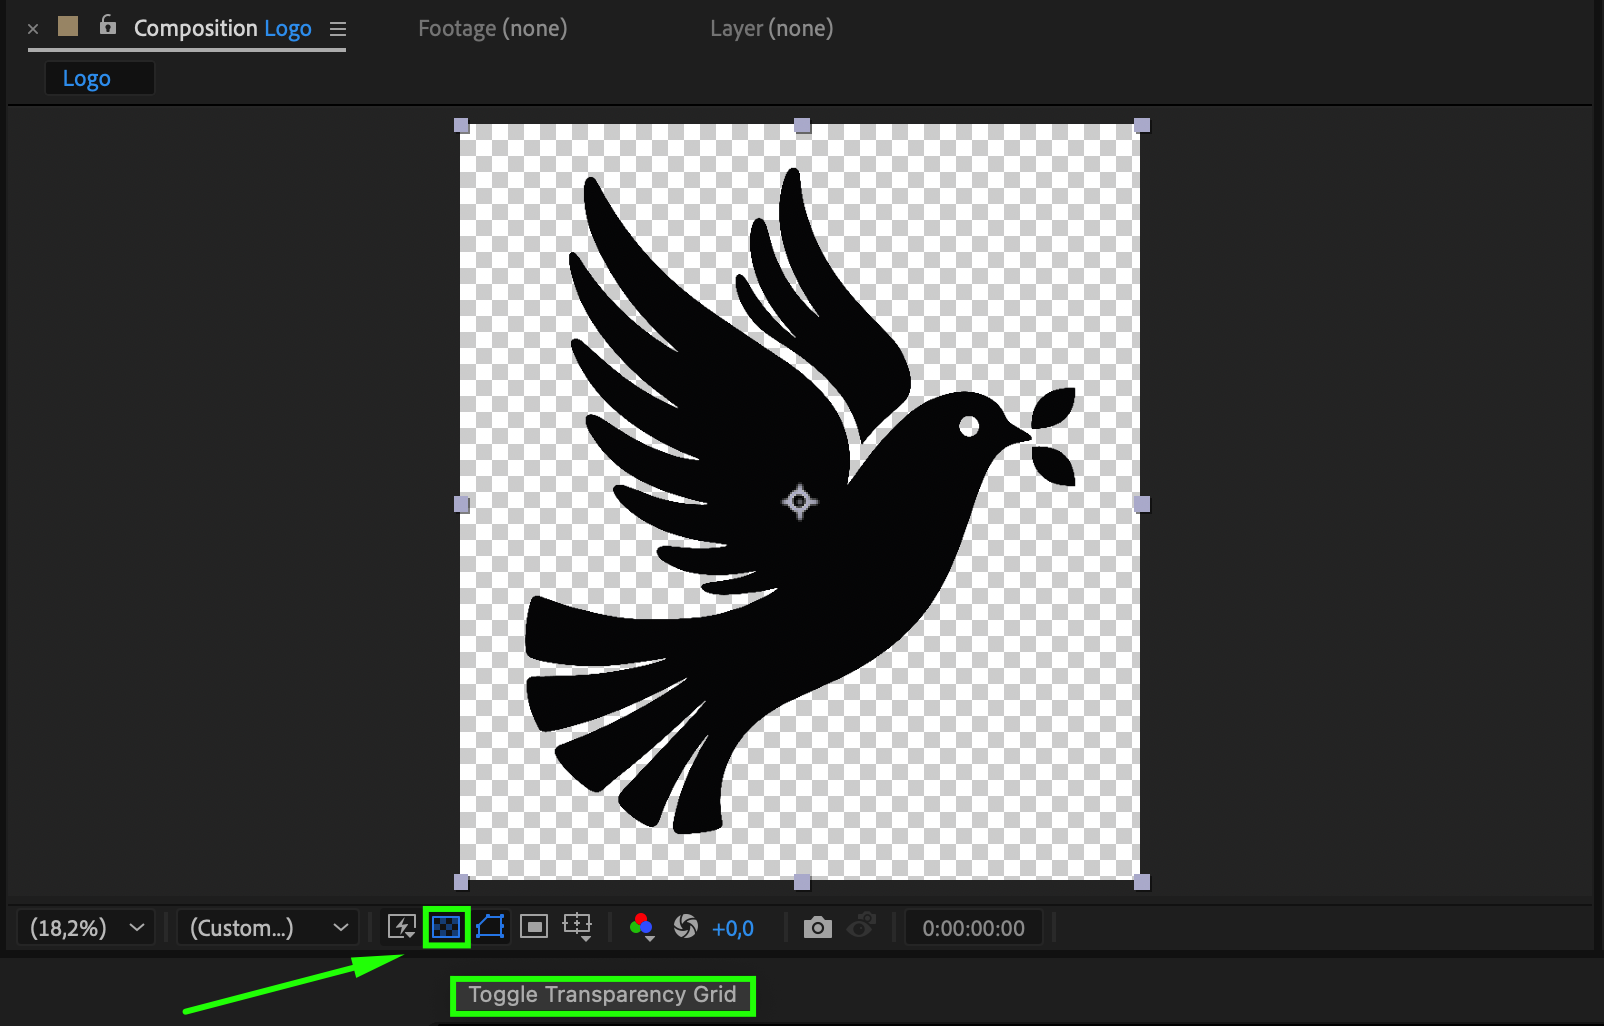 Step 3: Apply Auto-Trace
Select your Image Layer, then go to Layer > Auto-Trace. This will open the Auto-Trace settings window, allowing you to adjust parameters for accurate tracing.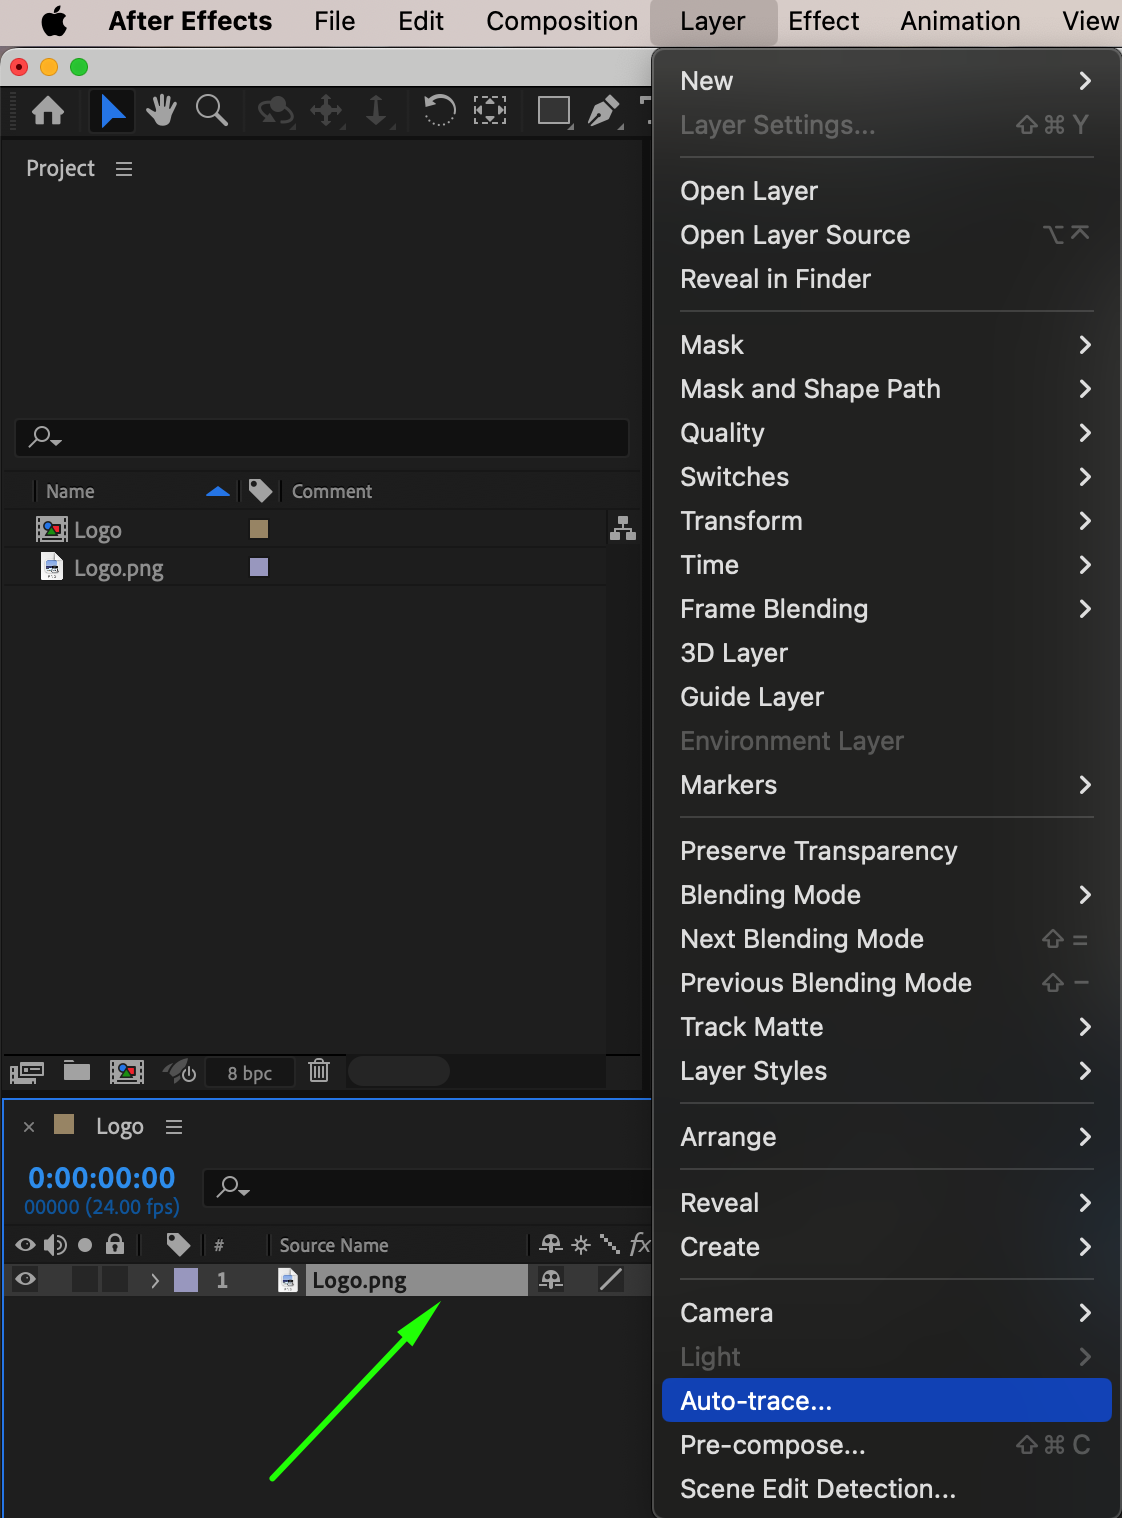 Step 4: Adjust Auto-Trace Settings
In the Auto-Trace window, set:
Channel: Alpha
Tolerance: 1 px
Threshold: 1%
Minimum Area: 1 px
Corner Roundness: 50%
Click OK to apply the settings and generate masks from the image.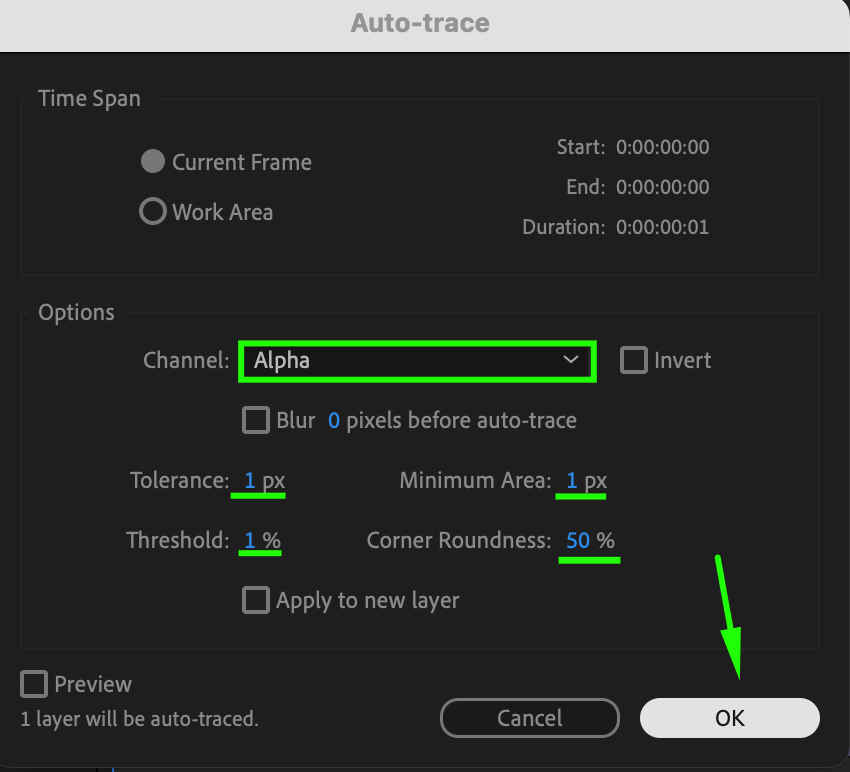 Step 5: Apply Stroke Effect
Go to the Effects & Presets Panel and search for Stroke. Drag and drop the effect onto the Image Layer to apply an animated outline.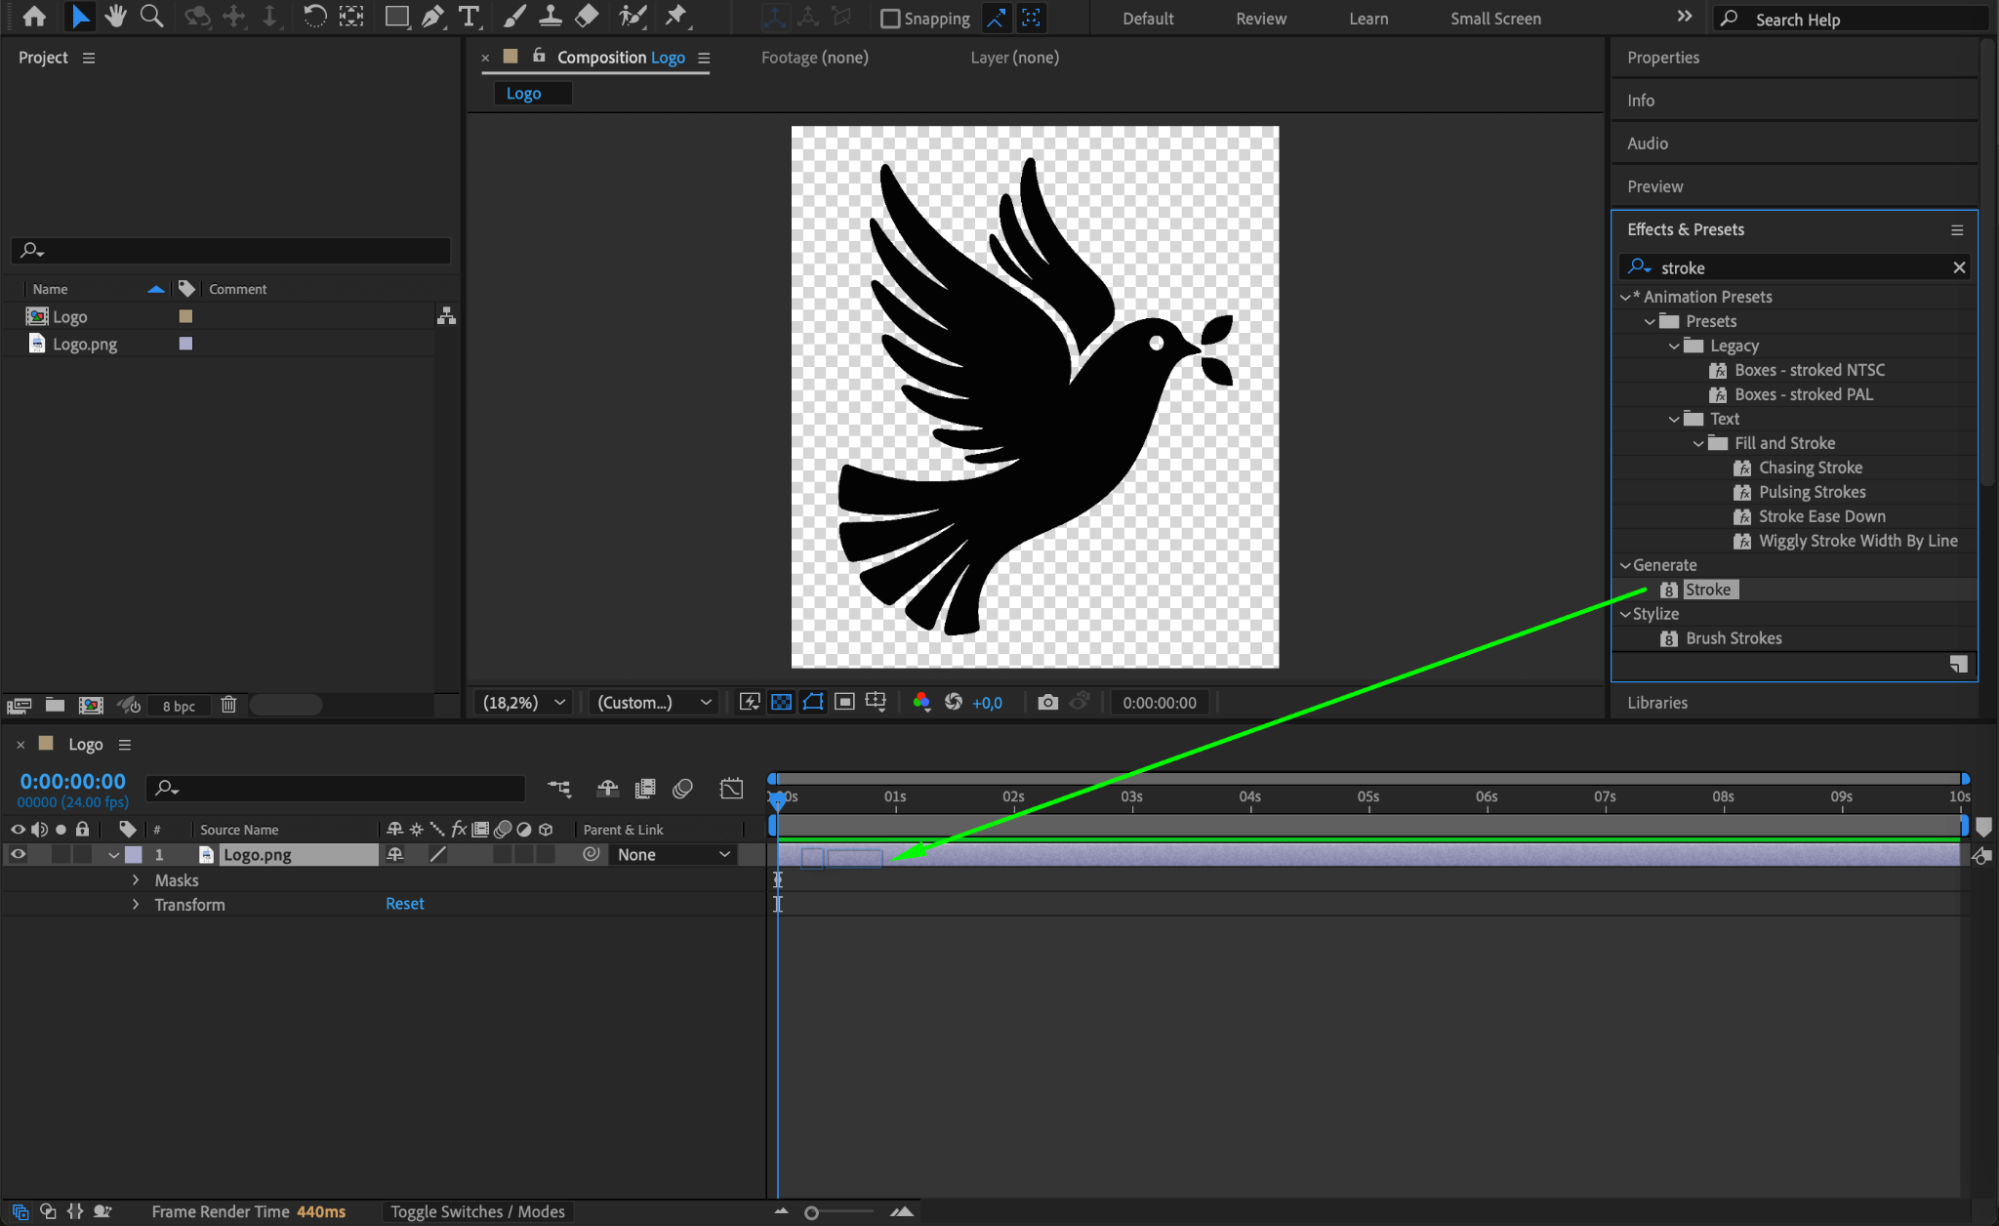 Step 6: Adjust Stroke Settings
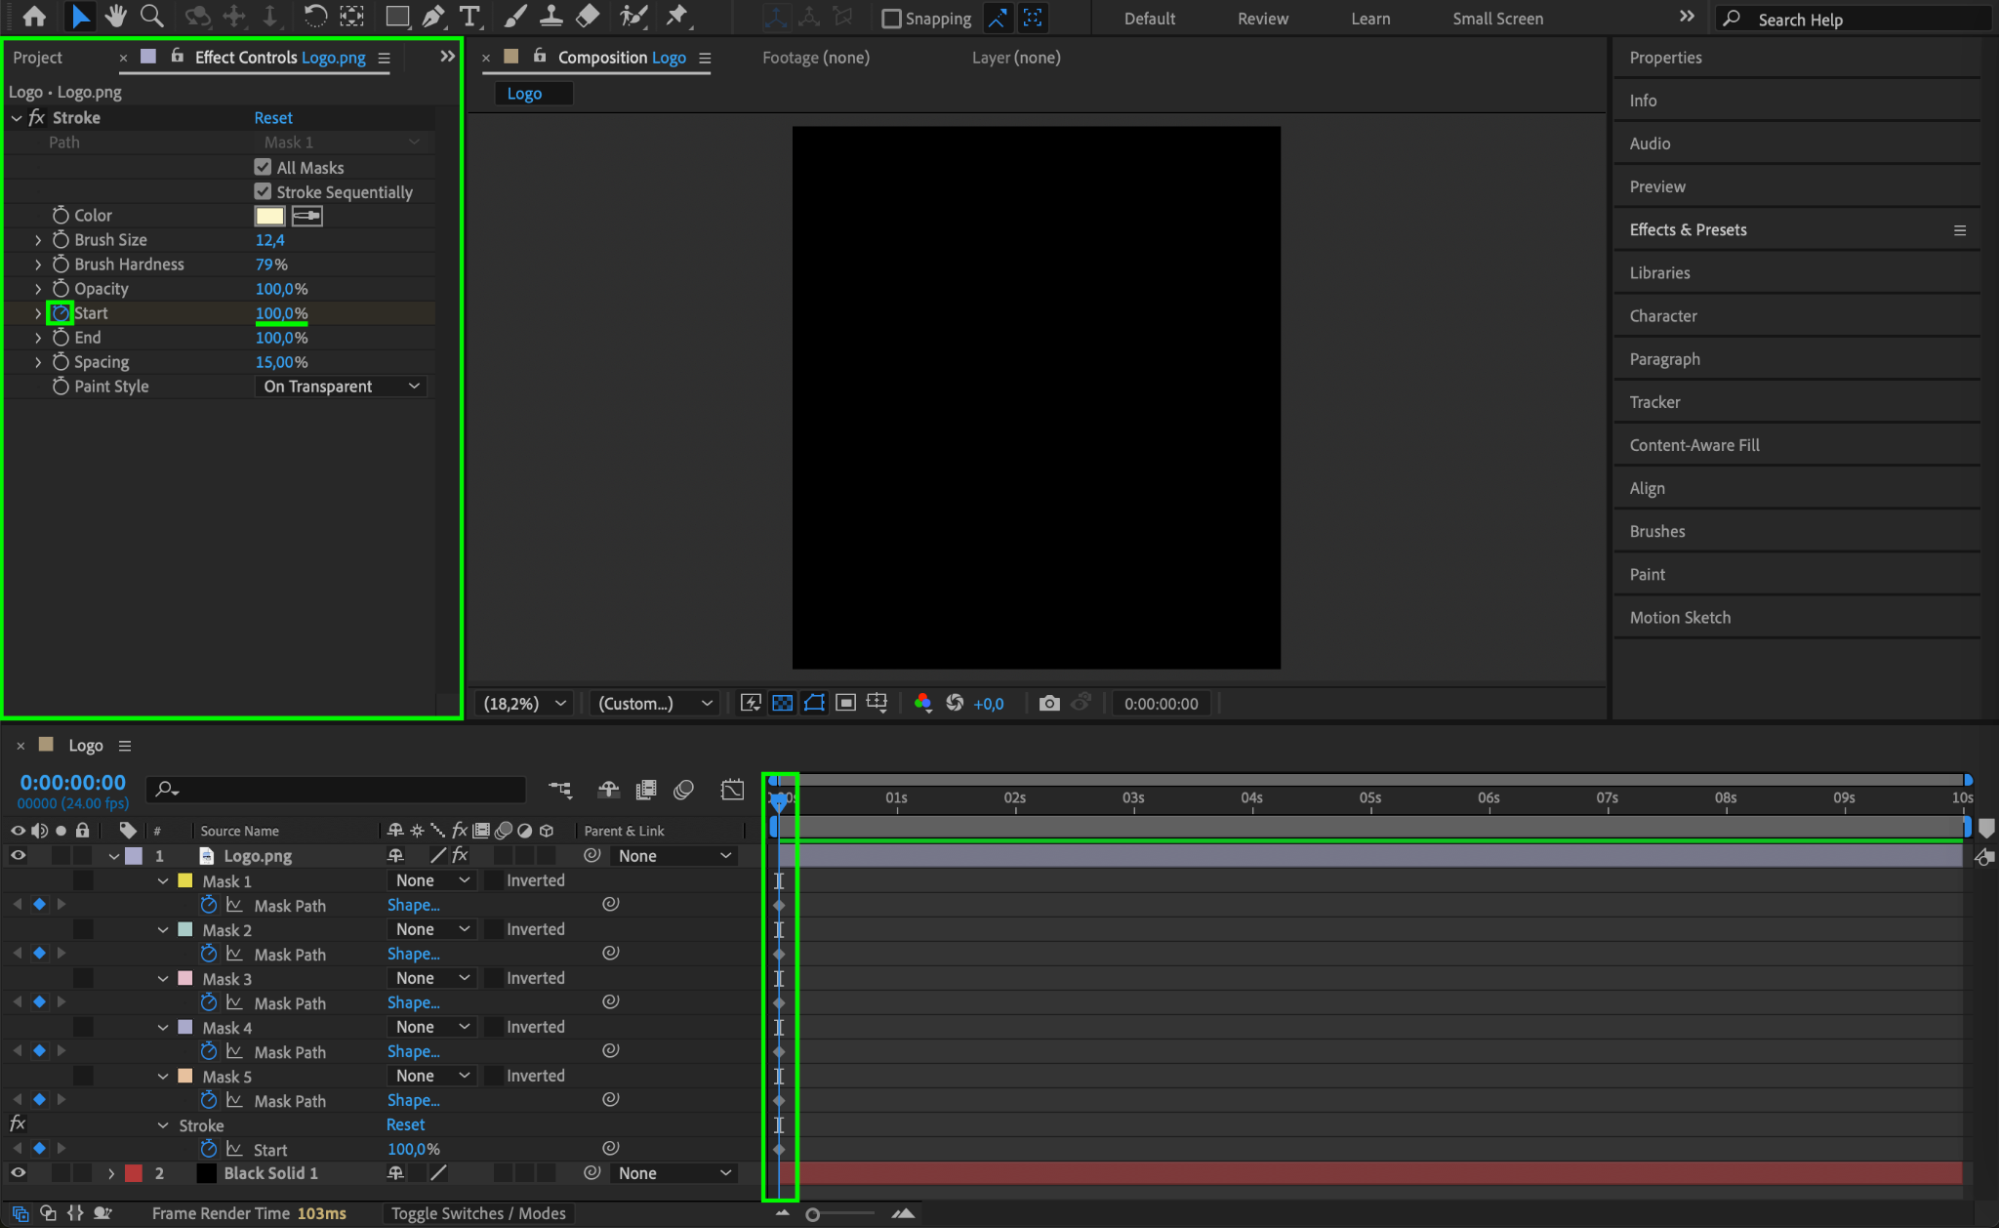
In the Effect Controls Panel, check the All Masks option to apply the stroke to all traced paths. Change the Paint Style to On Transparent so that only the stroke is visible.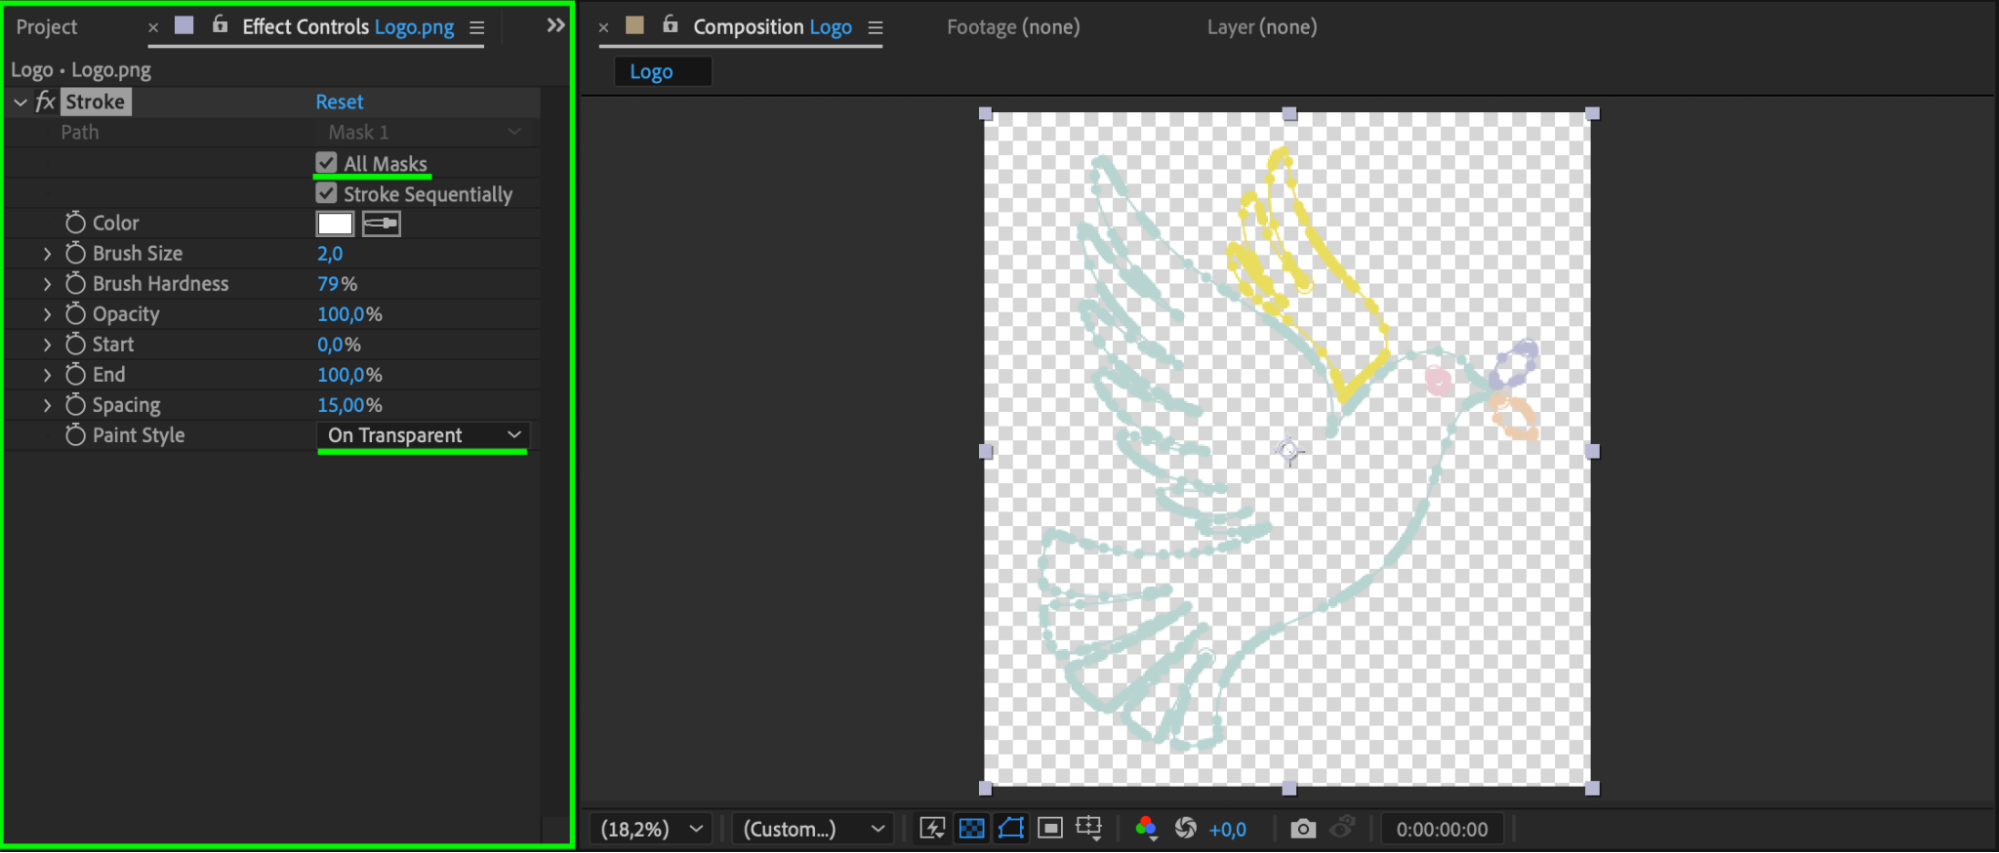 Step 7: Add a Background
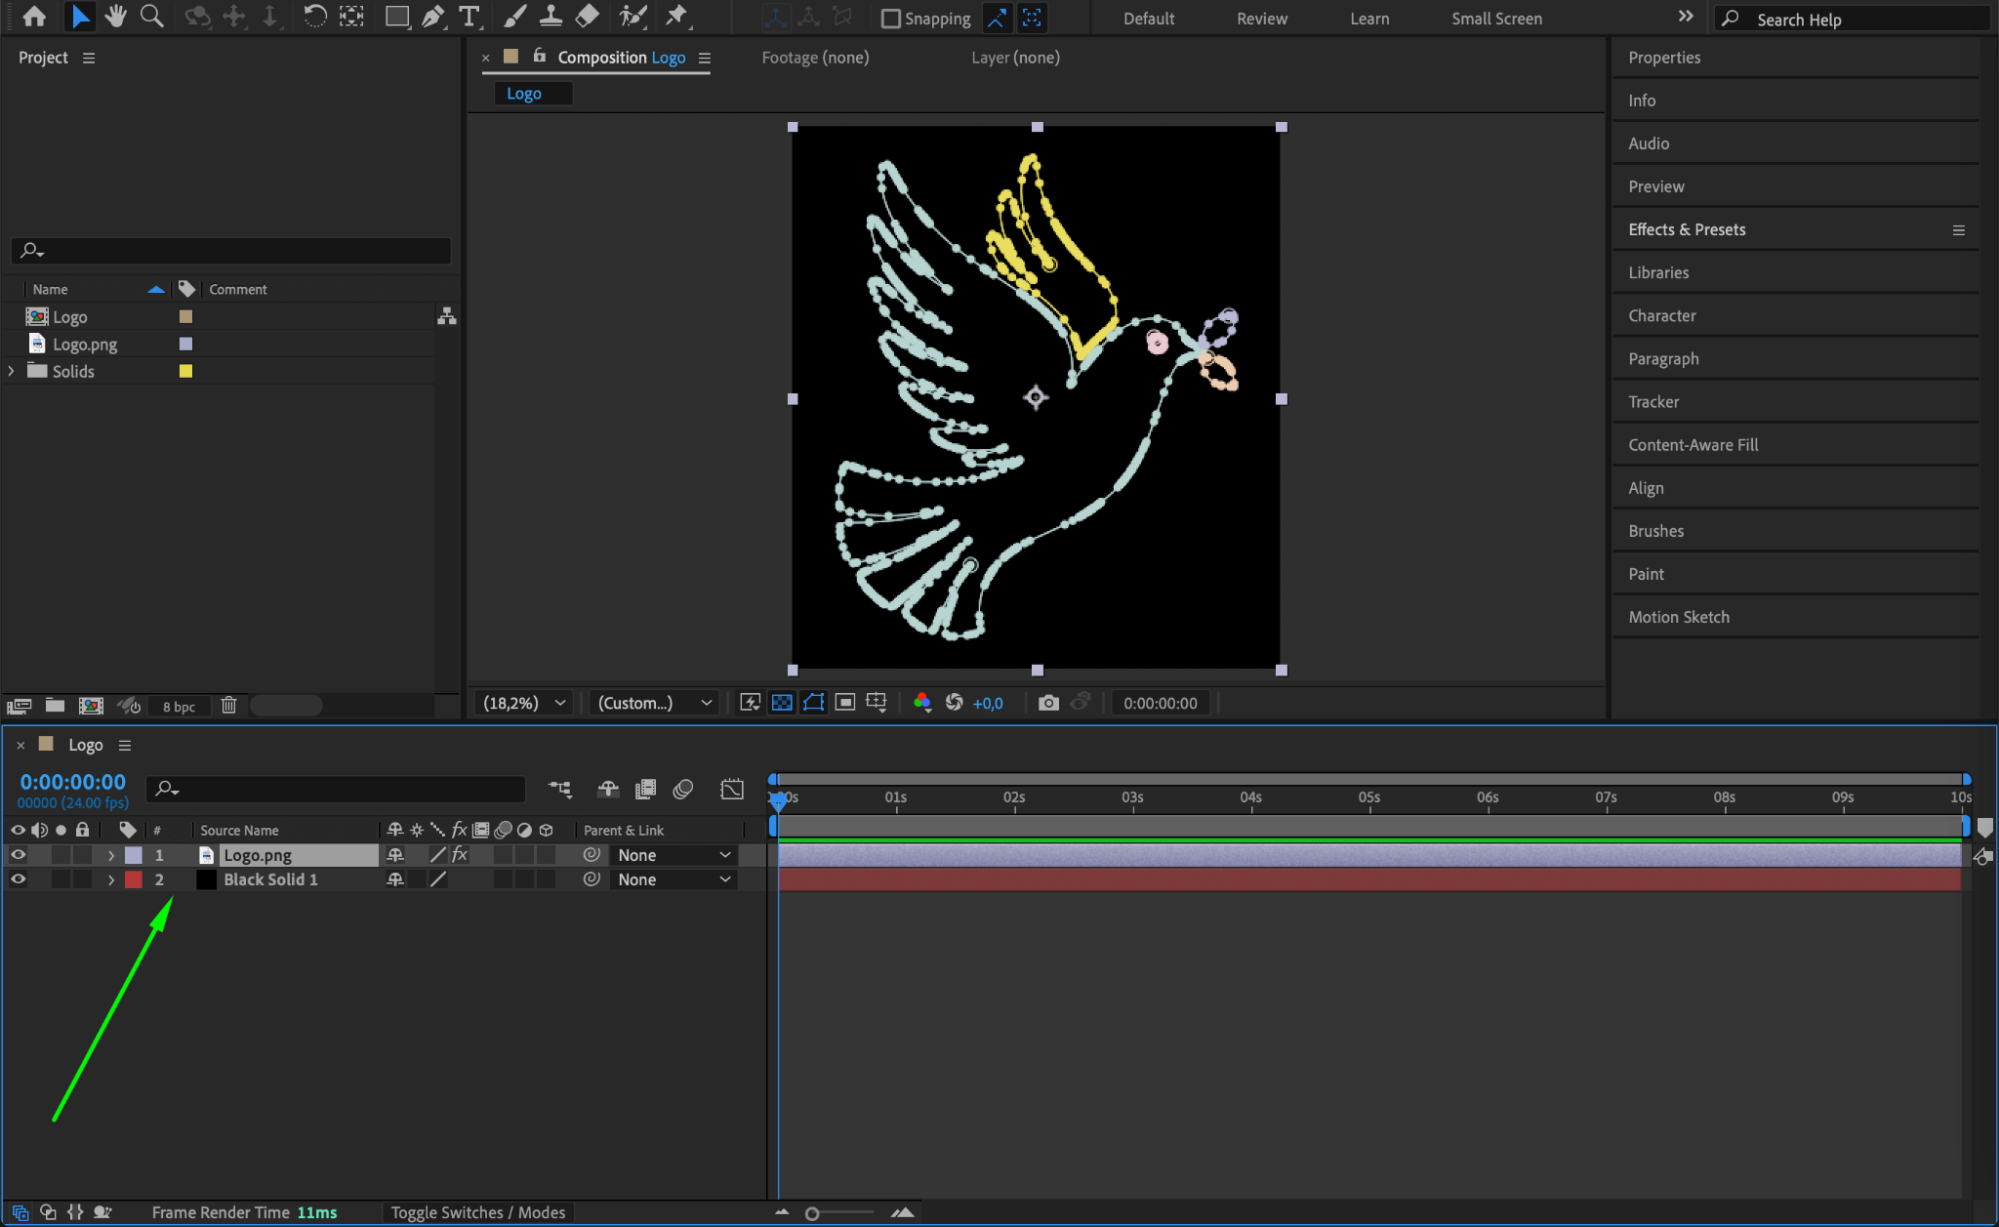
Go to Layer > New > Solid, choose a background color, and click OK. Drag the Solid Layer below your Image Layer in the Timeline to place it in the background.

 Step 8: Animate the Stroke
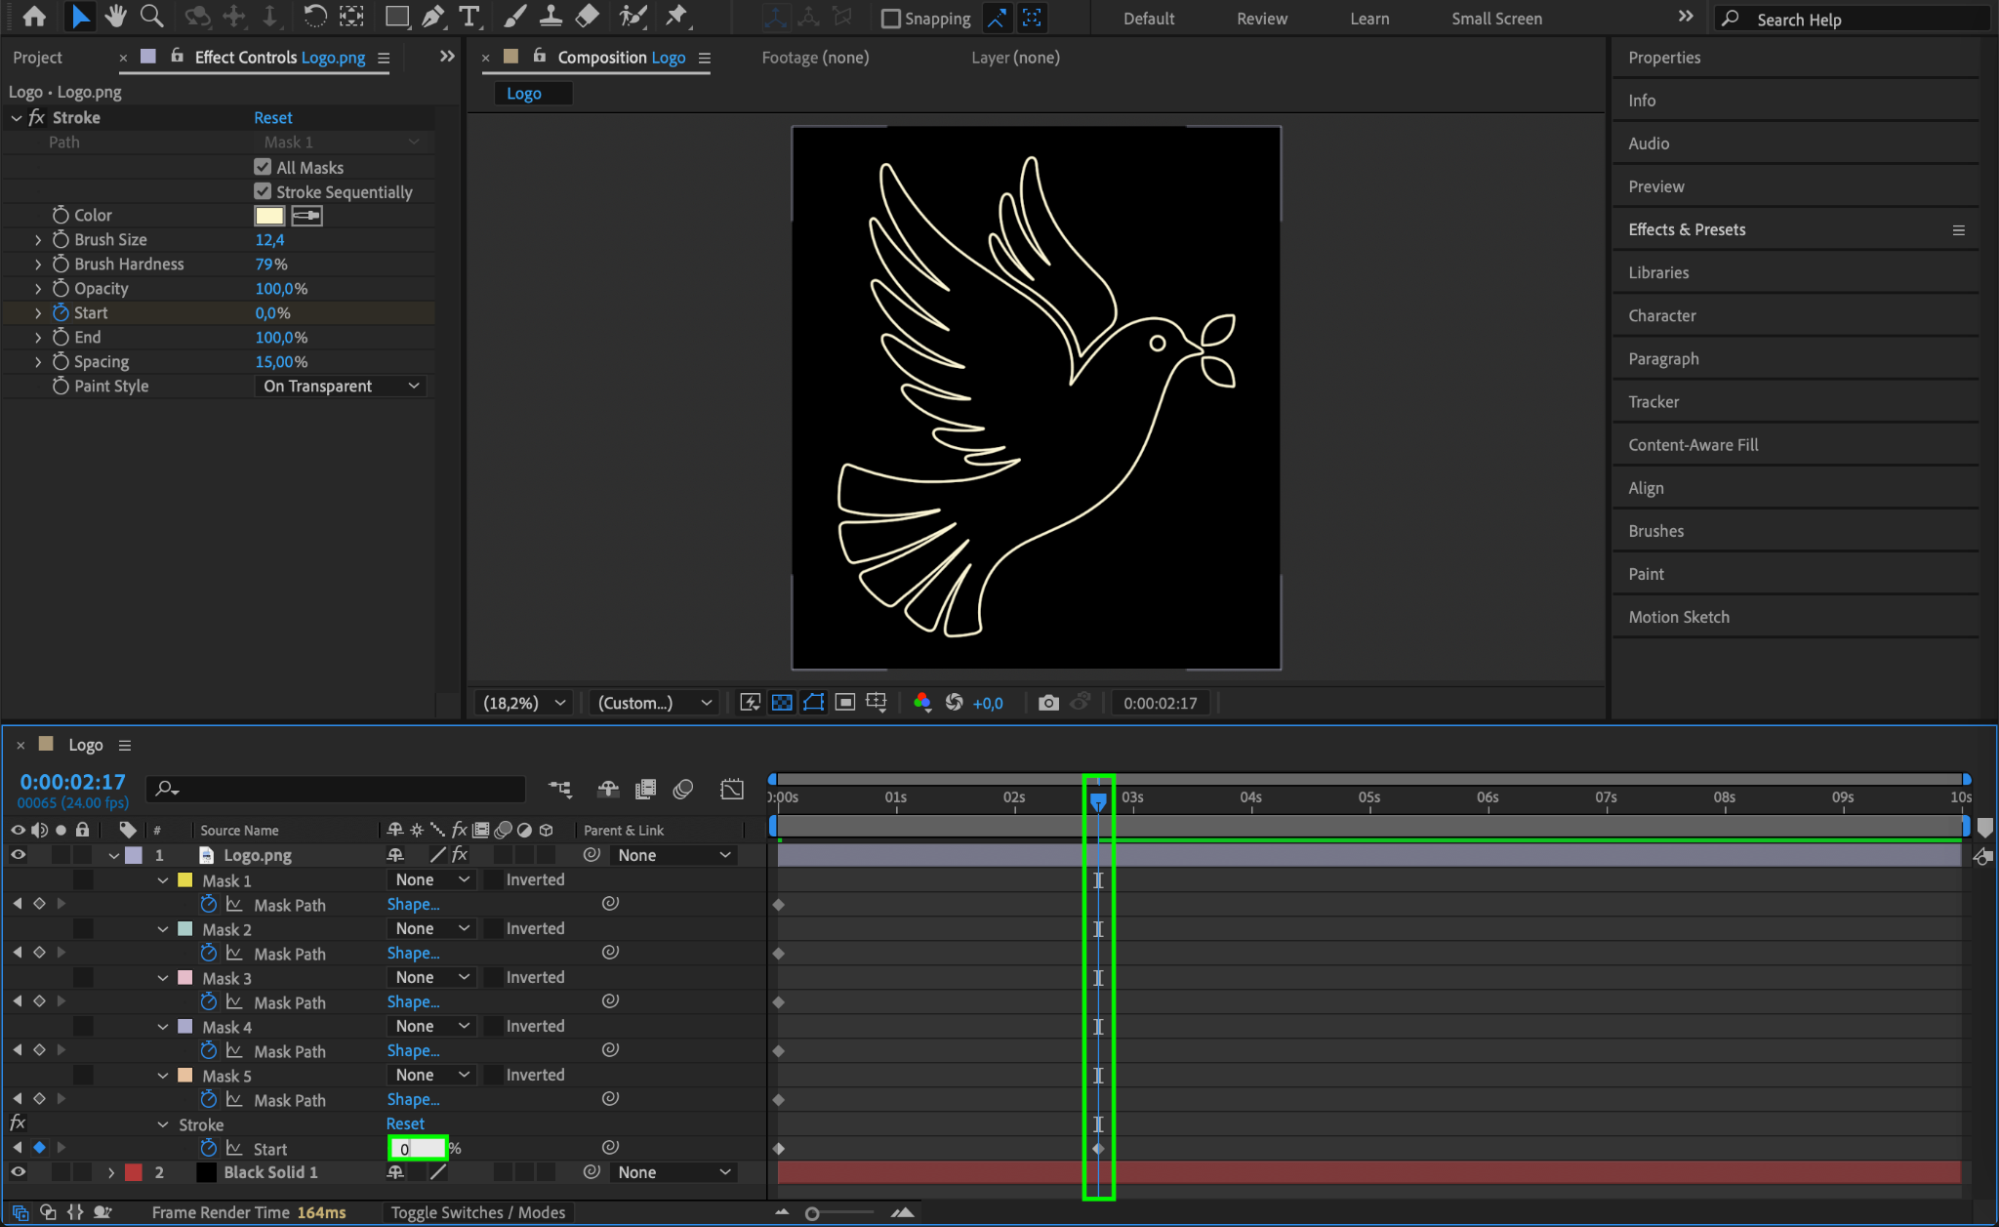
Select the Image Layer, then go to the Effect Controls Panel. In the Stroke Effect, animate the Start parameter by setting it to 100% at the beginning of the timeline and 0% at the middle. This creates a reveal animation of the traced outline.
 Step 9: Preview the Animation
Press Spacebar to play the composition and preview the stroke animation. If needed, adjust the brush size, color, or animation speed.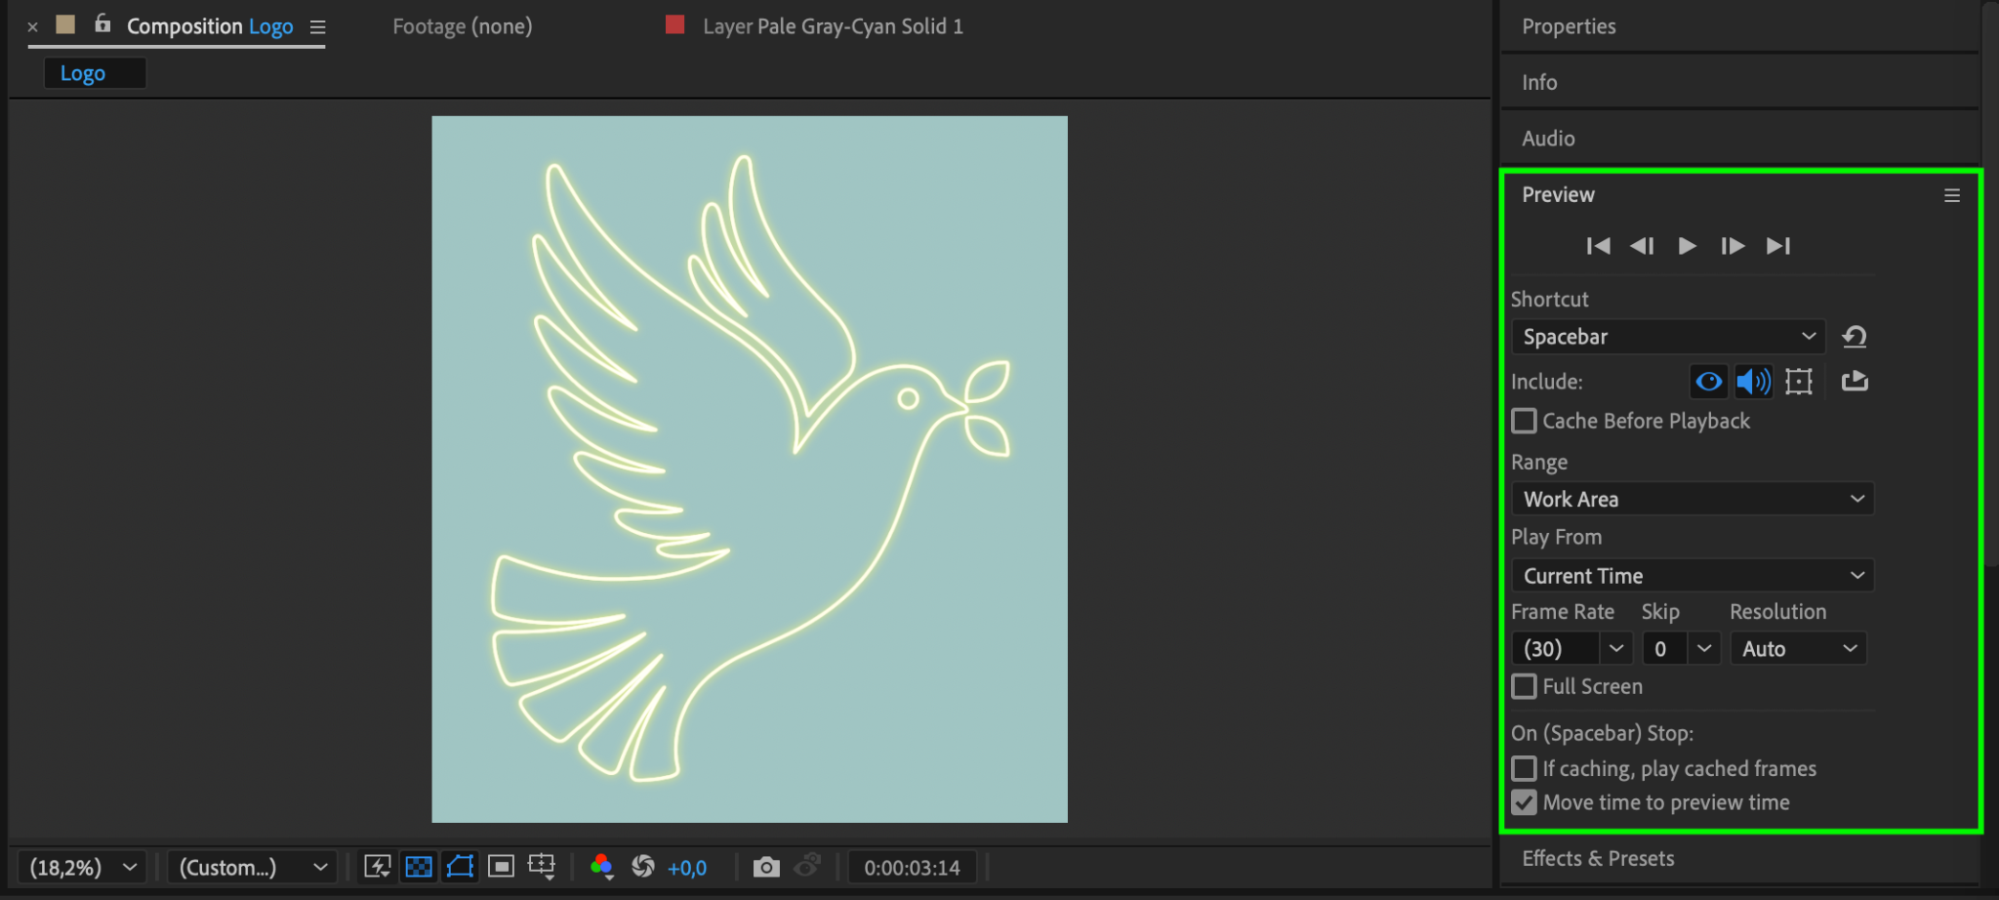 Step 10: Render and Export
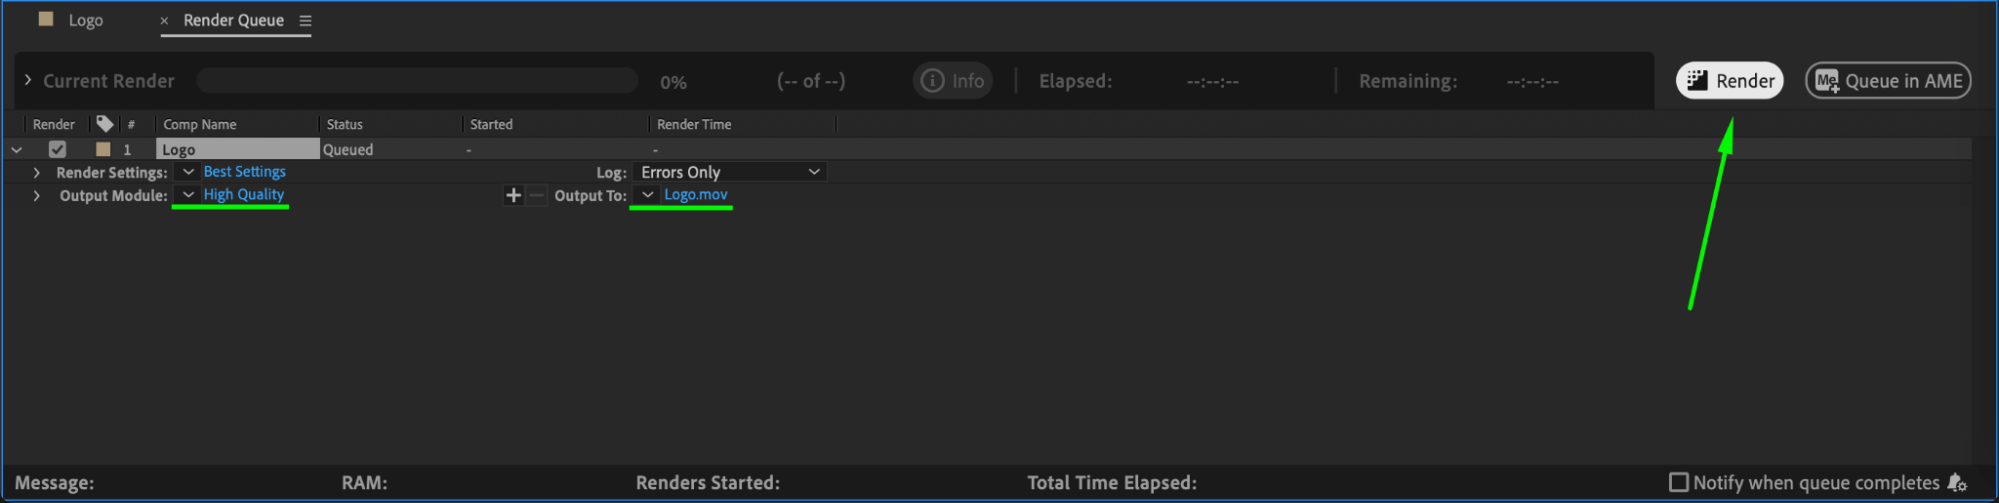
Once satisfied with the animation, go to Composition > Add to Render Queue. Adjust the output settings, select a file format, and click Render to save your final video.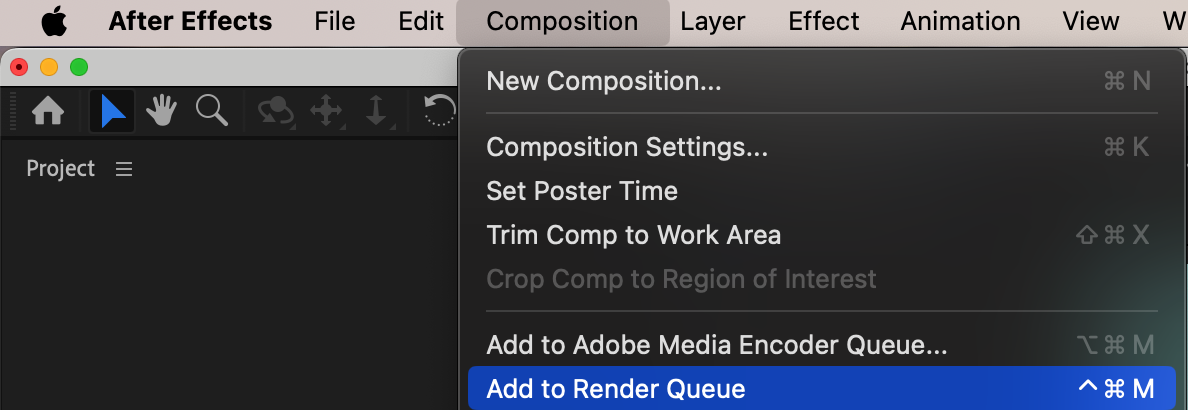
 Conclusion
Auto-tracing in After Effects is a useful way to convert images into masks for animated outlines. This technique is ideal for creating dynamic logo reveals or stylized motion graphics.
Our Bestsellers


