How to Use Auto-Tracking in After Effects
Introduction to Auto-Tracking in After Effects
Auto-tracking in After Effects allows you to track the movement of a scene and attach text or objects to it, creating realistic motion graphics. This technique is useful for integrating text into moving scenes or adding visual effects that match the camera movement. Below, we’ll go through the step-by-step process of using the Camera Tracker tool in After Effects.
Step 1: Import Your Video
Get 10% off when you subscribe to our newsletter

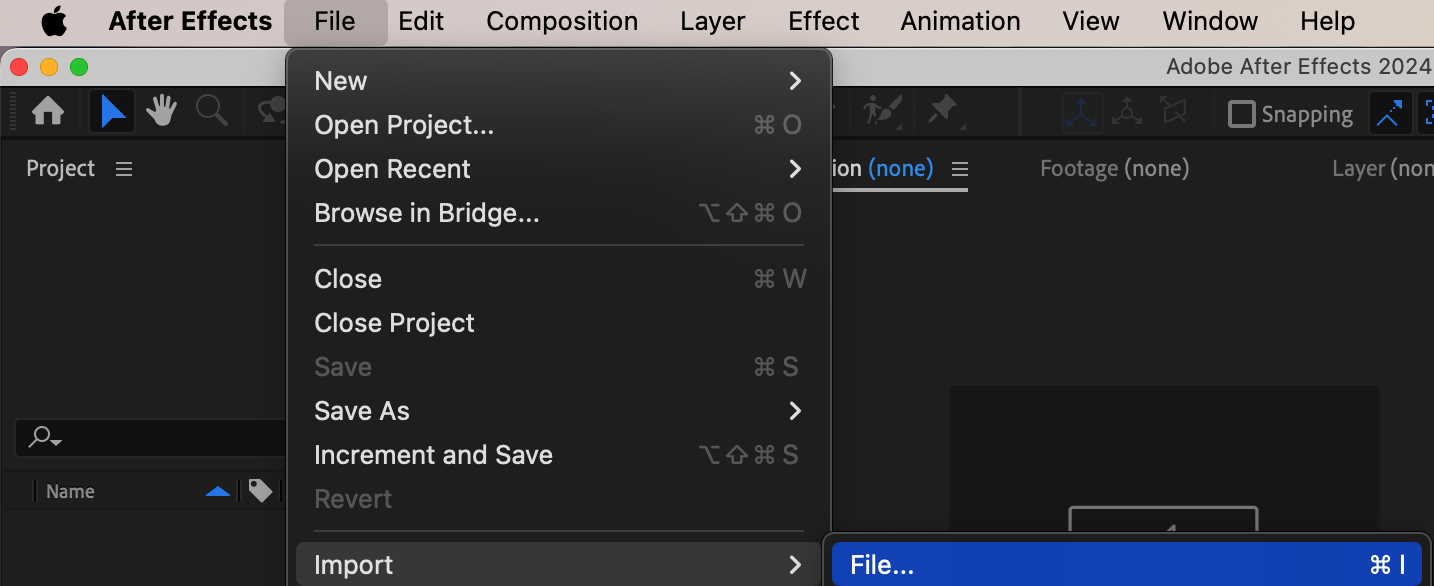
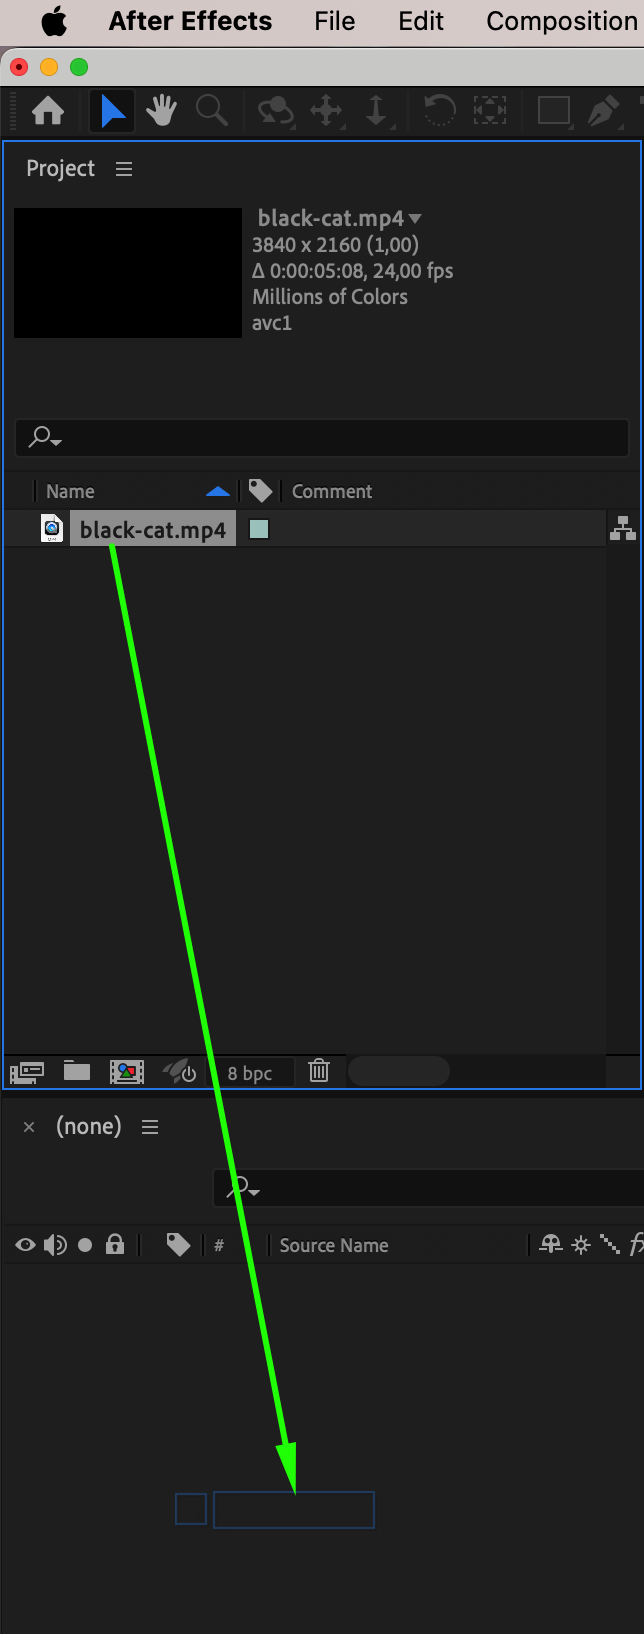
Go to File > Import > File and select the video you want to track. Drag it onto the timeline to automatically create a composition with matching settings.

Step 2: Open the Tracker Panel
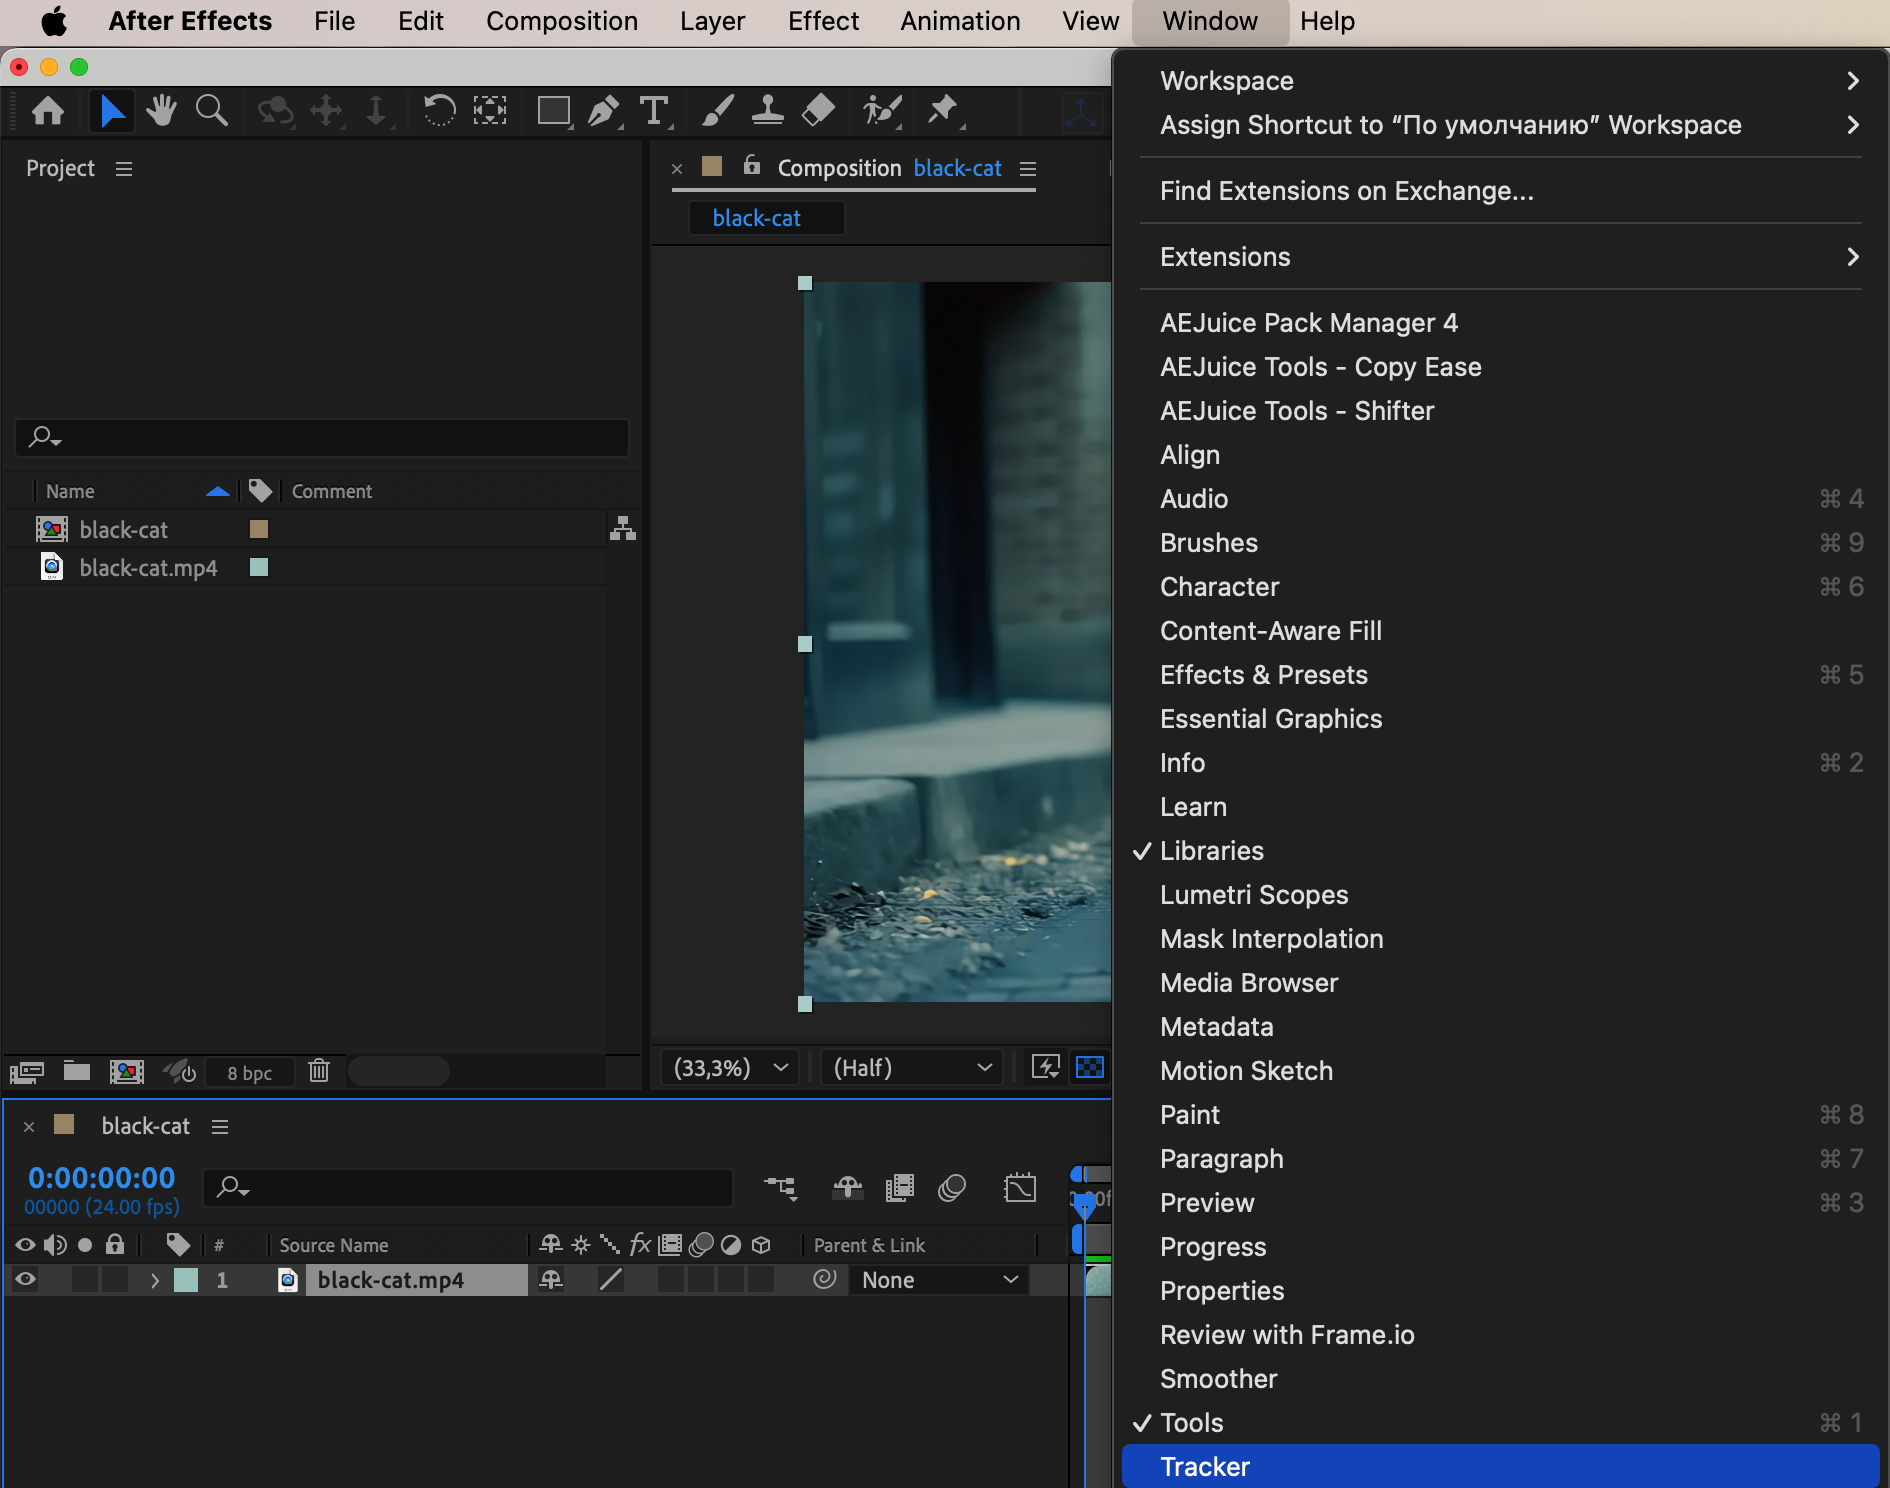
Go to Window > Tracker to open the Tracker panel. This is where you will find all motion tracking options.
Step 3: Apply Camera Tracking
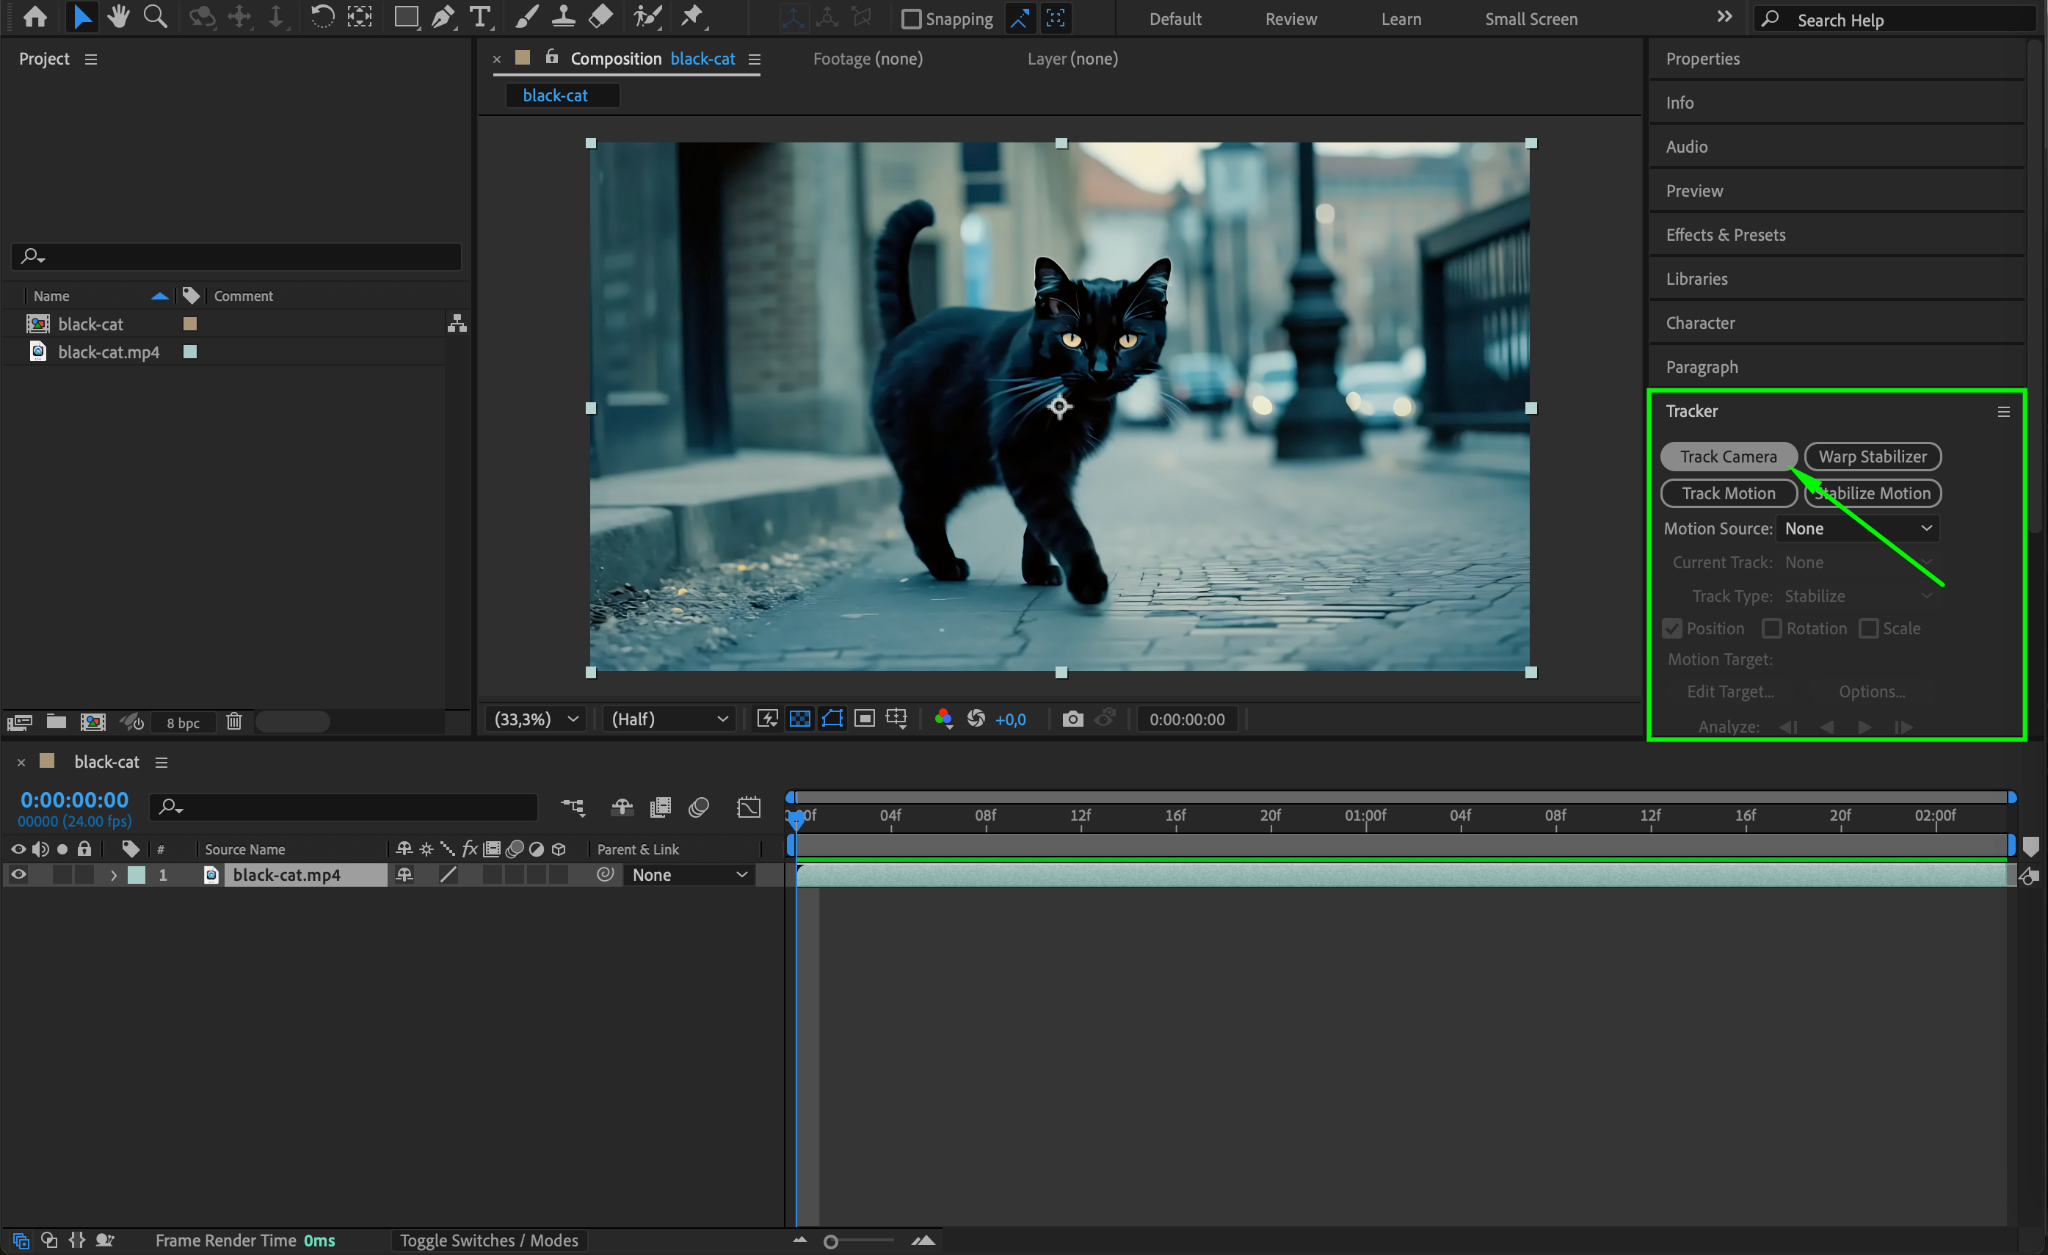
With your video layer selected, click the Track Camera button in the Tracker panel. After Effects will begin analyzing the footage, which may take a few minutes depending on the video length and complexity.
Step 4: Create a 3D Camera
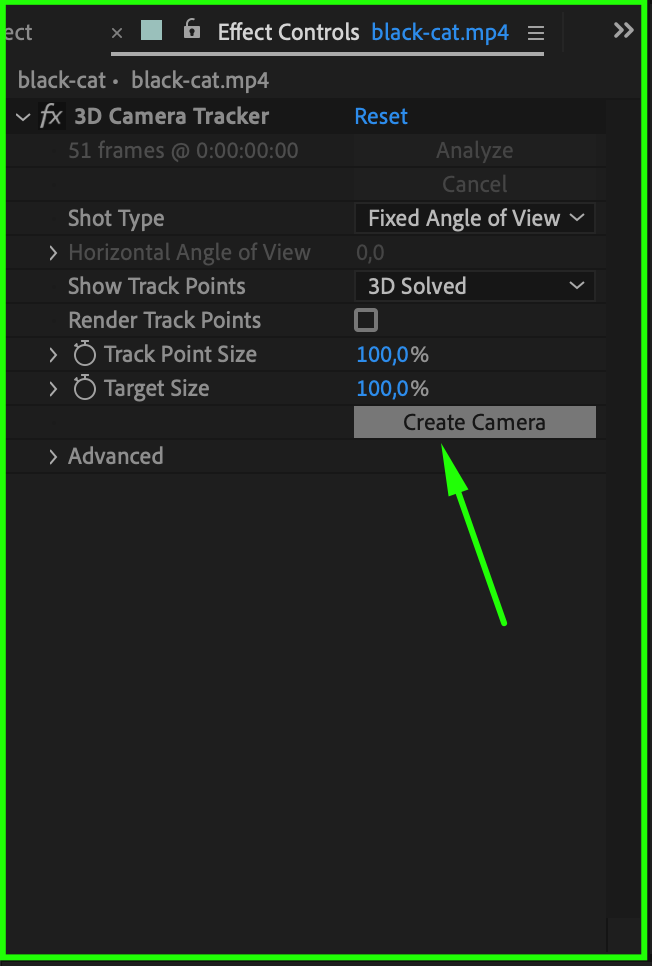
Once the analysis is complete, you’ll see track points appear on the video. Go to the Effect Controls panel and click the Create Camera button. This will generate a 3D camera that mimics the original camera movement in your footage.
Step 5: Add Text to the Scene
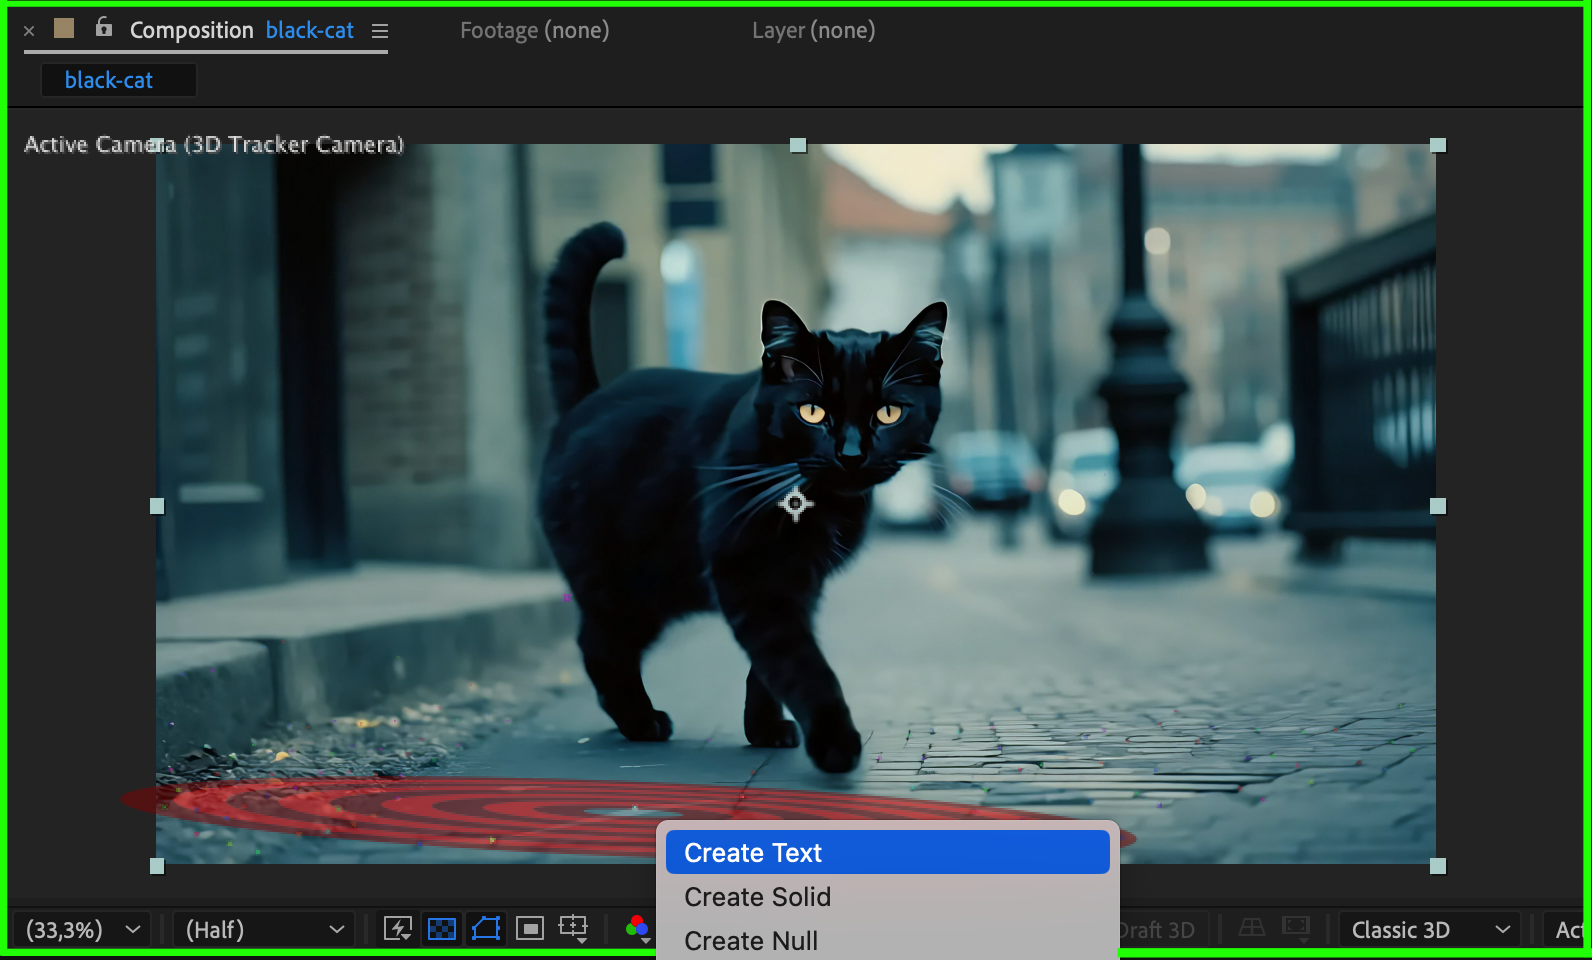
In the Composition panel, find an area where you want to place text. Right-click on a track point and select Create Text. This will create a 3D text layer that moves with the scene.
Step 6: Customize the Text
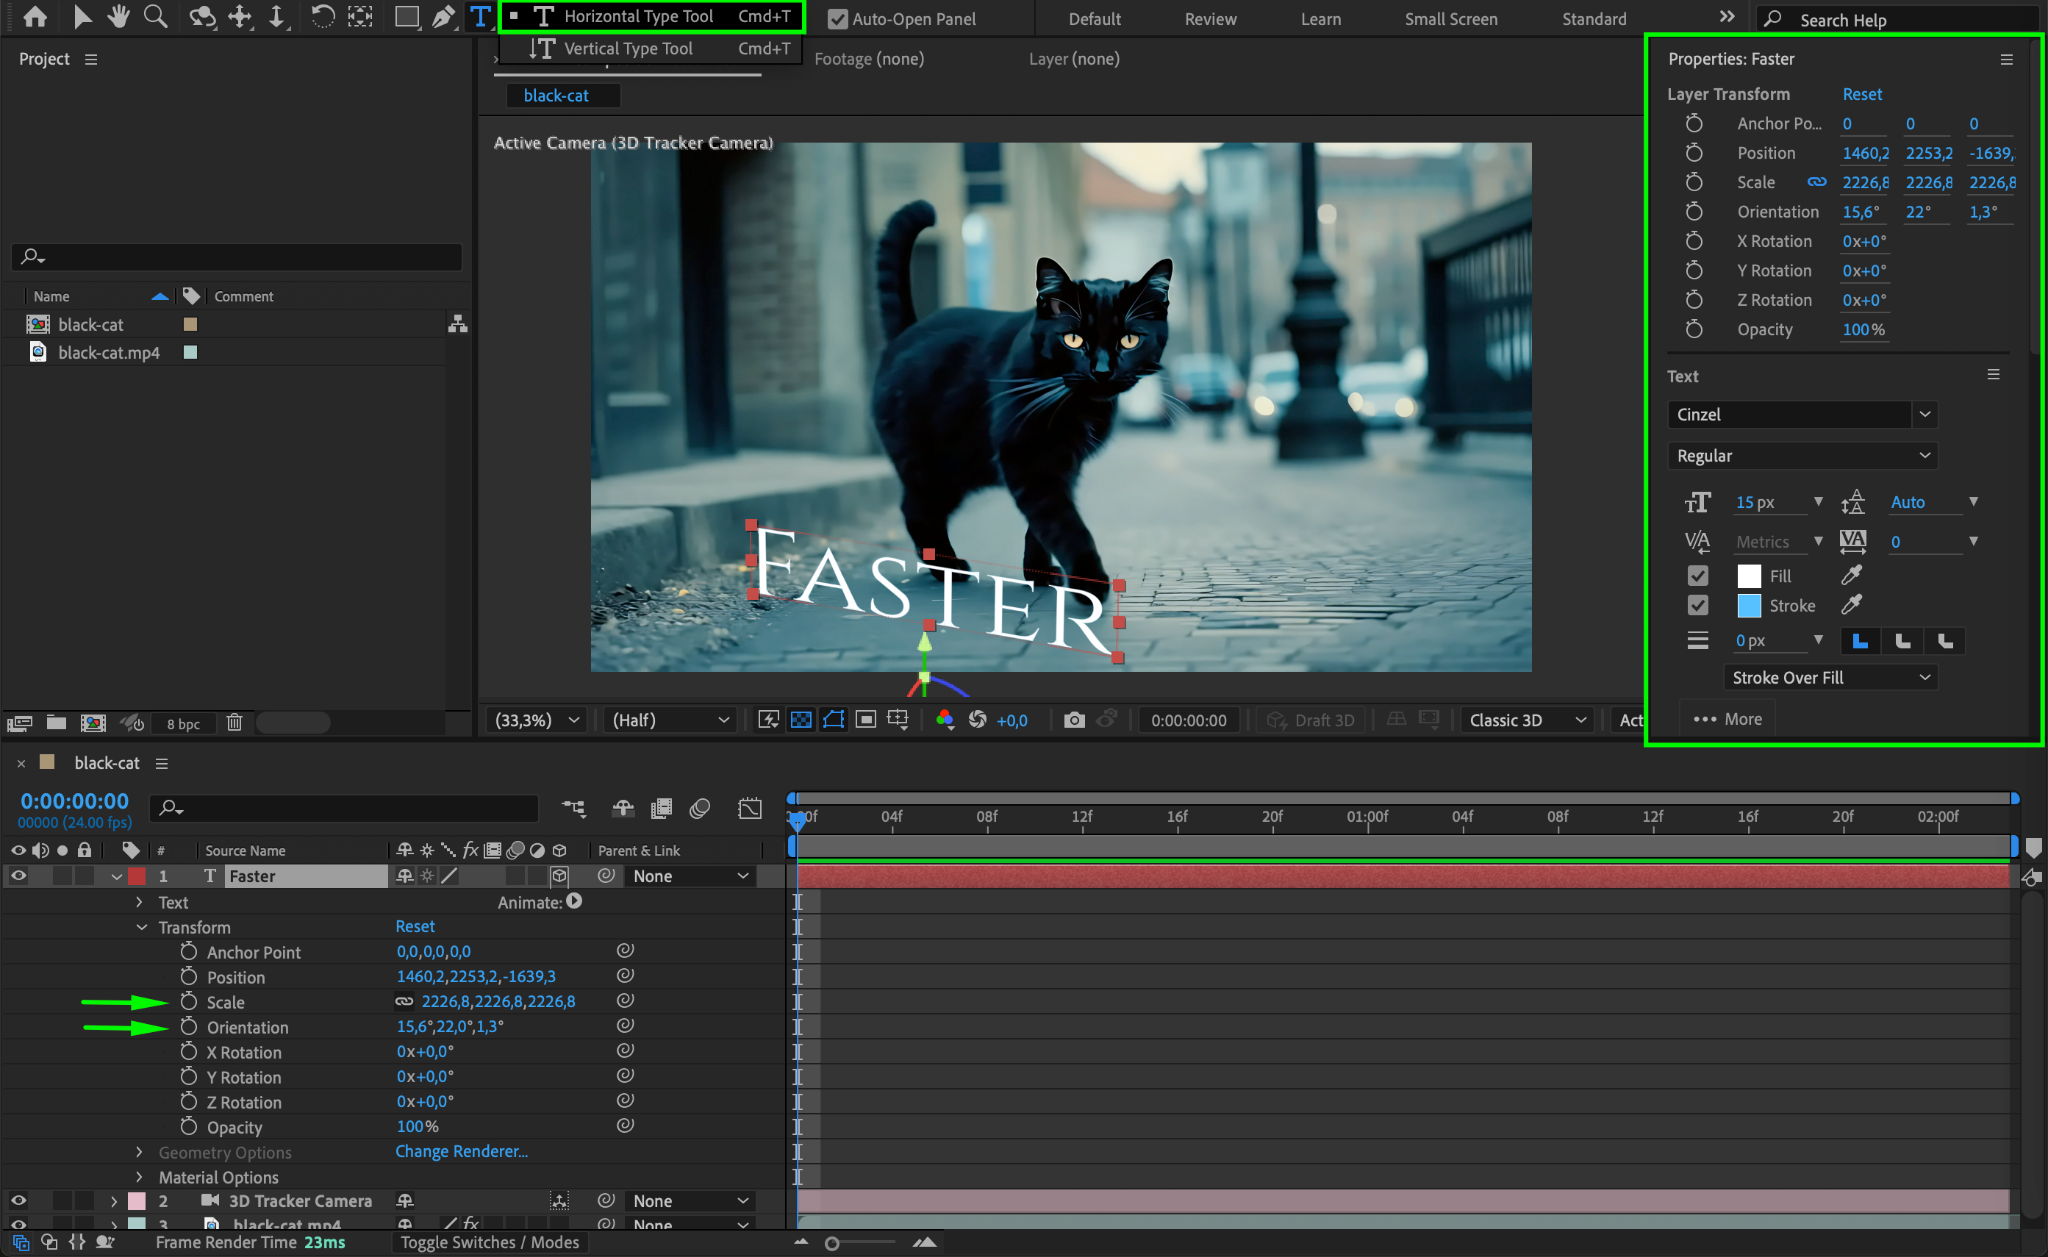
Double-click the newly created text layer and type your text. Use the Character and Properties panels to adjust the font, size, and color. You can also reposition the text in 3D space using the Transform controls.
Step 7: Add a Text Shadow (Optional)
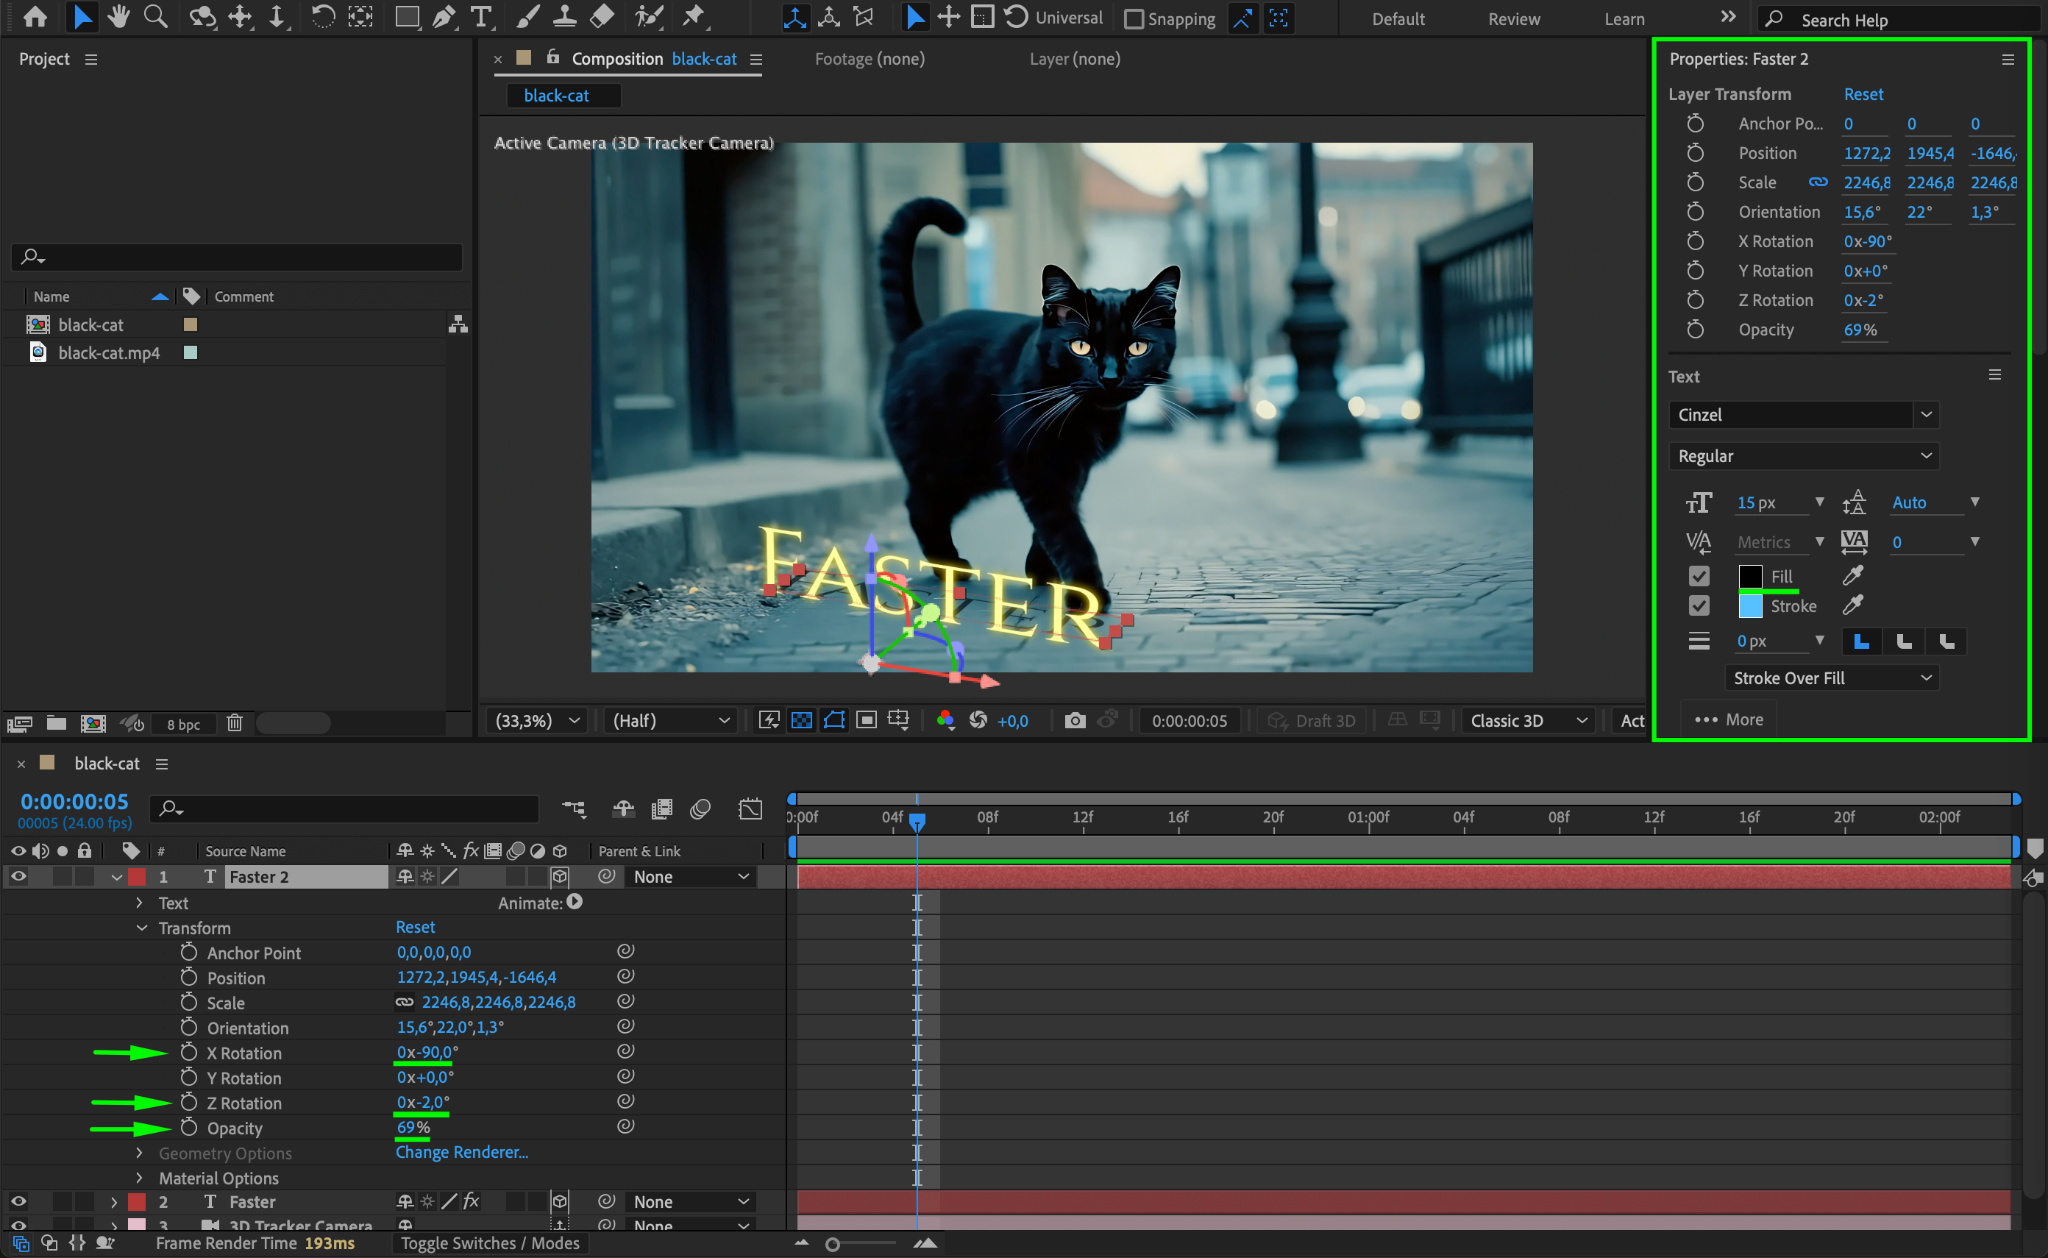
To make the text more visually appealing, duplicate the text layer (Ctrl/Cmd + D). Change the duplicate’s color to black and adjust its X and Z Rotation slightly. Lower the Opacity to make it look like a shadow.
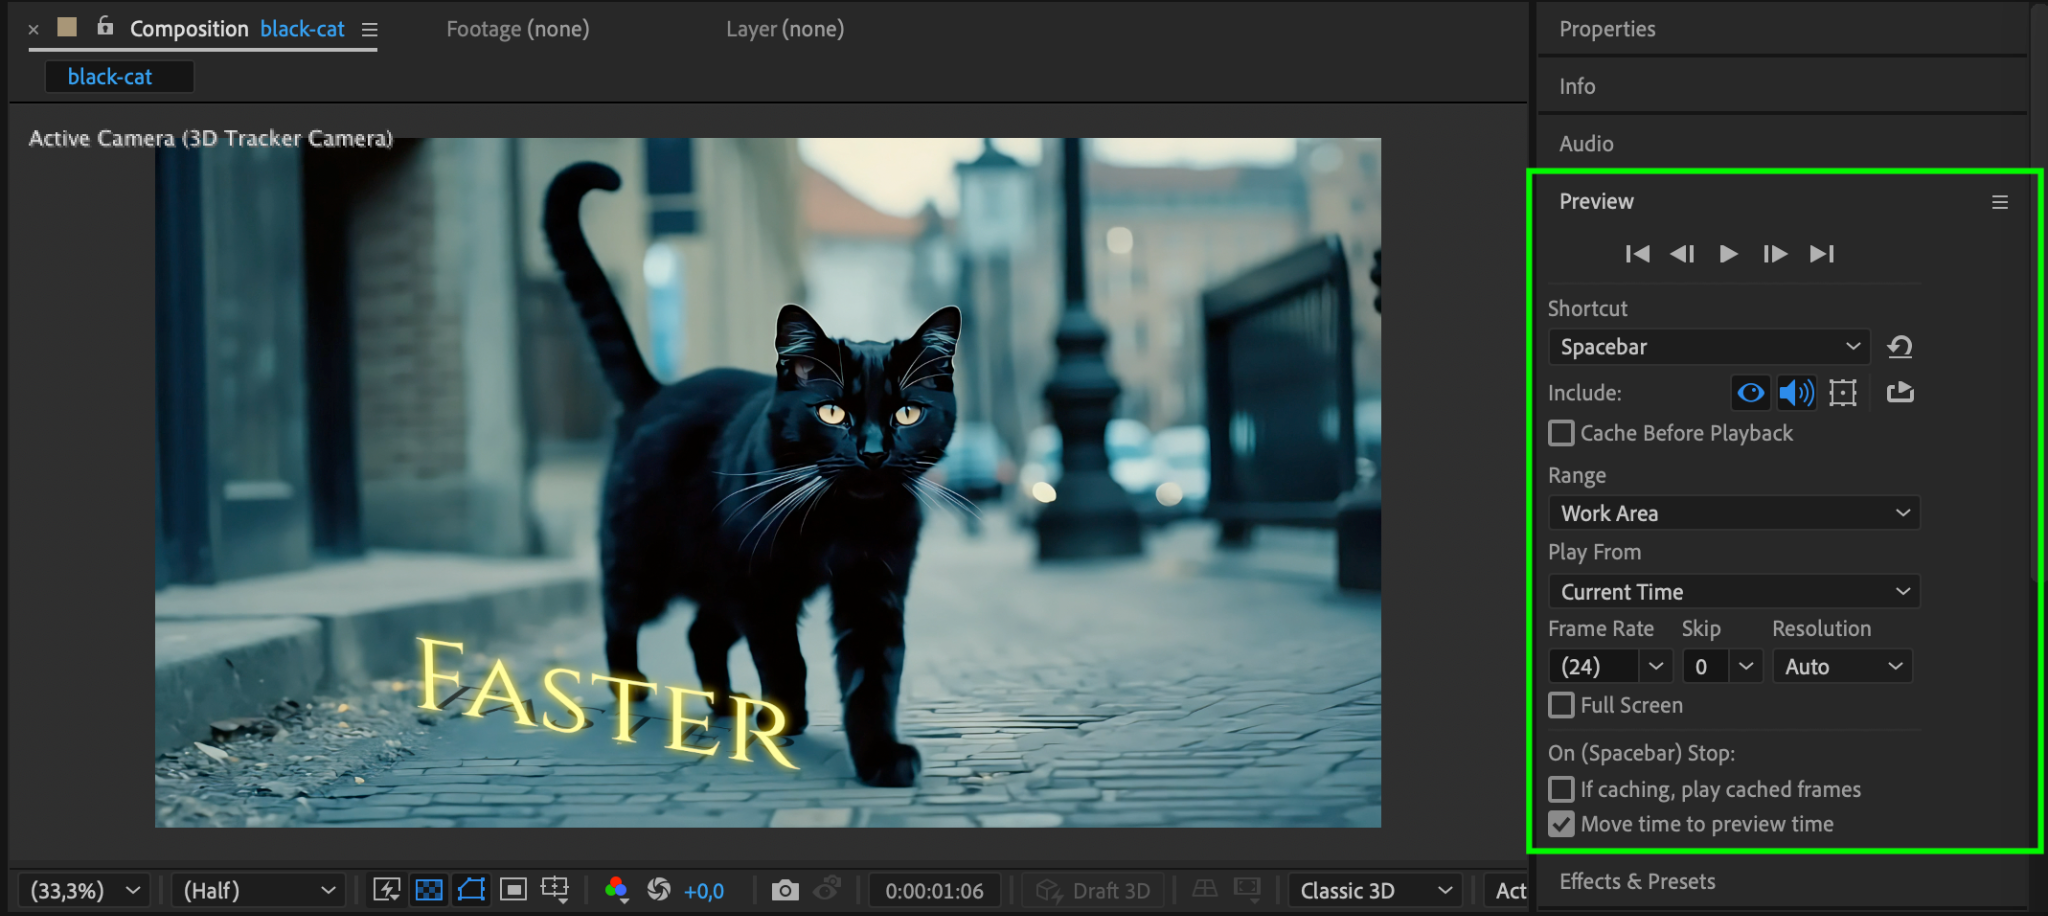
Step 8: Preview the Animation
Press the Spacebar to preview the animation and check if the text follows the movement correctly. Adjust the positioning if needed.
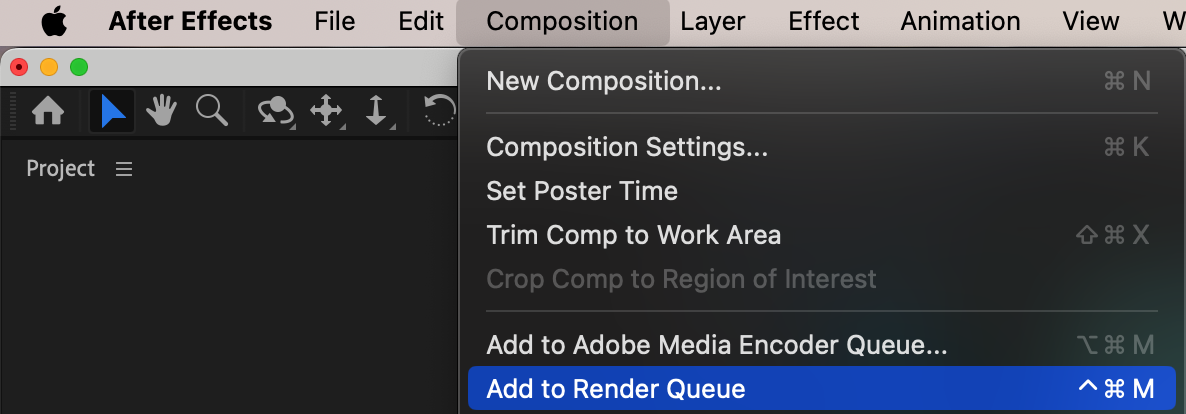
Step 9: Render Your Video
Go to Composition > Add to Render Queue. Adjust the Output Module settings, select a destination folder, and click Render to export your final video.

Conclusion
Auto-tracking in After Effects is a powerful tool for integrating elements into a scene with realistic motion. Whether you’re adding text, graphics, or effects, the Camera Tracker ensures everything moves naturally with the footage.
Our Bestsellers


