How to Blur Specific Parts of a Video in After Effects
Understanding Blurring Techniques in After Effects
Do you want to add a polished and professional touch to your videos? Blurring specific parts of your footage using Adobe After Effects can help you achieve this. Blurring can be a useful technique for emphasizing a particular subject, concealing sensitive information, or creating a visually appealing effect.
Get 10% off when you subscribe to our newsletter

In this detailed tutorial, we will guide you through the process of blurring a specific part of a video in After Effects. Whether you’re a beginner or an experienced editor, this step-by-step guide will help you enhance your editing skills and take your videos to the next level.
So, let’s get started and learn how to blur part of a video in After Effects!
Step-by-Step Guide to Blurring Parts of a Video in After Effects
Step 1: Import Your Footage
Import your video footage by selecting “File” > “Import” > “File” and choose your video file.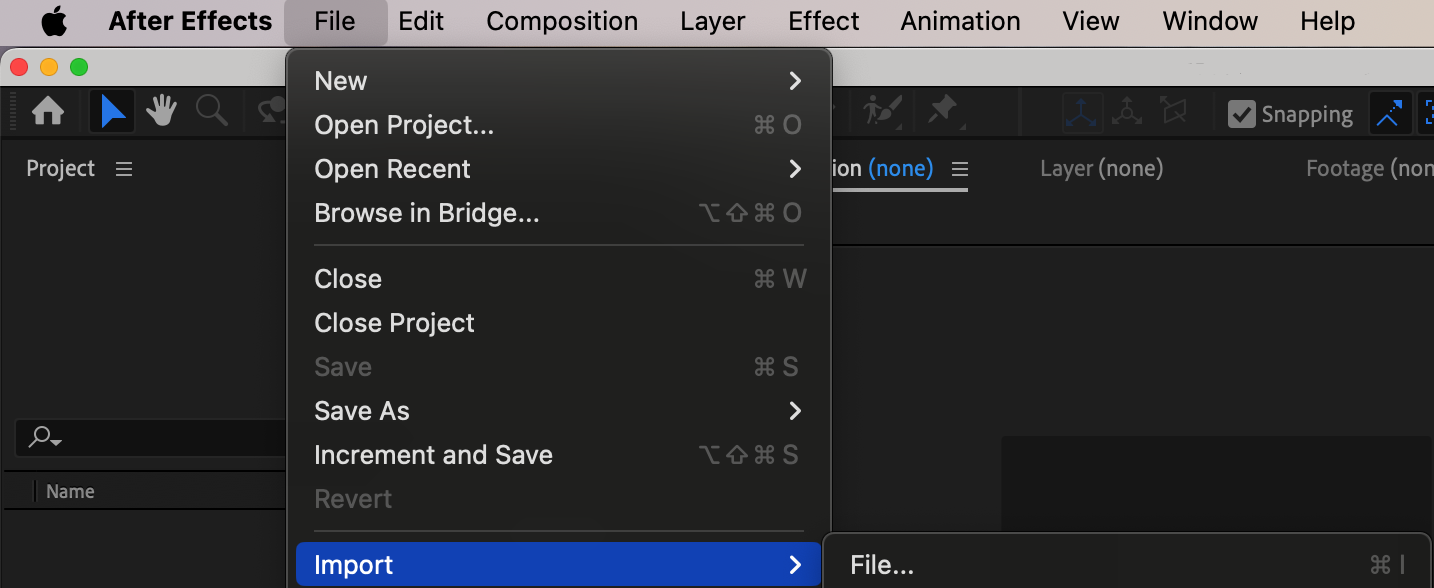 Step 2: Create a New Composition
Drag your video from the Project panel to the Timeline panel. This will create a new composition with the same settings as your video. Step 3: Add an Adjustment Layer
To apply the blur effect, you need to create an adjustment layer. Go to “Layer” > “New” > “Adjustment Layer”. This layer will hold the blur effect.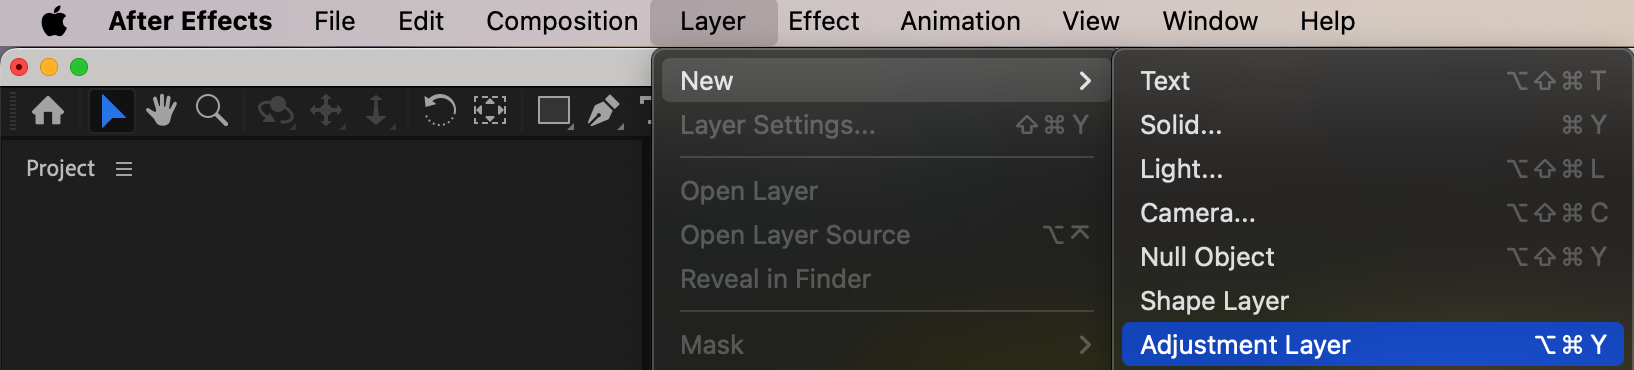
Step 4: Apply the Blur Effect
With the adjustment layer selected, go to the “Effects & Presets” panel and search for the “Gaussian Blur” effect. Drag this effect onto your adjustment layer.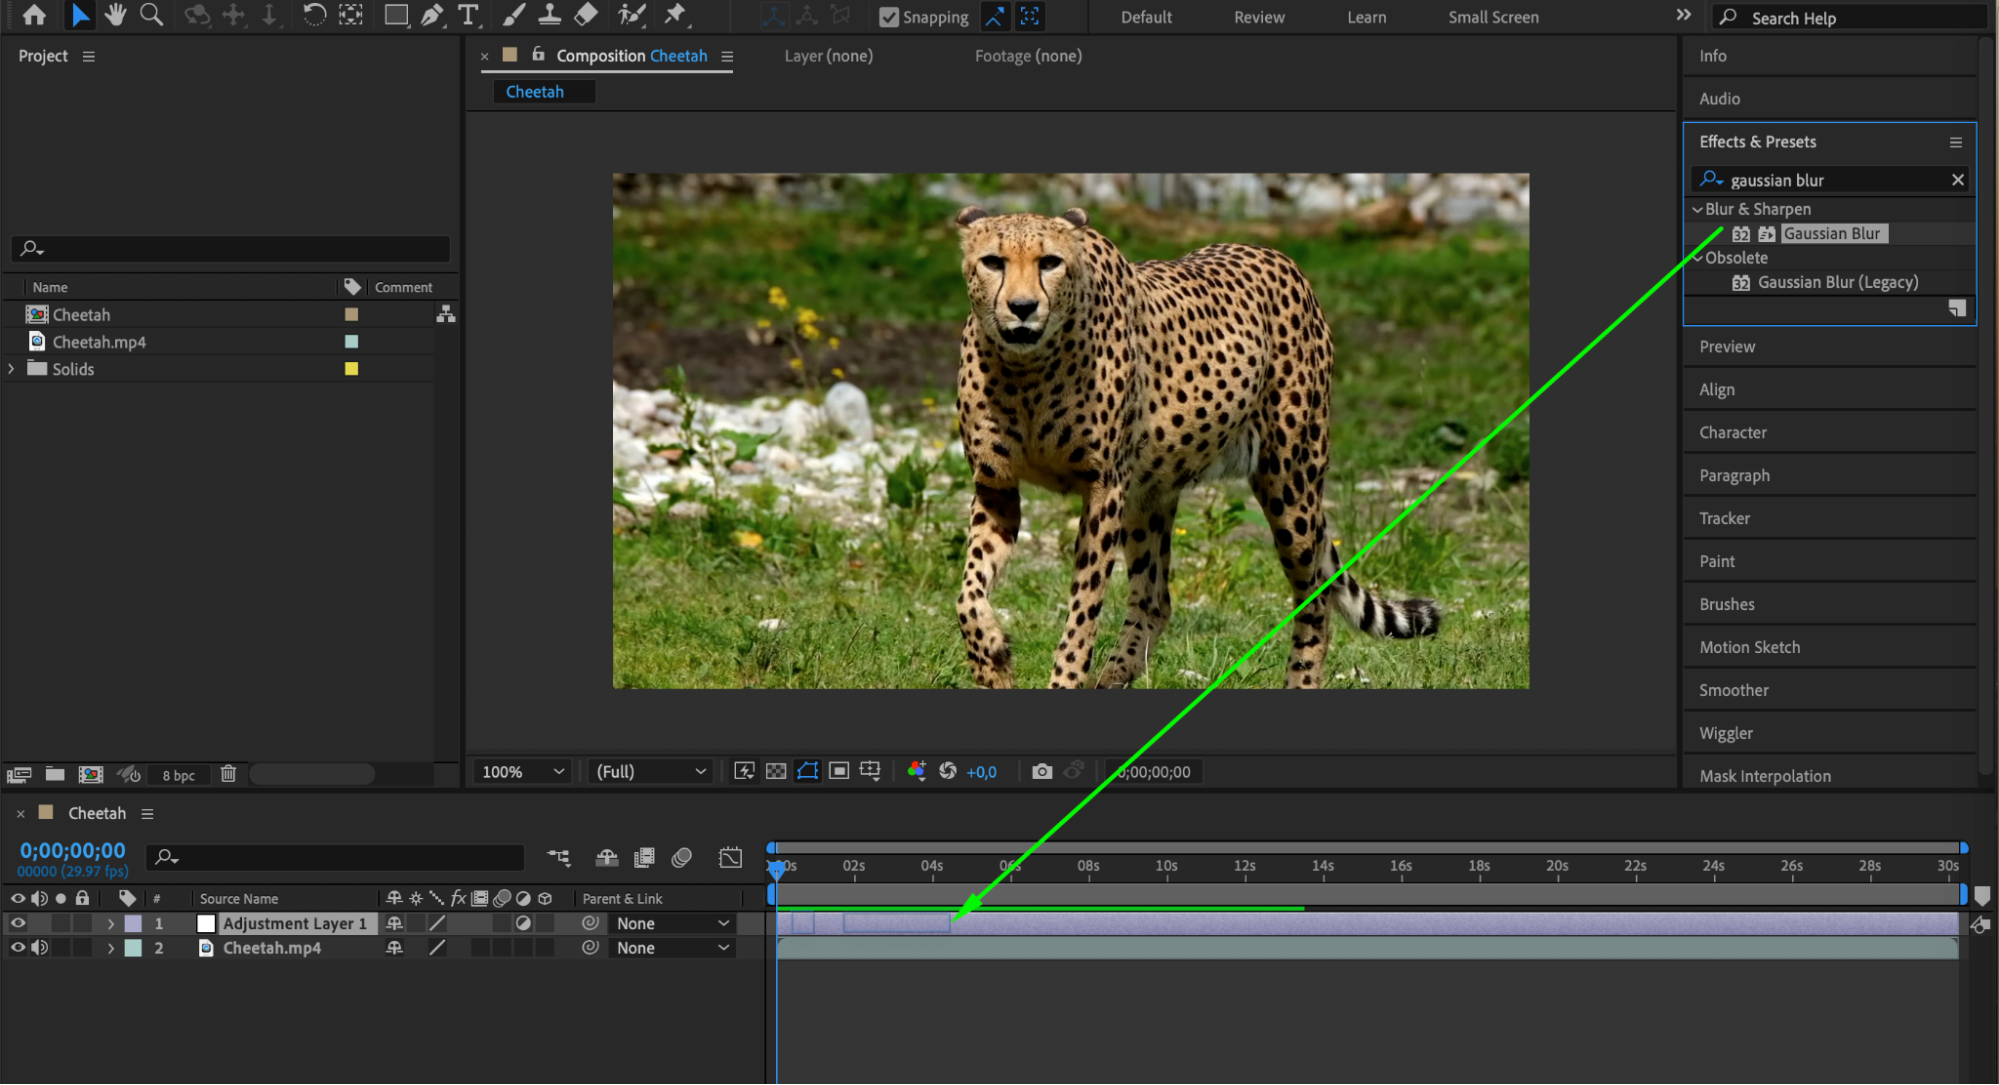 Step 5: Adjust the Blur Amount
In the “Effect Controls” panel, increase the “Blurriness” value of the Gaussian Blur effect to achieve the desired level of blur.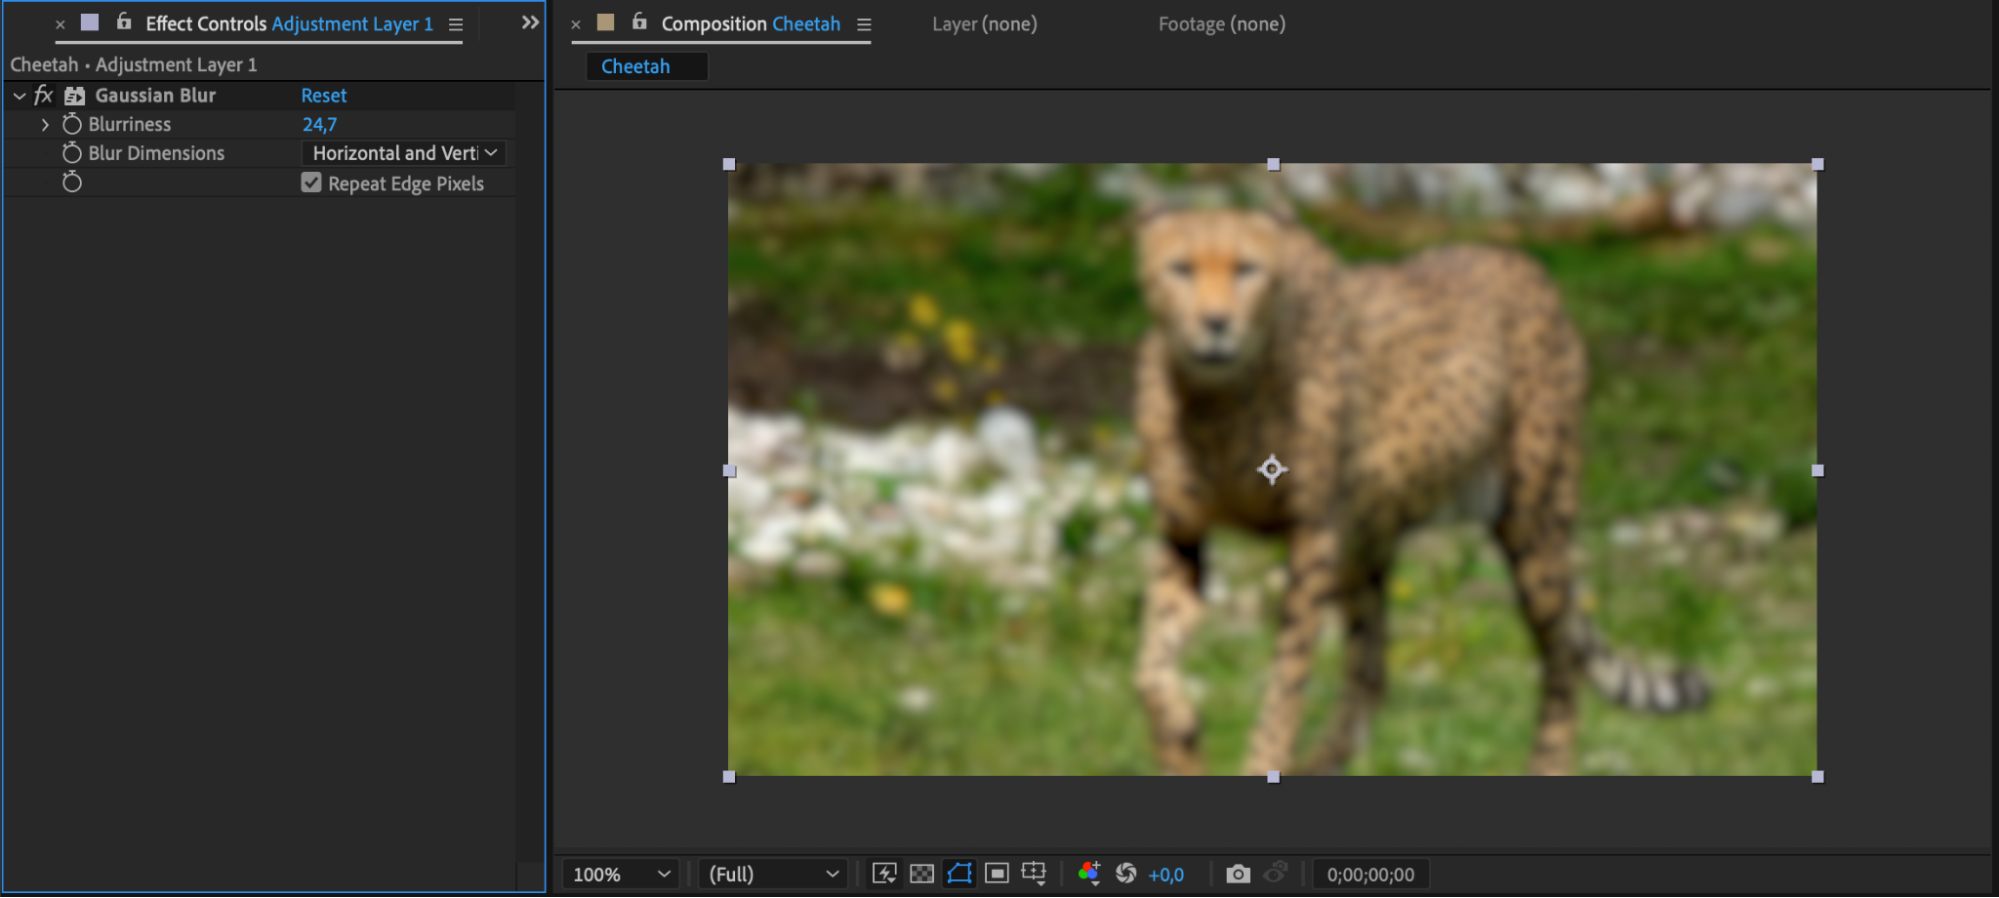 Step 6: Mask the Area to Blur
Select the adjustment layer and use the “Pen Tool” (shortcut: G) to draw a mask around the area you want to blur. You can also use the “Rectangle Tool” or other shape tools for simpler shapes.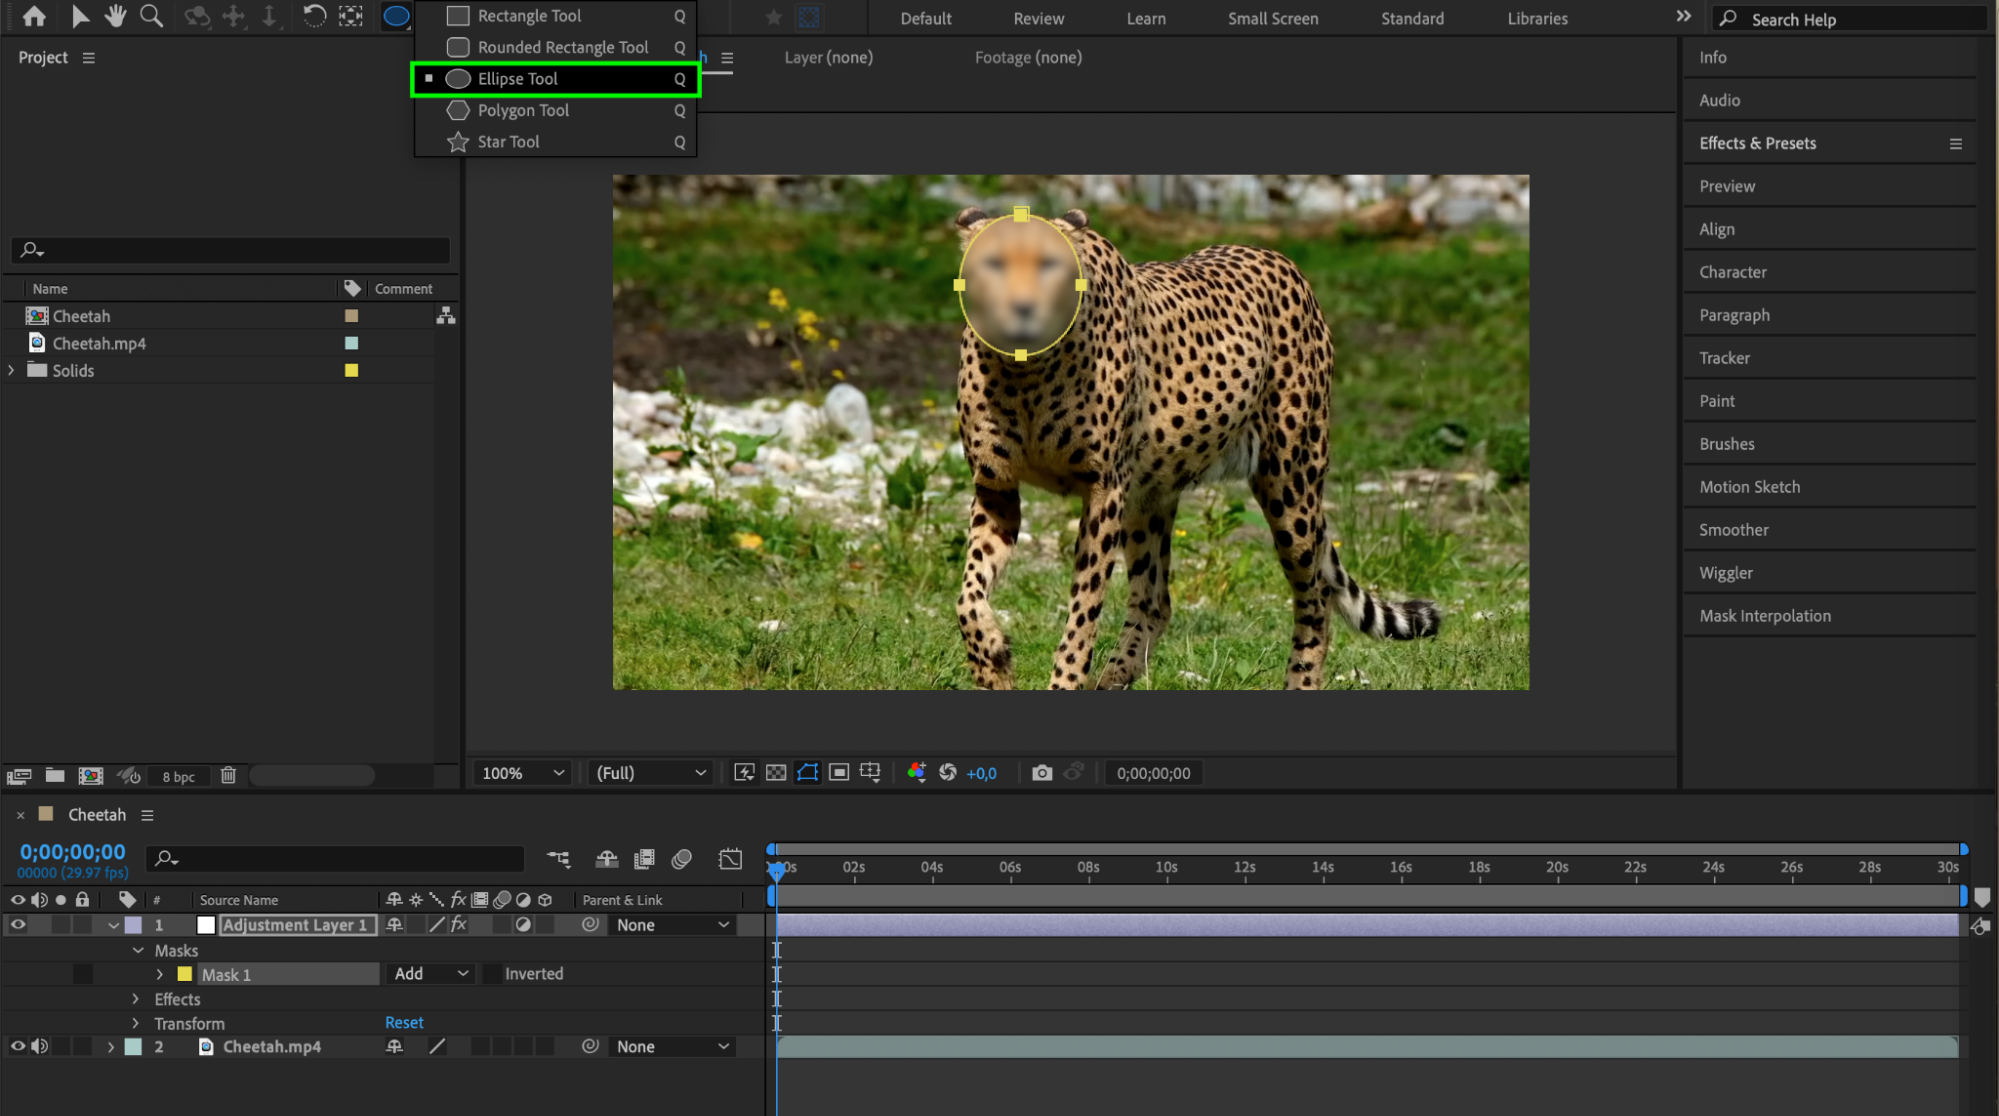 Step 7: Feather the Mask
To make the blurred area blend more smoothly with the rest of the video, increase the “Mask Feather” value in the “Mask” settings. This will soften the edges of the mask.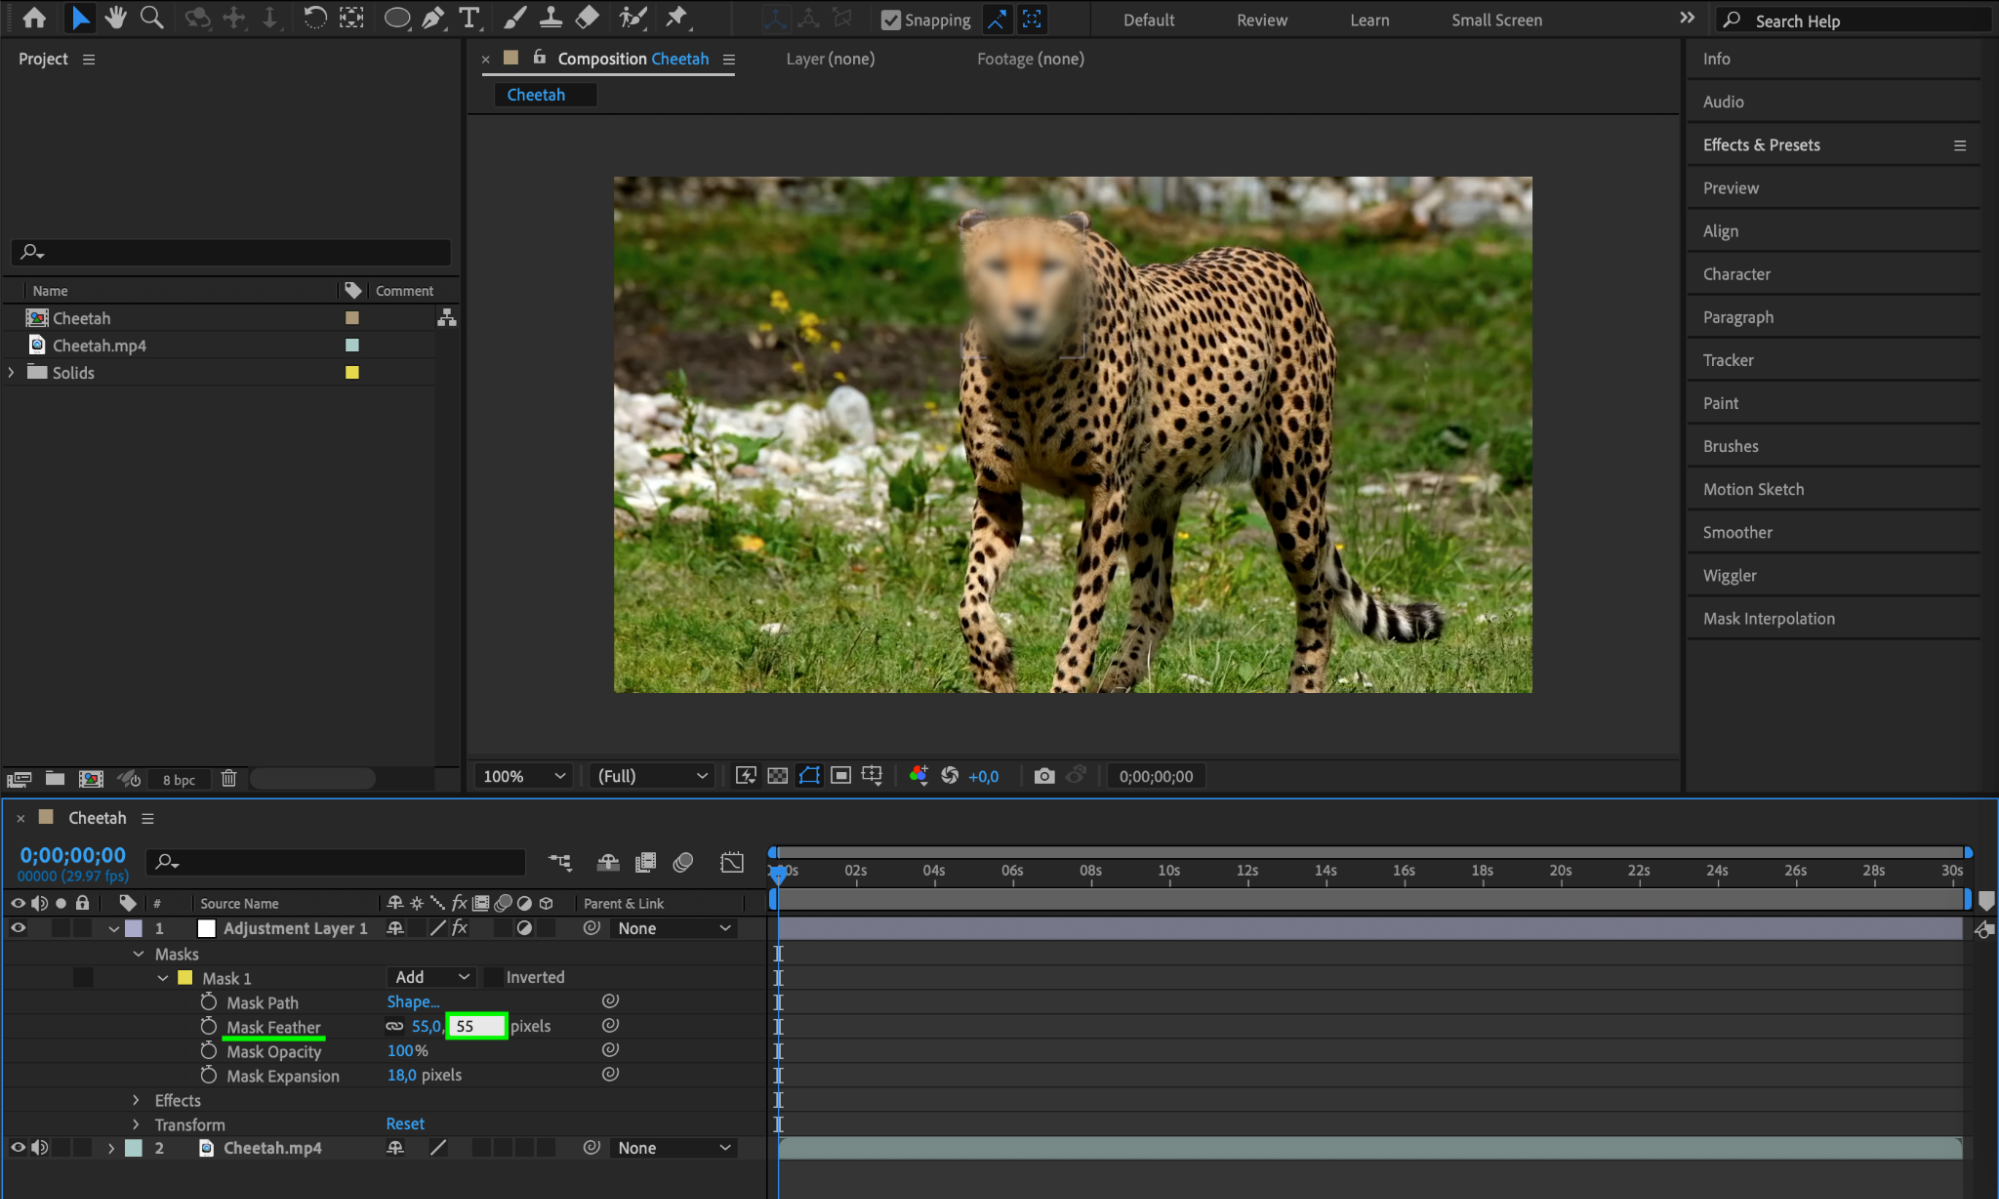 Step 8: Animate the Mask (Optional)
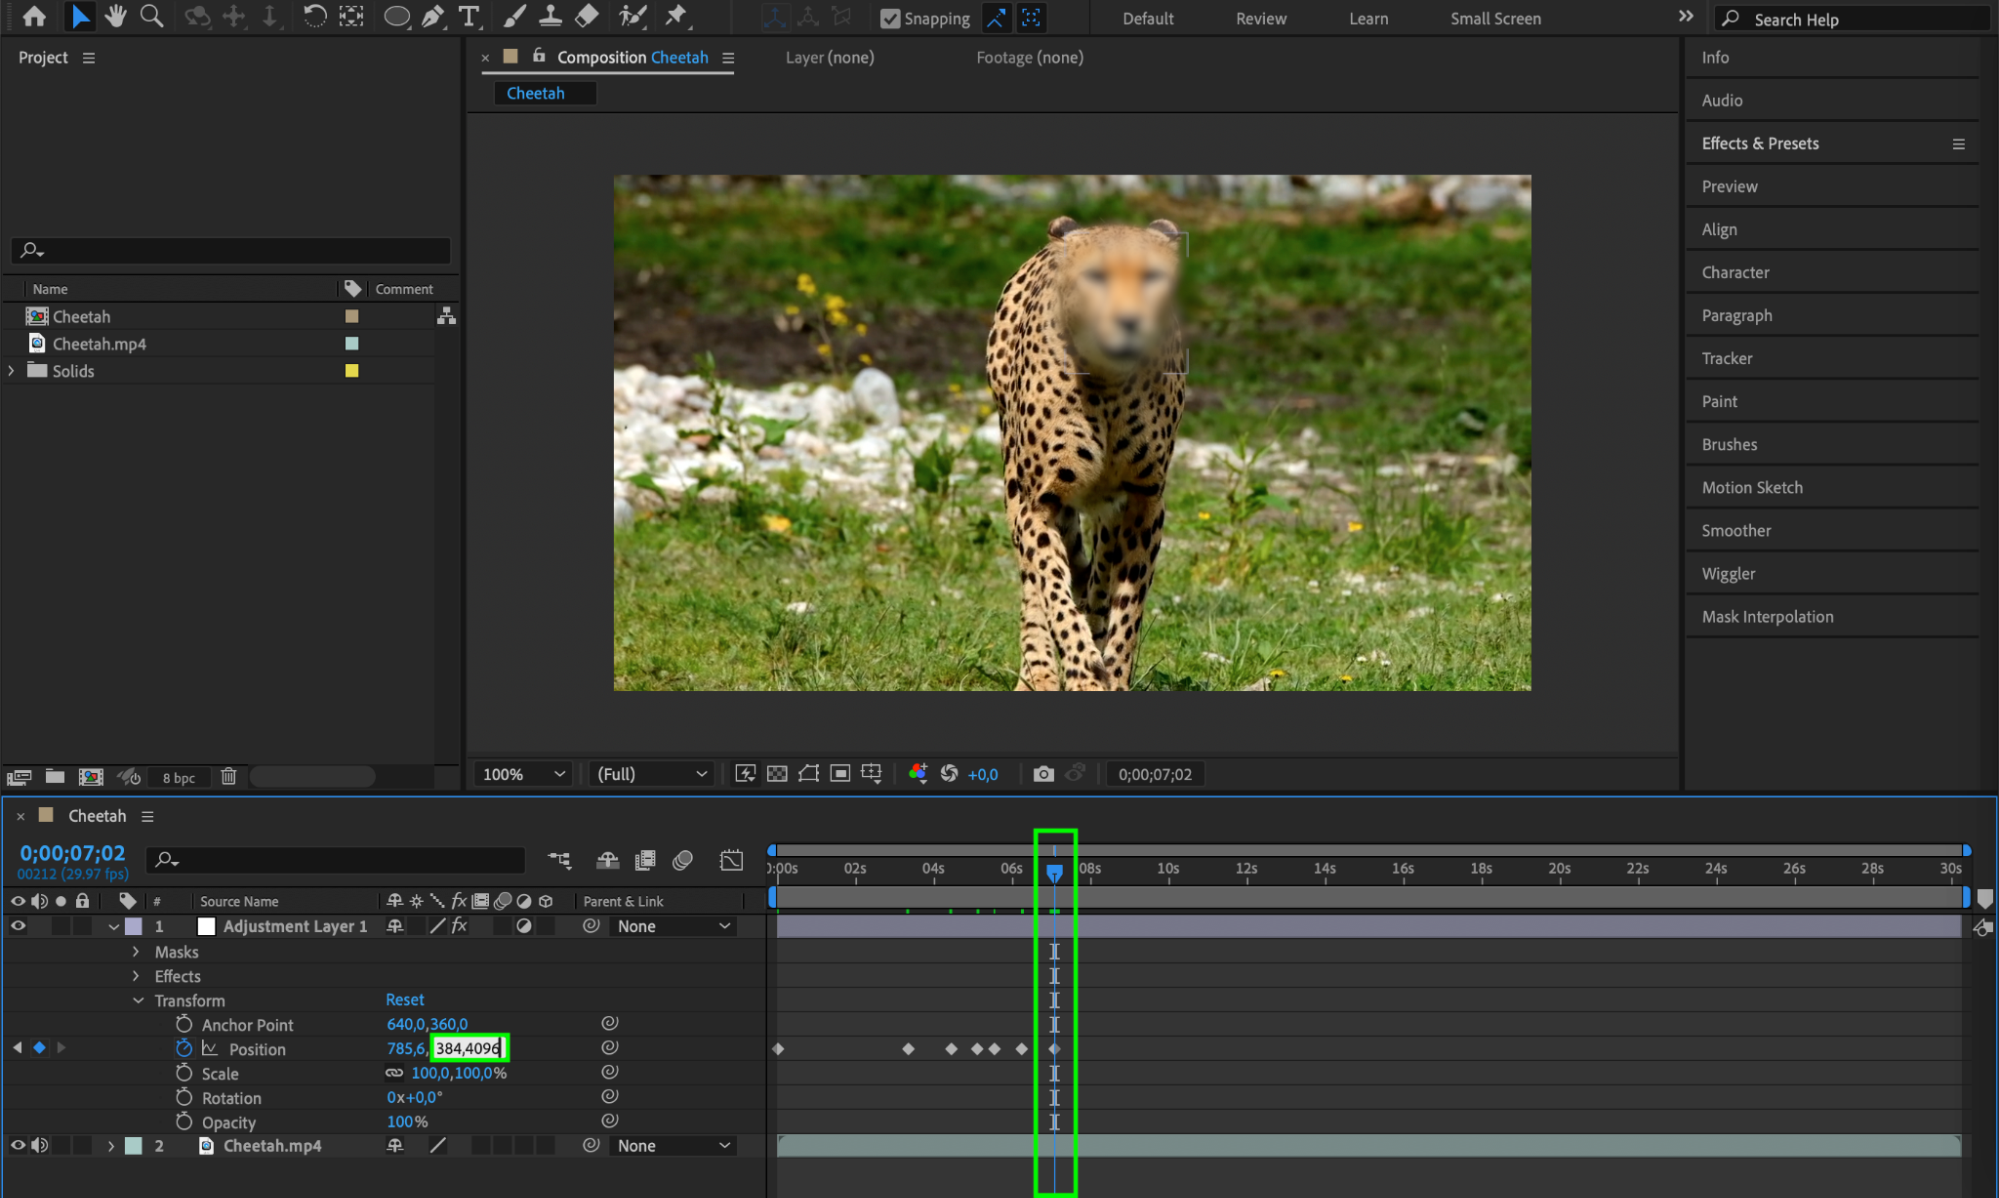
If the object you want to blur is moving, you can animate the mask path. Select the adjustment layer, open the Mask Path settings, and click the stopwatch icon to add keyframes. Adjust the position of your mask at different points in time to follow the moving object.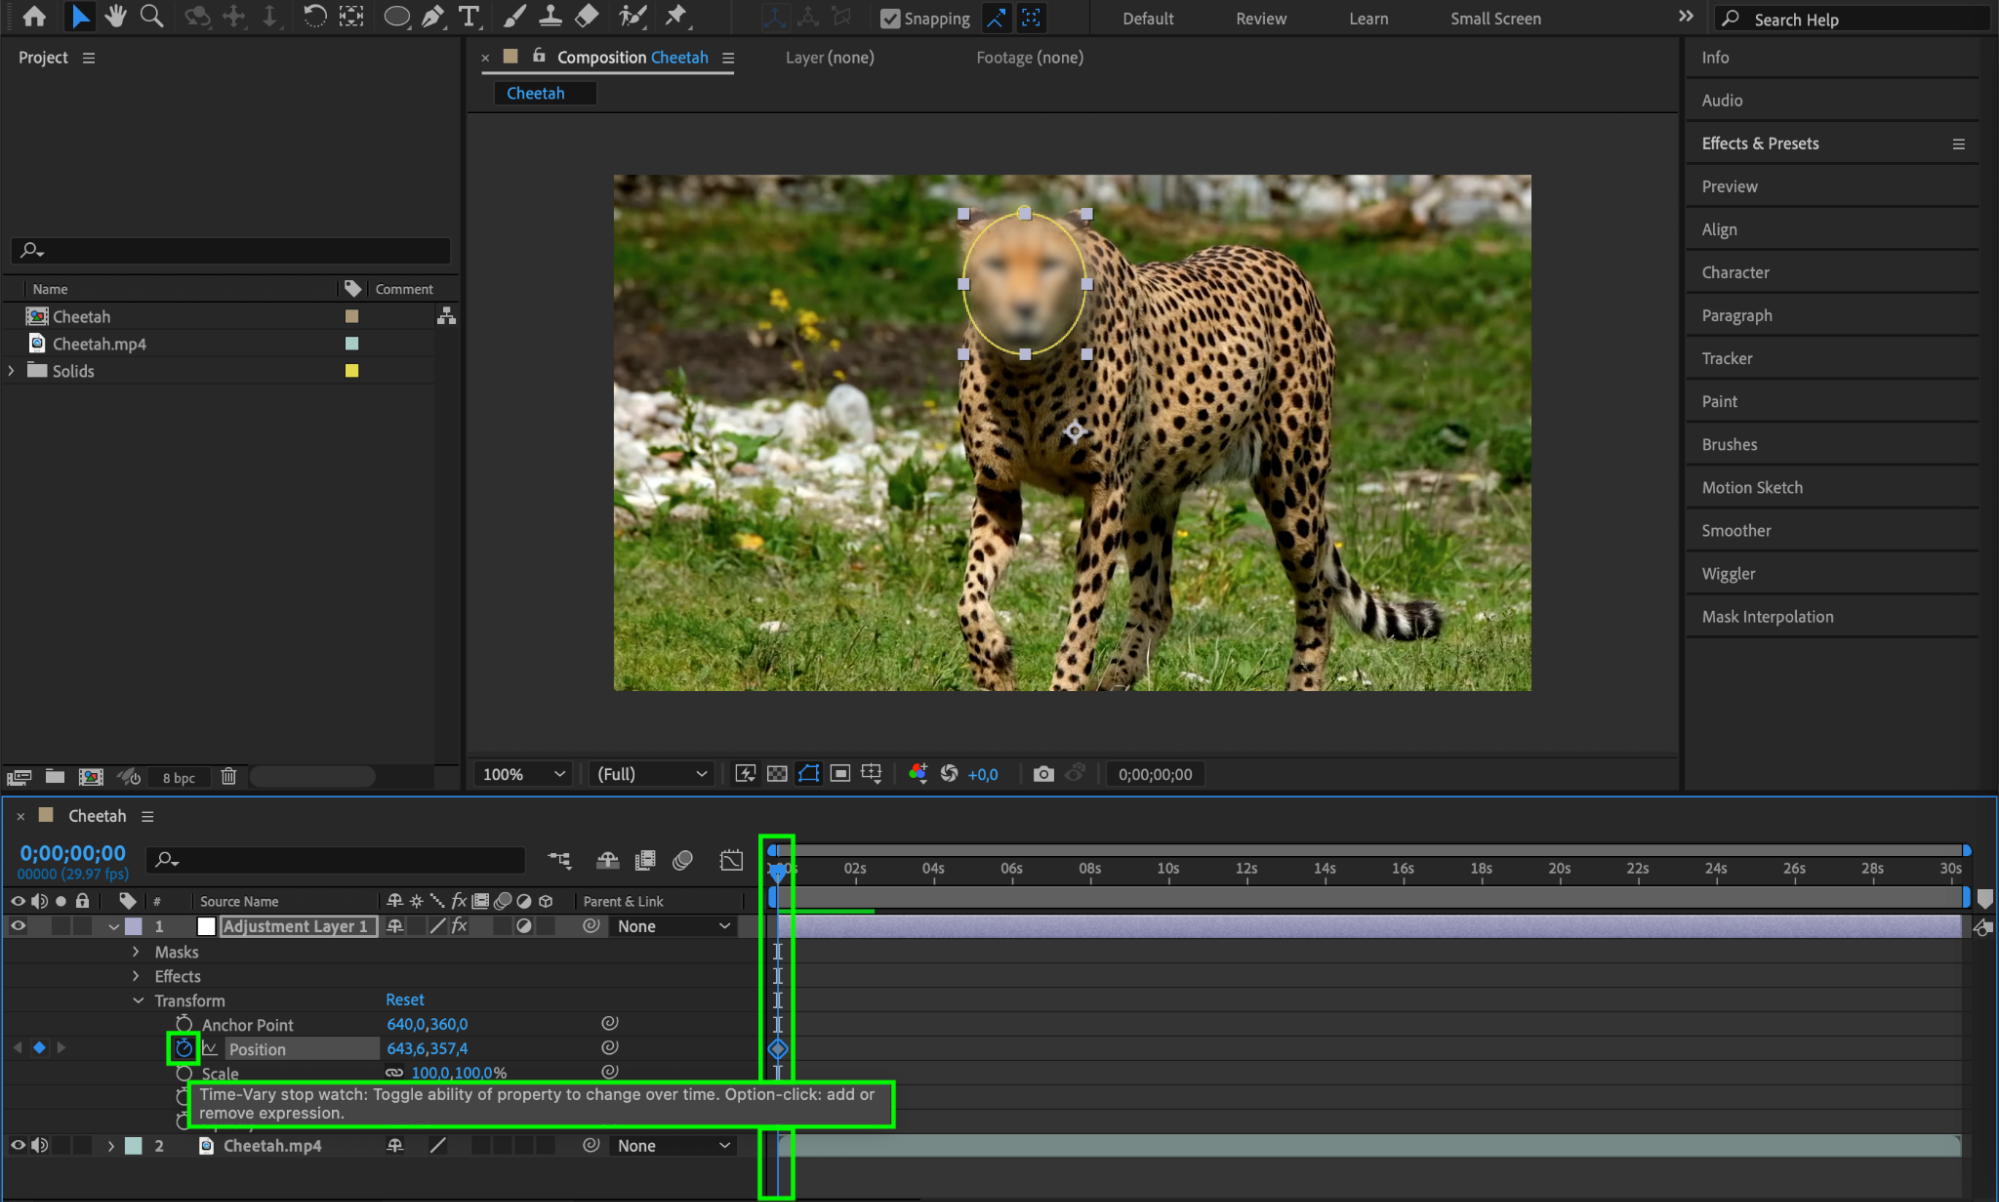
 Step 9: Review and Export
Once you’re satisfied with the blur effect, preview your composition to ensure everything looks good. Then, export your video by selecting “Composition” > “Add to Render Queue” and adjust your export settings as needed.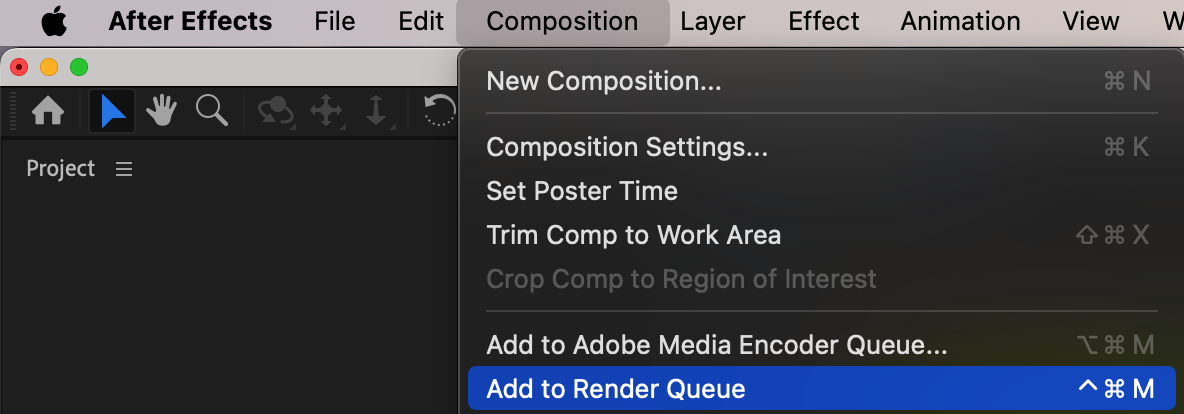

Conclusion
Adding a blur effect to your videos can give them a sleek and professional look. Whether you want to emphasize a specific subject, hide confidential information, or create a stylish effect, blurring can be a valuable technique in your video editing toolbox. With Adobe After Effects, it’s easy to achieve this effect.
By following this step-by-step tutorial, you will elevate your editing skills and create visually stunning content. So, let’s get started and see how you can bring this effect to life!
Our Bestsellers


