“Step-by-Step Guide to Adjusting Framerate in After Effects”
“Introduction – Why Framerate Matters in Your Projects”
Framerate defines the number of frames displayed per second in your video and has a significant impact on its smoothness and pacing. Whether you’re working on a cinematic project, online content, or fast-paced animations, knowing how to adjust the framerate in After Effects is a fundamental skill. In this guide, we’ll walk you through the steps to change the framerate for your compositions and footage.
Step 1: Open Your Composition Settings
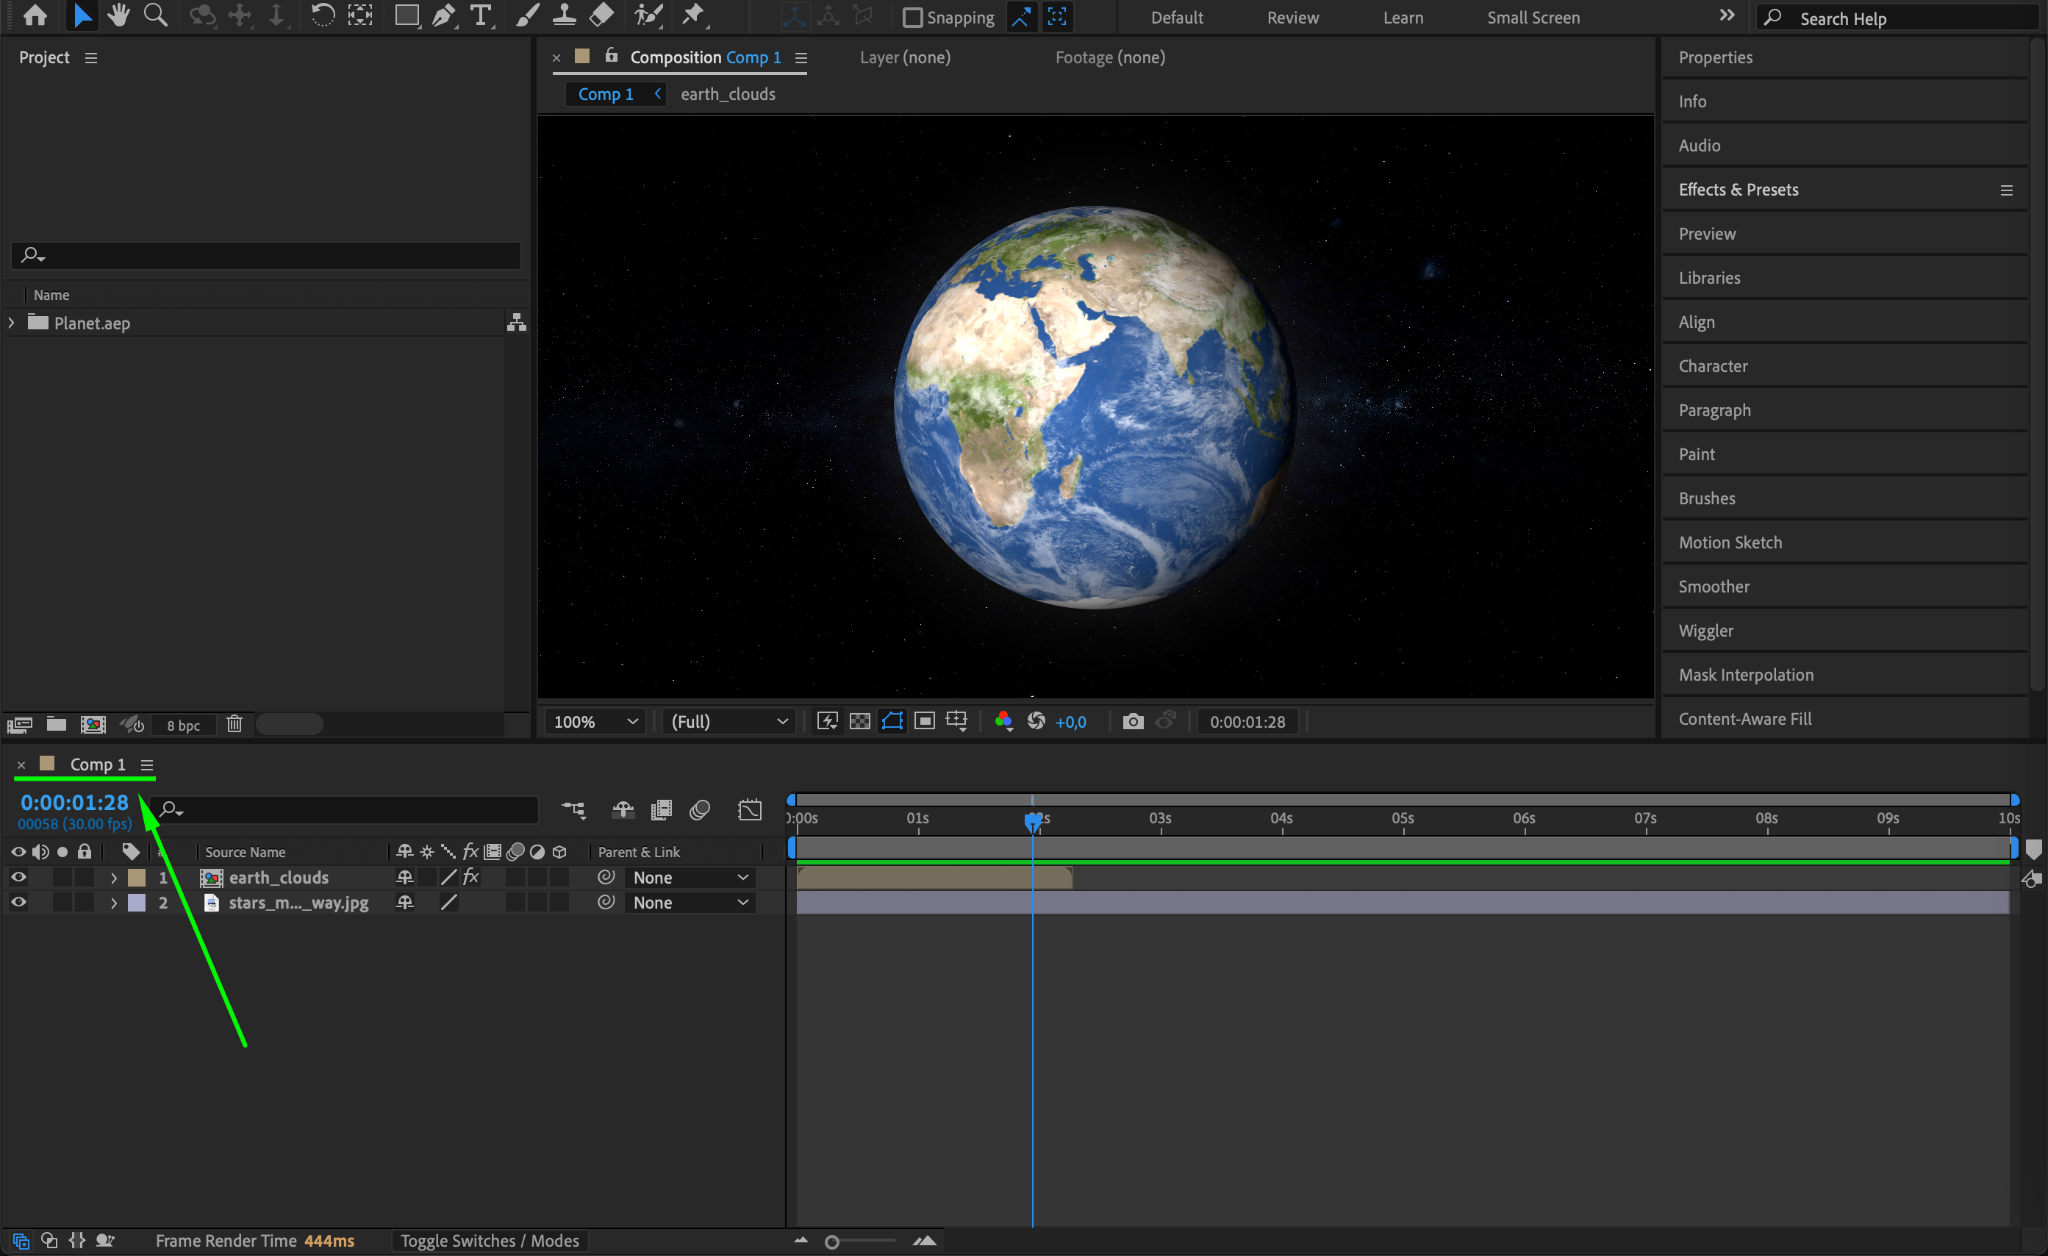
Start by selecting the composition you want to adjust in the timeline or project panel. Then, go to Composition > Composition Settings or use the shortcut “Ctrl/Cmd + K”. This will open a settings window where you can modify various parameters of the composition, including its framerate.

Step 2: Locate the Framerate Field
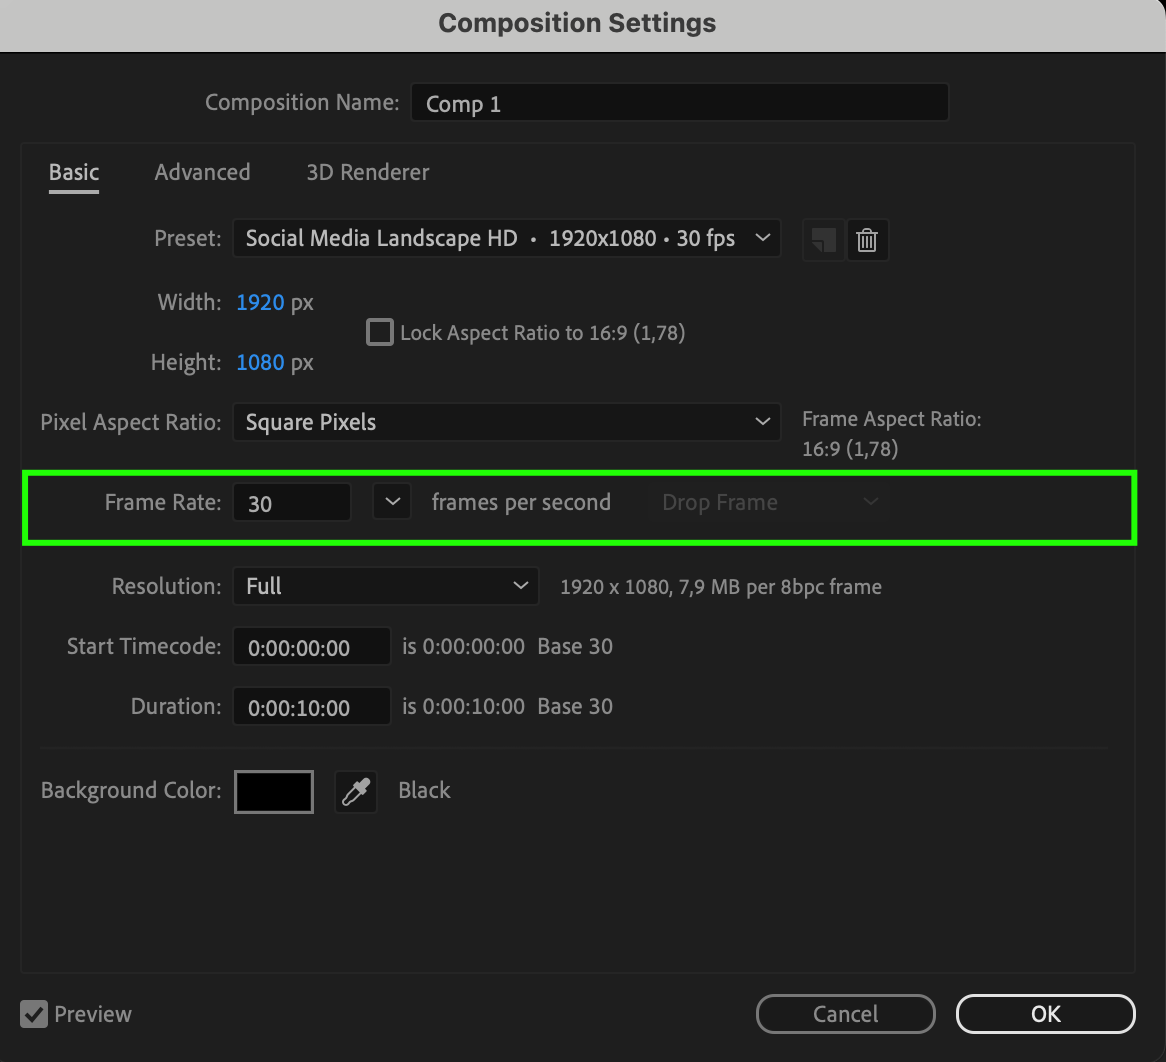
In the Composition Settings window, you’ll see several tabs and fields. Look for the Frame Rate field, usually found under the Basic Settings section. This is where the current framerate of your composition is displayed and can be edited.
Step 3: Set Your Desired Framerate
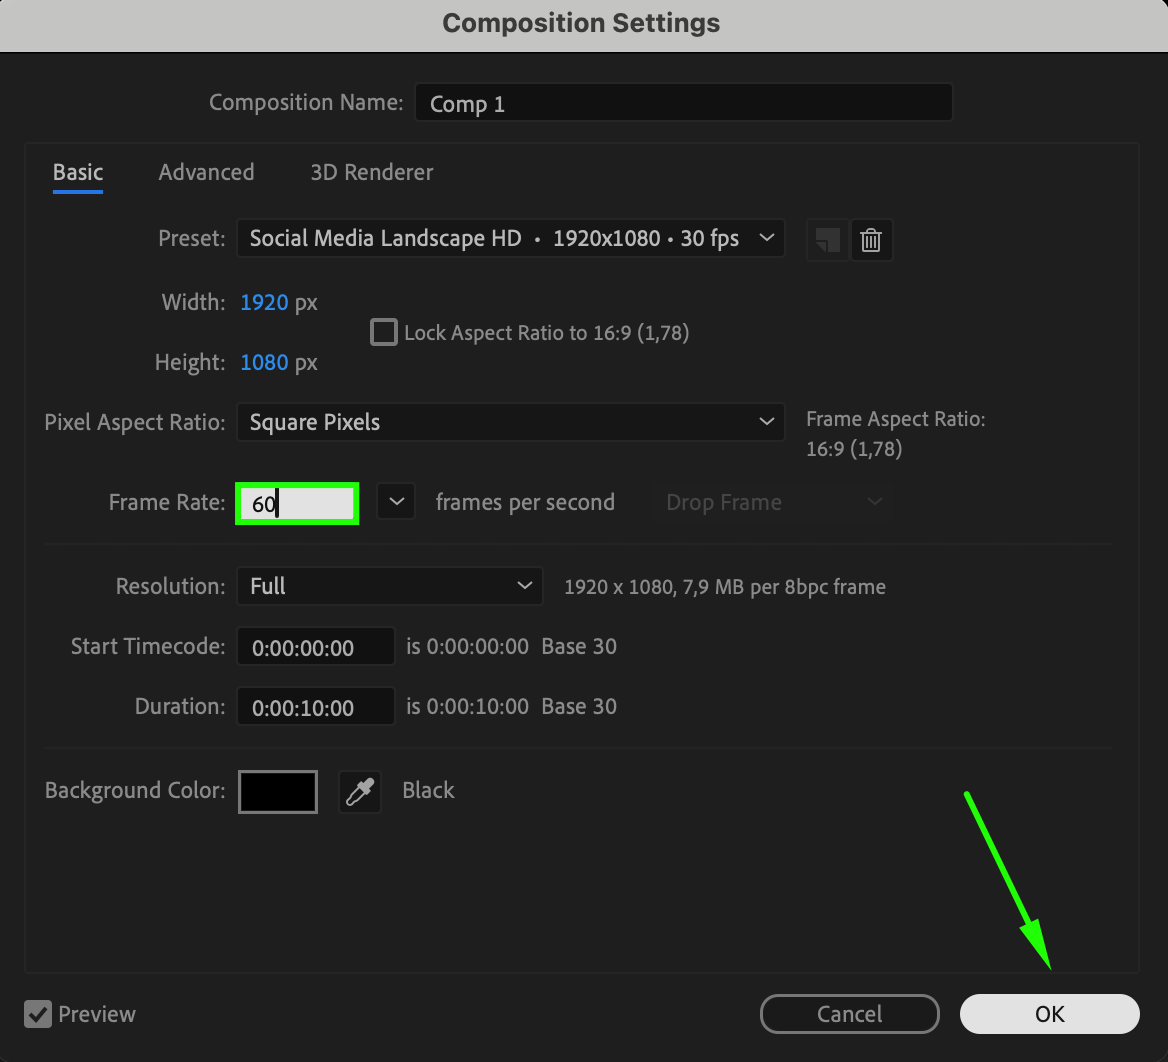
Decide on the framerate that fits your project’s needs and enter it into the Frame Rate field. For cinematic effects, you can set it to 24 fps. If you’re creating online videos, 30 fps is a good standard. For smoother animations, 60 fps or higher is commonly used. Once you’ve made your changes, click OK to save and apply them.
Step 4: Verify Your Changes
Get 10% off when you subscribe to our newsletter

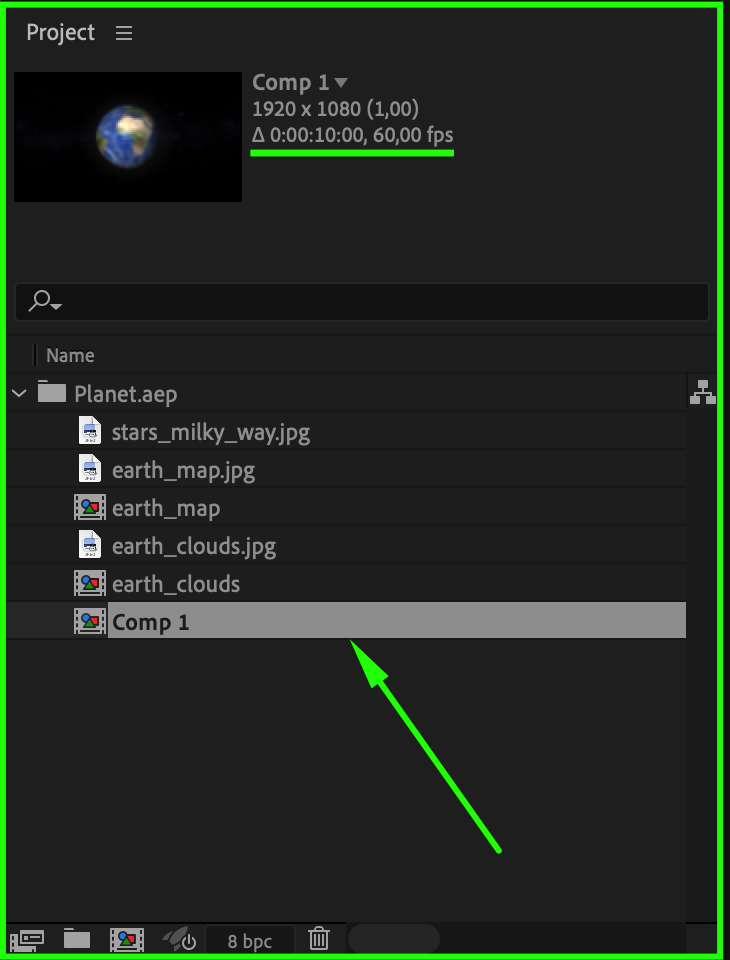
After making adjustments, confirm that everything is working as intended. The updated framerate will be visible in the Project Panel next to your composition’s name. You can also preview your animation in the timeline to ensure that the playback appears as expected with the new framerate.
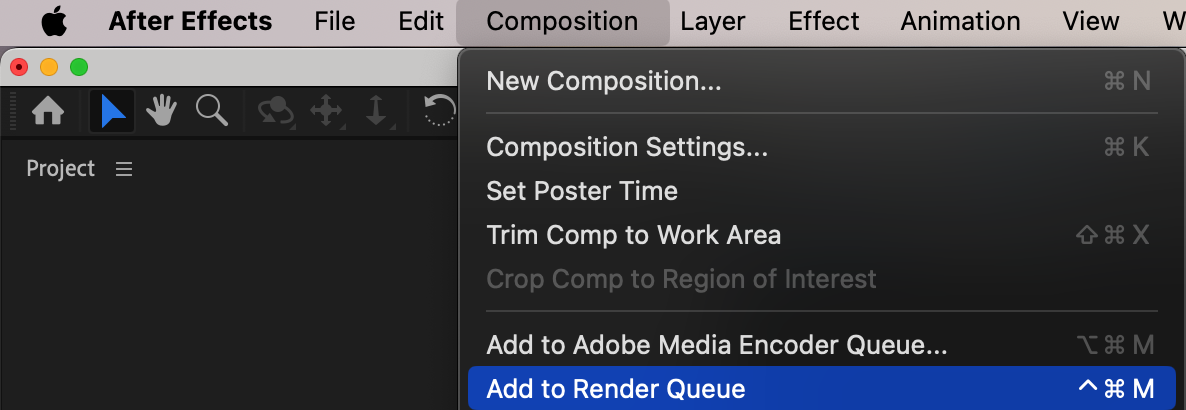
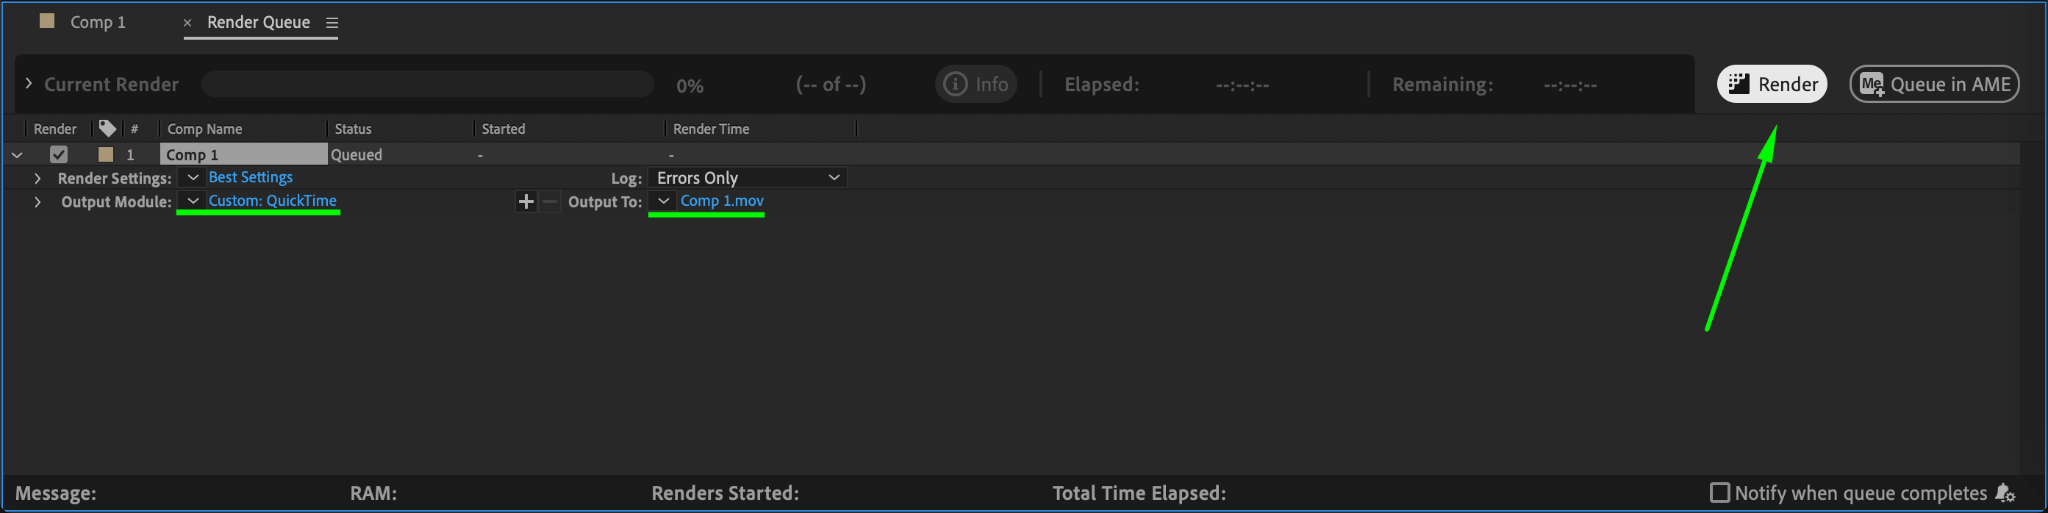
Step 5: Render Your Project
When you’re ready to export your composition, go to Composition > Add to Render Queue. In the Render Settings, select your output format and destination, then click Render to complete the process.
Conclusion
Changing the framerate in After Effects is an essential step in crafting professional and visually appealing videos. Whether you’re matching footage, creating smooth animations, or achieving a specific aesthetic, this simple process ensures your project meets its creative goals.
Our Bestsellers


