How to Change the Codec in After Effects
Introduction
When exporting a video from After Effects, choosing the right codec is essential for maintaining quality and ensuring compatibility. A codec determines how the video is compressed and stored. After Effects allows you to select different codecs through the Render Queue or Adobe Media Encoder. Follow these steps to change the codec in After Effects.
Step 1: Open Your Project
Launch After Effects and open the project you want to export. Ensure that all effects, animations, and compositions are ready for rendering.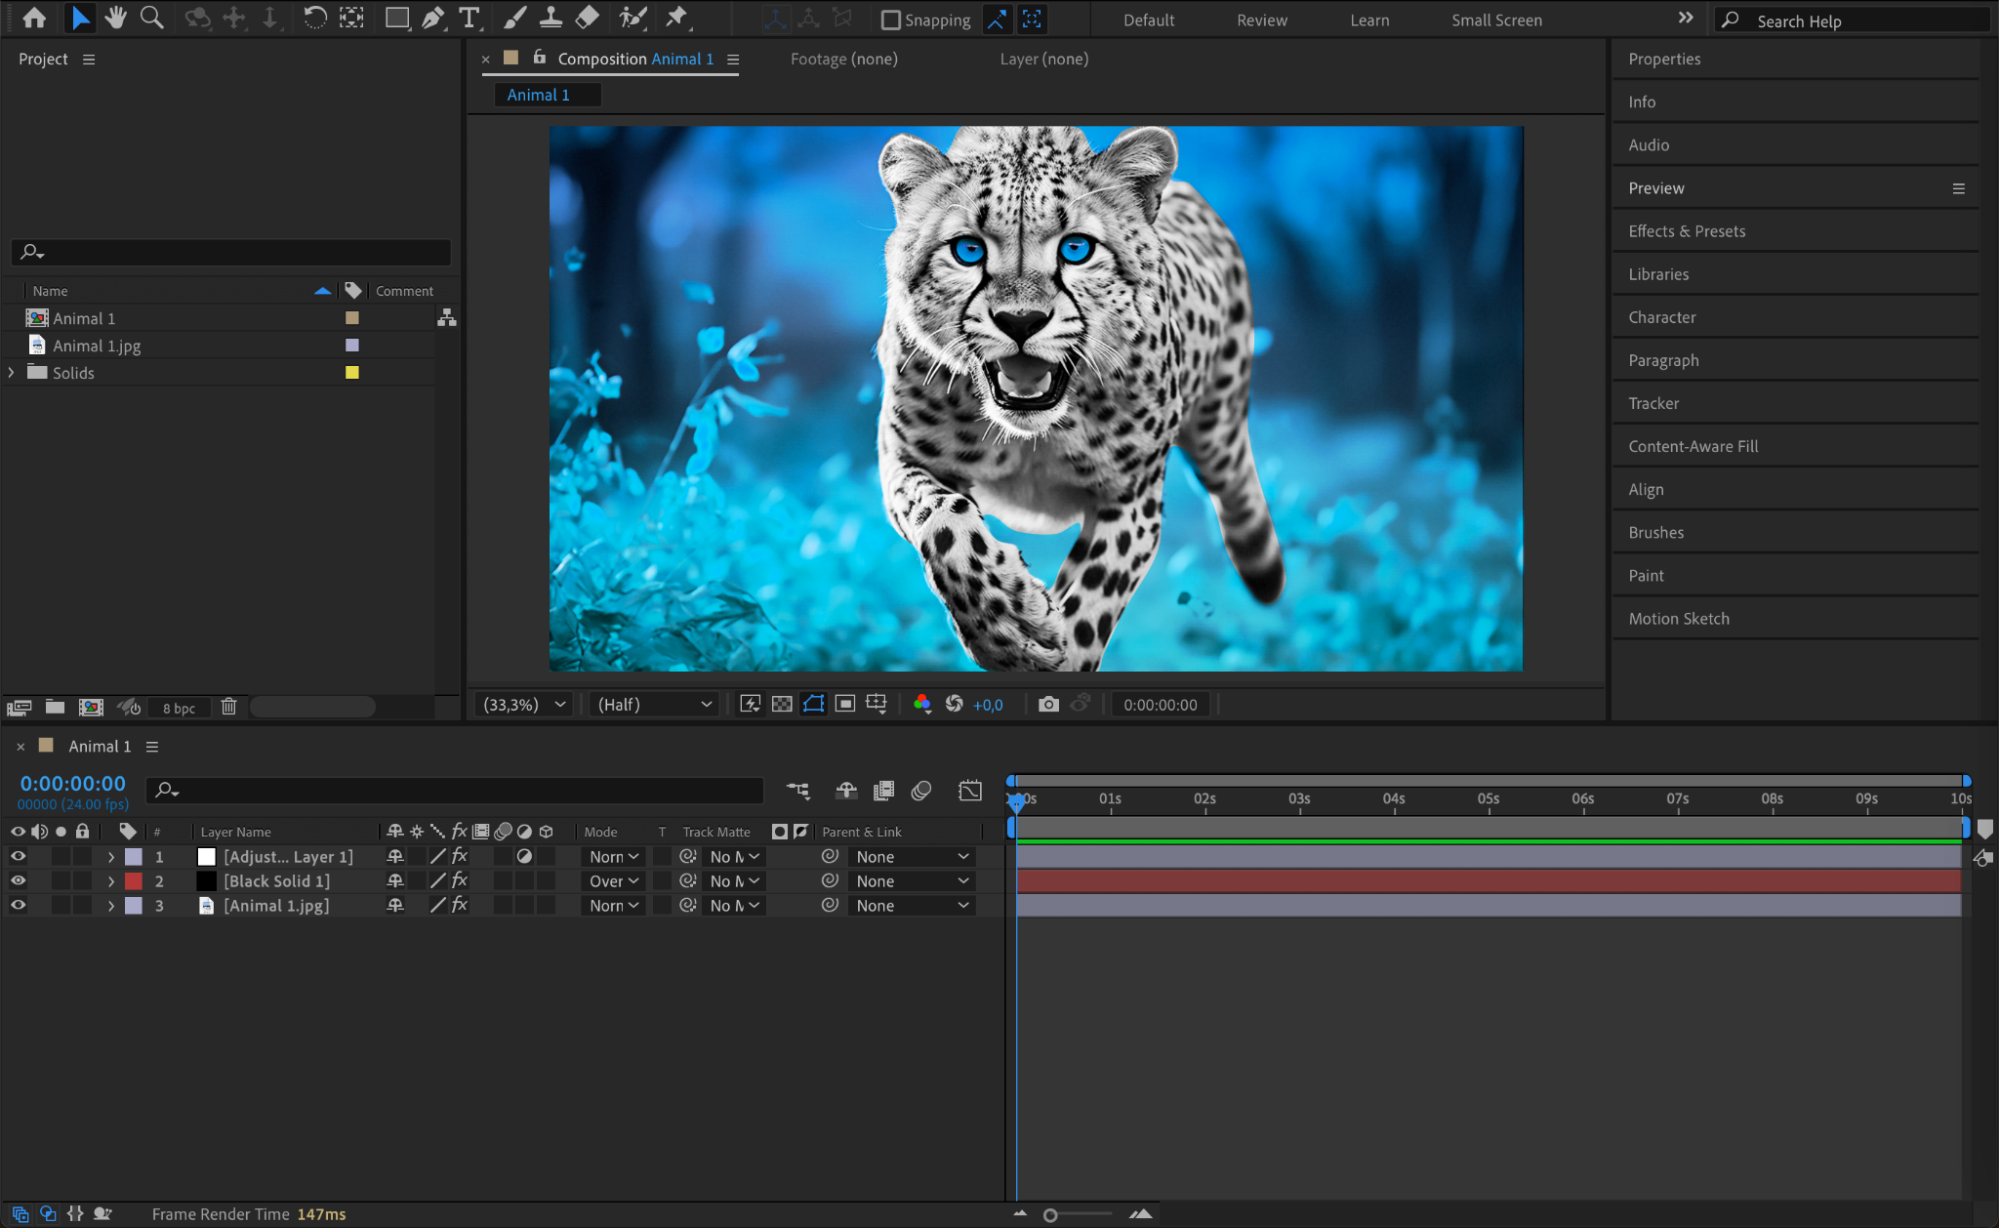 Step 2: Add Your Composition to the Render Queue
Go to Composition > Add to Render Queue. This will open the Render Queue Panel, where you can adjust export settings.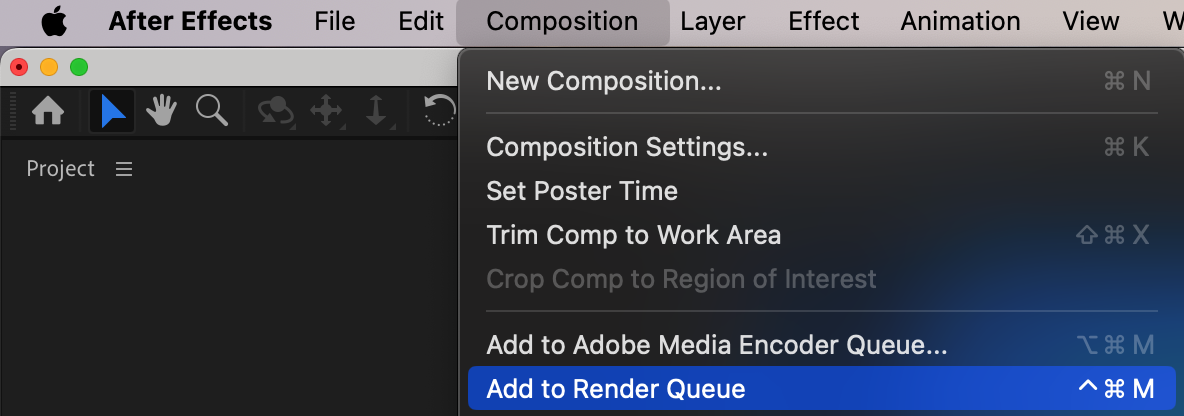 Step 3: Open the Output Module Settings
Next to the Output Module section, click on High Quality (or the current preset). This will open the Output Module Settings window, where you can select the file format and codec.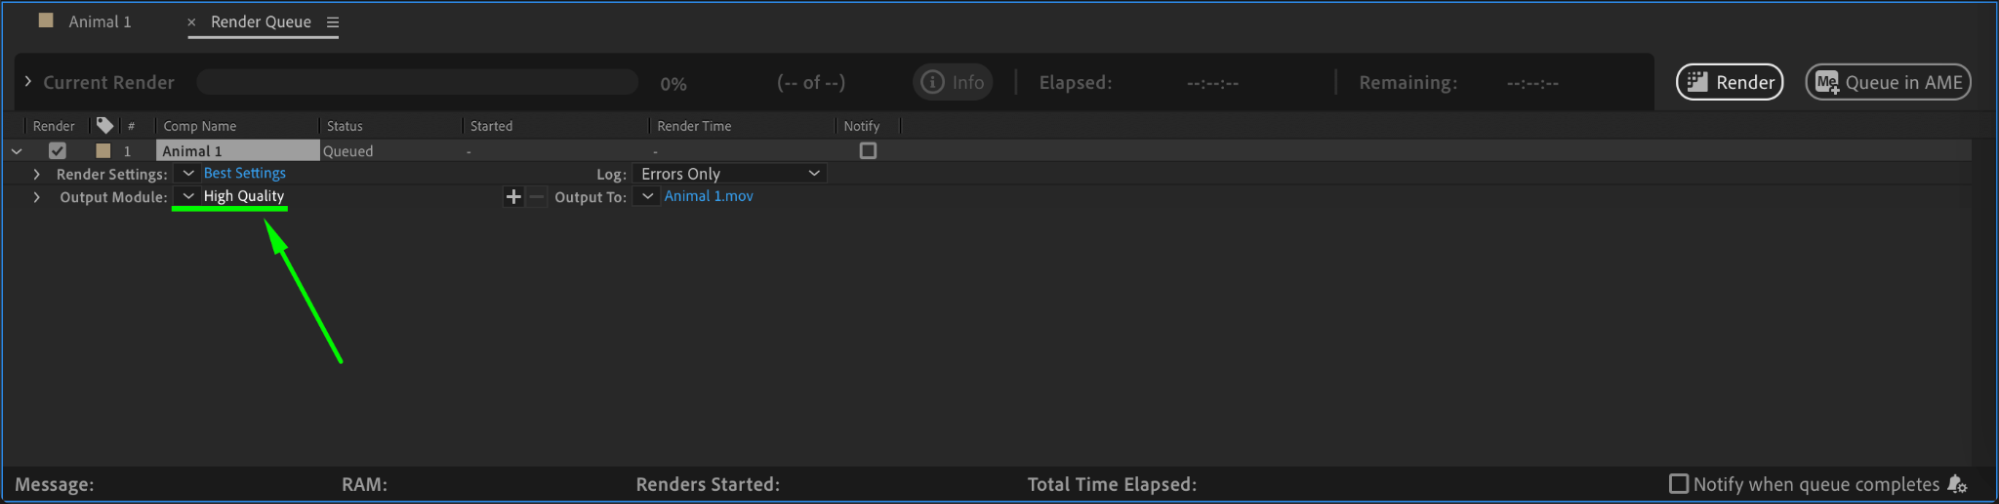 Step 4: Choose a Format
In the Output Module Settings, locate the Format dropdown menu. Select a format that supports different codecs, such as QuickTime or AVI.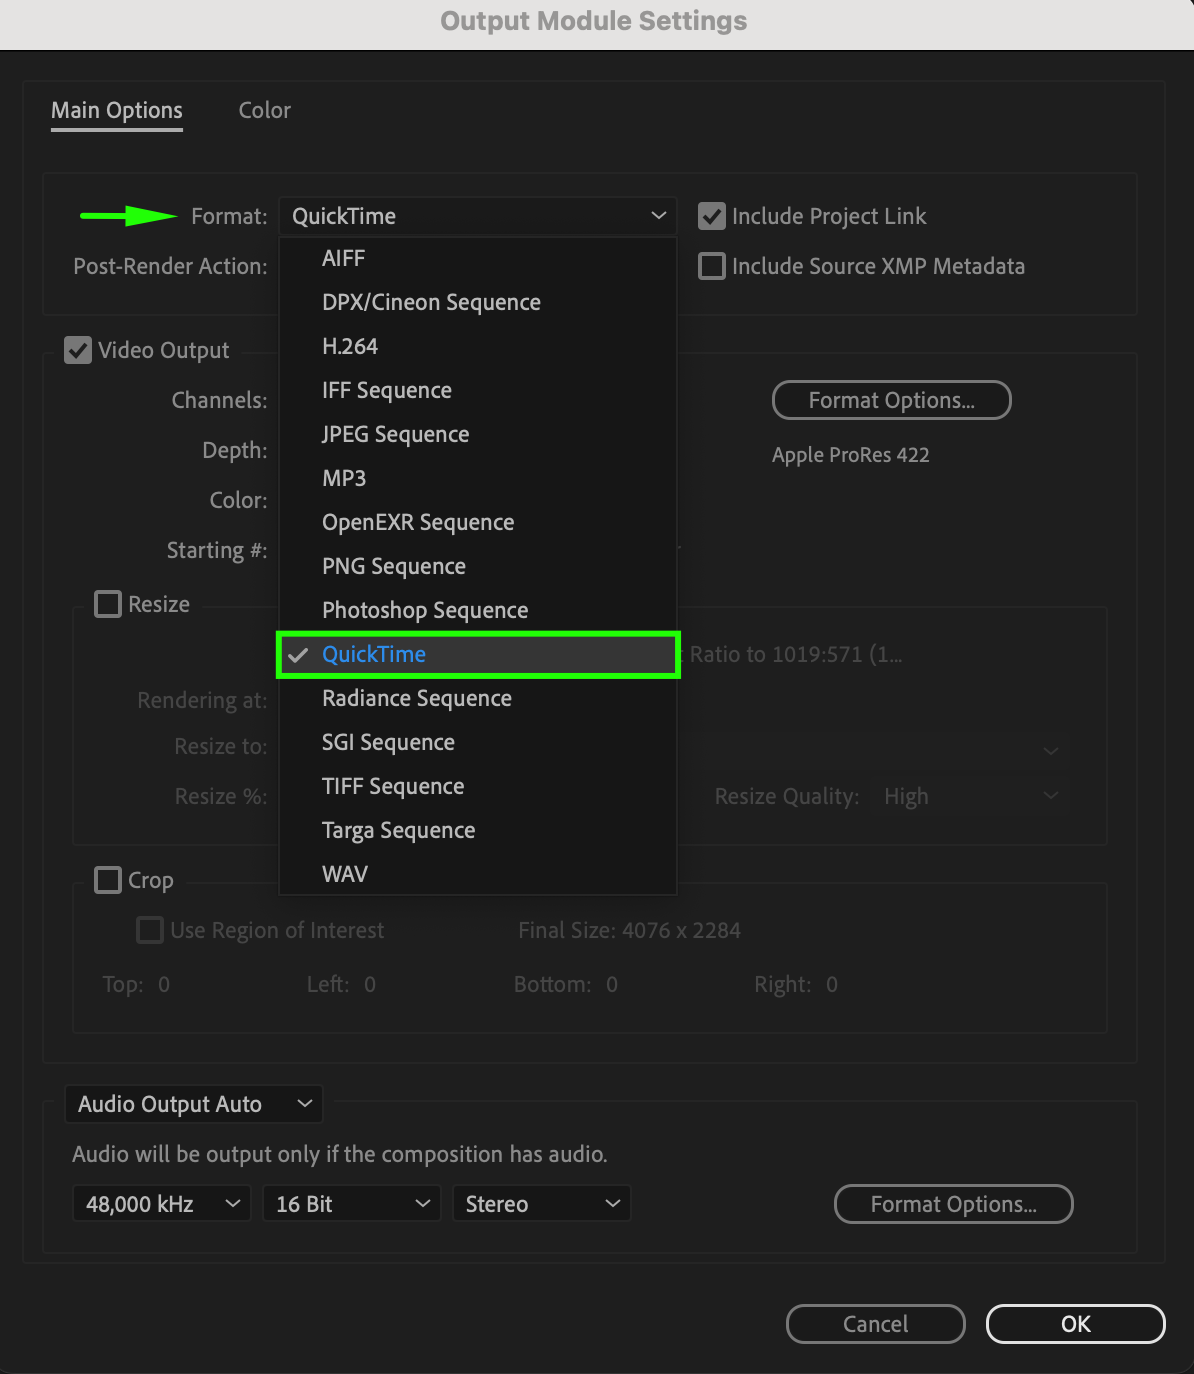 Step 5: Select a Codec
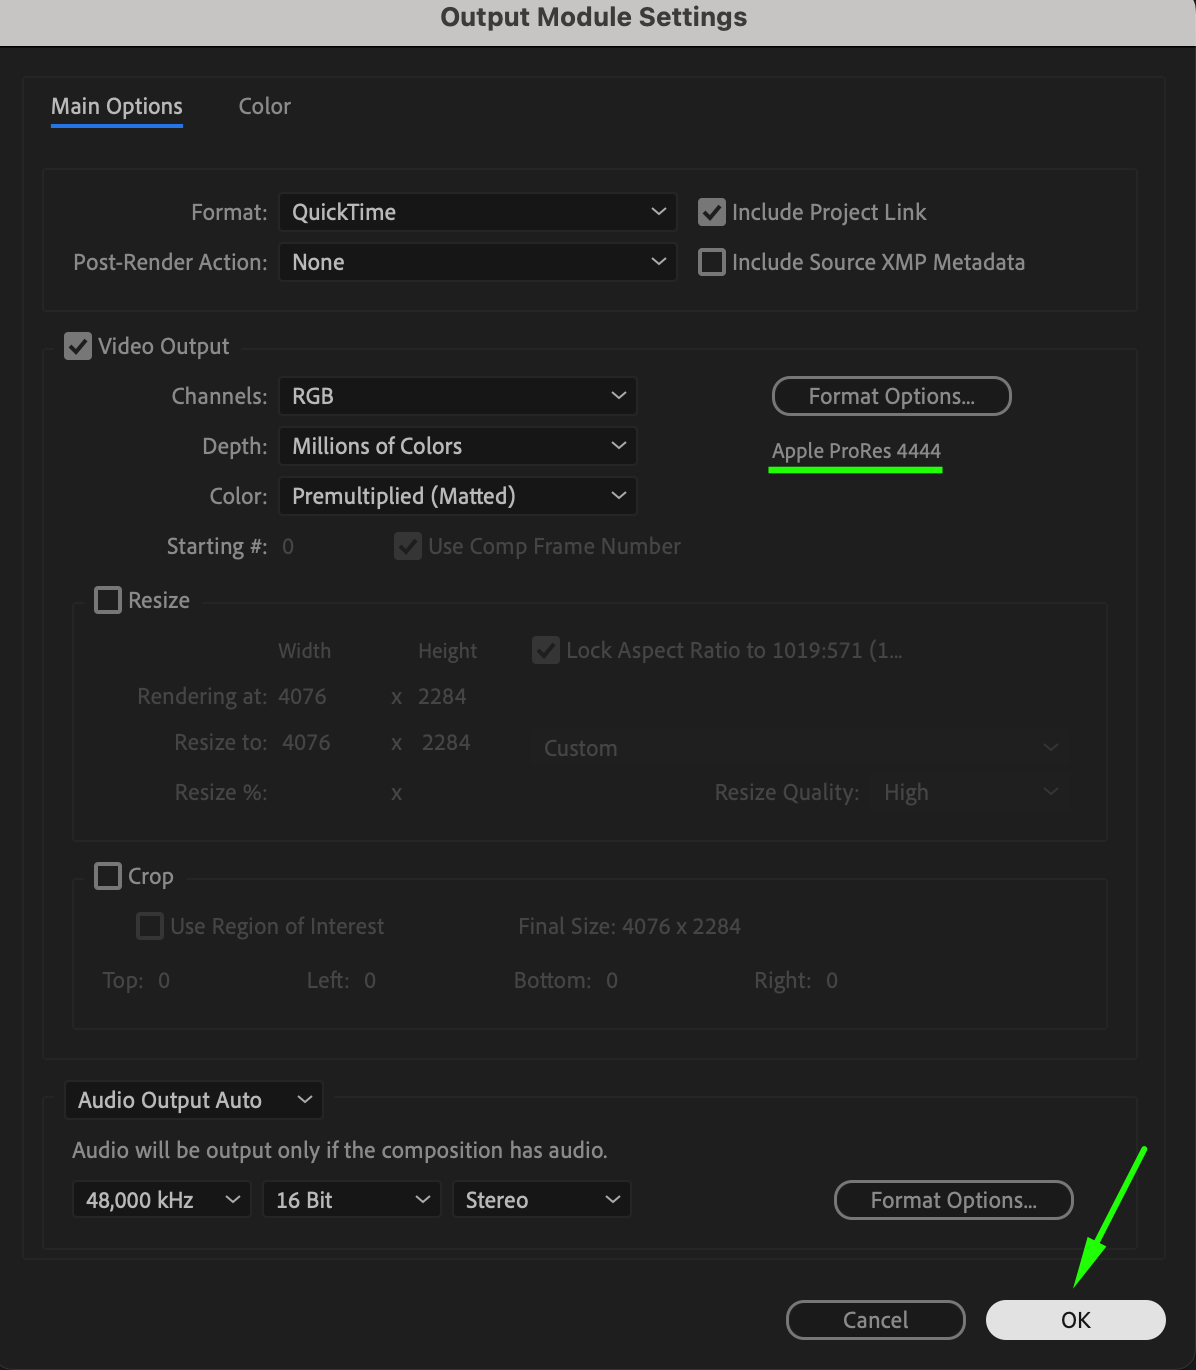
Get 10% off when you subscribe to our newsletter

Click the Format Options button. In the Video Codec section, choose the desired codec, such as Apple ProRes 4444, H.264, or Animation. Each codec has different compression settings:
Apple ProRes – High quality, best for professional editing.
H.264 – Good balance of quality and file size, ideal for web use.
Animation – Lossless compression, best for high-quality graphics.
After selecting the codec, click OK to confirm.
 Step 6: Set Output Destination
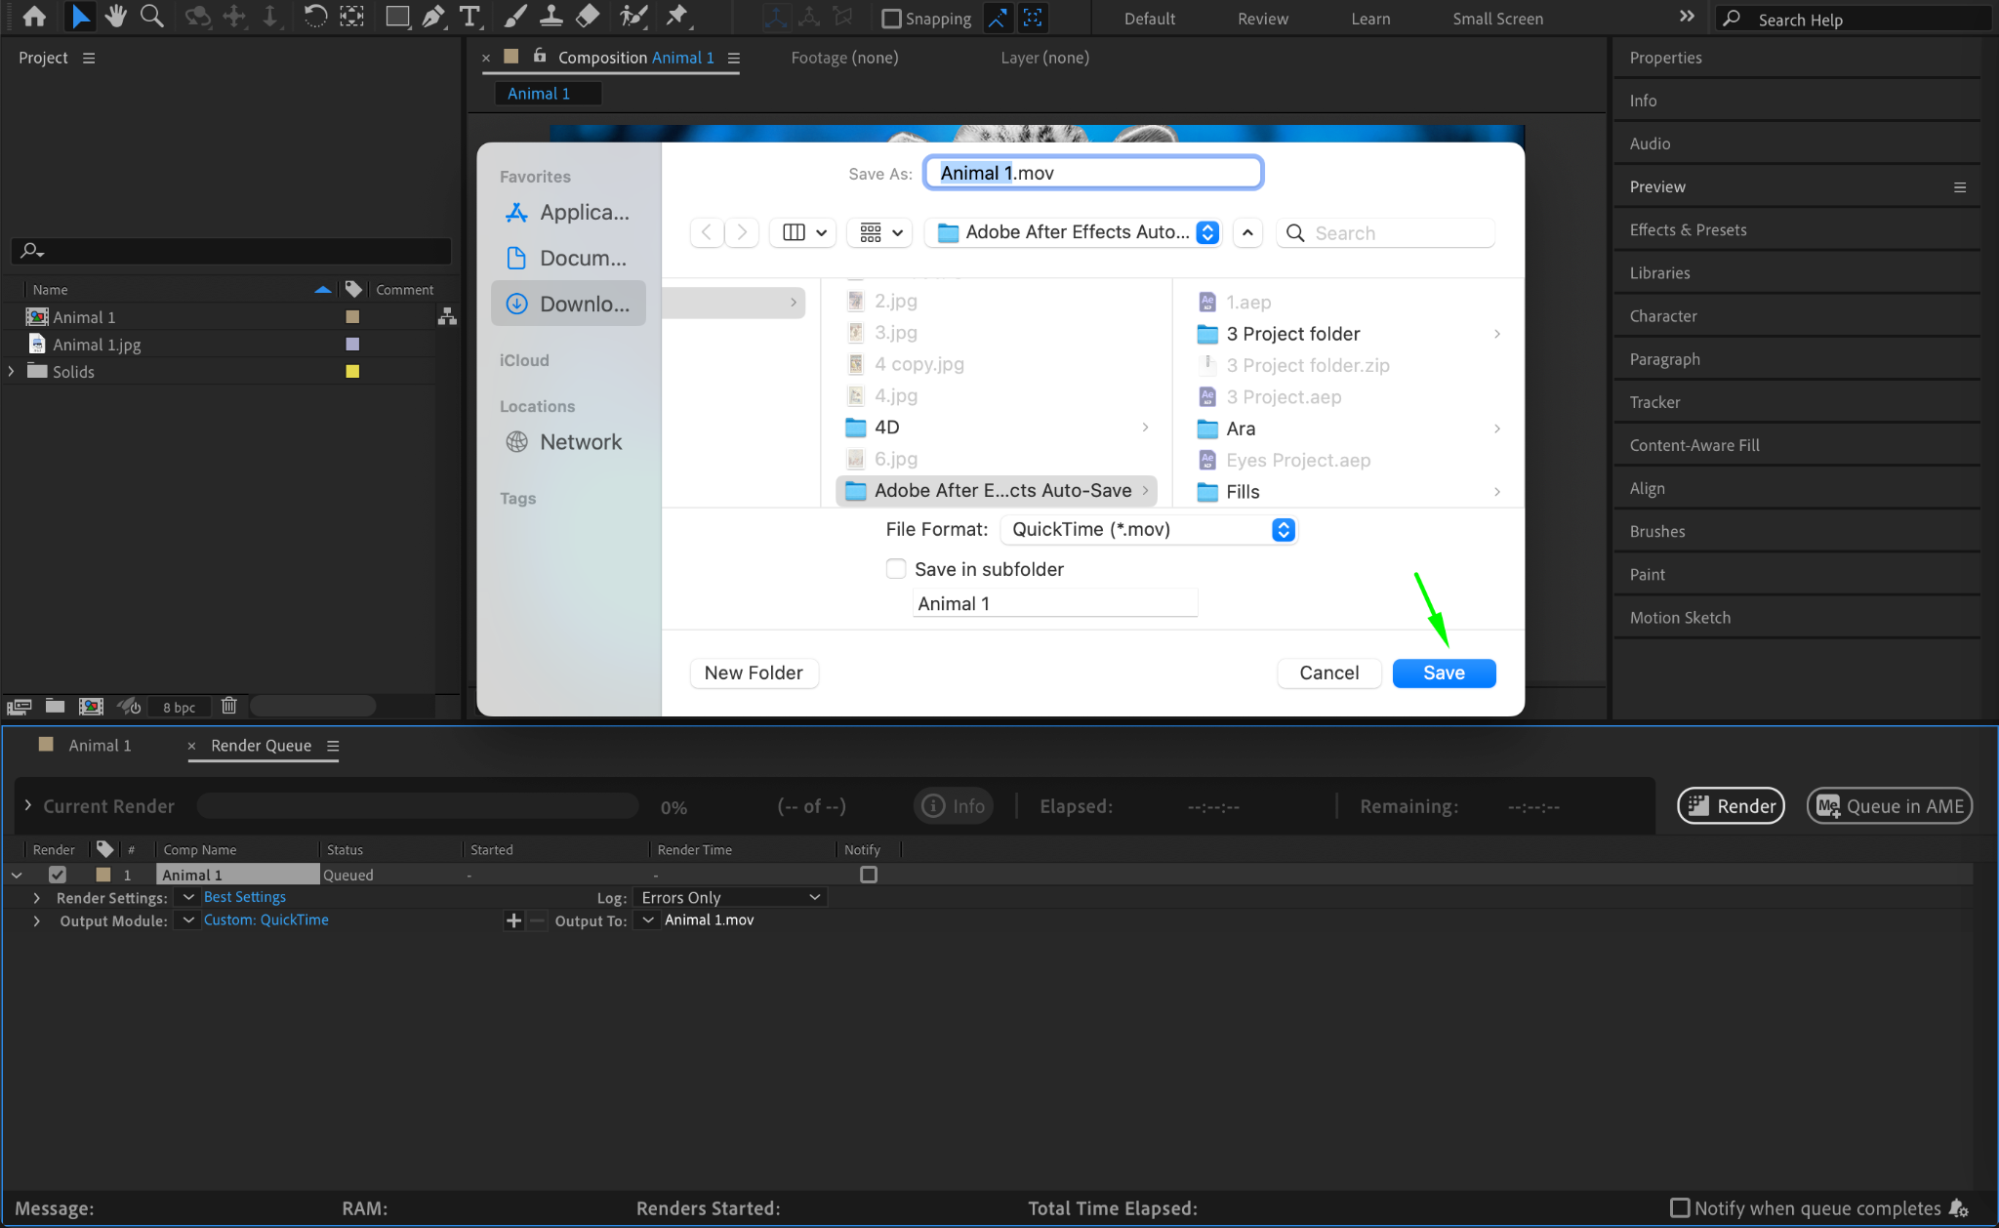
Next to the Output To section, click on the comp name. Choose a save location and name your file.
 Step 7: Render the Video
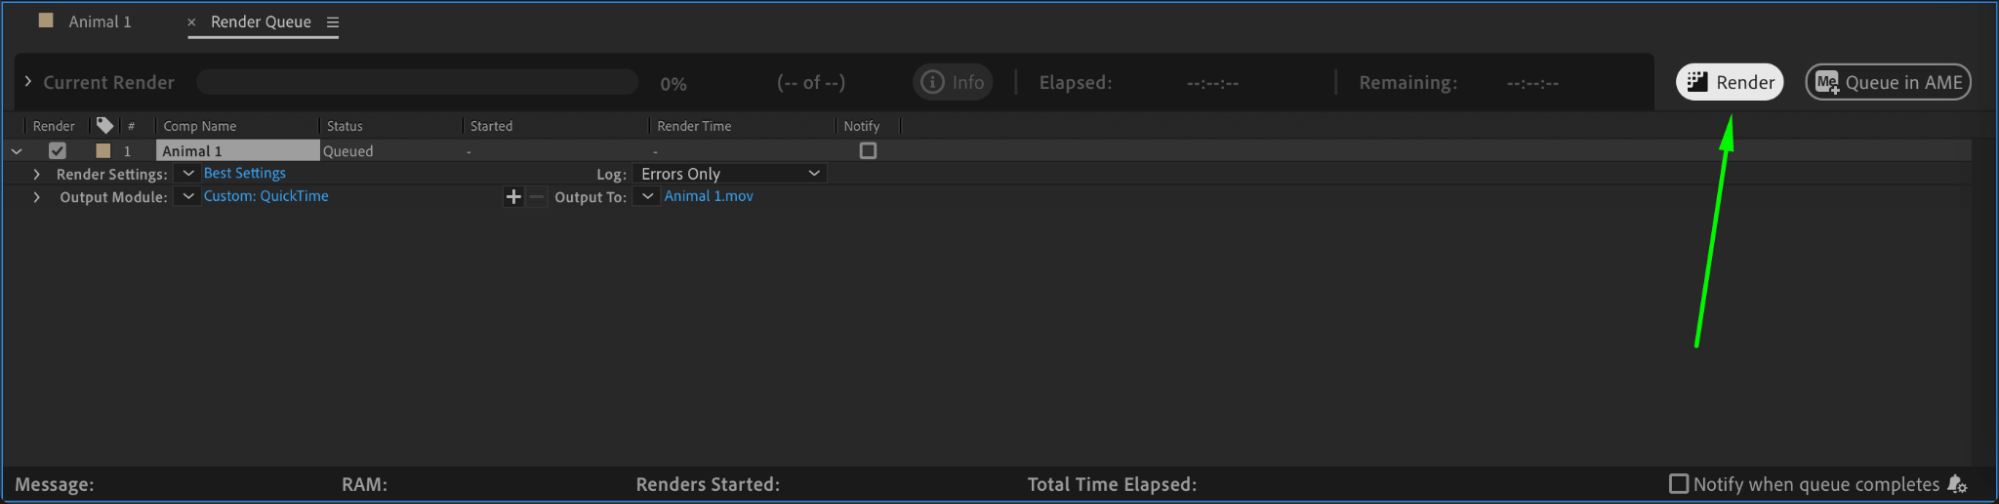
Click Render to start exporting the video with the selected codec. The Render Queue will show the progress, and the final file will be saved in your chosen destination.
Conclusion
Changing the codec in After Effects is essential for controlling video quality and file size. By adjusting the Output Module Settings, you can select the best codec for your needs, whether for professional editing, web streaming, or lossless compression.
Our Bestsellers


