“Step-by-Step Guide to Copying Transform Properties in After Effects”
“Introduction – Save Time by Reusing Transform Animations”
Transform properties in After Effects control key aspects of a layer, including Position, Scale, Rotation, Anchor Point, and Opacity. Copying these properties allows you to apply the same settings or animations to other layers, saving time and ensuring consistency. This guide will show you how to efficiently copy and paste transform properties.
Step 1: Select the Layer with Desired Transform Properties
Get 10% off when you subscribe to our newsletter

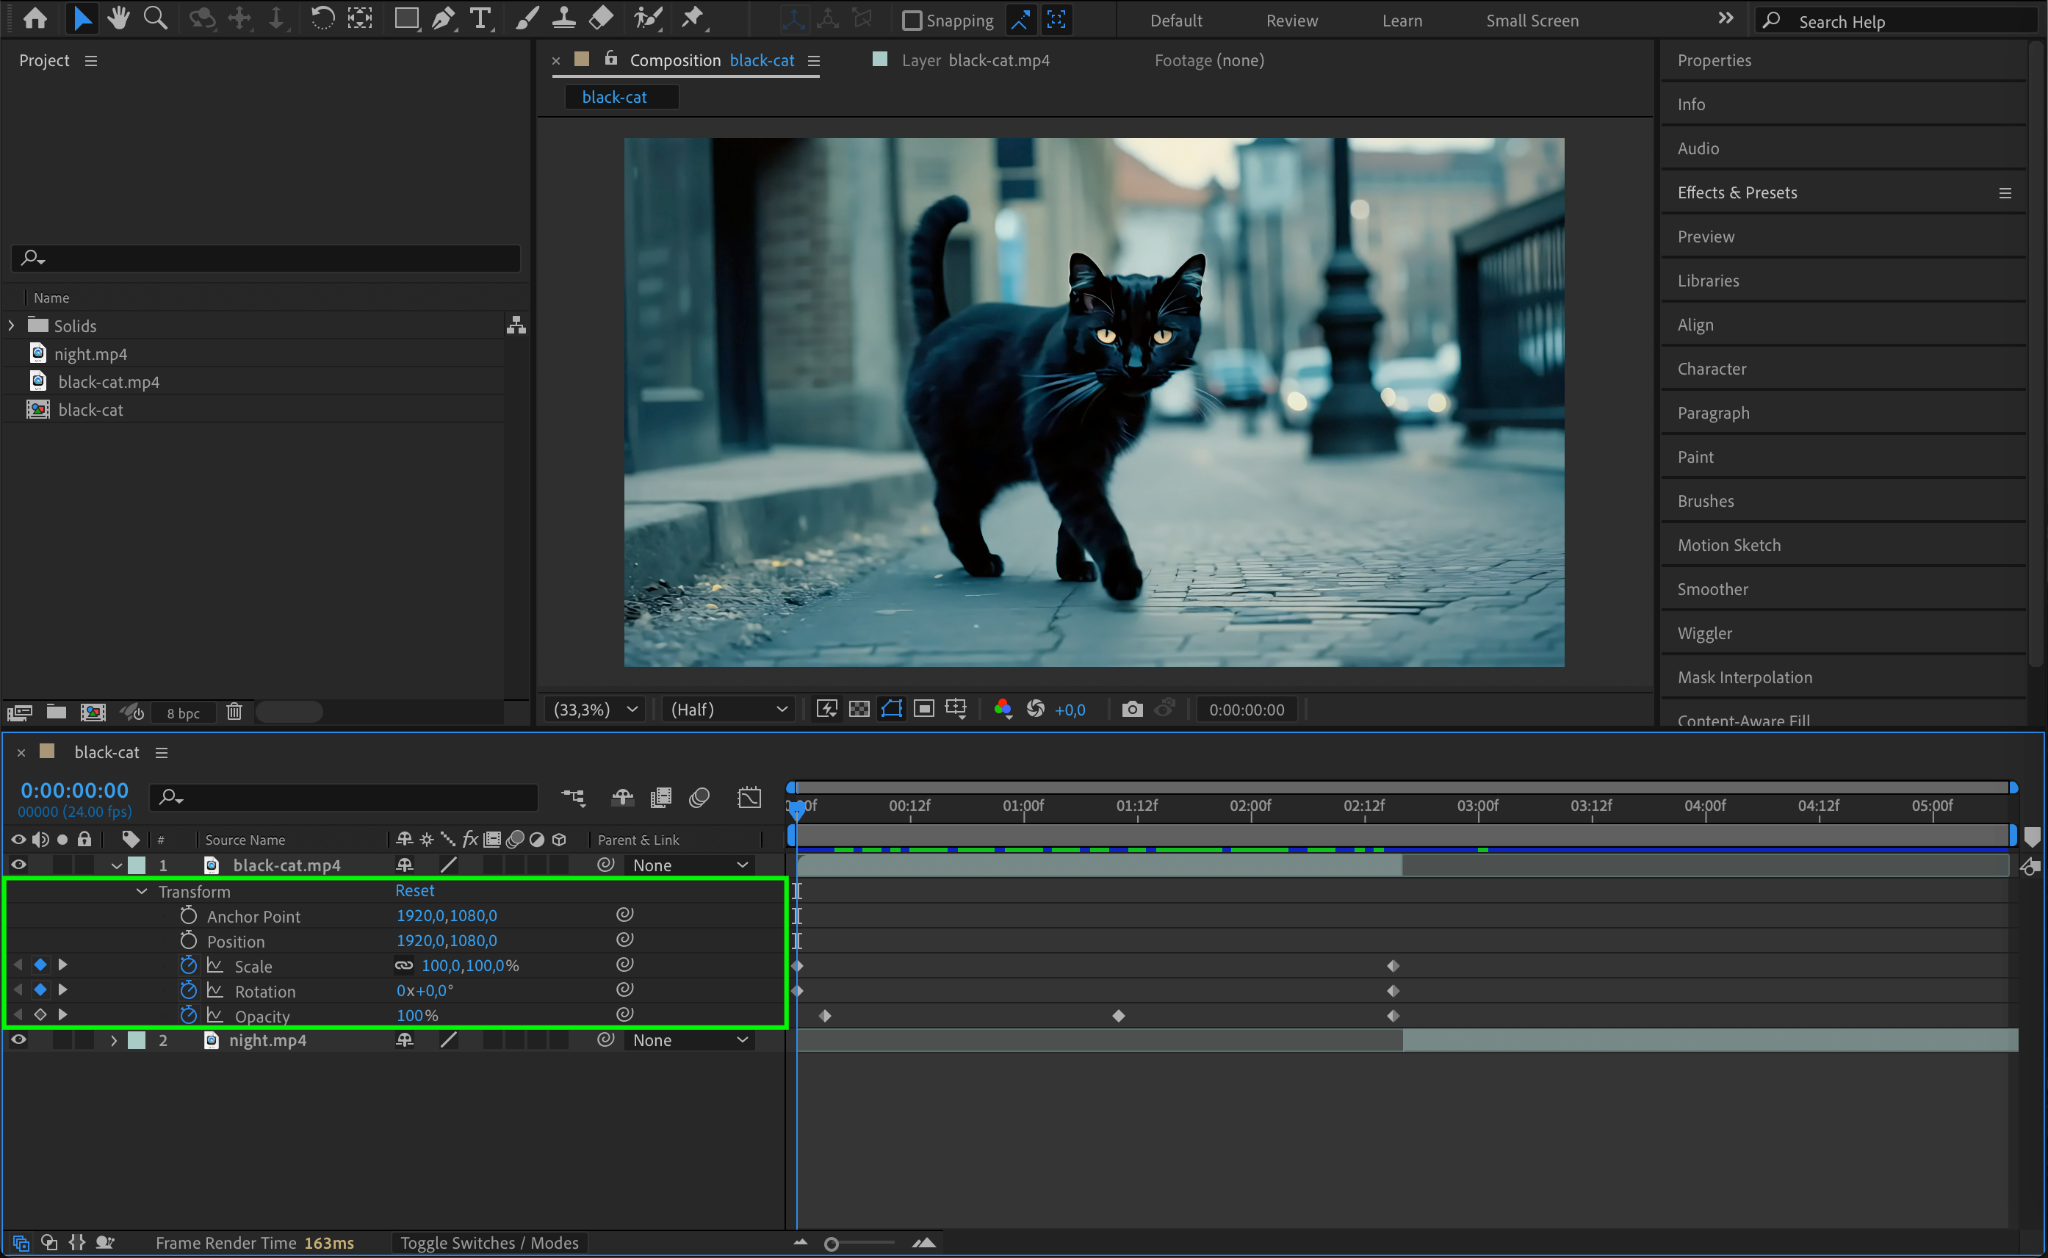
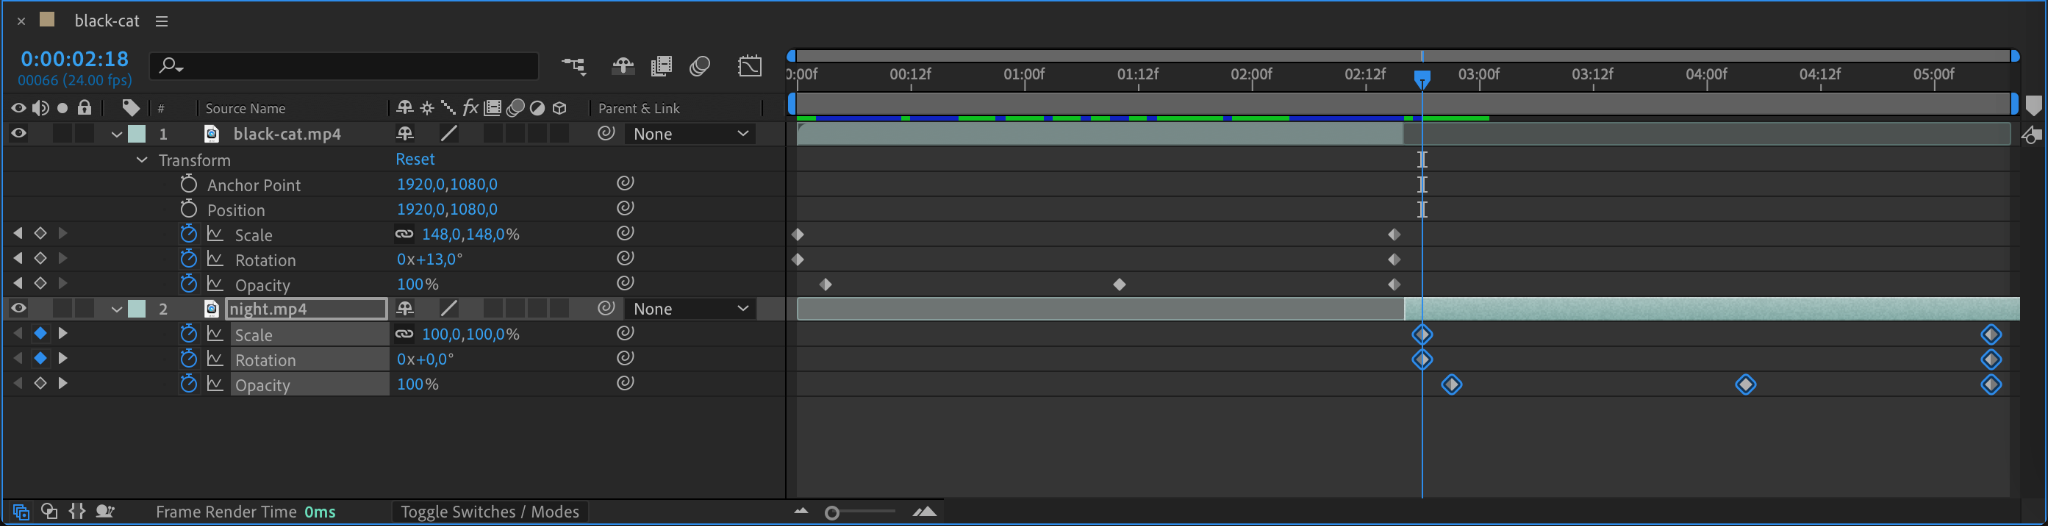
Start by selecting the layer that has the transform properties you want to copy. Open the layer’s Transform options by clicking the small arrow next to the layer name in the Timeline Panel. This will reveal properties like Position, Scale, Rotation, and more. If the properties are animated, you will also see keyframes.
Step 2: Highlight Specific Properties or Keyframes
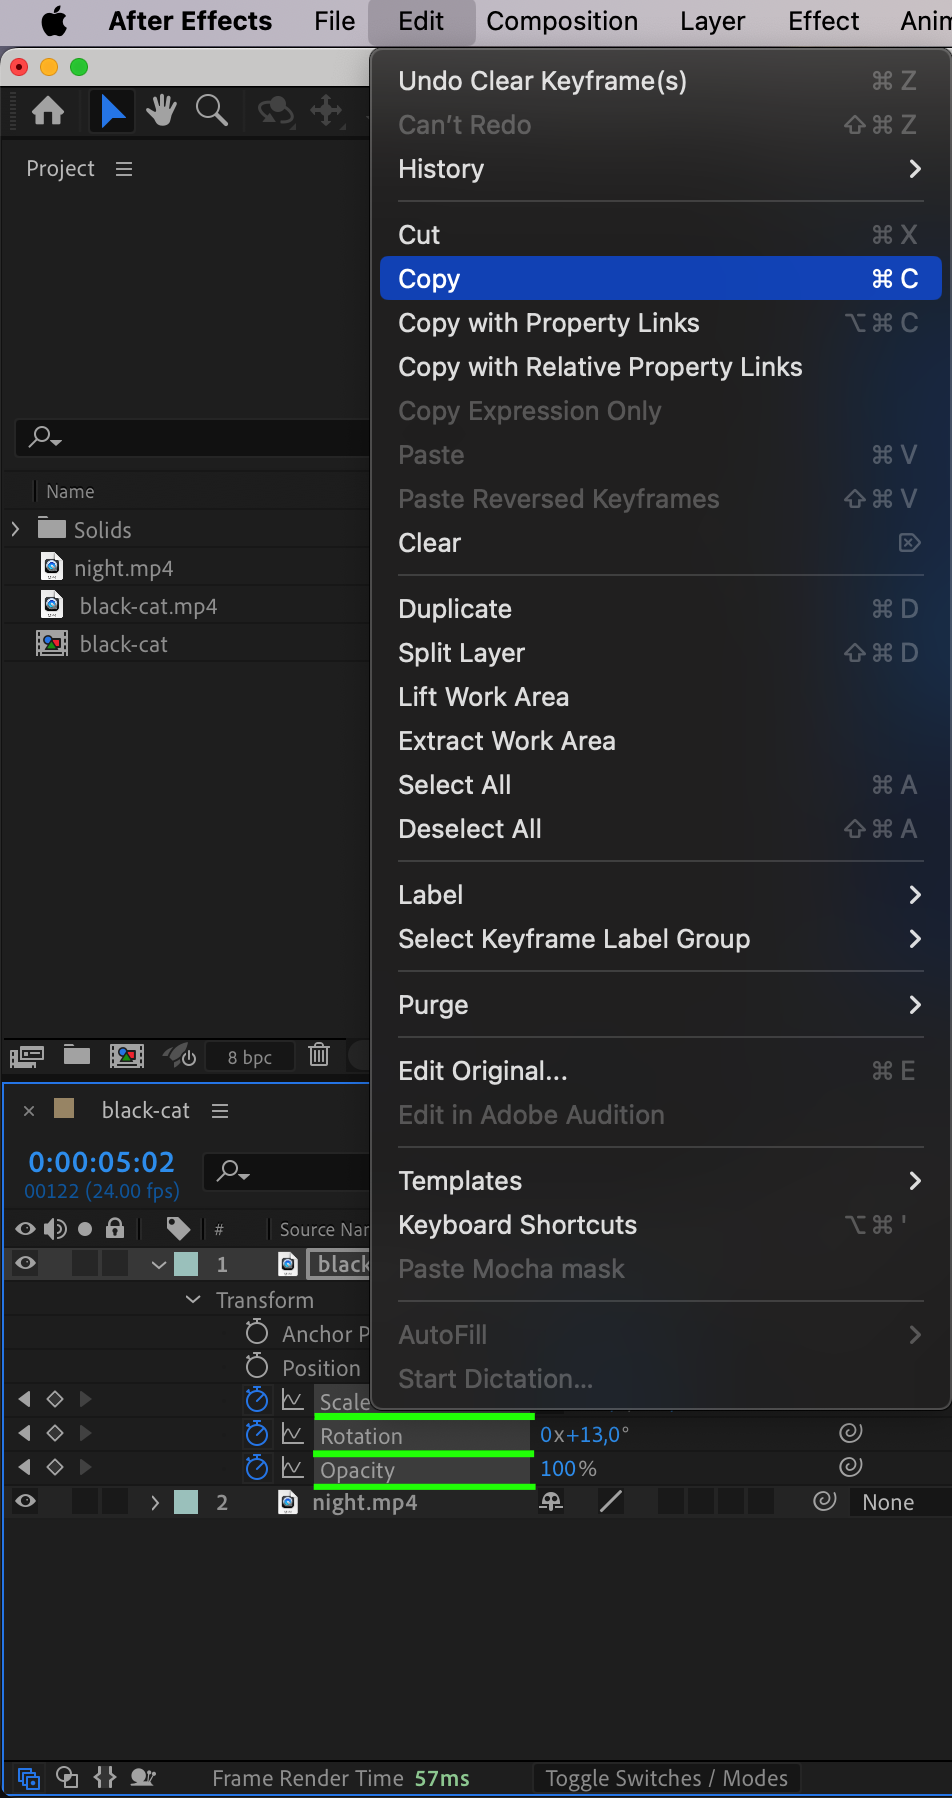
Choose which transform properties you want to copy. You can select individual properties (e.g., Position or Scale) by clicking on their names. If you want to copy keyframes, click and drag over them in the Timeline to highlight. Press “Ctrl/Cmd + C” to copy the selected properties or keyframes.
Step 3: Select the Target Layer
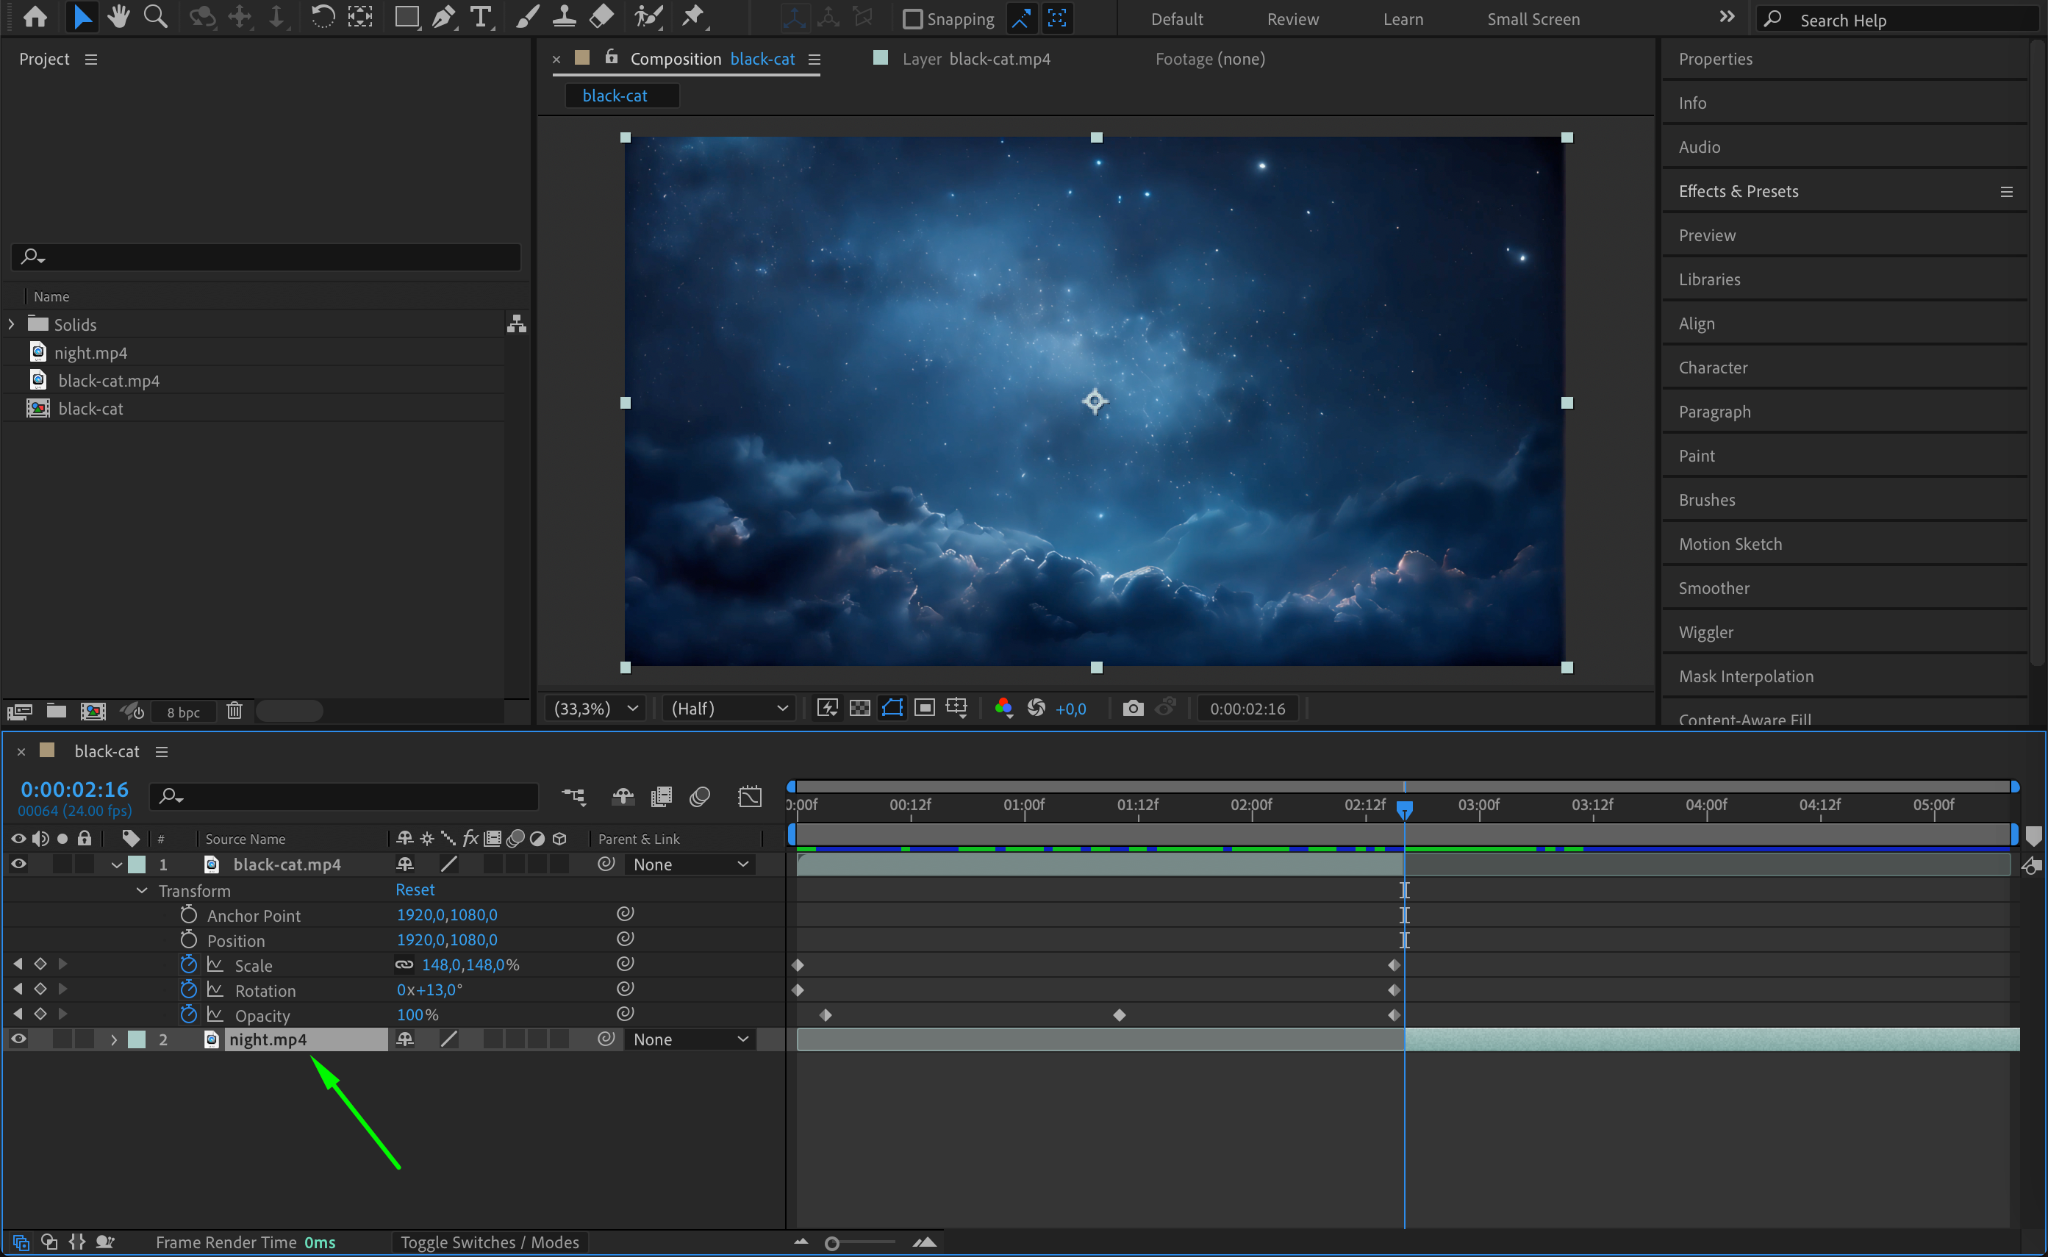
Click on the layer where you want to paste the copied transform properties. If you are applying properties to multiple layers, hold Shift and select all the target layers in the Timeline Panel. Make sure the target layer(s) are of similar type and resolution to avoid misalignment or unexpected results.
Step 4: Paste the Transform Properties
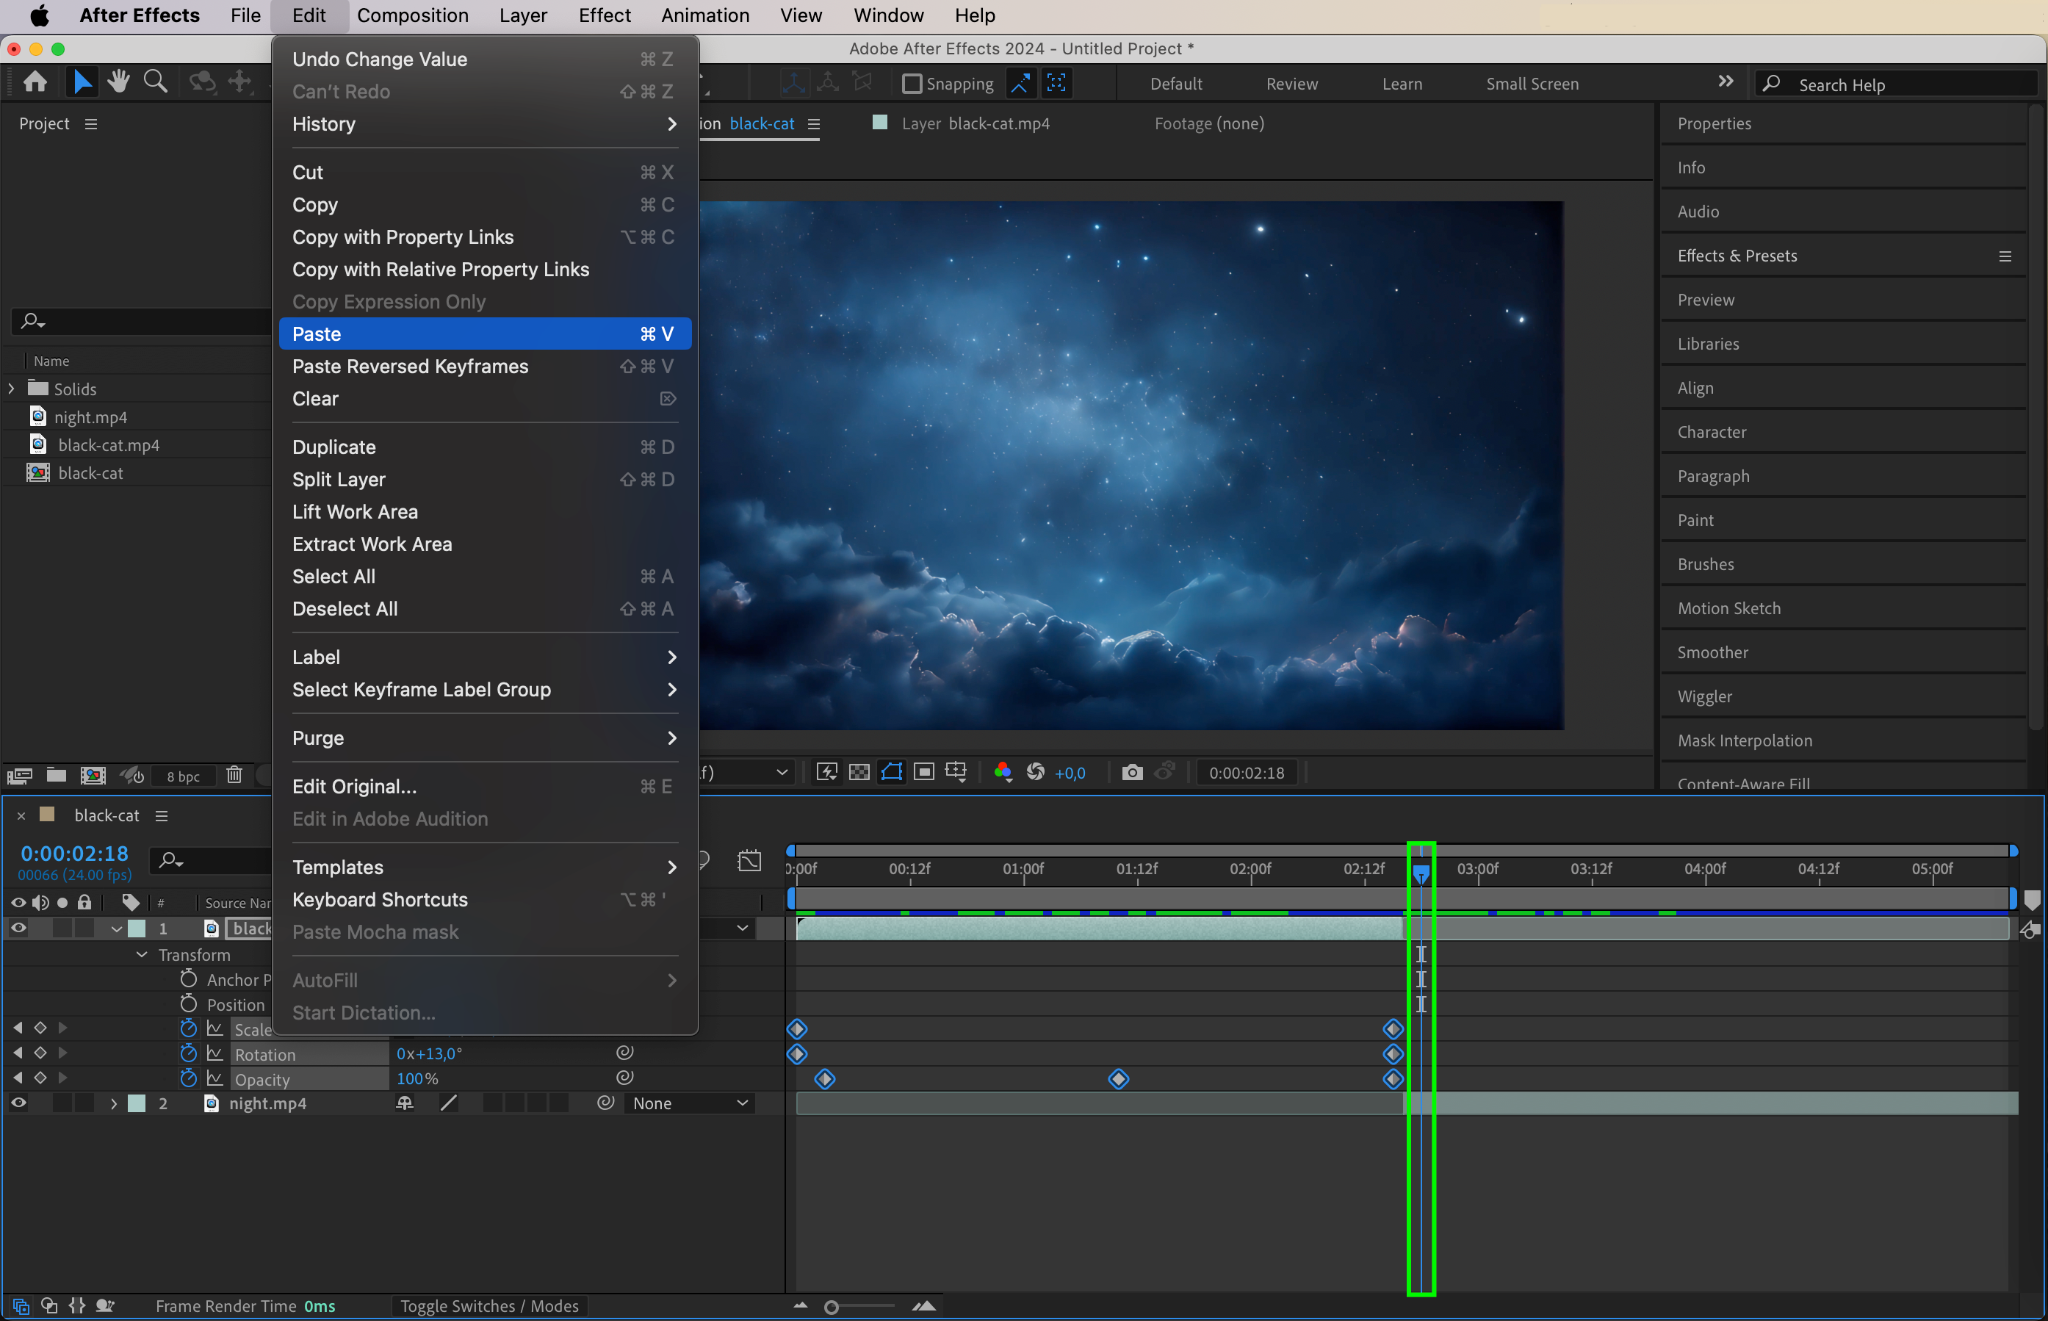
Move the CTI (Current Time Indicator) to the frame where you want the transform properties or keyframes to begin. Press “Ctrl/Cmd + V” to paste the copied properties onto the selected layer(s). The pasted transform settings or animations will now appear in the target layer.
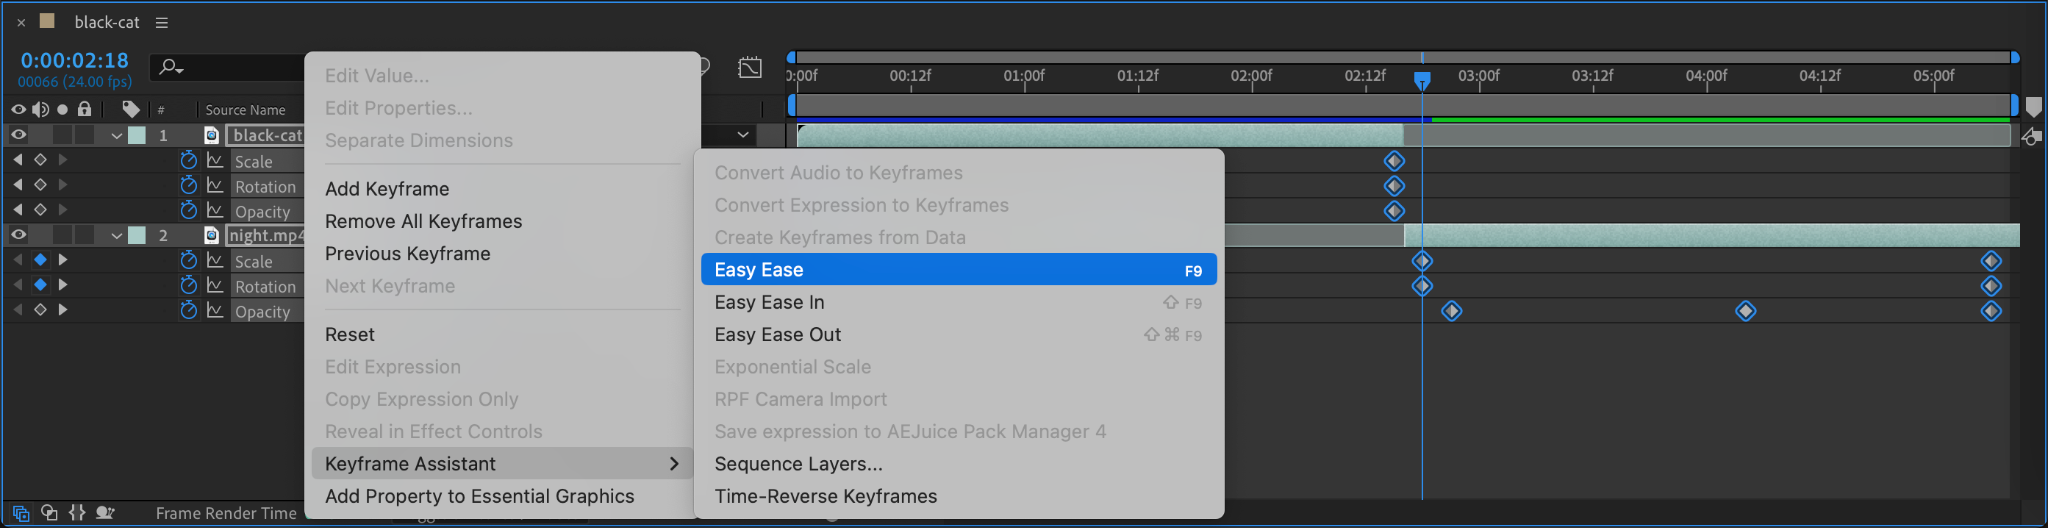
Step 5: Adjust and Refine
After pasting, you can further refine the transform properties on the target layer. Use the Transform options to adjust Position, Scale, or other attributes as needed. If keyframes were pasted, consider tweaking their timing or easing for a smoother animation.
Step 6: Preview Your Animation
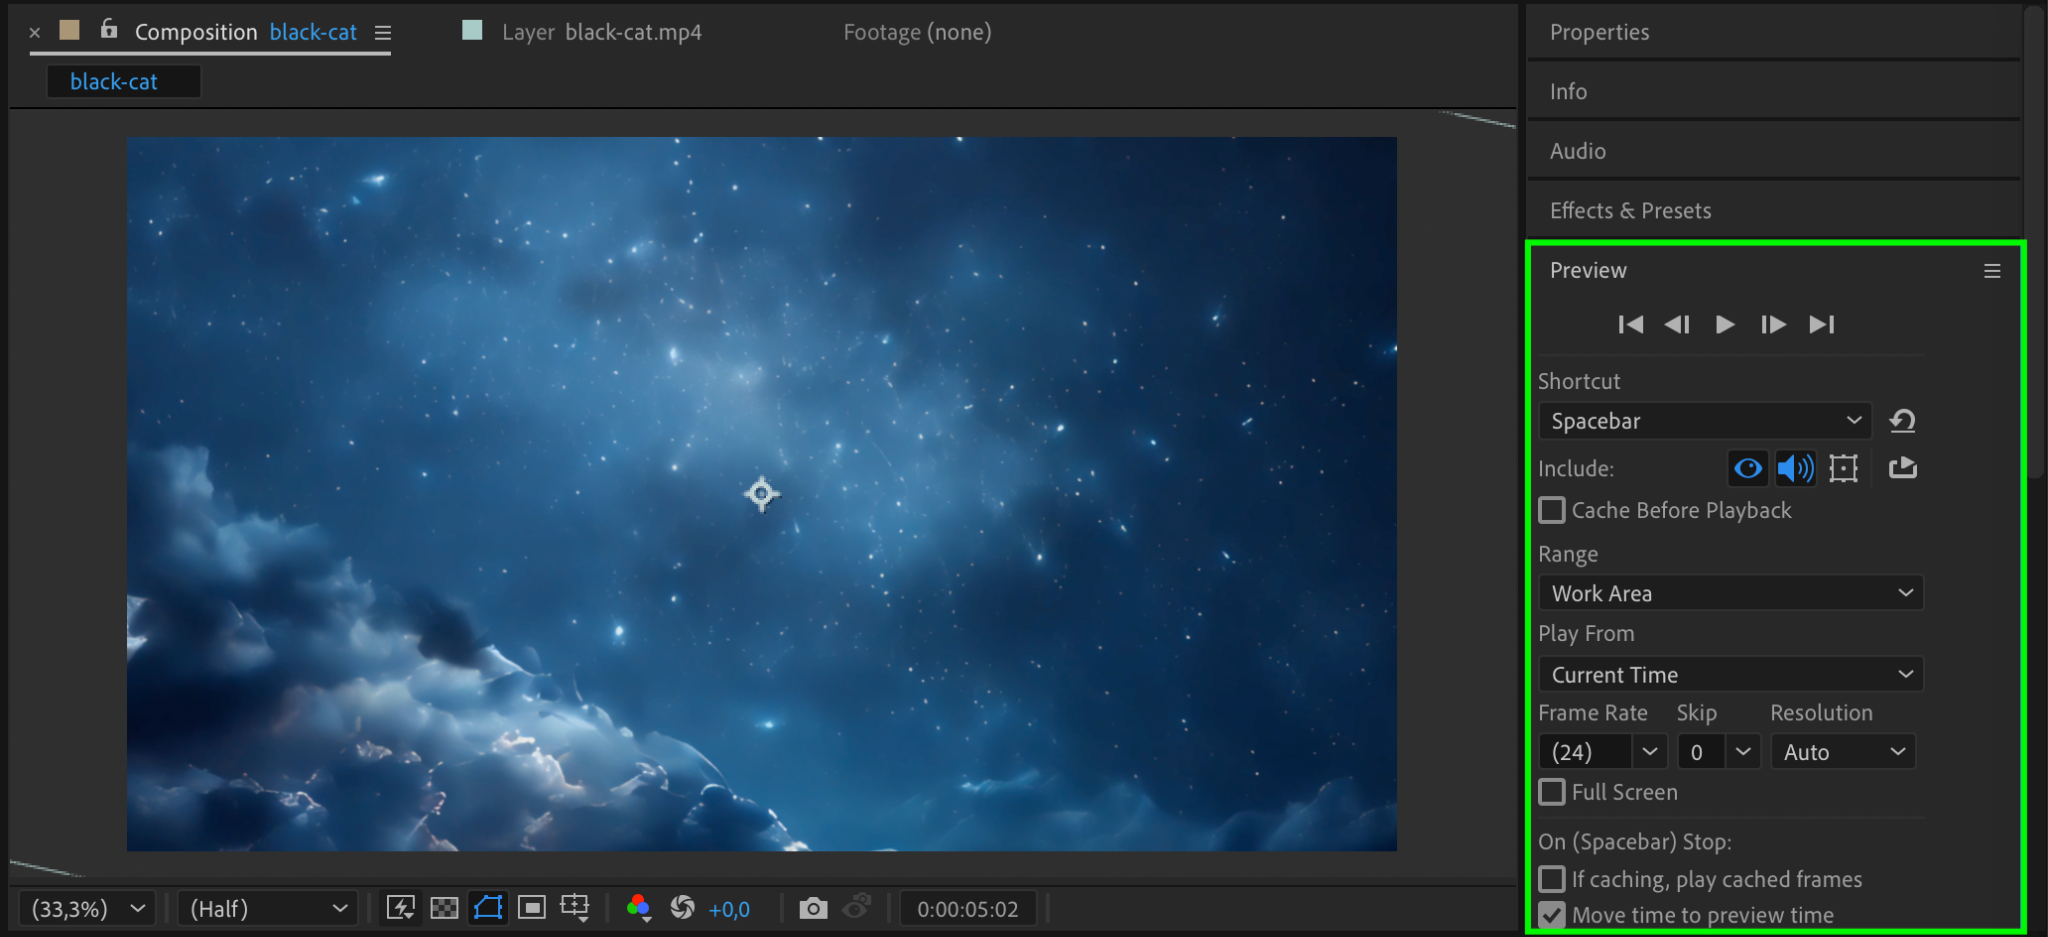
Press the spacebar to preview the animation. Confirm that the transform properties are applied as intended and ensure the movement, scaling, or rotation fits seamlessly into your composition.
Step 7: Render Your Project
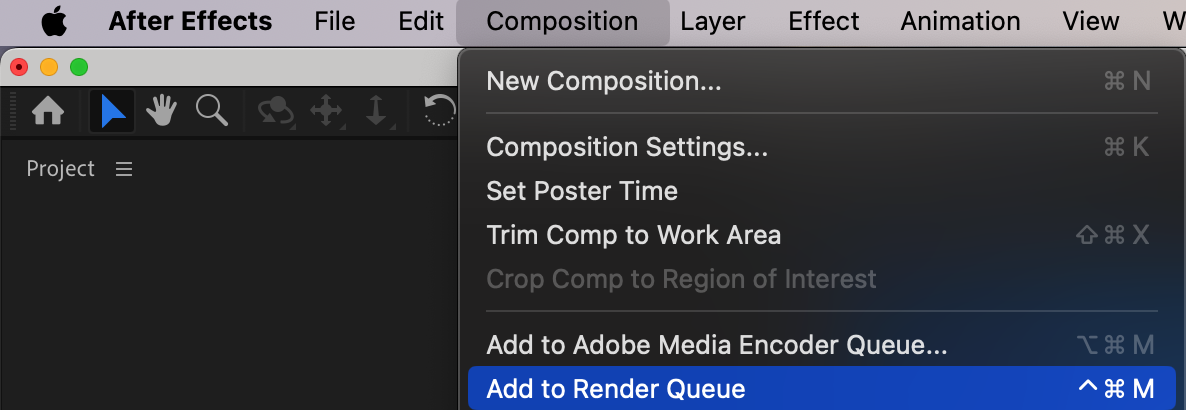
When you’re satisfied with the results, render your project. Go to Composition > Add to Render Queue, configure your output settings, and click Render to export your animation with the copied transform properties.

Conclusion
Copying and pasting transform properties in After Effects is a simple yet effective way to maintain consistency across layers and speed up your workflow. By following these steps, you can quickly replicate animations or settings, saving valuable time while creating polished compositions.
Our Bestsellers


