How to Master Gradient Creation in After Effects
Introduction
Creating gradients in After Effects is an essential skill for video designers and motion graphics artists. Gradients can enhance your compositions by adding dimension and visual appeal, whether you’re working on a background or intricate animated effects.
In this guide, we’ll explore various methods for creating and customizing gradients in After Effects. We’ll cover everything from adding a basic linear gradient to adjusting colors, opacity, and blending modes for achieving the desired look. By the end of this tutorial, you’ll have the knowledge and skills to create stunning gradient effects in your projects, unleashing your creativity.
Get 10% off when you subscribe to our newsletter

How to Create a Gradient in After Effects: A Step-by-Step Guide
Step 1: Create a New Composition
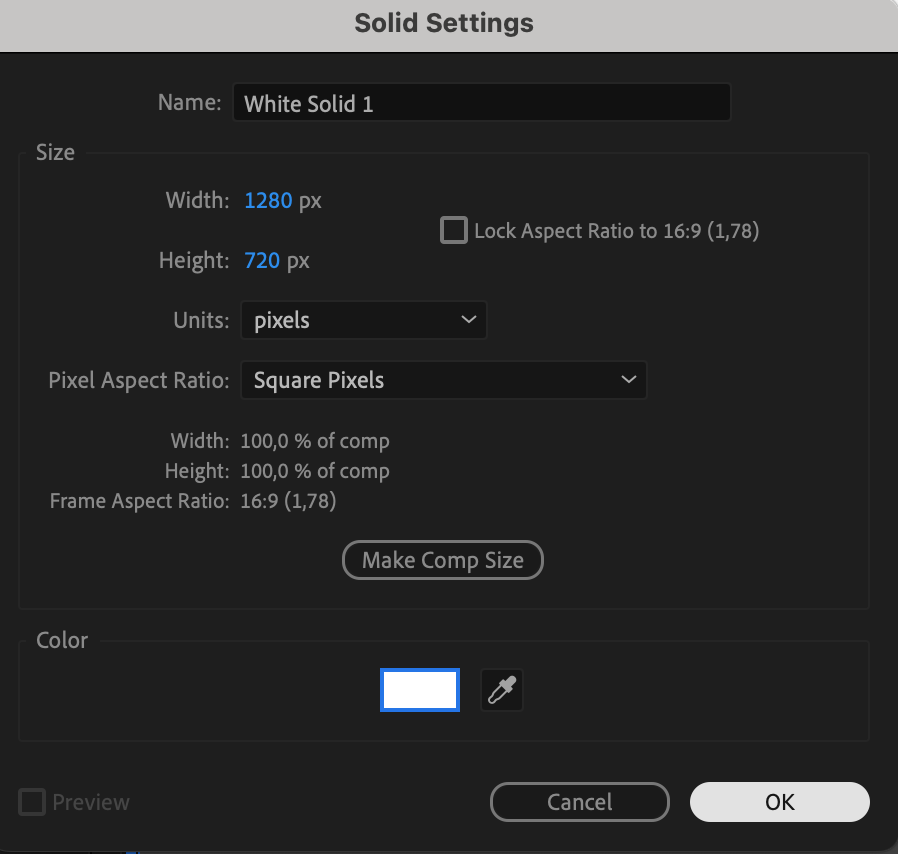
To start, open After Effects and create a new composition by selecting “Composition” in the menu bar and choosing “New Composition.” Set your desired dimensions and duration, then click “OK.”
 Step 2: Add a Solid Layer
Get 10% off when you subscribe to our newsletter

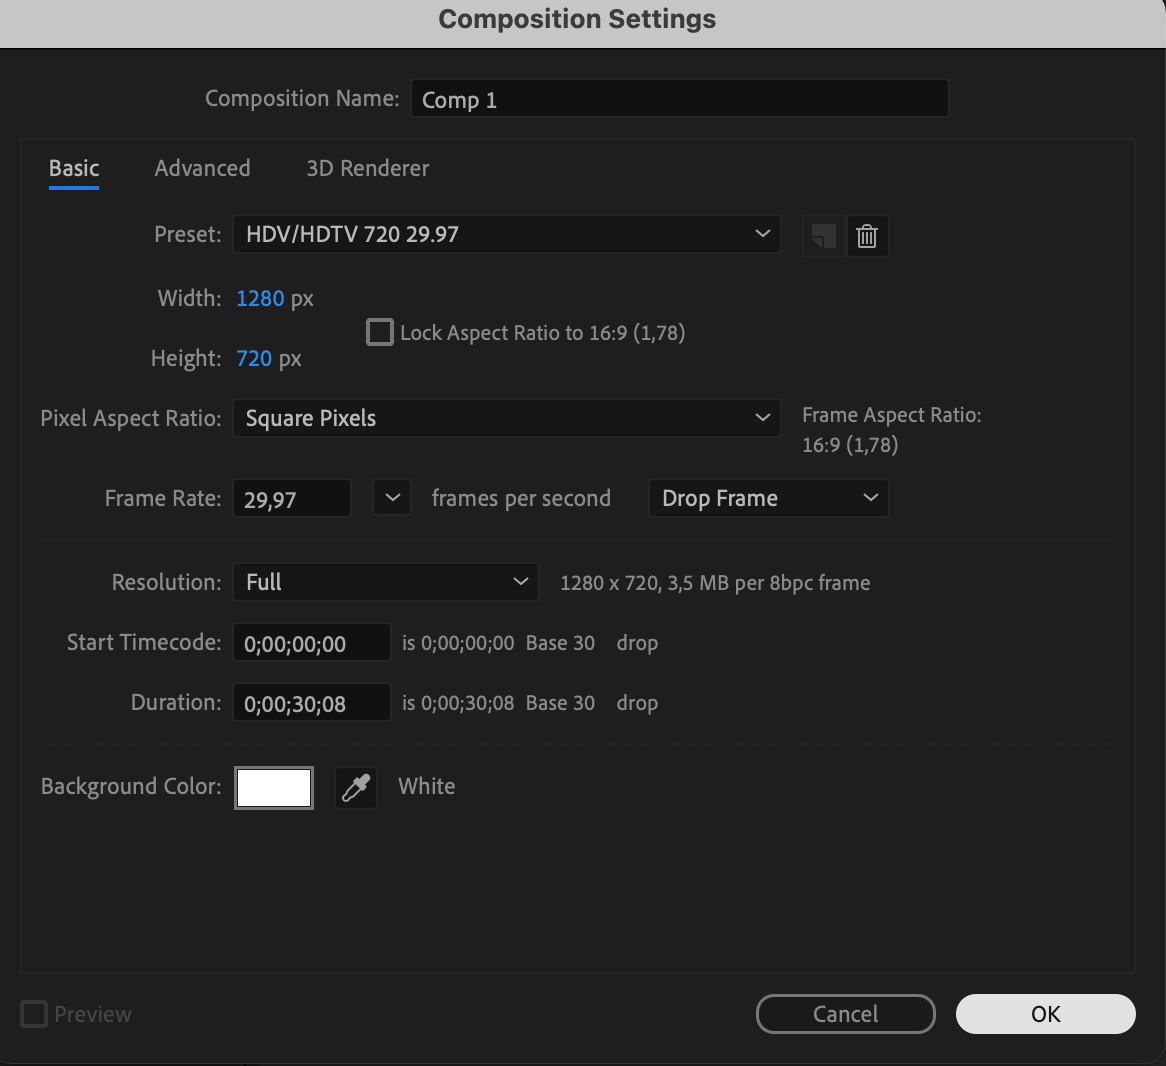
Next, add a solid layer by right-clicking on the timeline and selecting “New,” followed by “Solid.” Choose your desired color for the solid layer and click “OK.”
 Step 3: Apply the Gradient Effect
With the solid layer selected, find the Effects & Presets panel (usually on the right side of the interface). Use the search bar to look for “Gradient Ramp” and drag the effect onto your solid layer.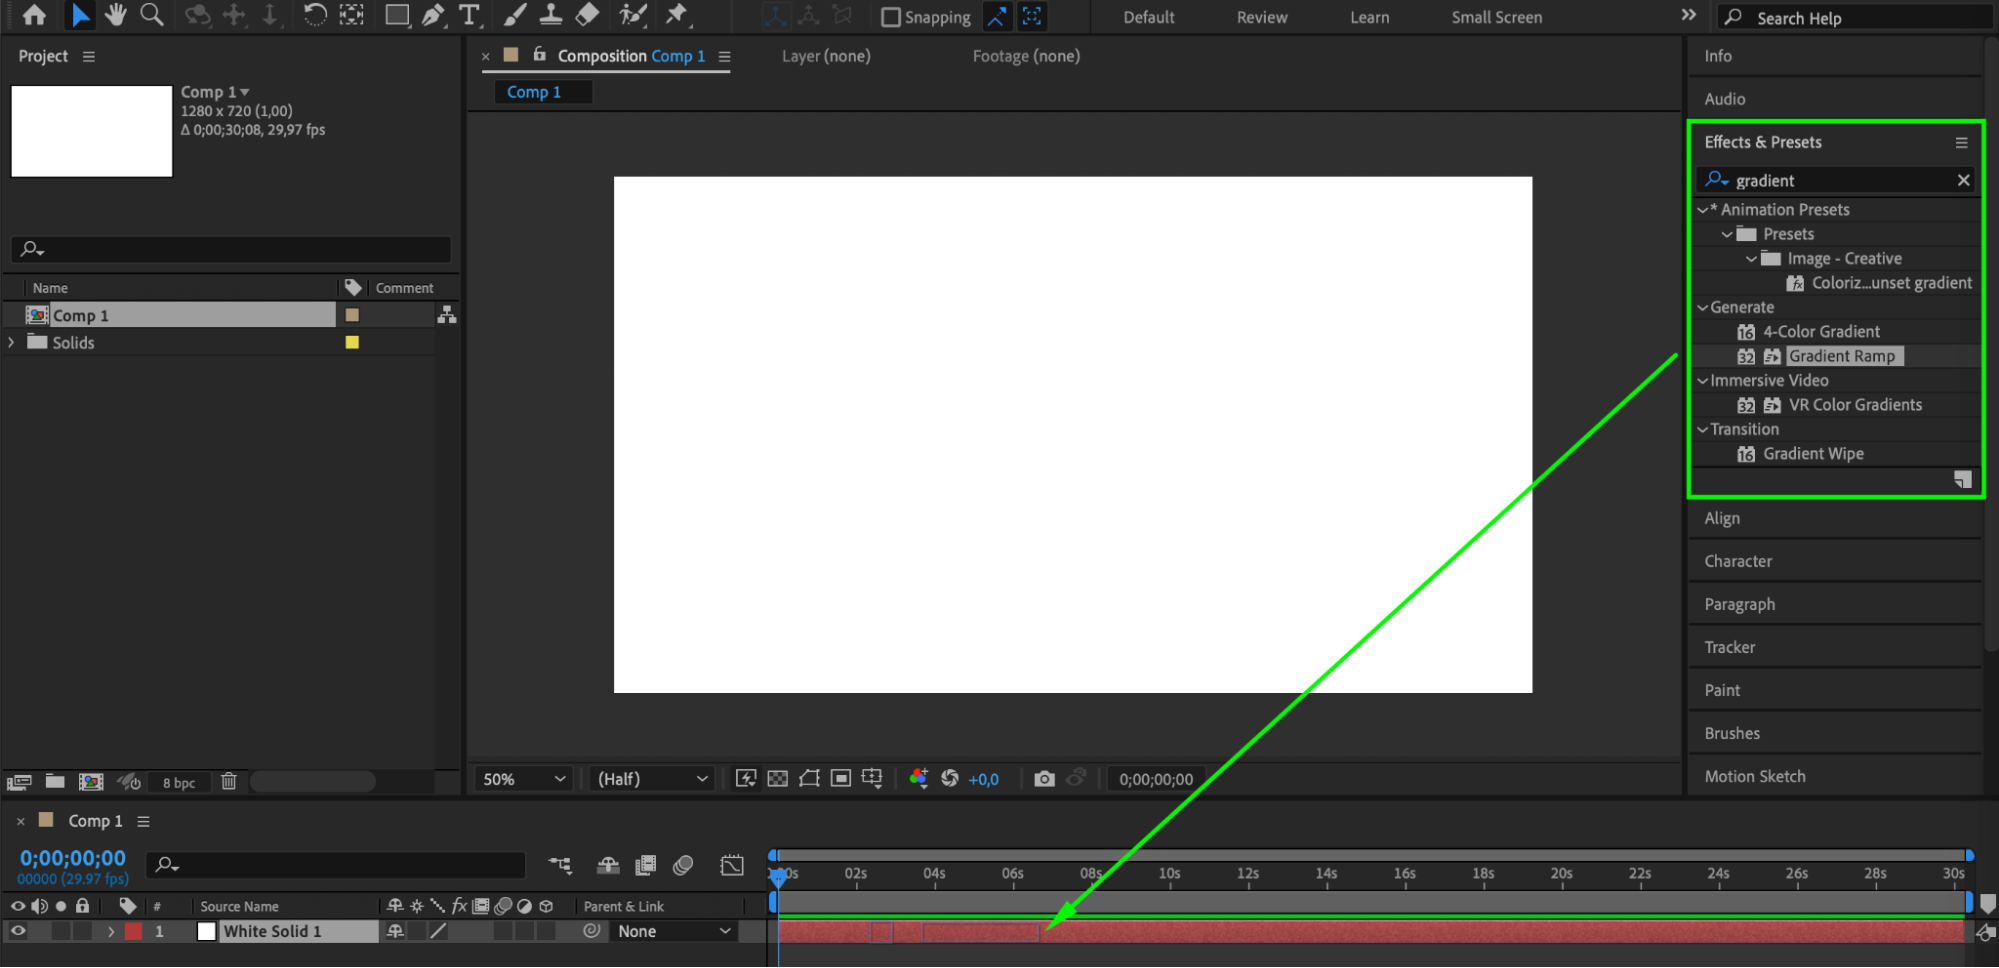 Step 4: Customize the Gradient
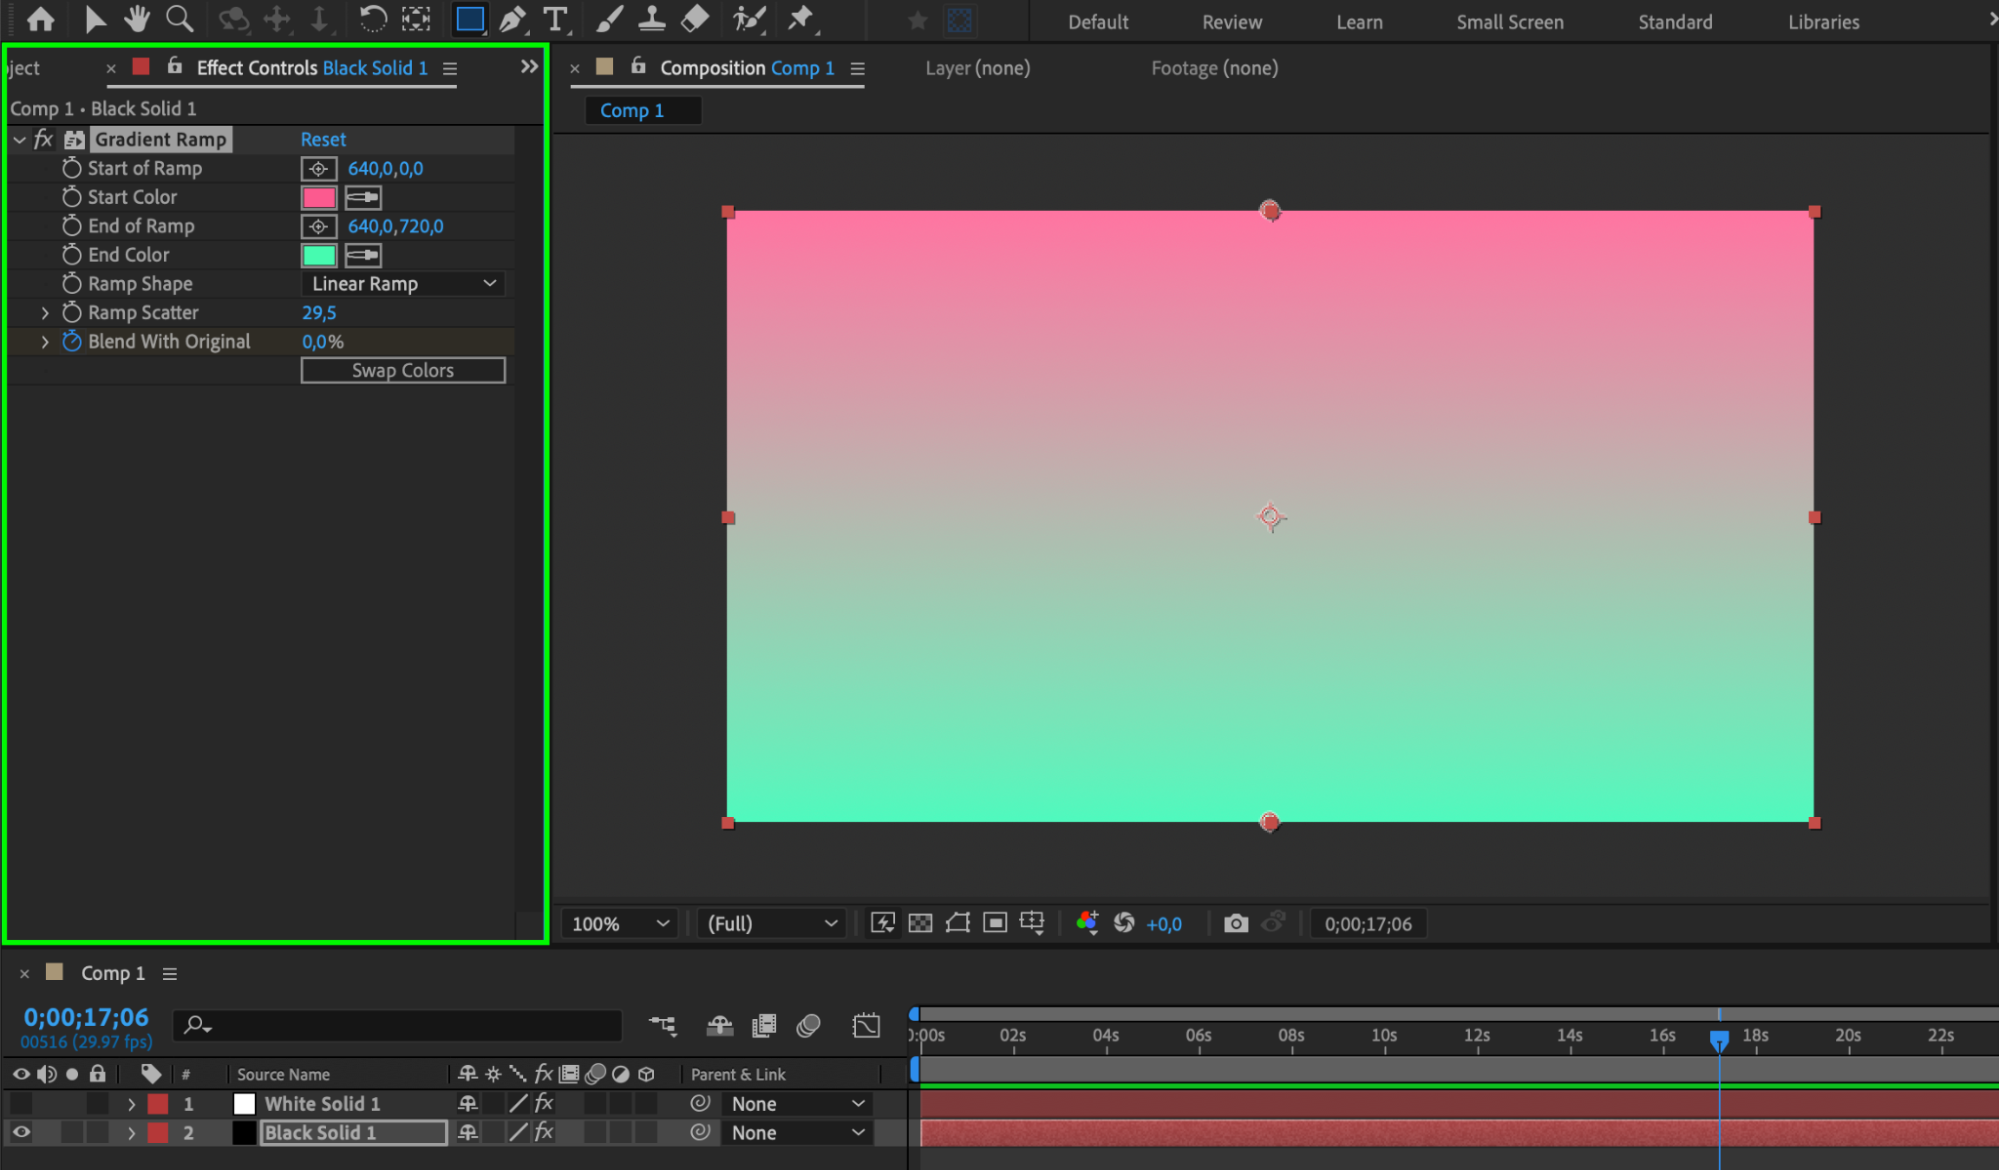
Now it’s time to customize your gradient. In the Effect Controls panel (usually above the timeline), you’ll find various options to modify the gradient’s appearance. Adjust the start and end colors, opacity, and blending mode to create different looks. Experiment with these settings until you achieve your desired result.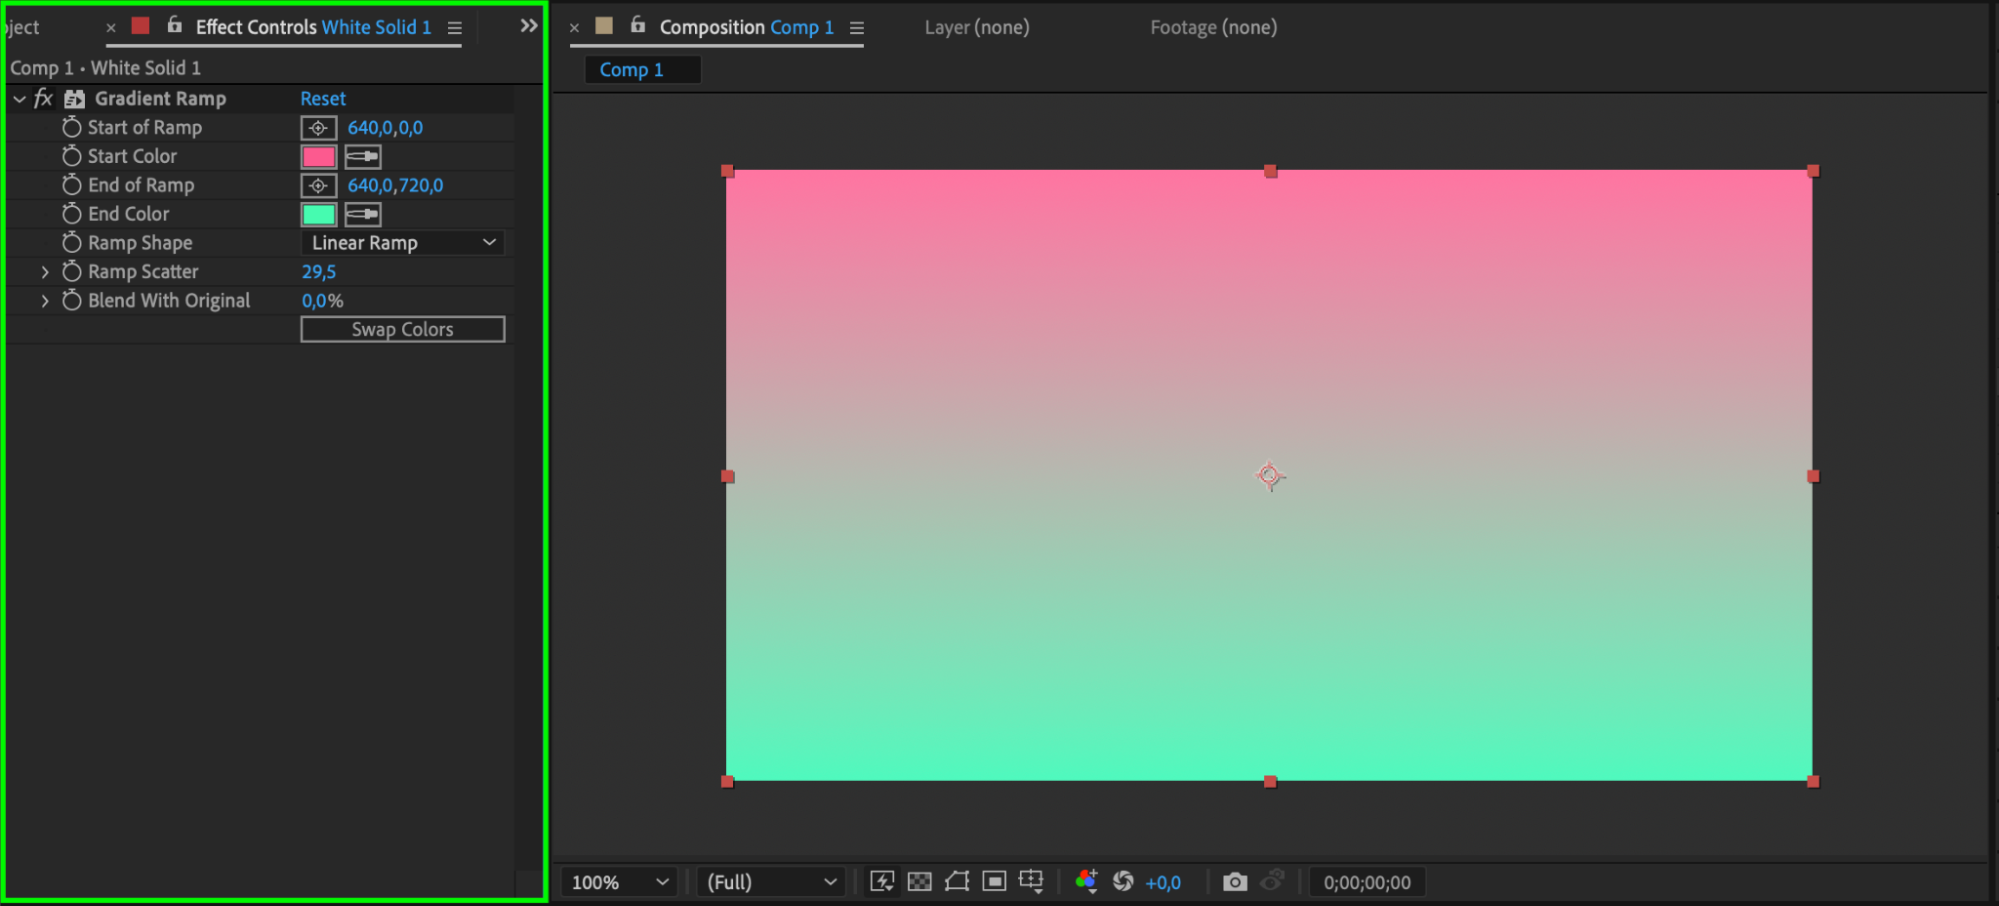 Step 5: Add Keyframes (Optional)
Get 10% off when you subscribe to our newsletter

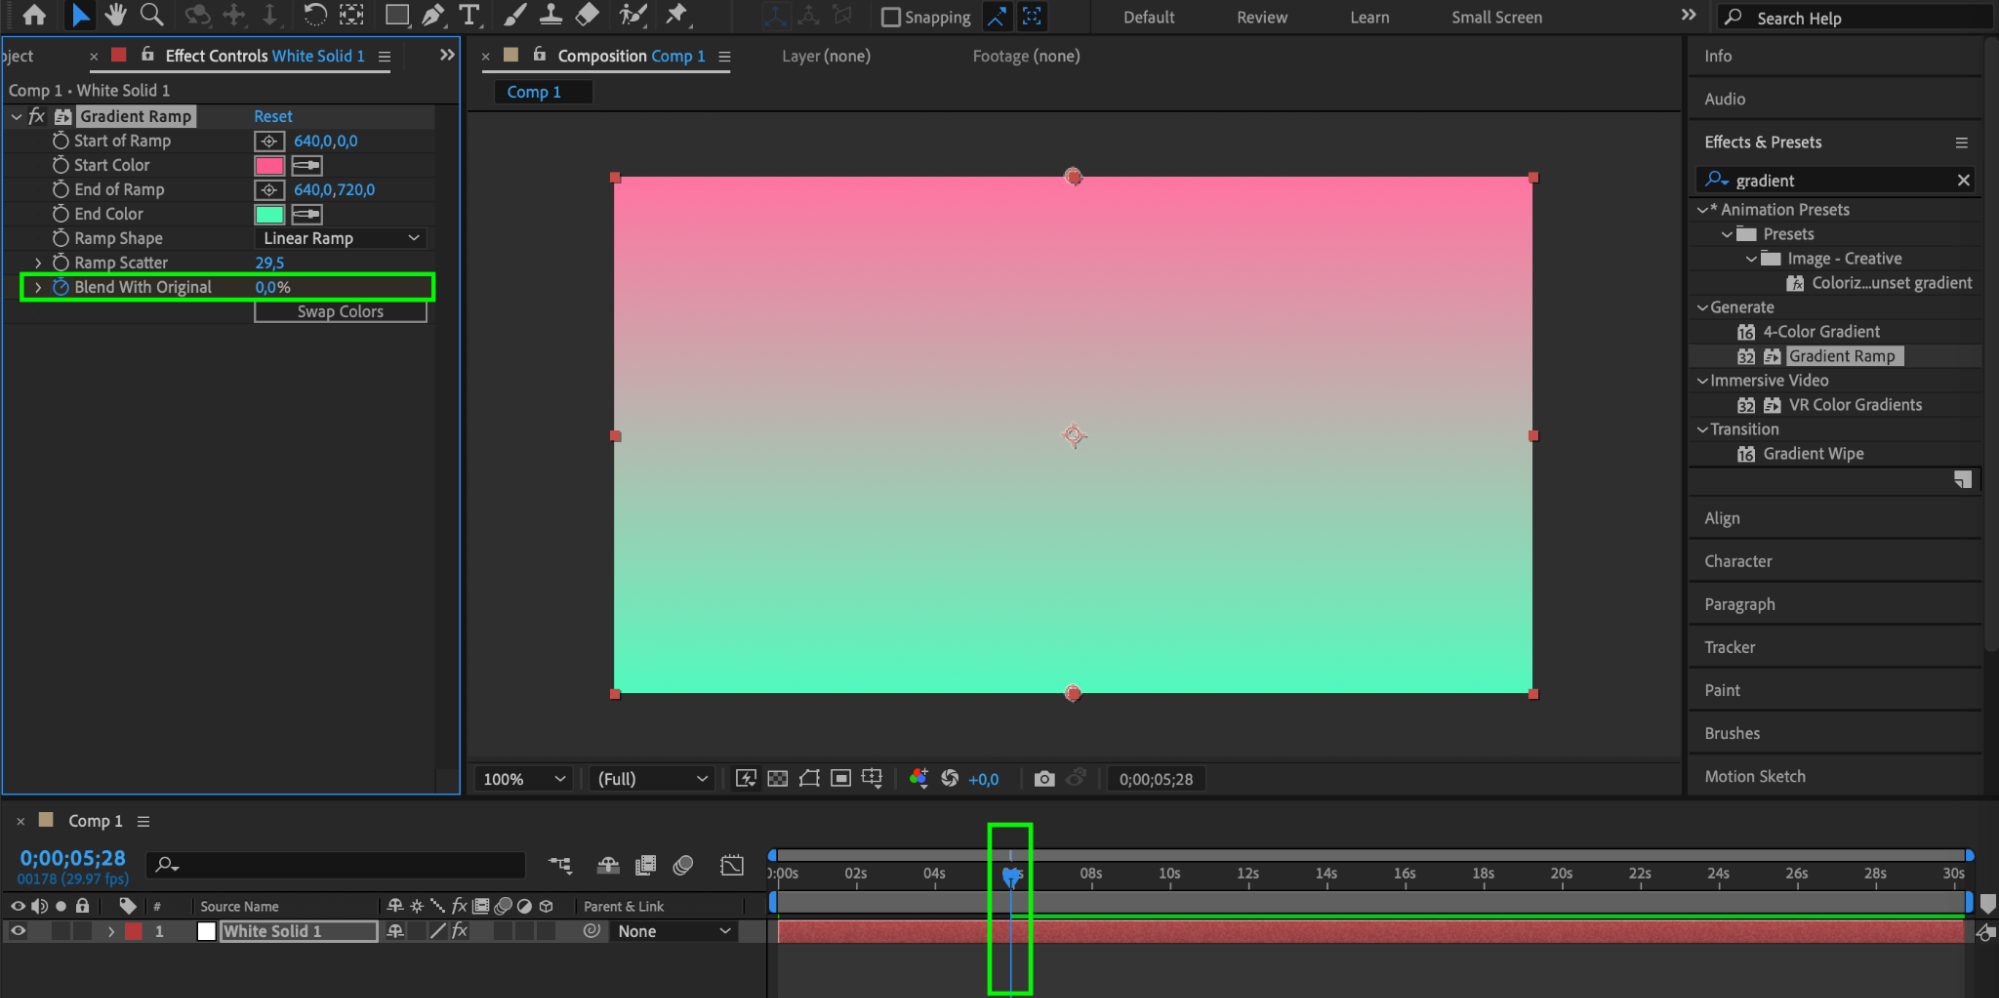
If you want to animate your gradient, add keyframes to the Effect Controls panel. This allows you to create dynamic and evolving gradient effects in your composition. Simply click on the stopwatch icon next to the desired property, move the playhead to another point in time, and modify the property to create a smooth transition.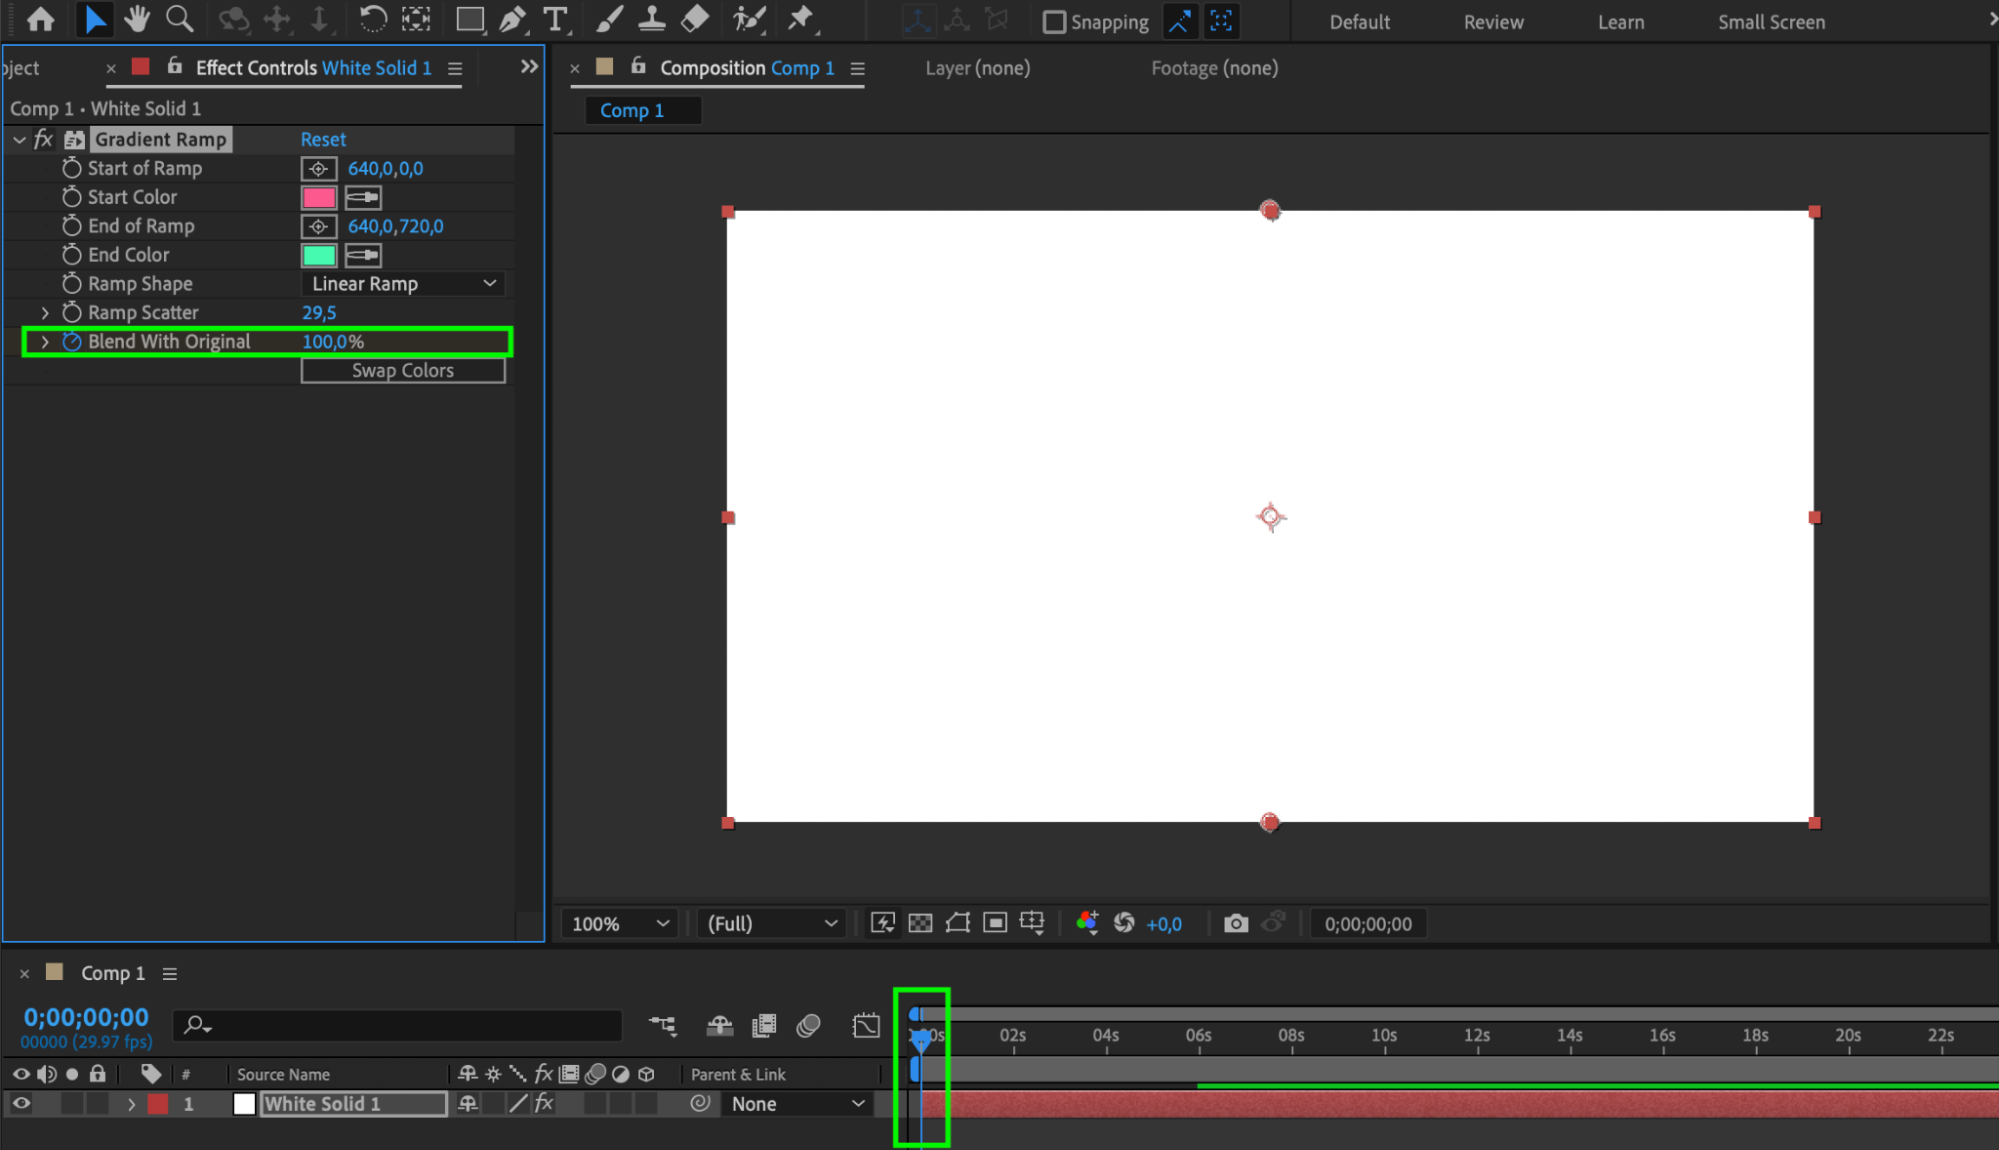
 Step 6: Apply the Gradient to Other Layers (Optional)
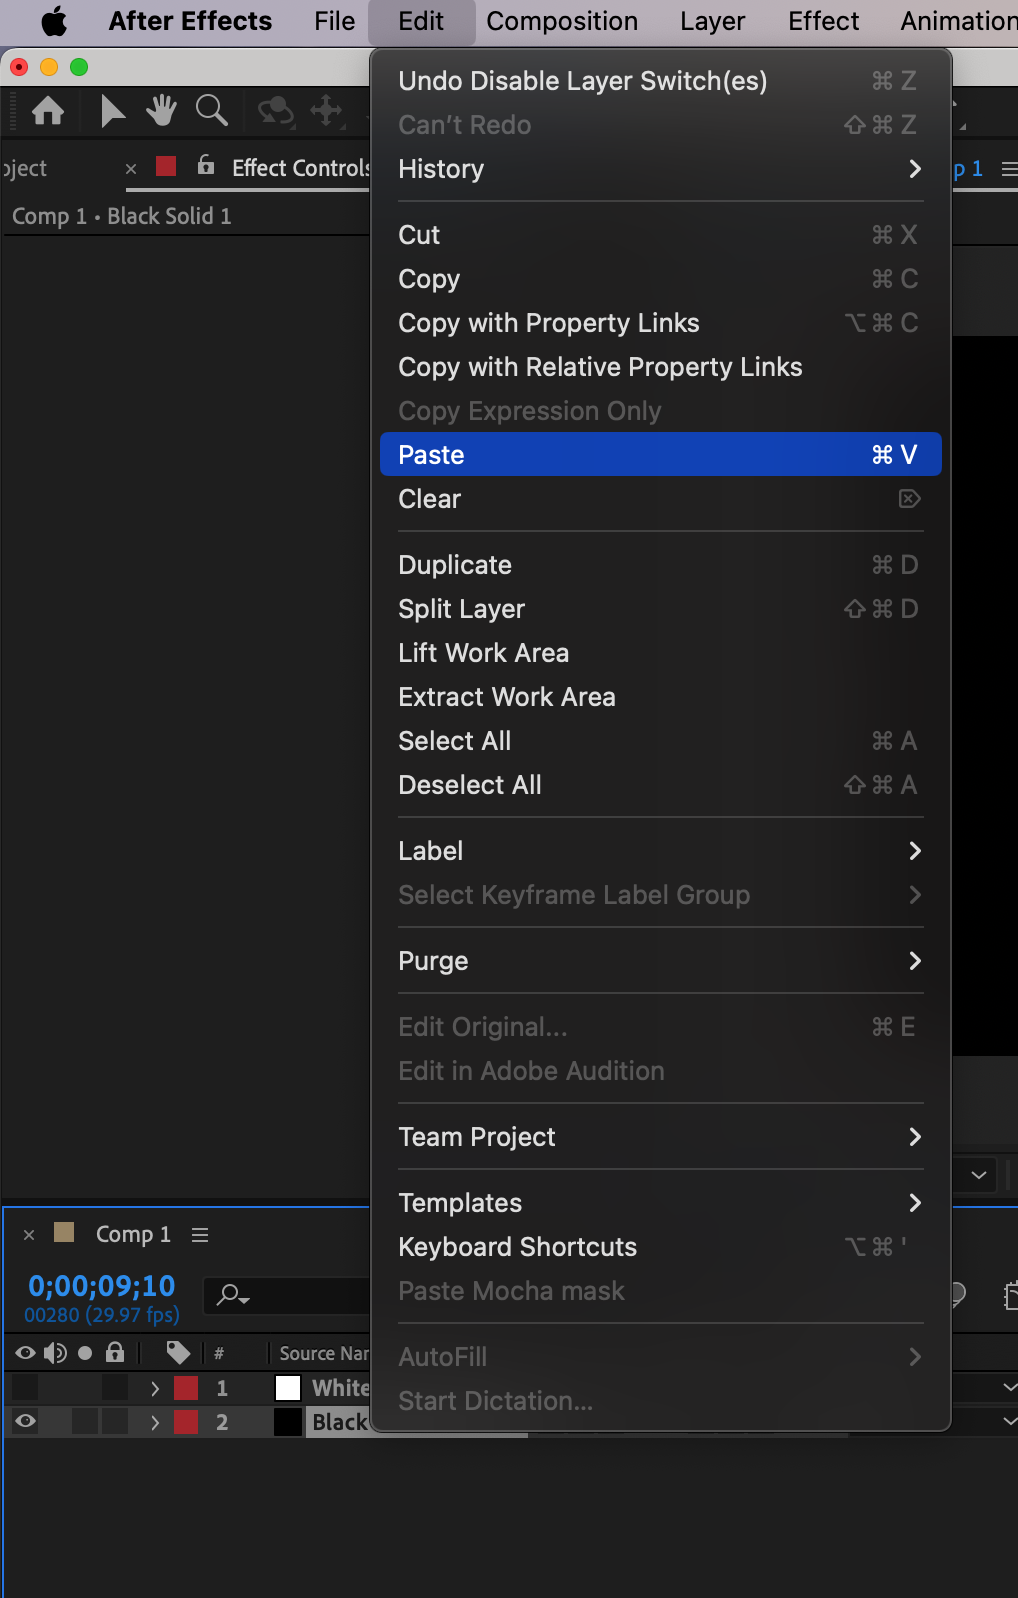
To apply the same gradient effect to other layers in your composition, select the layer with the gradient effect, copy it (Ctrl/Cmd + C), select the desired layer(s), and paste the effect (Ctrl/Cmd + V). This will apply the gradient effect to the selected layers, allowing you to maintain a consistent visual style throughout your project.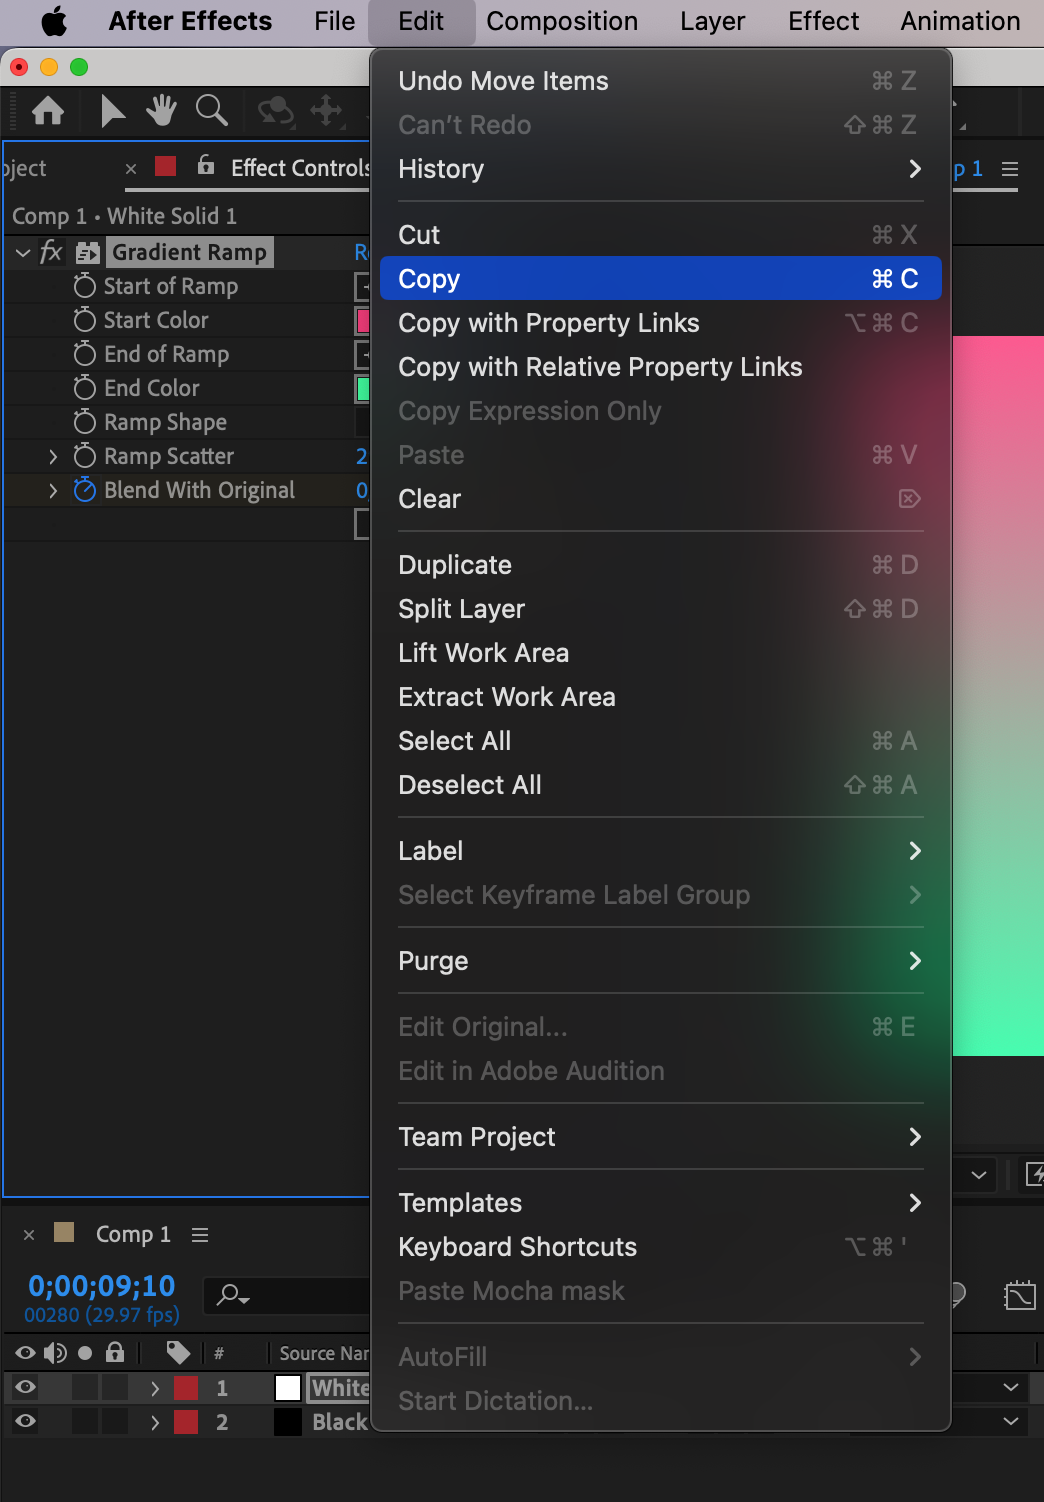
 Step 7: Fine-tune and Experiment
Get 10% off when you subscribe to our newsletter

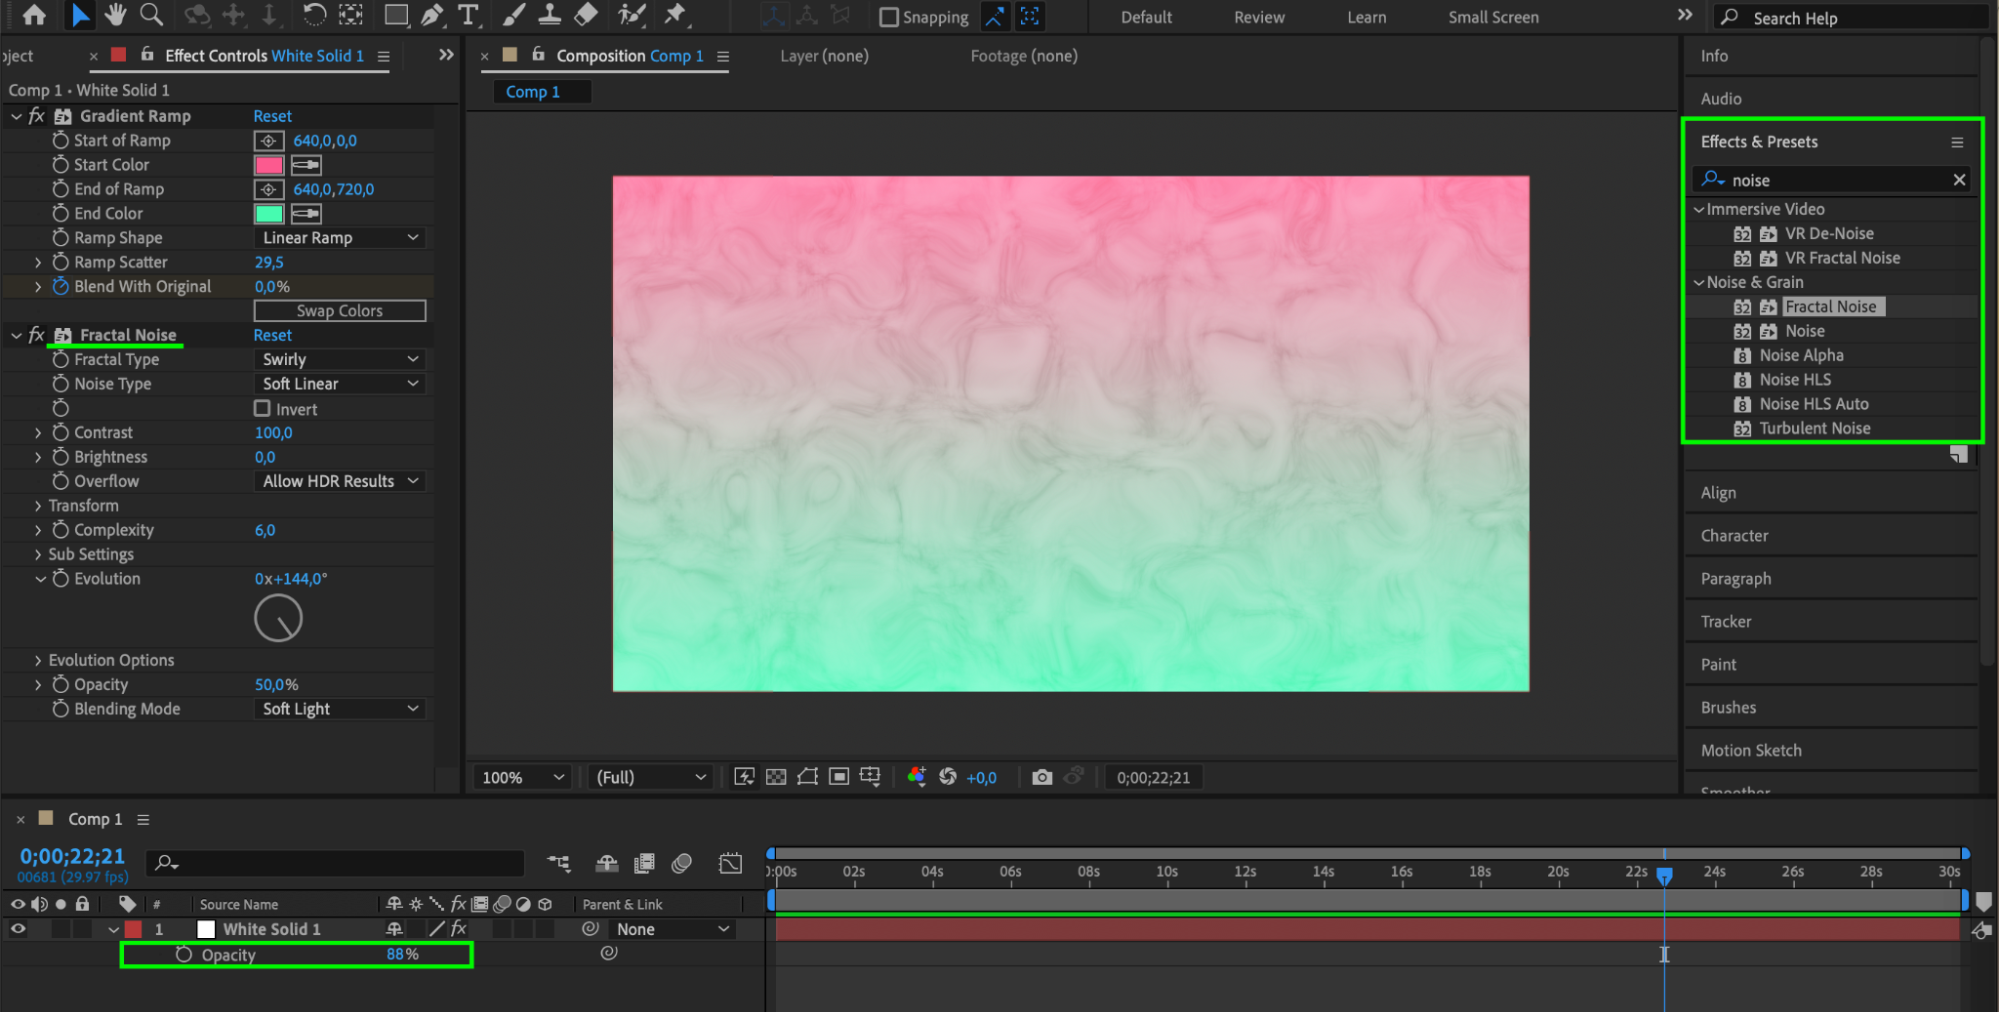
Don’t be afraid to experiment with different colors, blending modes, and opacity settings to achieve unique and eye-catching gradient effects. Refine your gradients by adjusting parameters in the Effect Controls panel, or try combining multiple effects to create more complex and textured looks.
 Step 8: Render and Export
Get 10% off when you subscribe to our newsletter

Once you’re satisfied with your gradient effects, it’s time to render and export your composition. Go to the Composition menu and select “Add to Render Queue.” In the Render Queue panel, choose your desired render settings, output module, and destination folder. Finally, click the “Render” button to generate your final video with the gradient effects intact.
 Conclusion
Get 10% off when you subscribe to our newsletter

Adding gradients to your After Effects projects can elevate your visuals and make them more dynamic and engaging. With these step-by-step instructions, you now know how to create and customize gradients in After Effects. So go ahead and experiment with different colors, styles, and effects, letting your creativity shine through.


