Creating a Smooth Fade Transition in After Effects
Introduction
Fade transitions are one of the most commonly used effects in video editing. They help smoothly blend two video clips together, making transitions look more professional and visually appealing. In this guide, you will learn how to apply a fade transition in After Effects using the built-in Fade In + Out – msec effect.
Step 1: Import and Arrange Your Clips
Import your video files into After Effects by going to File > Import > File. Drag both clips onto the timeline and place the second video above the first one. Make sure the start of the second clip slightly overlaps the end of the first clip to create a transition area.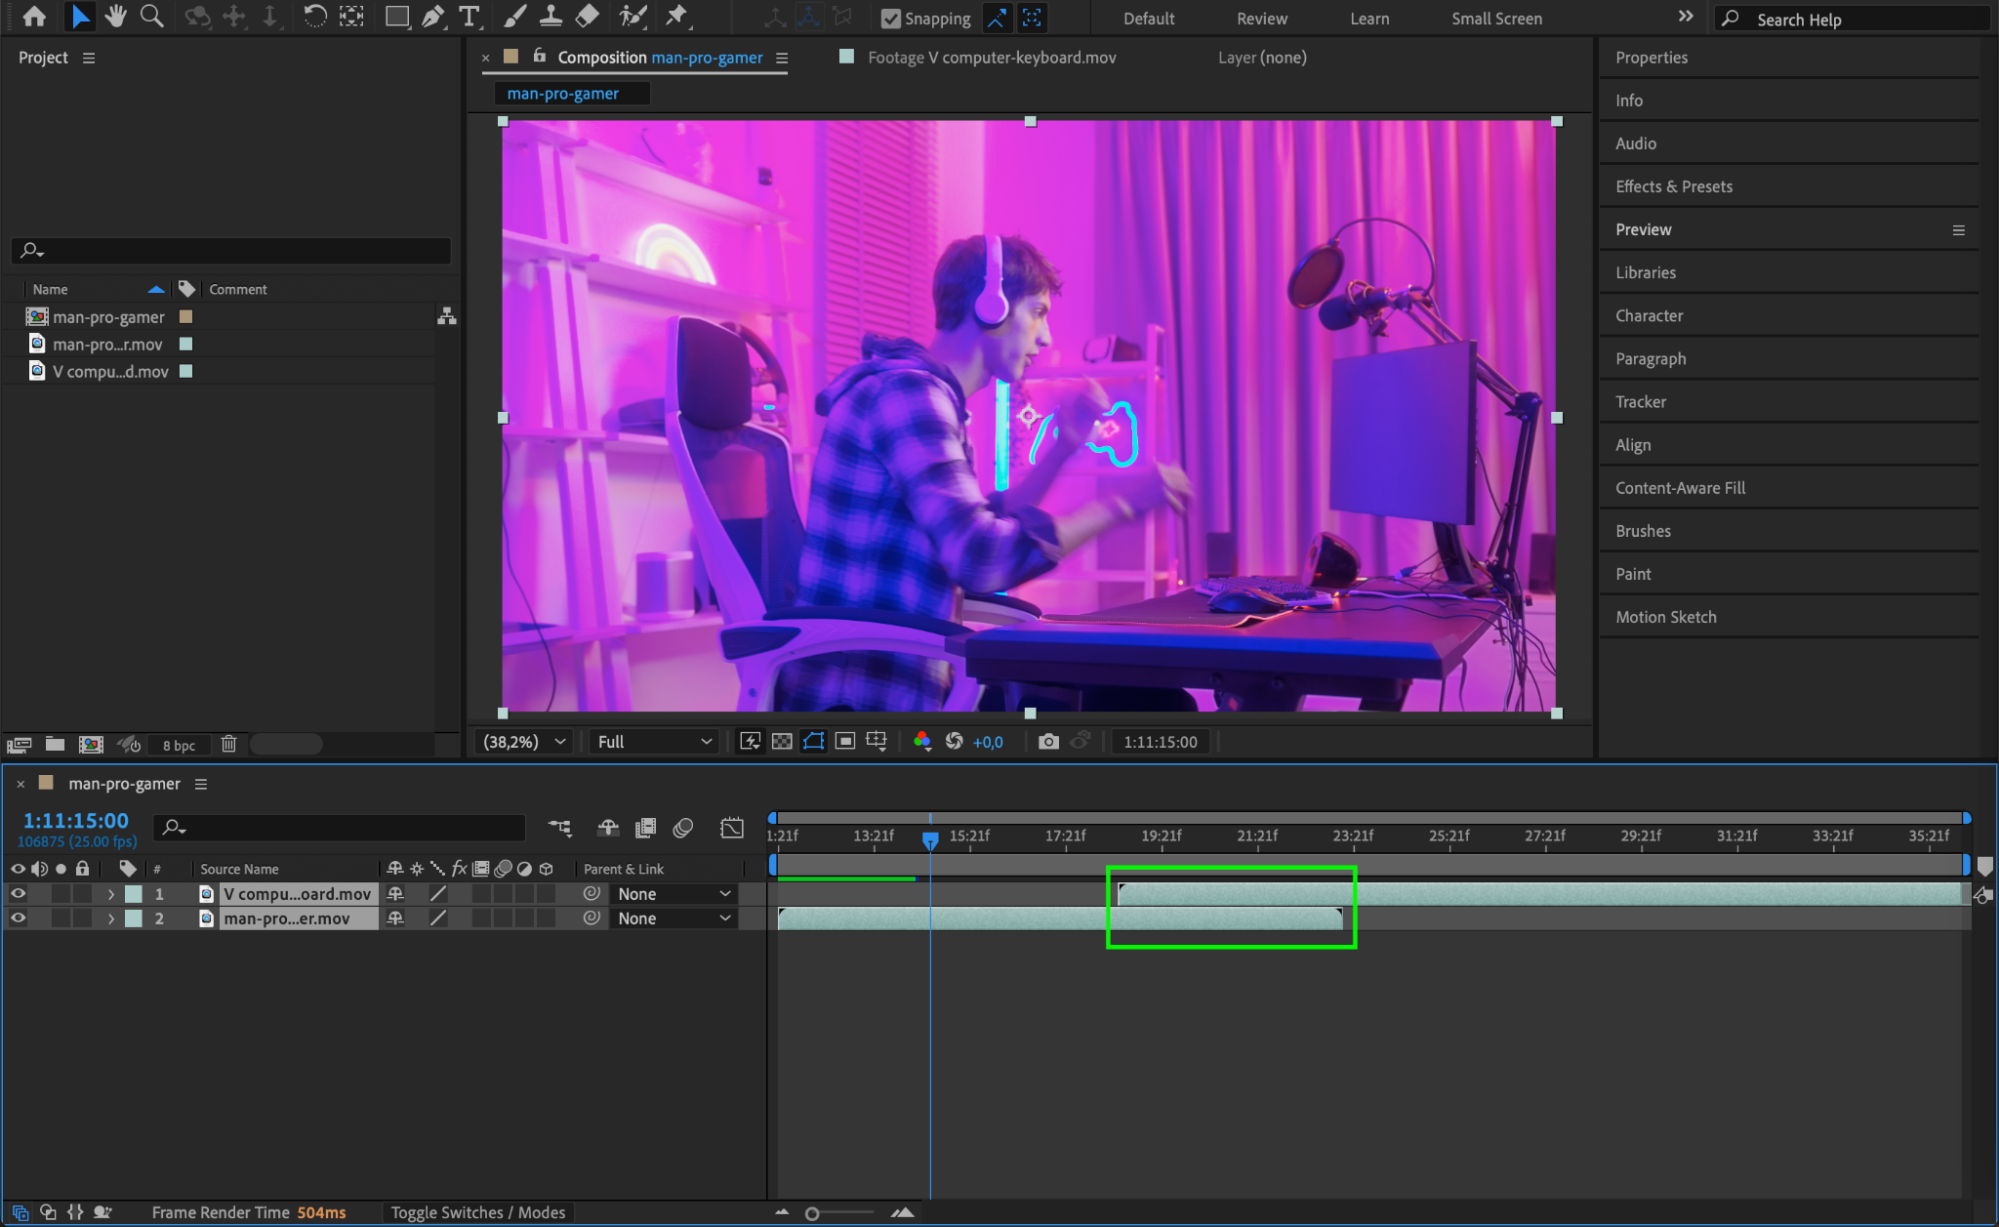 Step 2: Apply the Fade Effect
Go to the Effects & Presets panel and search for Fade In + Out – msec. Drag and drop the effect onto the second video clip. This effect will automatically add a fade-in at the beginning and a fade-out at the end of the clip.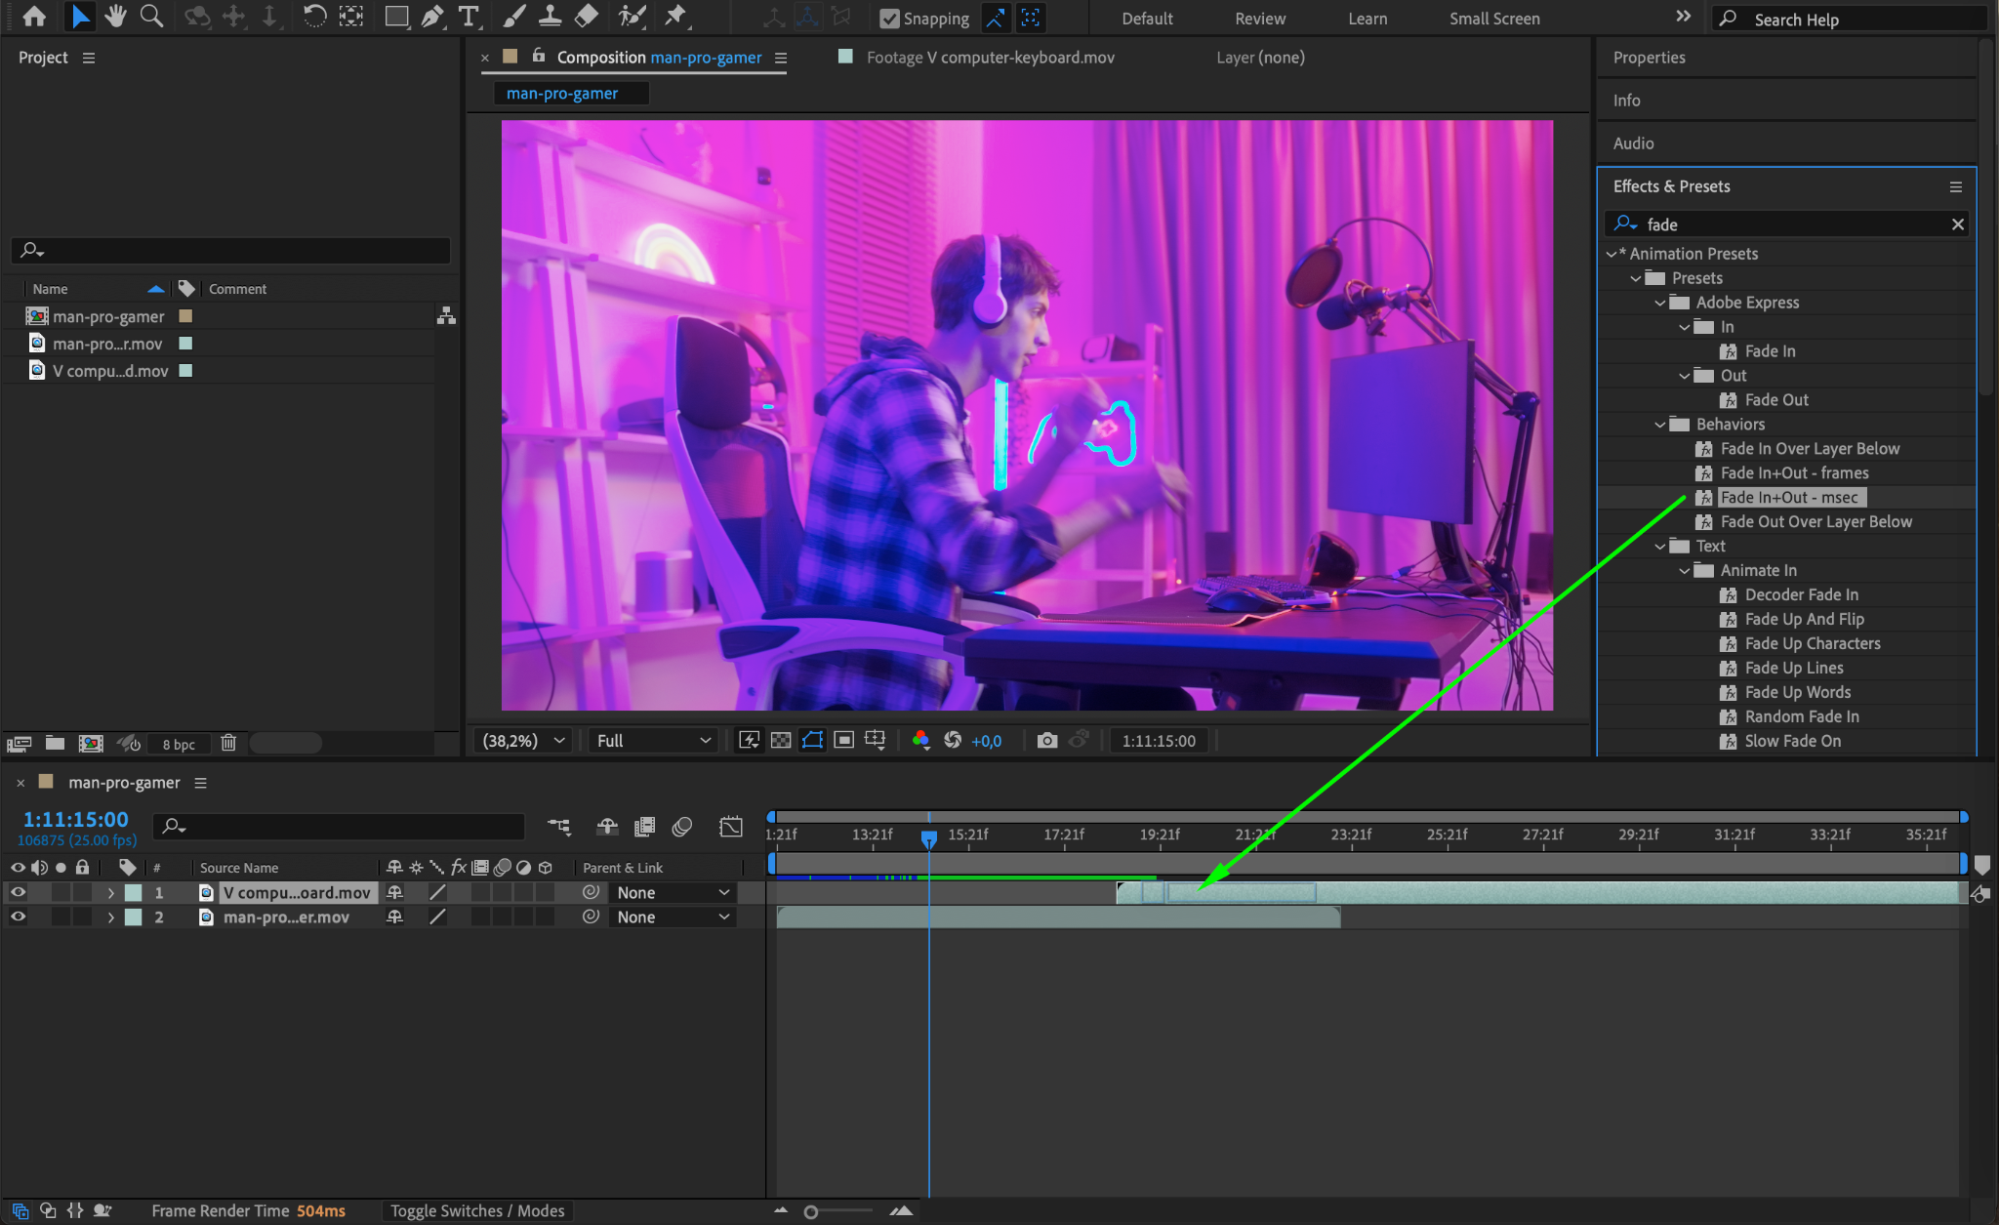 Step 3: Adjust the Fade Duration
In the Effect Controls panel, locate the Fade In Duration (msec) and Fade Out Duration (msec) settings. Adjust the values to control the speed of the transition:
Set both to 500 milliseconds for a fast transition.
Set both to 1000 milliseconds for a slower, smoother fade. Step 4: Preview the Transition
Press the Spacebar to preview the transition. Ensure that the fade-in and fade-out create a seamless blend between the two clips. If needed, adjust the duration settings for a more natural transition.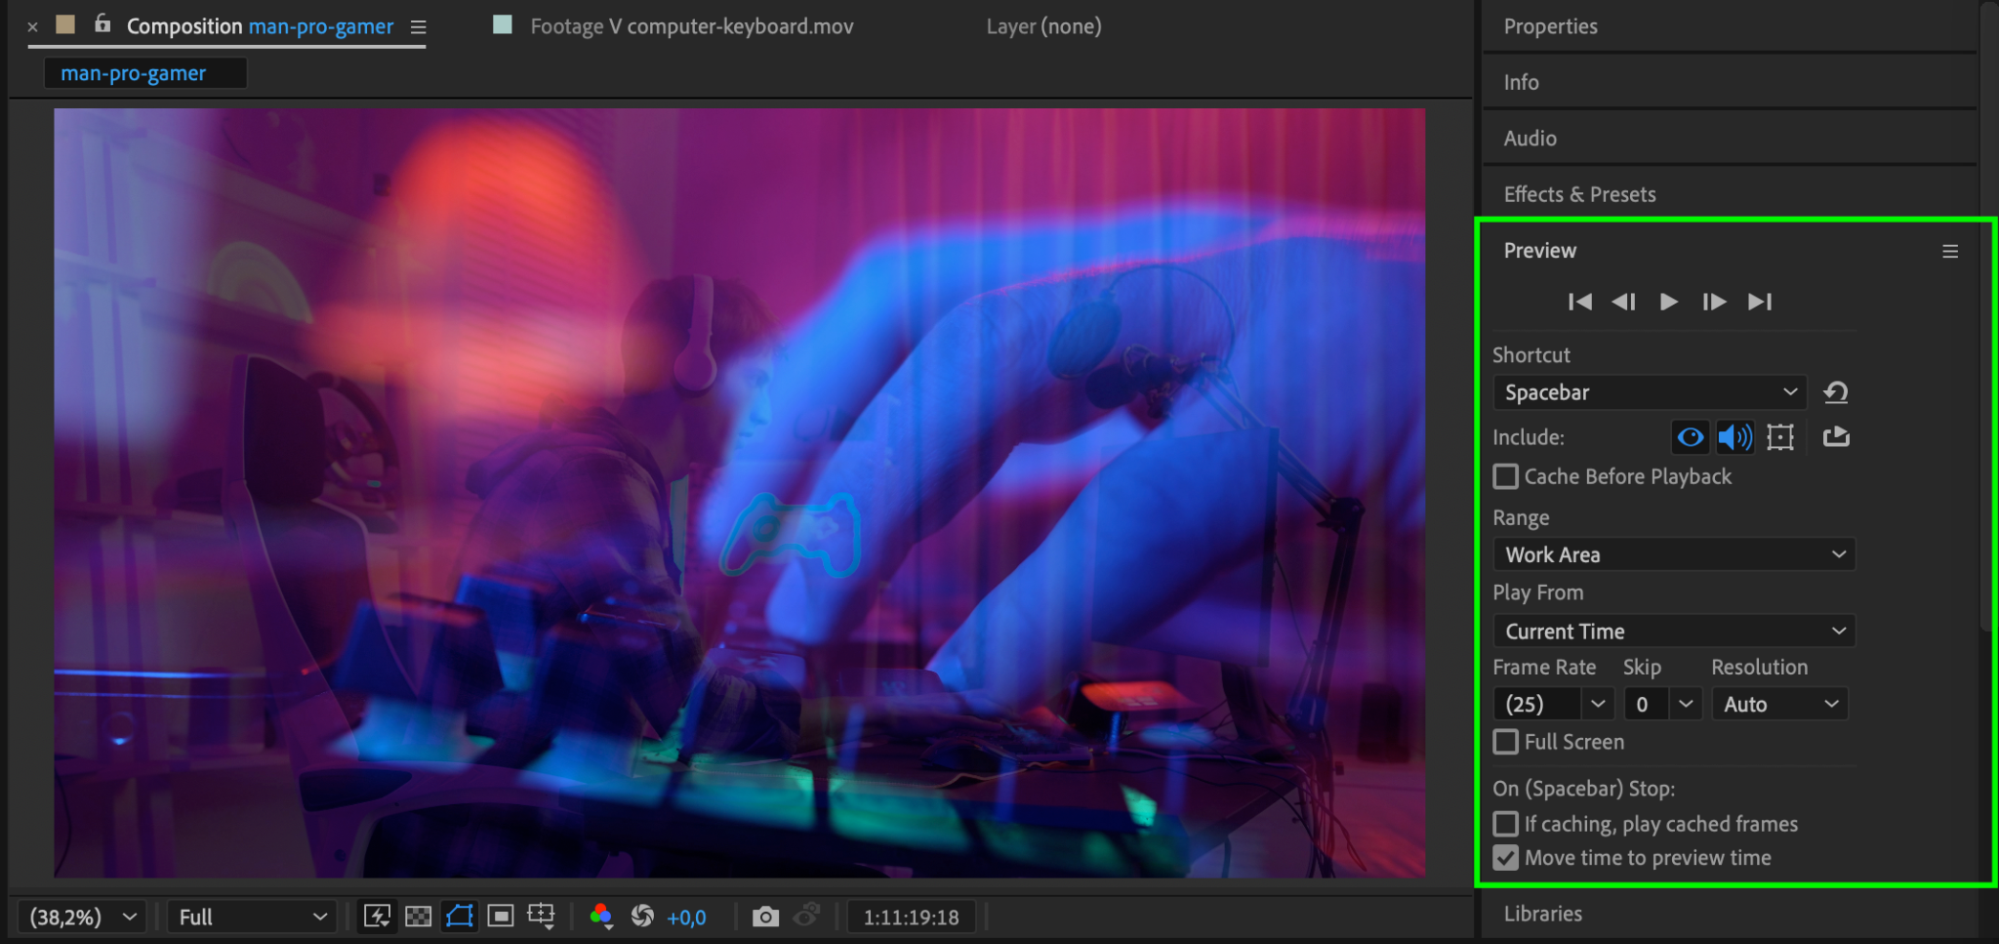 Step 5: Render the Final Video
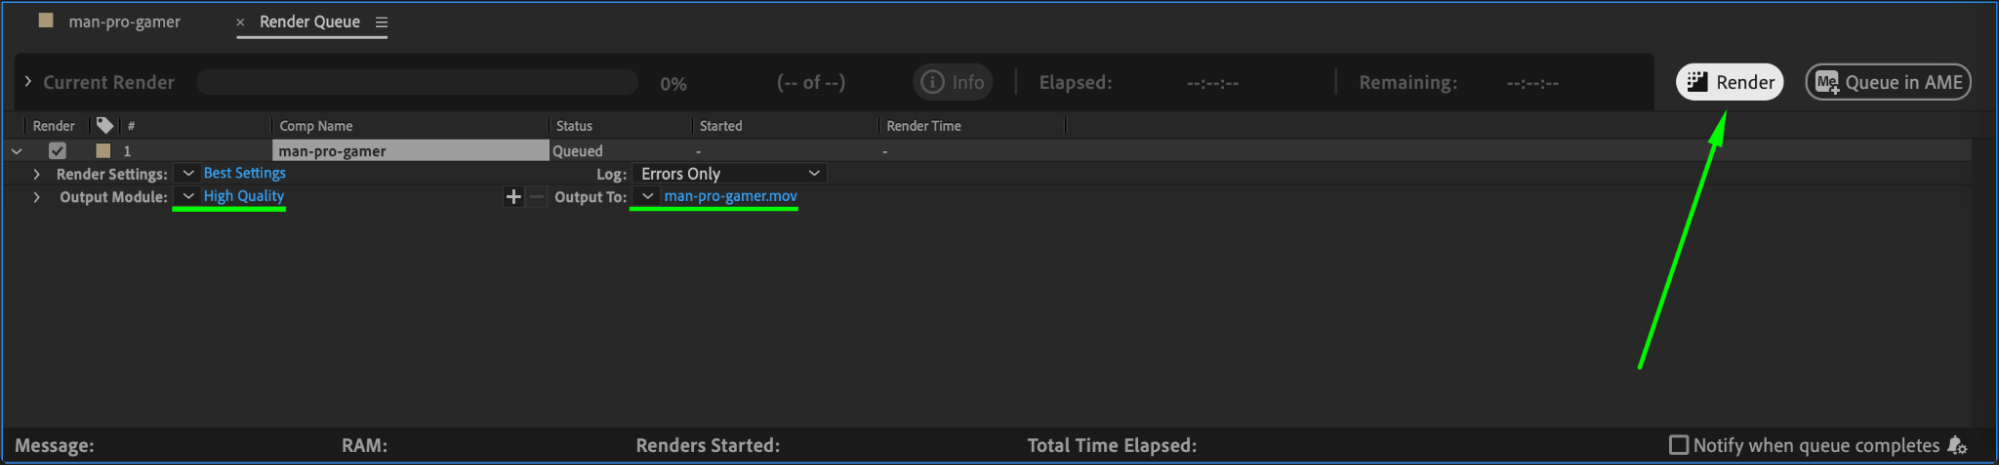
Once you are satisfied with the transition, go to Composition > Add to Render Queue. Choose your preferred render settings and export your final video.
 Conclusion
Adding a fade transition in After Effects is a simple yet effective way to enhance the flow of your video. By using the Fade In + Out – msec effect, you can quickly create smooth transitions that improve the overall viewing experience. Experiment with different durations to find the perfect fade effect for your project.
Get 10% off when you subscribe to our newsletter

Our Bestsellers


