How to Create Animated Wings in After Effects
Introduction – Adding and Animating Wings in After Effects
Adding animated wings to a video can transform your project into a magical or fantasy-themed masterpiece. This guide will walk you through the steps to add, position, and animate wings in After Effects, ensuring they integrate seamlessly with your subject.
Step 1: Import Your Video Footage
Get 10% off when you subscribe to our newsletter

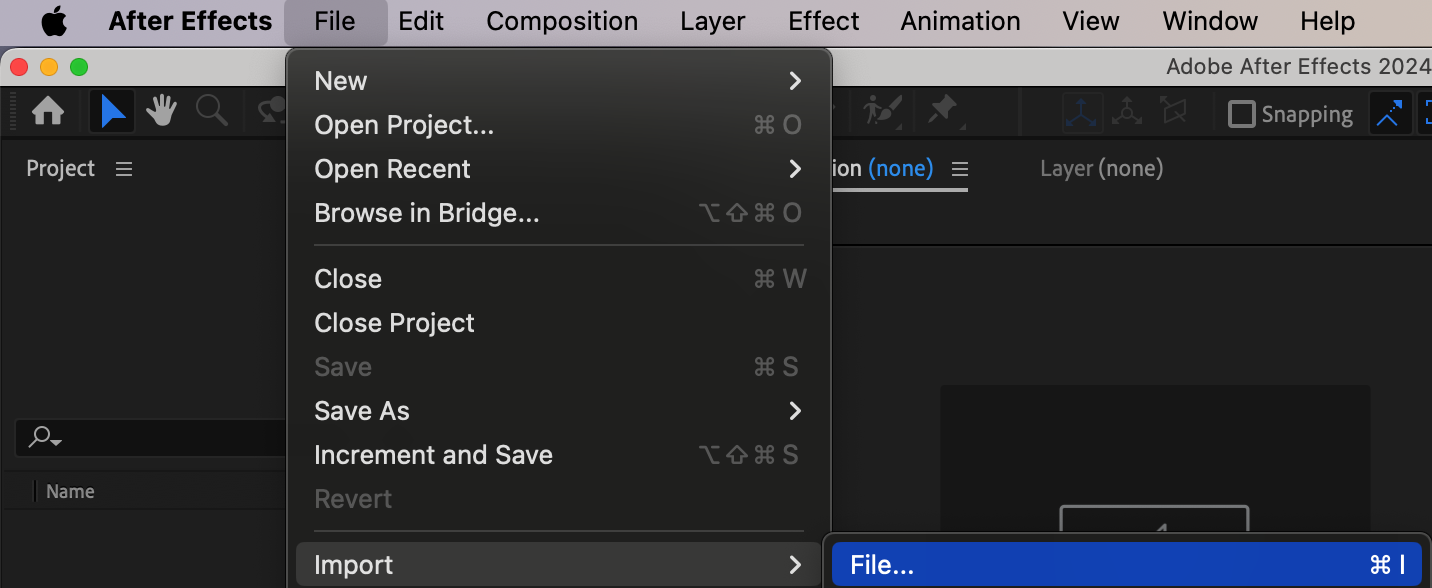
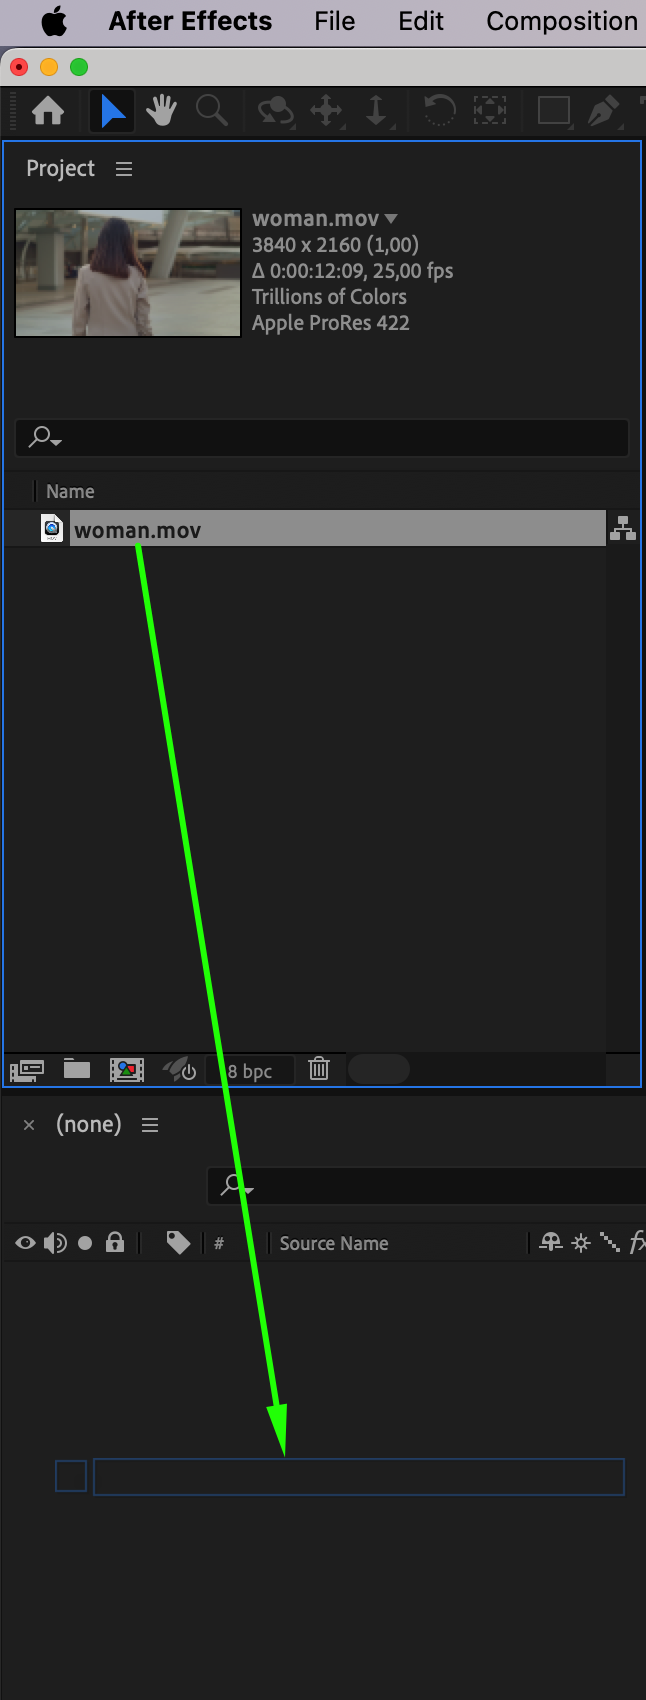
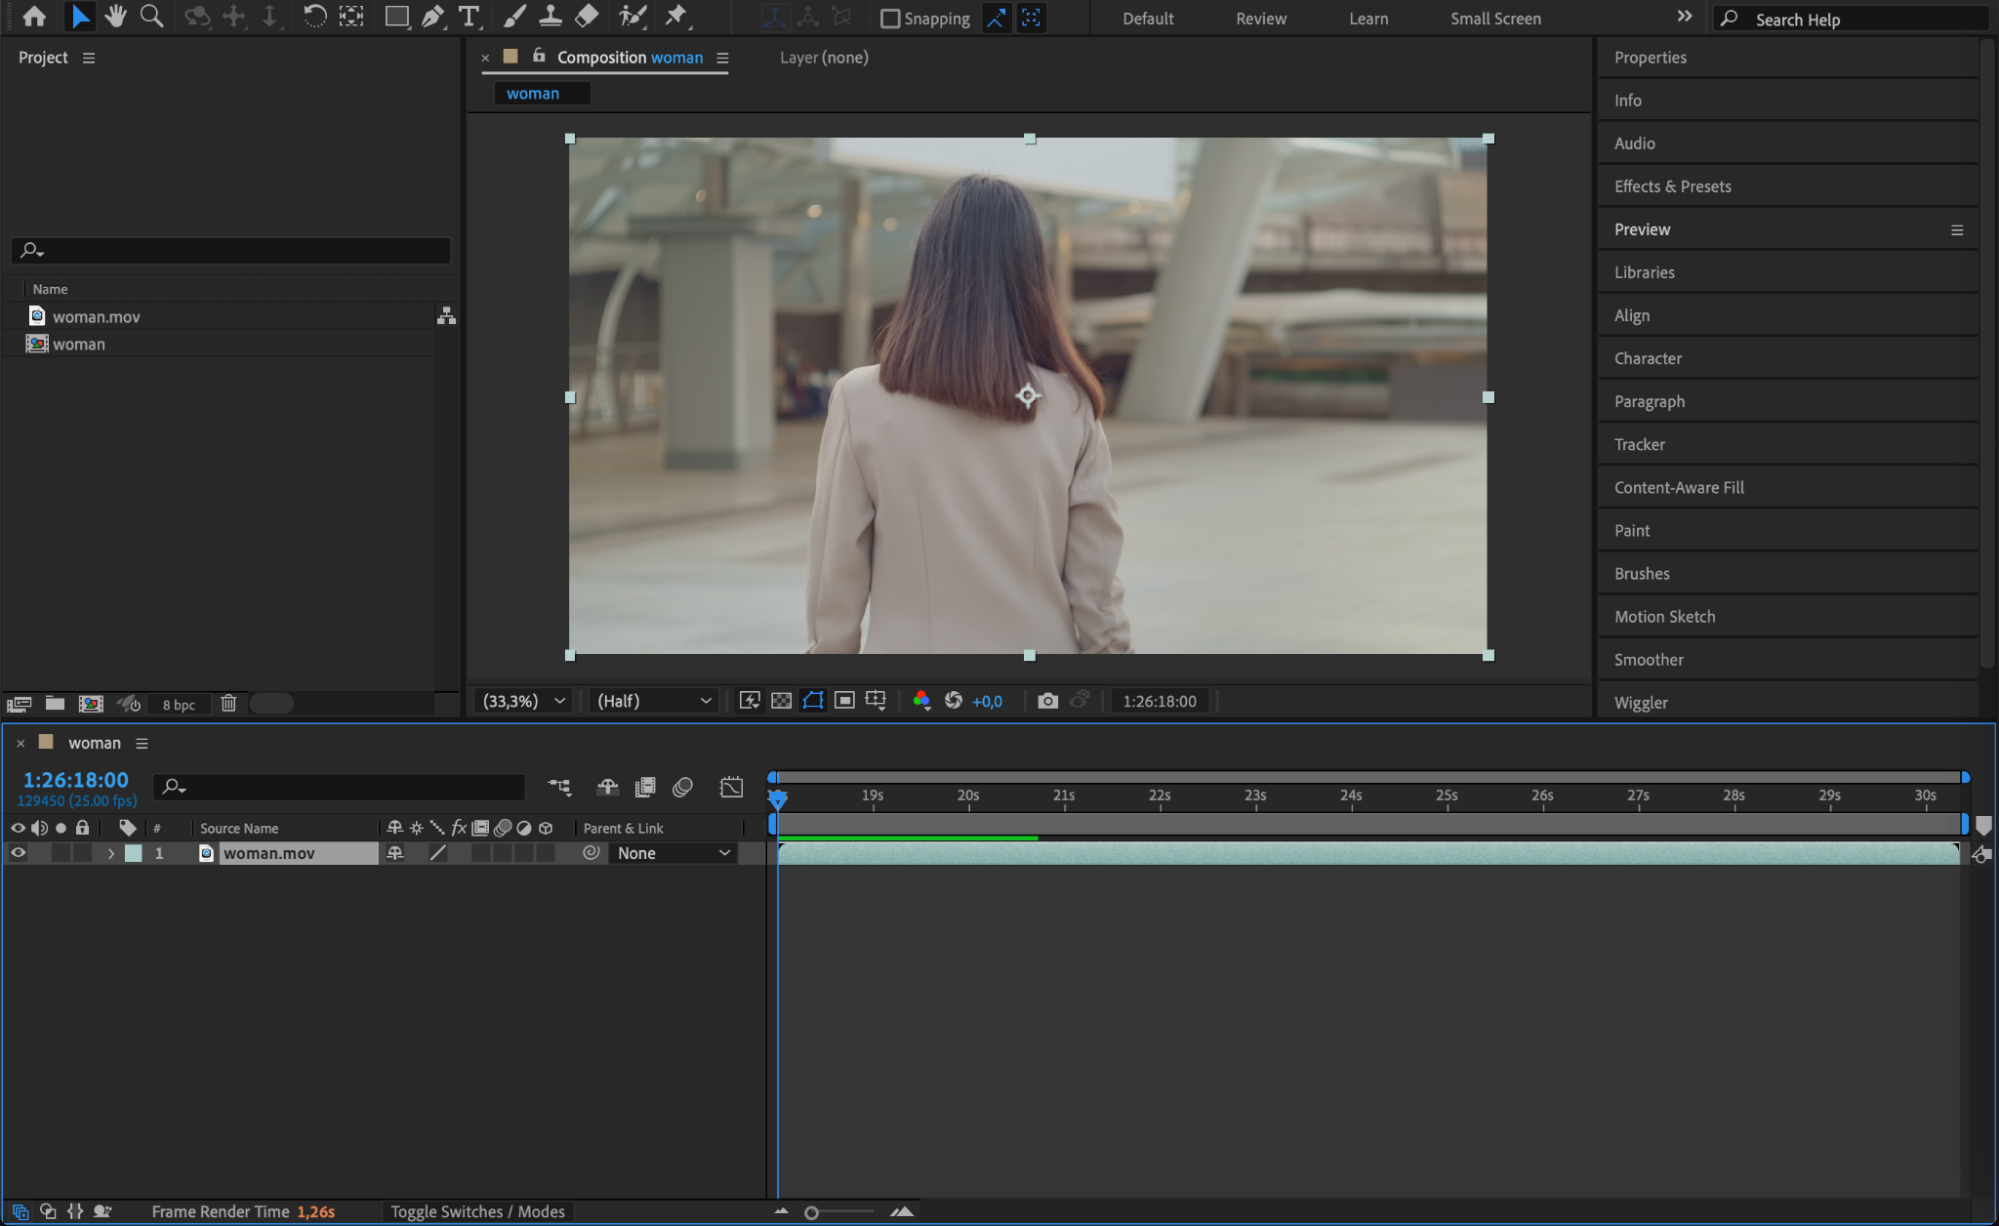
Begin by importing the video footage into After Effects. Include a shot of the person or subject you want to add wings to. Drag the video to the timeline to create your composition. This will serve as the base for your project.
 Step 2: Add Wing Elements
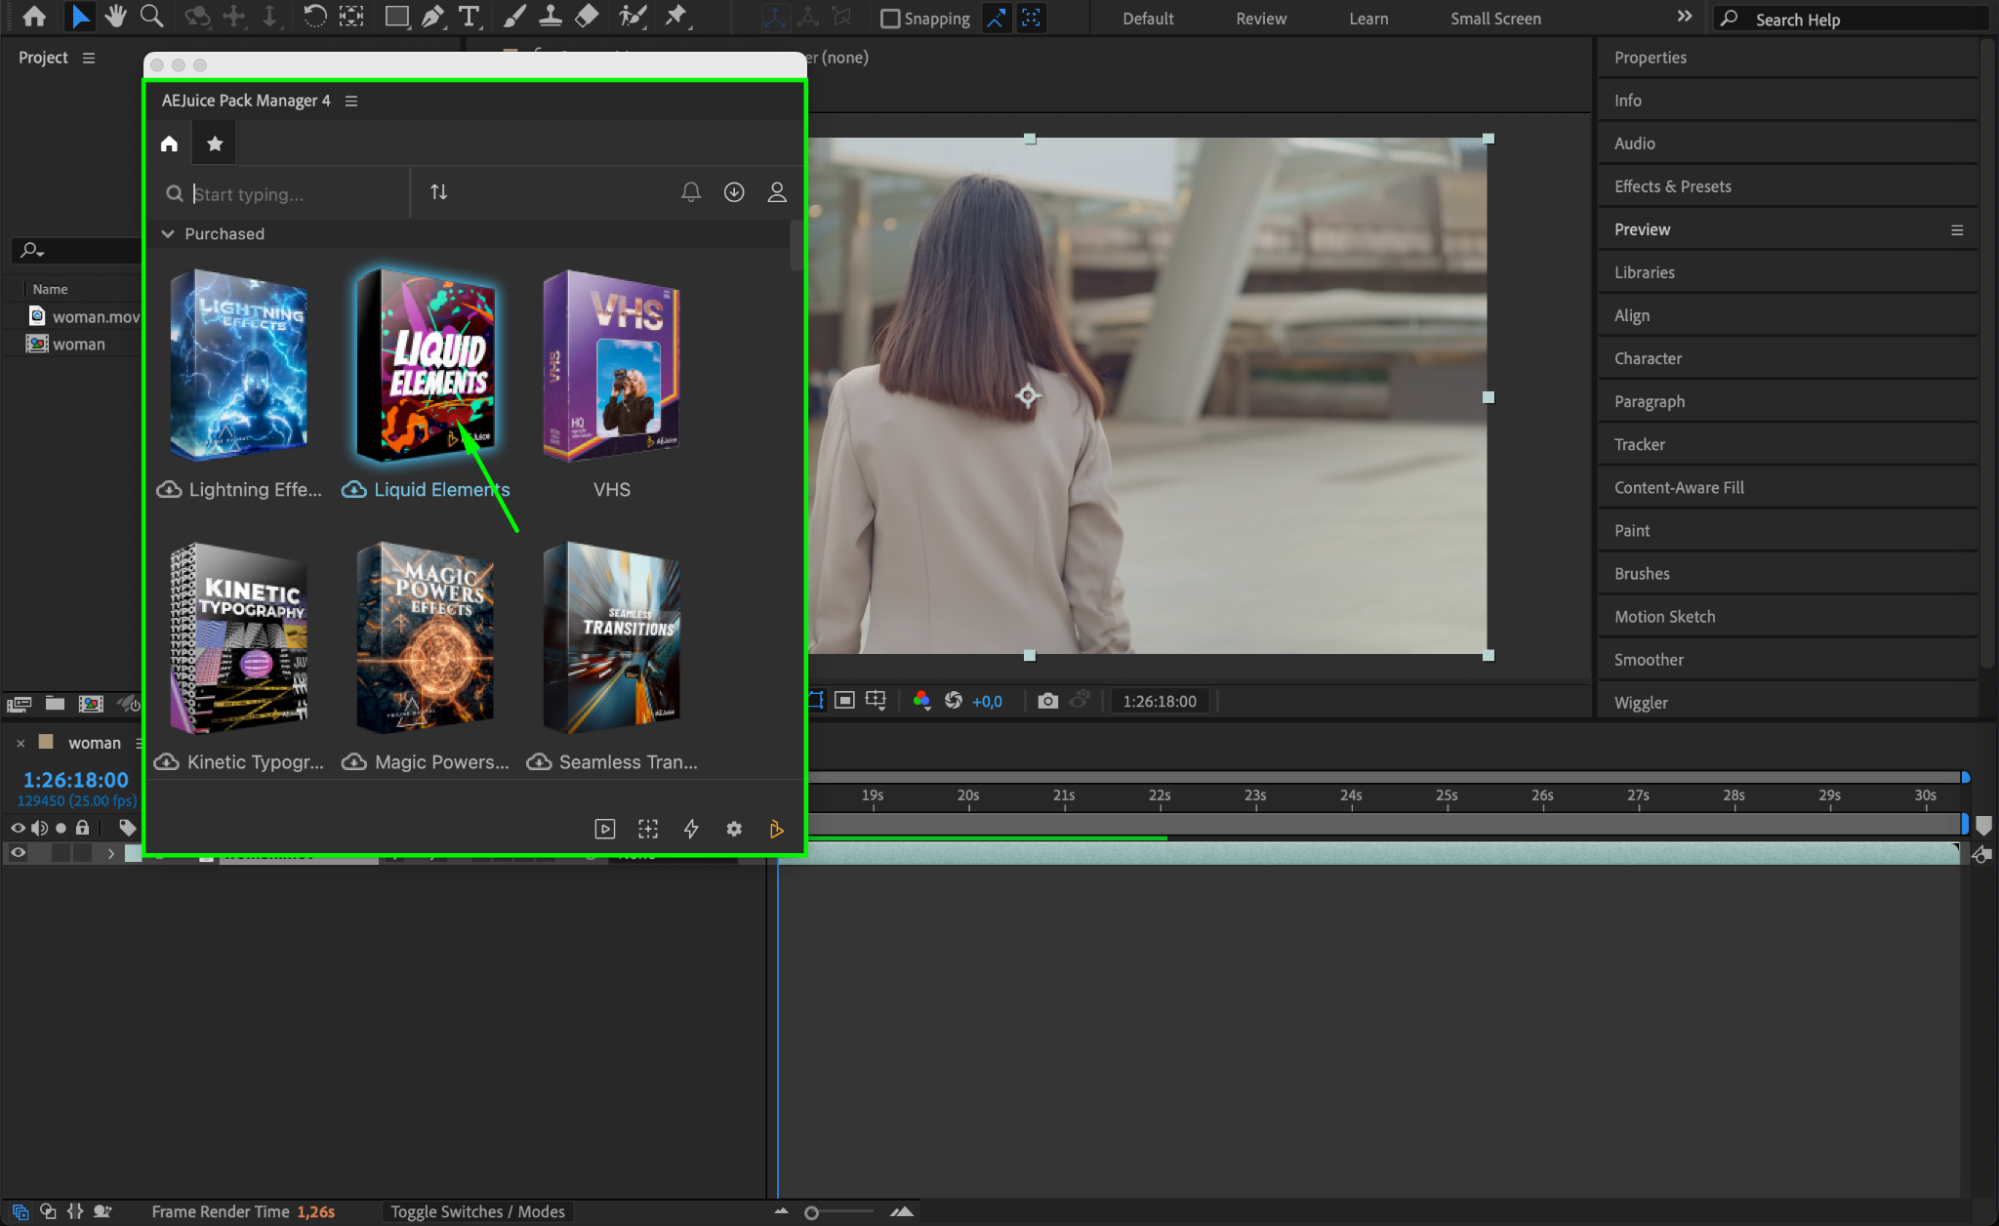
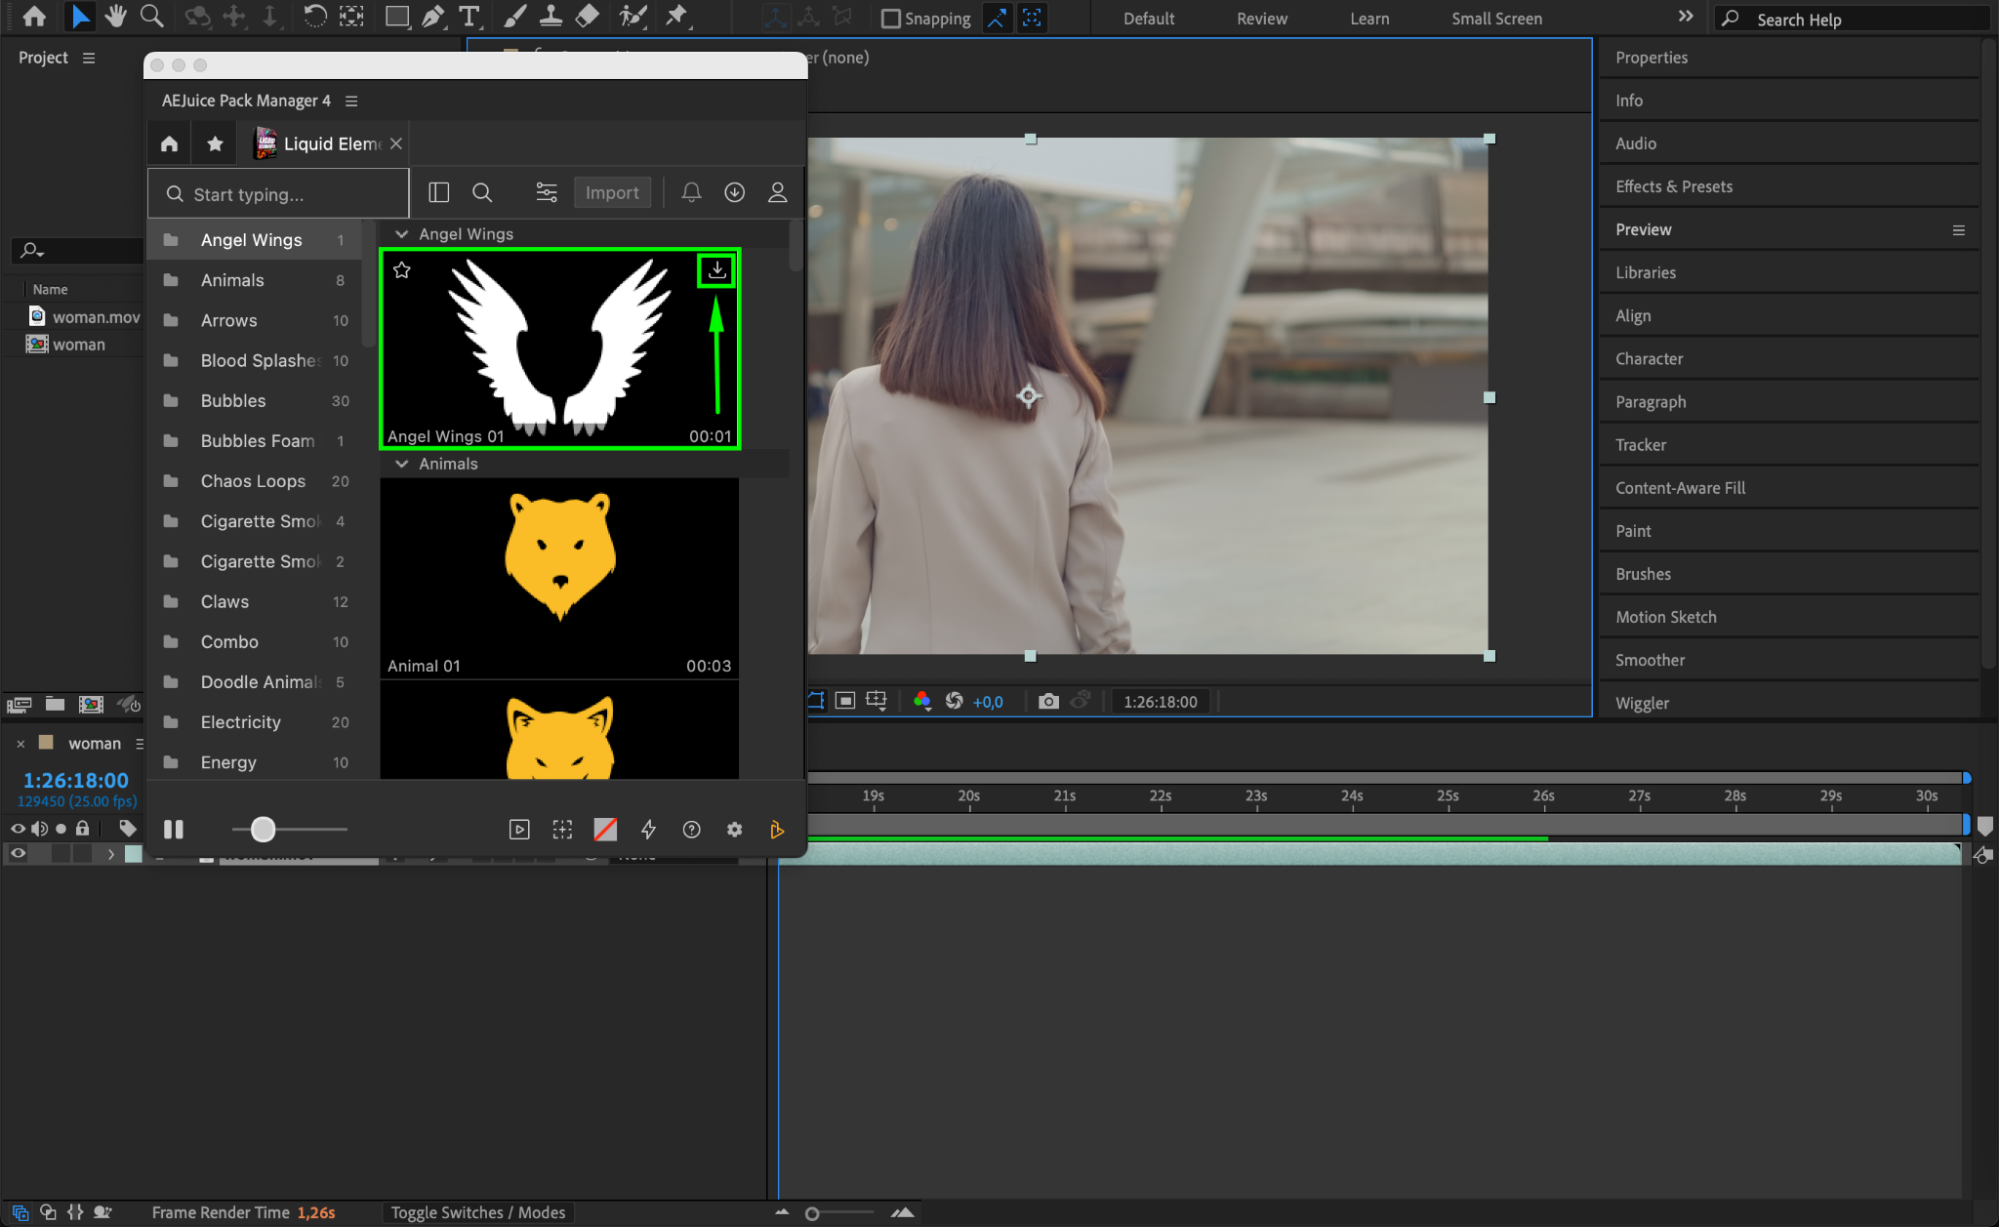
If you have stock footage of wings, import it into your project and drag it onto the timeline. Alternatively, you can use plugins like AEJuice Pack Manager 4 to access pre-designed wing effects:
Go to Window > AEJuice Pack Manager 4.
Choose a pack like “Liquid Elements” and download the Angel Wings effect.
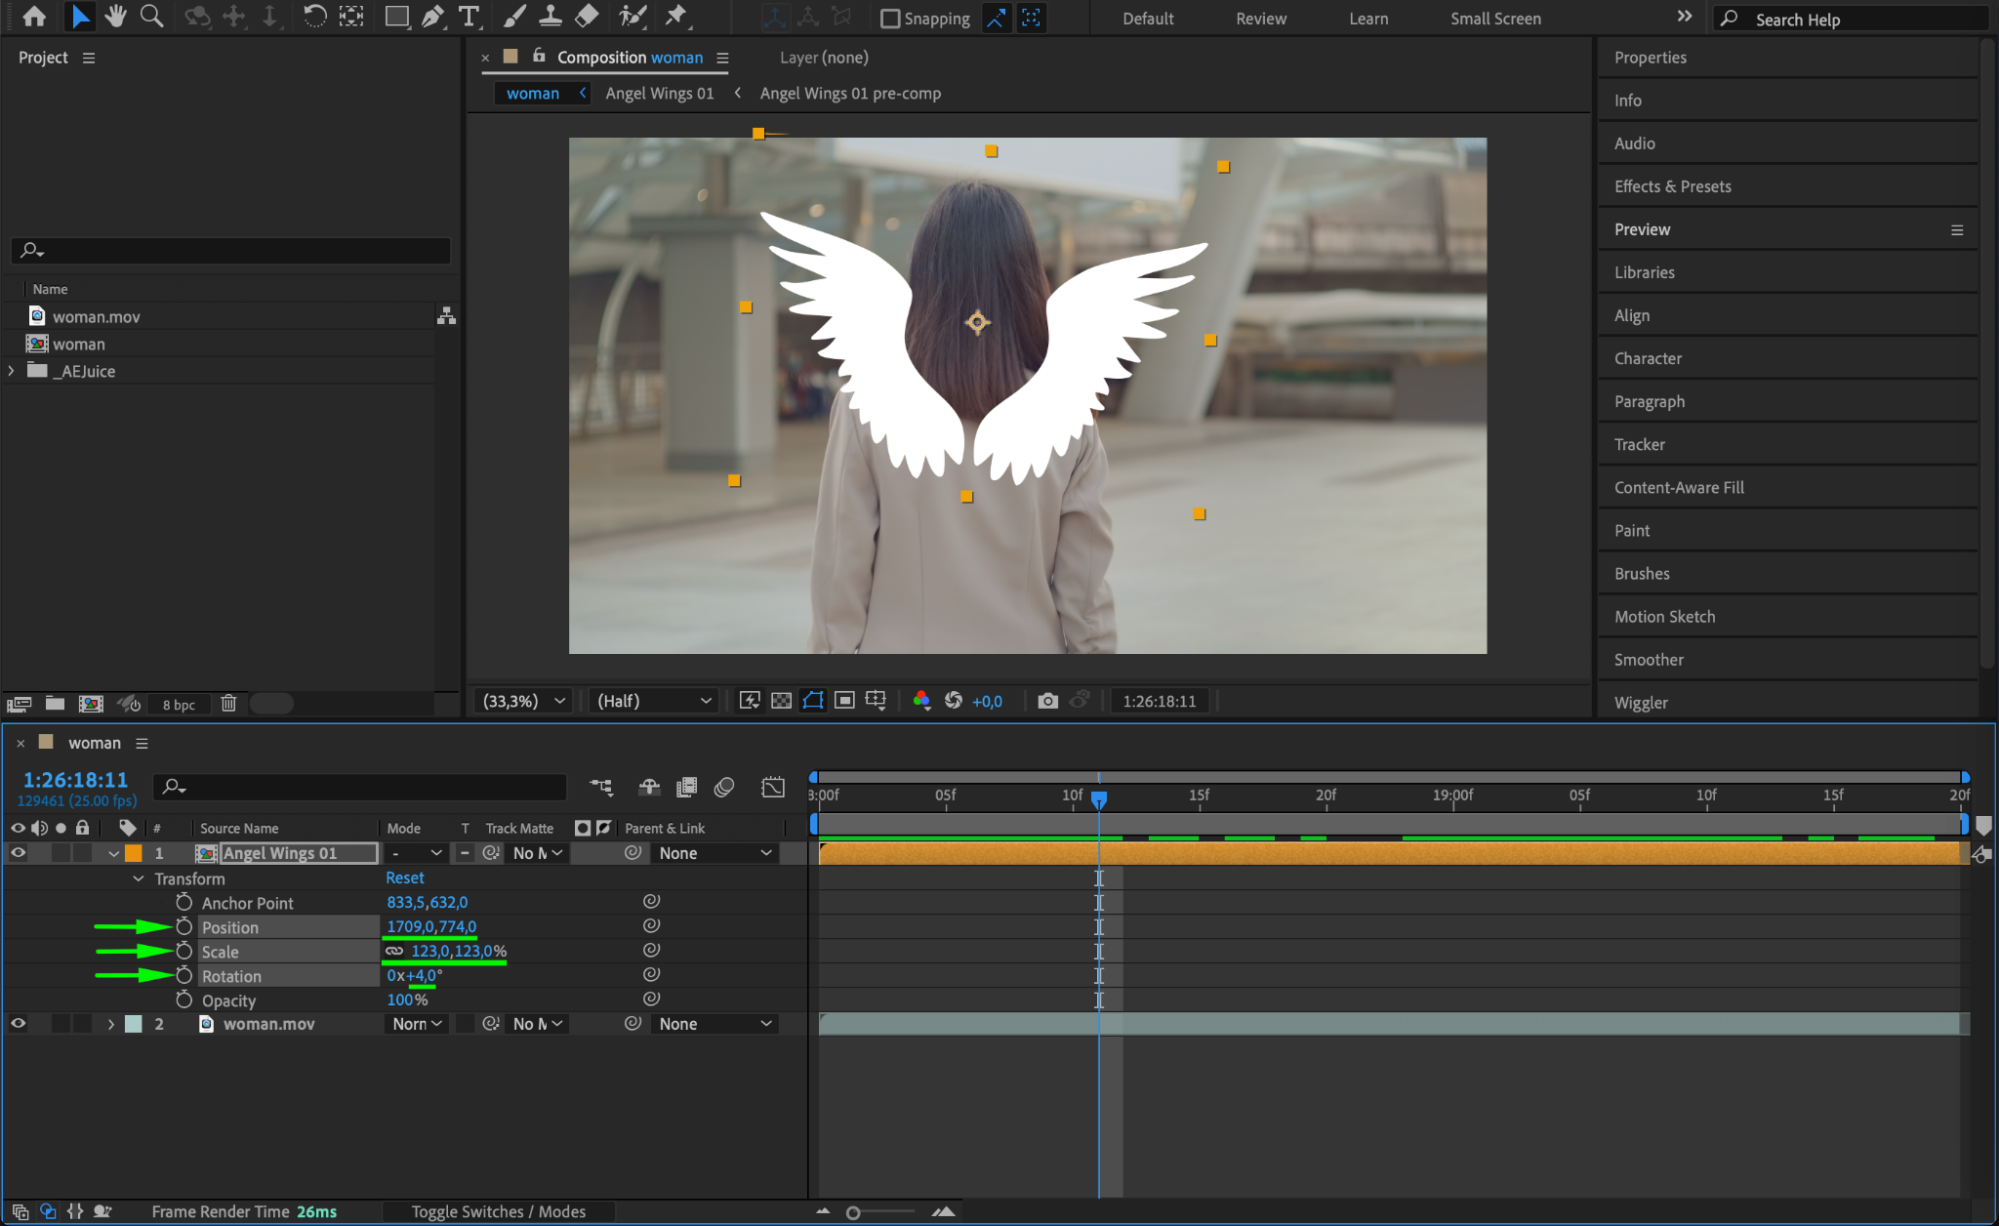
Once added to your timeline, adjust the layer’s position, scale, and rotation so the wings align with your subject’s back.
 Step 3: Animate Wing Position
To make the wings move naturally with the subject:
Select the wings layer.
Add position keyframes by pressing “P” on the keyboard.
Move the CTI (Current Time Indicator) and adjust the position keyframes frame by frame to ensure the wings follow the subject’s back accurately.
If the subject is moving, consider using motion tracking to automate the wing’s movement.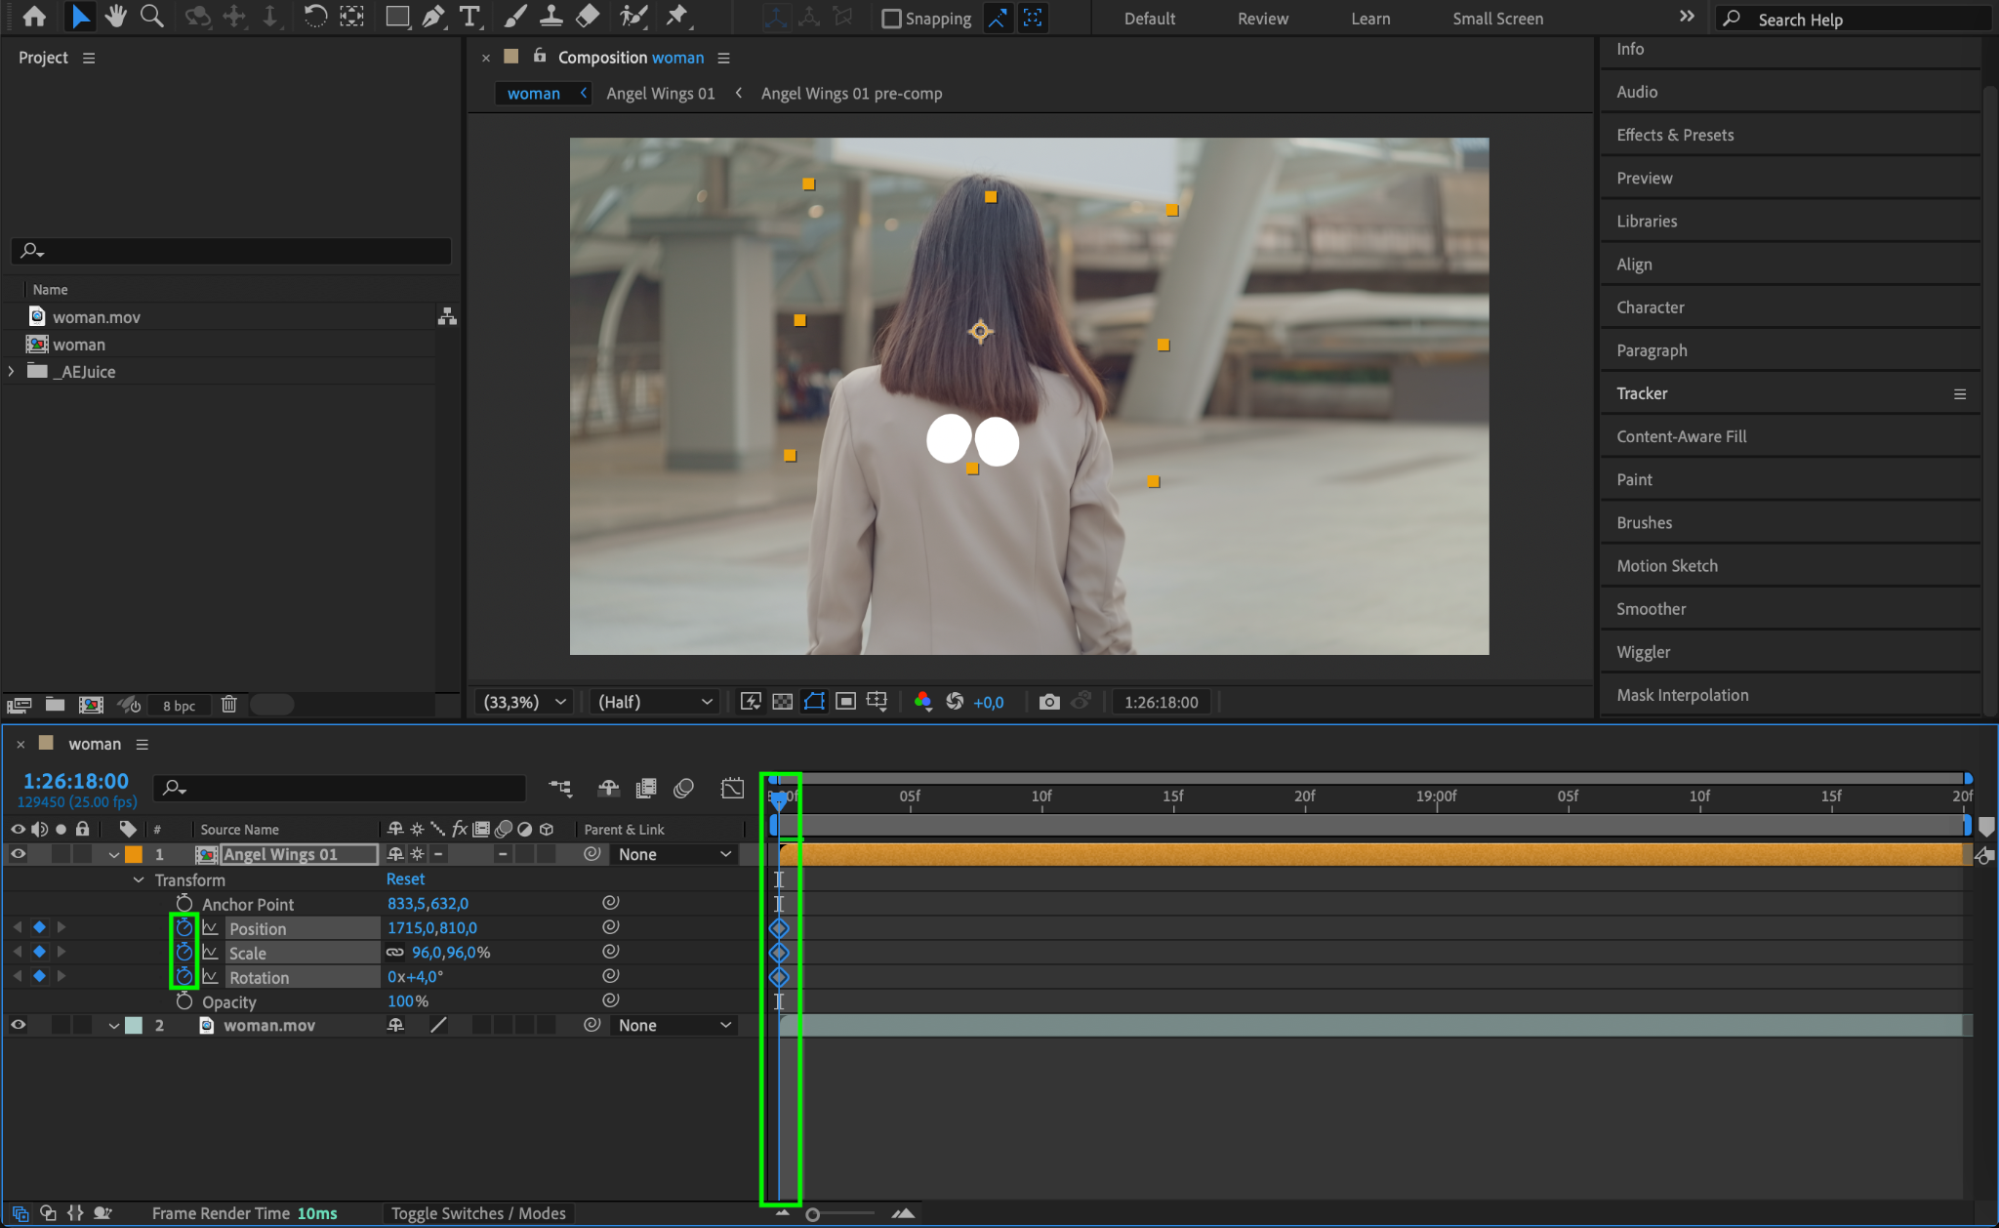
 Step 4: Add a Background Layer
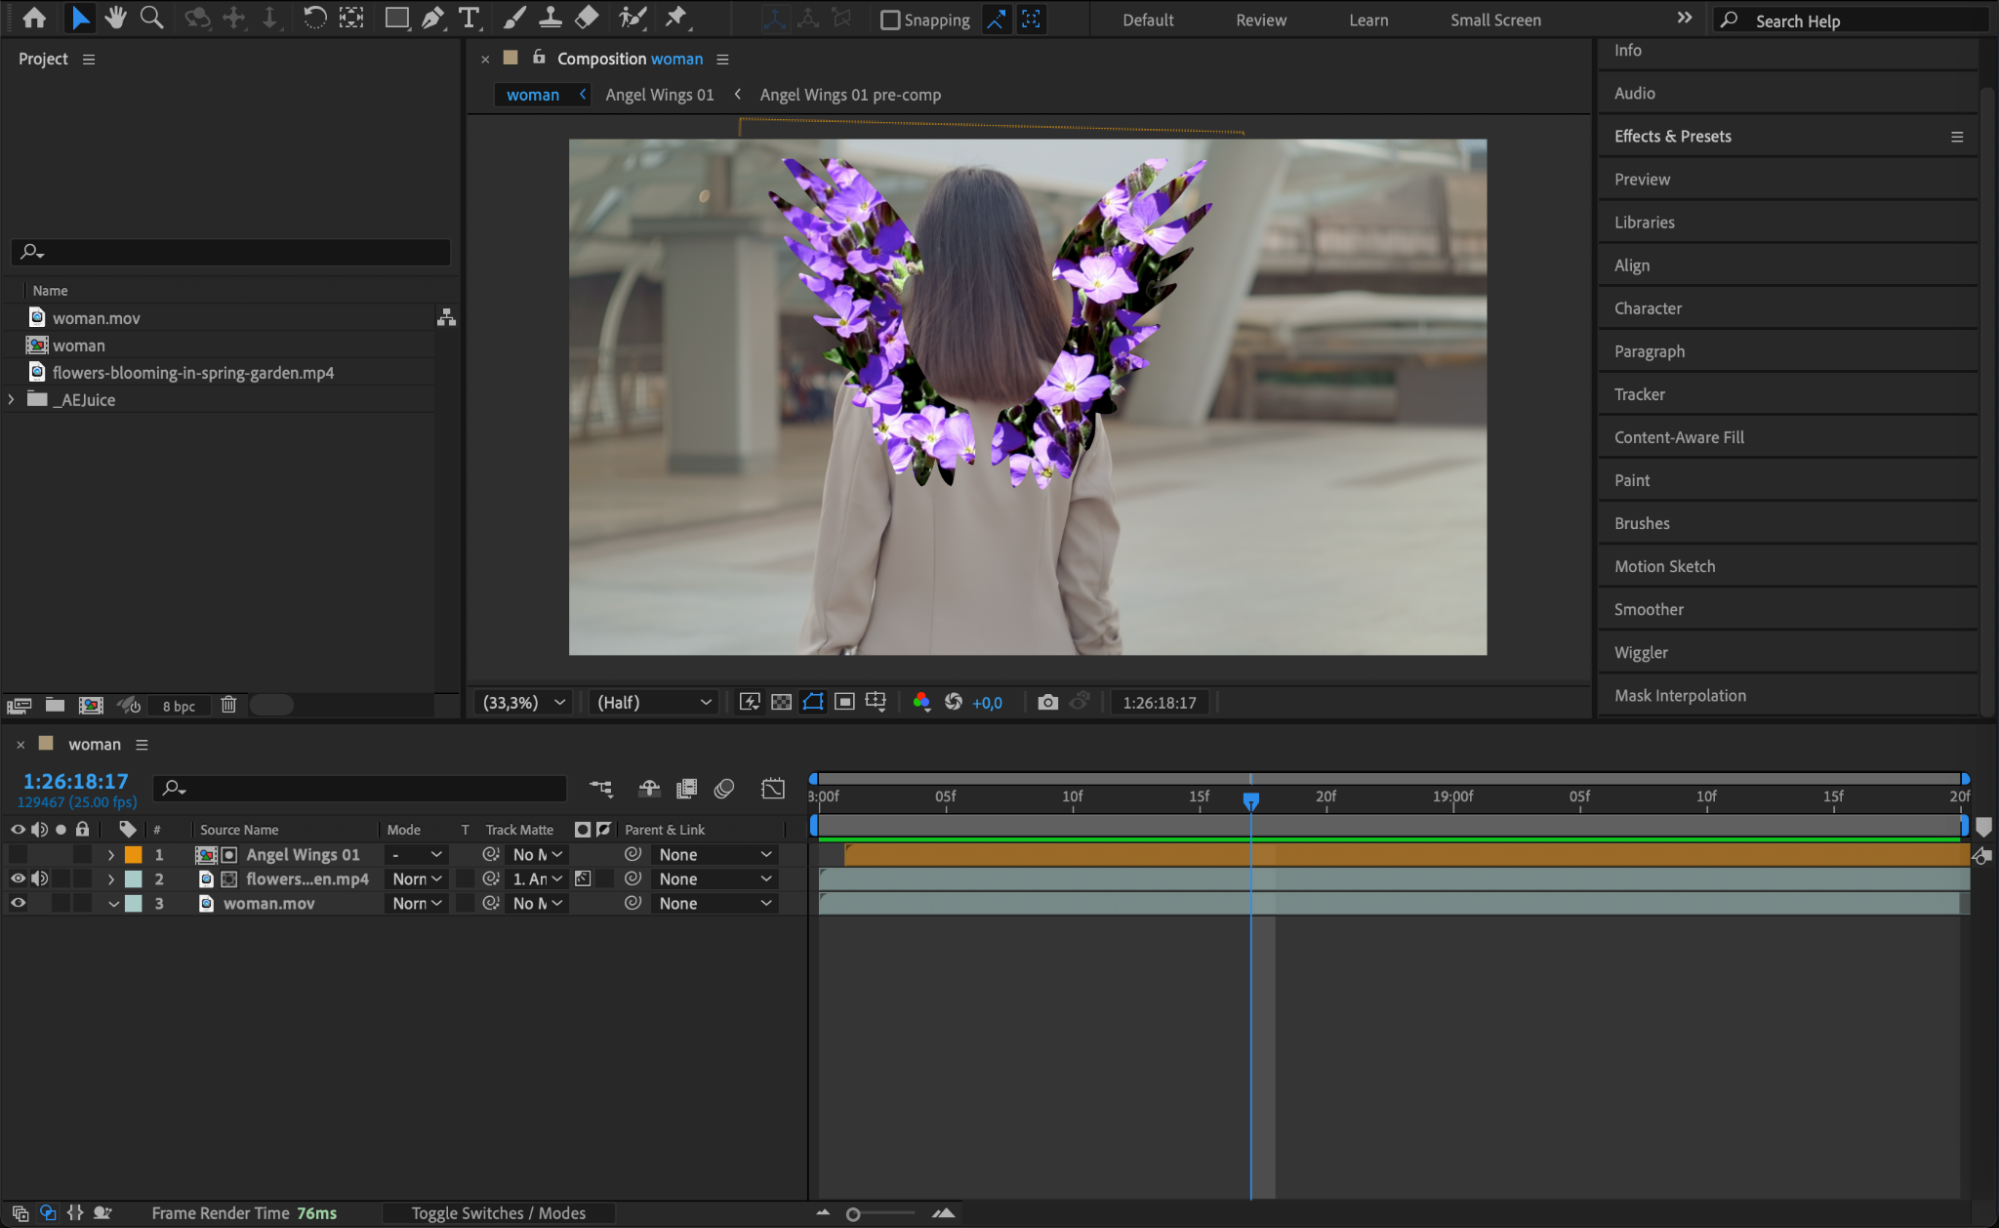
Import a background video or image that complements the wing animation and drag it below the wings layer on the timeline. This creates depth and enhances the scene’s overall visual appeal.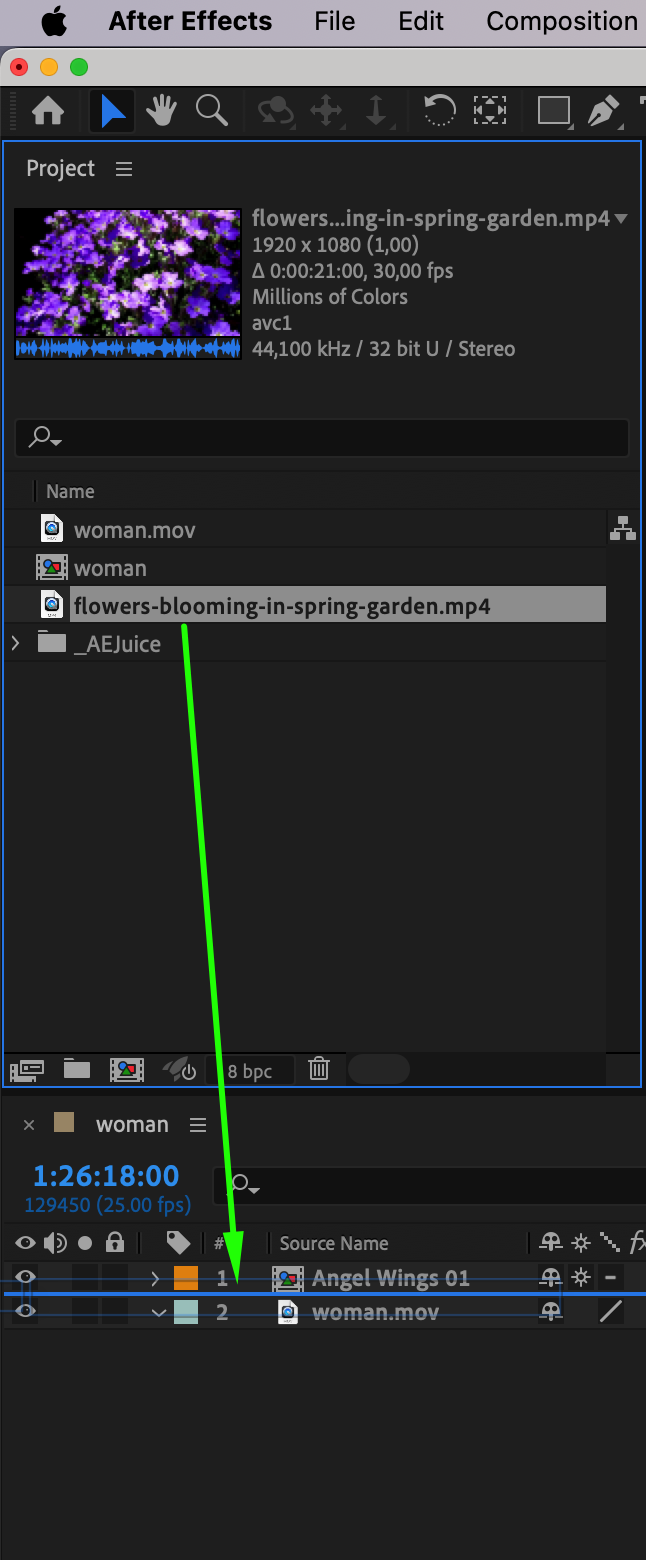 Step 5: Use Track Matte for Transparency
To integrate the background and wings seamlessly:
Click the Toggle Switches/Modes button to access the Track Matte column.
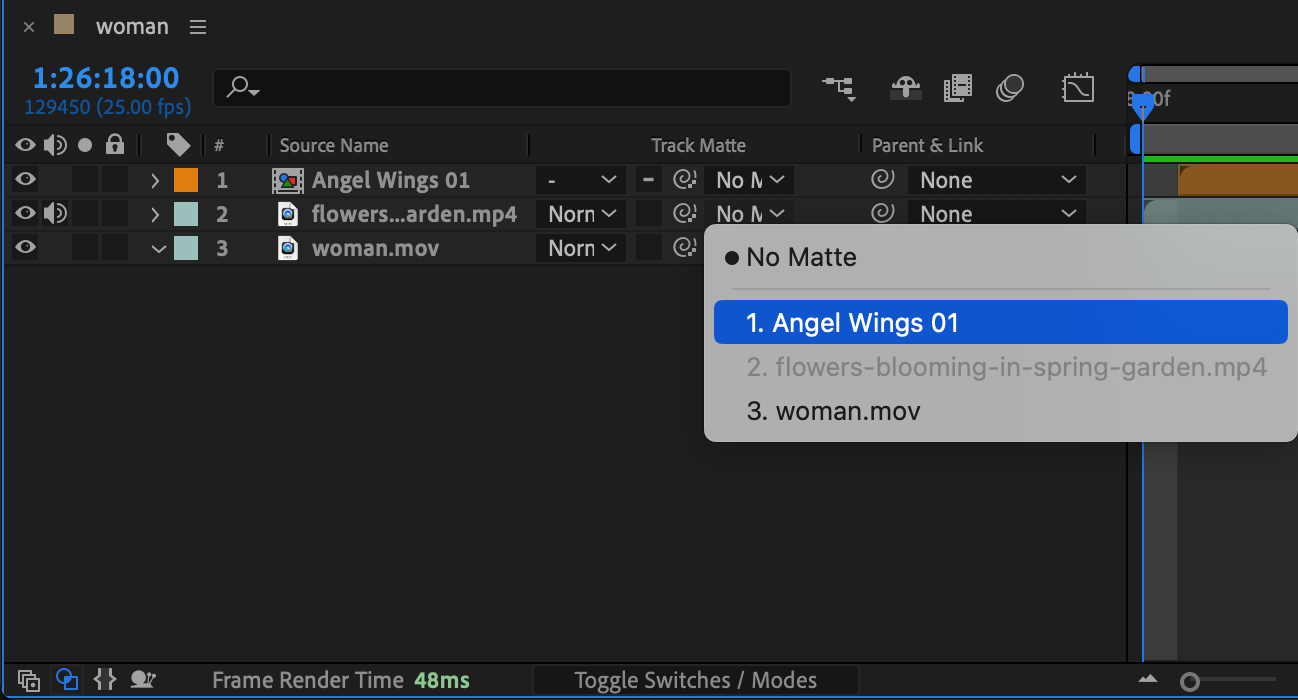
Set the background video’s Track Matte to the wings layer. This masks the background, confining it to the shape of the wings.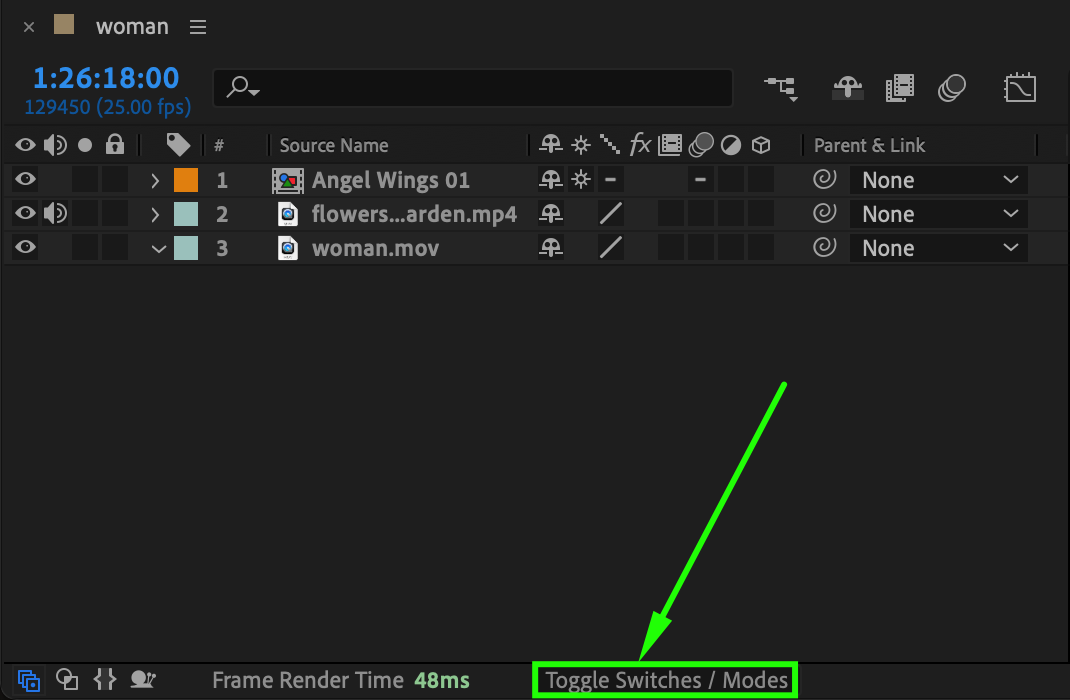
 Step 6: Add Visual Effects
Enhance the wings and background with effects like:
Glow: Apply this to the wings to make them radiant and angelic.
Gaussian Blur: Add this to the background for a soft, cinematic look.
You can find these effects in the Effects & Presets panel. Drag them onto the desired layers and adjust their settings in the Effect Controls panel.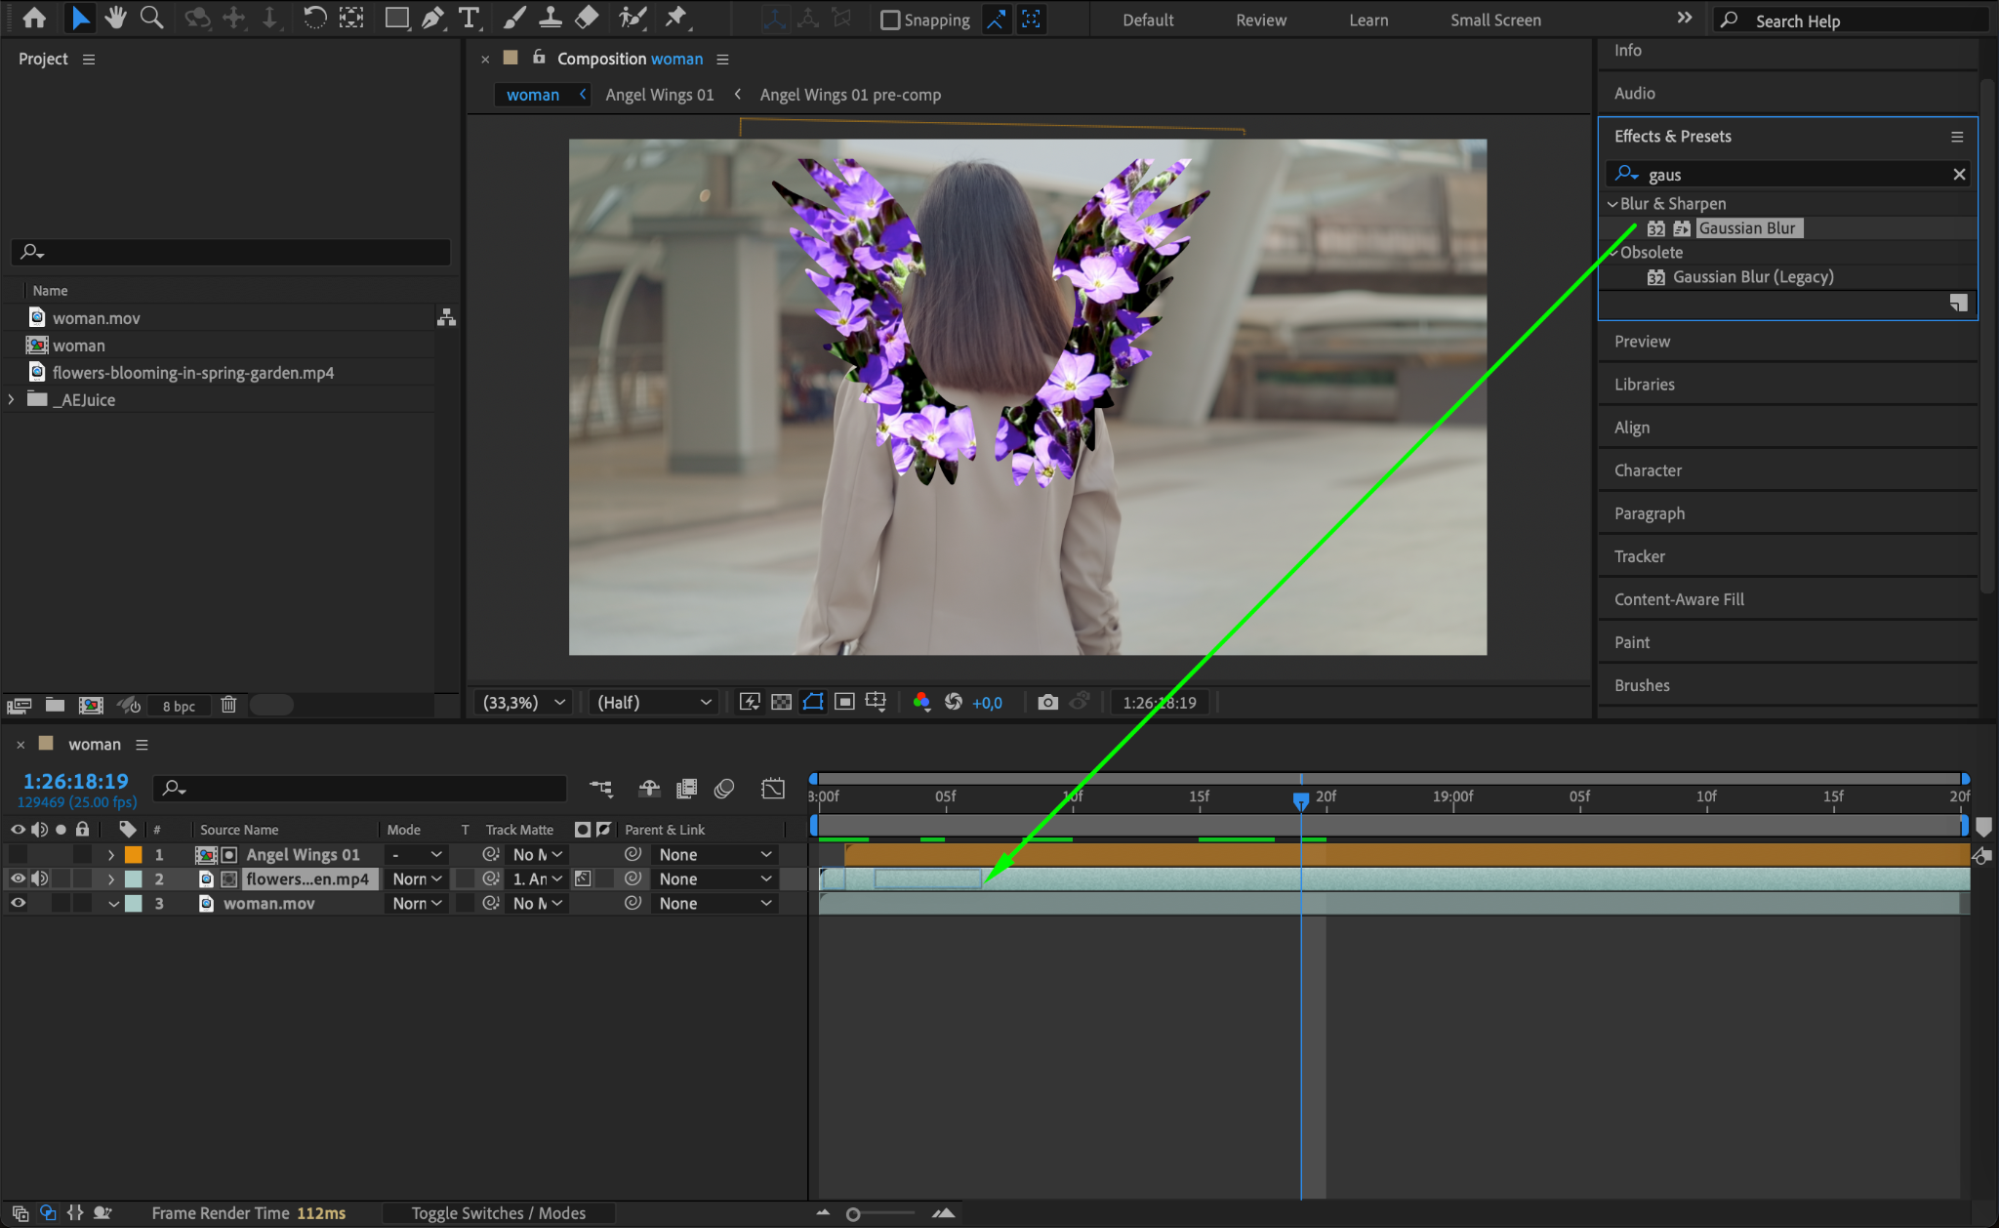
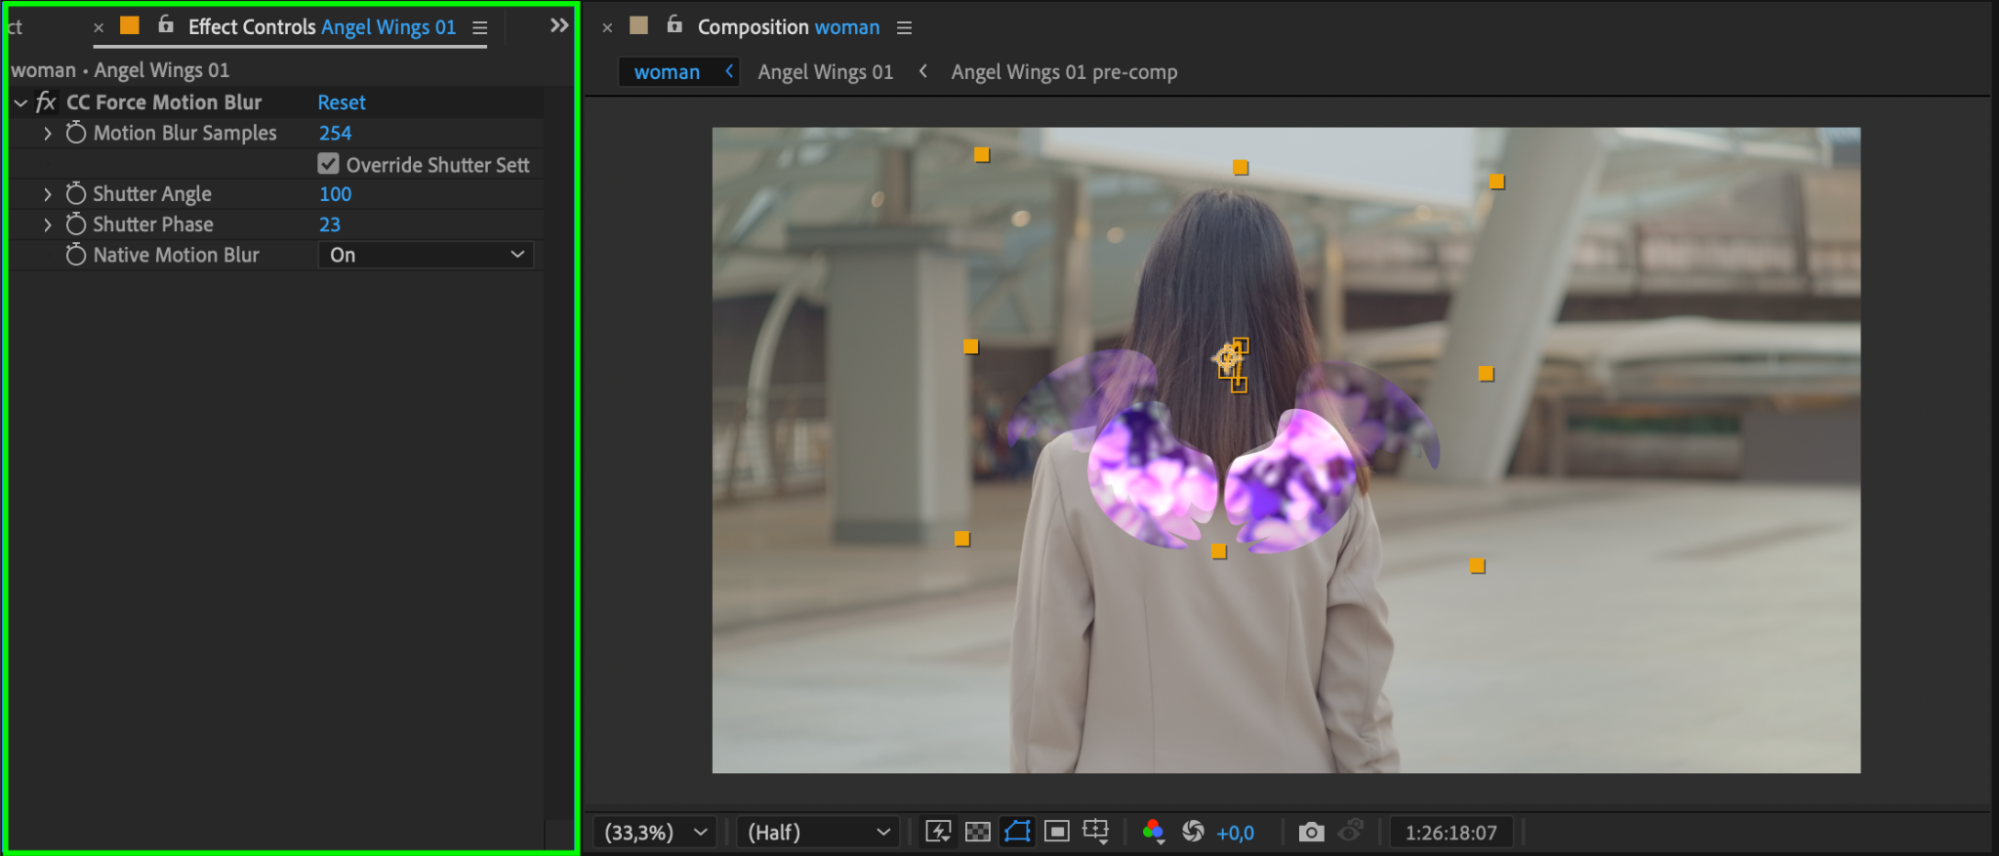
 Step 7: Apply CC Force Motion Blur
To make the wings’ movements more fluid, add the CC Force Motion Blur effect from the Effects & Presets panel. Apply it to the wings layer and tweak the settings to match the motion speed. This effect enhances realism by simulating motion blur.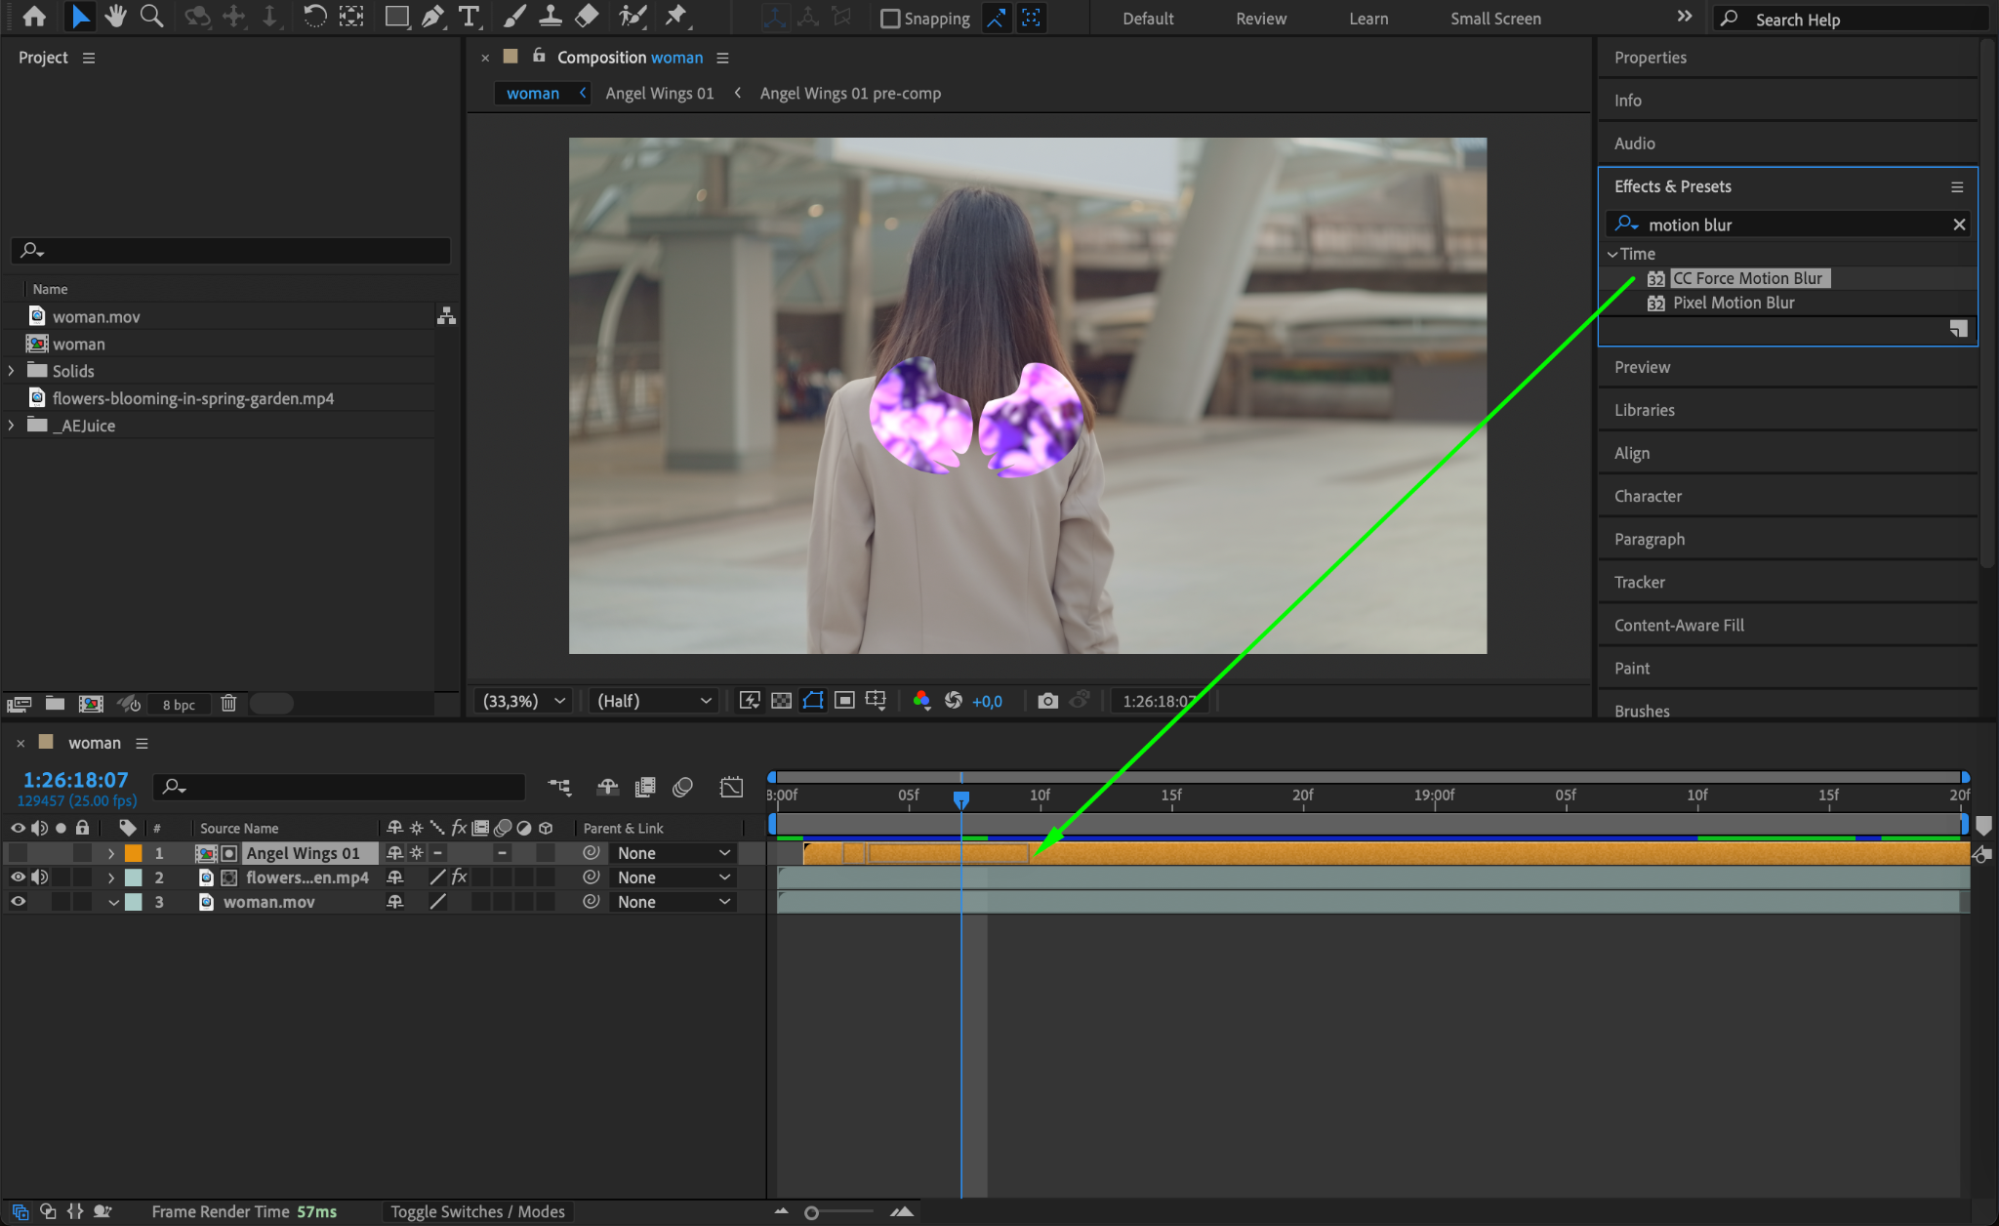
 Step 8: Preview Your Animation
Press the Spacebar to preview the animation. Watch the interaction between the wings, subject, and background, making adjustments if necessary.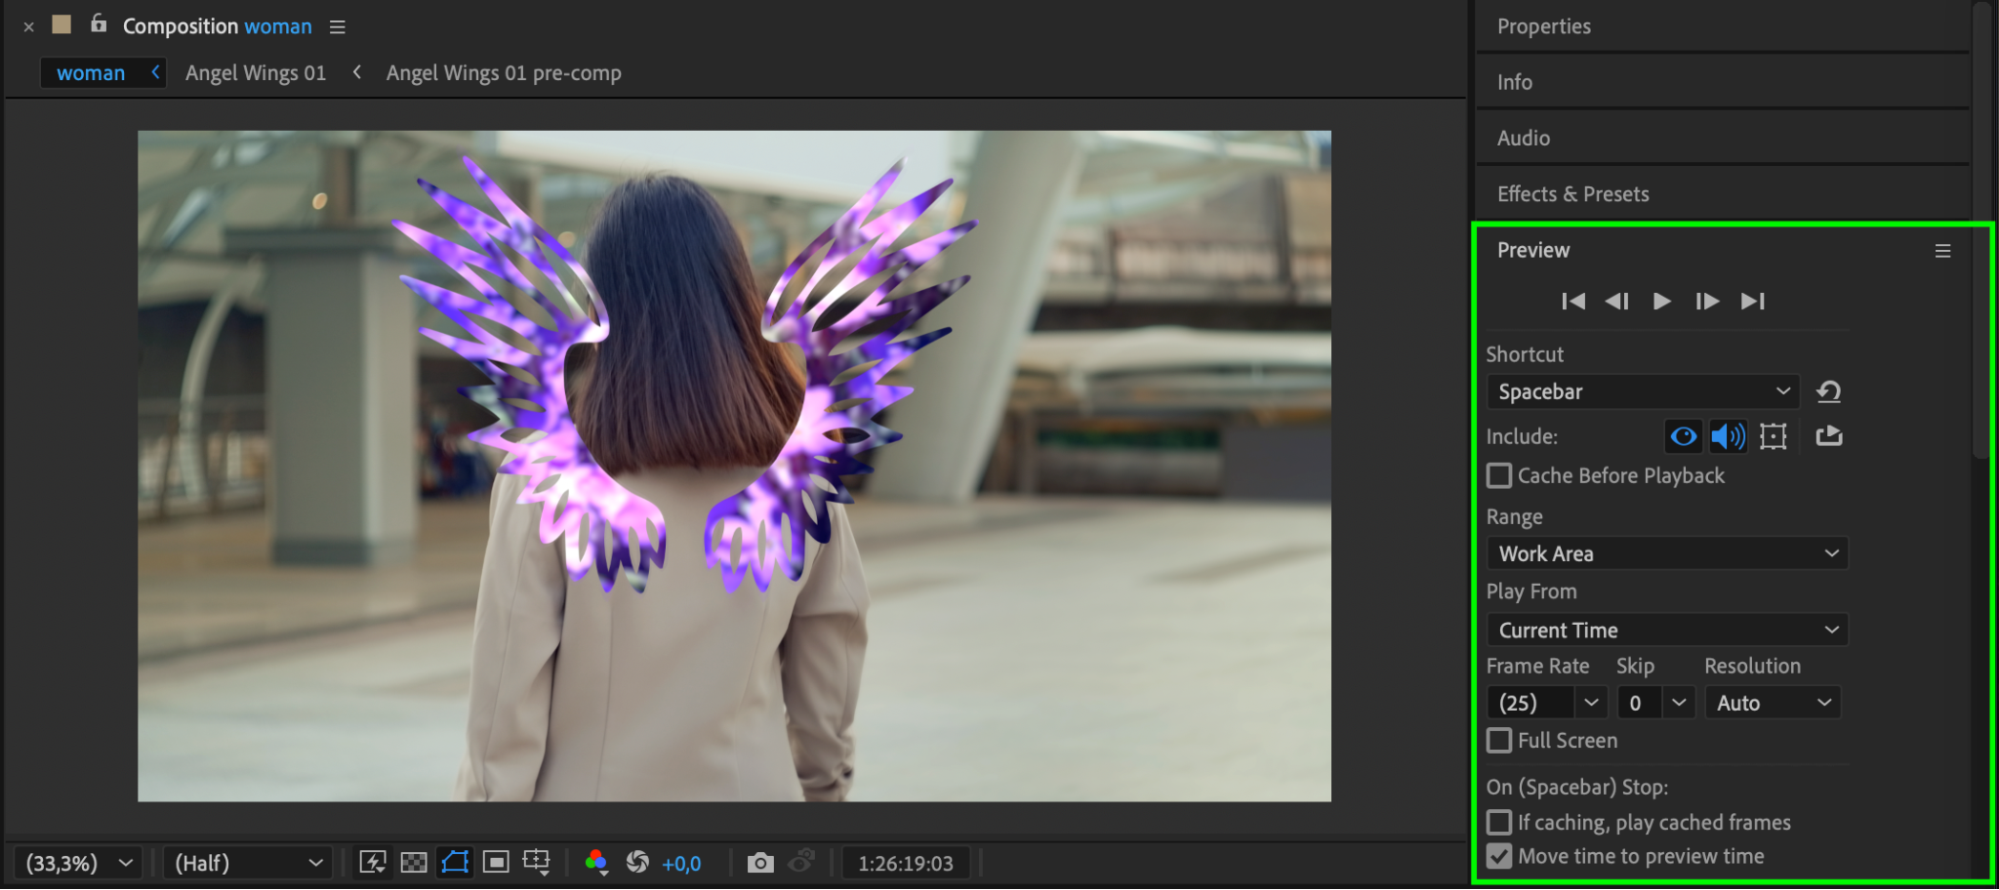 Step 9: Render Your Composition
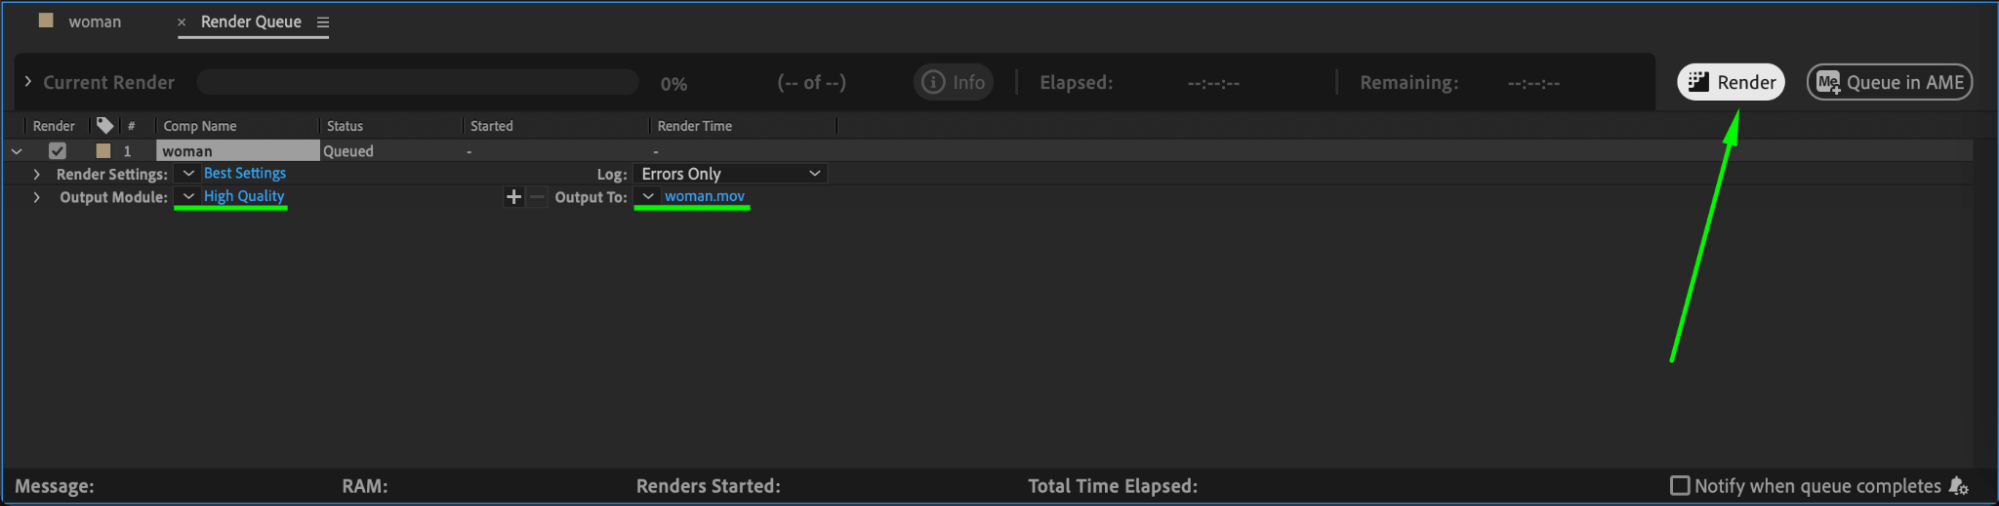
Once you are happy with your animation, it’s time to render the project. Navigate to Composition > Add to Render Queue from the top menu. In the Render Queue, adjust the output settings, such as file format and destination folder, to meet your requirements. Finally, click the Render button to export your completed video.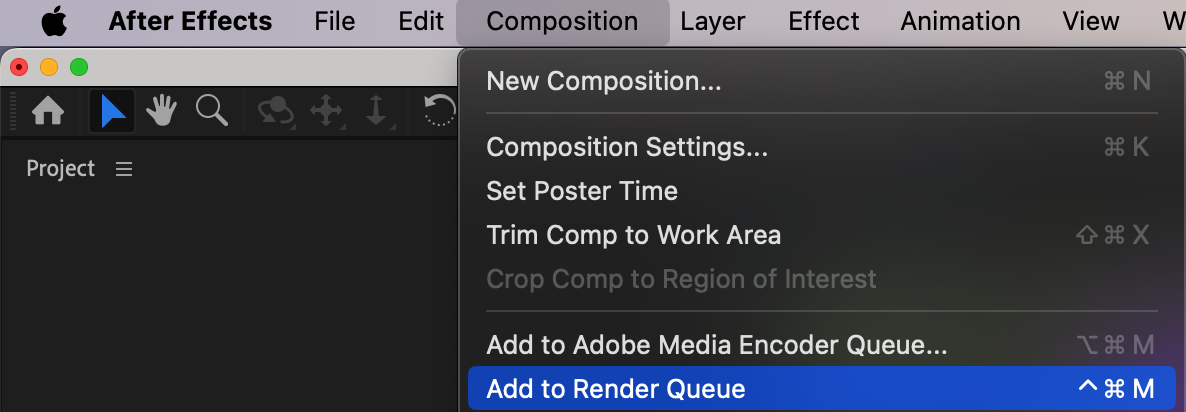
 Coclusion
Adding wings in After Effects allows you to create visually captivating animations with a touch of fantasy. By importing stock footage or using plugins, animating the position, and applying effects, you can achieve professional results. Experiment with different styles and settings to make the effect uniquely yours. With practice, you’ll master this magical technique in no time!
Our Bestsellers


