Creating a Motion Logo in After Effects
Introduction to Logo Animation
Animating a logo in After Effects can give it a professional and engaging look. Whether for branding, intros, or promotional videos, motion logos make a strong visual impact. Follow these steps to create a stylish motion logo using built-in effects.
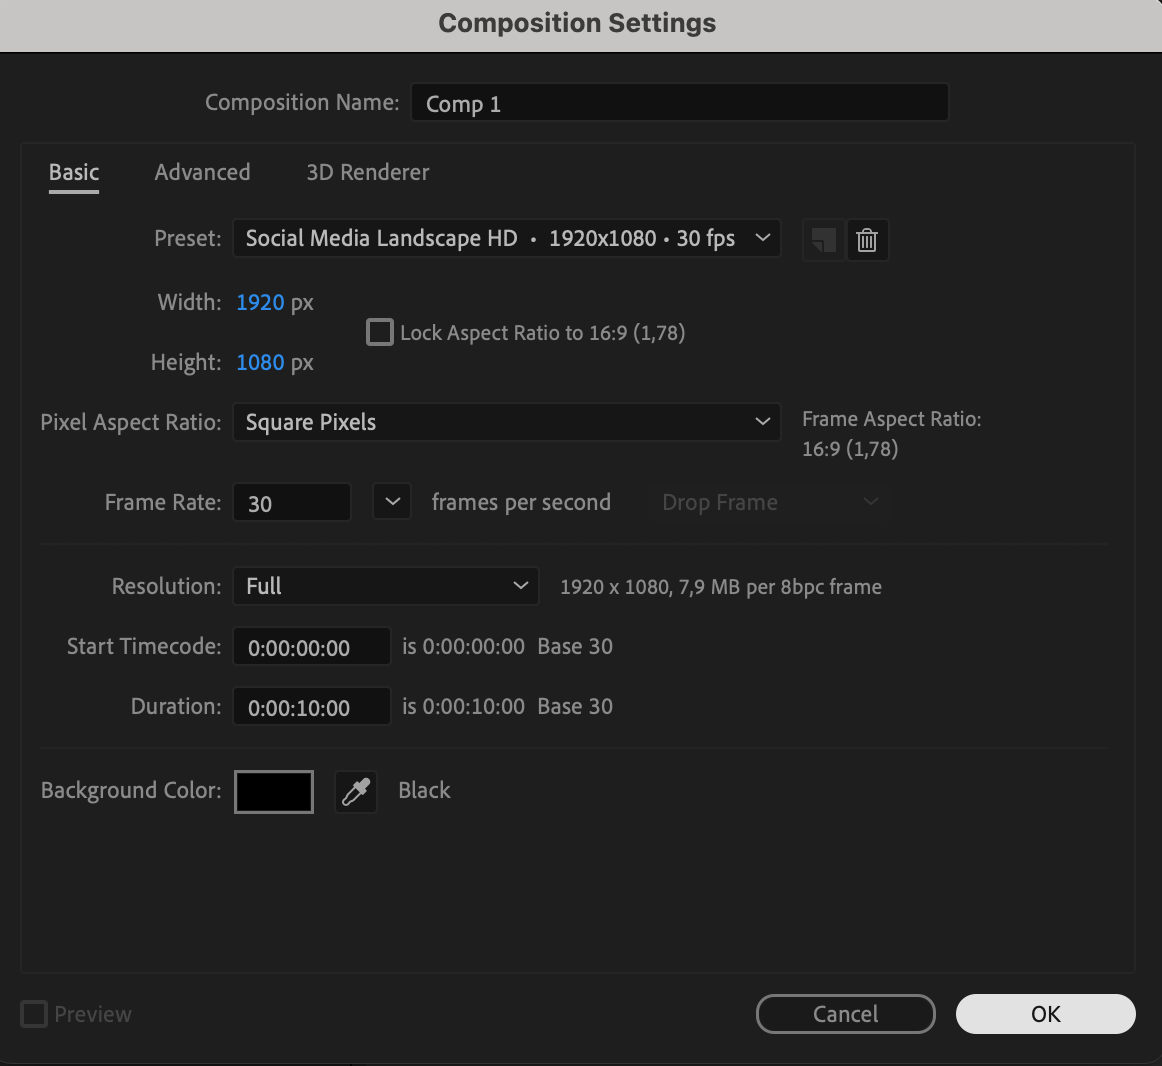
Step 1: Create a New Composition
Go to Composition > New Composition, set the desired resolution (e.g., 1920×1080), frame rate (e.g., 30 fps), and duration. This will be your working area for the animation.
Get 10% off when you subscribe to our newsletter


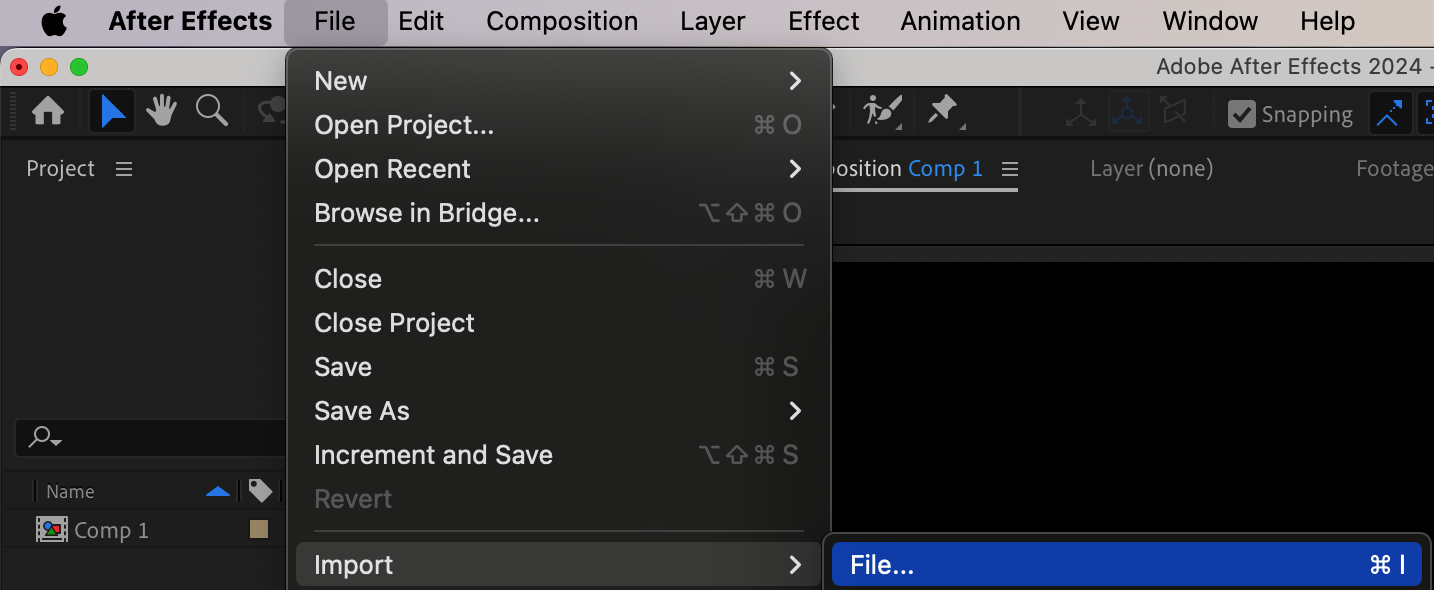
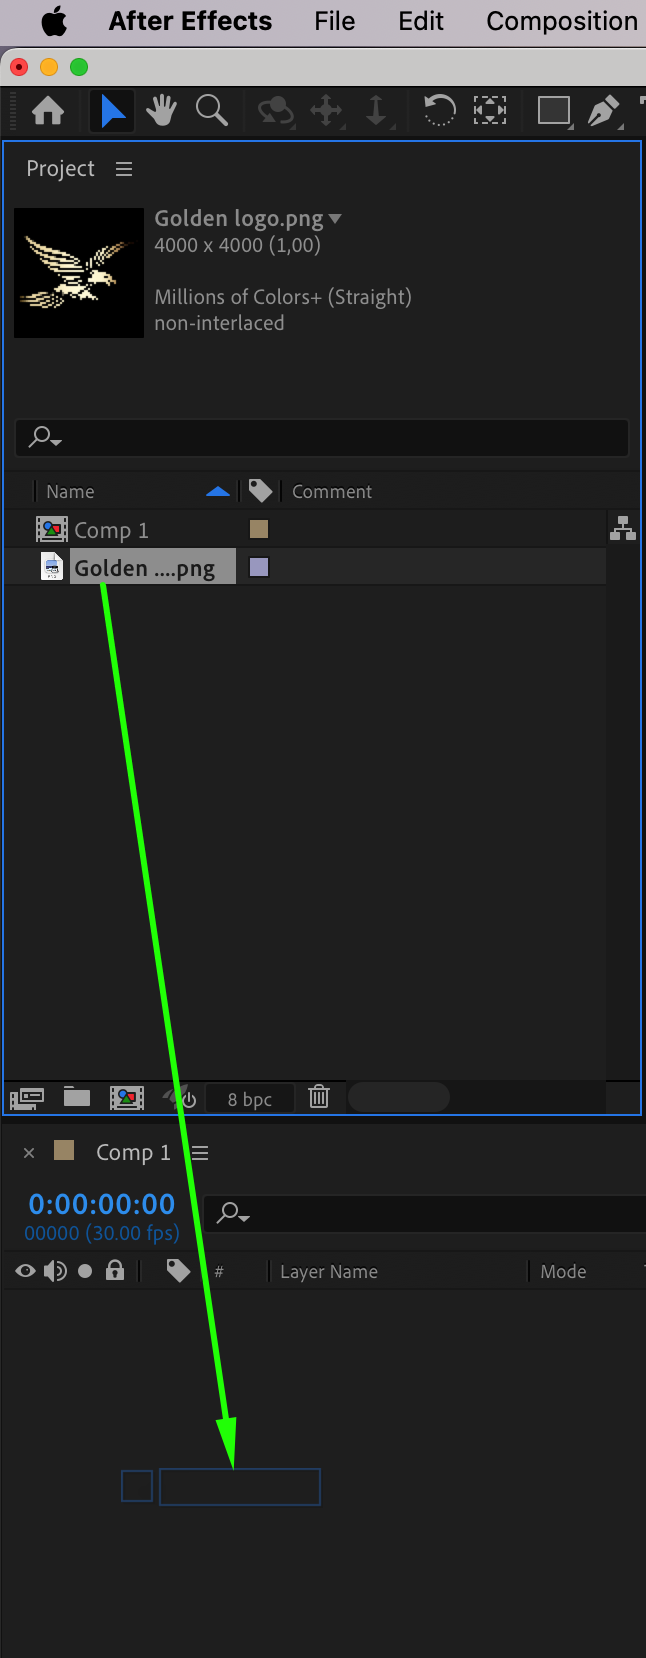
Step 2: Import and Add Your Logo
Go to File > Import > File, select your logo file, and drag it onto the timeline. This will be the base for your animation.
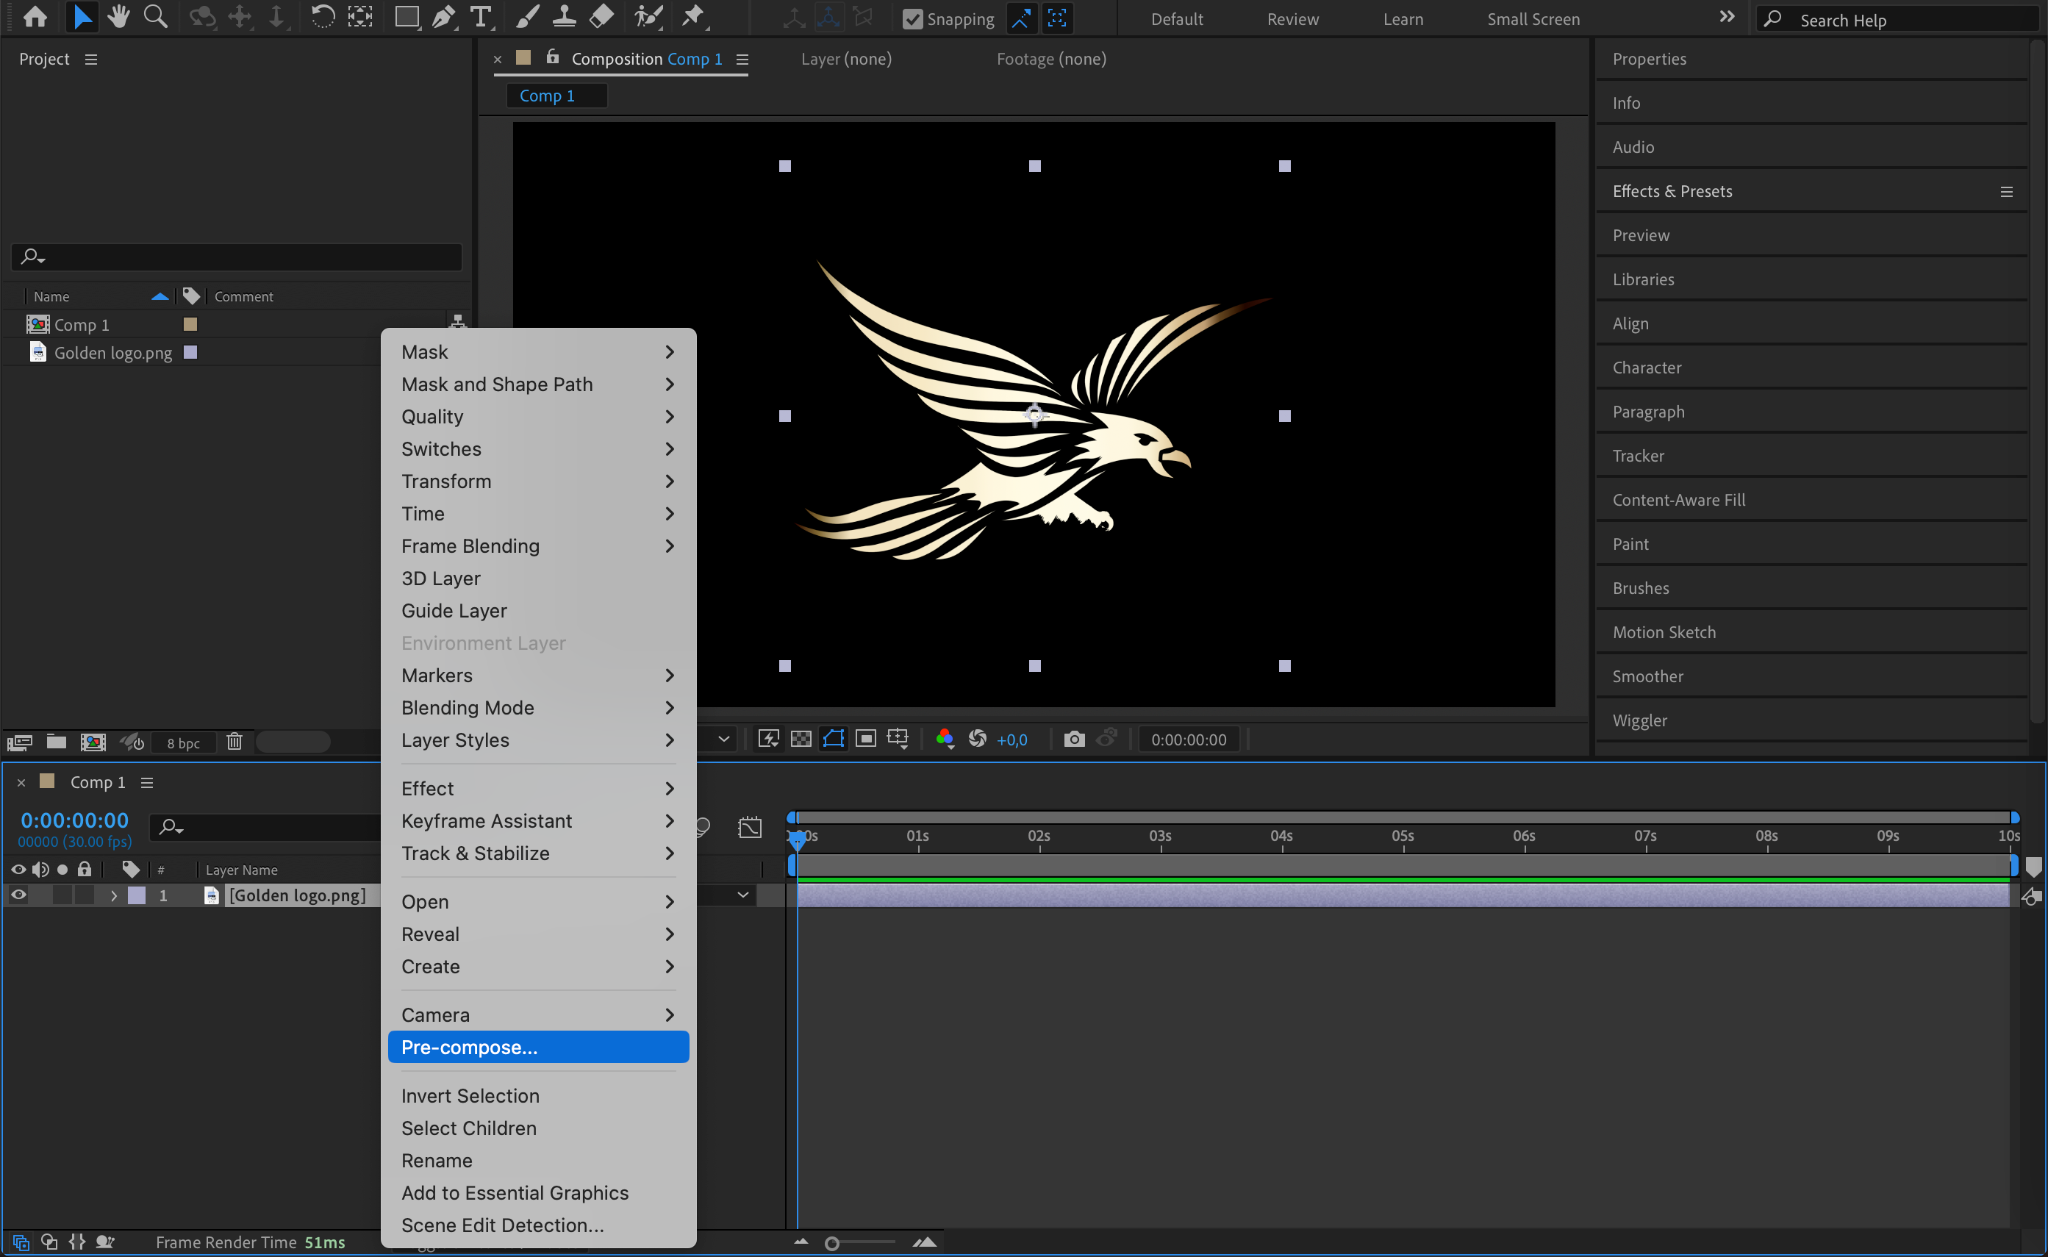
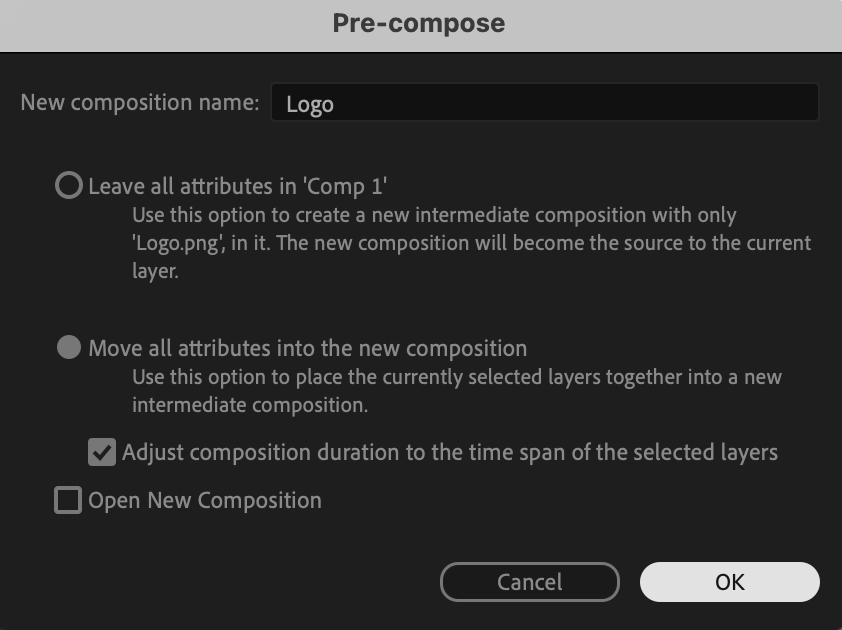
Step 3: Pre-Compose the Logo
Right-click on the logo layer, choose Pre-Compose, and name it “Logo”. This groups all changes into a single layer for easier control.
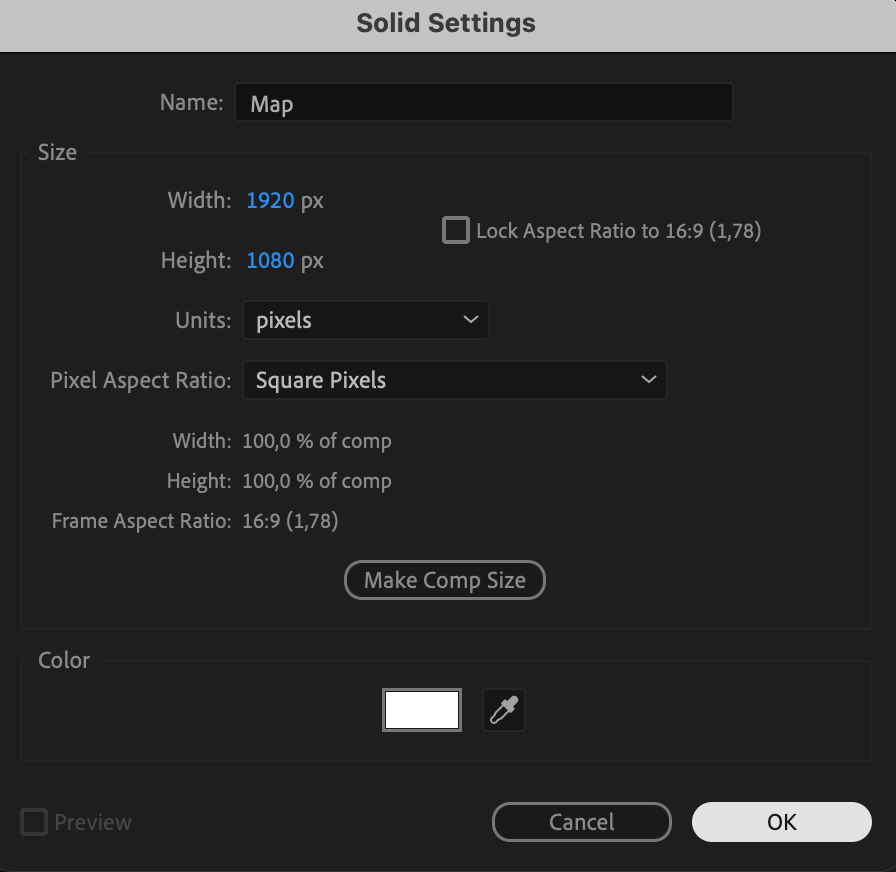
Step 4: Create a Solid Layer for Effects
Go to Layer > New > Solid, select a white color, and name it “Map”. This layer will be used to create texture effects.

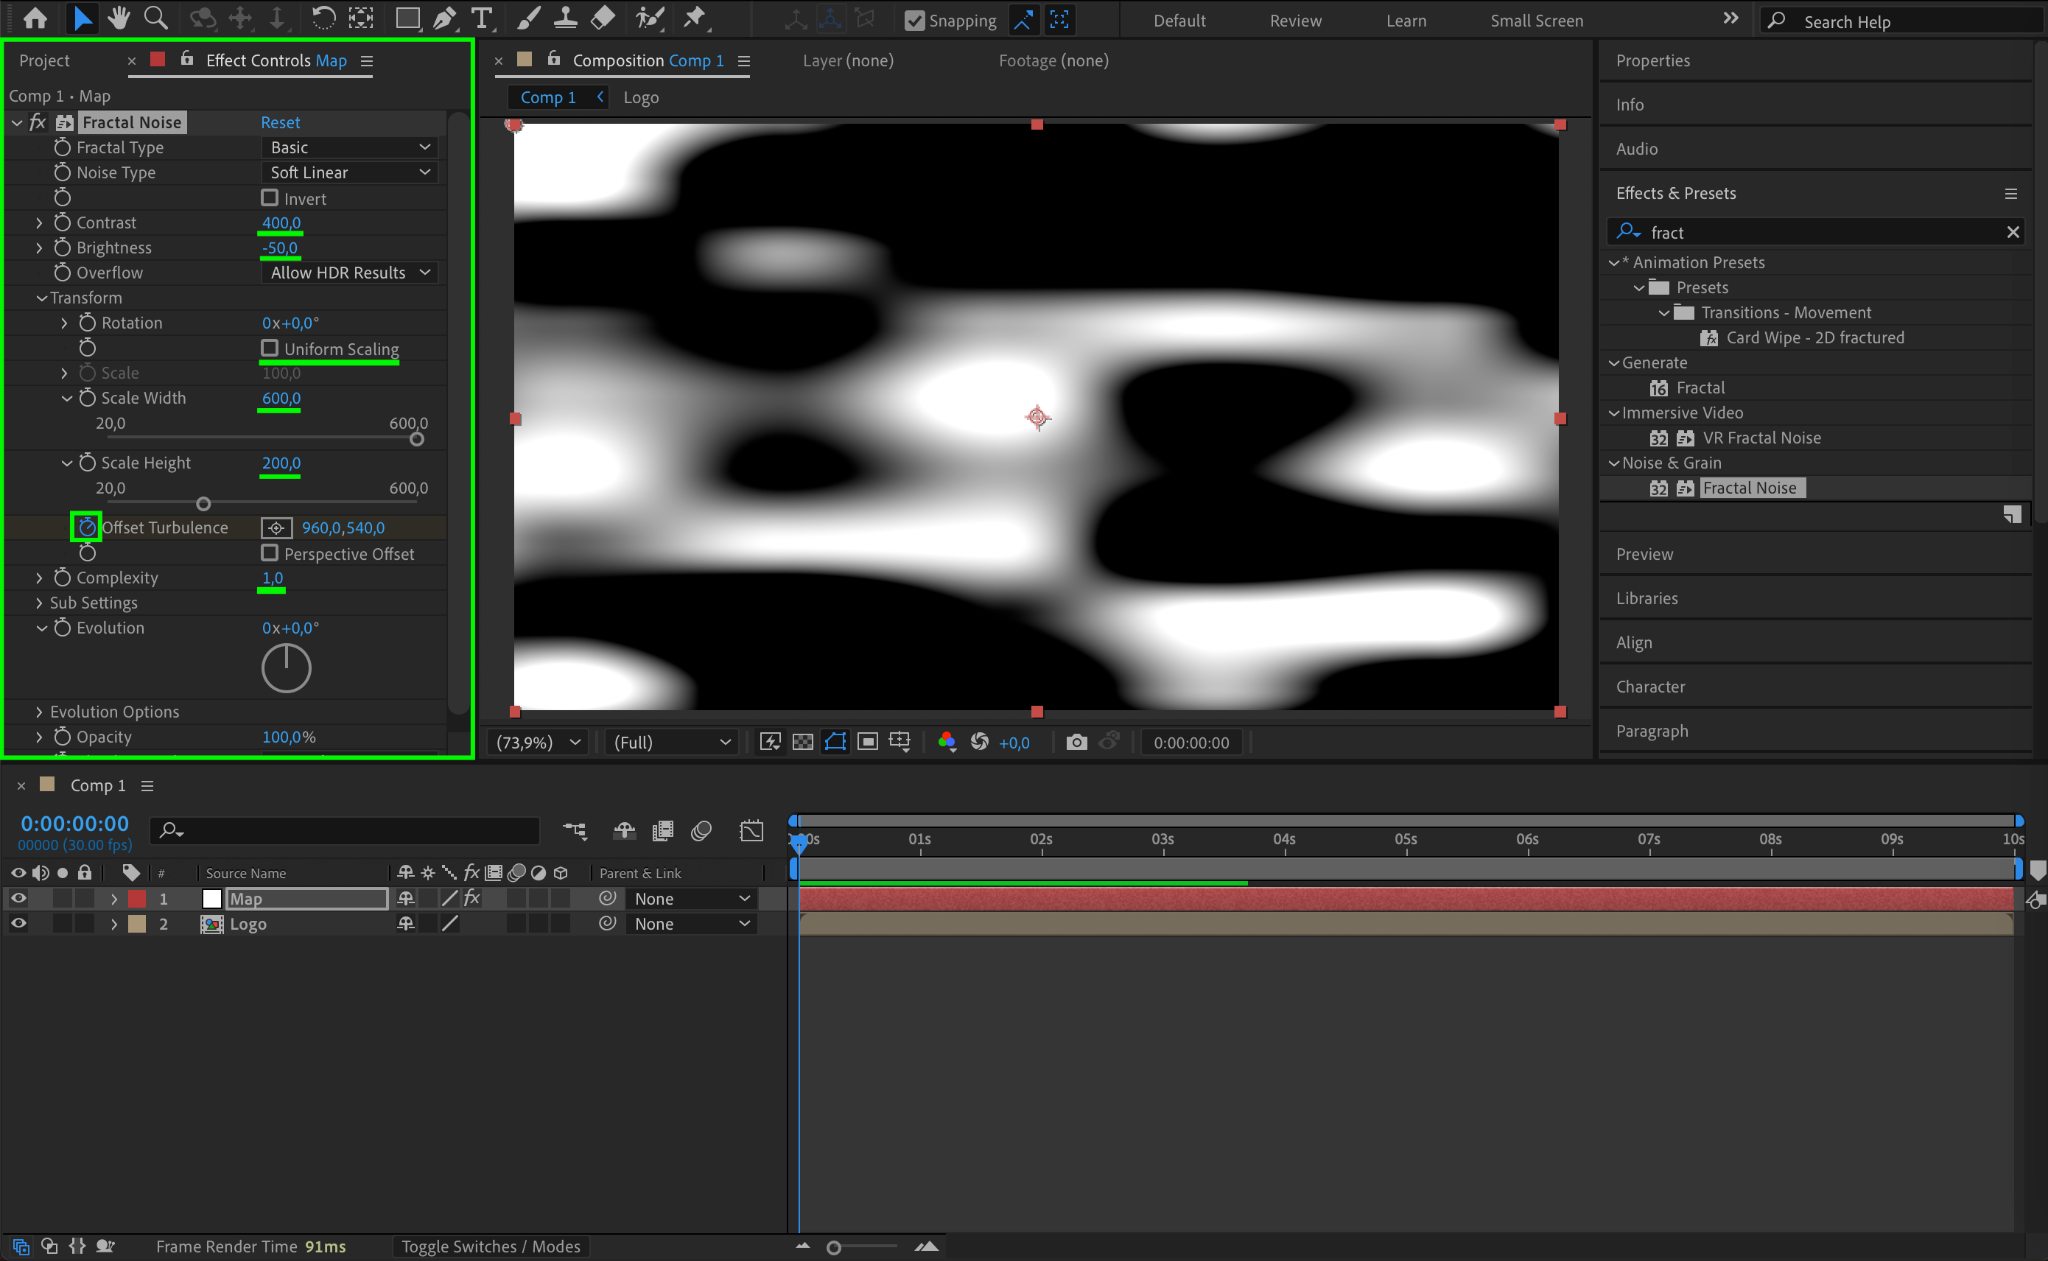
Step 5: Apply Fractal Noise Effect
Search for Fractal Noise in the Effects & Presets panel and apply it to the Map layer. Set:
Contrast: 400
Brightness: -50
Uncheck “Uniform Scaling”
Scale Width: 600
Scale Height: 200
Complexity: 1
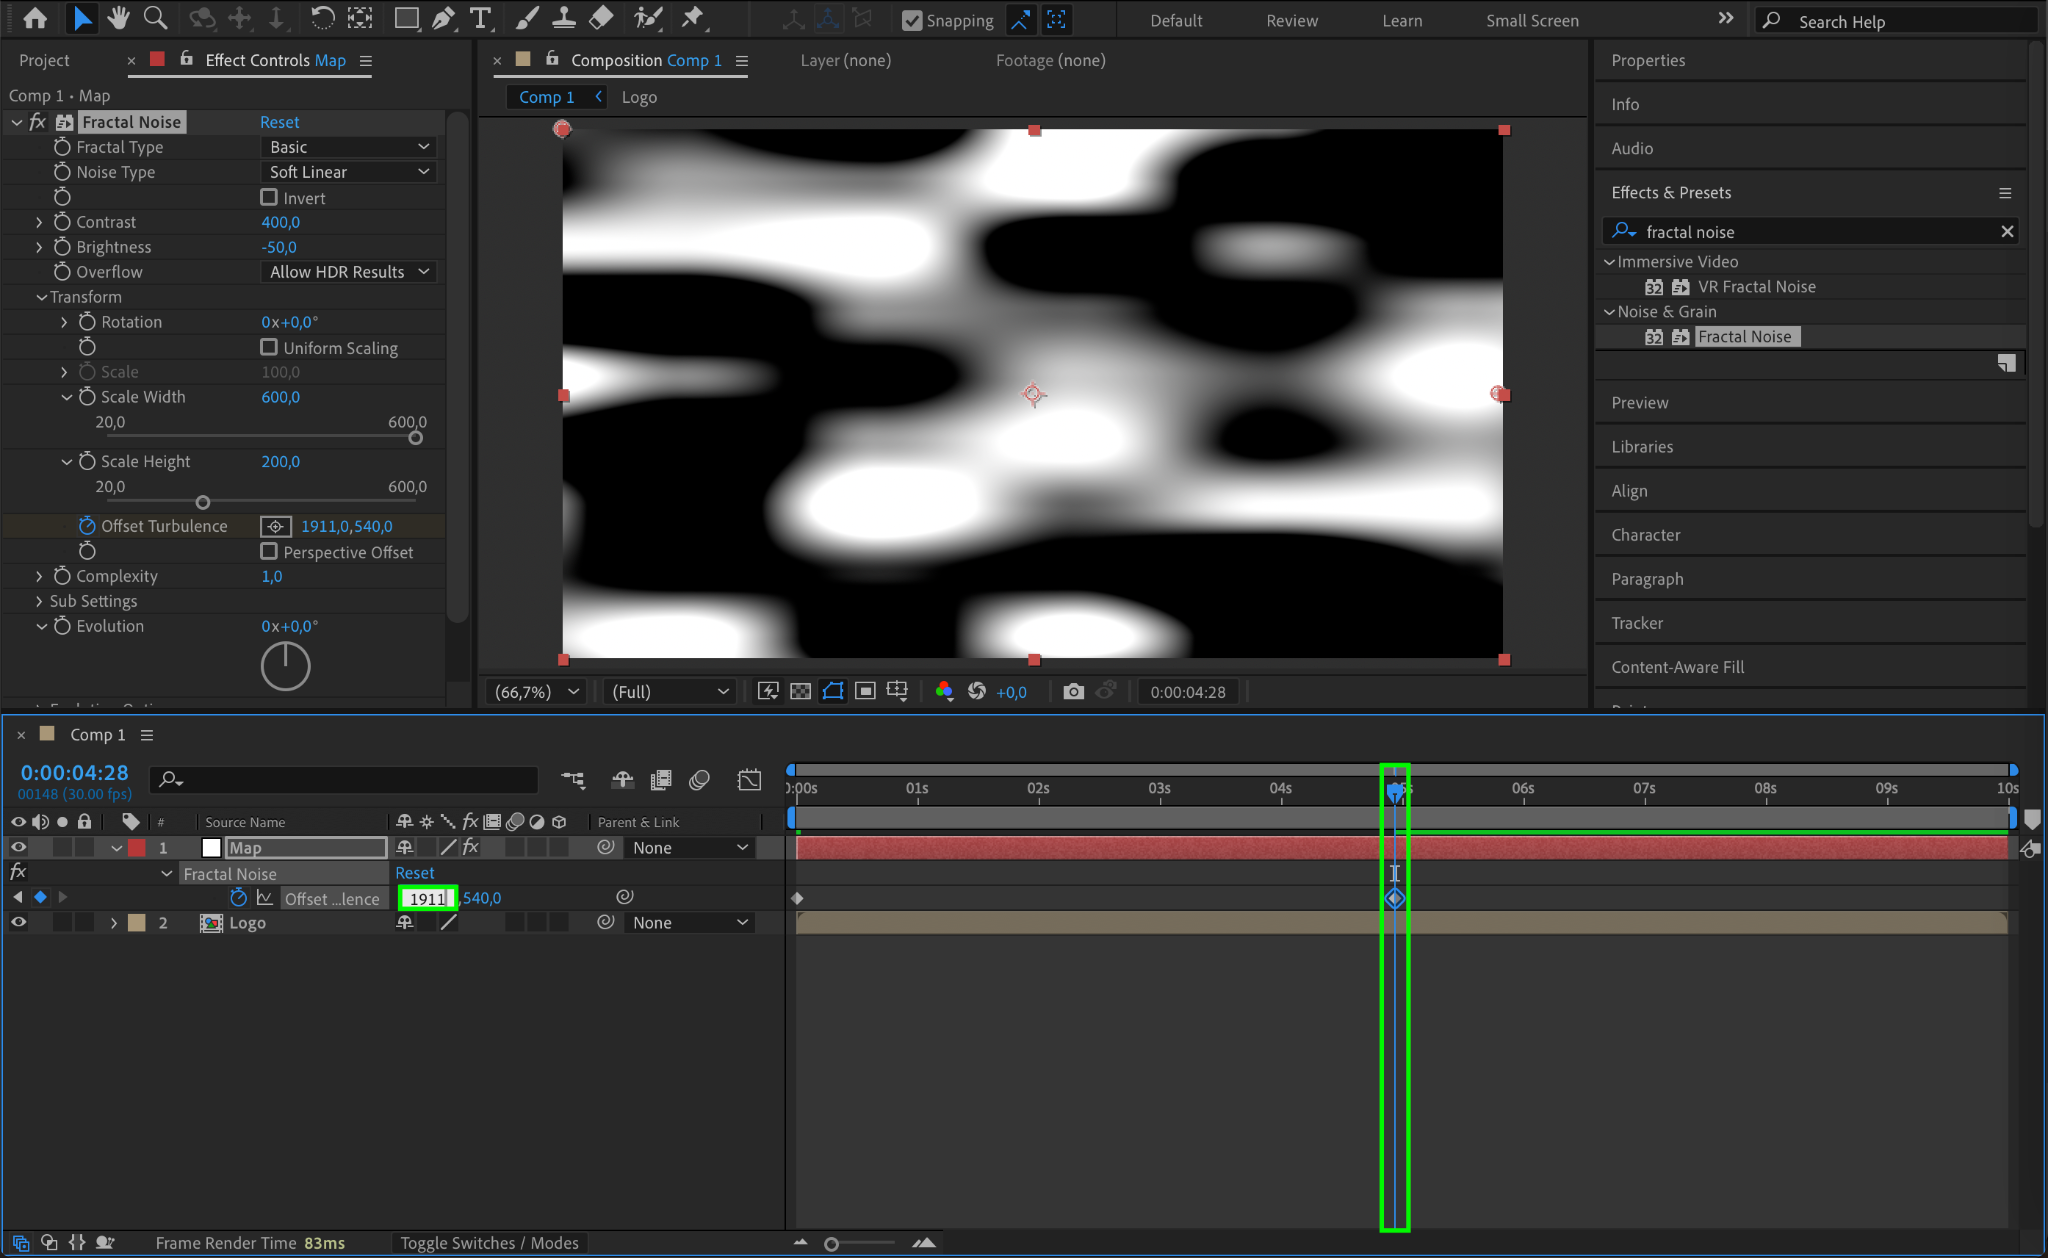
Move the CTI (Current Time Indicator) to the beginning, click the stopwatch next to Offset Turbulence, then move the CTI to the middle and set X Offset Turbulence to 1911 to animate the effect.

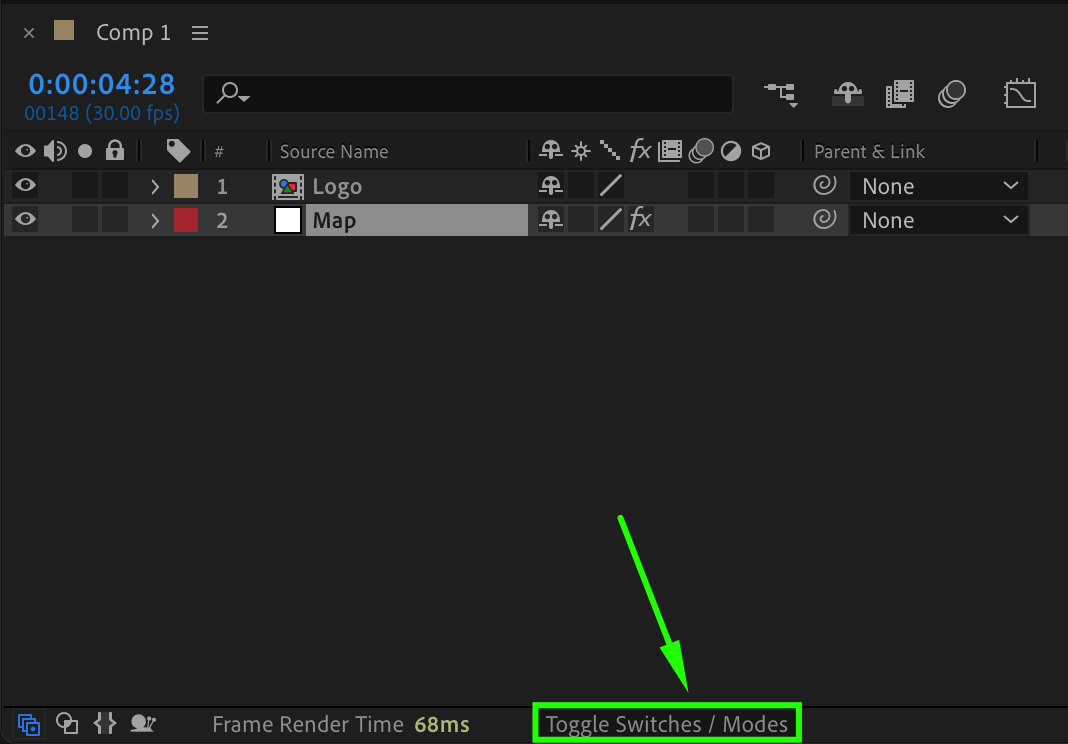
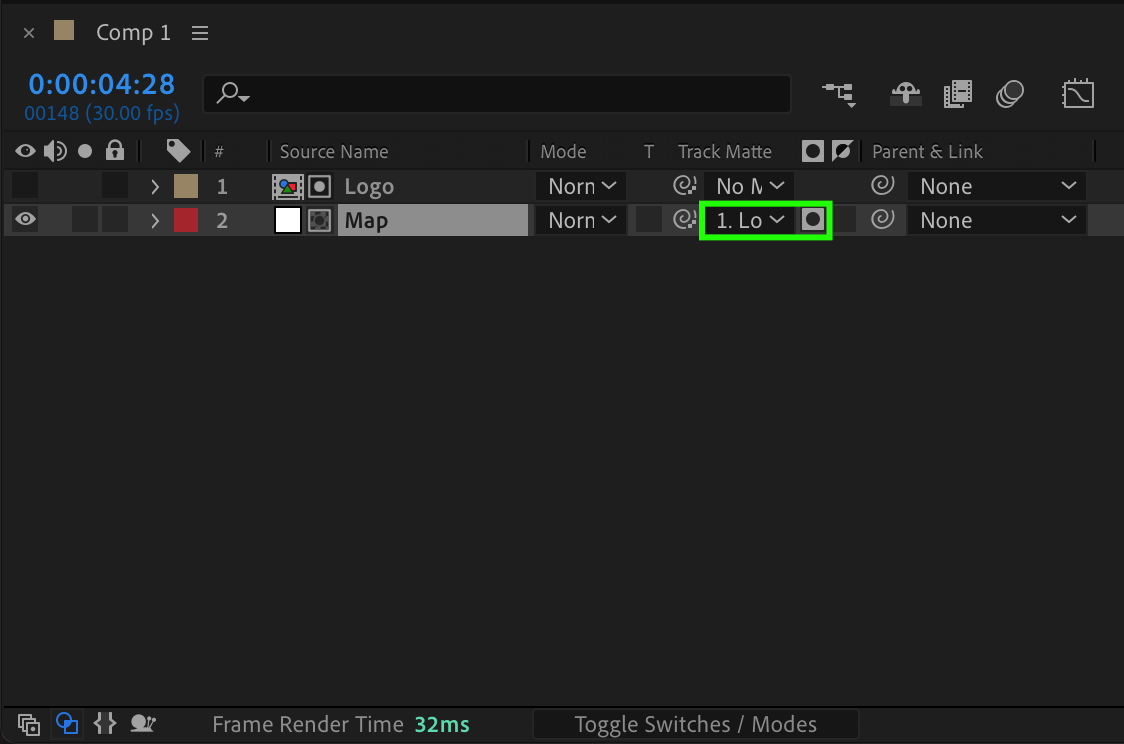
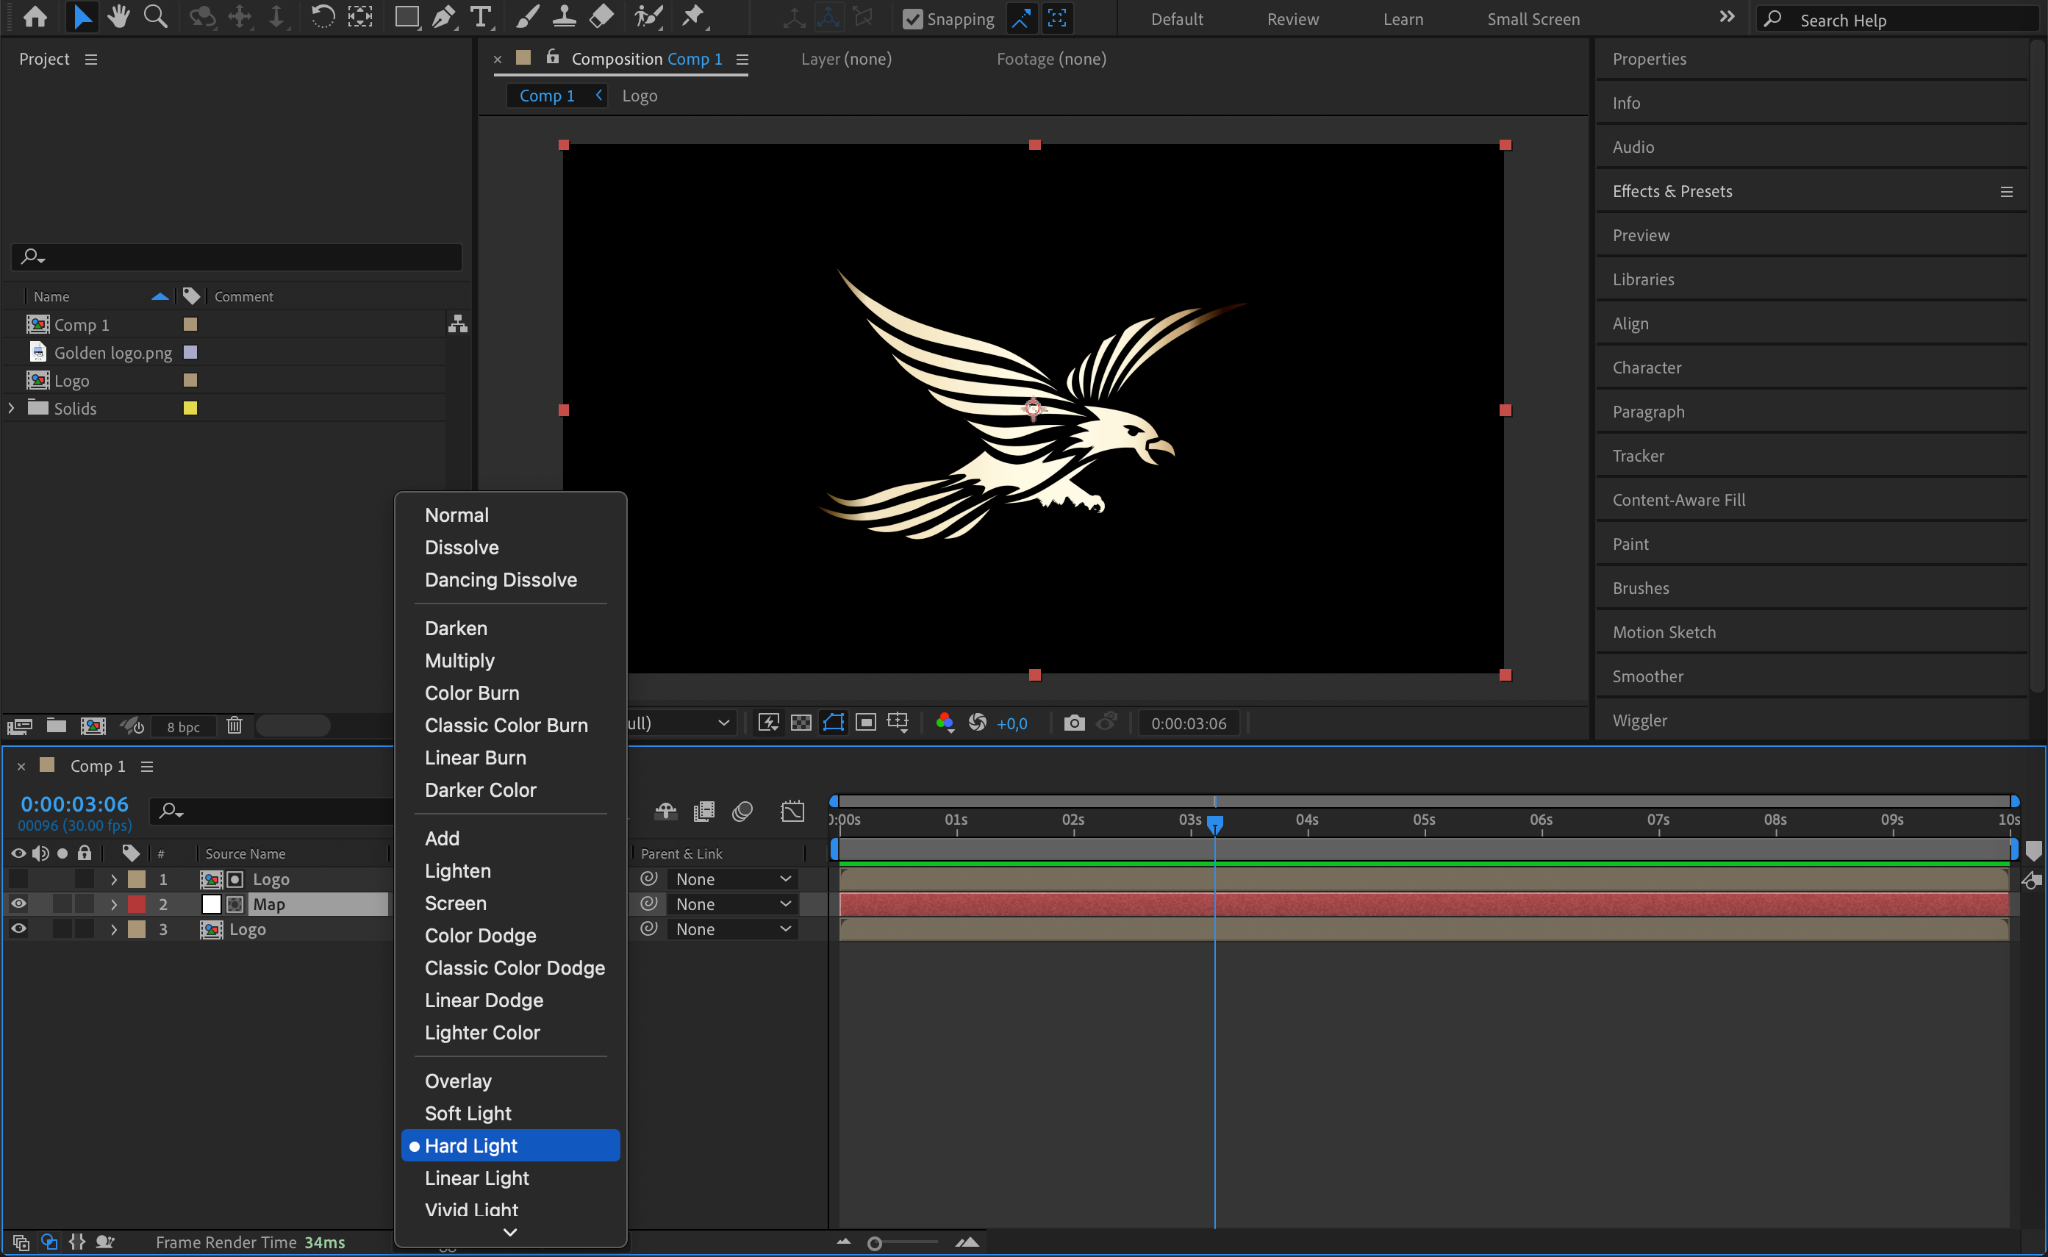
Step 6: Use Track Matte for Logo Masking
Click Toggle Switches/Modes at the bottom of the timeline. In the Track Matte column of the Map layer, choose Alpha Matte (Logo Layer) to make the noise texture follow the shape of the logo.
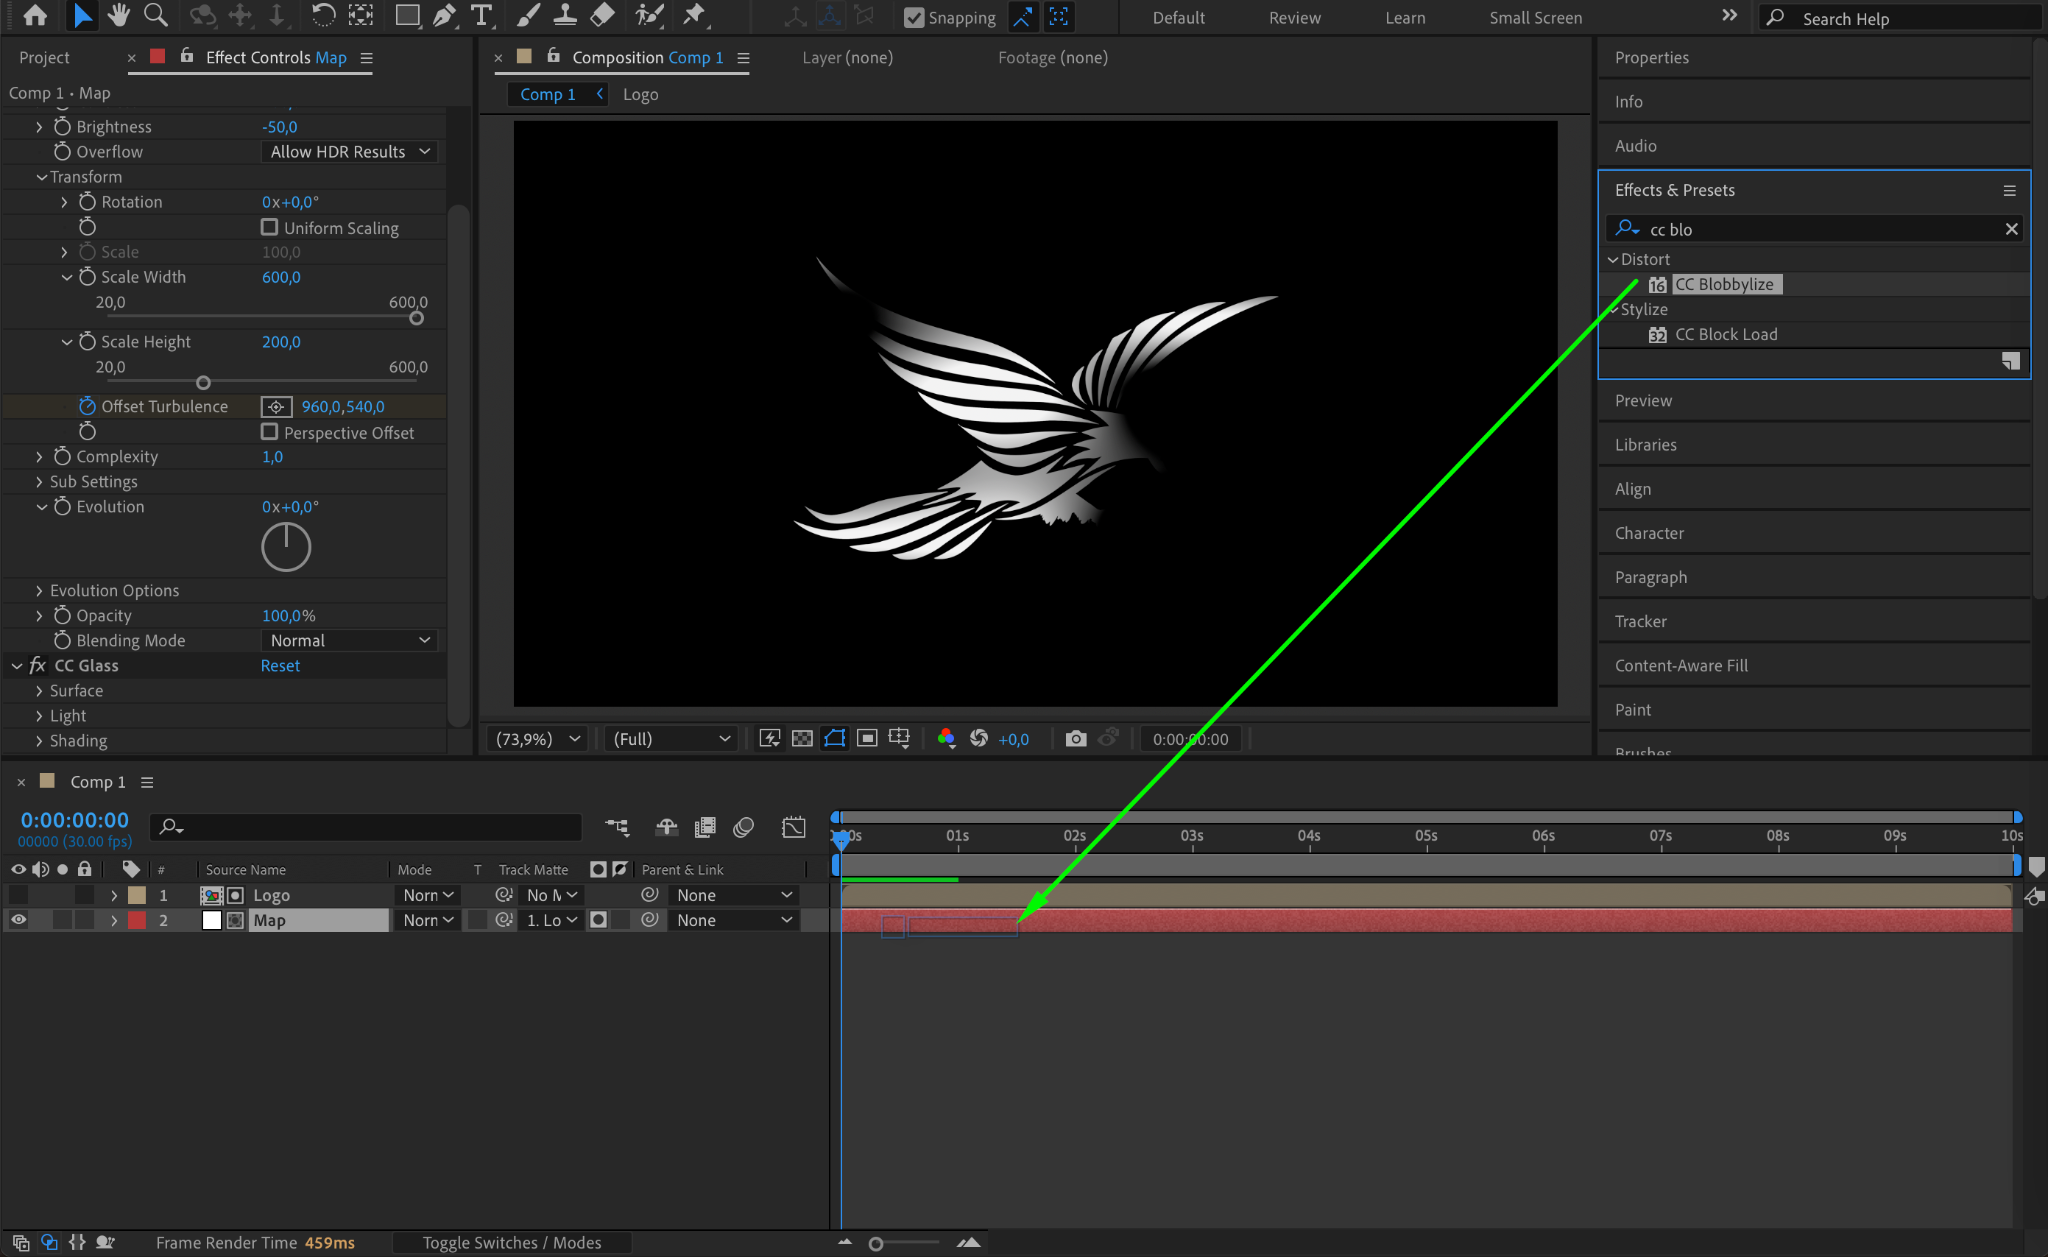
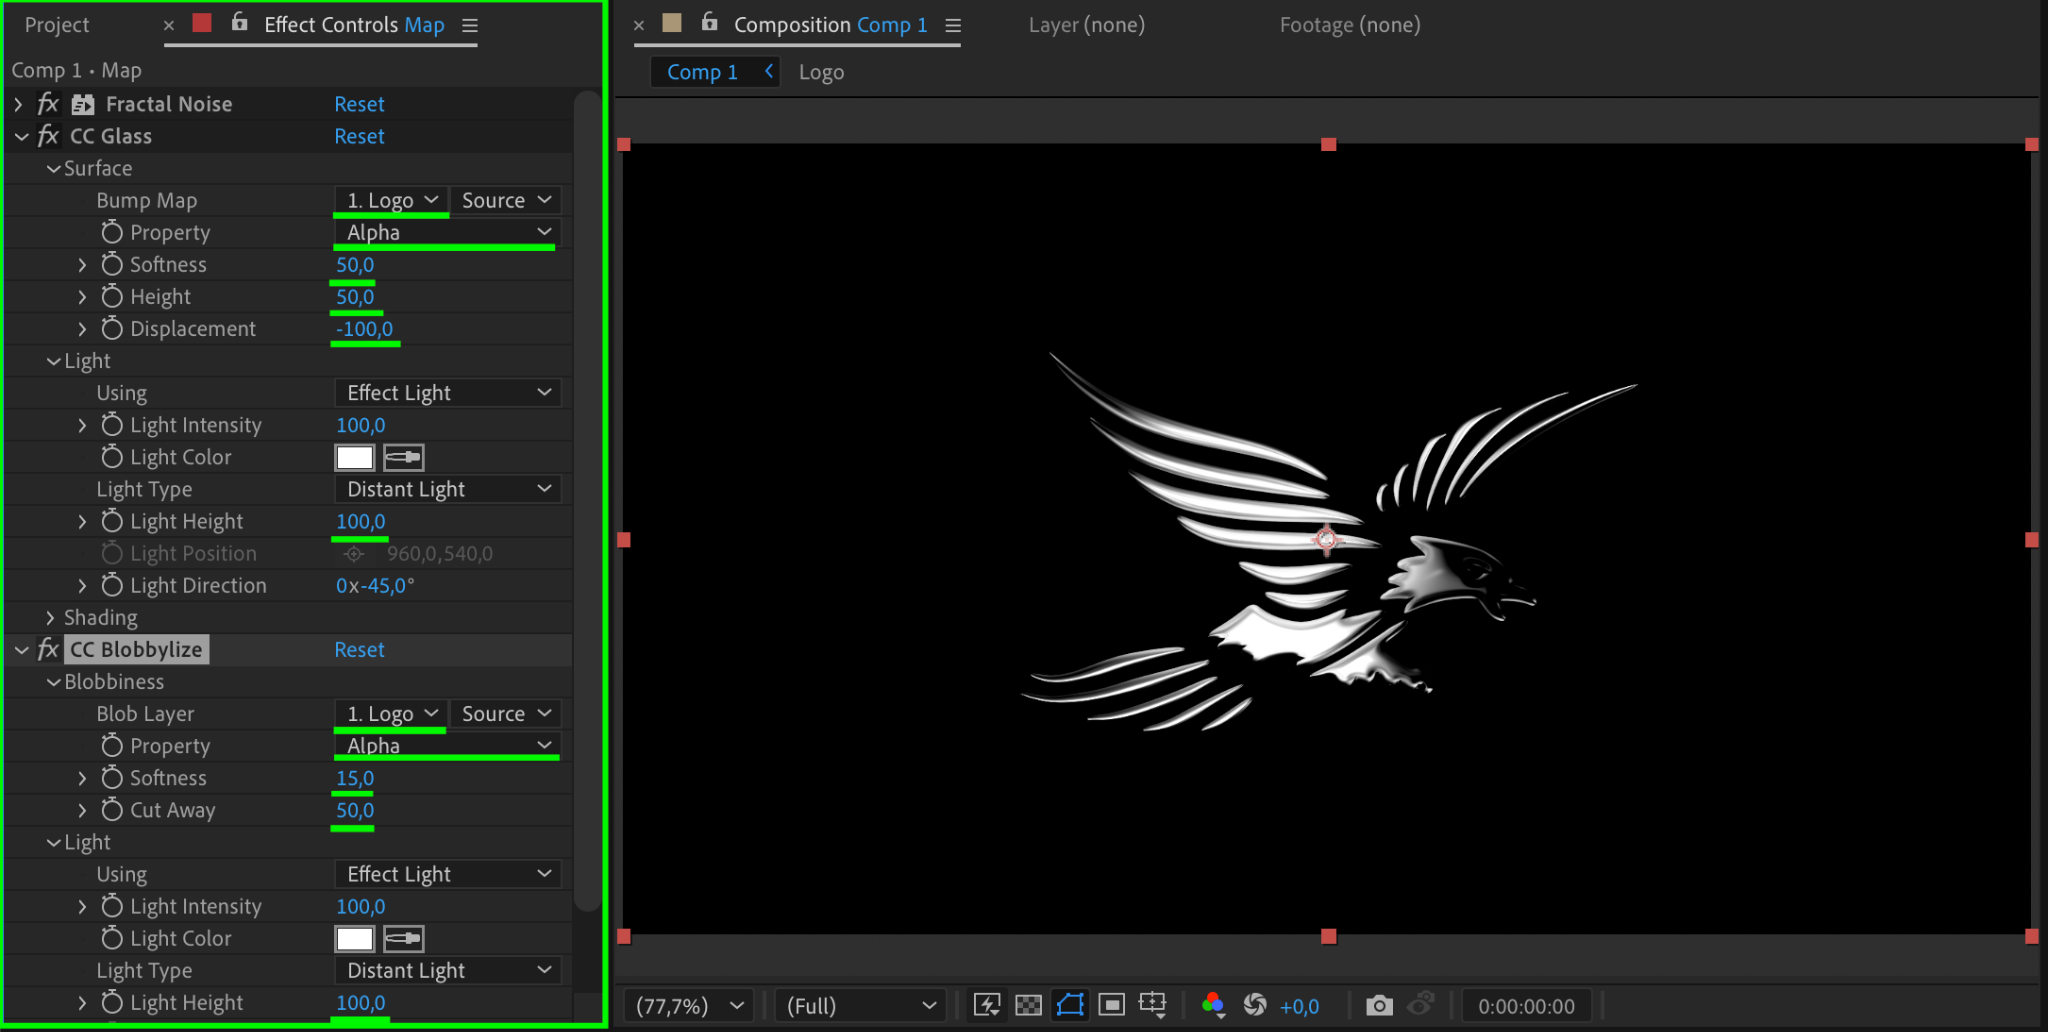
Step 7: Apply CC Glass and CC Blobbylize Effects
Search for CC Glass and CC Blobbylize effects in the Effects & Presets panel and apply them to the Map Layer. In the Effect Controls Panel, adjust these settings:
For CC Glass:
Bump Map: Logo Layer
Property: Alpha
Softness: 50
Height: 50
Displacement: -100
Light Height: 100
For CC Blobbylize:
Blob Layer: Logo Layer
Property: Alpha
Softness: 15
Cut Away: 50
Light Height: 100

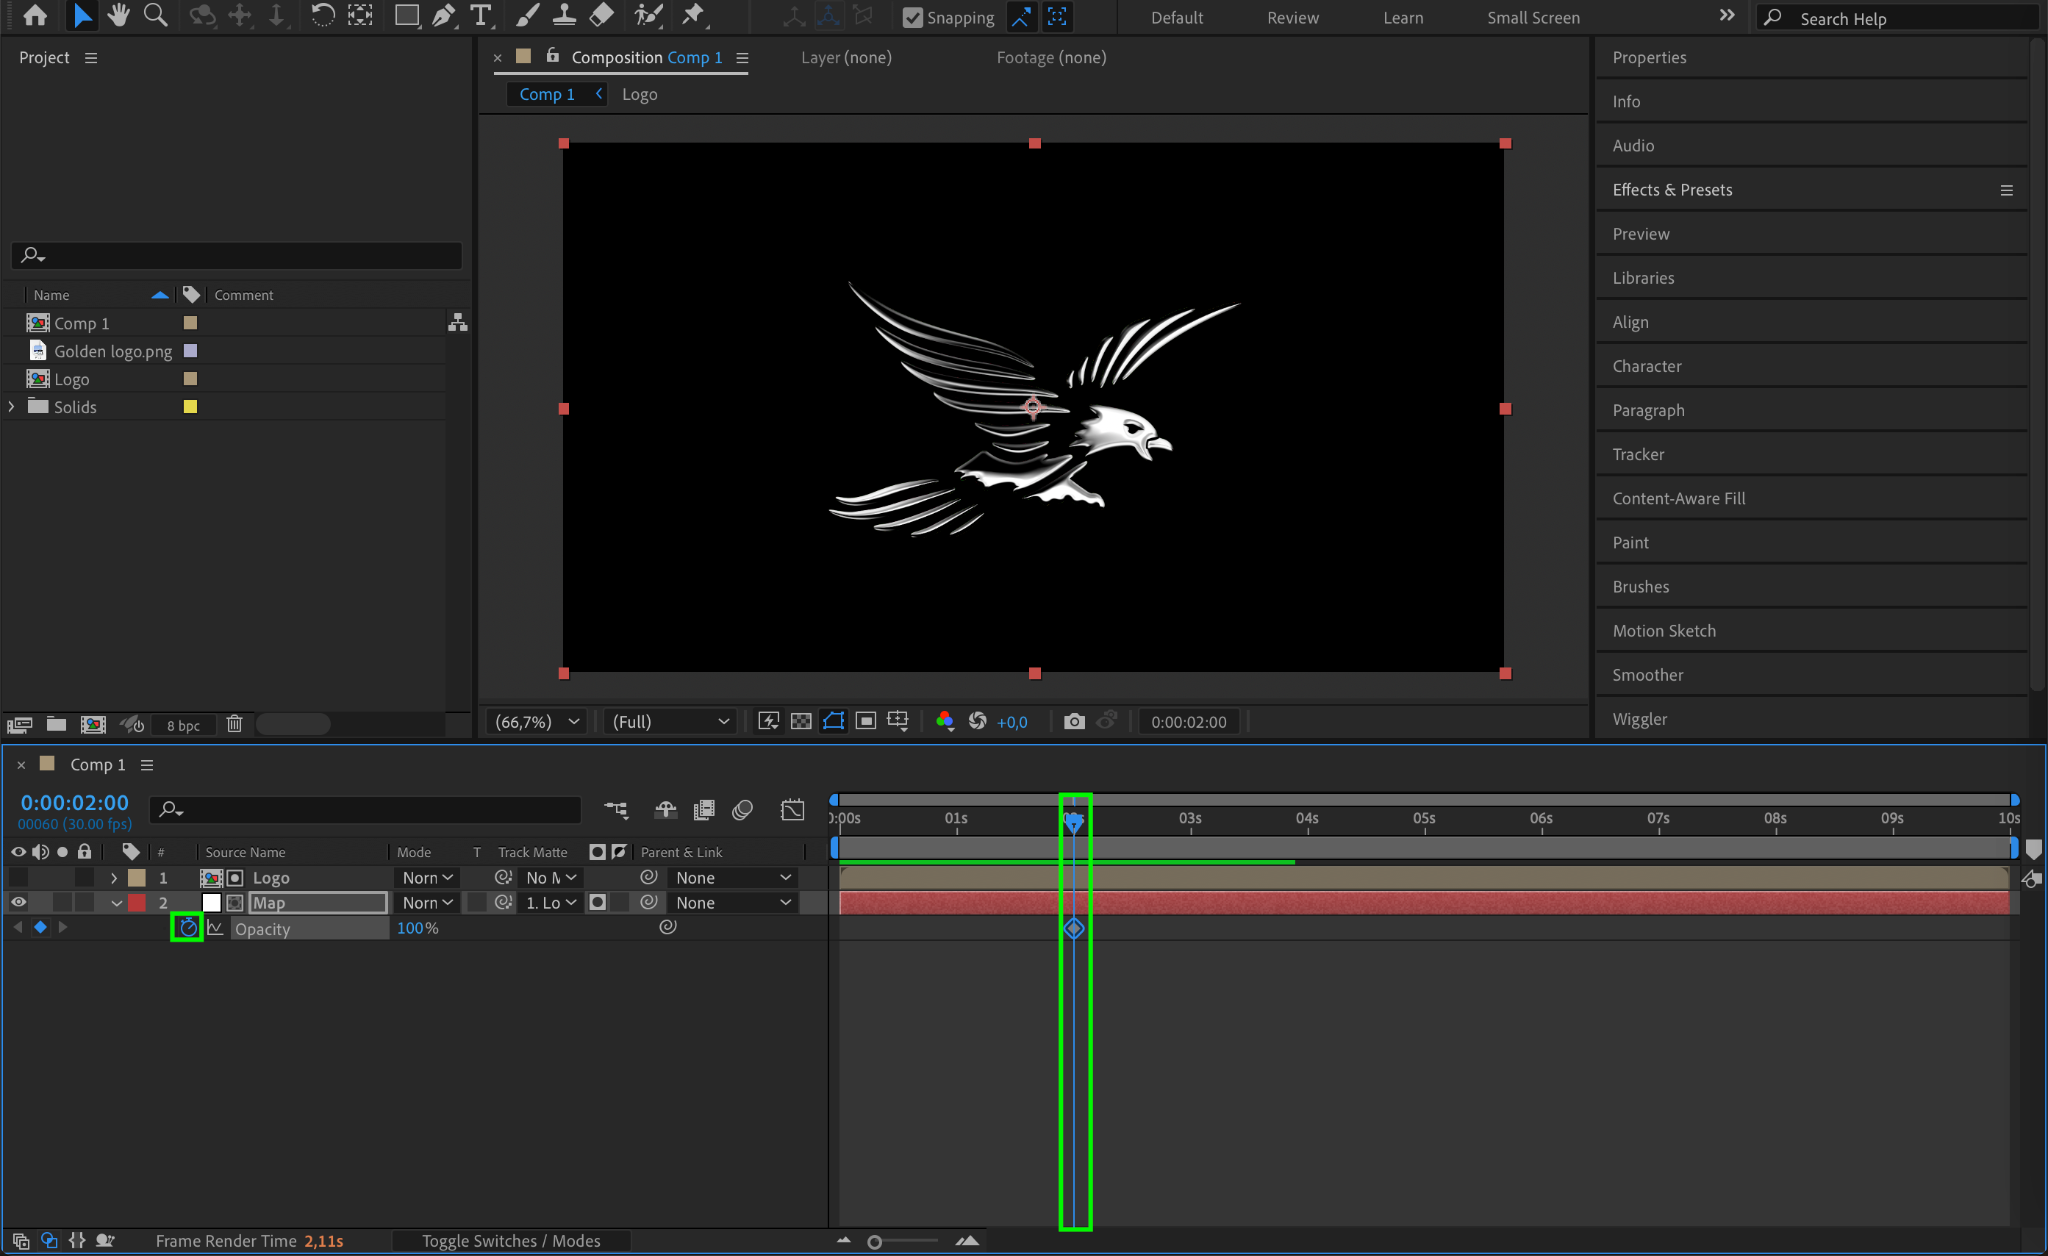
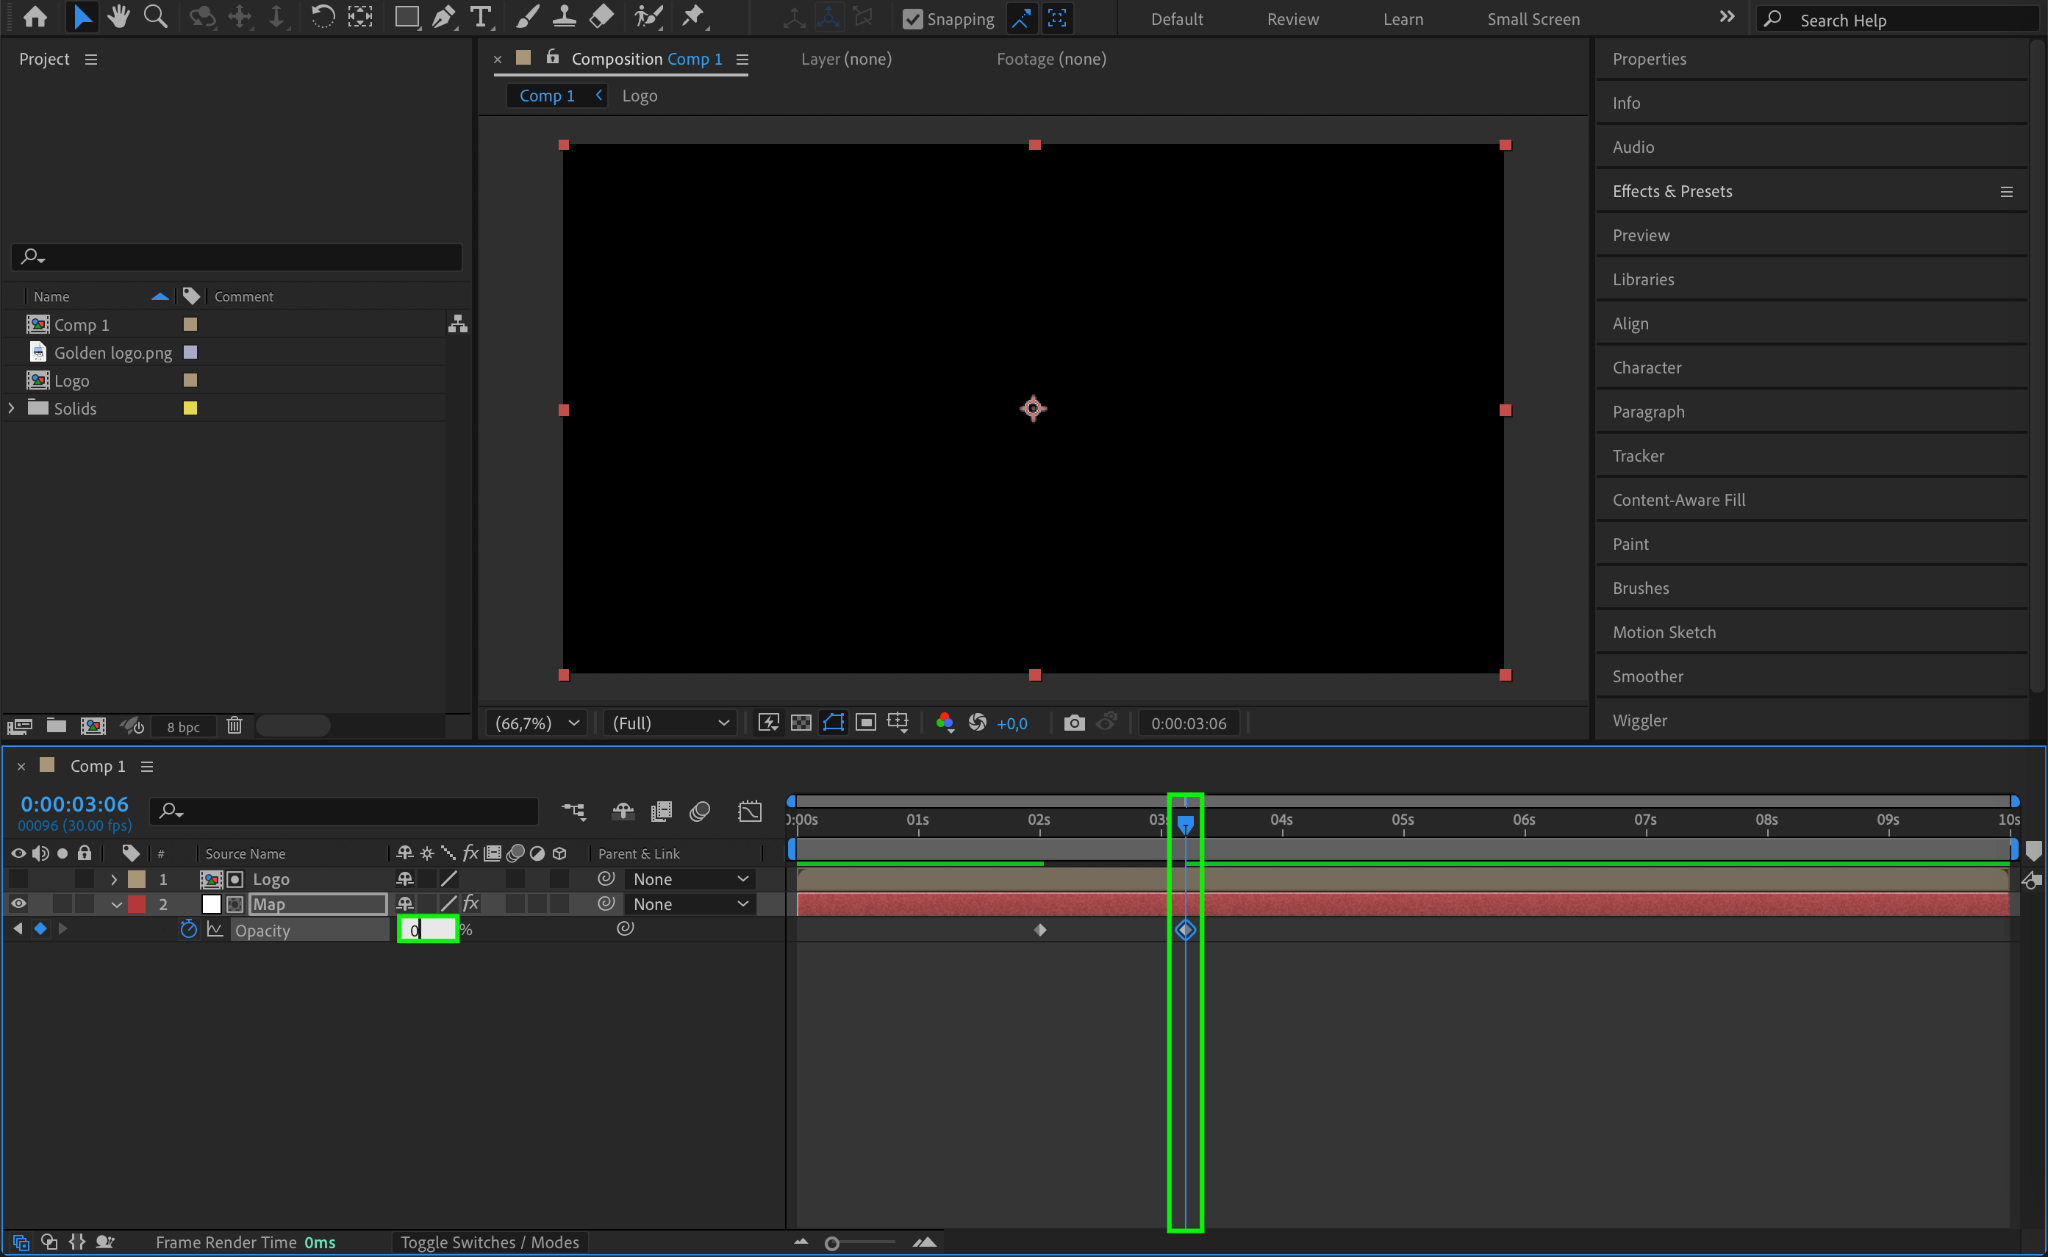
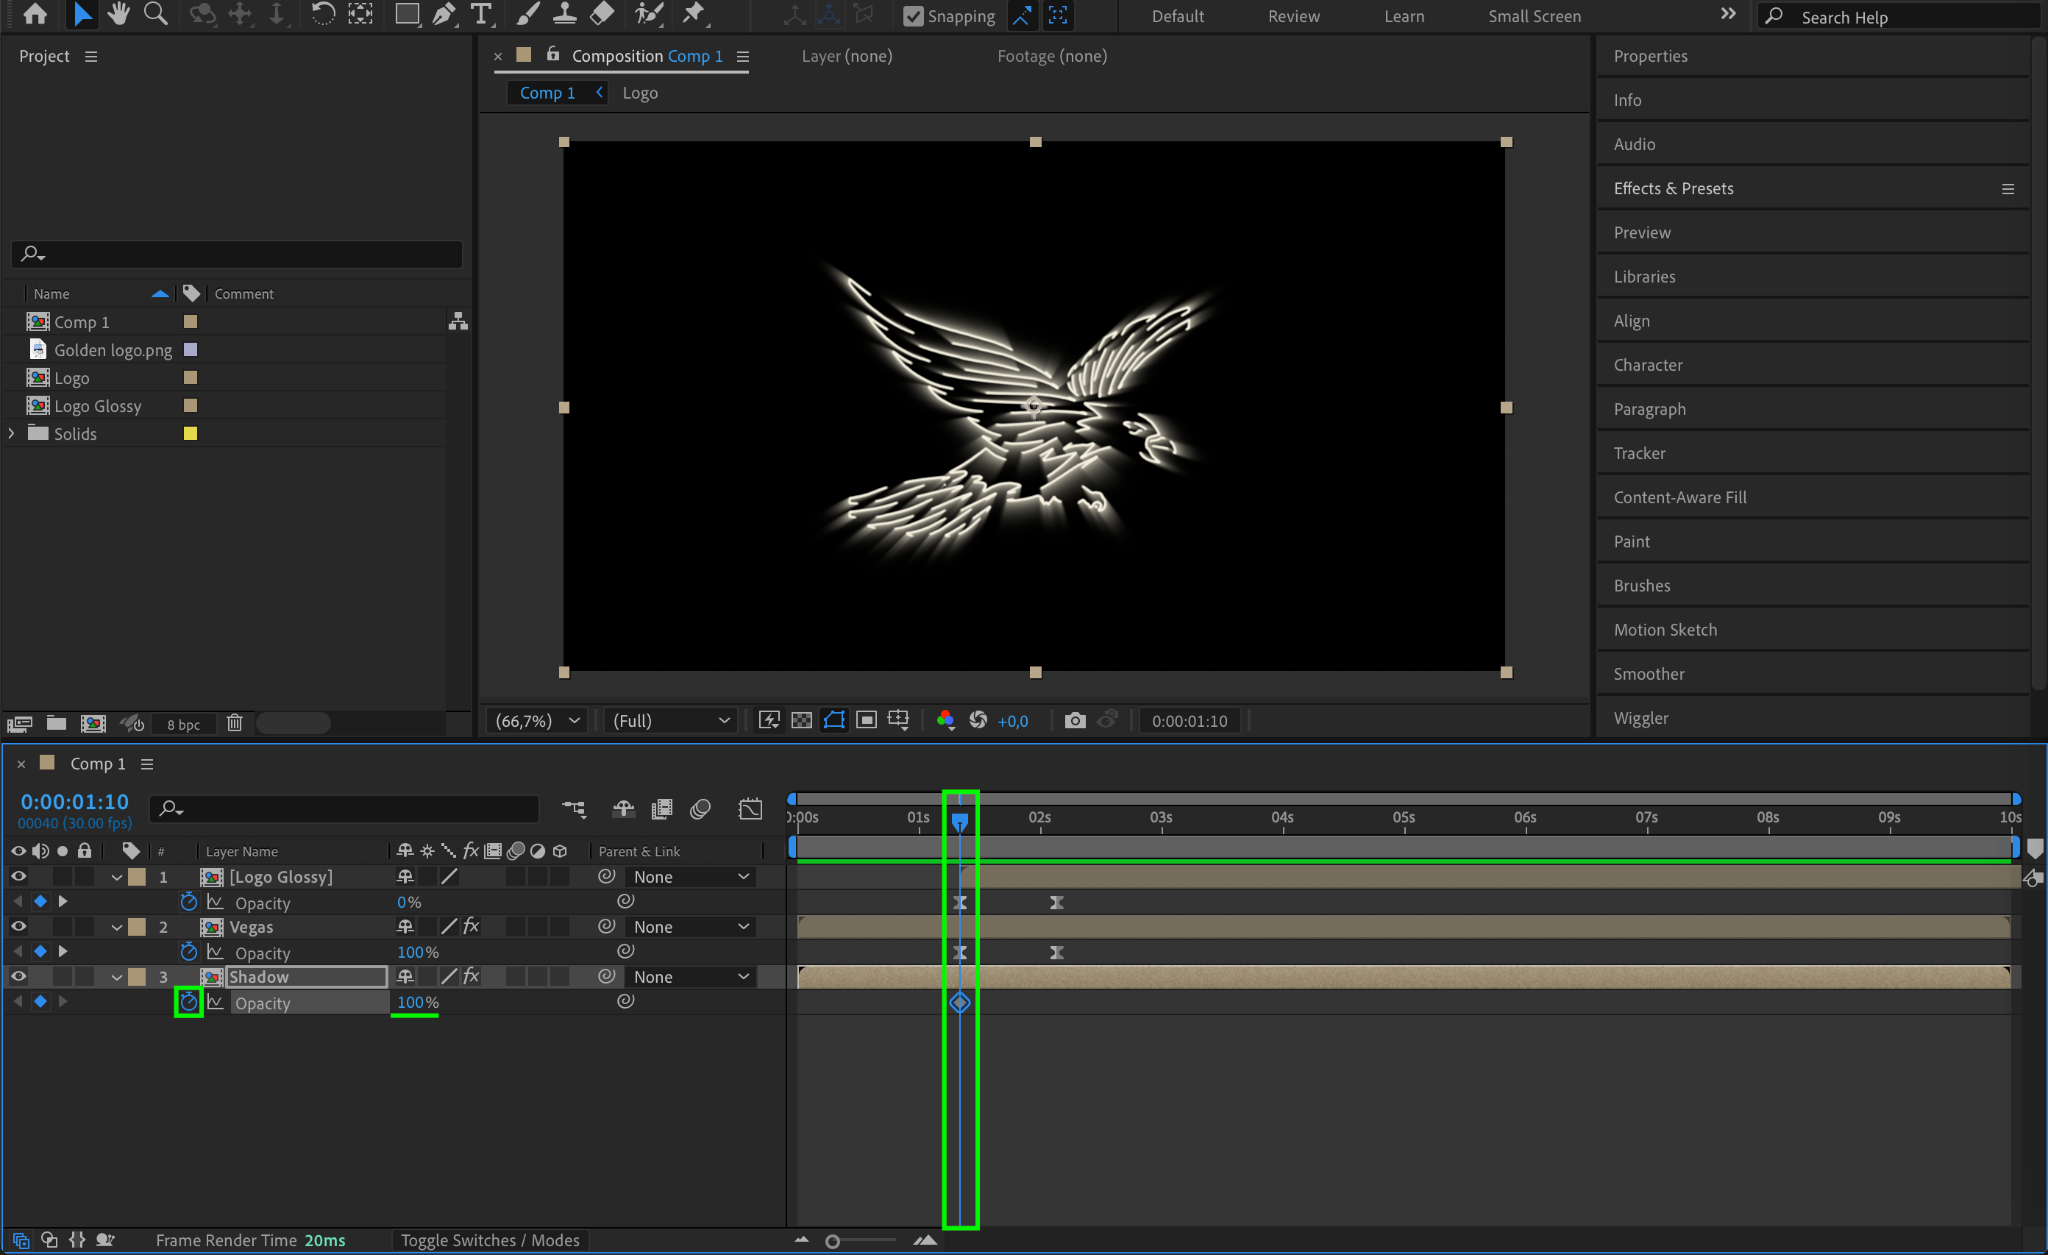
Step 8: Animate Opacity for Map Layer
Press “T” to open Opacity settings for the Map Layer. Set:
Opacity at 100% at 2 seconds
Opacity at 0% at 3 seconds
This makes the effect fade out smoothly.
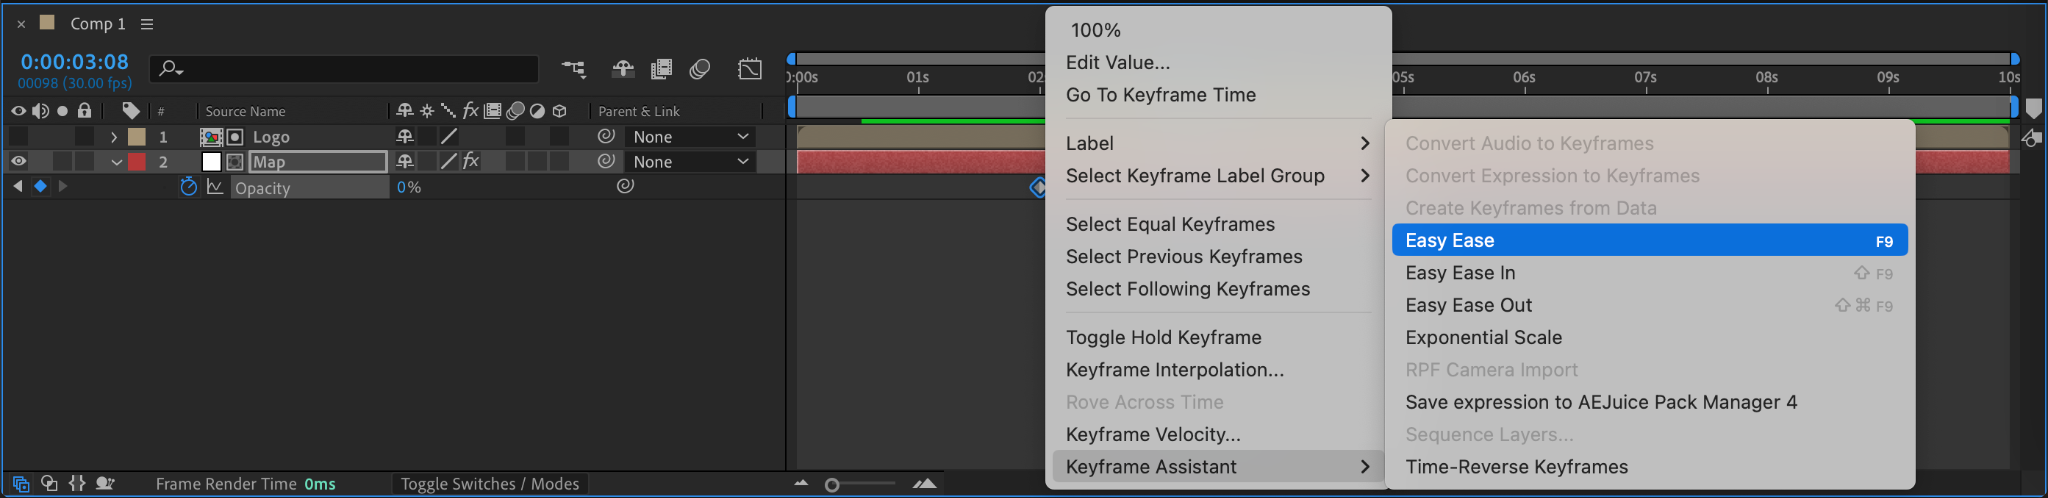
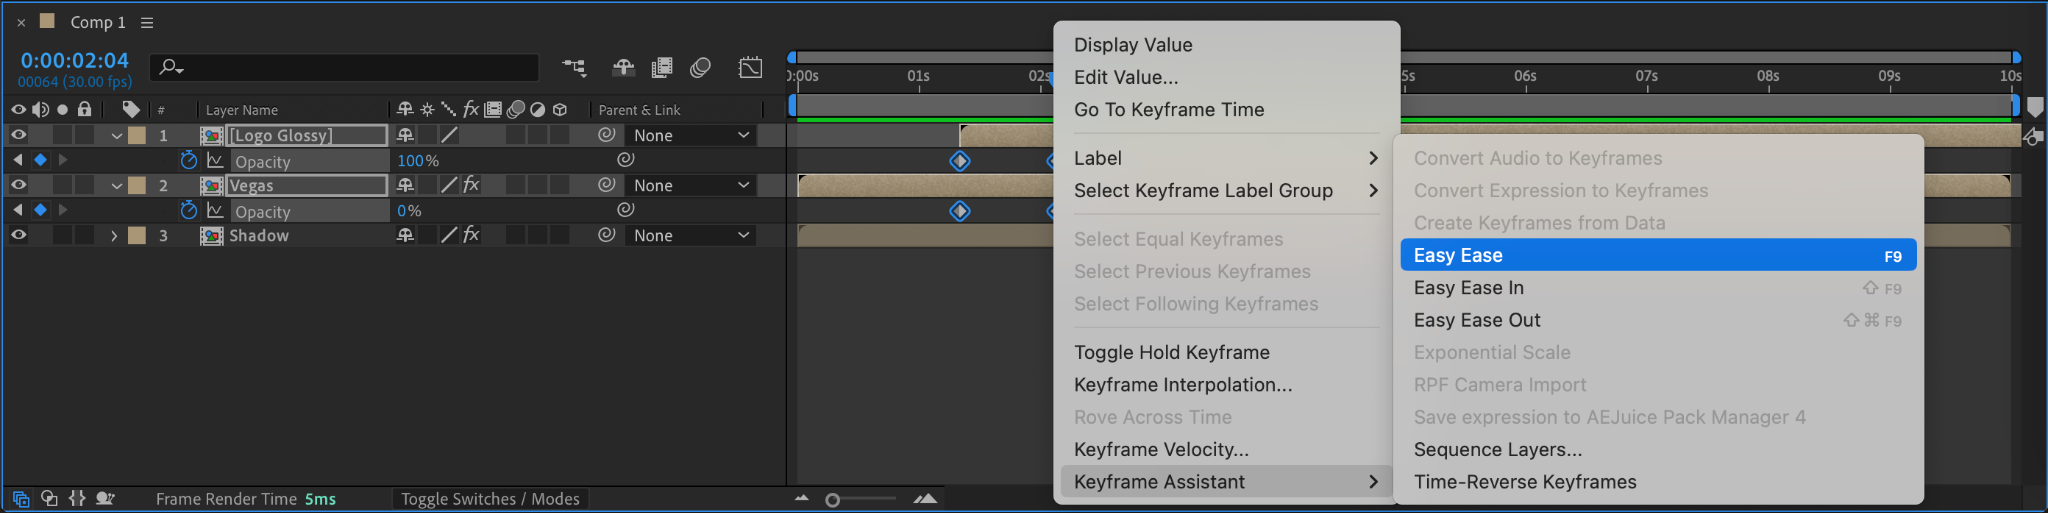
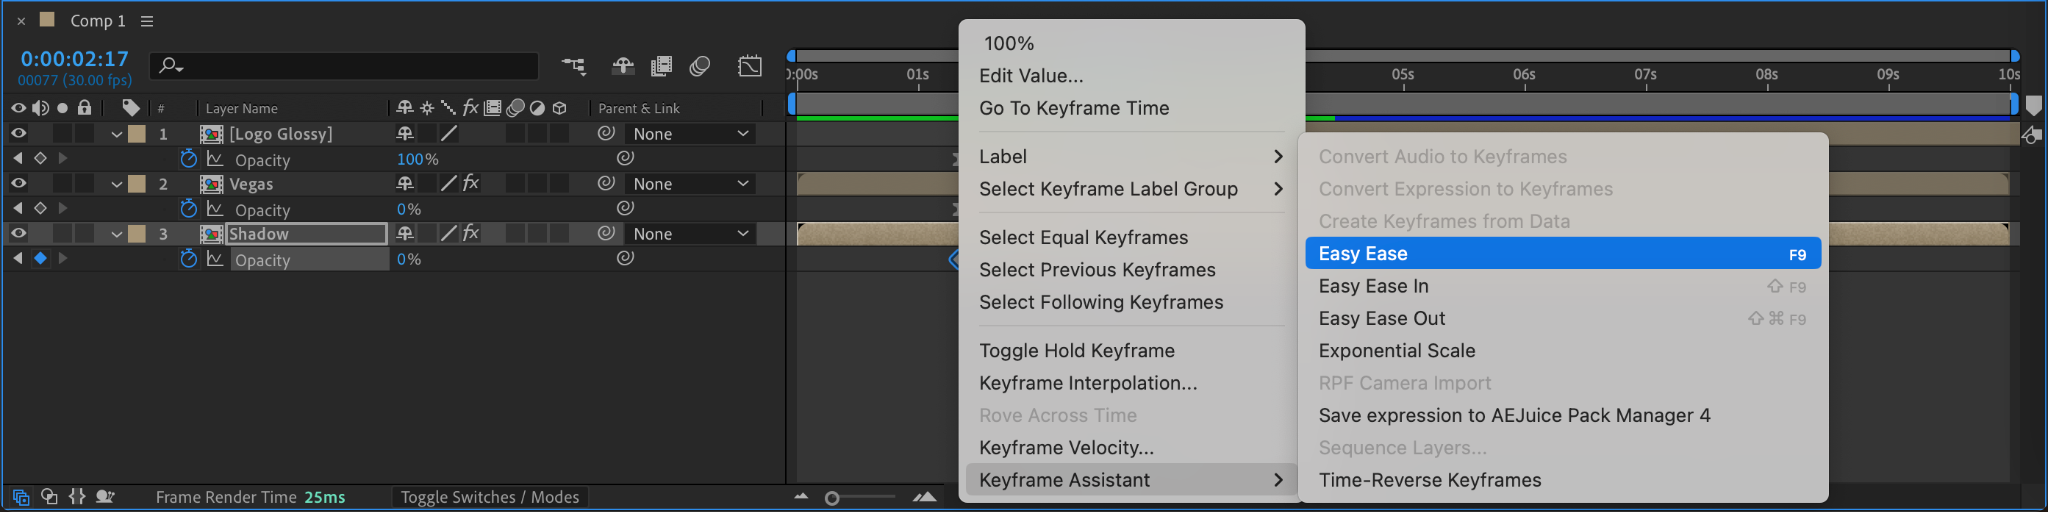
Step 9: Apply Easy Ease to Animation
Select the keyframes, right-click, choose Keyframe Assistant > Easy Ease, to make the transition smoother.
Step 10: Add the Logo Again to the Timeline
Drag the Logo Precomp onto the timeline again.
Step 11: Set Blend Mode to Hard Light
Select the Map Layer and change its Blend Mode to Hard Light for better integration with the logo.
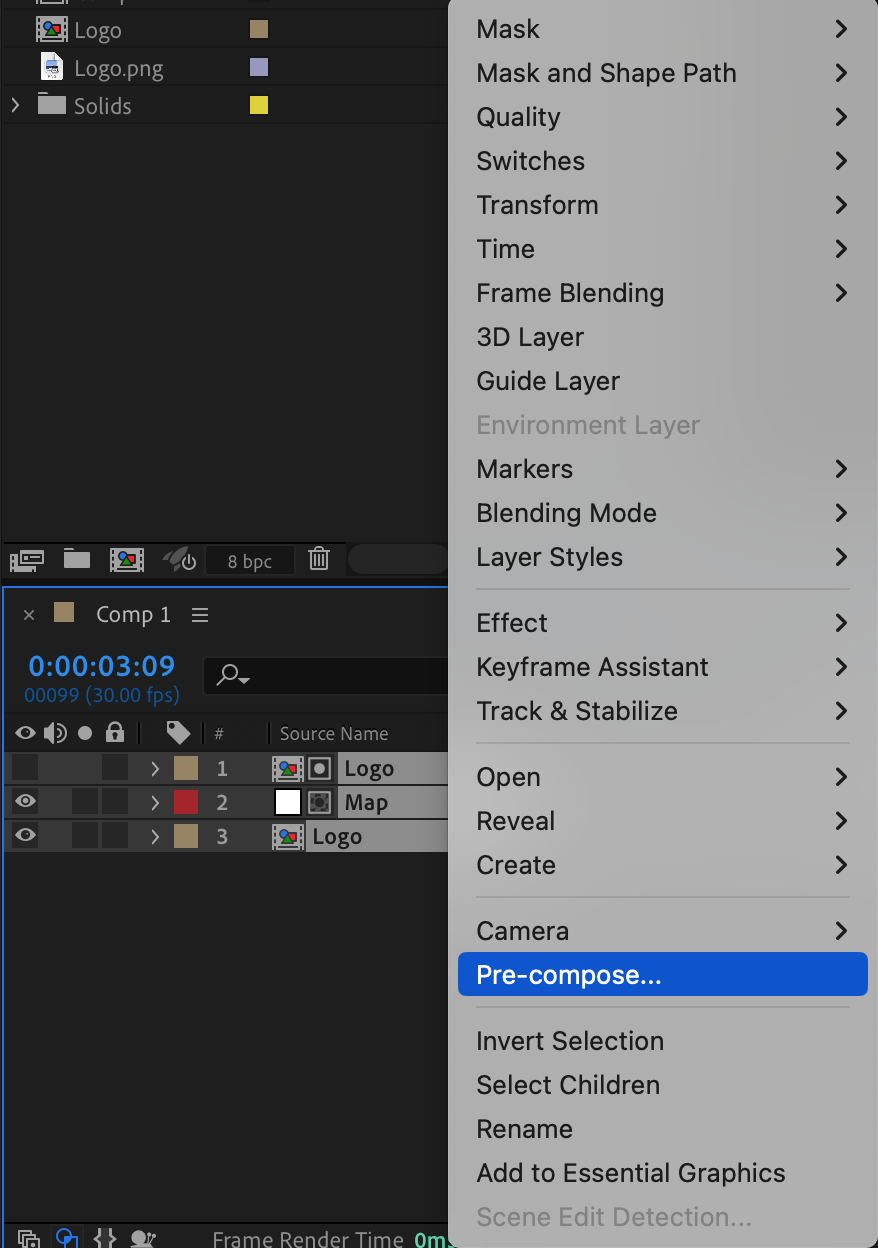
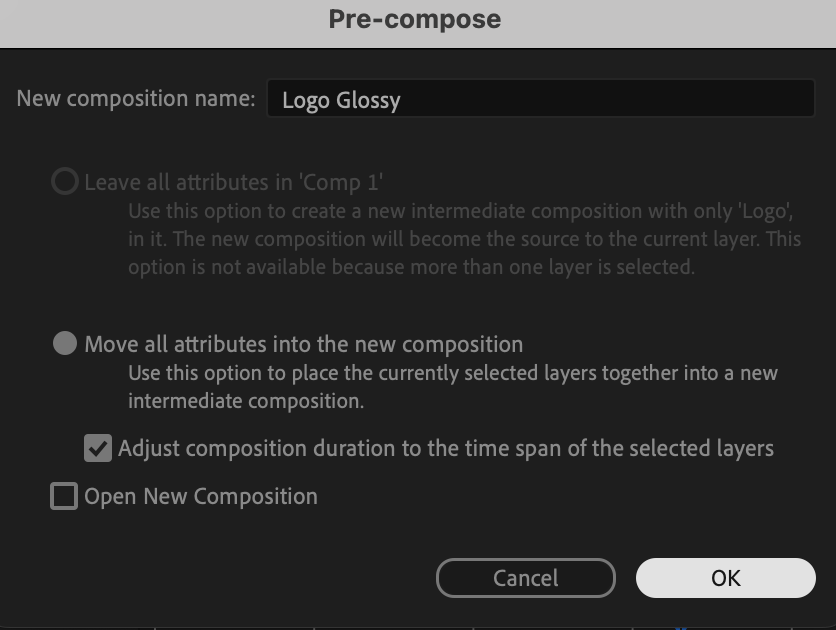
Step 12: Pre-Compose Everything
Select all layers, right-click, choose Pre-Compose, and name it “Logo Glossy”.
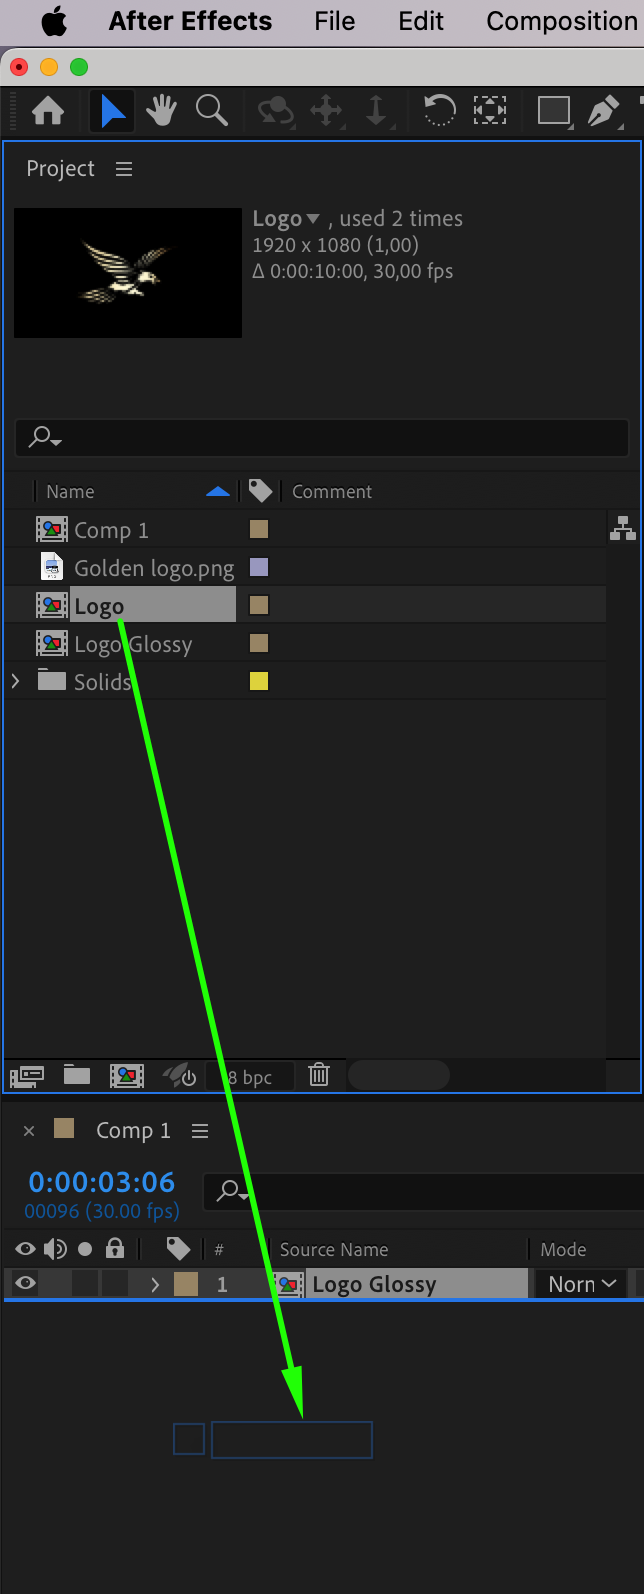
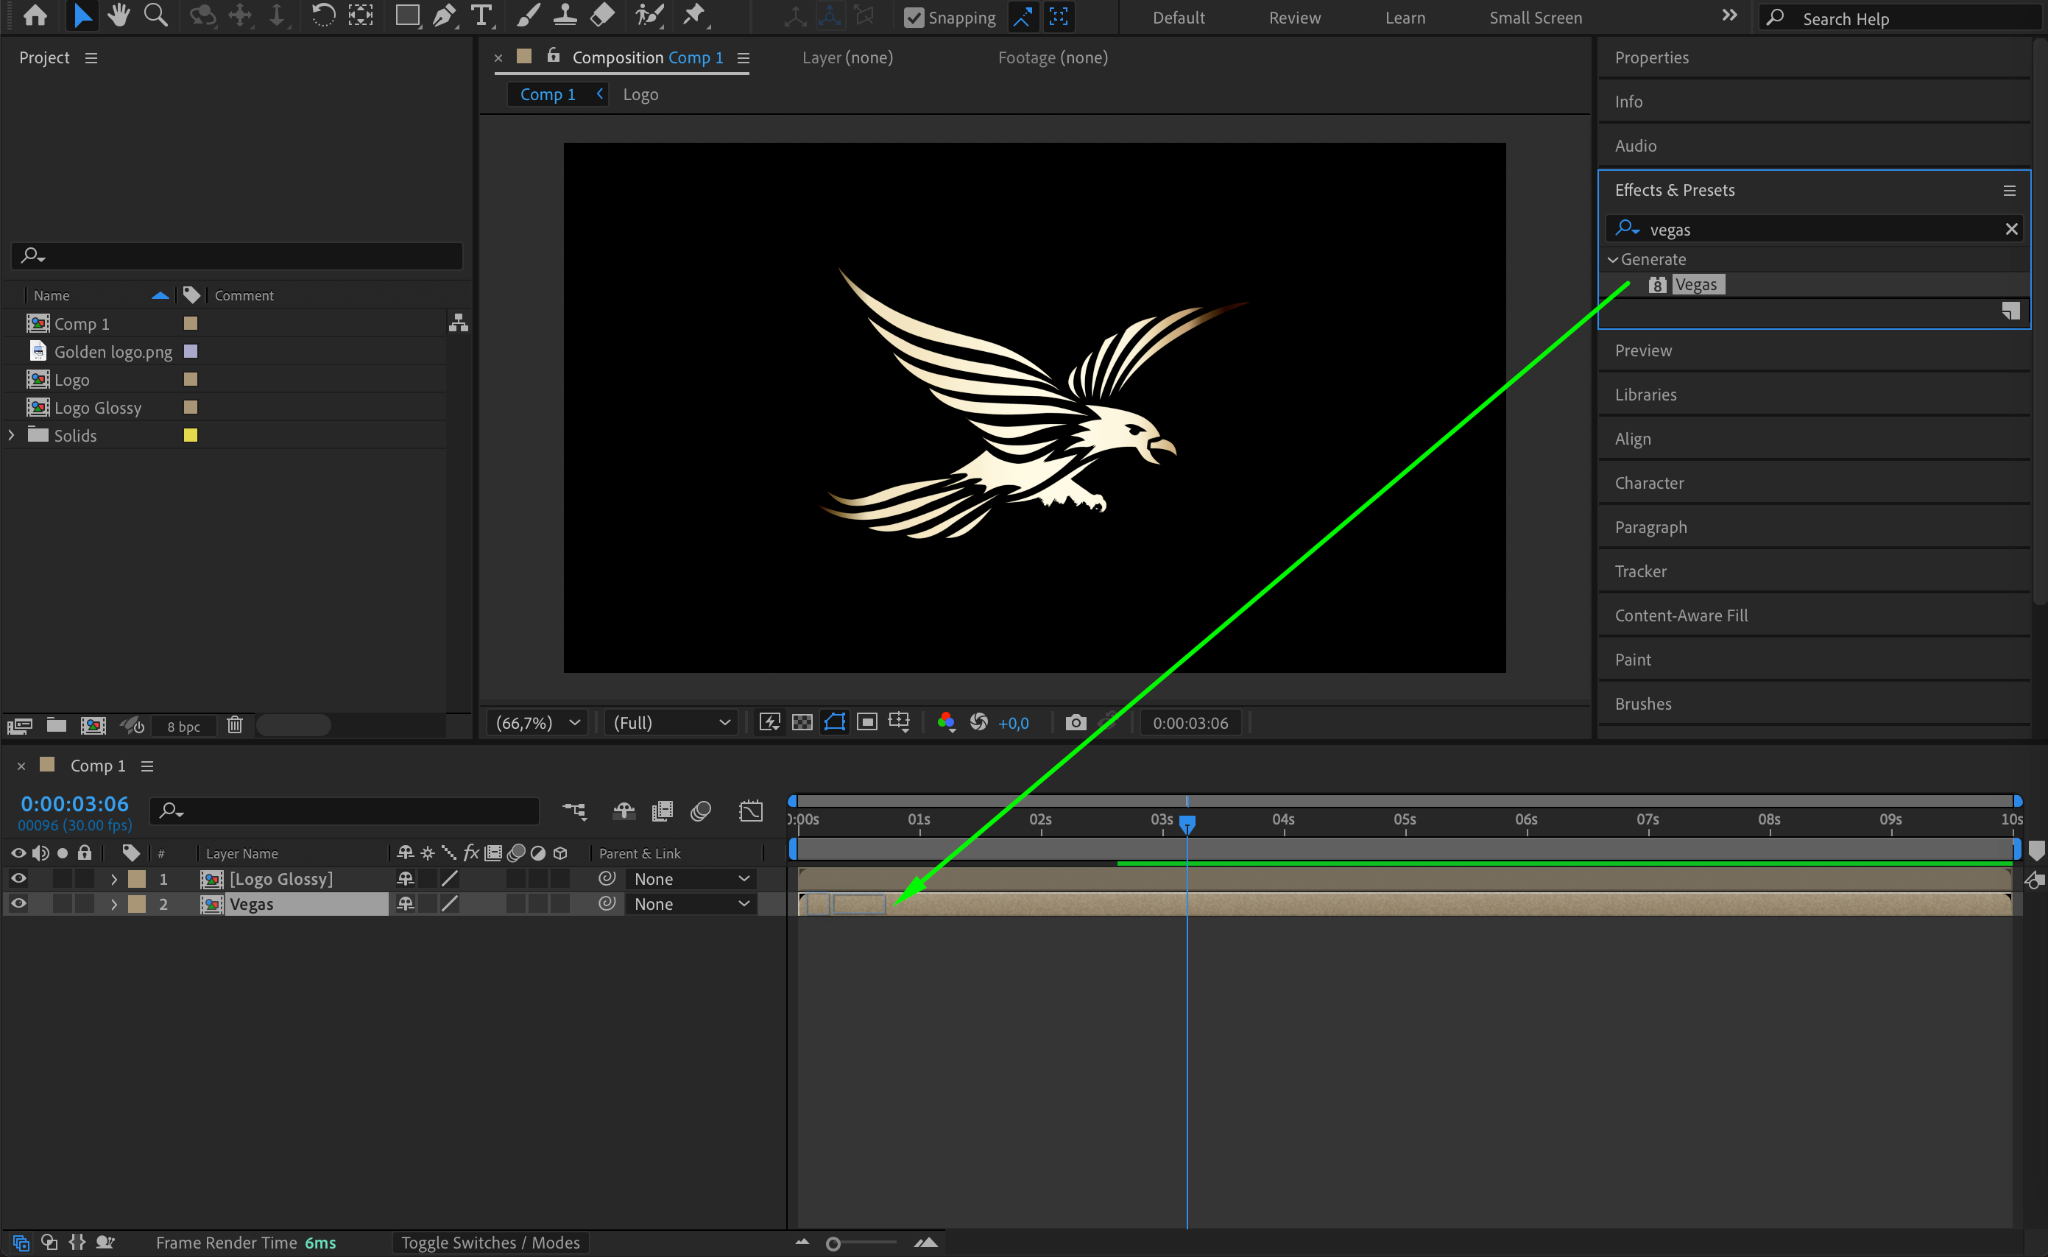
Step 13: Create Another Logo Layer for Effects
Drag the Logo Precomp onto the timeline again, place it under the “Logo Glossy” layer, and name it “Vegas”.
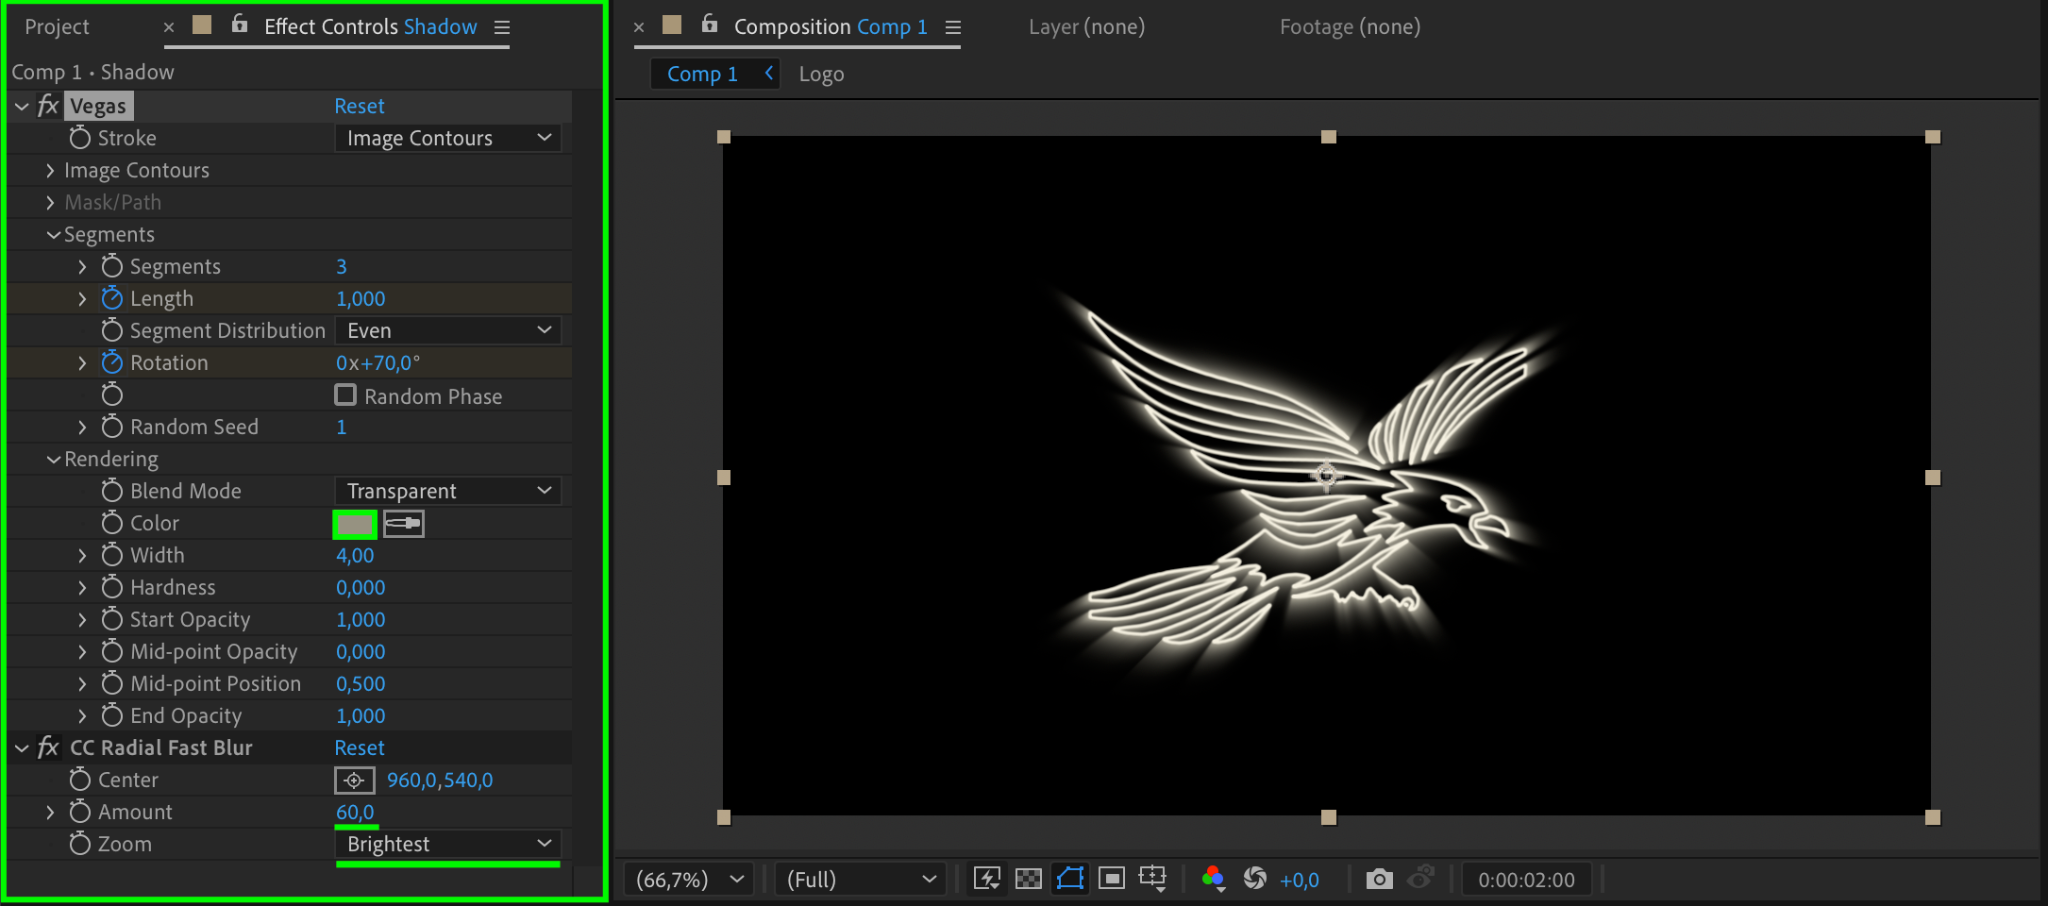
Step 14: Apply the Vegas Effect
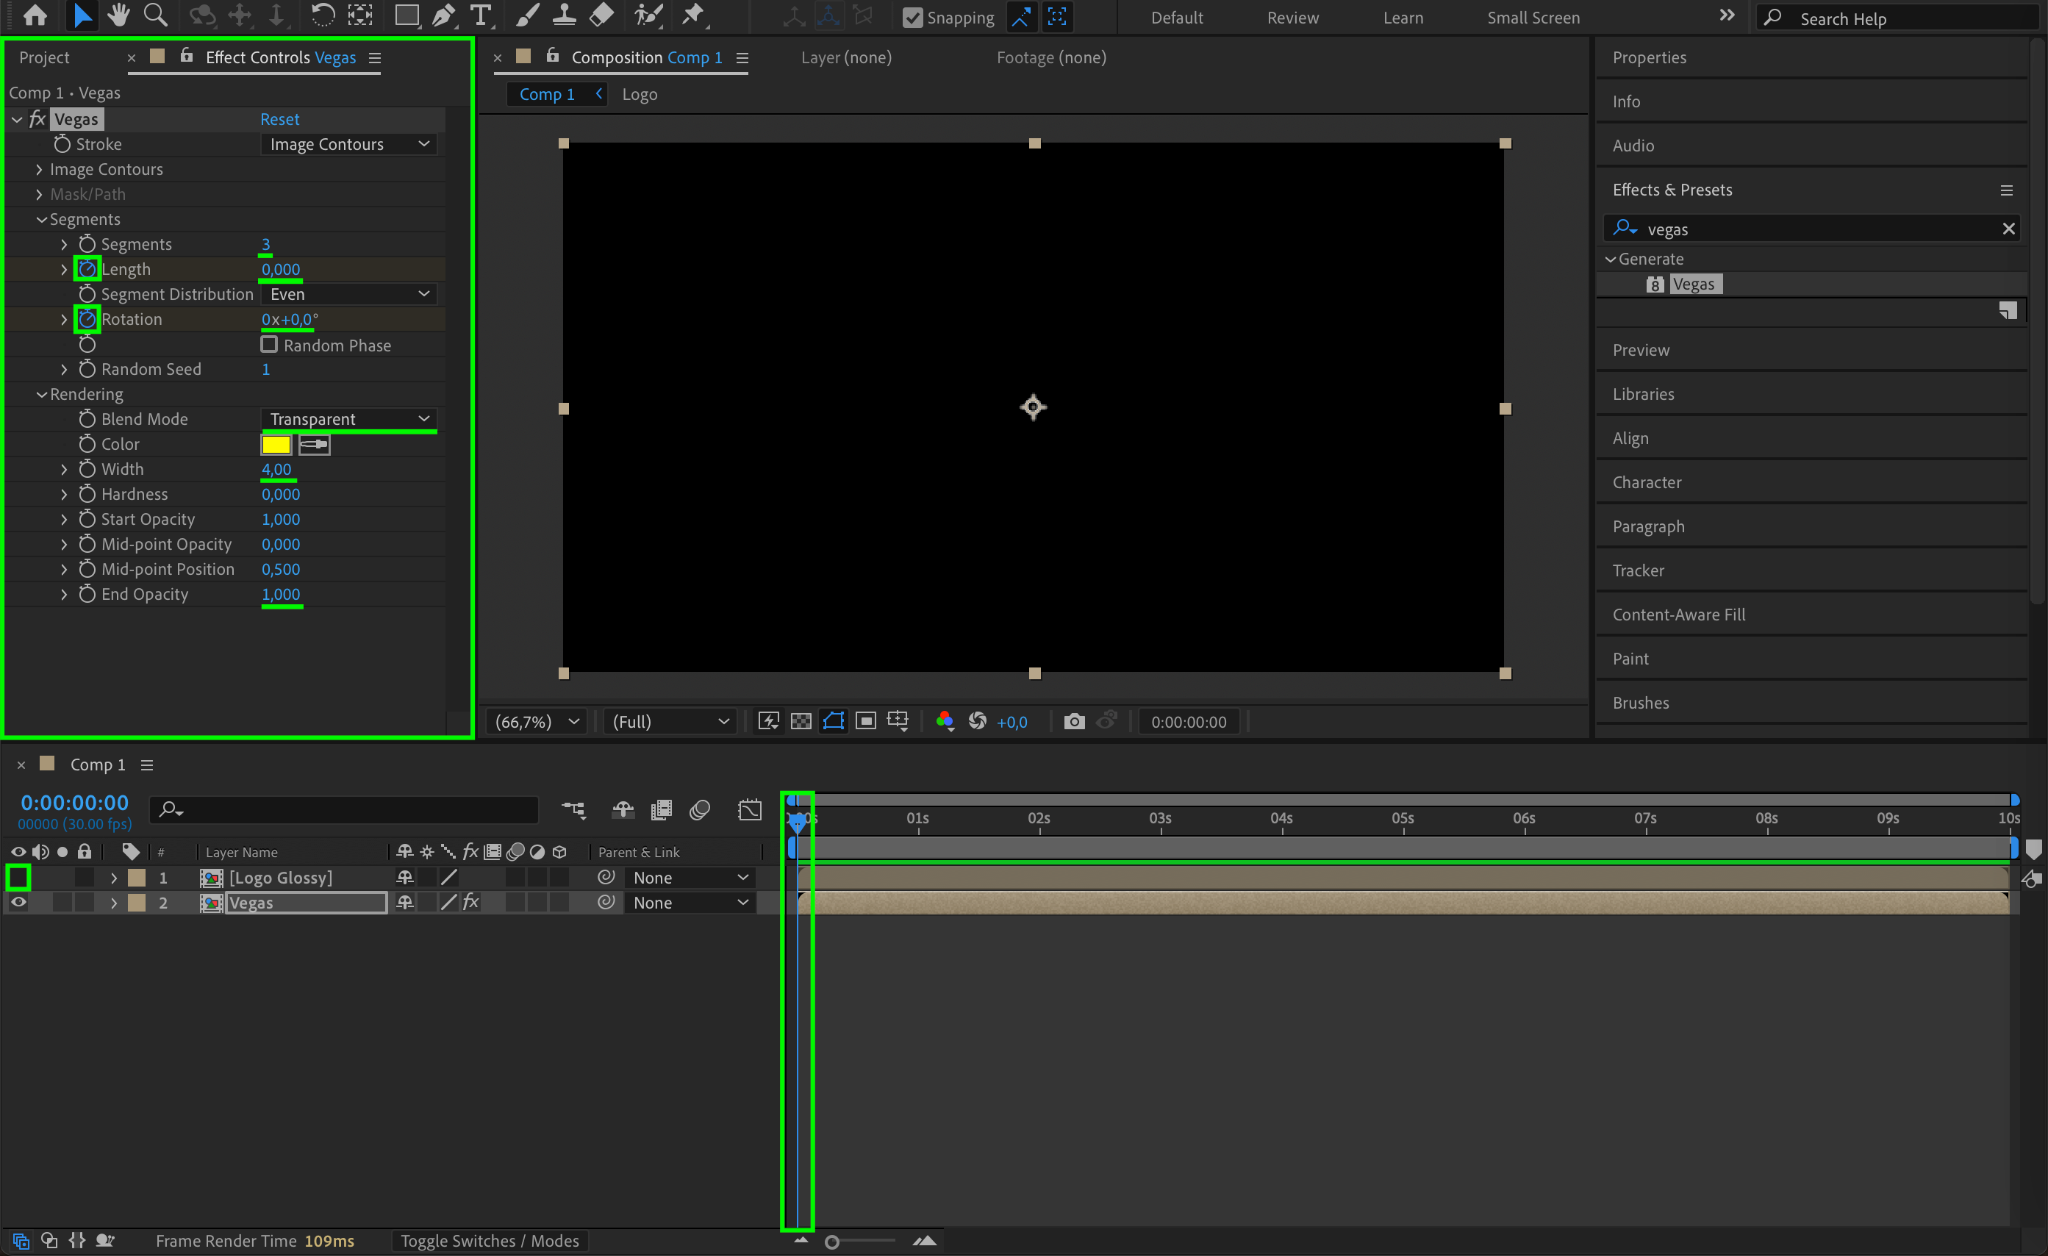
Search for Vegas in the Effects & Presets panel and apply it to the Vegas Layer. Adjust the settings:
Segments: 3
Blend Mode: Transparent
Width: 4
End Opacity: 1
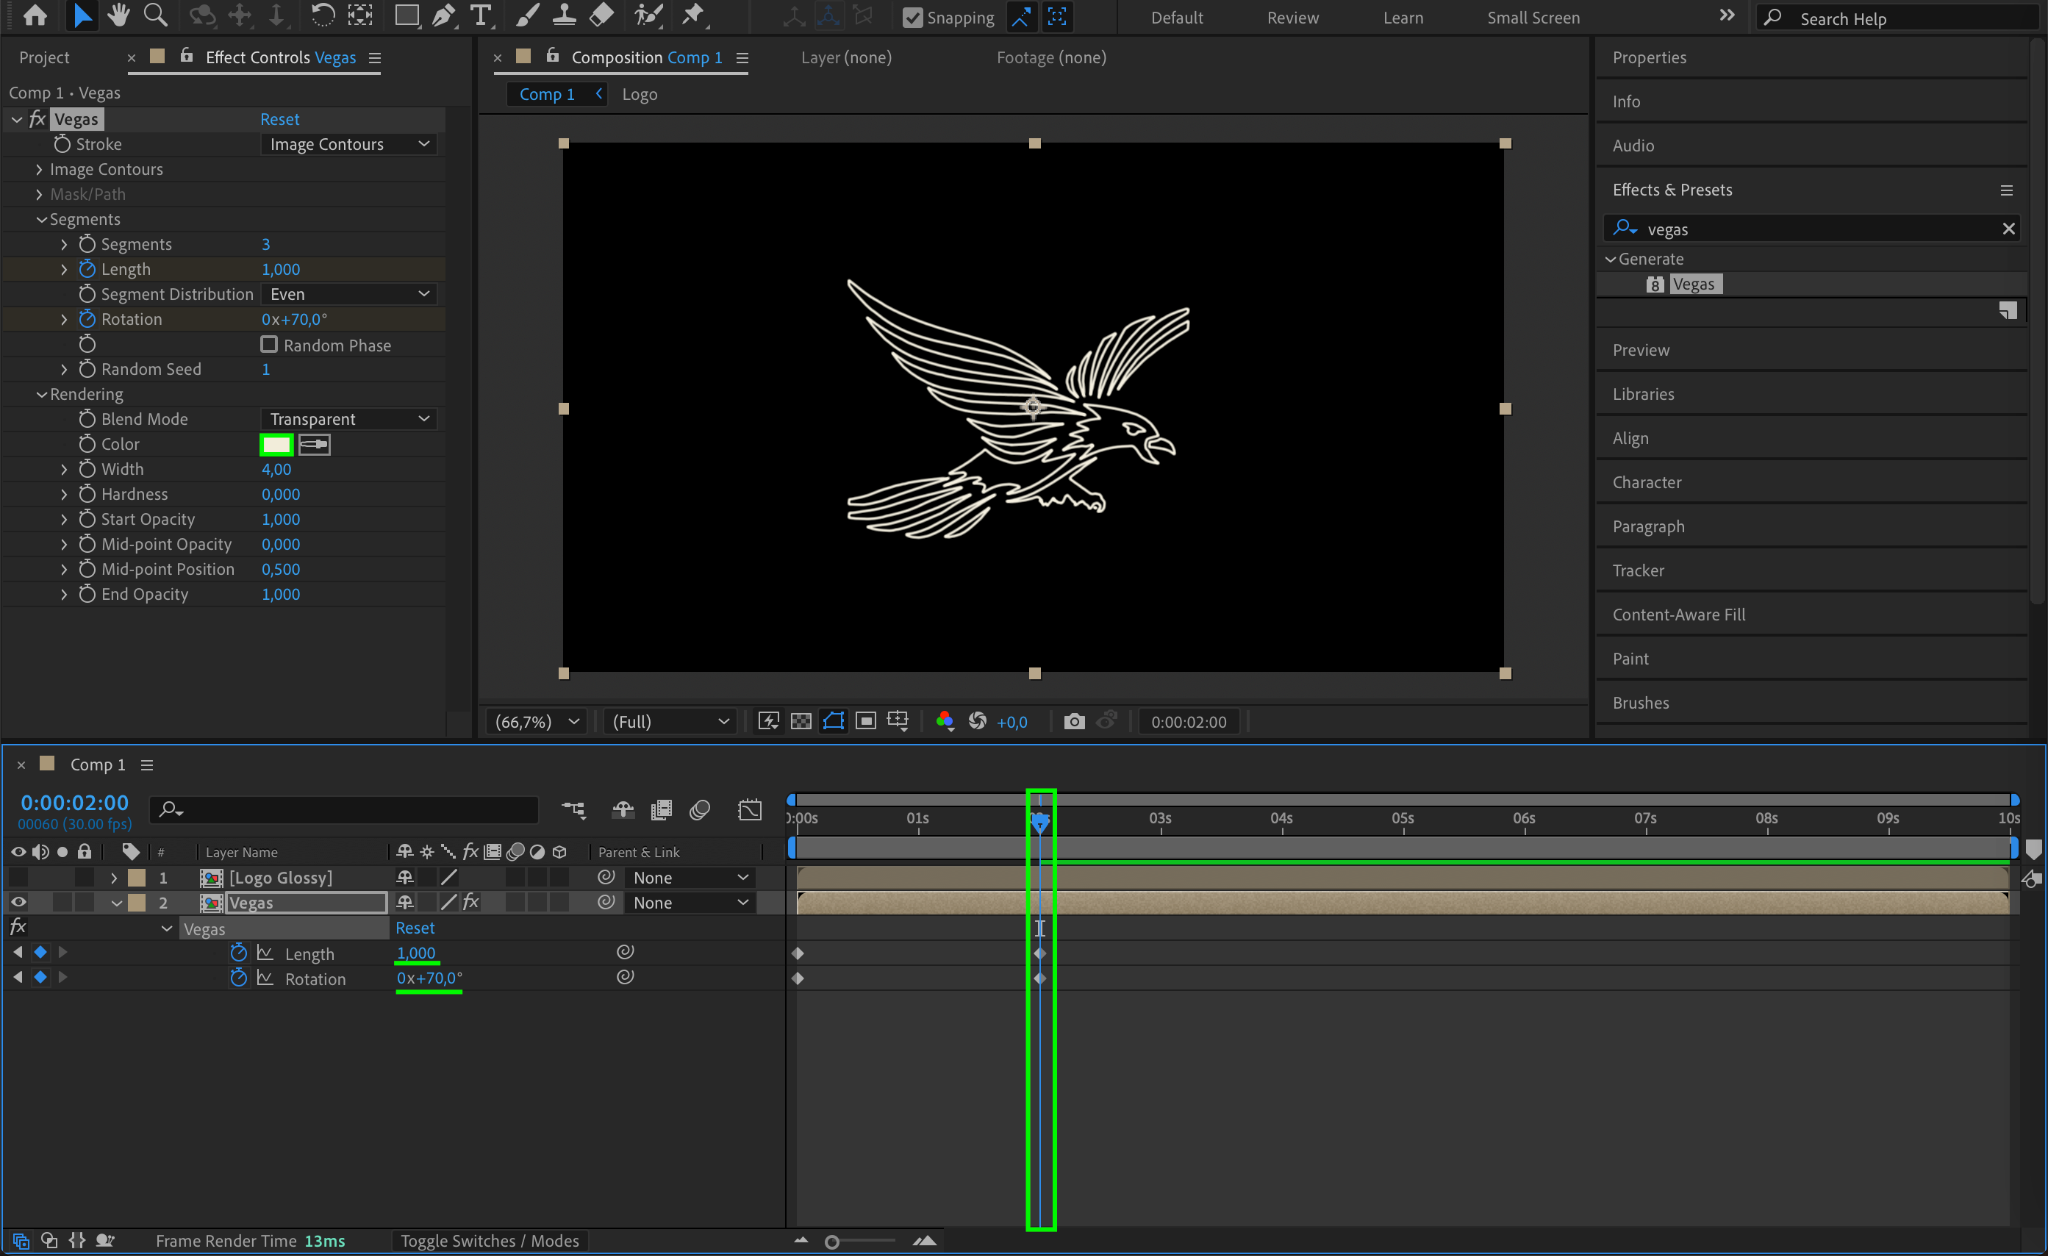
For animation:
Set “Length” to 0 and Rotation to 0 at the start.
Move the CTI to 2 seconds, then set Length to 1 and Rotation to 70.
Change Color to match your logo.
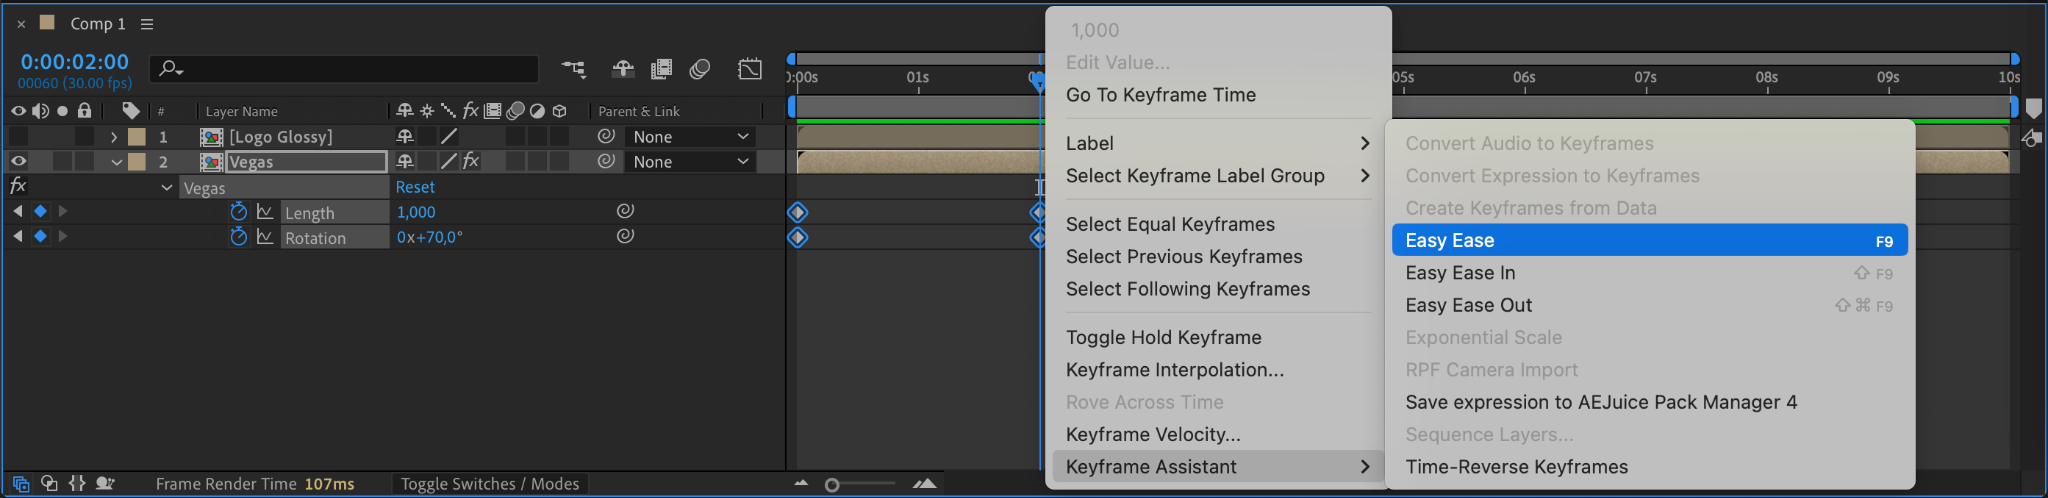
Step 15: Apply Easy Ease to Vegas Animation
Select keyframes, right-click, and choose Keyframe Assistant > Easy Ease.
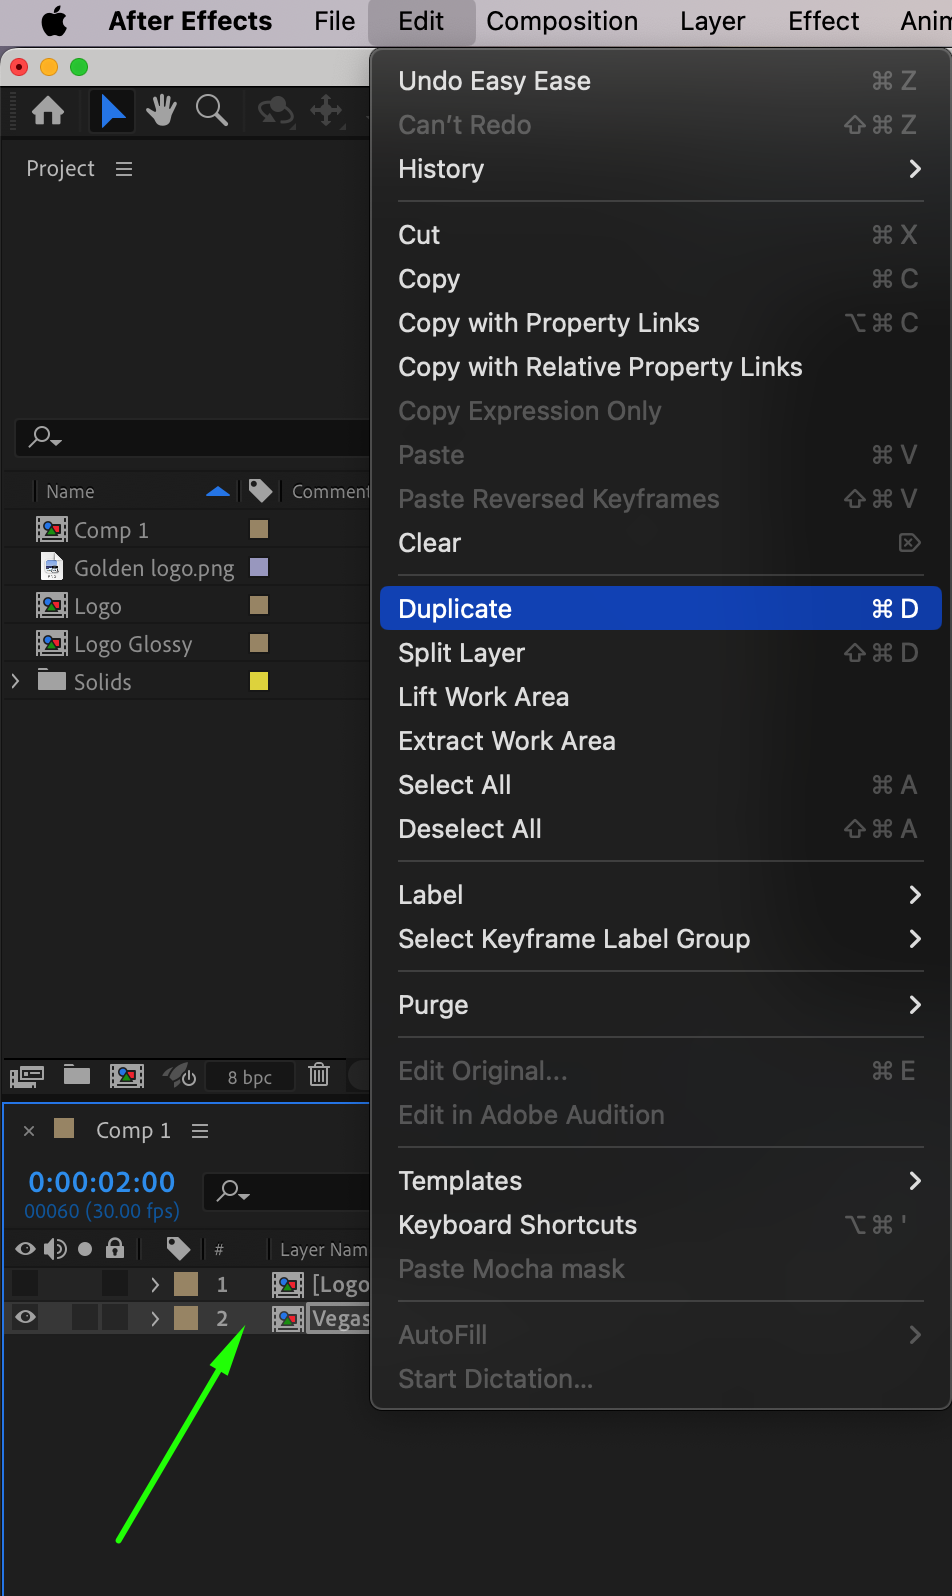
Step 16: Duplicate the Vegas Layer for Shadows
Duplicate the Vegas Layer, place it below all layers, and rename it “Shadow”.
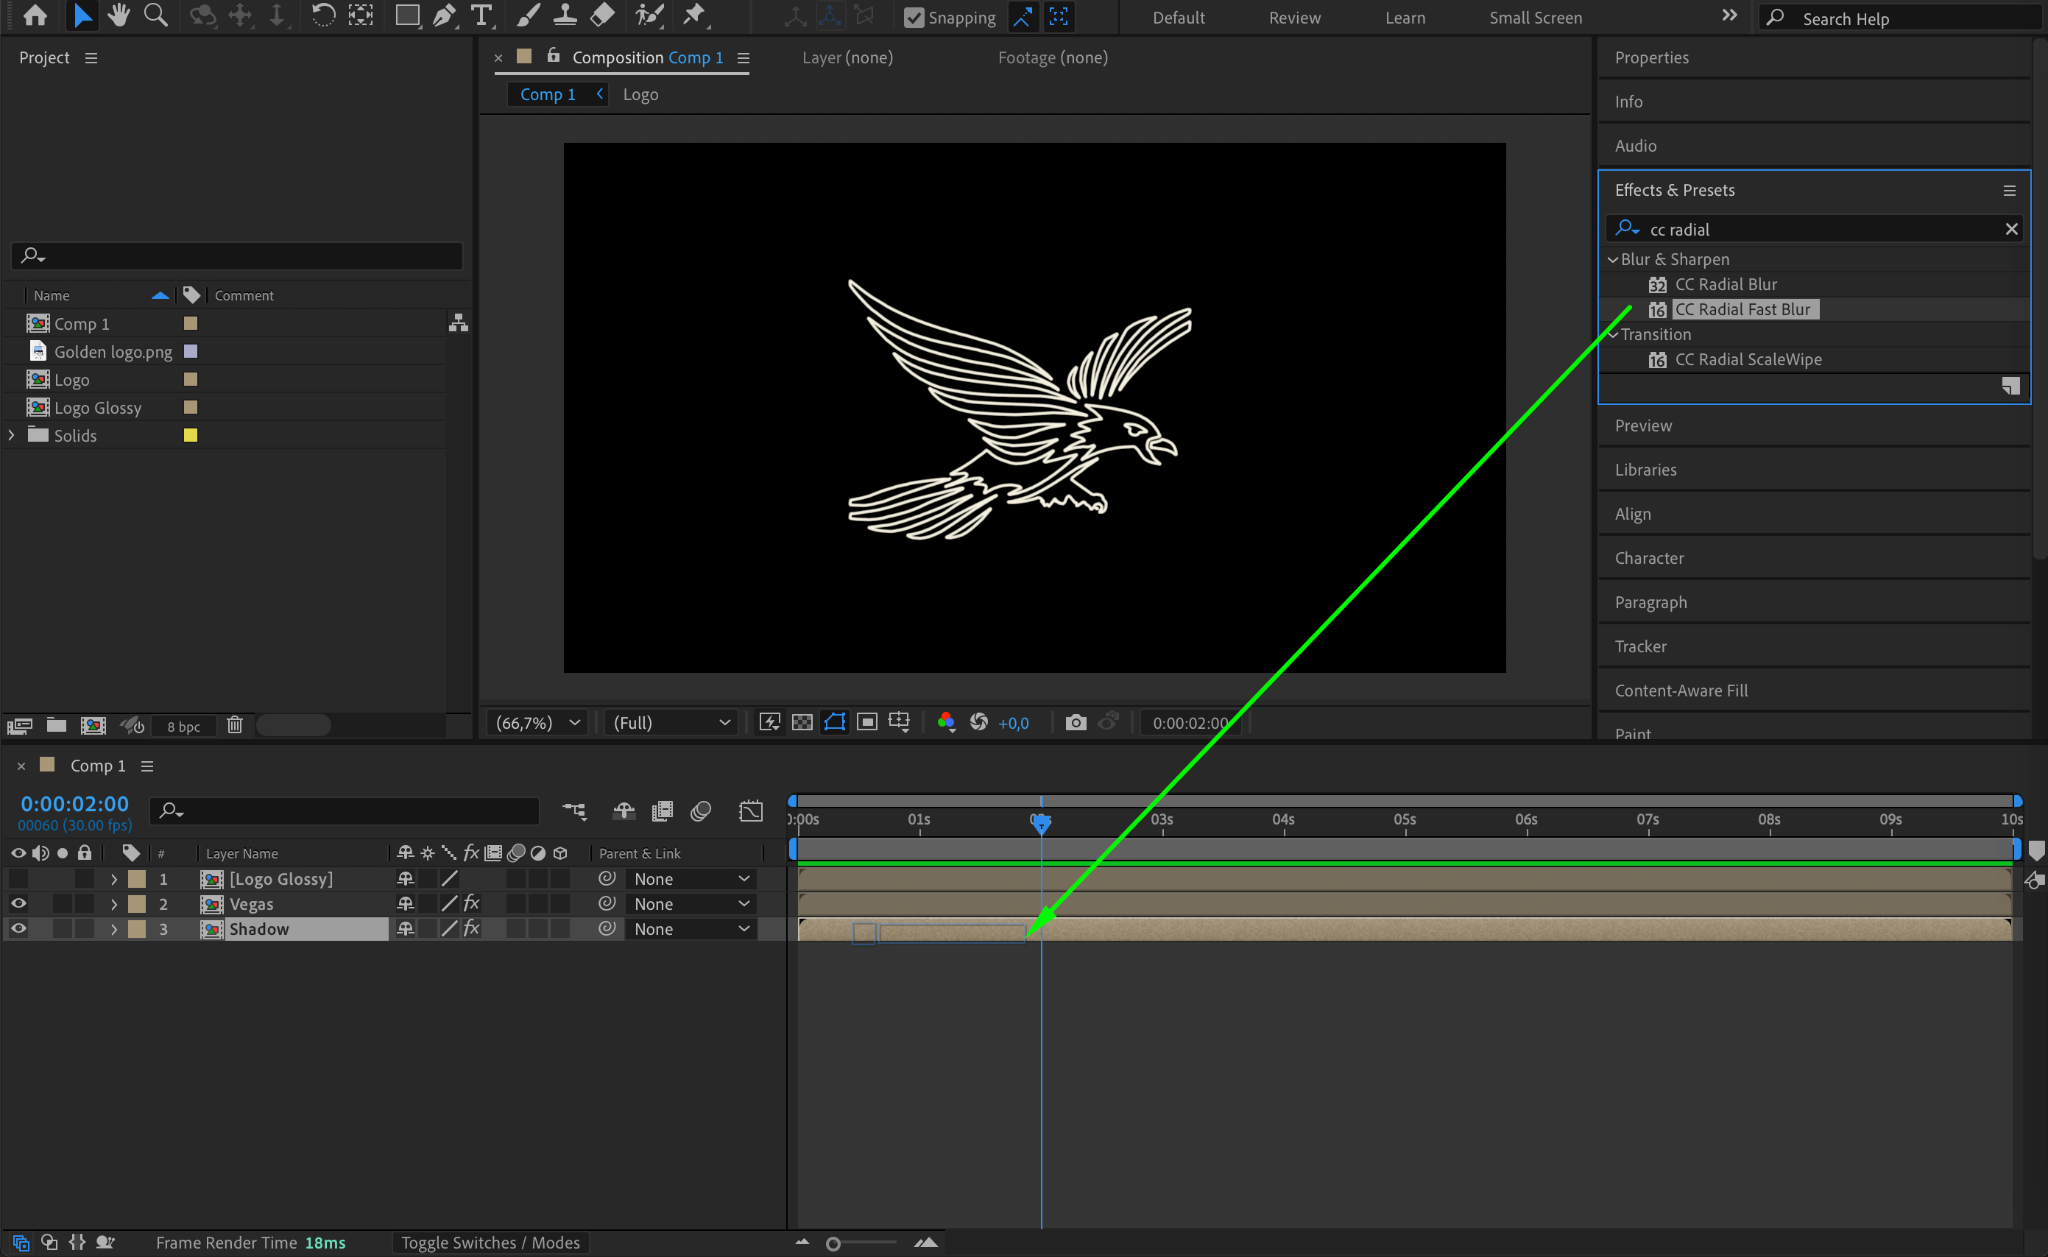
Step 17: Add CC Radial Fast Blur for Shadows
Search for CC Radial Fast Blur and apply it to the Shadow Layer.
Amount: 60
Zoom: Brightest
Shadow Color: A darker shade of the logo color
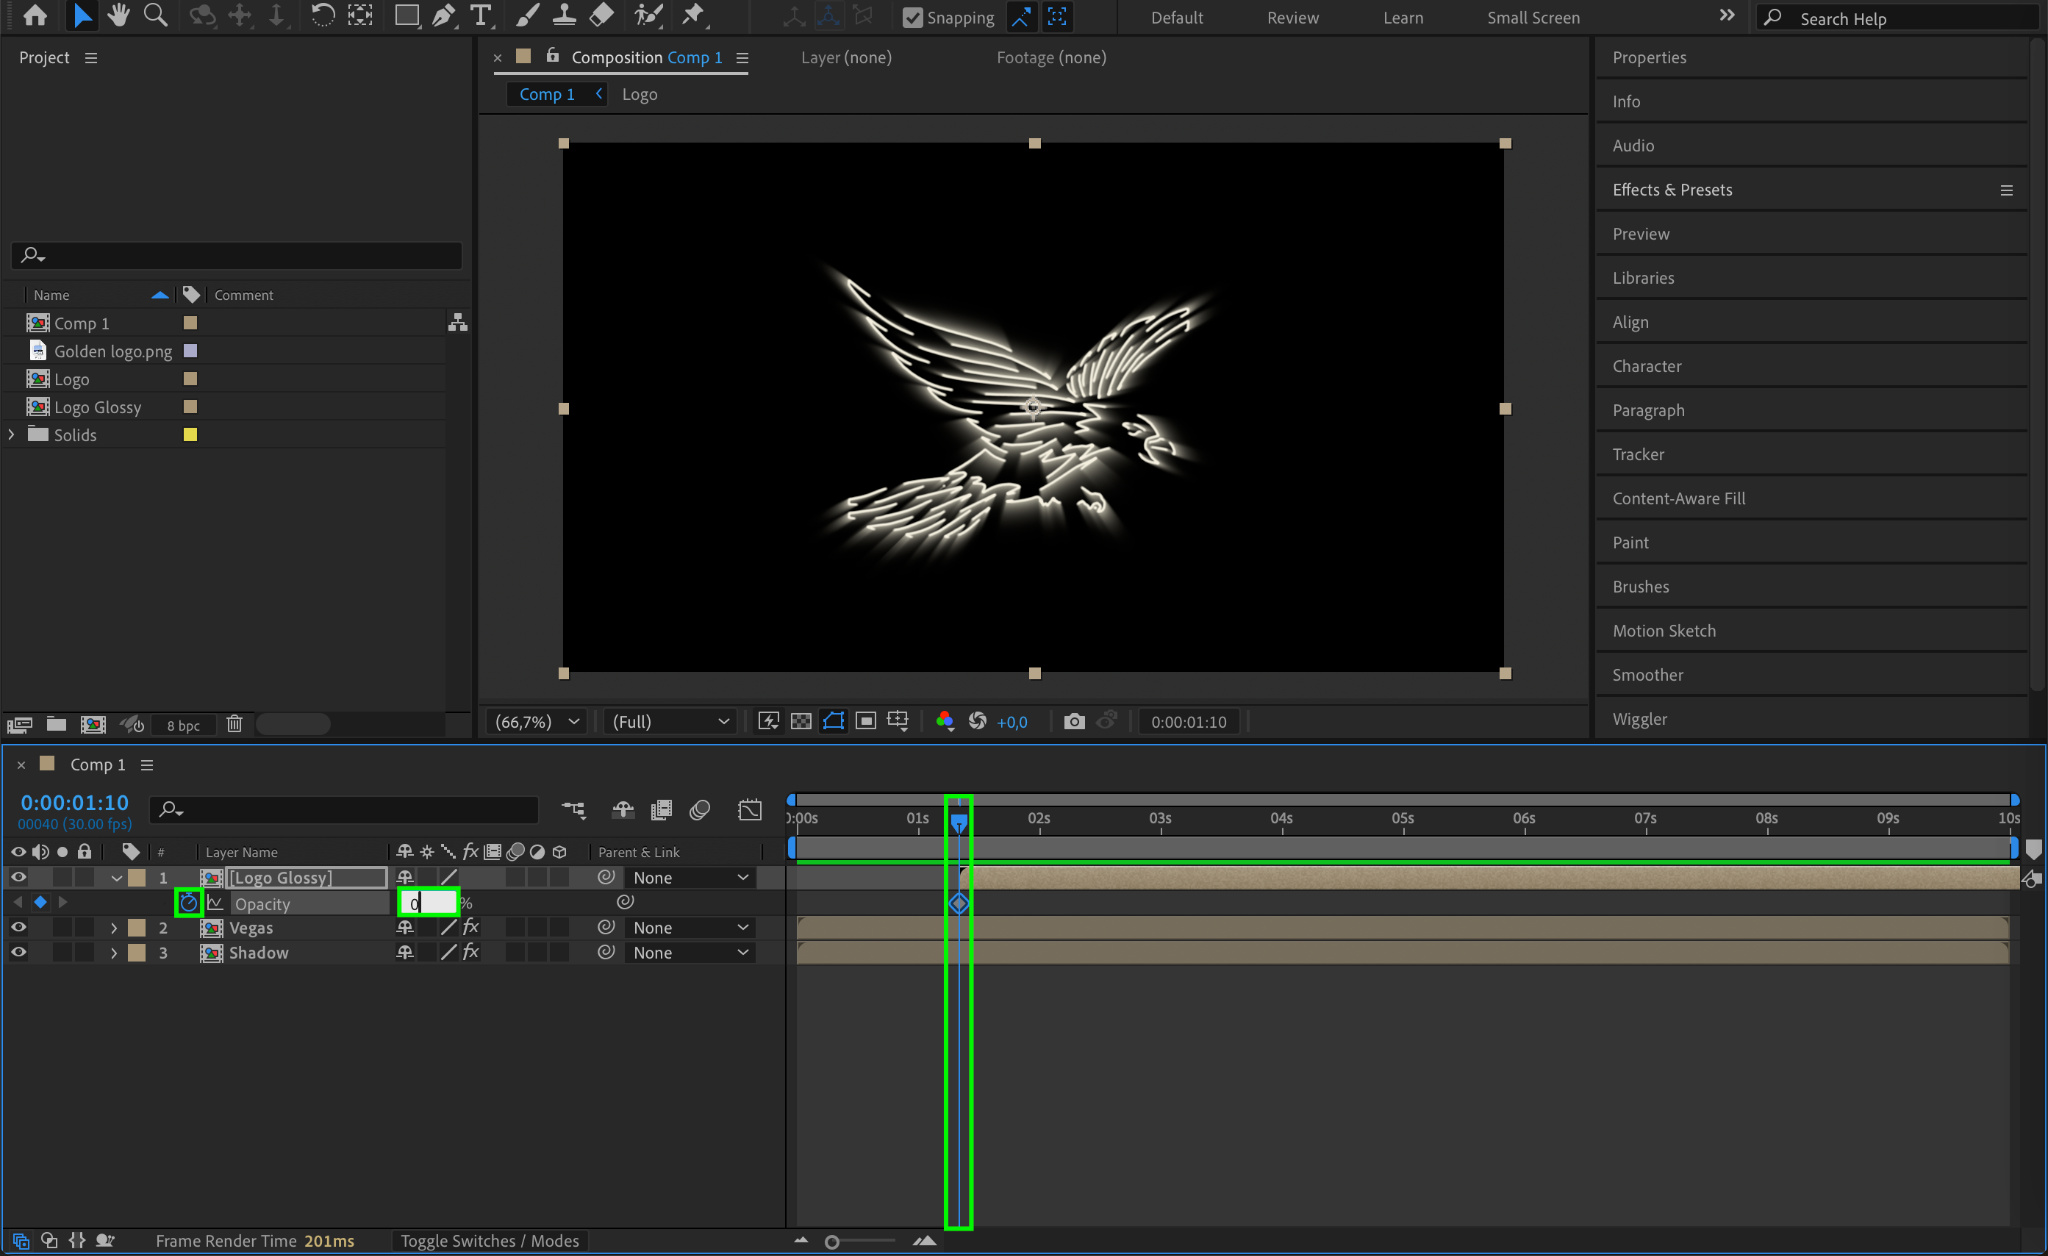
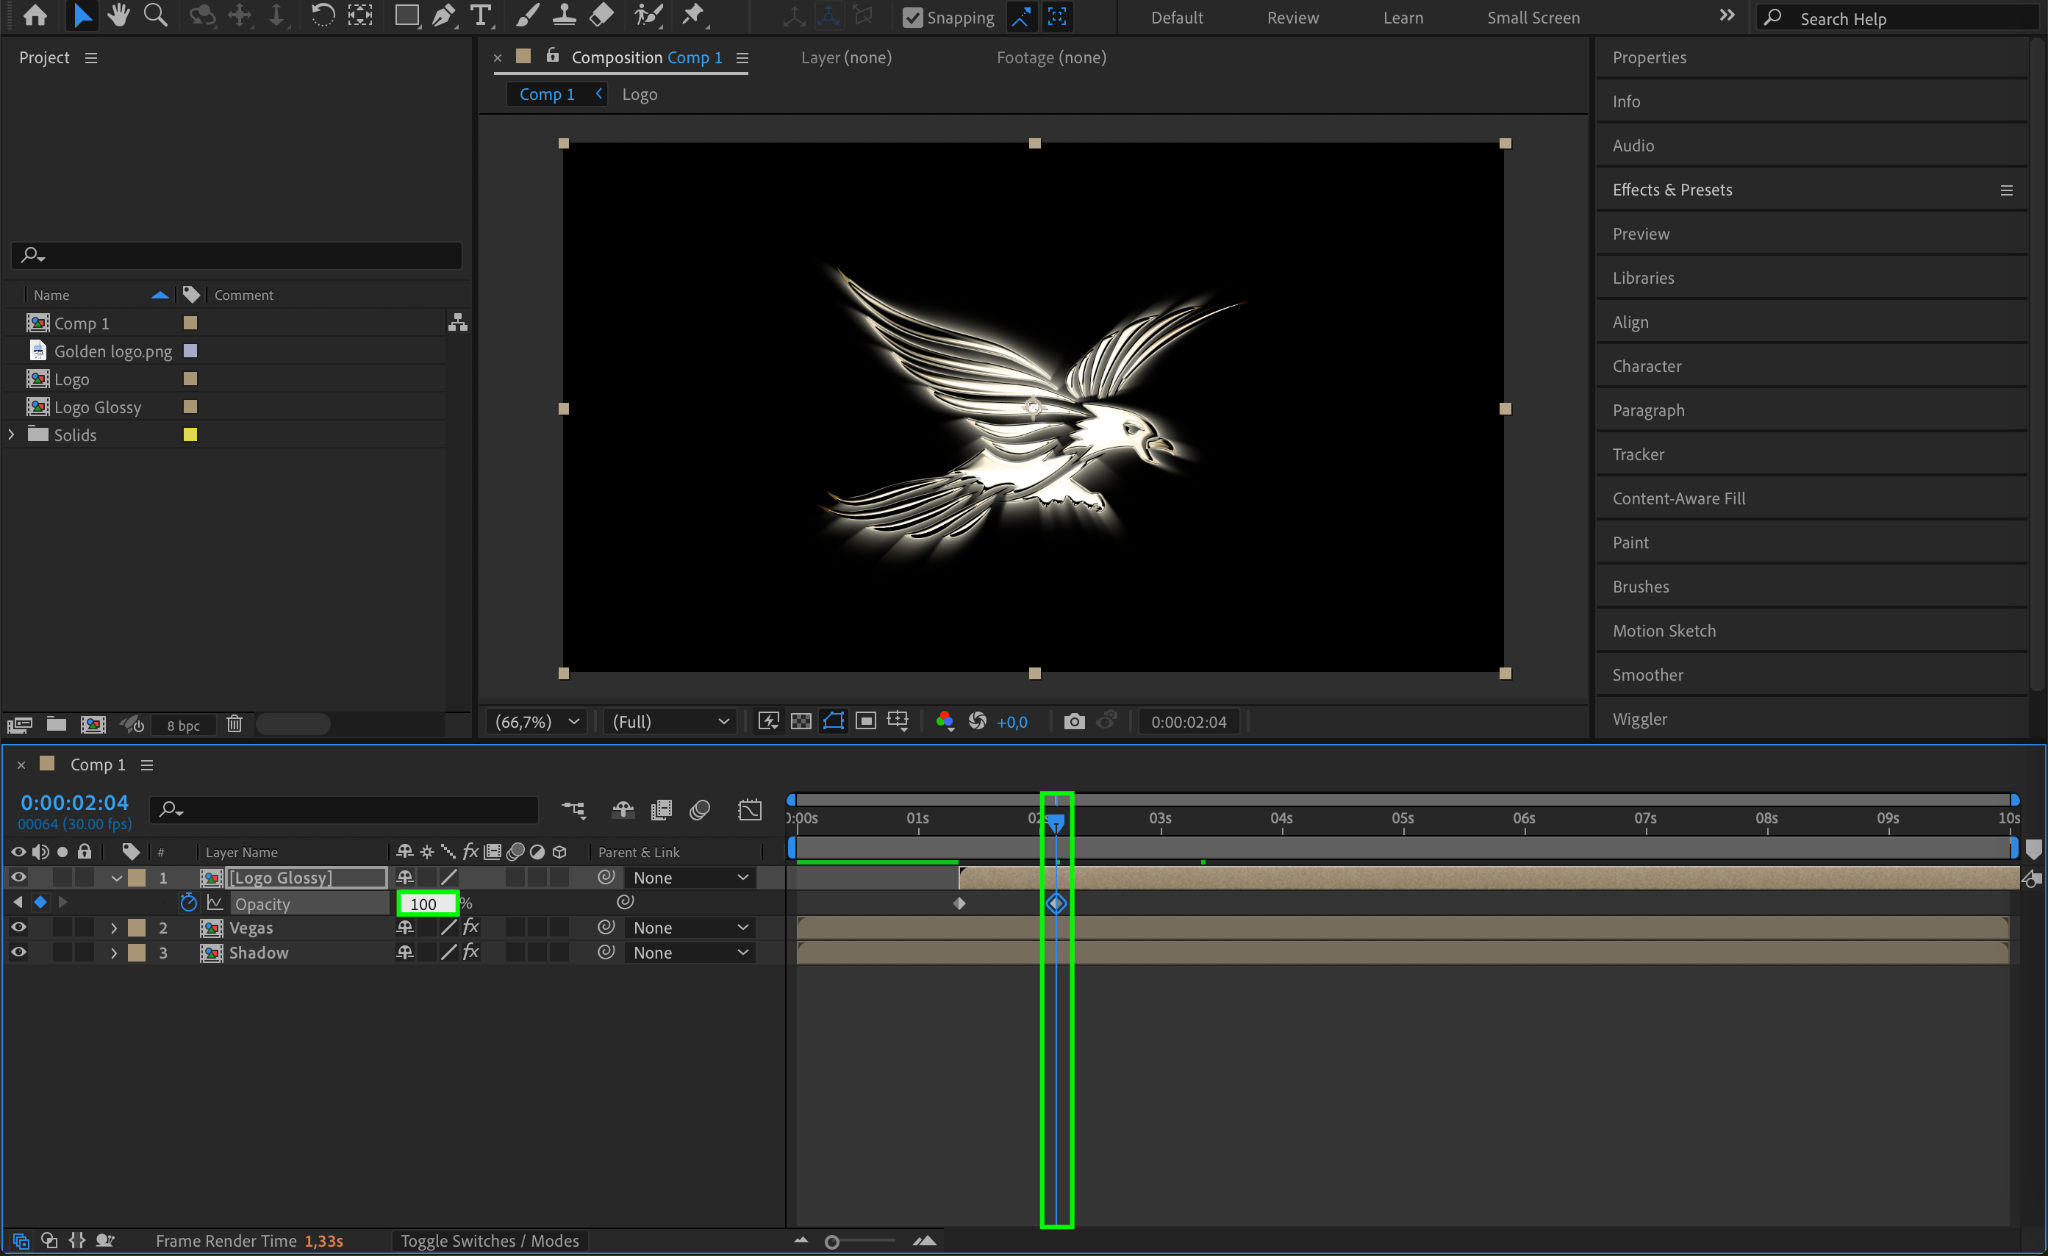
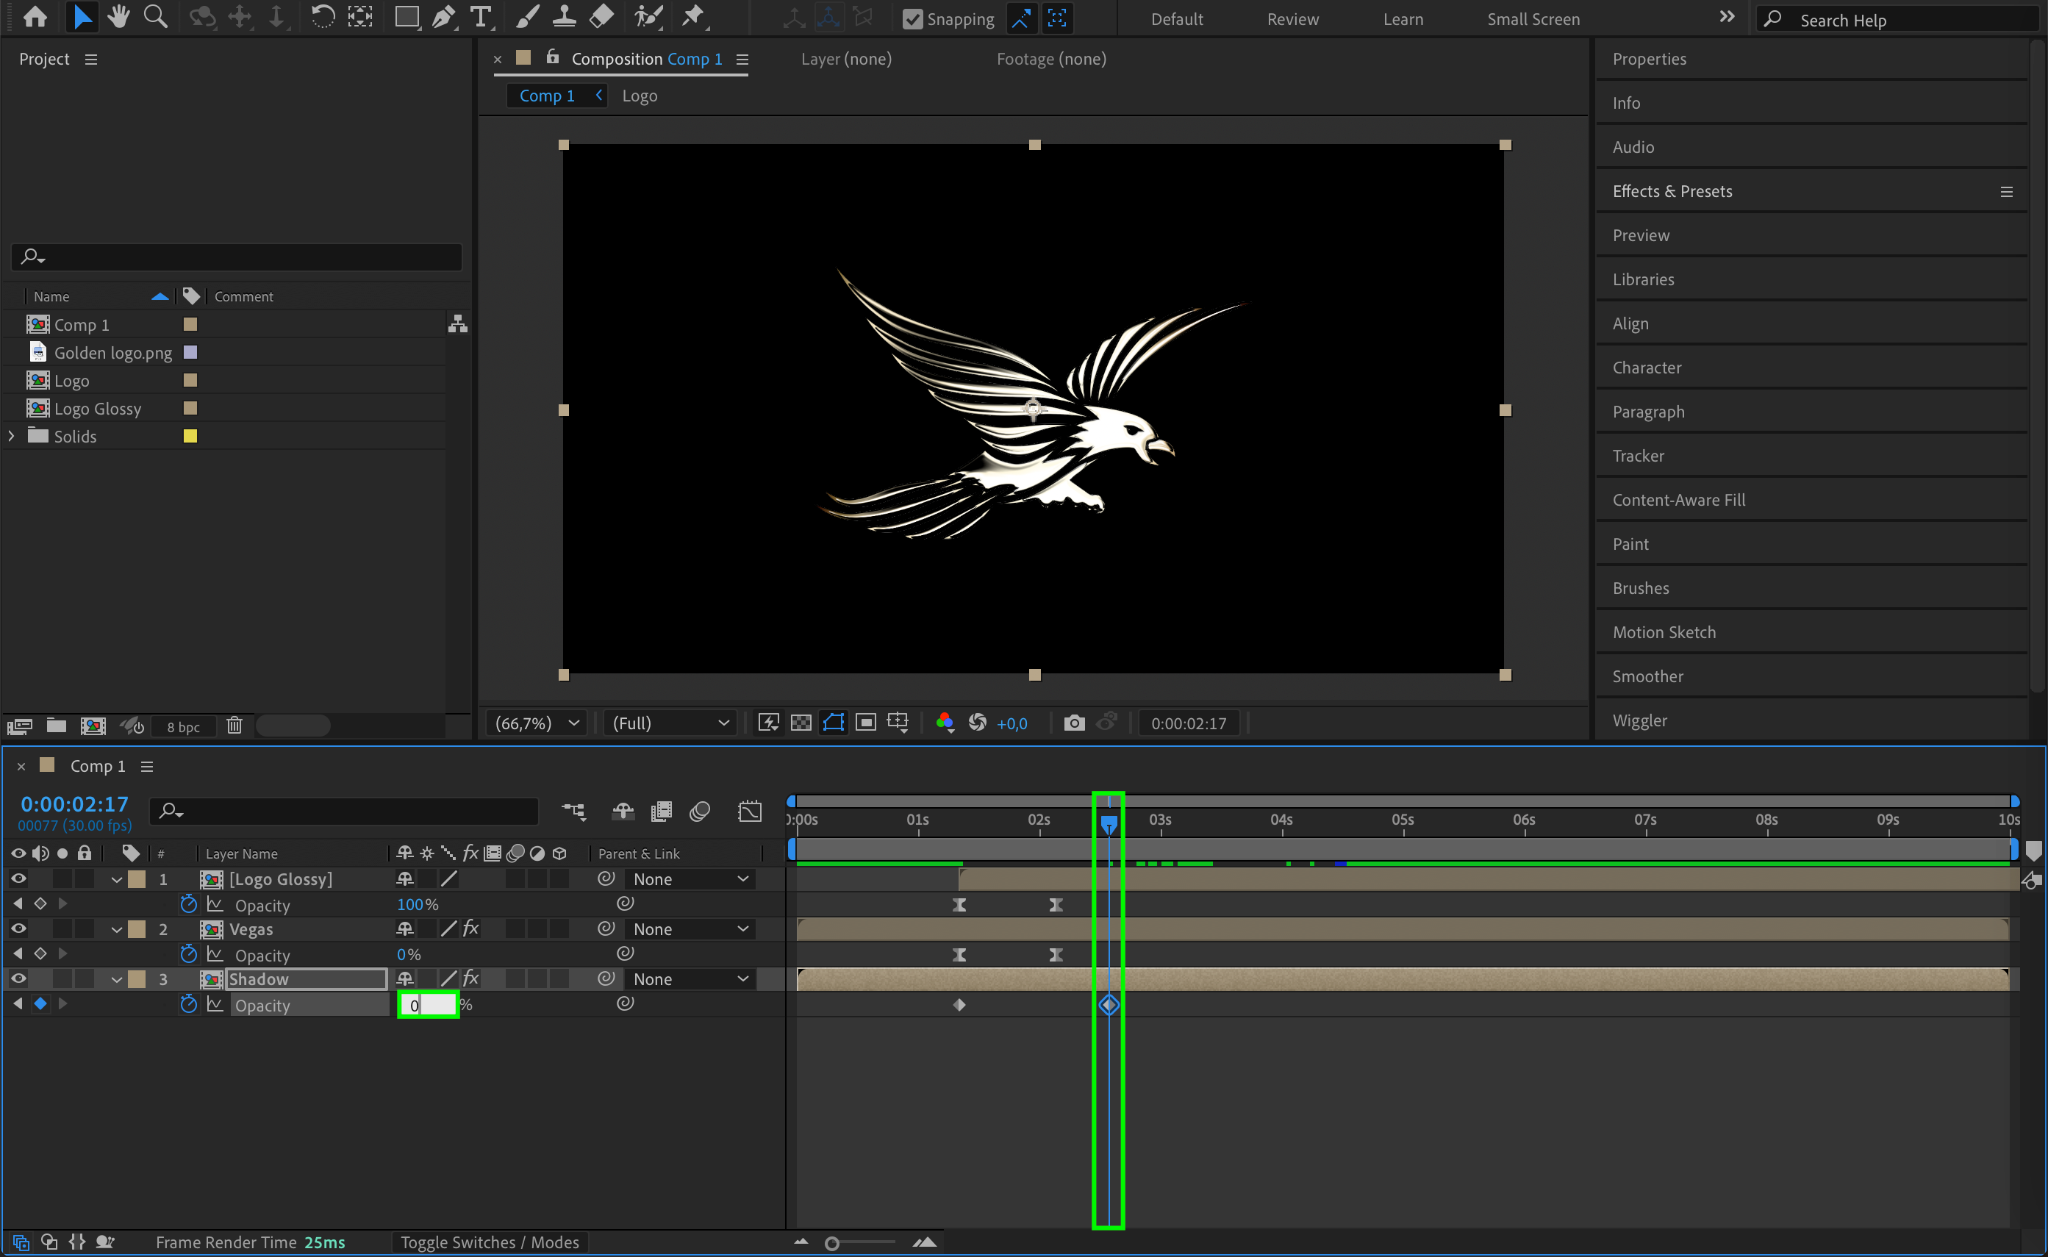
Step 18: Animate Opacity for Logo Glossy
Click the eye icon to make the Logo Glossy Layer visible again. Move the layer start point forward by 1.5 seconds.
Press “T2 to open Opacity settings:
Set Opacity to 0% at the beginning
Set Opacity to 100% at 2 seconds
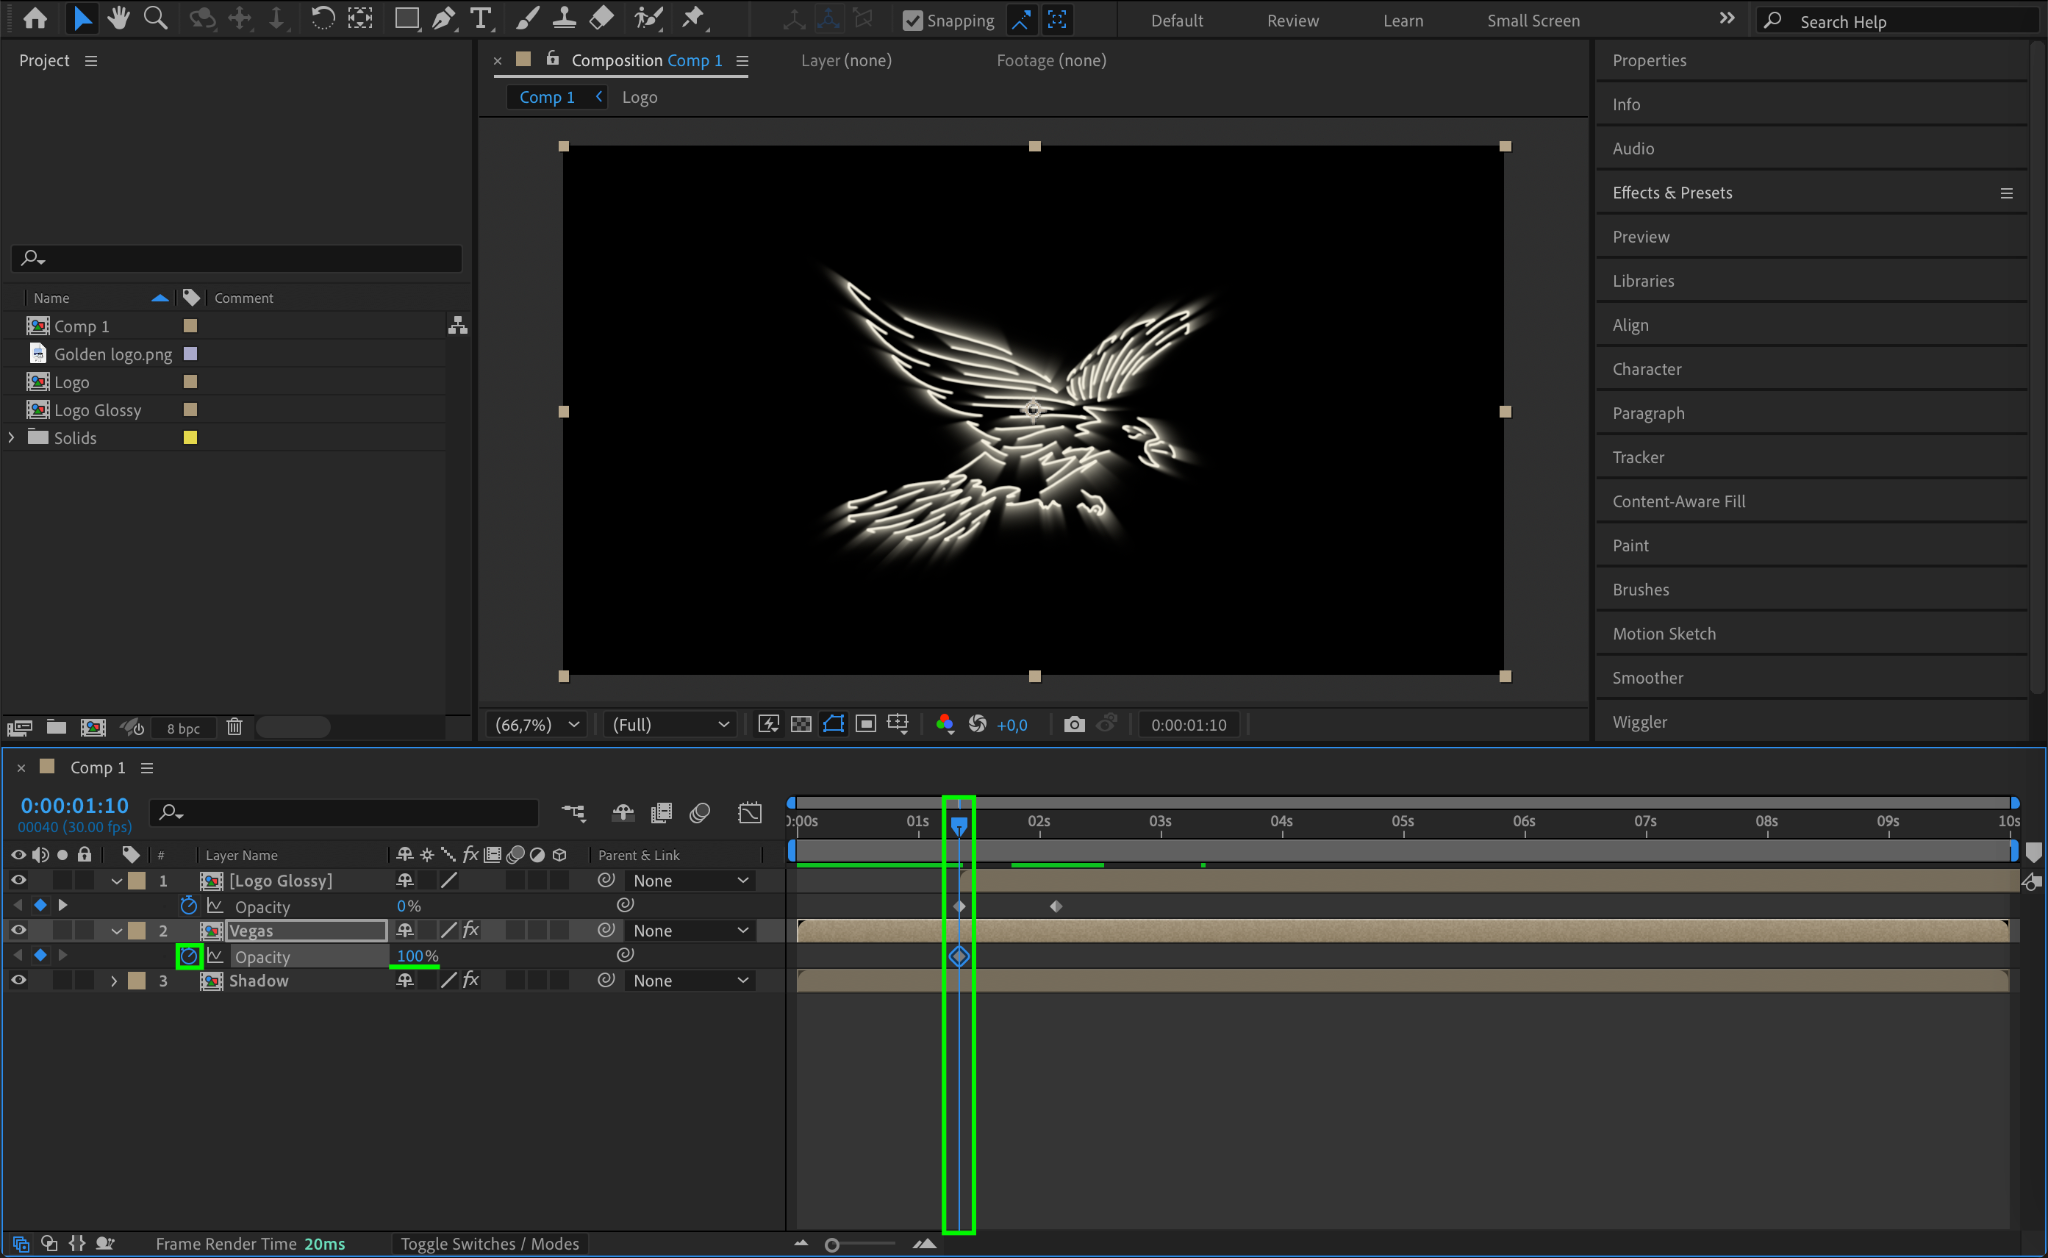
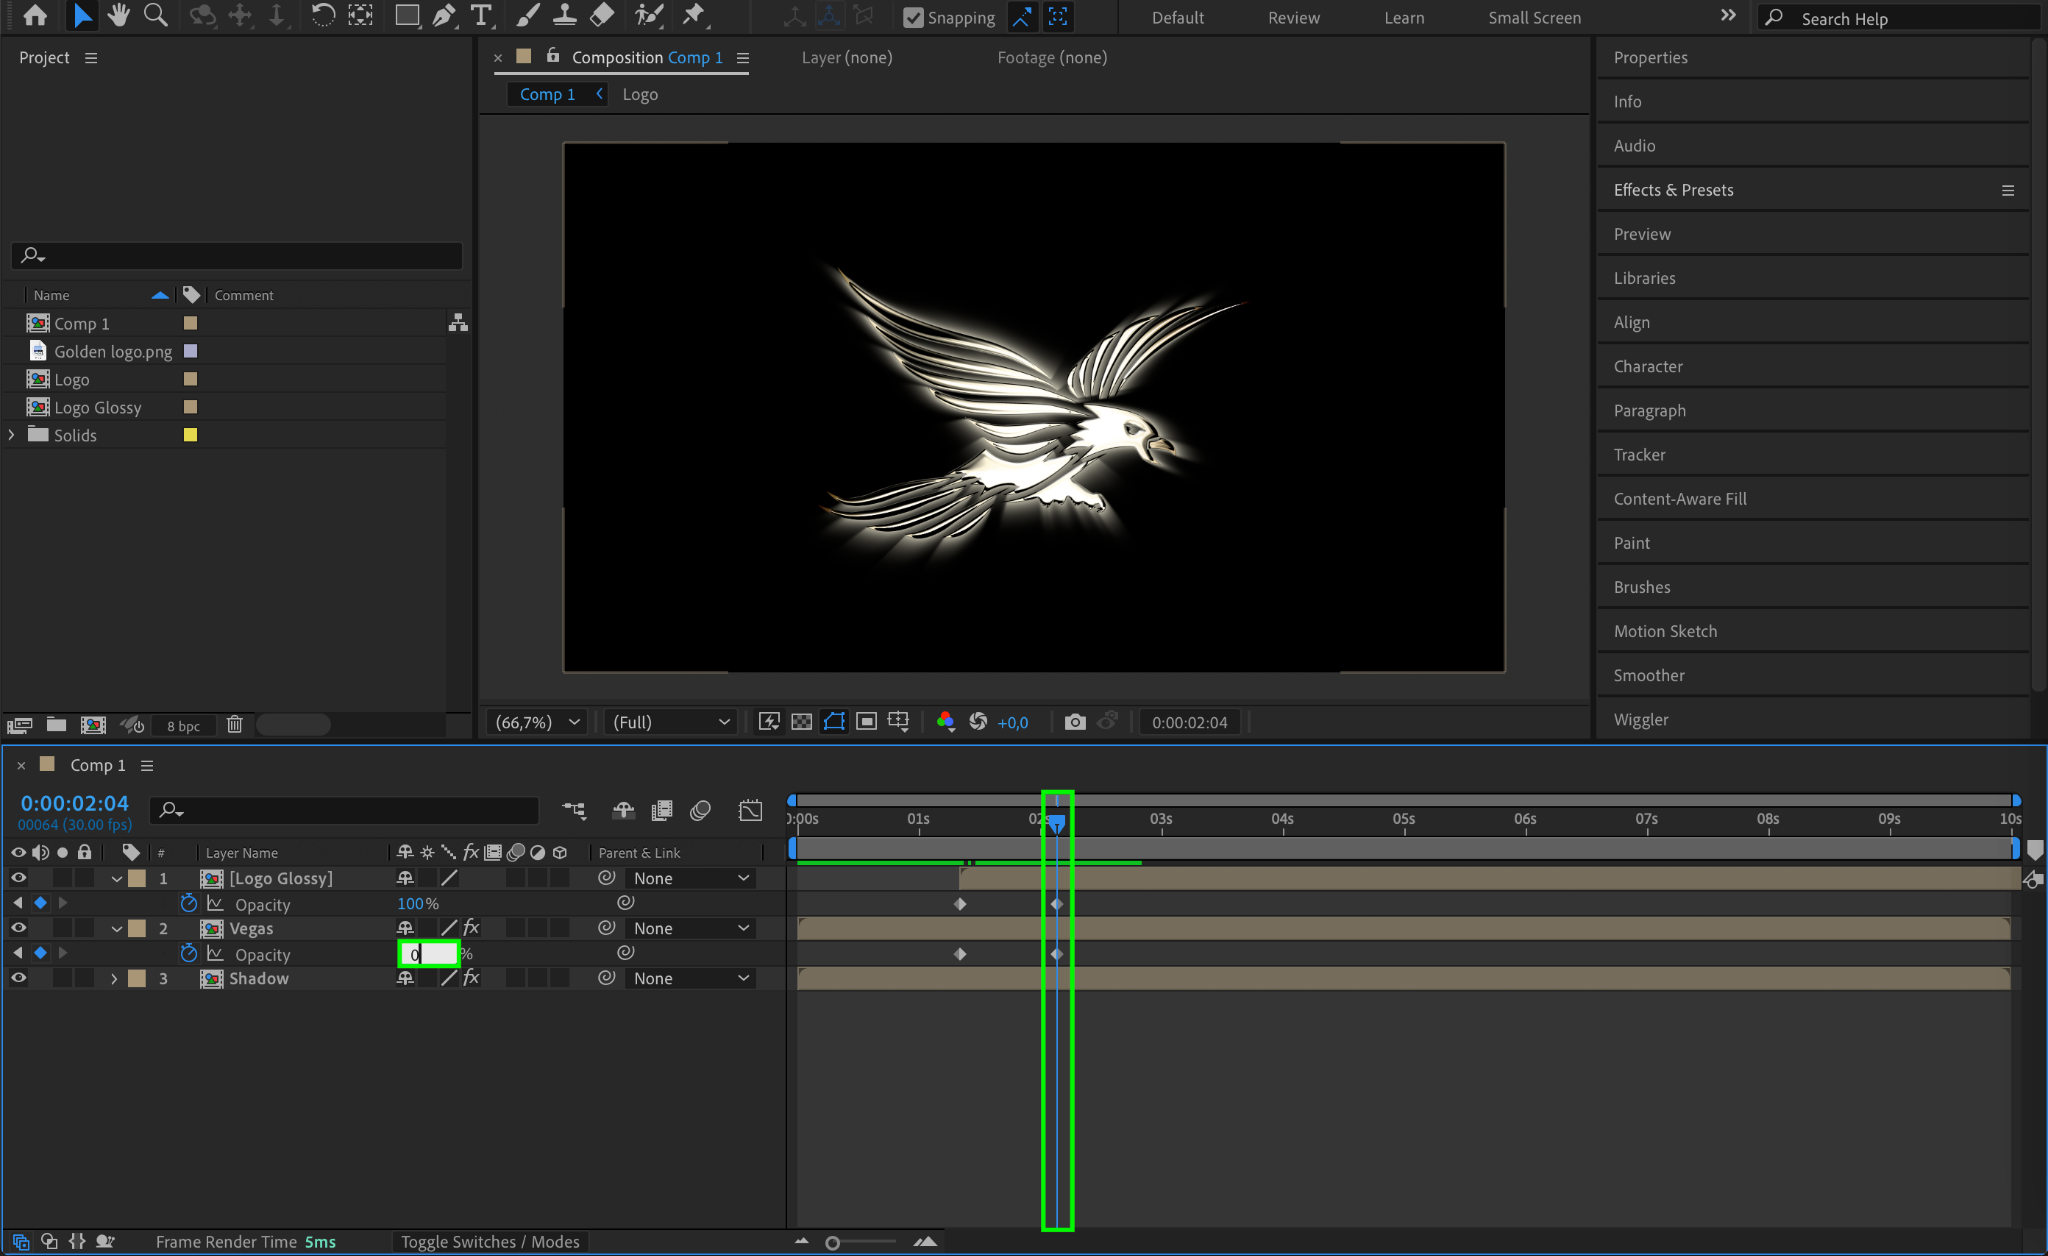
Step 19: Animate Opacity for Vegas and Shadow Layers
For the Vegas Layer:
Set Opacity to 100% at 1.5 seconds
Set Opacity to 0% after 2 seconds
Apply Easy Ease
Step 20: Preview the Animation
Press the Spacebar to preview your animation and make any necessary adjustments.

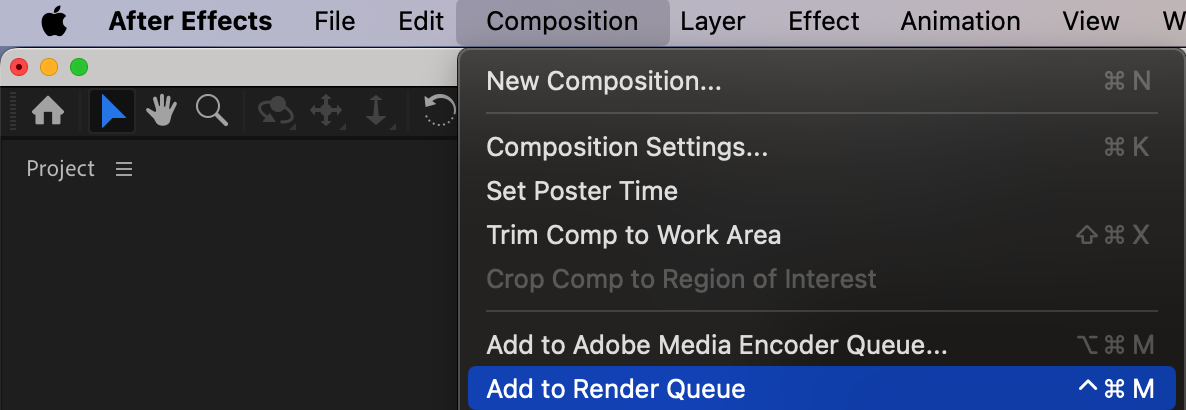
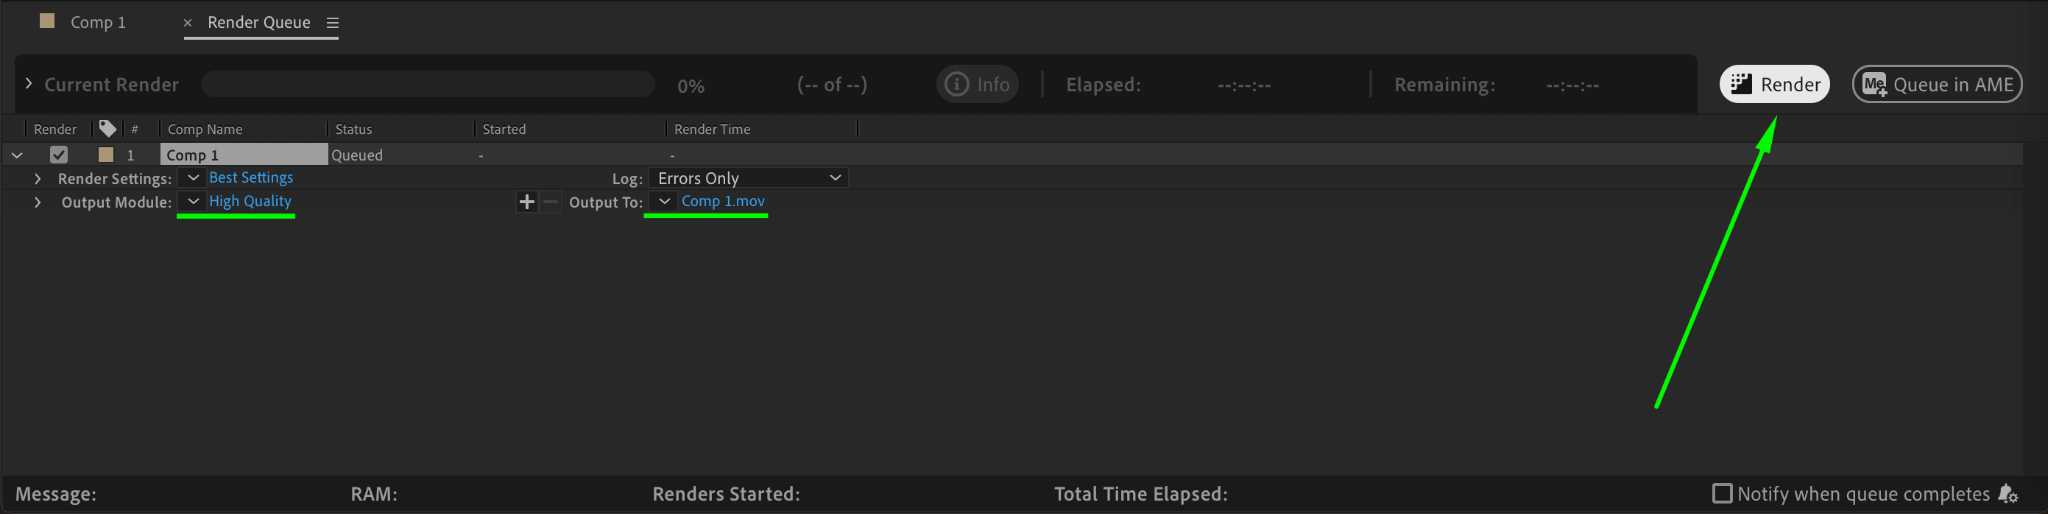
Step 21: Render the Final Logo Animation
Go to Composition > Add to Render Queue, choose the desired format, and click Render to export your animated logo.
Conclusion
By combining effects like Fractal Noise, CC Glass, CC Blobbylize, Vegas, and CC Radial Fast Blur, you can create a dynamic and stylish motion logo. This technique adds depth and movement, making your logo more engaging and professional.
Our Bestsellers


