Cropping the Timeline in After Effects
Introduction to Cropping the Timeline
When it comes to cropping the timeline in After Effects, there are a few simple steps you can follow to achieve the desired effect. This process allows you to trim and refine your video projects efficiently. Here’s a breakdown of the process:
Step 1: Open After Effects
Get 10% off when you subscribe to our newsletter

Make sure you have After Effects installed on your computer and open the software. If you don’t have After Effects, you can download a free trial from the Adobe website. This powerful tool is essential for creating professional-quality videos and animations.
Step 2: Import Your Footage
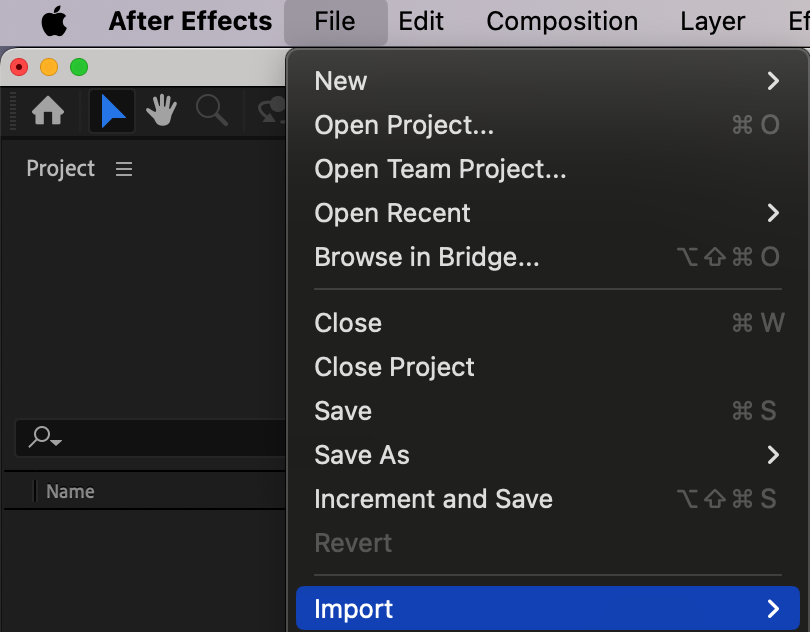
Click on “File” in the top menu and select “Import” to bring your video footage into After Effects. You can also drag and drop the file directly into the project panel. This step ensures that your footage is ready to be edited and manipulated within the software. Step 3: Create a New Composition
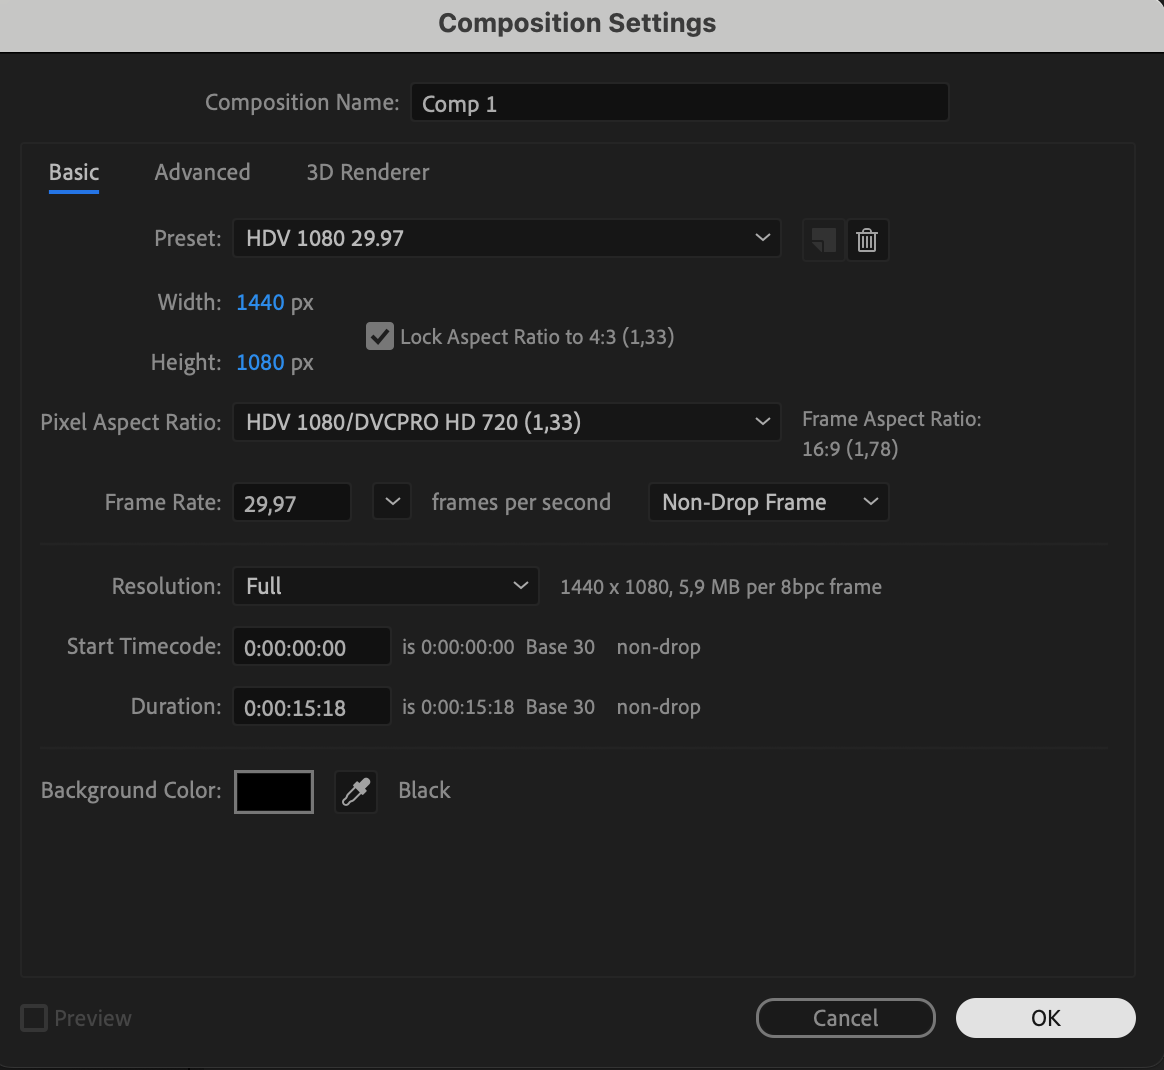
Next, click on “Composition” in the top menu and select “New Composition.” Alternatively, you can use the keyboard shortcut Ctrl/Cmd + N. This will open the composition settings dialog box, where you can set up your new project. Step 4: Adjust the Composition Settings
In the composition settings dialog box, you can customize the dimensions, frame rate, and duration of your composition. Choose the settings that best match your video footage and click “OK.” Properly configuring these settings ensures that your composition aligns perfectly with your project’s requirements. Step 5: Drag Your Footage into the Composition
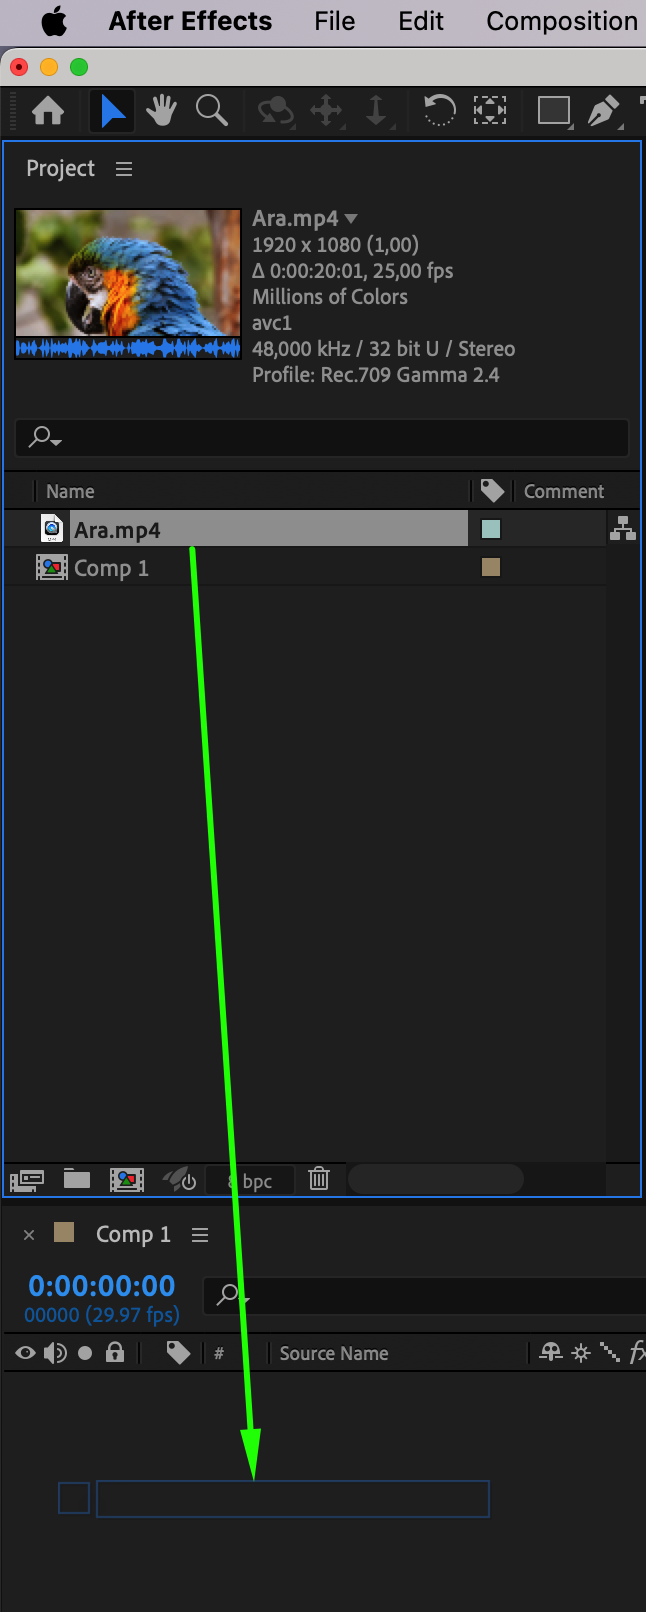
Locate your footage in the project panel and drag it into the timeline panel. This will place your video footage in the composition timeline, making it ready for cropping and other editing tasks. Step 6: Select the Layer You Want to Crop
In the timeline panel, click on the layer you want to crop to select it. You can also use the keyboard shortcut Ctrl/Cmd + Click to select multiple layers.  Step 7: Trim Your Layers
Move the Current Time Indicator to the point in the timeline where you want your layer to end. Use the shortcut “Alt/Option + ]” to trim the end of your layer. This step ensures precise trimming without deleting necessary elements, providing a clean and focused timeline. Step 8: Adjust the Work Area
Move the work area end slider to the same point as the end of your trimmed layer. This adjustment helps define the section of the timeline that you want to keep active and visible.
 Step 9: Trim the Composition to the Work Area
Go to “Composition” > “Trim Comp to Work Area” or use the hotkey Ctrl/Cmd + Shift + X. This action will crop the entire composition to match the defined work area, resulting in a streamlined and efficient timeline.
 Conclusion
Mastering the art of cropping the timeline in After Effects is crucial for any video editor. By following these steps, you can efficiently trim and refine your video projects, ensuring that your compositions are clean and focused. Dive into After Effects and start exploring the endless possibilities of cropping to elevate your videos to the next level. Stay tuned for upcoming tutorials where we dive deeper into specific cropping techniques in After Effects.


