Introduction
A horizontal reveal is a stylish and minimal way to introduce text in motion graphics. By animating the Tracking Amount property, you can make your letters smoothly spread apart or come together for a professional-looking title animation.
Step 1: Create a New Composition
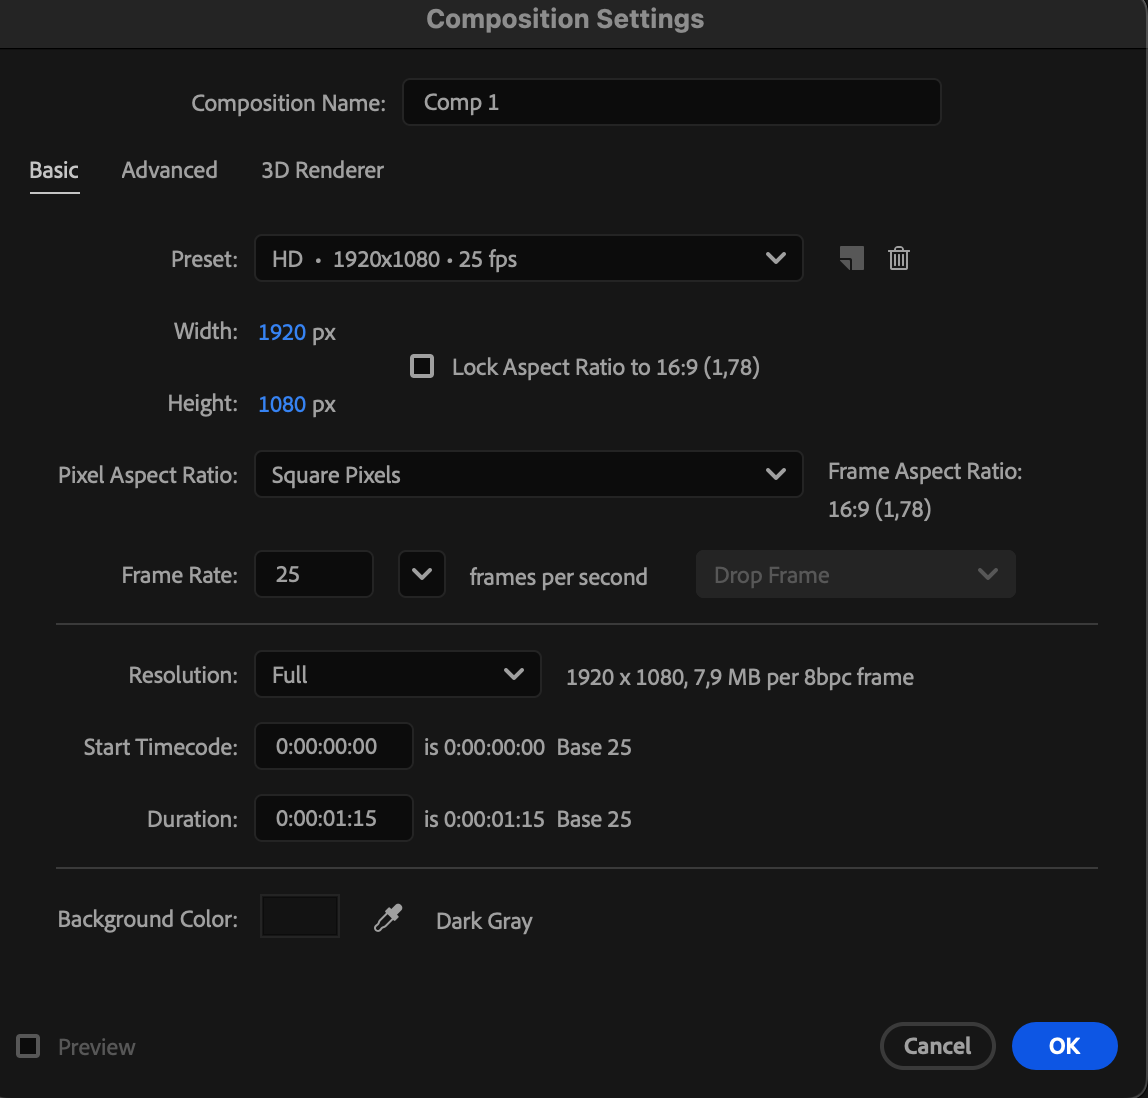
Go to Composition > New Composition, name it, and set your desired resolution and frame rate. Then click OK to create it.

Step 2: Add Your Text
Select the Type Tool (Ctrl/Cmd + T) and click anywhere in the Composition Panel to type your title. Use the Character Panel to customize the font, size, spacing, and color to match your desired style.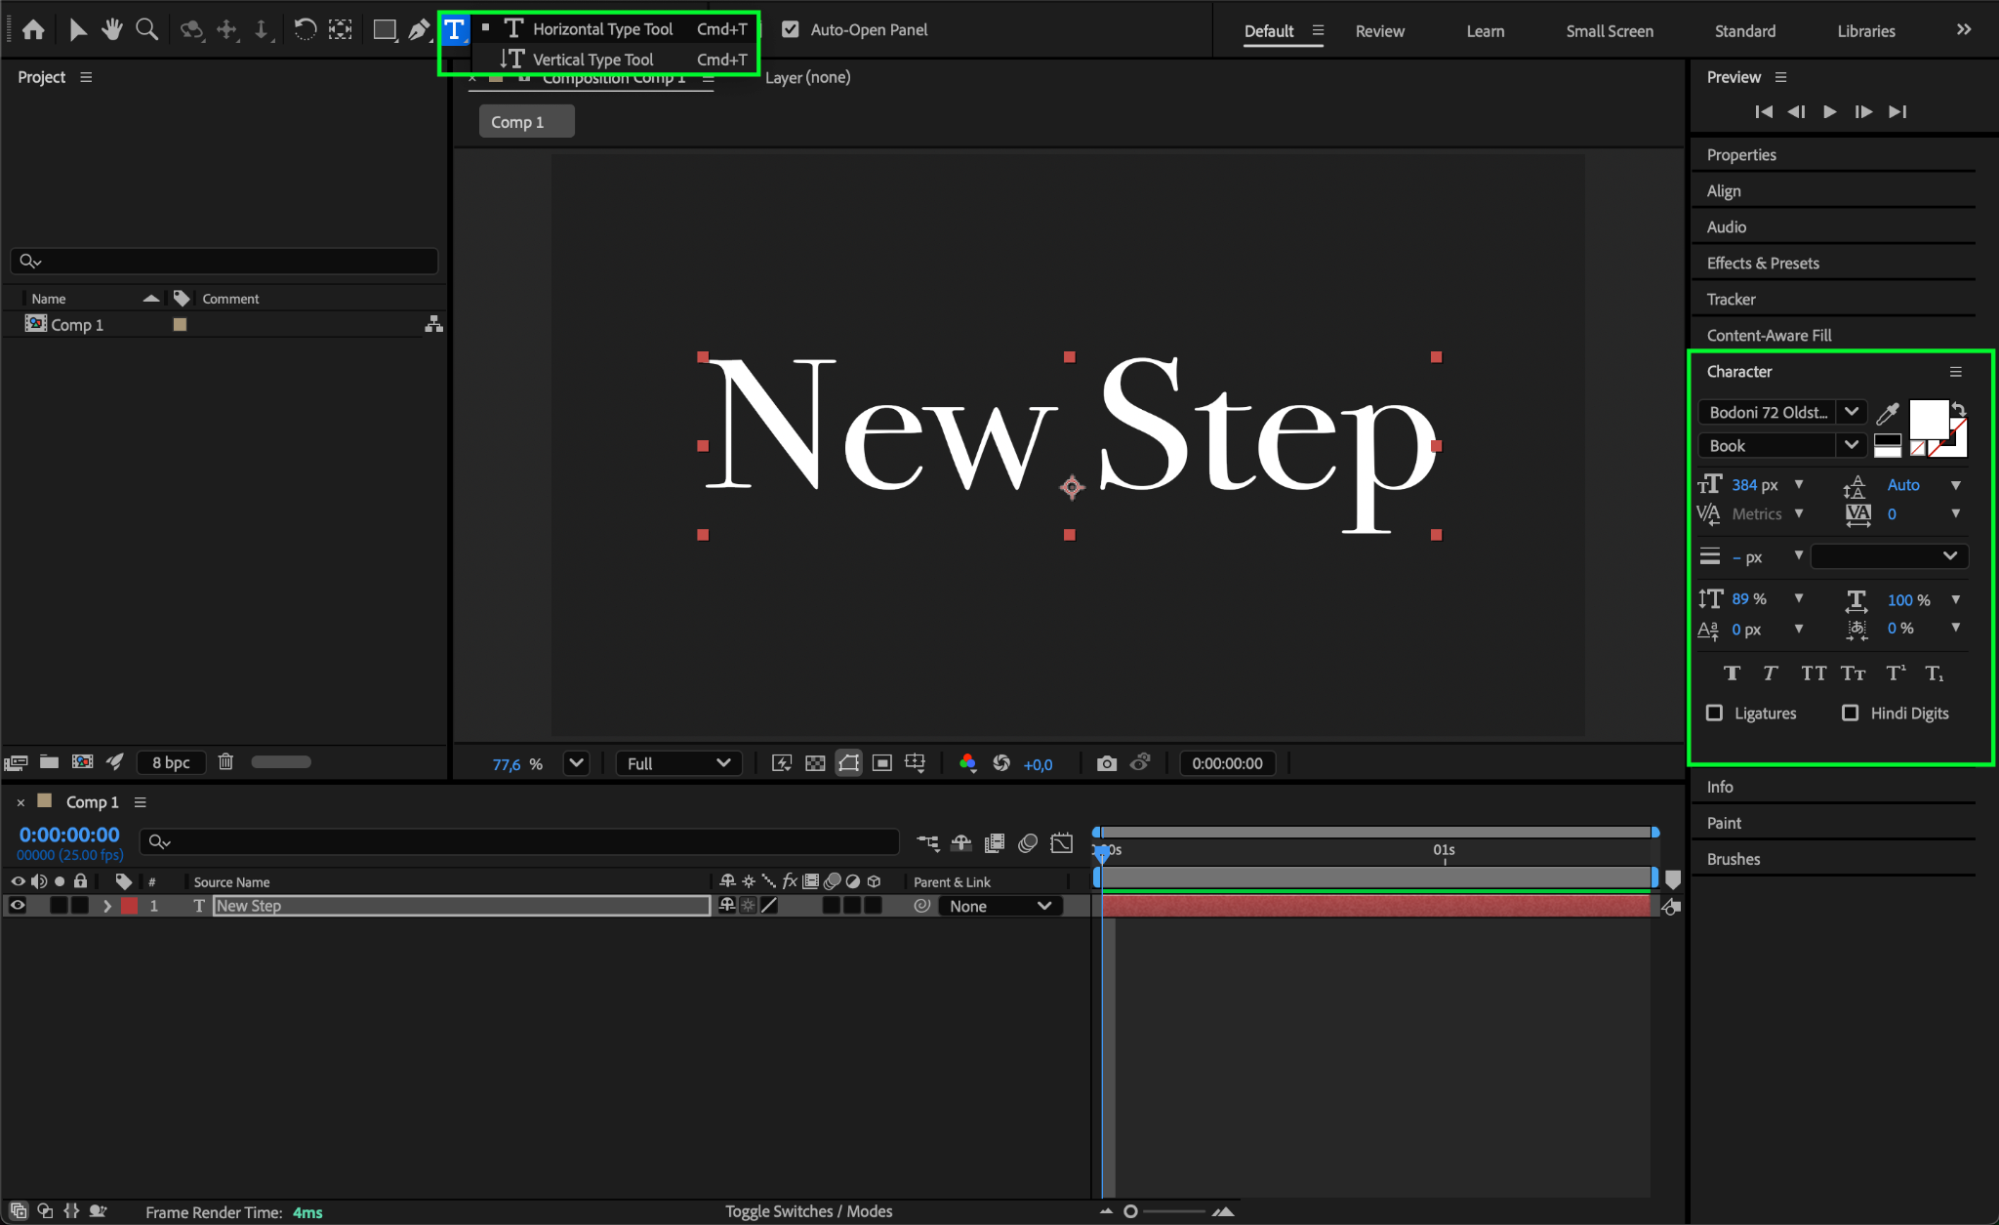
Get 10% off when you subscribe to our newsletter

Step 3: Animate the Tracking Property
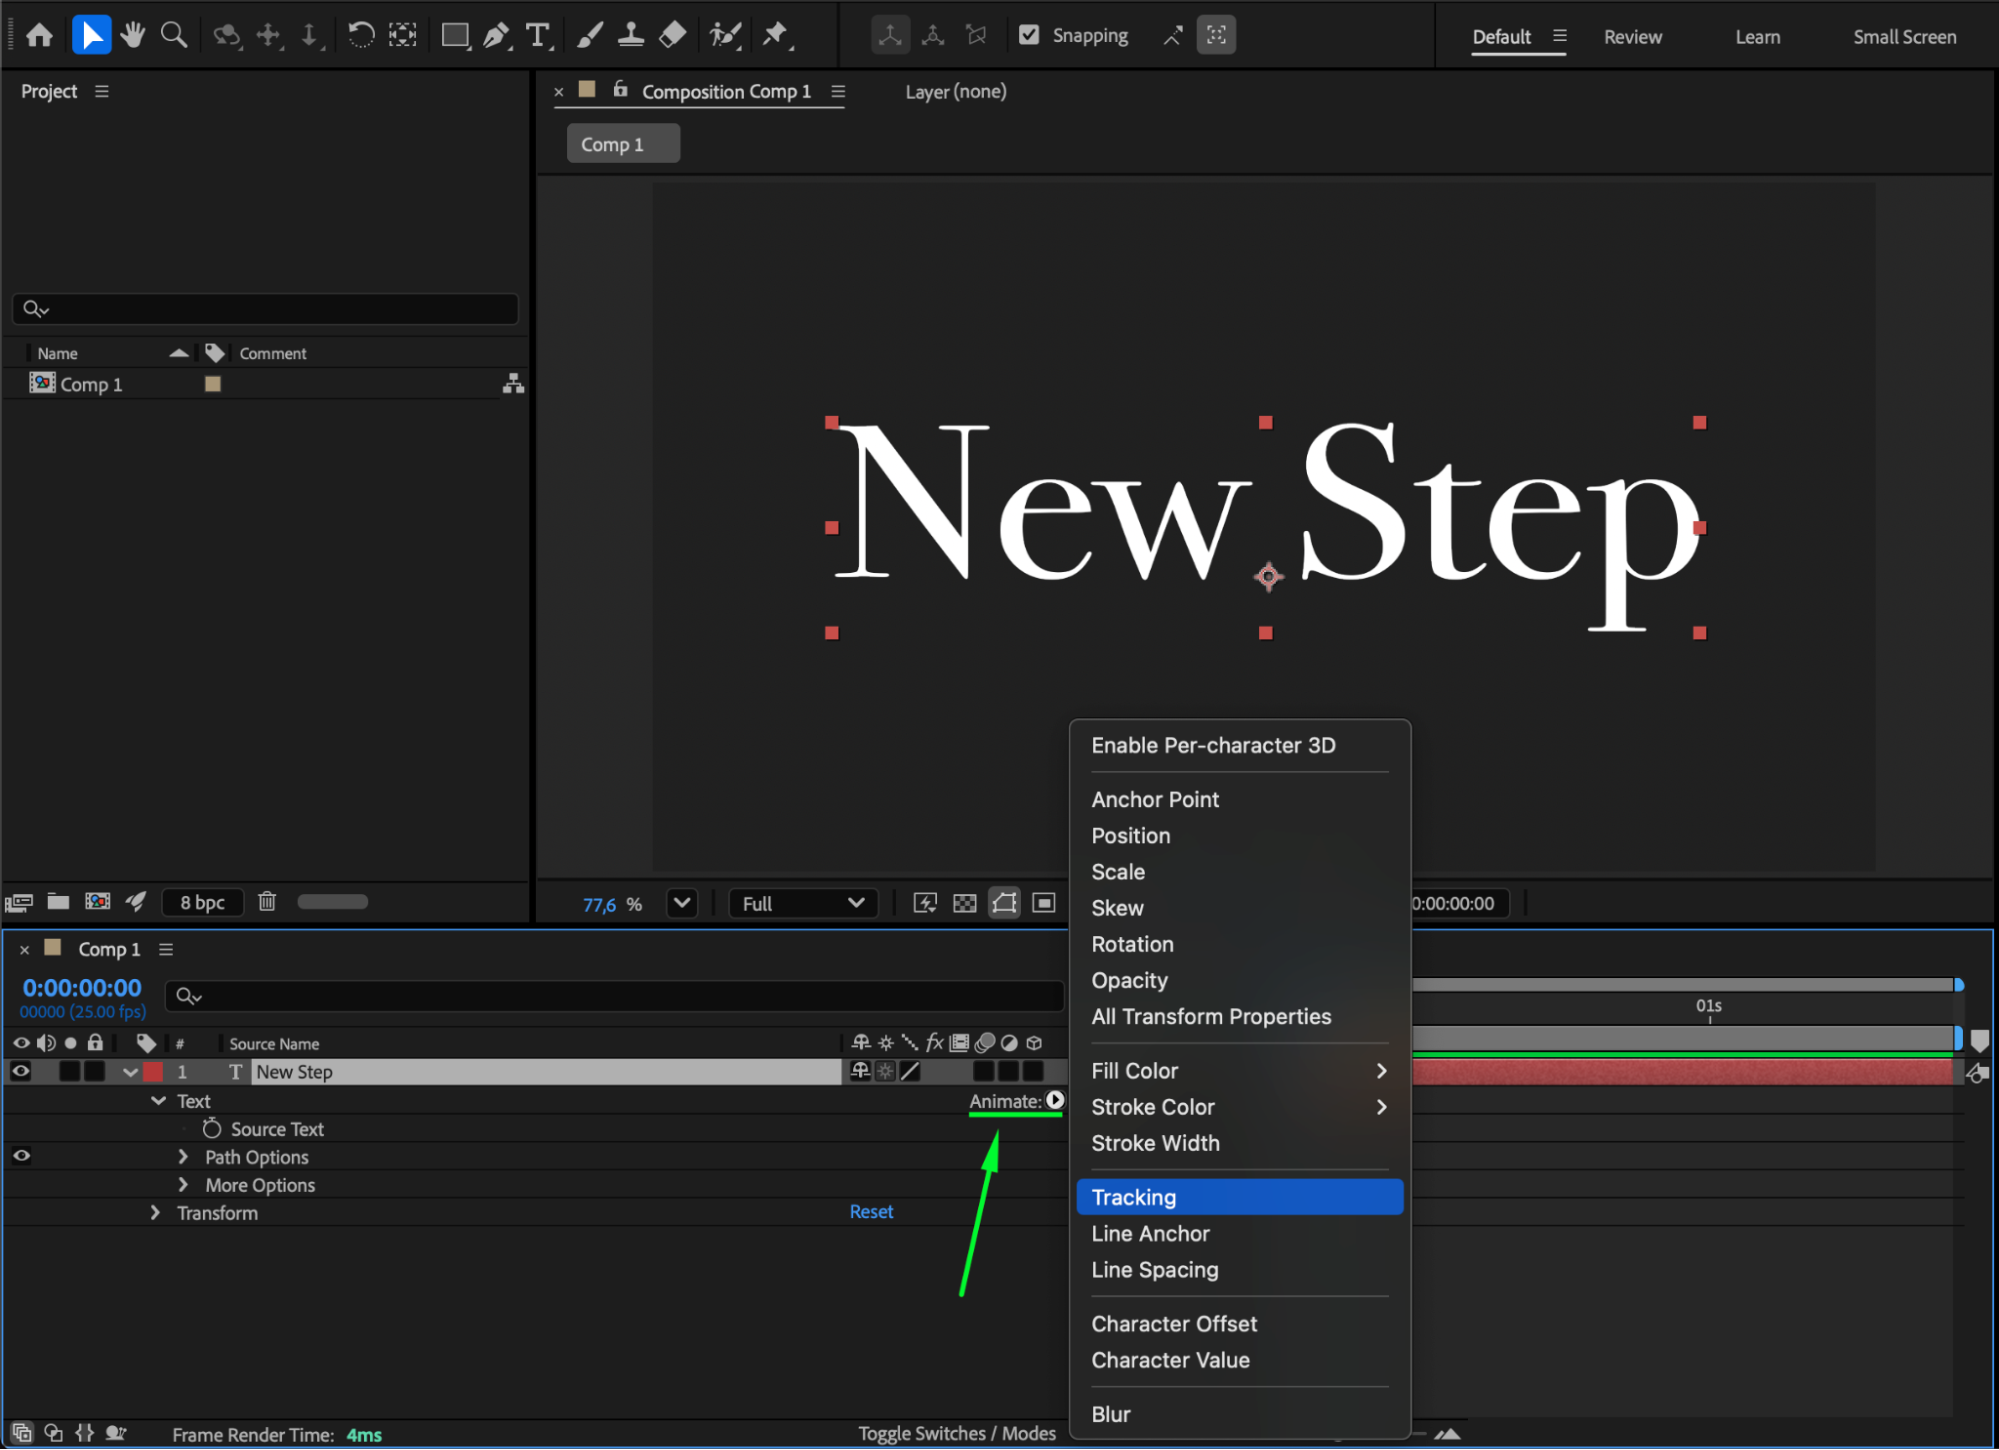
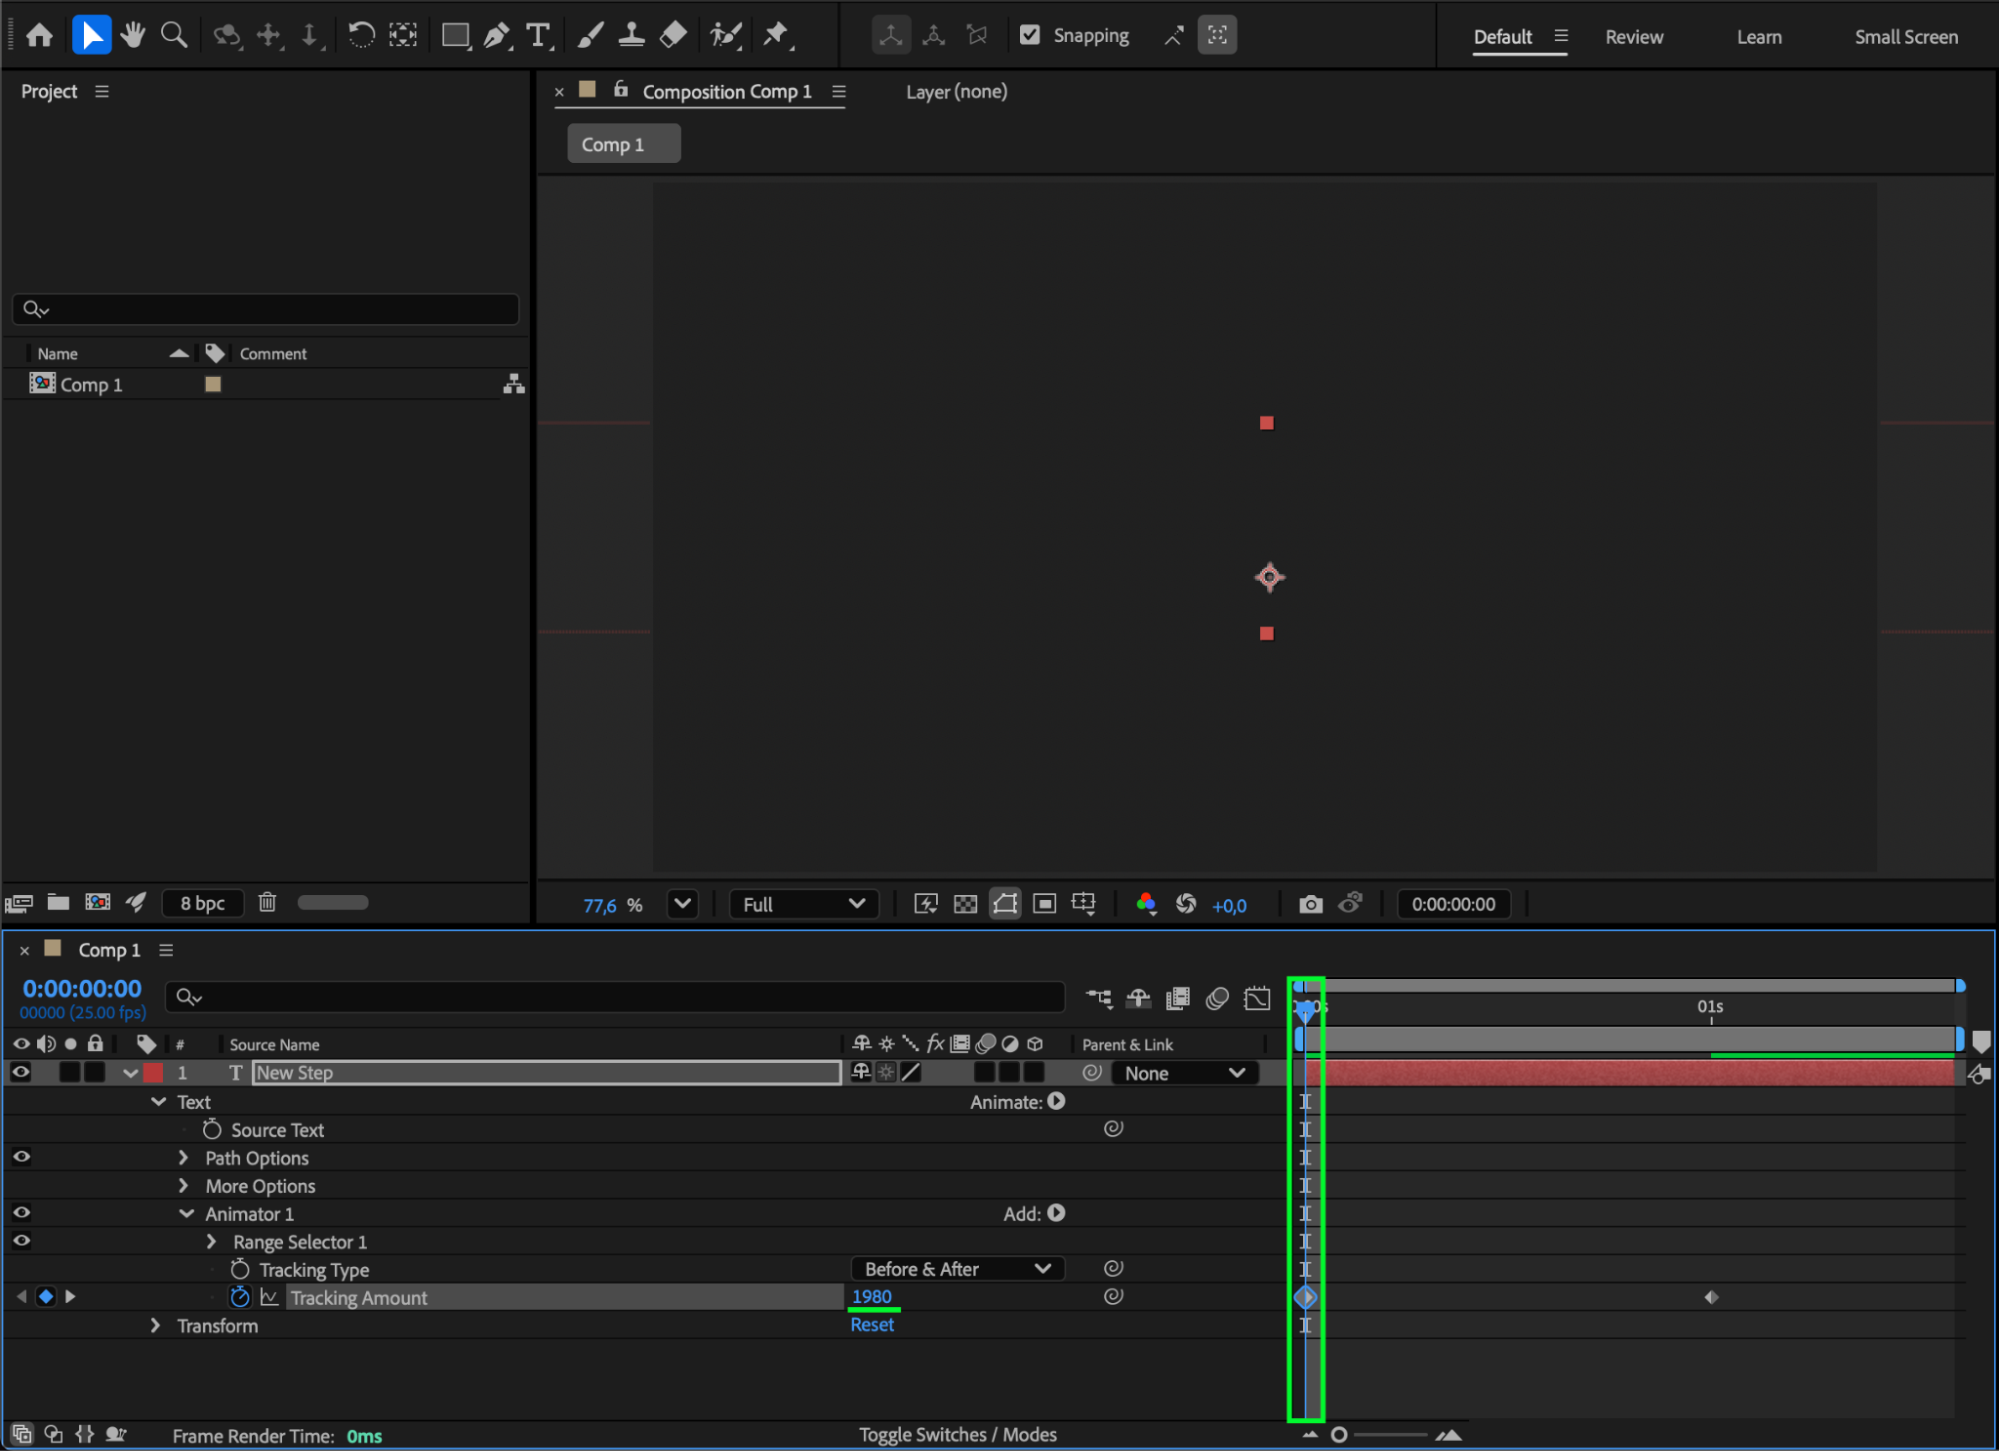
Expand your text layer in the Timeline Panel, click the small arrow next to Text, then press Animate > Tracking. This adds a Tracking Animator to your text, allowing you to control letter spacing dynamically.
Step 4: Set Keyframes for the Reveal Animation
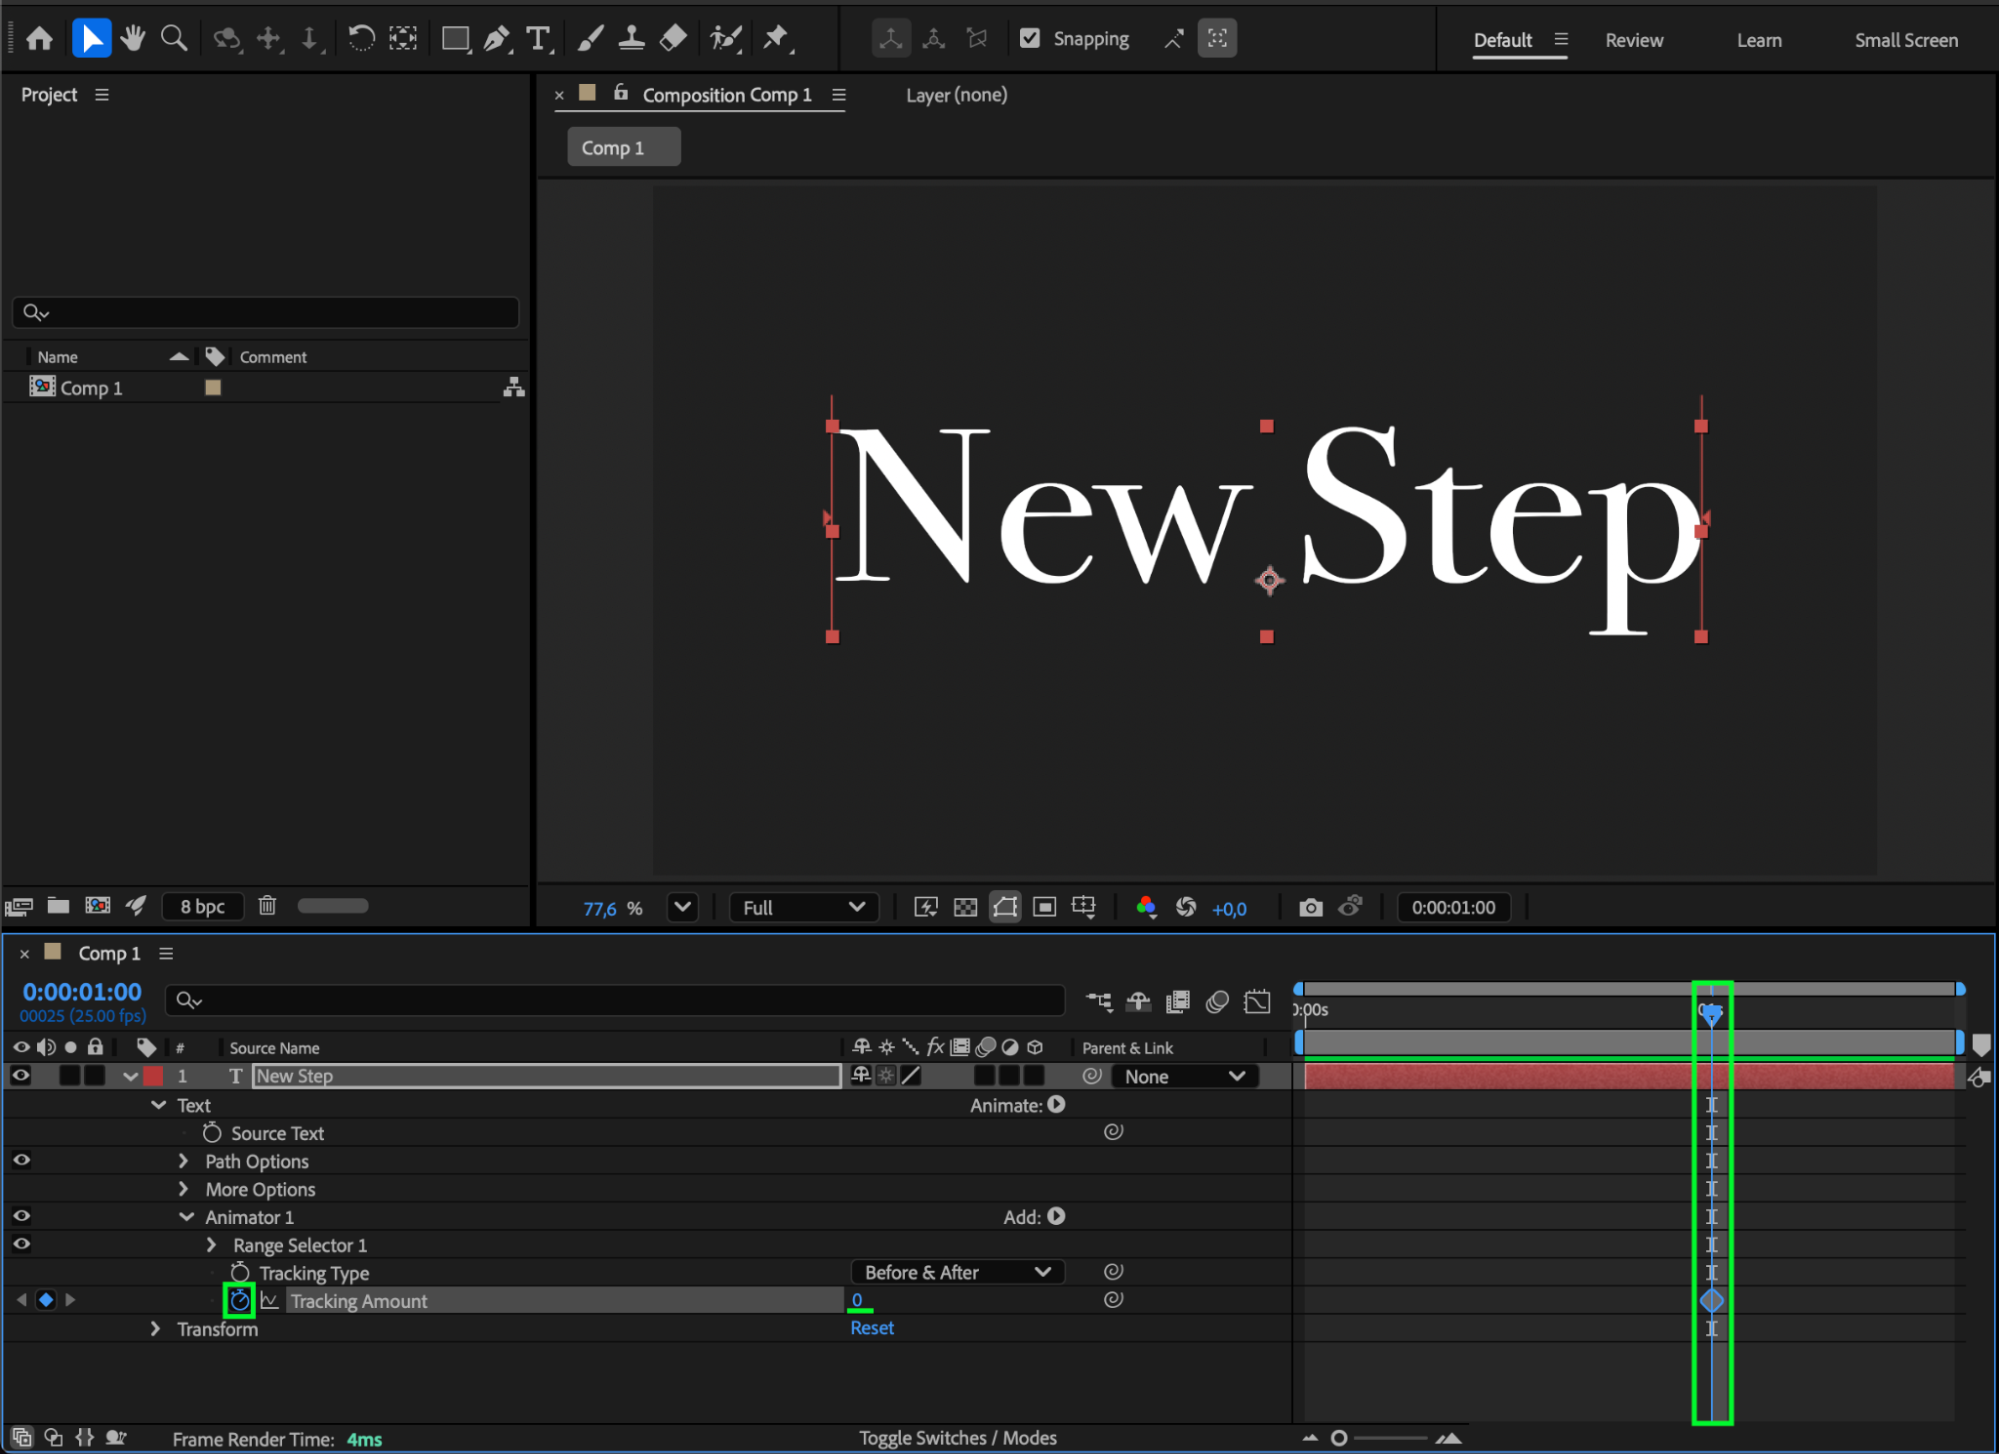
Move the CTI (Current Time Indicator) to the middle of your composition — the point where the title should be fully visible. Set the Tracking Amount to 0 and click the stopwatch to create your first keyframe. Then move the CTI to the start of your composition and increase the Tracking Amount (e.g., 1980) so the letters spread far apart and disappear off-screen.
Step 5: Refine the Animation
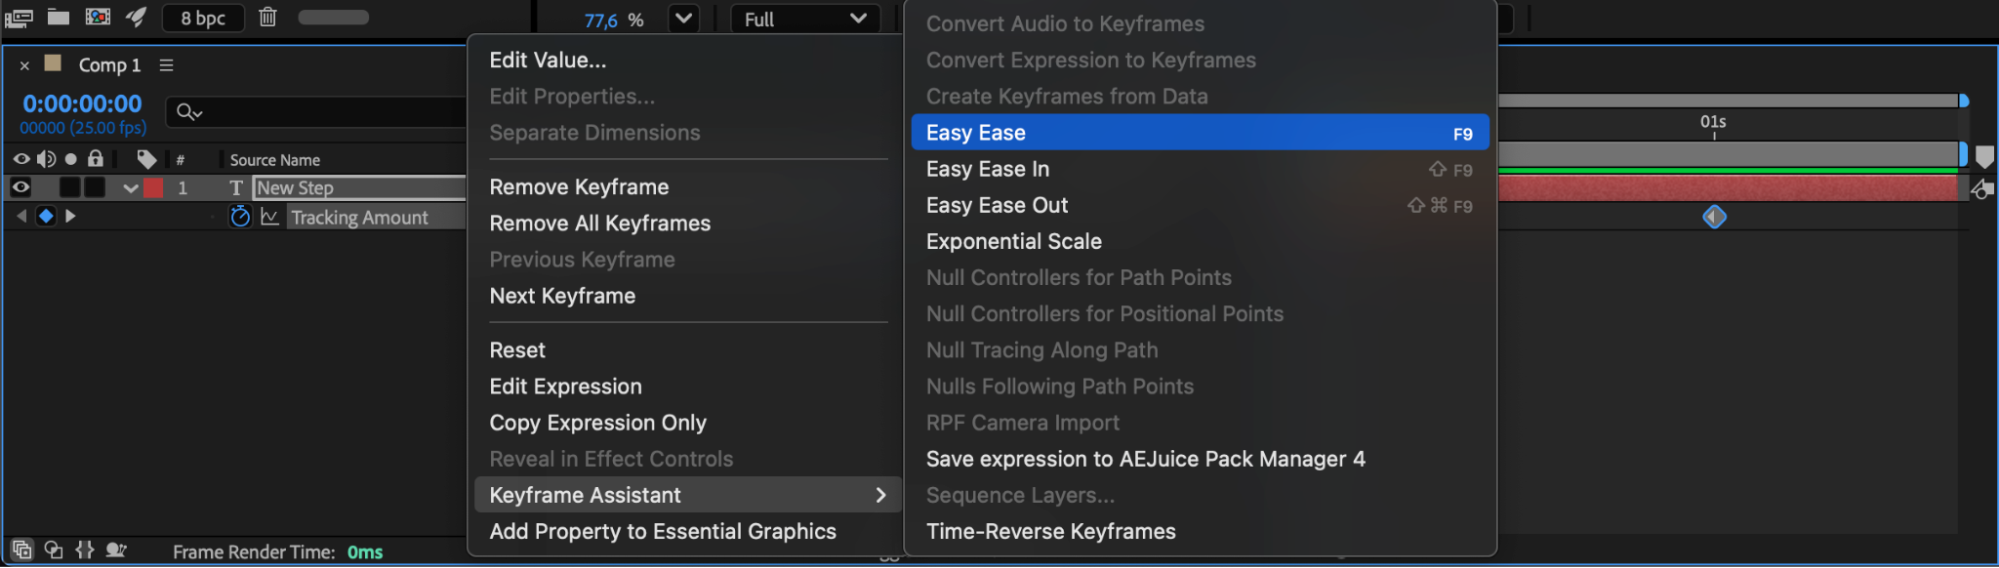
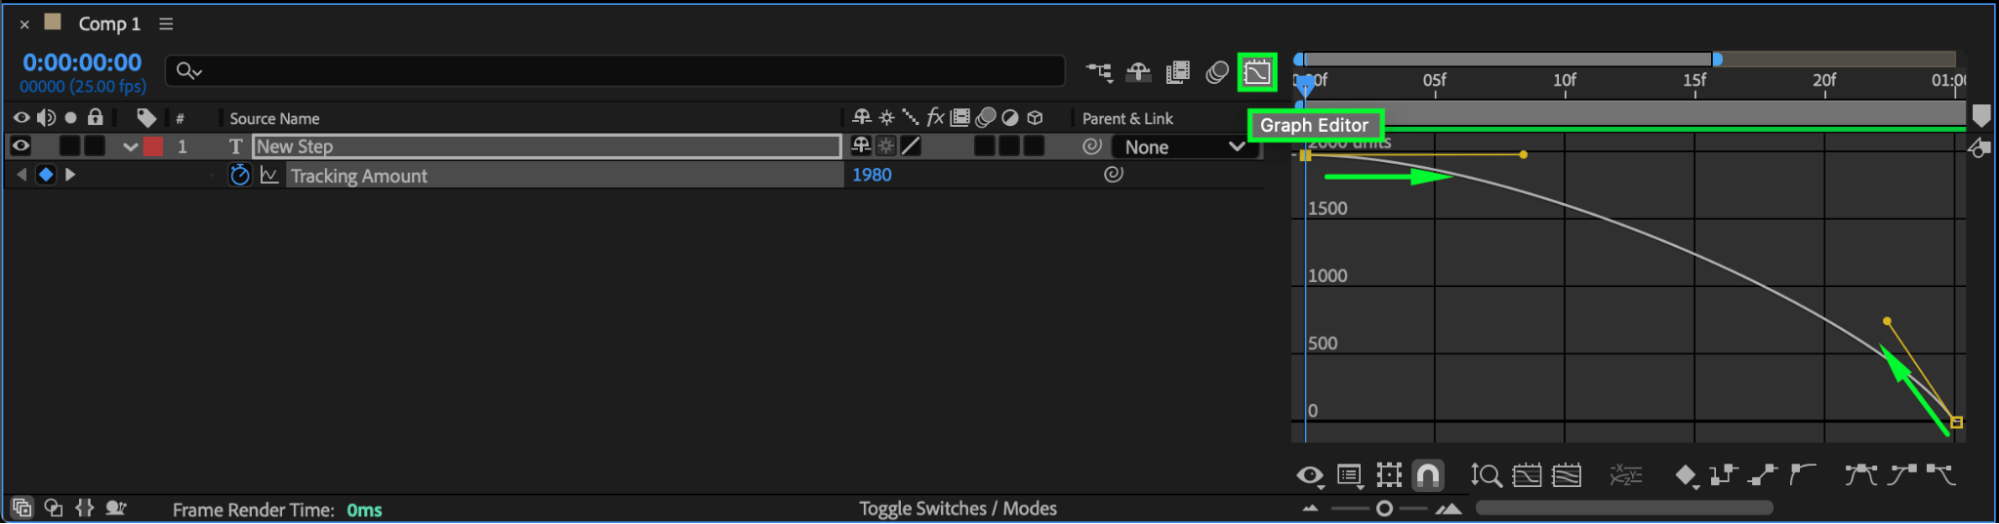
Select all tracking keyframes, right-click, and choose Keyframe Assistant > Easy Ease for smoother motion. You can also use the Graph Editor to fine-tune the animation curve for more natural acceleration and deceleration.
Step 6: Add Motion Blur
Enable Motion Blur for the text layer by clicking the blur icon (three overlapping circles) in the Timeline Panel. Then enable Motion Blur for the entire composition to enhance realism and fluidity.
Step 7: Preview and Adjust
Press Spacebar to preview your animation. If needed, adjust the keyframe timing or tracking amount to achieve the perfect reveal speed and spacing.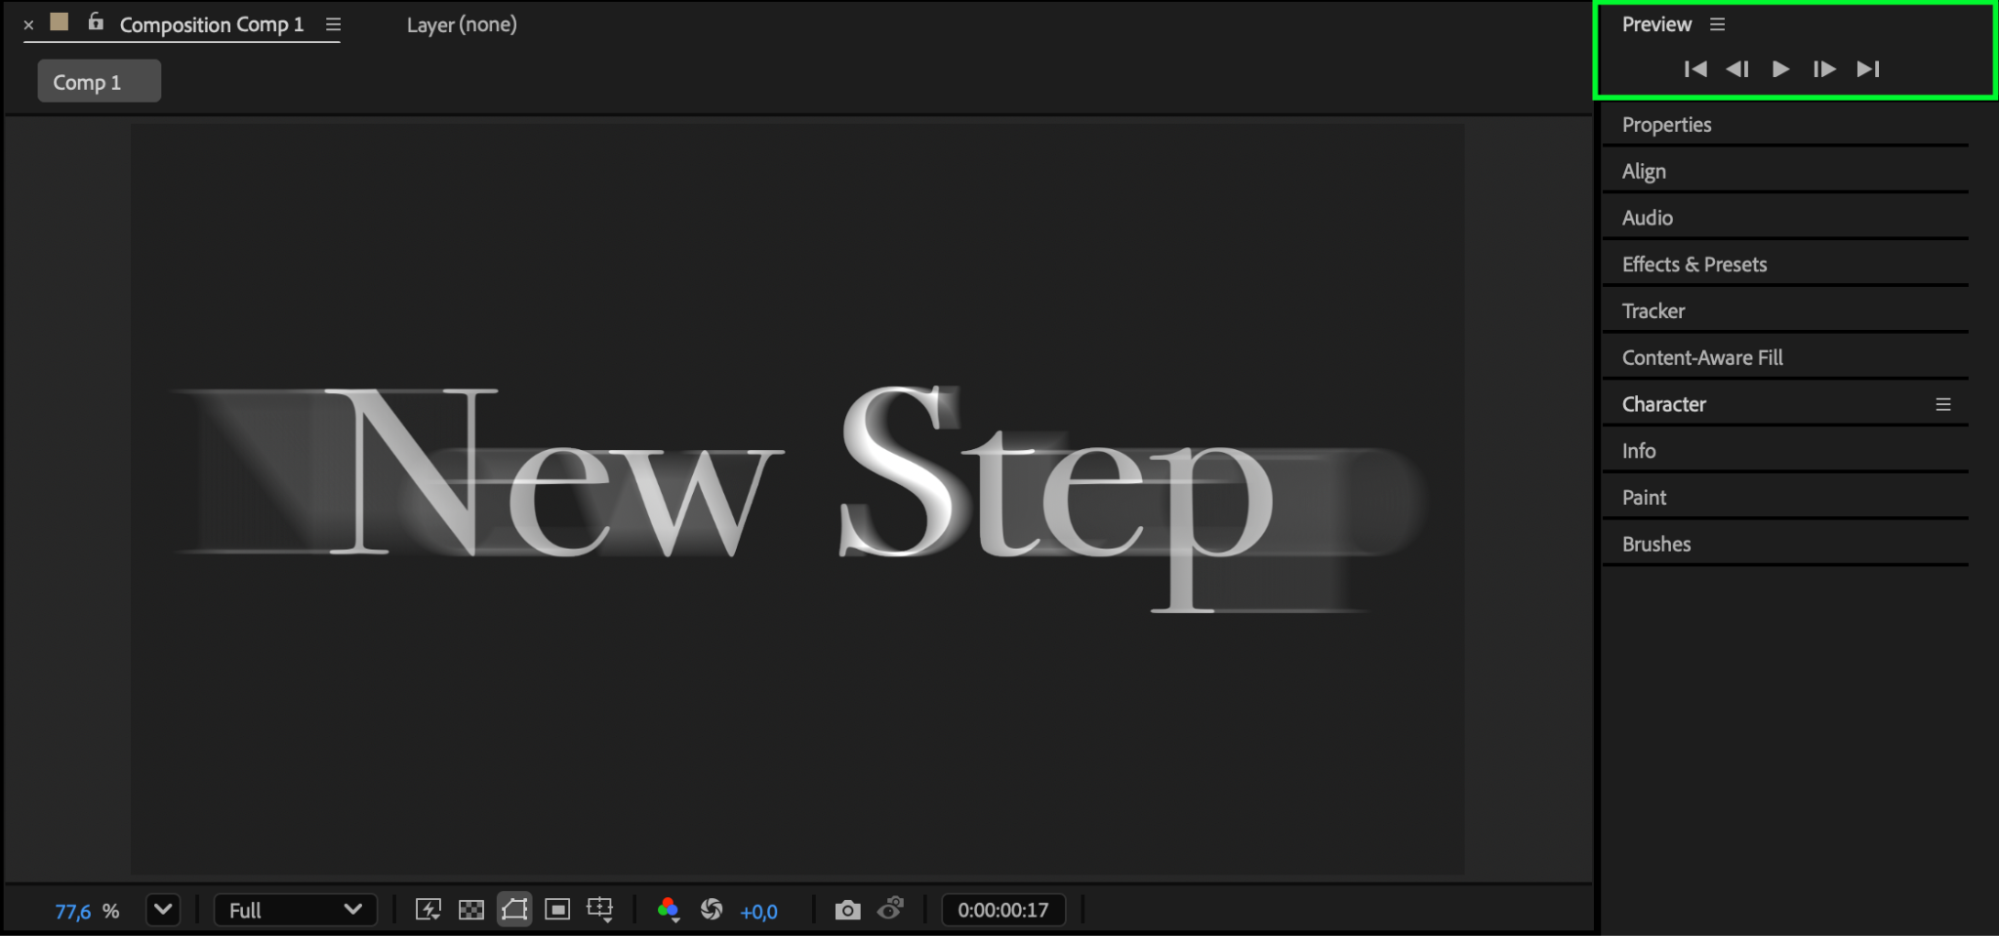
Conclusion
Creating a horizontal title reveal in After Effects is quick and effective using the Tracking Animator. By combining smooth easing and motion blur, you can produce professional, cinematic text animations ideal for title sequences, intros, or lower-thirds graphics.
Our Bestsellers


