How to Transfer and Edit Clips from Premiere Pro in After Effects
Introduction to Editing Premiere Pro Clips in After Effects
Editing a clip from Adobe Premiere Pro in Adobe After Effects allows you to unleash your creativity and add professional-grade visual effects and animation to your videos. With seamless integration between these two powerful software applications, you can bring your video editing skills to new heights. In this comprehensive guide, we will walk you through the step-by-step process of editing a clip from Premiere in After Effects, giving you the tools and techniques to create stunning and captivating videos. So, let’s dive in and explore how you can maximize the potential of these industry-leading applications.
Get 10% off when you subscribe to our newsletter

Step 1: Prepare Your Project in Premiere Pro
Start by opening your project in Premiere Pro and organizing your clips on the timeline. This is the time to trim your footage, add transitions, apply color correction, and perform any necessary audio edits. Ensuring your project is clean and well-structured before moving on to After Effects is crucial for a smooth workflow. This preparation stage sets the foundation for more advanced editing in After Effects. Step 2: Create a New Composition in After Effects
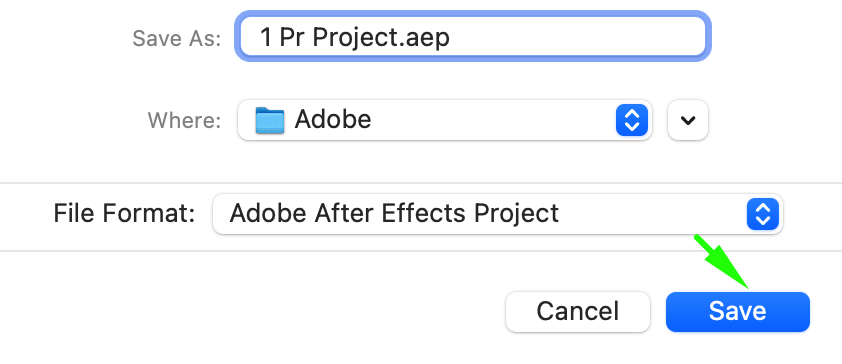
First, open After Effects and have it ready in the background. Then, return to Premiere Pro, select the sequence or specific clip you want to edit, right-click on it, and choose “Replace with After Effects Composition.” This action will automatically open After Effects, where you will be prompted to save the new composition. Choose an appropriate file name and location, then save it. This will create a new composition in After Effects, with the selected clip or sequence ready for advanced editing.
 Step 3: Edit the Clip in After Effects
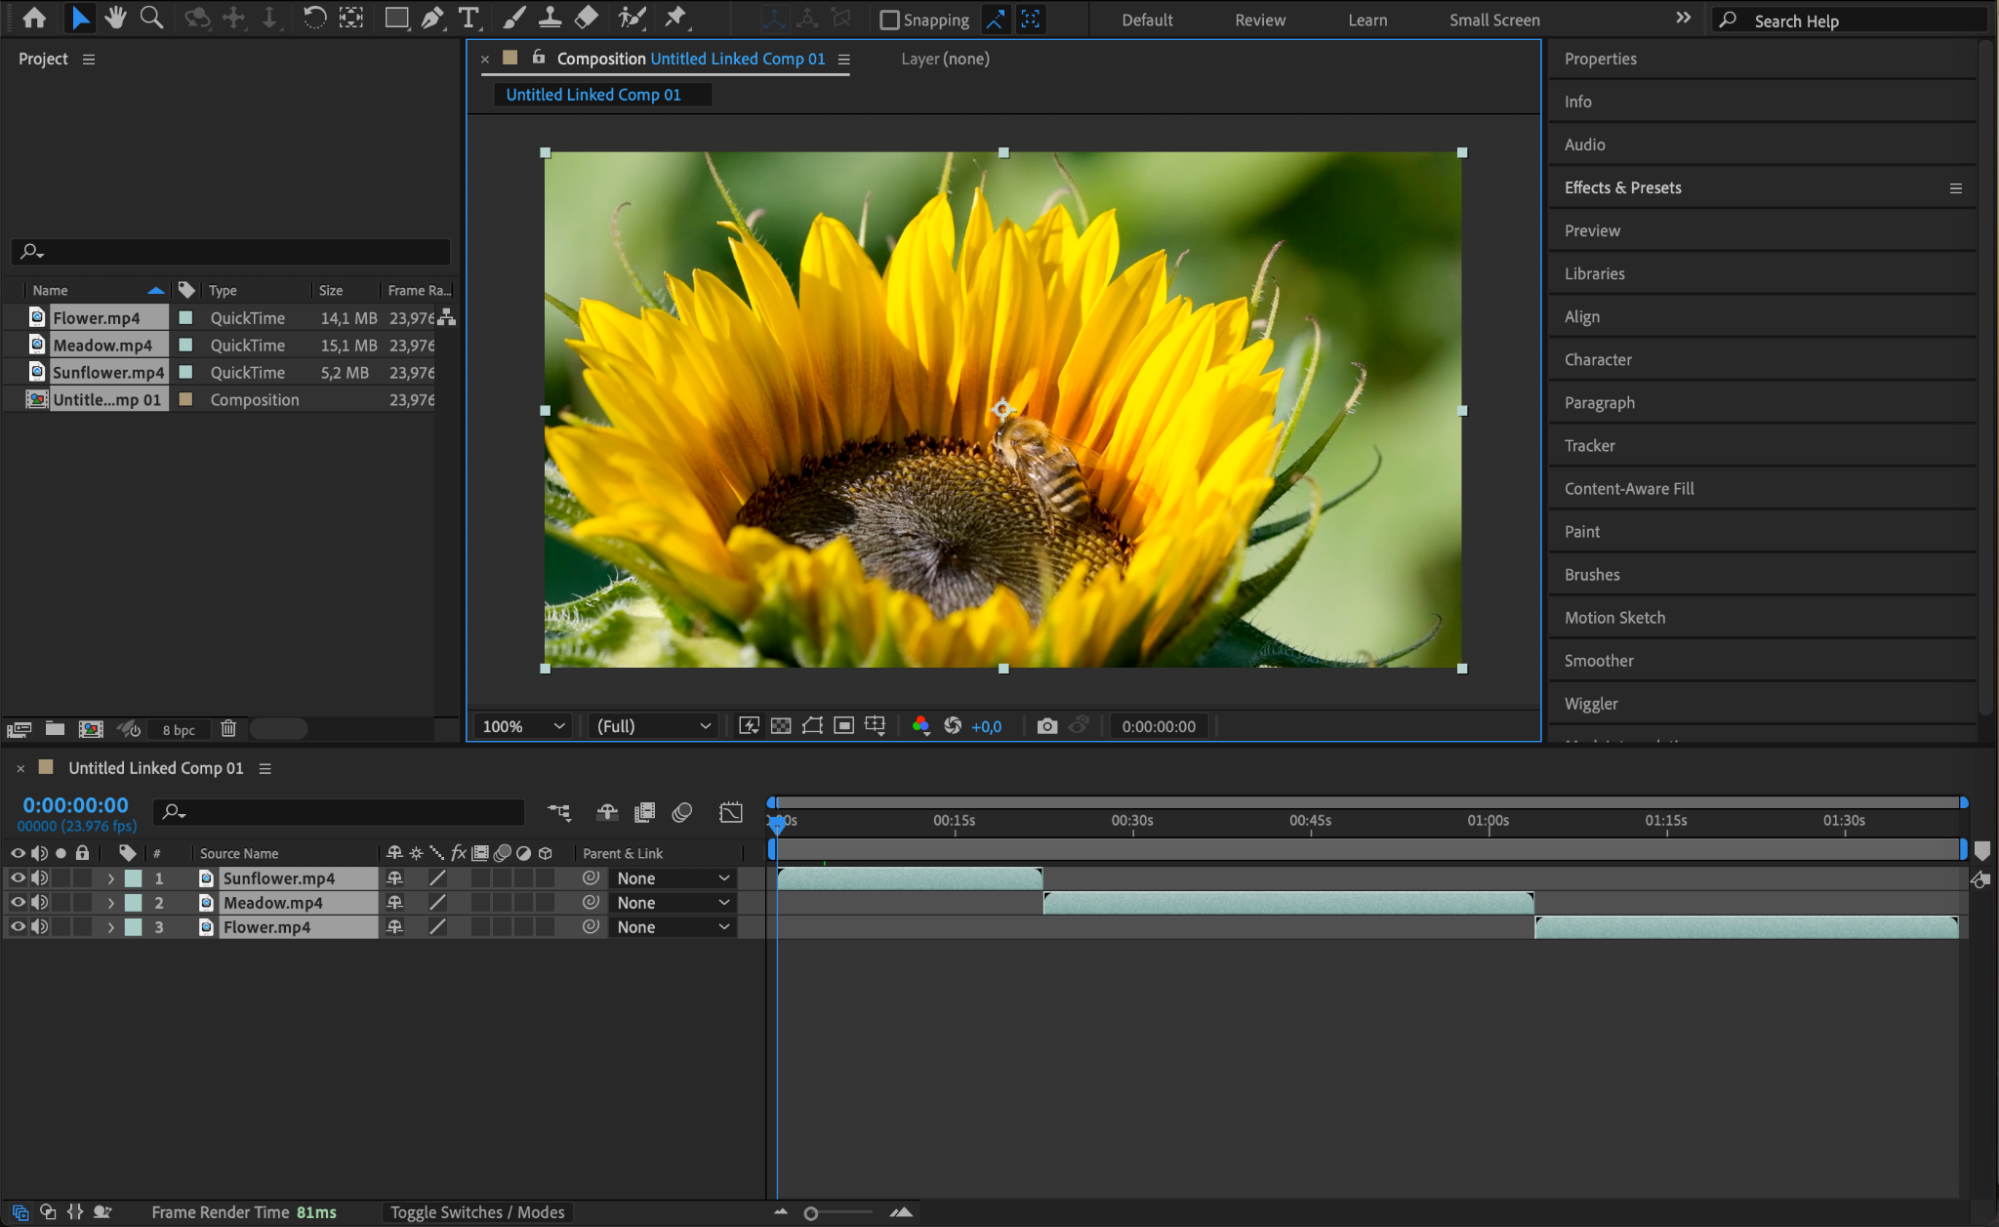
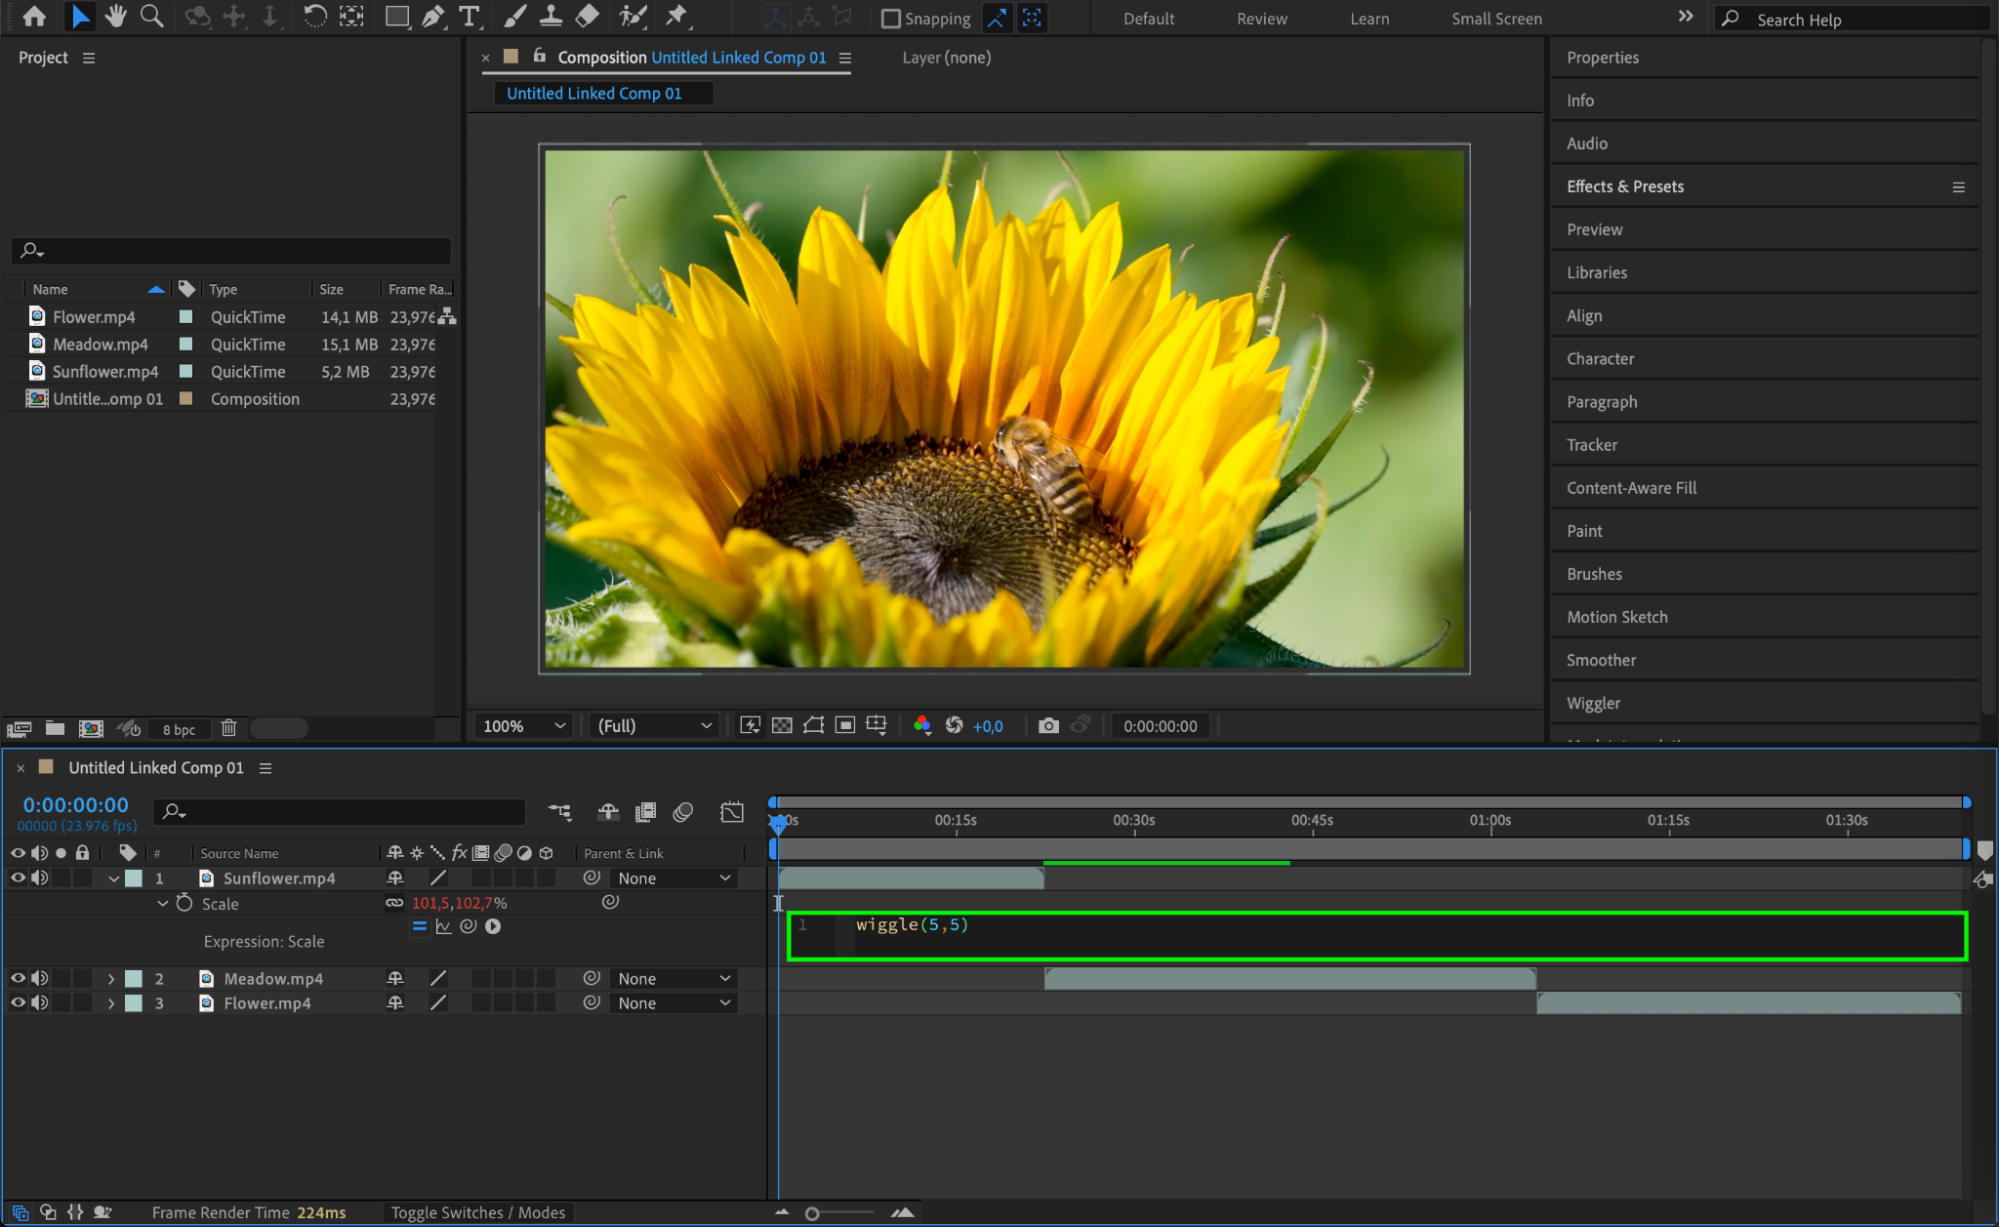
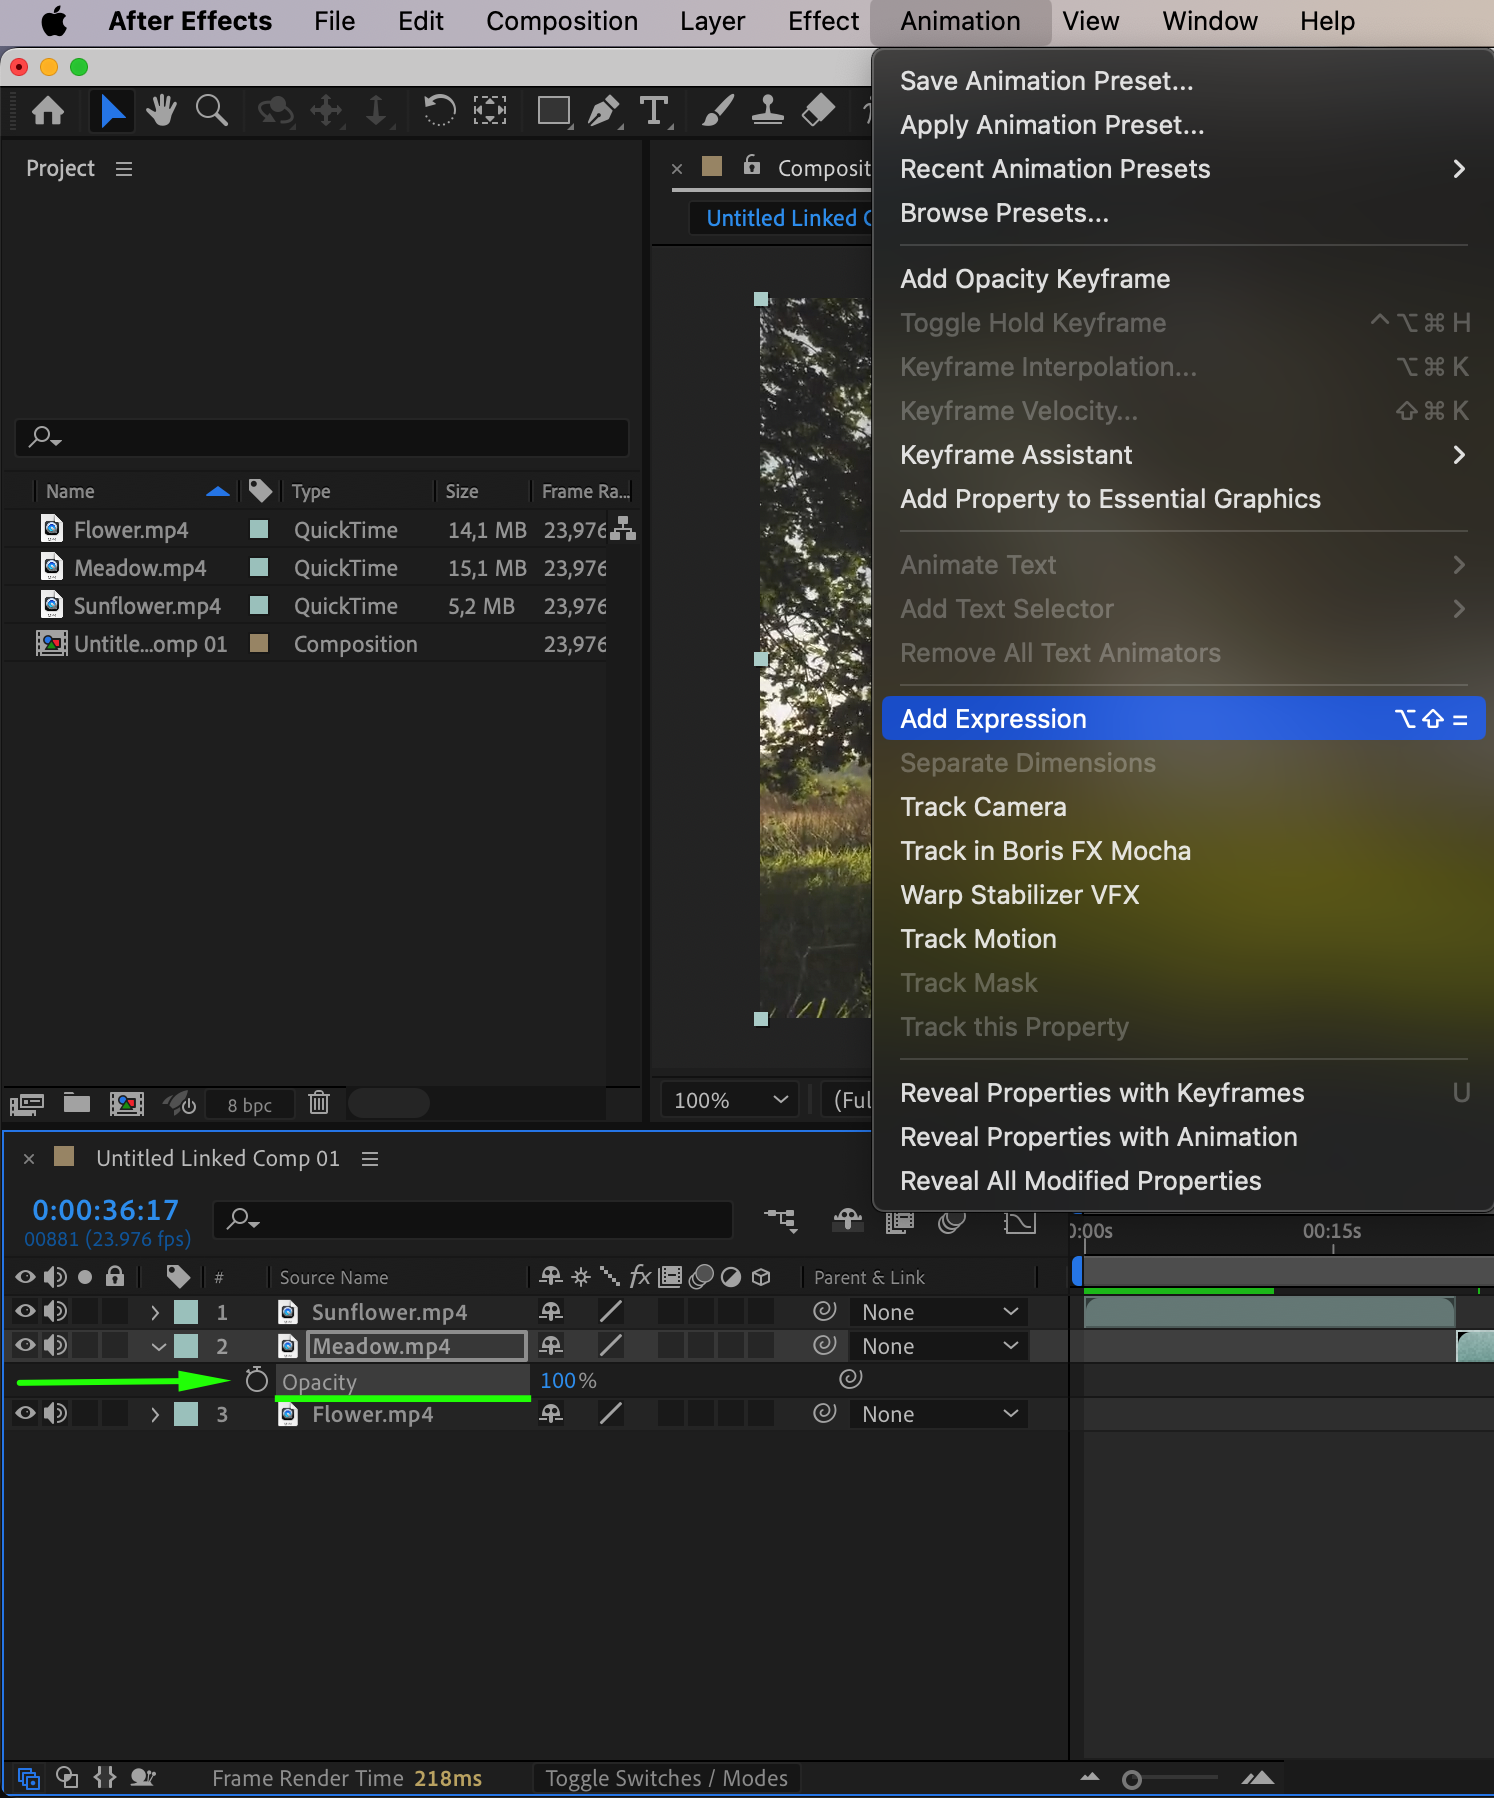
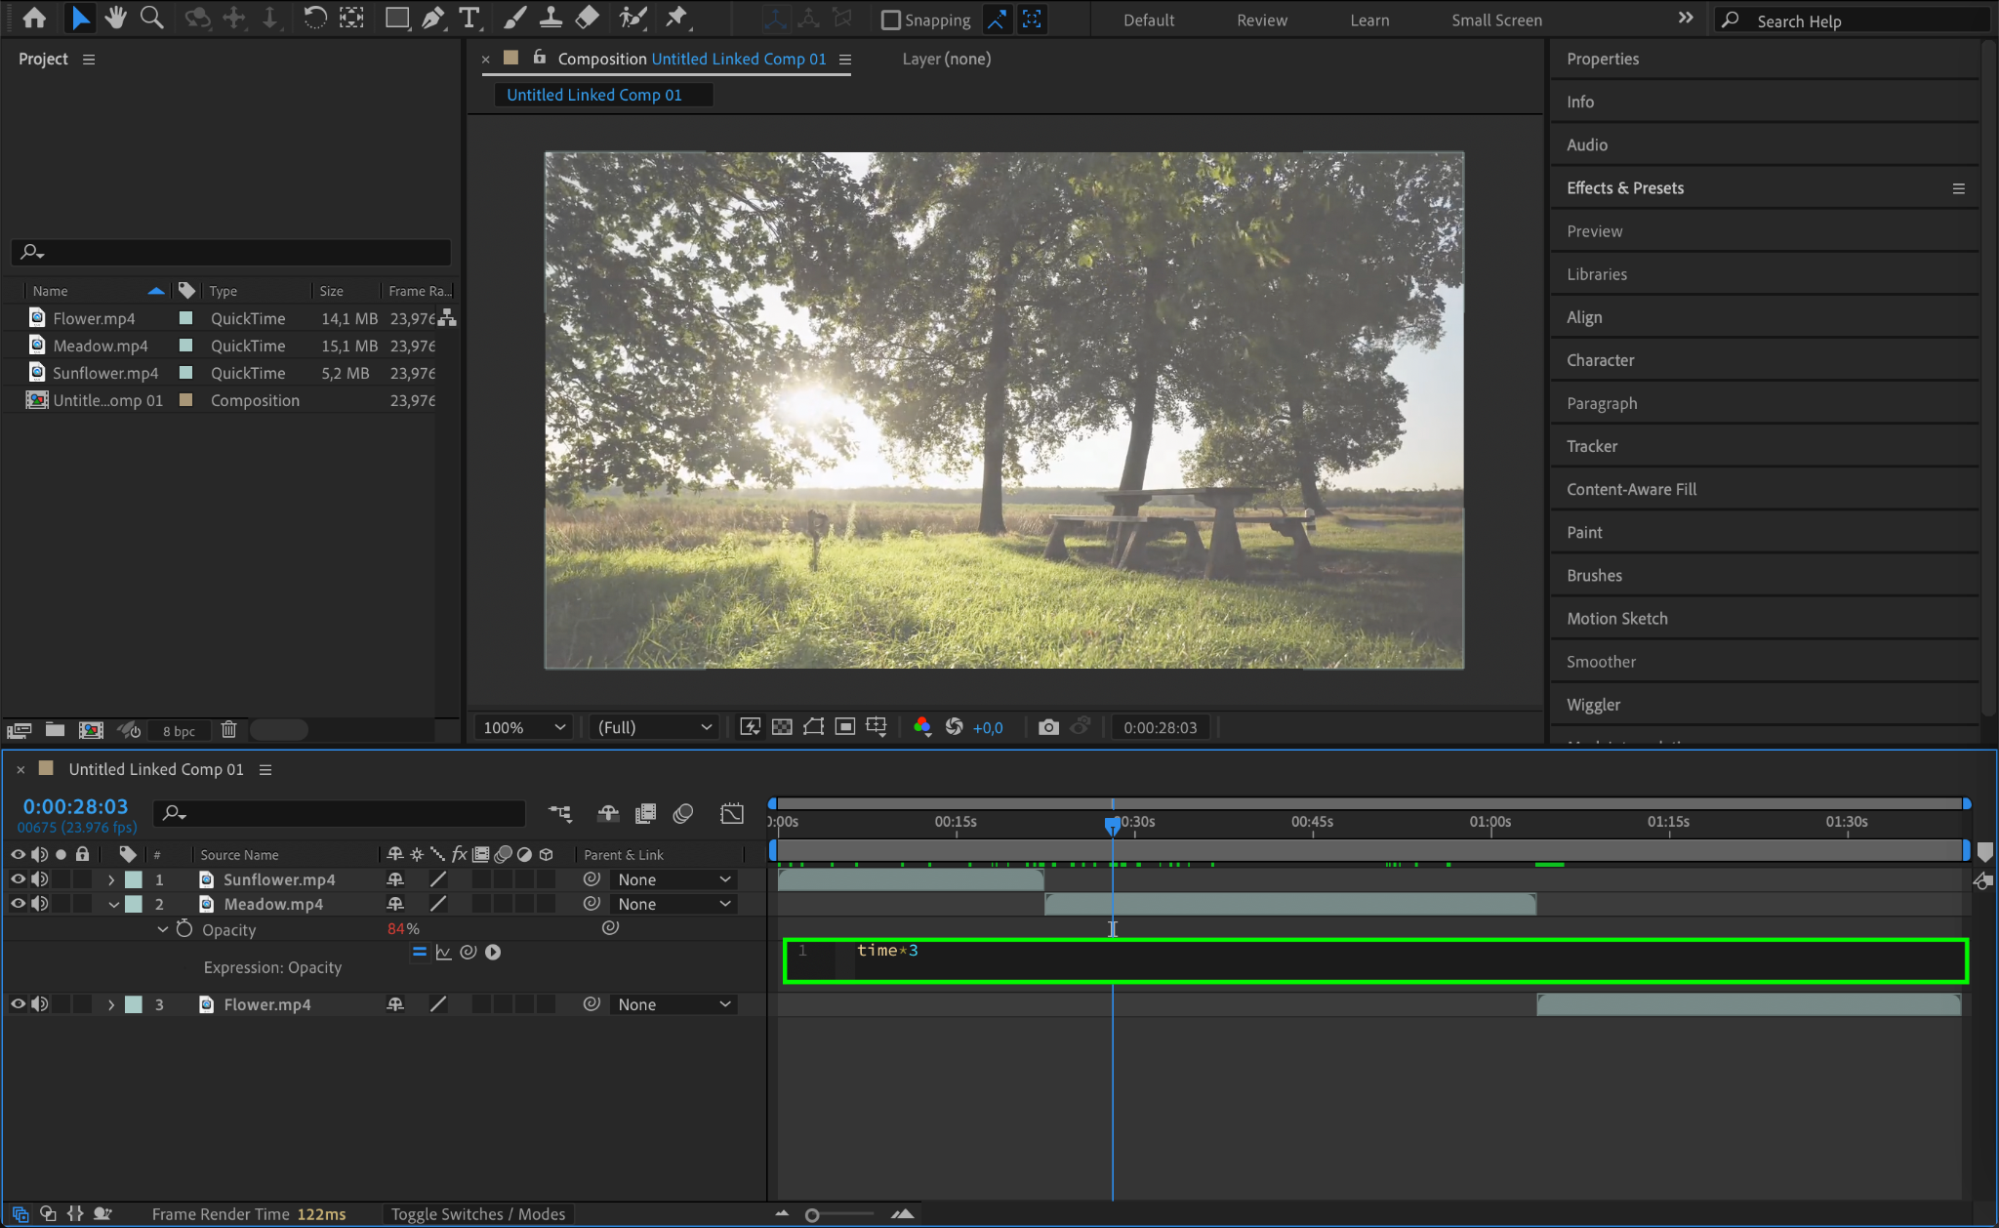
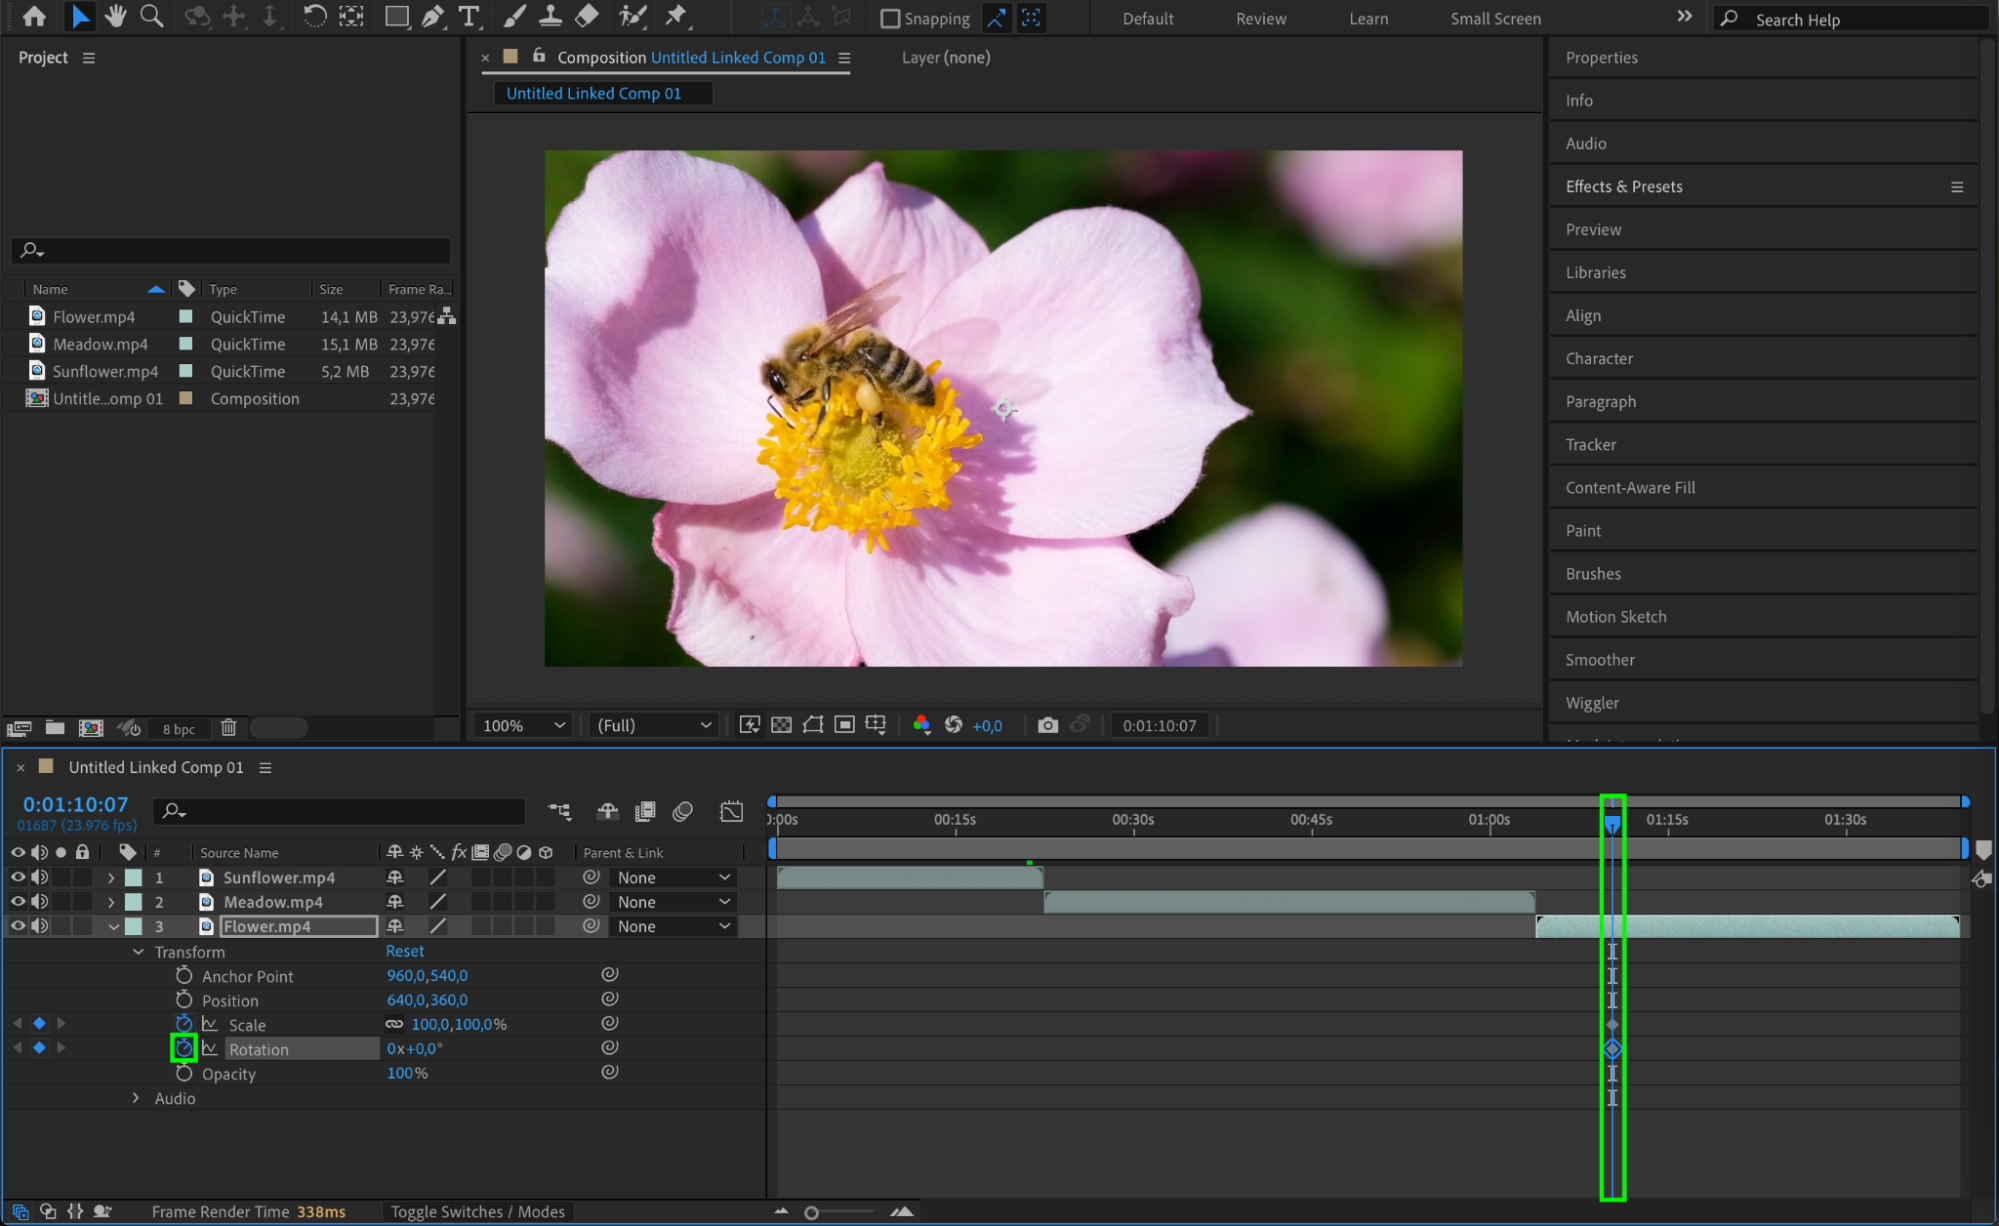
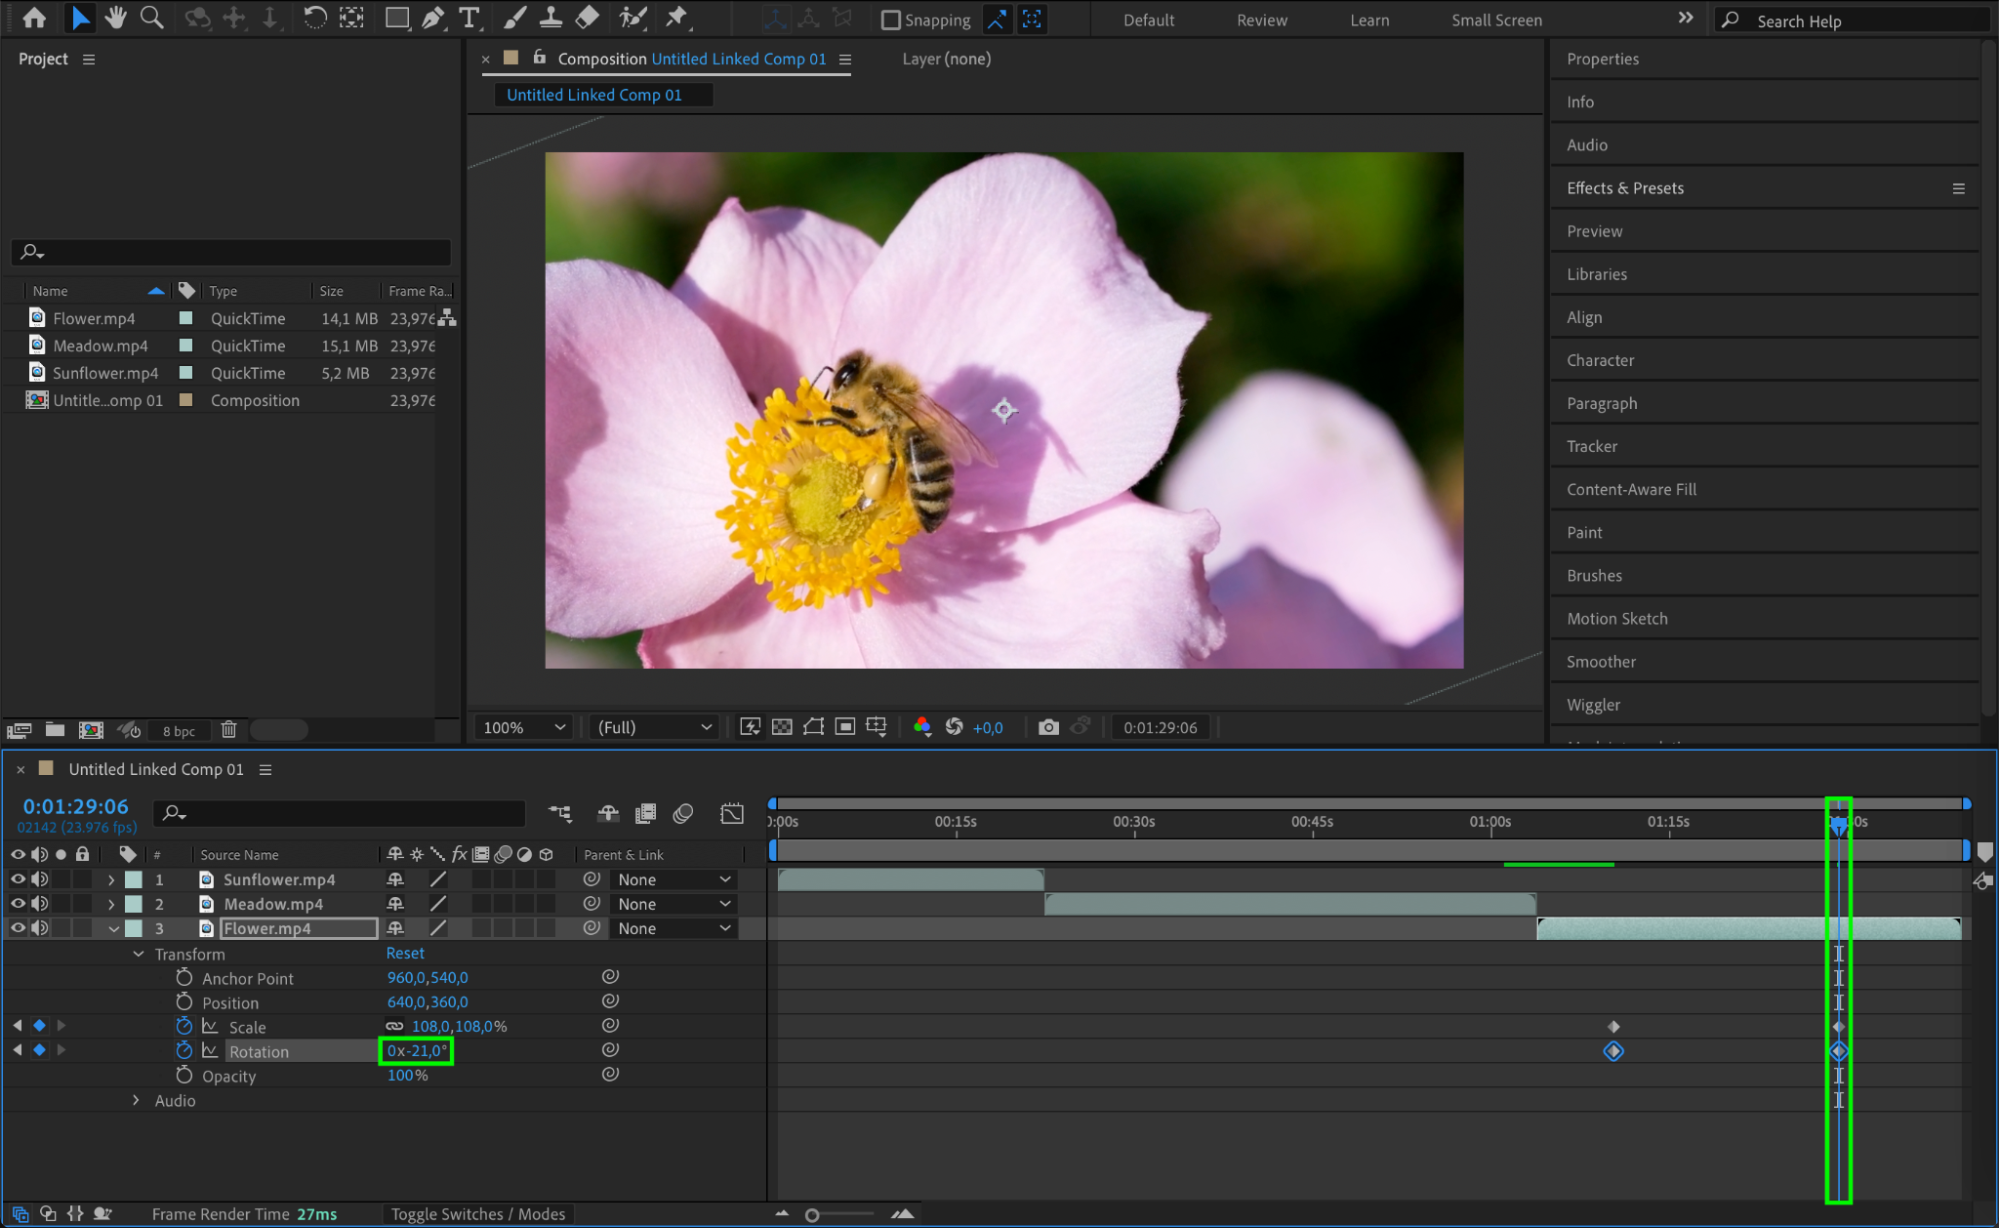
Now that your Premiere Pro project is in After Effects, you can start editing using its powerful tools and effects. Select the clip in the timeline and make the desired adjustments. You can apply visual effects, enhance colors, add masks, or create intricate motion graphics. After Effects offers a wide range of options to elevate your video, allowing you to get creative and experiment with different looks and effects.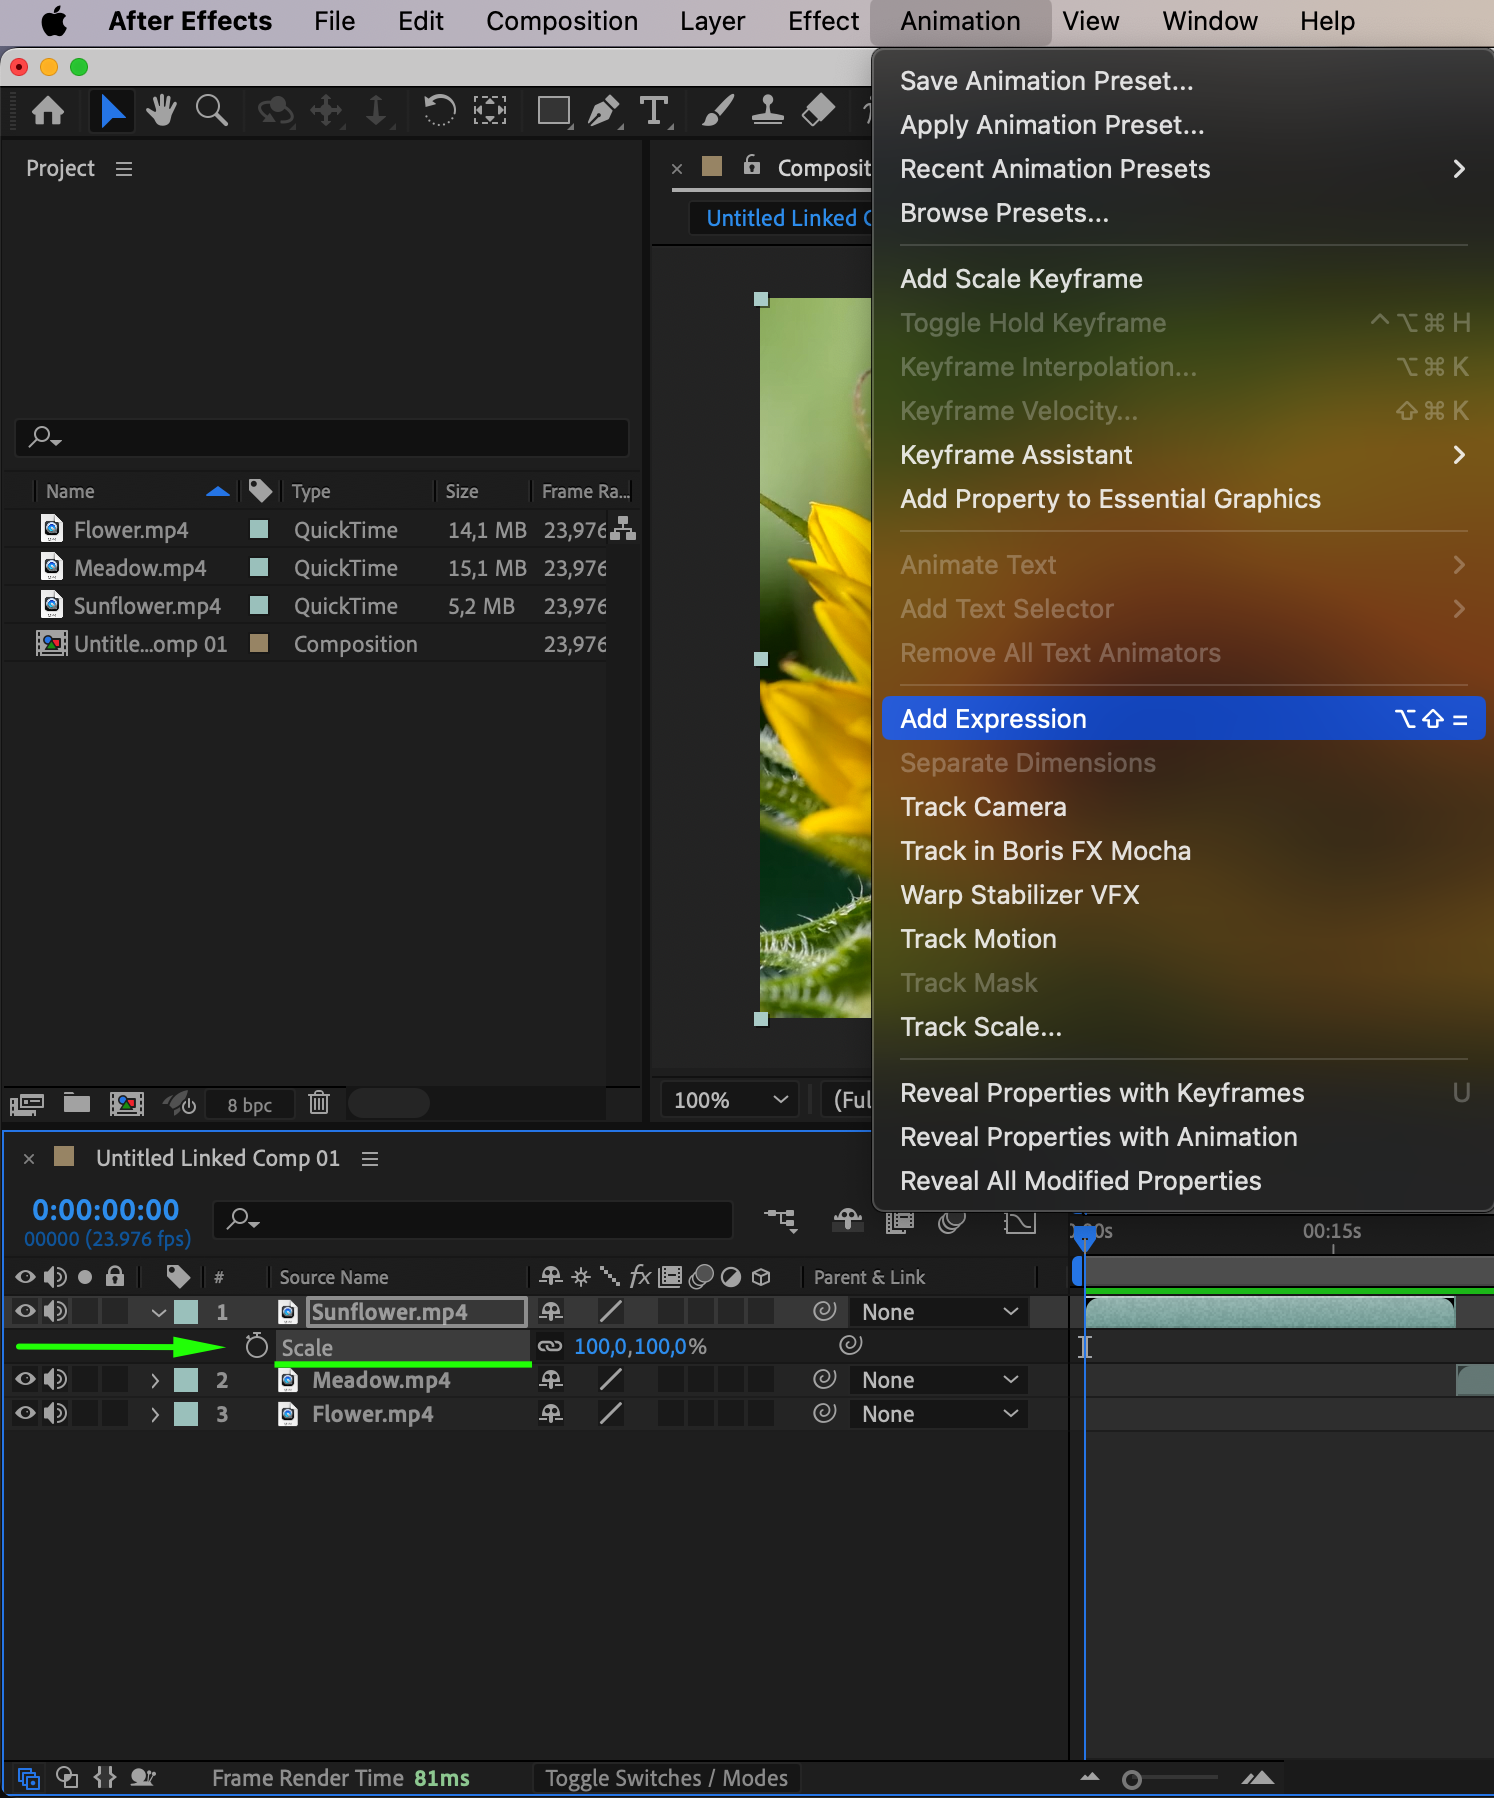
 Step 4: Save Your After Effects Project
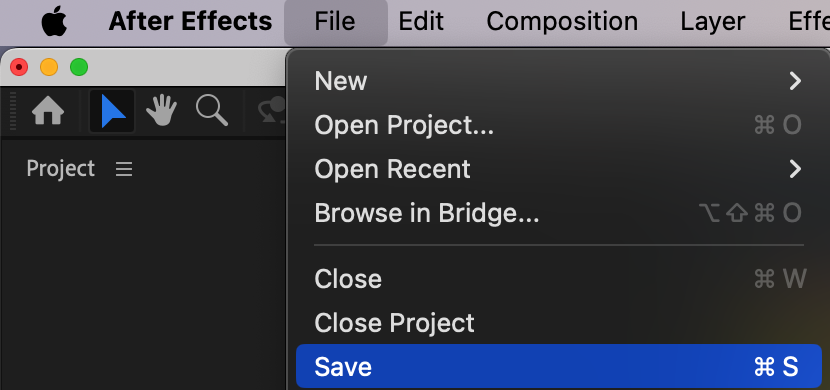
Go to File > Save or use the shortcut “Ctrl/Cmd + S” to save your project. This will ensure that your progress is saved and allows you to return to it later if needed. Consistent saving prevents loss of work and helps keep your workflow smooth and efficient.
 Step 5: Render and Export Your Final Composition
Once you’re satisfied with your edits, it’s time to render and export the final composition. Go to Composition > Add to Render Queue to start this process. In the Render Queue, set your desired output settings, such as file format, resolution, and bitrate. After configuring your settings, click Render. After Effects will process your composition and generate a final video file ready for distribution or further editing in Premiere Pro. Conclusion
By following these steps, you can harness the power of Adobe Premiere Pro and Adobe After Effects to seamlessly edit and enhance your clips. Experiment with different effects, transitions, and animation techniques, and let your creativity shine. Mastering the art of transferring projects between Premiere Pro and After Effects opens up a world of endless creative possibilities, allowing you to create videos that leave a lasting impact on your audience.


