How to Create Smooth Text Fade-Outs in After Effects
Crafting Seamless Text Fade-Outs in After Effects
In the realm of video and animation creation, Adobe After Effects stands out as a versatile tool offering a wide array of effects and animations. One popular technique used in projects is the fading out of text, which adds a polished and visually appealing touch. In this tutorial, we’ll walk you through the simple steps to smoothly fade out text in After Effects.
Get 10% off when you subscribe to our newsletter

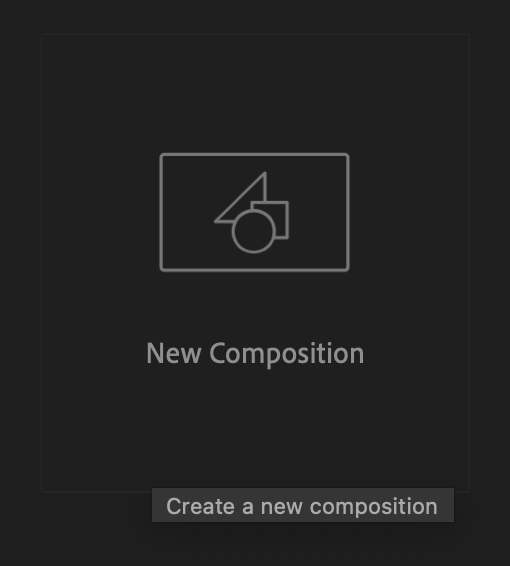
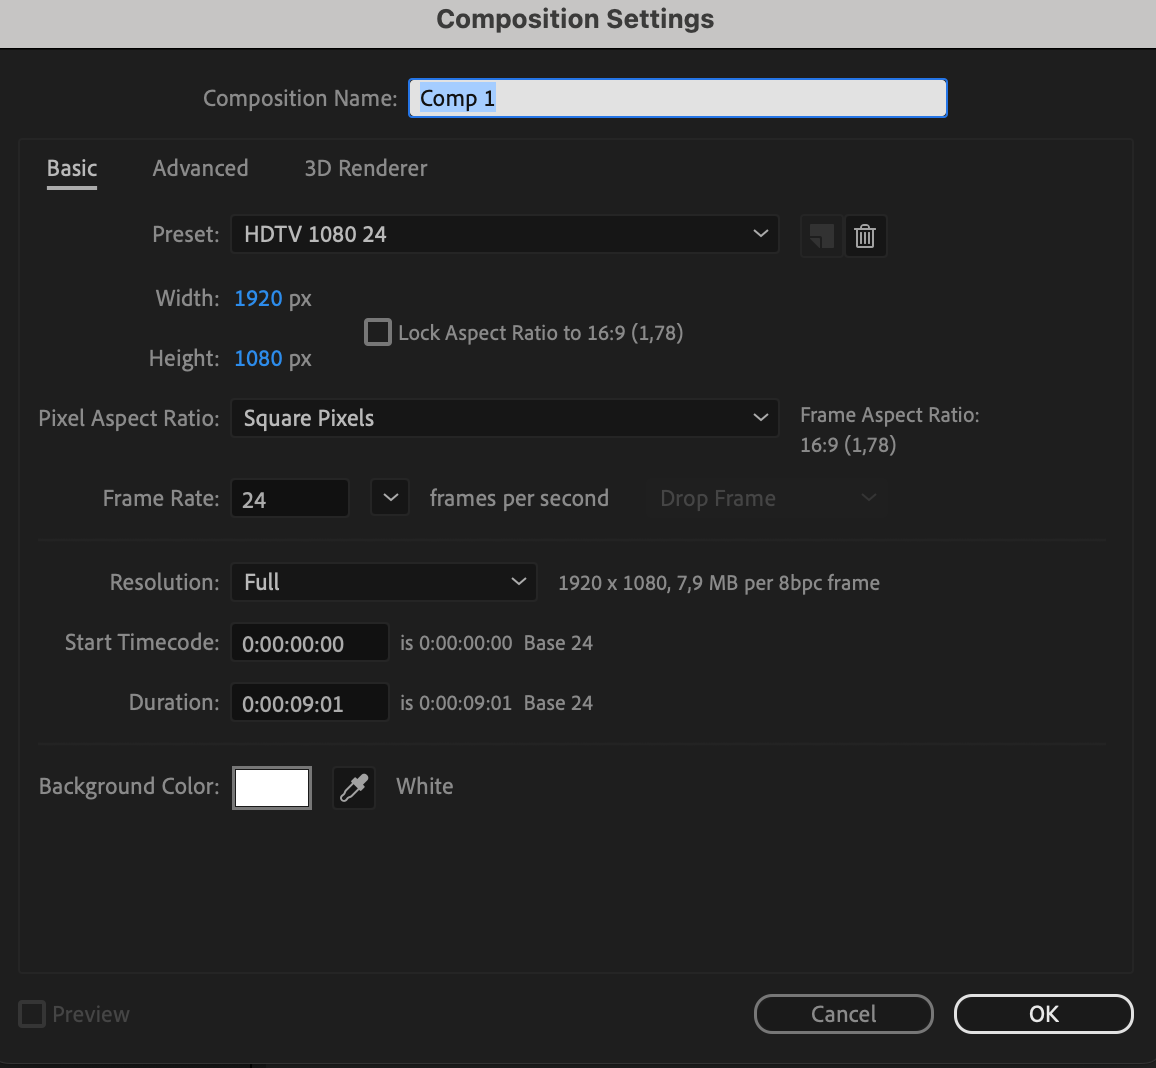
Step 1: Setting Up the Text
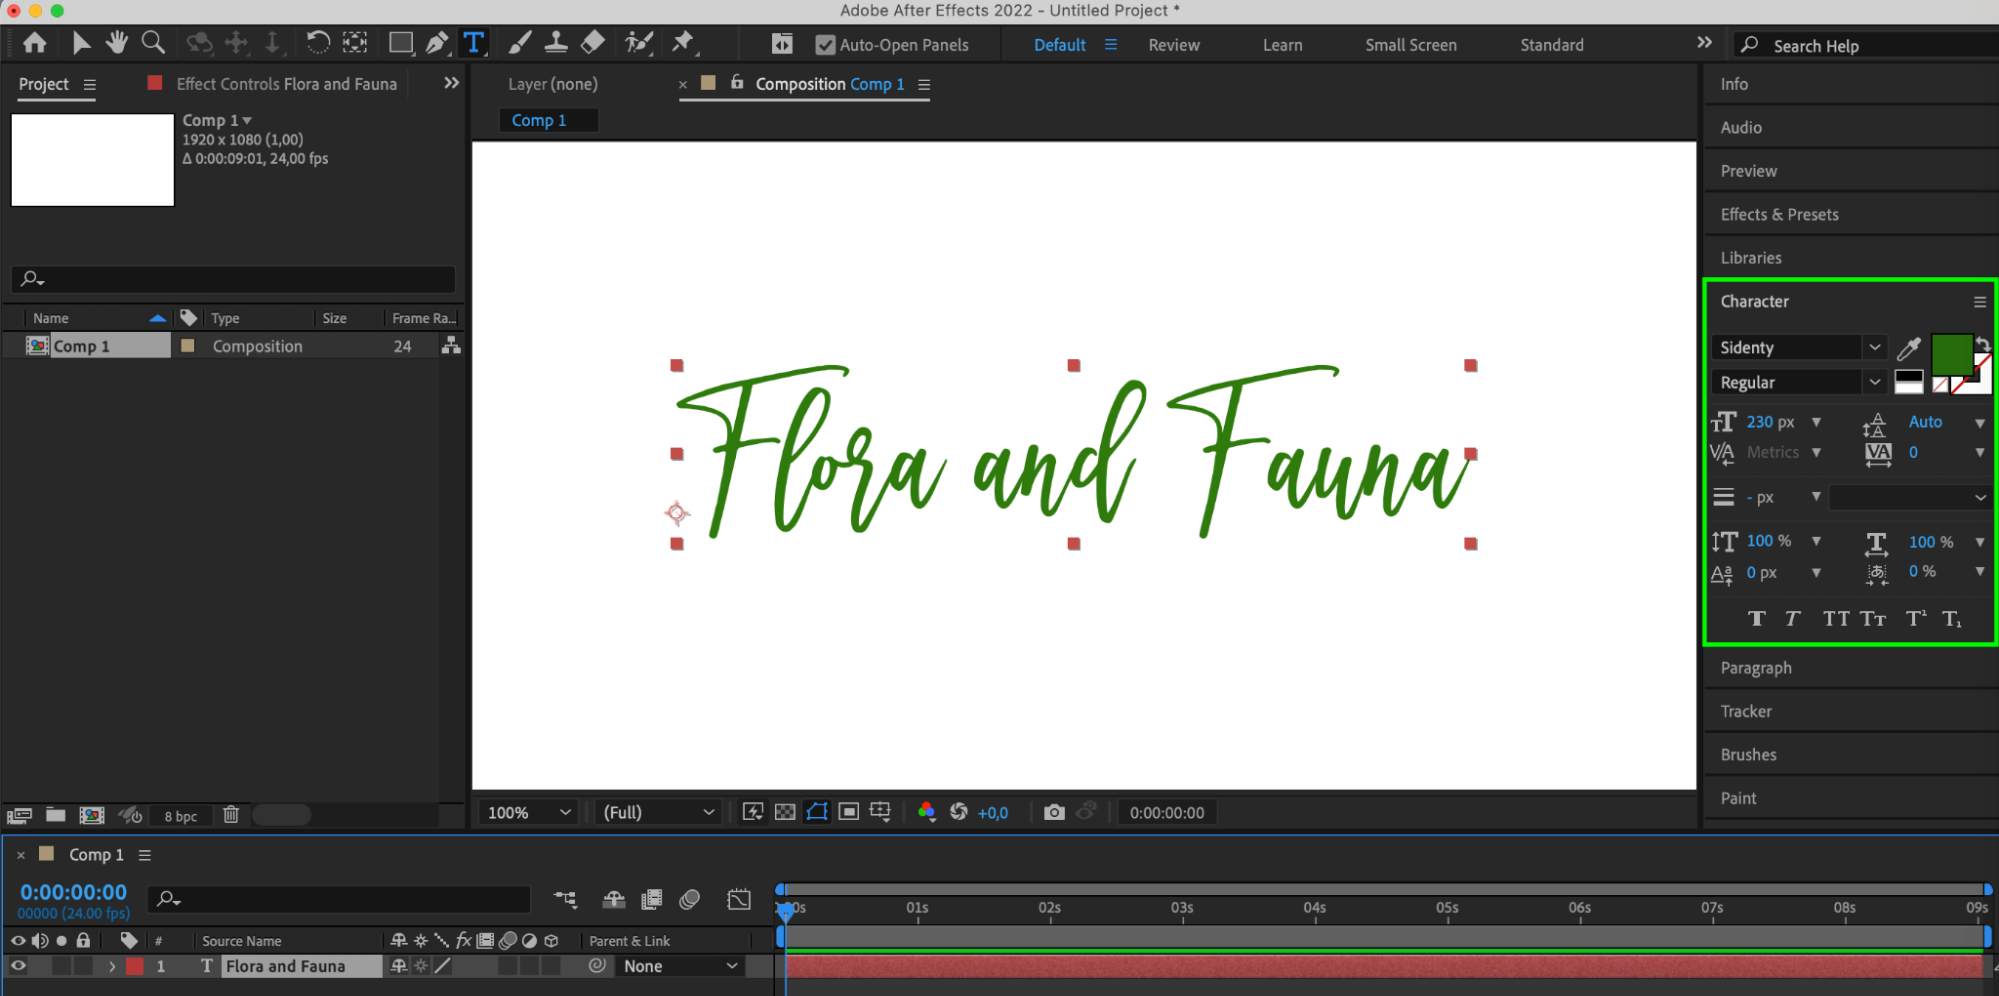
Begin by creating a new composition in After Effects. Utilize the Text Tool from the toolbar to add a new text layer to the composition. Enter your desired text and adjust its font, size, and alignment to fit your project needs.

Step 2: Adding Opacity Keyframes
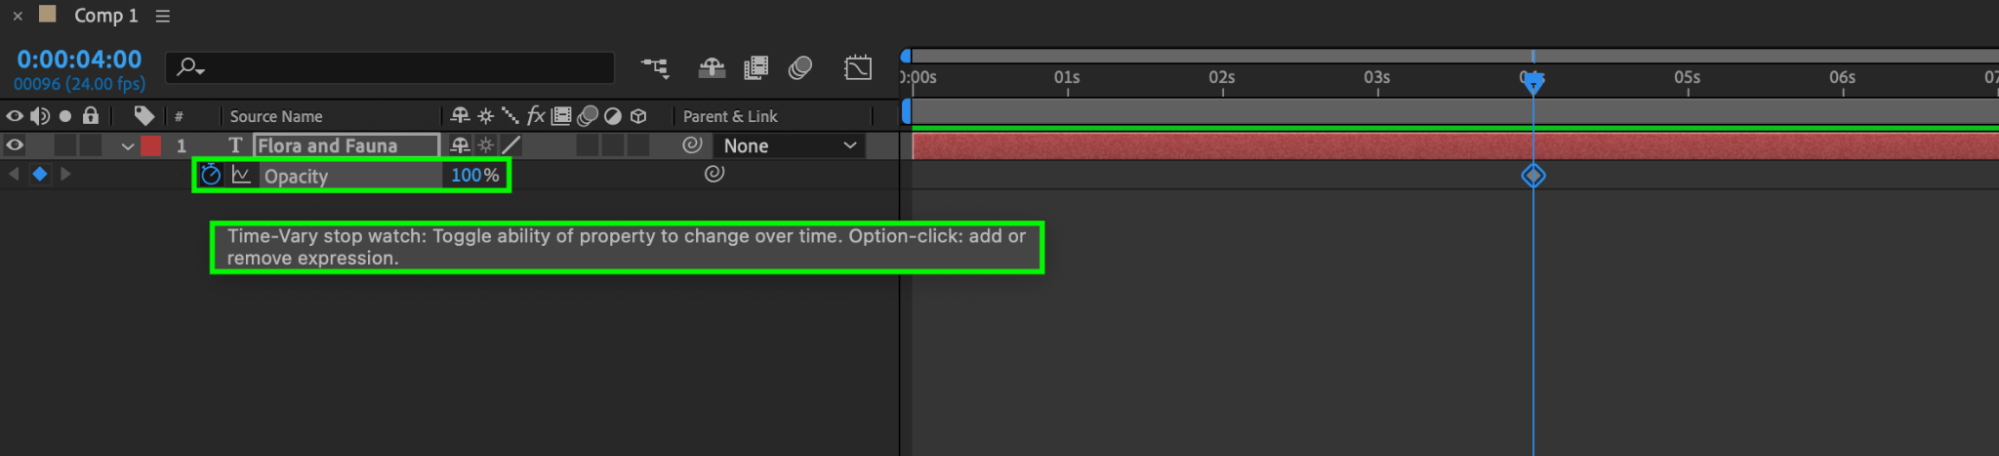
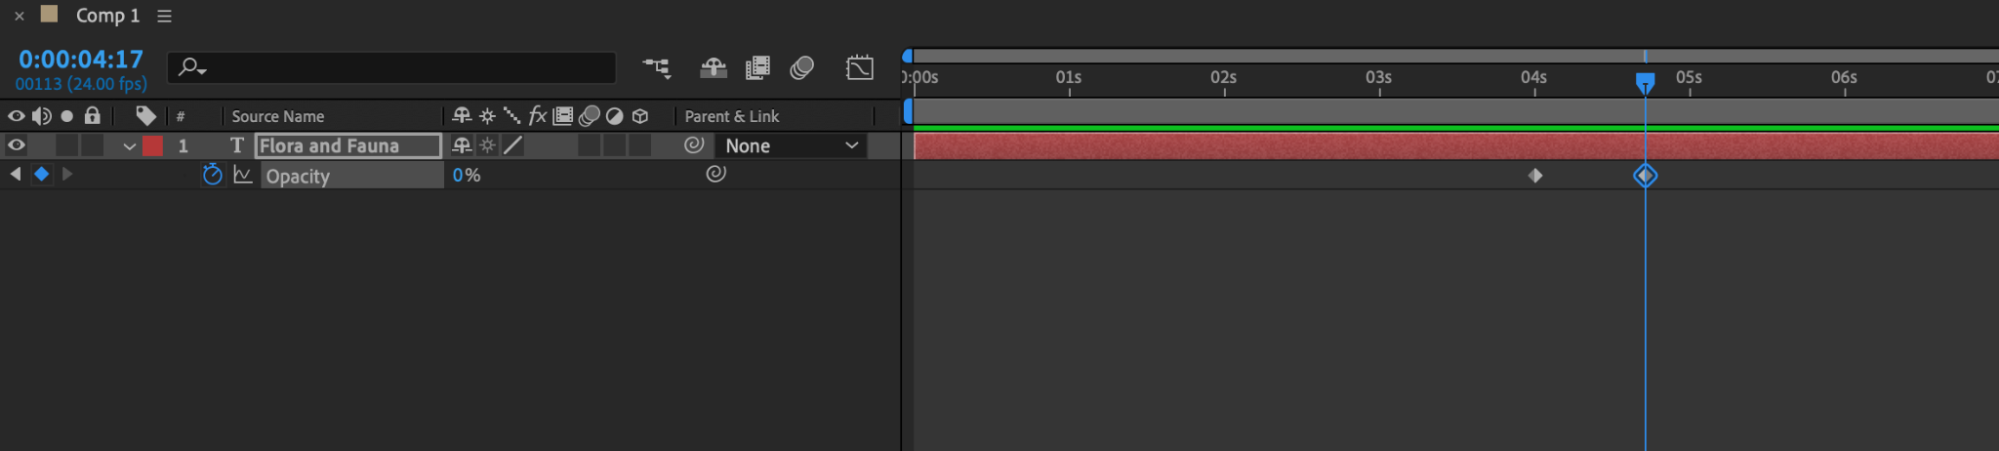
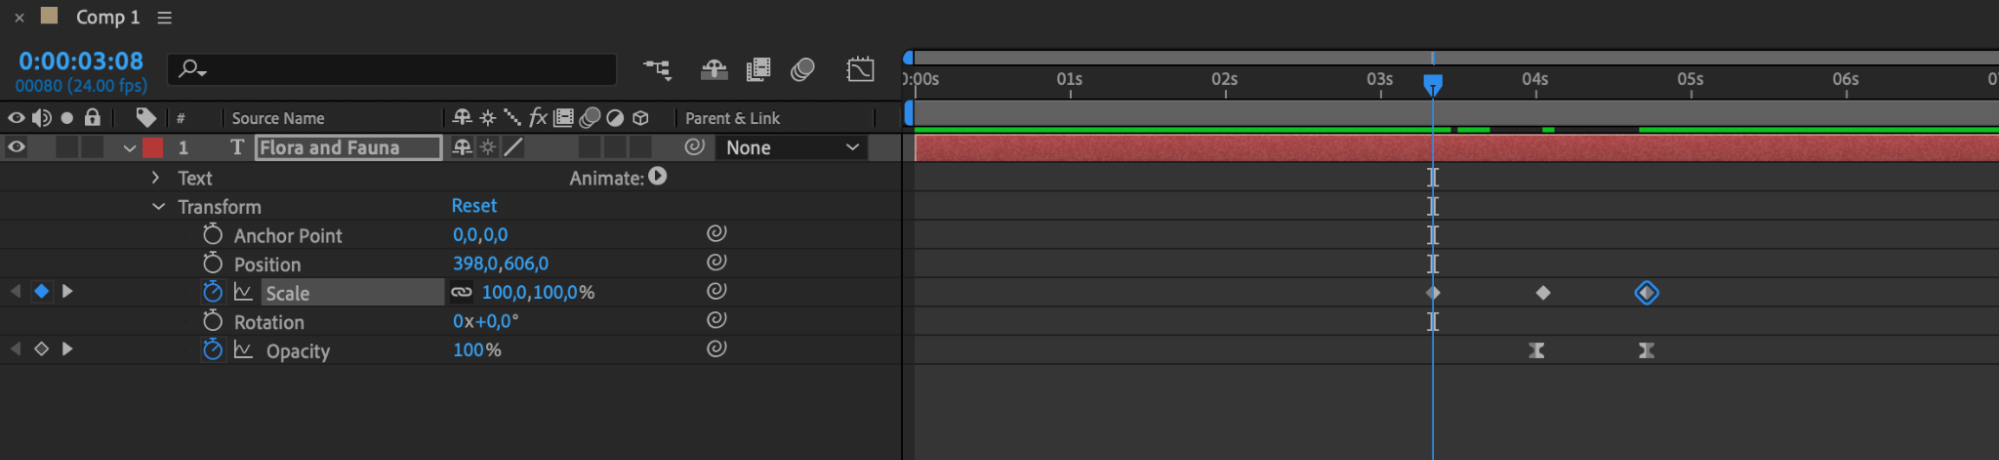
Select the text layer in the timeline and locate the “Opacity” property. Click on the stopwatch icon to create a keyframe, marking the start of the fade-out effect. Move the playhead to the desired time for the text to fully fade out, and adjust the opacity value to 0%. This action will automatically generate another keyframe at that point.
Step 3: Refining the Animation
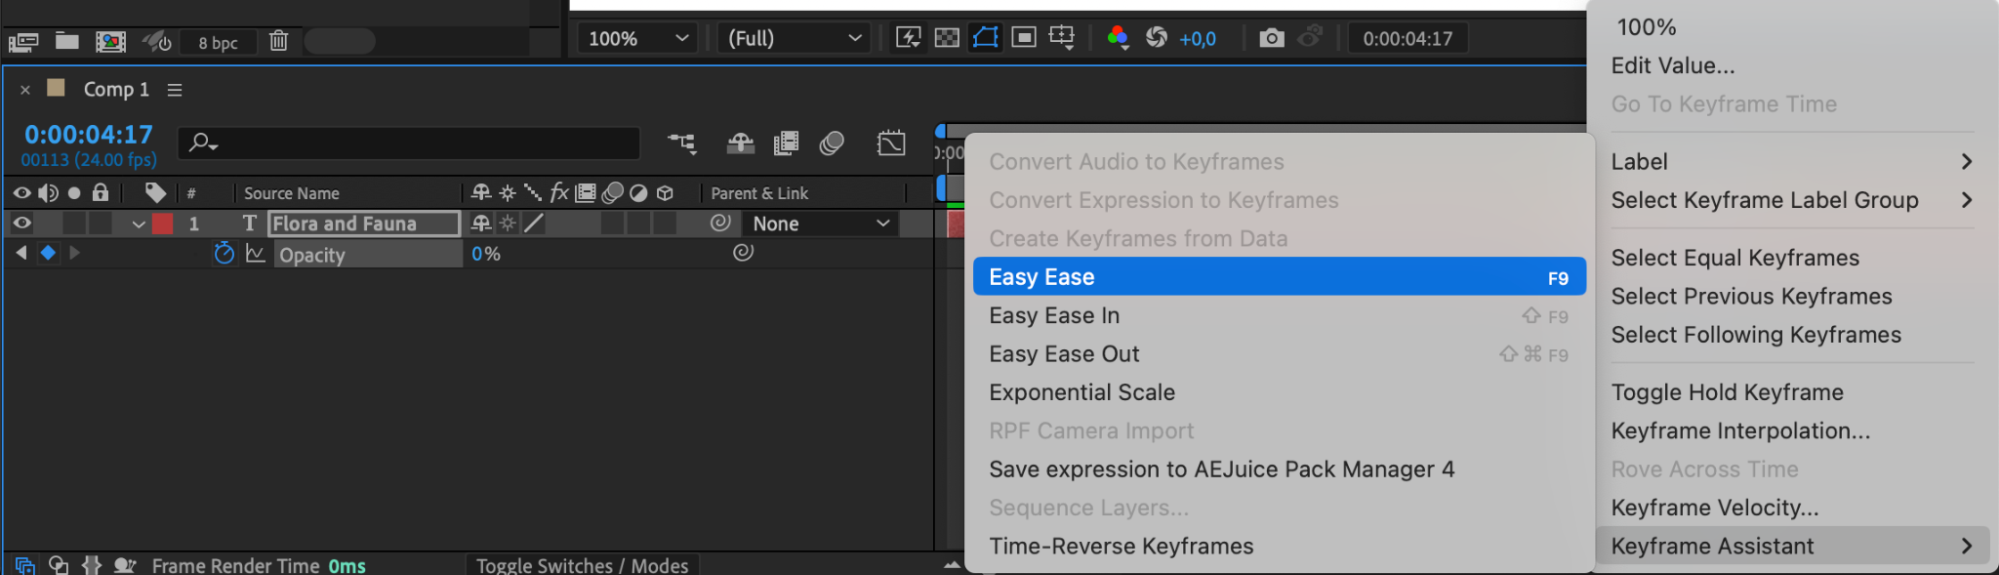
For further customization, modify the timing and easing of the keyframes. Right-click on a keyframe and access options such as “Keyframe Assistant” to choose “Easy Ease” for smoother animations. Adjust the keyframes’ proximity to control the fade-out speed.

Step 4: Preview and Adjustments
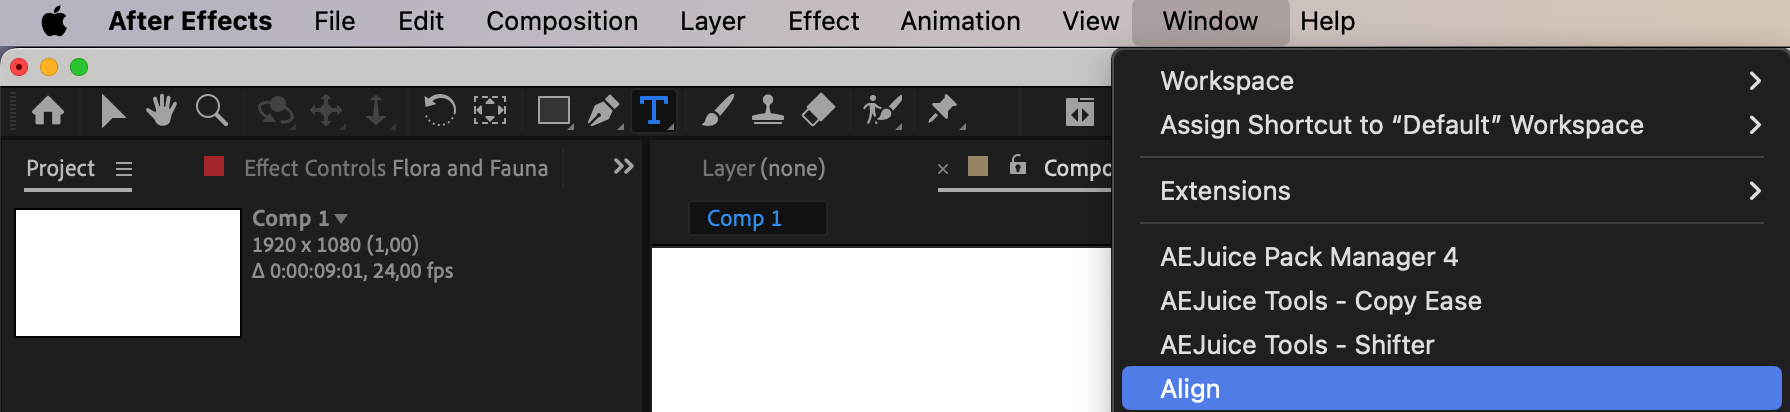
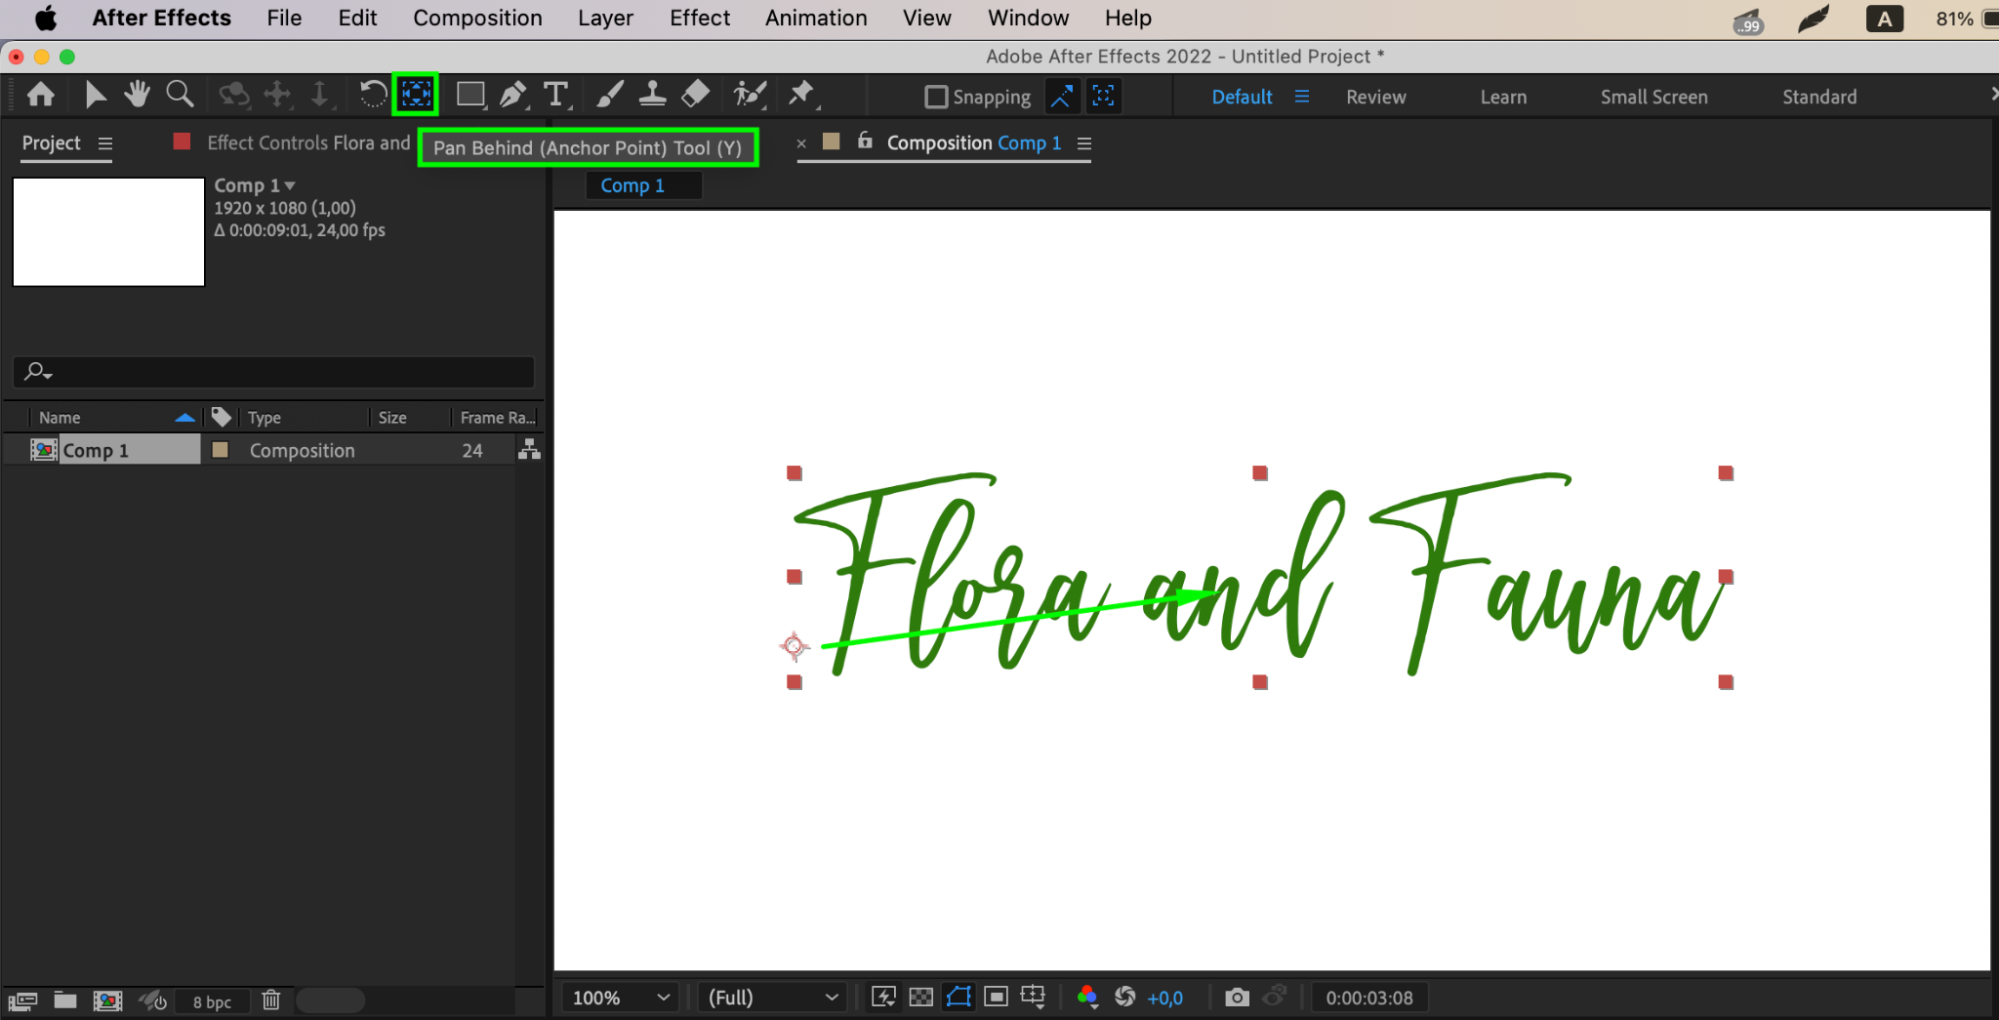
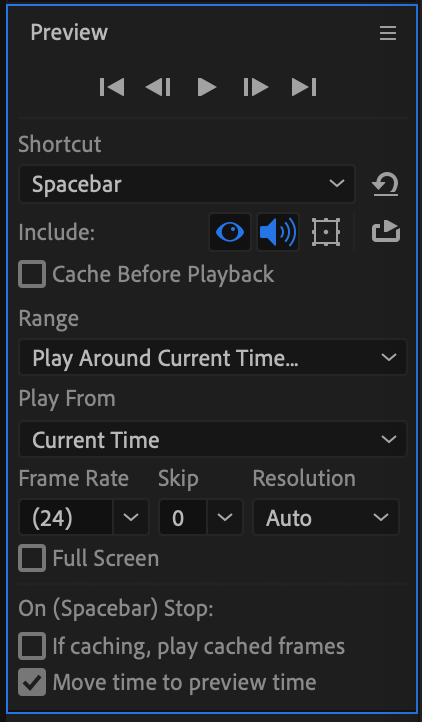
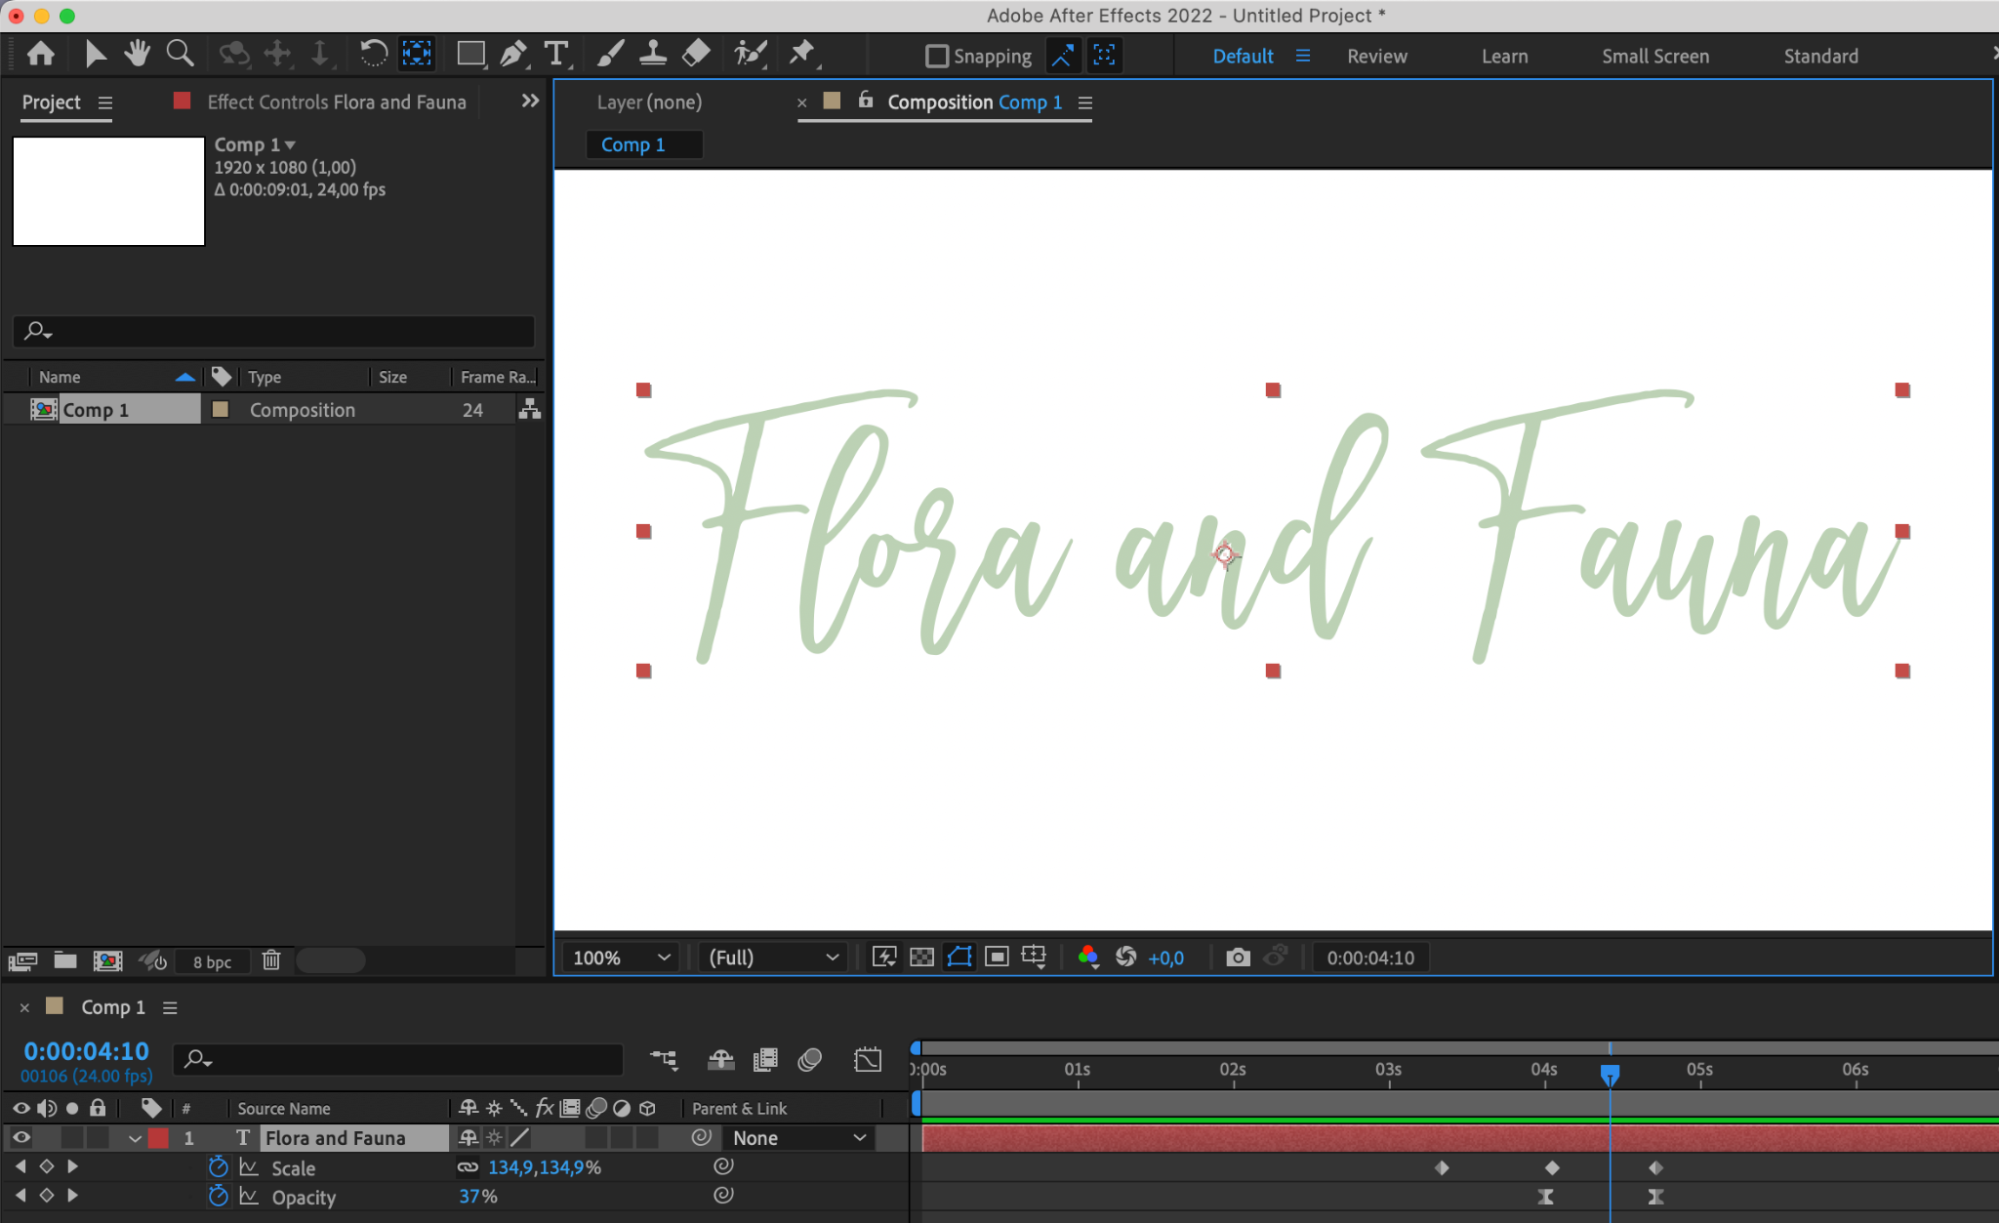
Preview the animation by scrubbing through the timeline or playing the composition. Make any necessary tweaks to the timing or easing of the keyframes to achieve the desired fading effect. Try experimenting with additional keyframes for more intricate animations. Also, use the Pan Behind (Anchor Point) tool (Y) to ensure the text animation remains centered on-screen throughout the transition.
Step 5: Rendering and Exporting
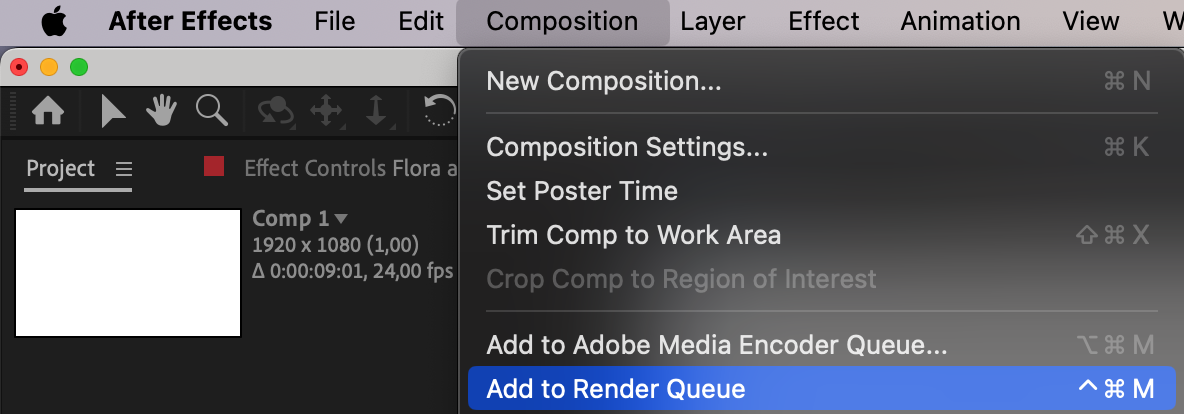
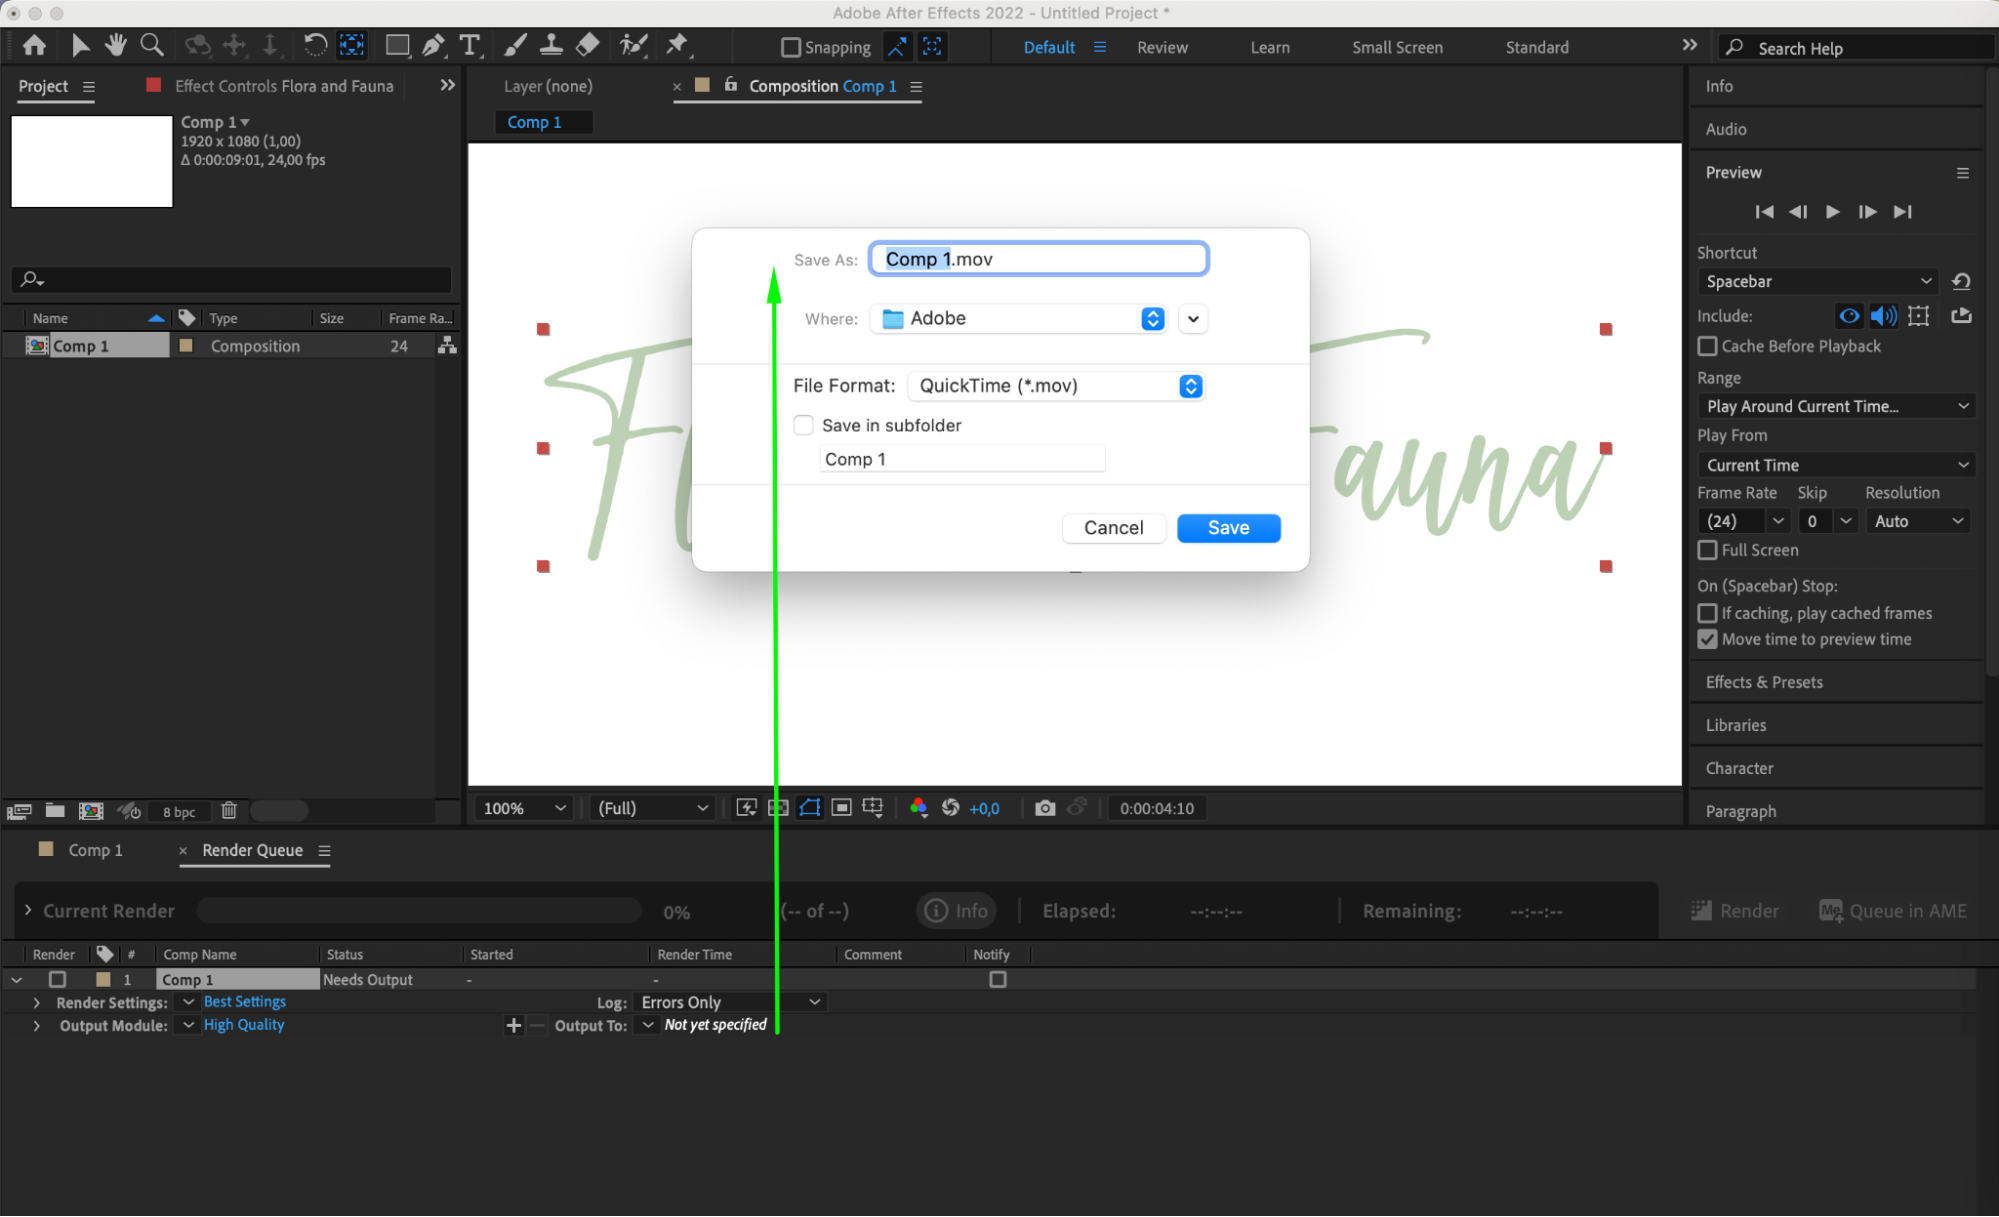
Once satisfied with the fade-out effect, render and export your composition in After Effects. Go to the Composition menu and select “Add to Render Queue” to prepare for rendering. Configure the output settings and initiate the export process to have your video with the text fade-out effect.

Conclusion
By following these straightforward steps, you can effortlessly create a professional and visually captivating fade-out effect for text in Adobe After Effects. Experiment with timing and easing options to tailor the animation to your project requirements. With practice and creativity, adding dynamic text effects to your videos and animations will become a seamless task.
Our Bestsellers


