A Guide to Using Content Aware Fill in After Effects
Introduction to Content Aware Fill in After Effects
Content Aware Fill in After Effects is a powerful tool that allows you to remove unwanted objects from your footage and seamlessly fill in the gaps. This feature can save you hours of manual work and improve your video editing workflow. Whether you’re looking to remove a person from a scene, eliminate distracting elements, or fill in missing areas, Content Aware Fill makes it easier than ever. Here’s how to get started and make the most of this feature.
Get 10% off when you subscribe to our newsletter

Step 1: Import Your Footage
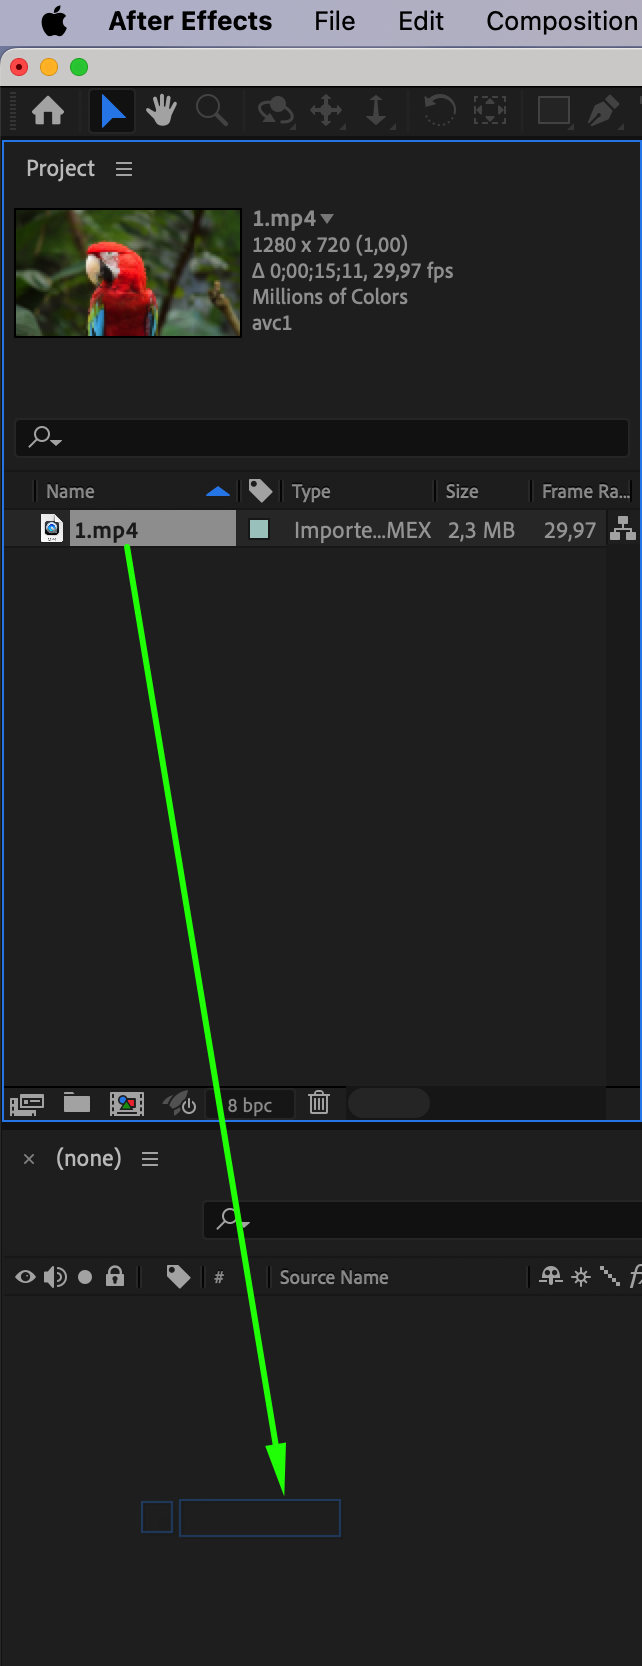
Start by importing the footage you want to edit. You can do this by going to “File” > “Import” or simply dragging and dropping the file into the project panel. Once your file appears in the project panel, drag it onto the timeline to begin editing. Having your footage on the timeline allows you to make precise edits and apply the Content Aware Fill effect effectively.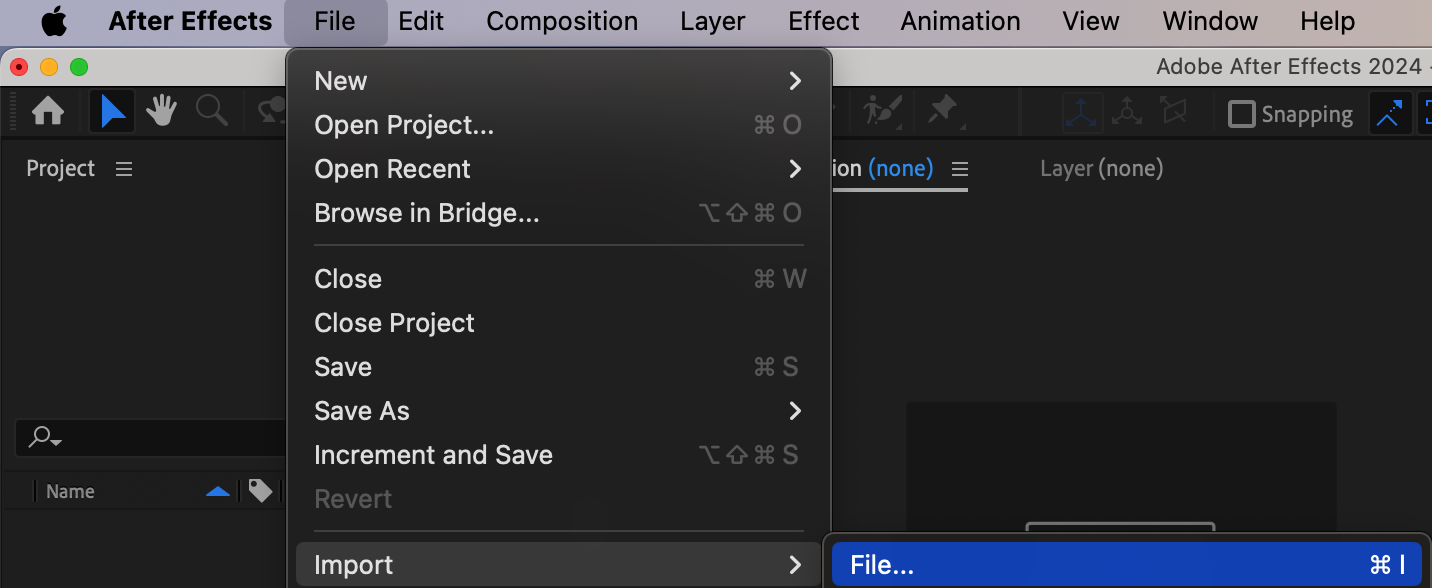
 Step 2: Create a Mask Around the Object
Before you can use Content Aware Fill, you need to isolate the area you want to remove. To do this, select the layer on the timeline that contains your footage. Then, choose the Pen Tool (G) from the toolbar and draw a mask around the object or area you want to remove. This mask defines the region that Content Aware Fill will analyze and remove from your footage.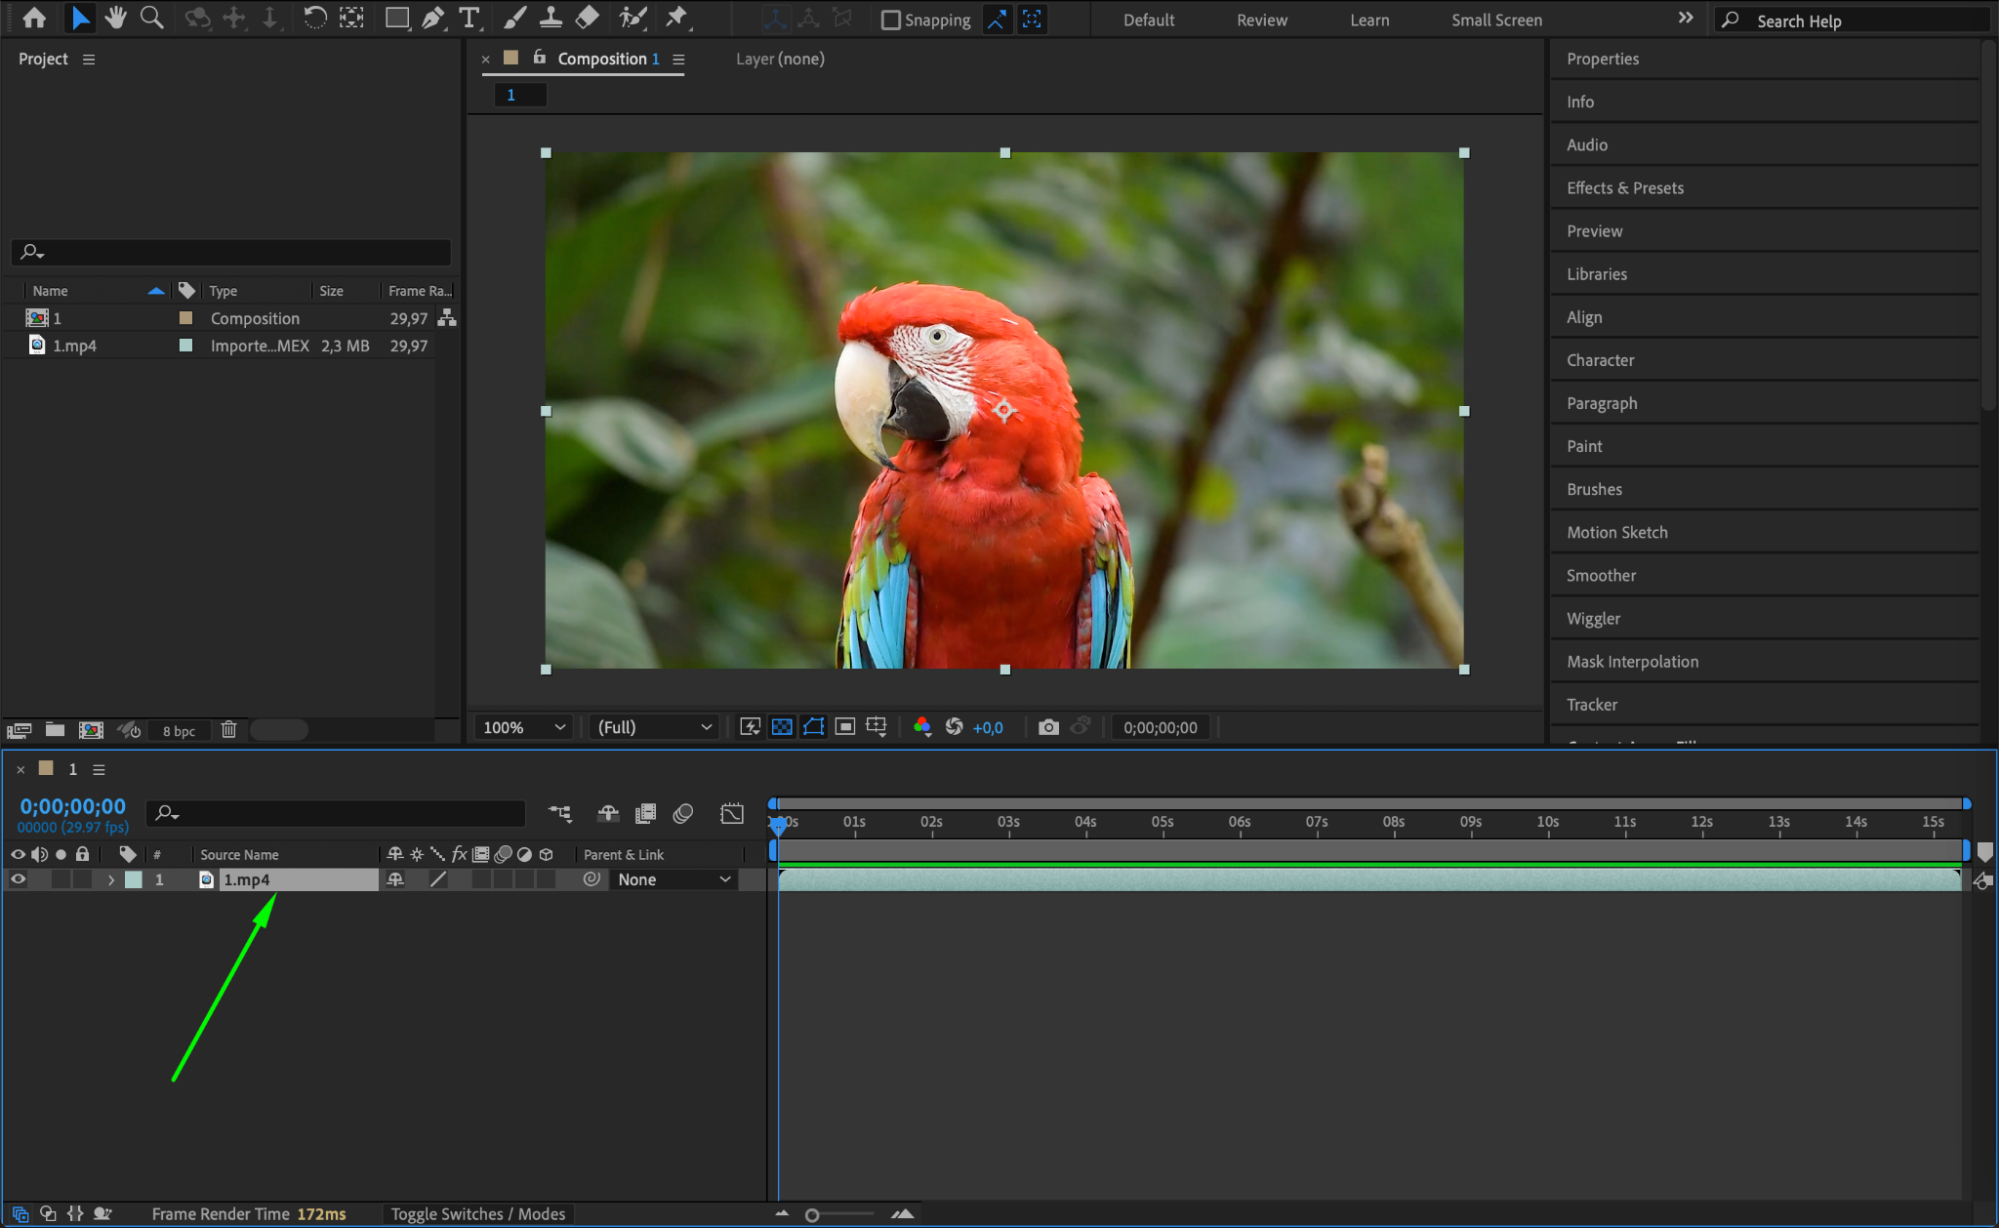
 Step 3: Set Up Mask Tracking
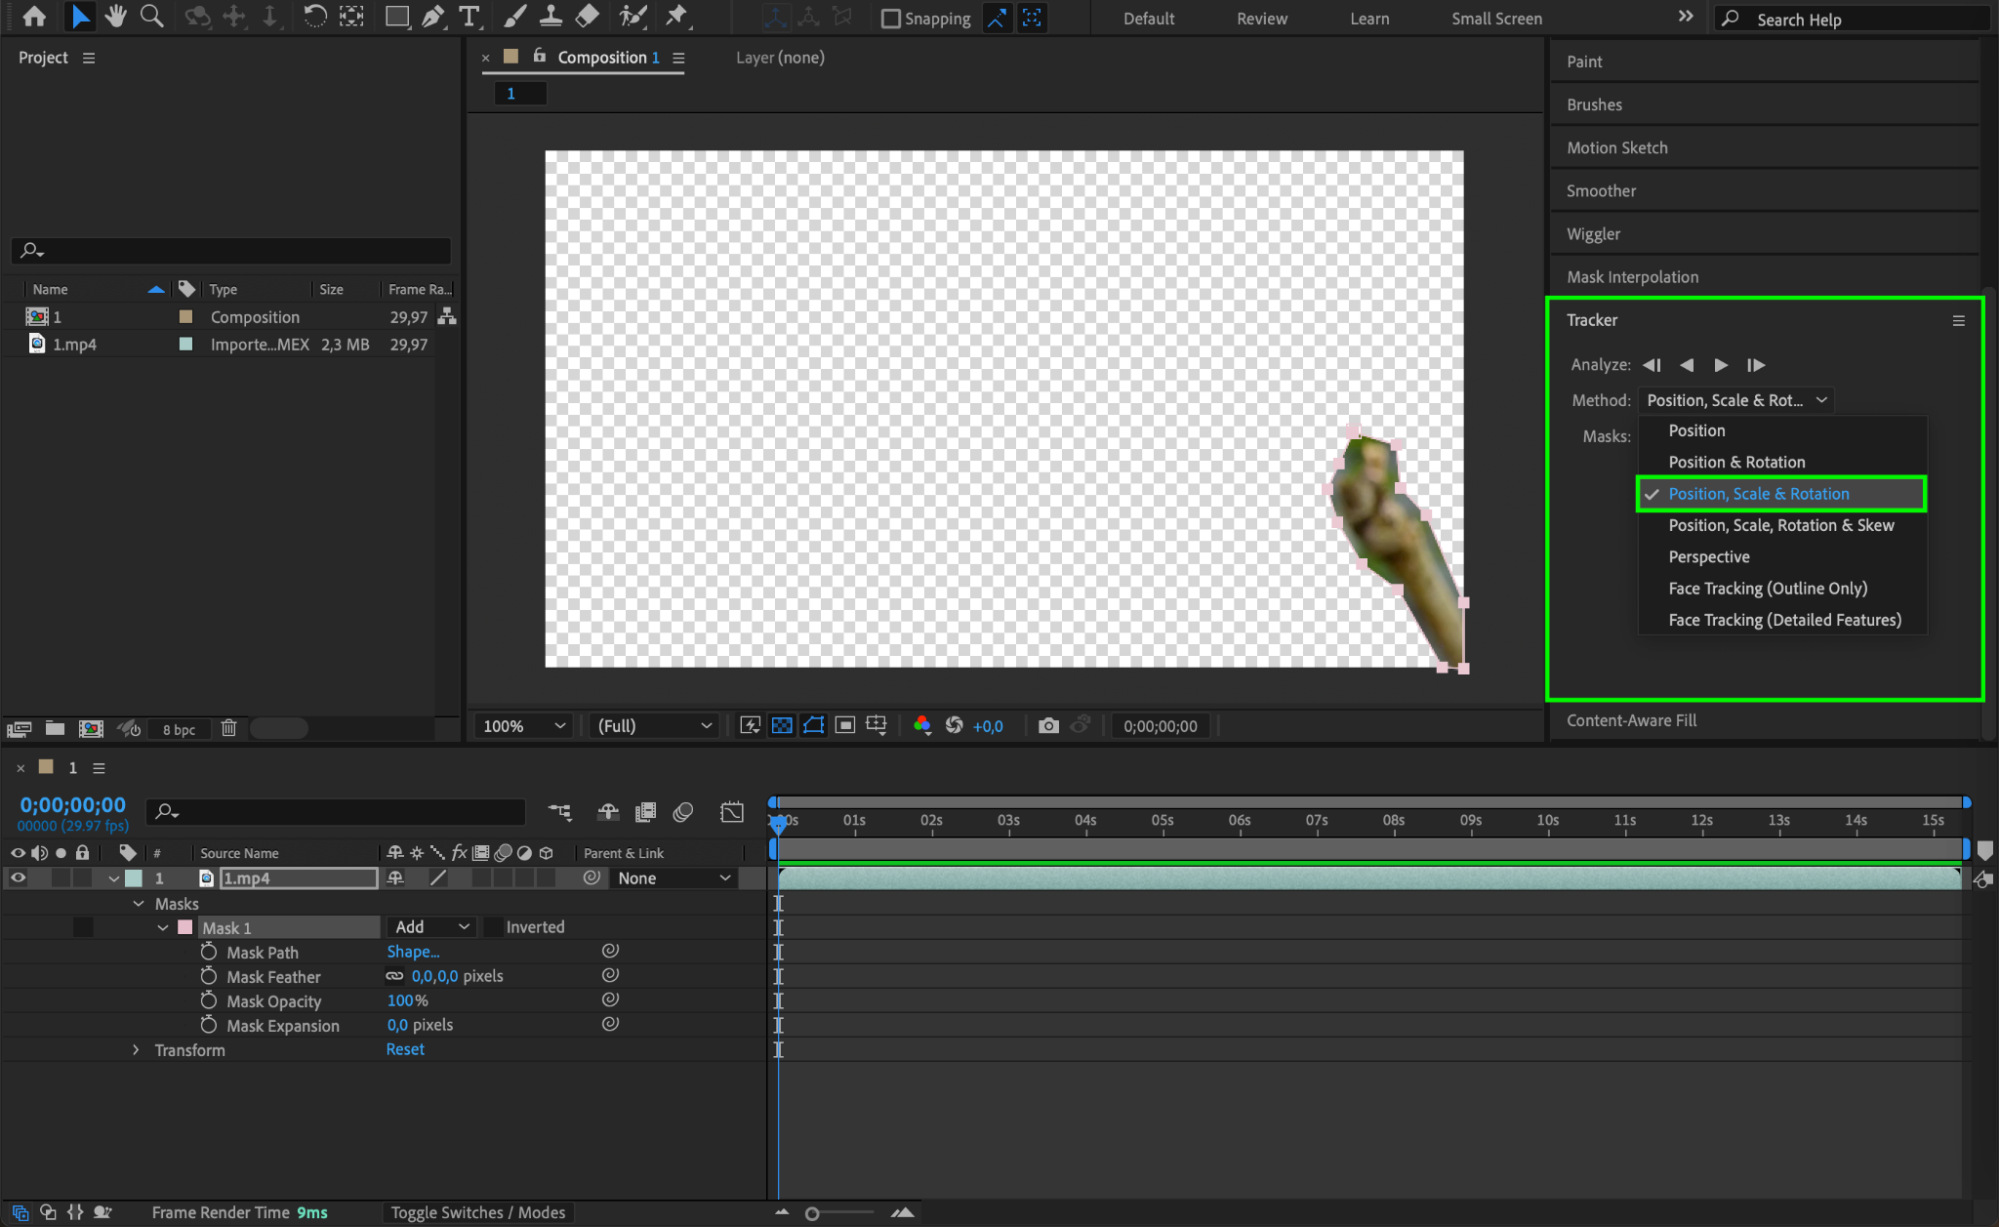
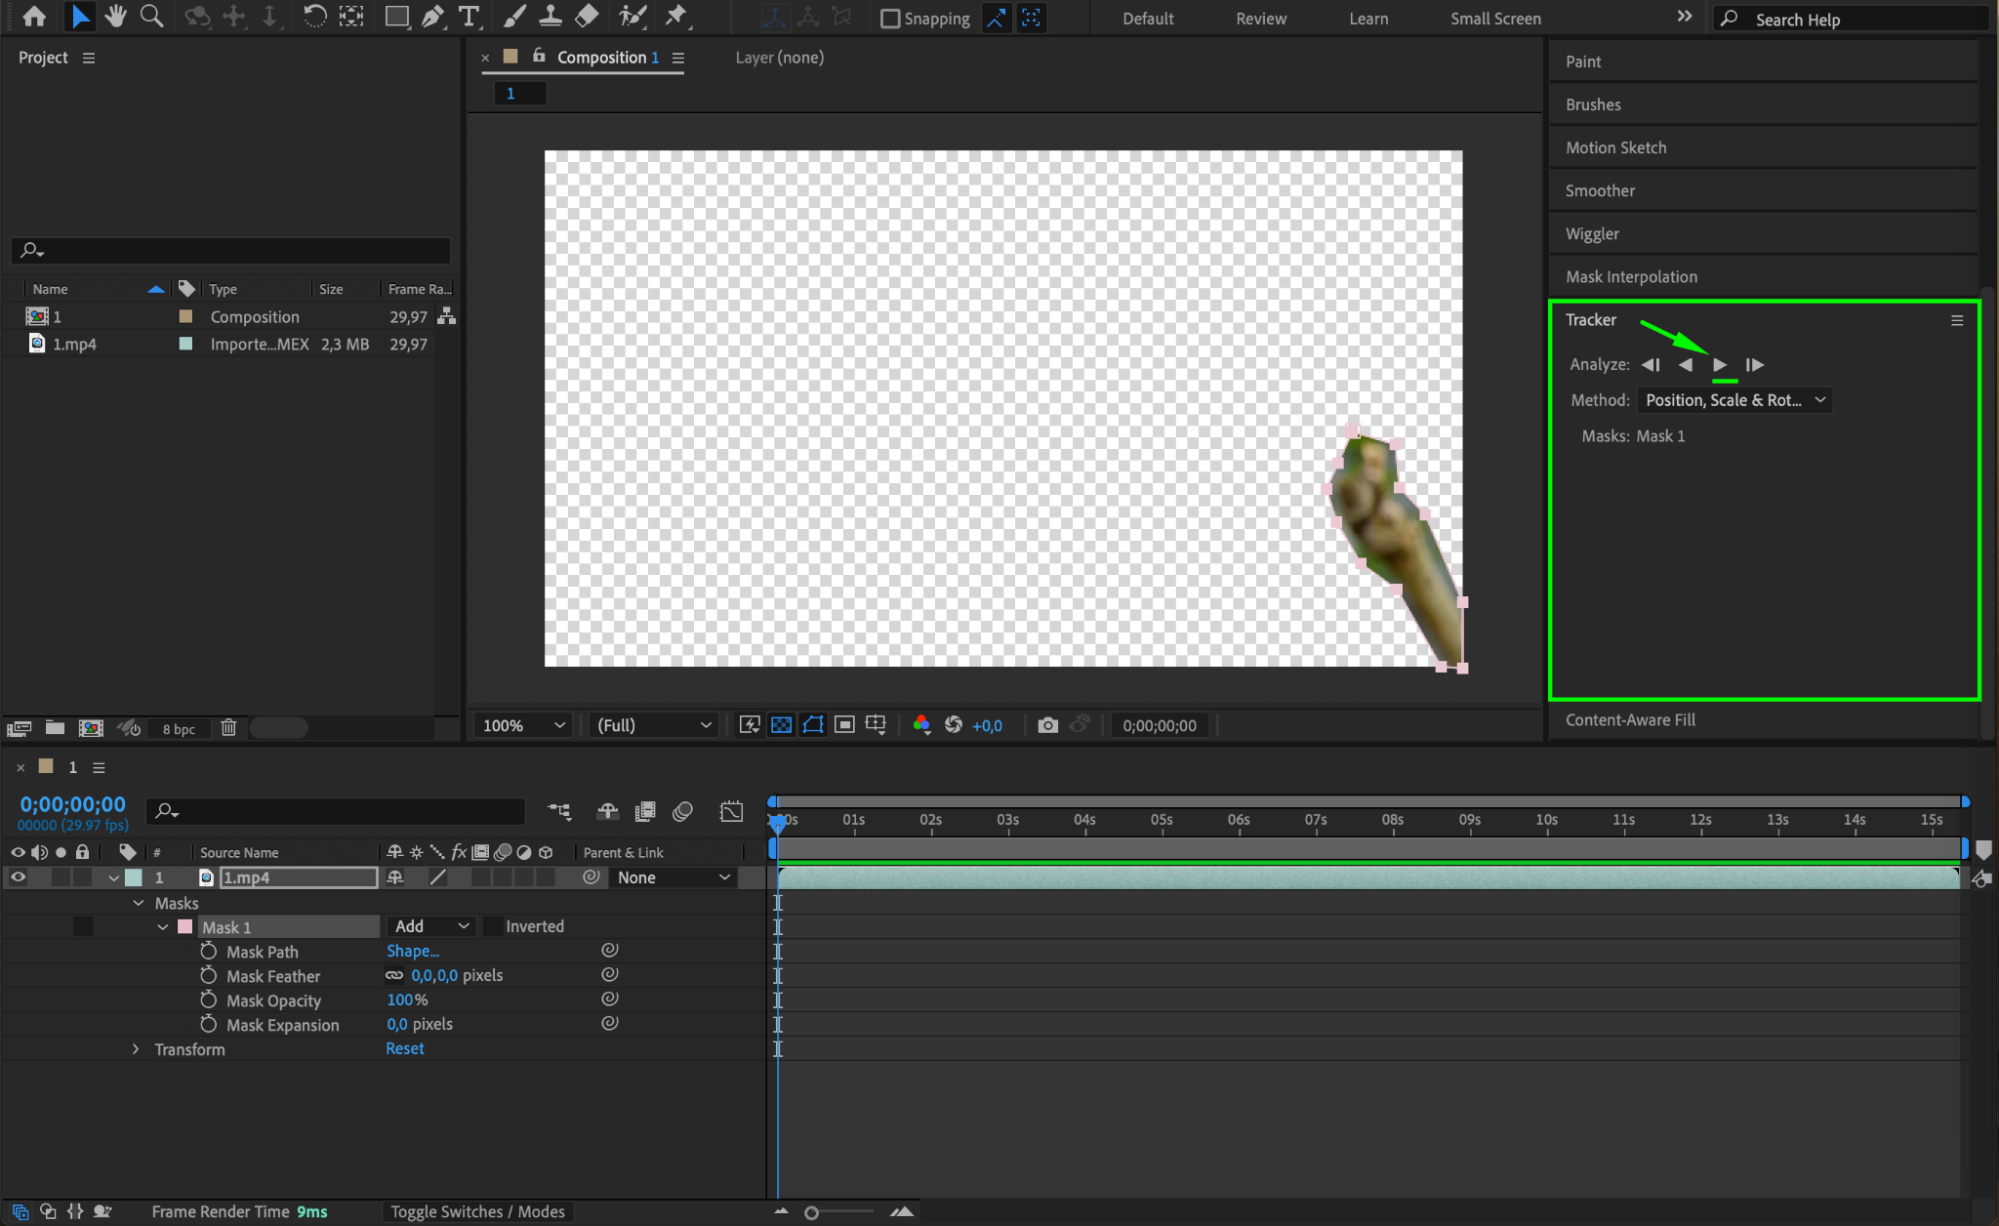
Next, expand the properties of your video layer by clicking the arrow next to it. Locate the “Masks” section and right-click on “Mask 1,” then select “Track Mask” from the submenu. This will open the Tracker panel, where you can choose the appropriate tracking method. Click the “Play” button in the “Analyze” section to begin tracking the mask. This process ensures that the mask follows the object throughout the entire duration of the clip.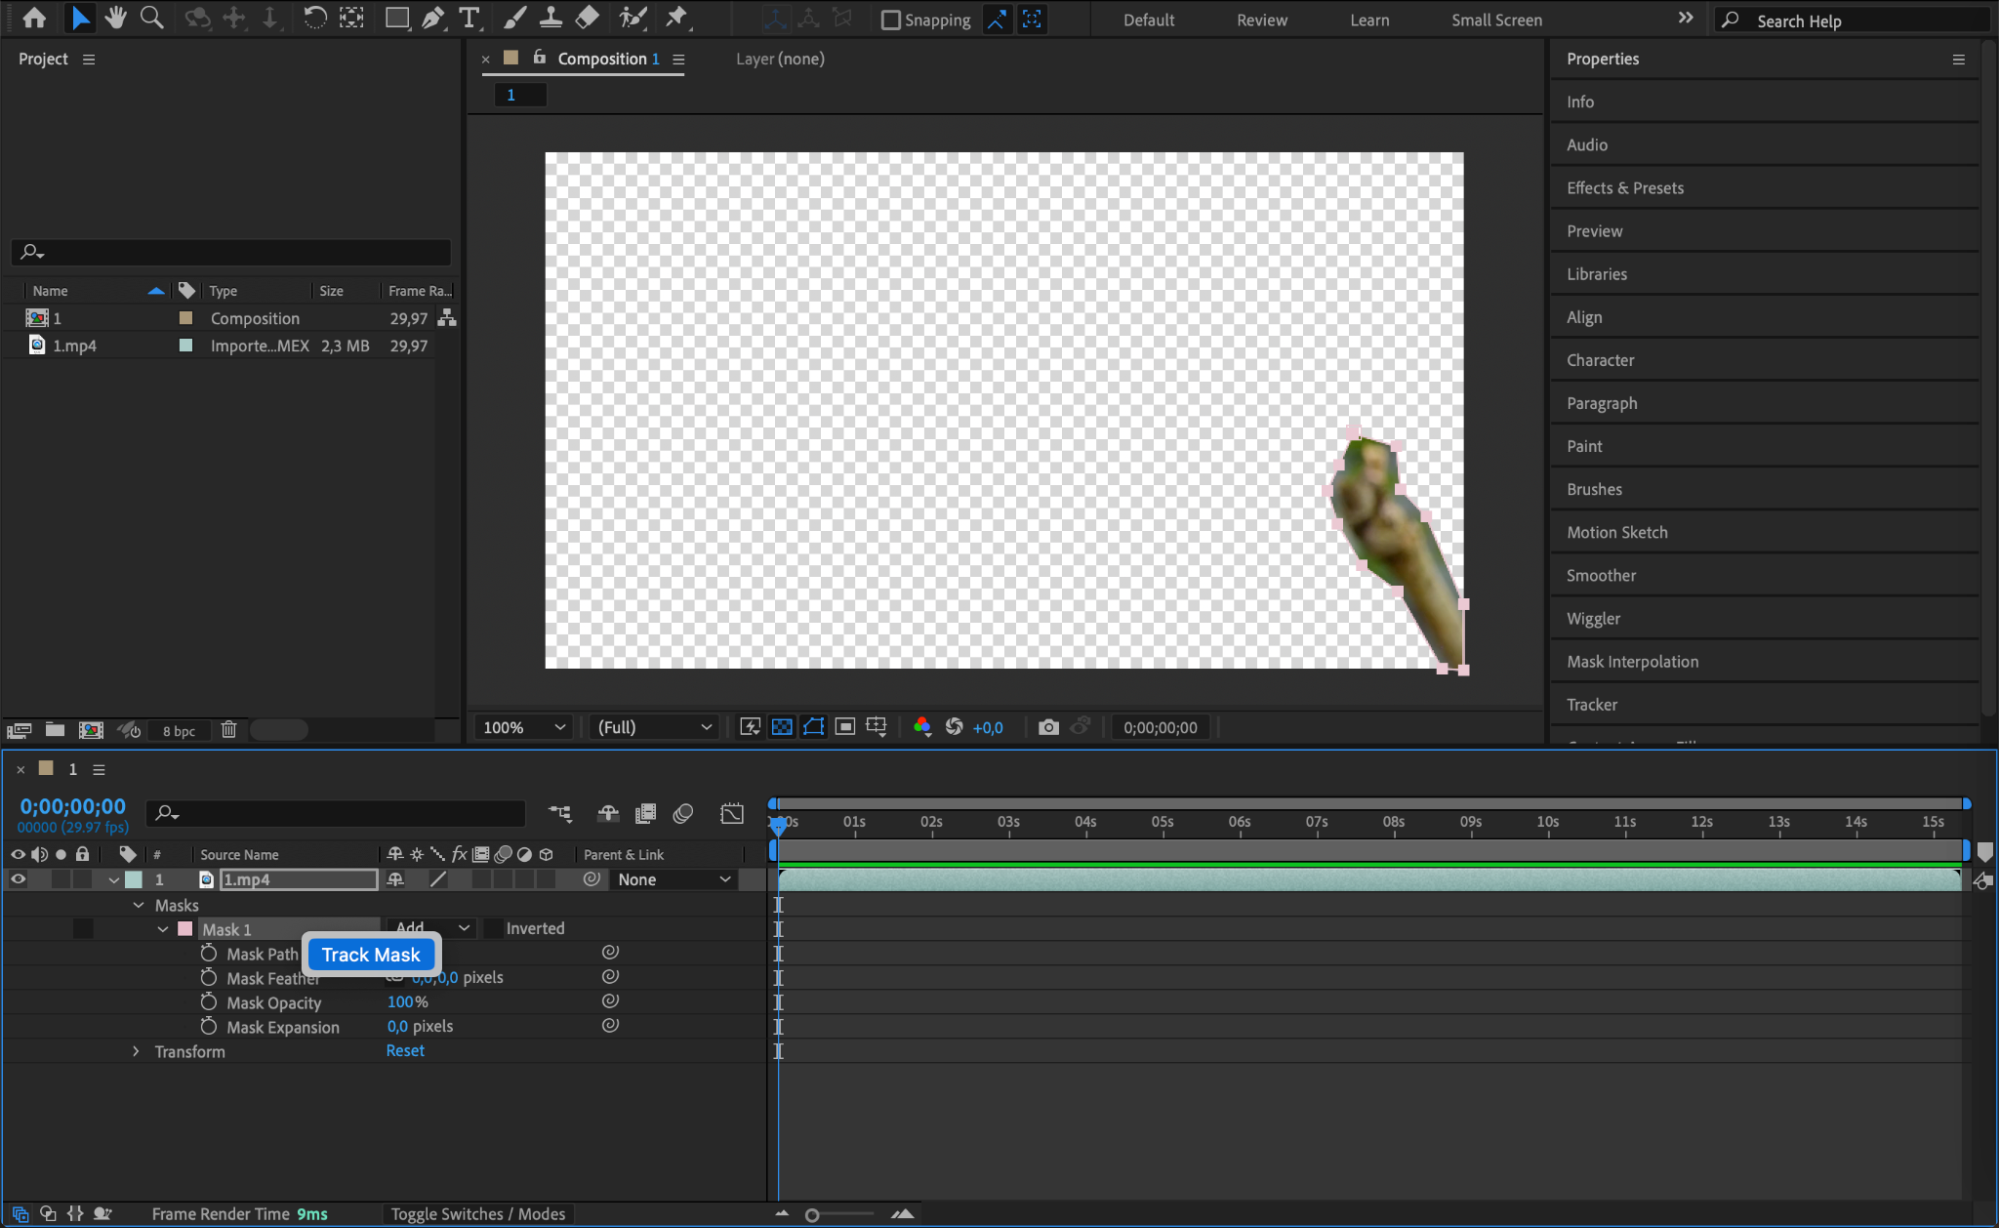
 Step 4: Review and Adjust Mask Keyframes
Once the tracking process is complete, you’ll notice that keyframes have been automatically created for the “Mask Path” parameter. These keyframes correspond to each frame where the mask was tracked, allowing for a precise and consistent removal of the object. Review the keyframes and make any necessary adjustments to ensure the mask accurately follows the object throughout the clip. Step 5: Invert the Mask
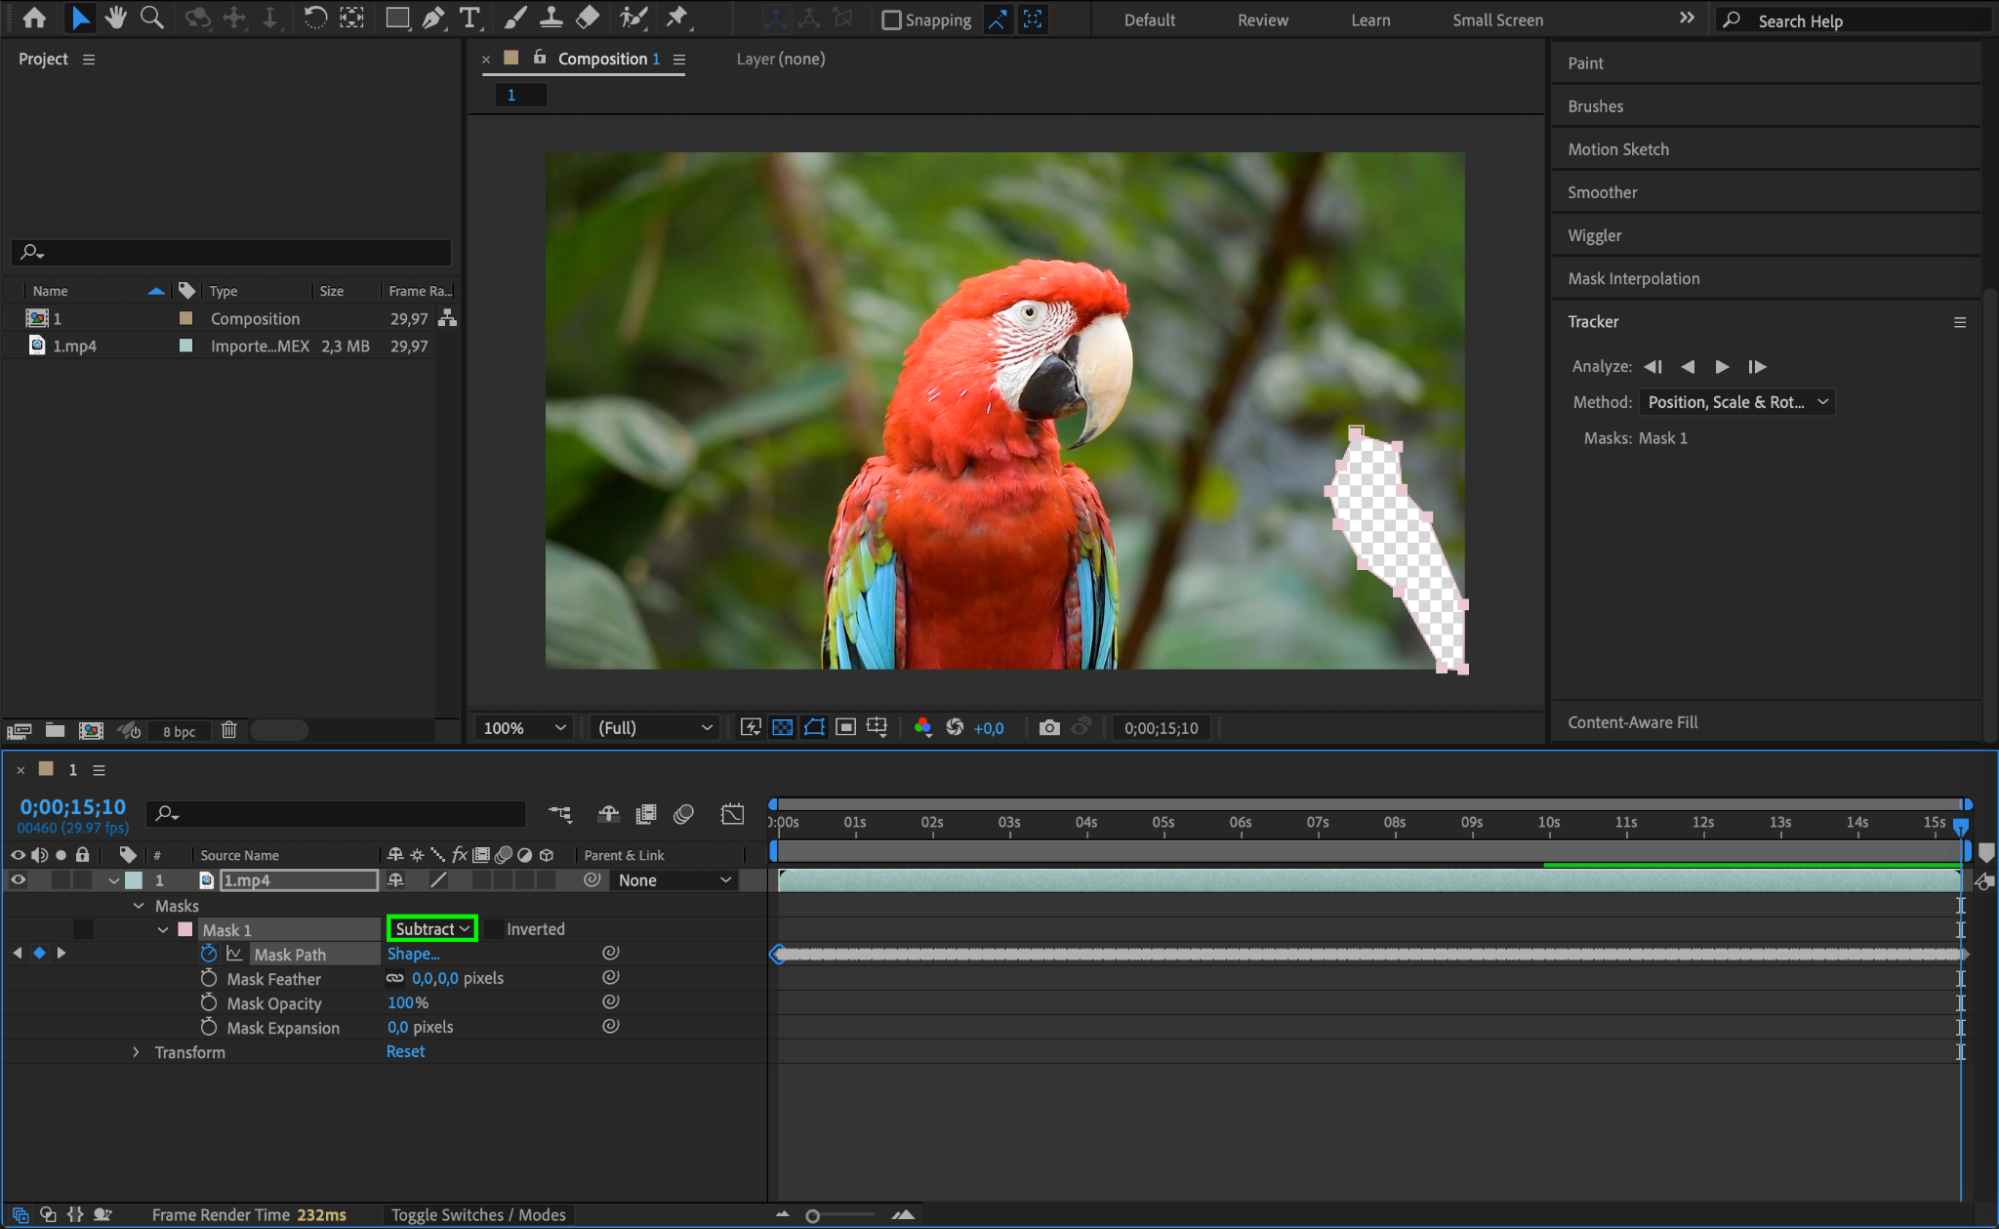
After reviewing the mask keyframes, it’s time to prepare for the Content Aware Fill process. Under your video layer, locate the “Masks” section again and find the “Add” button next to “Mask 1.” Click on it and select “Subtract” from the dropdown menu. This action will invert the mask, allowing After Effects to remove the selected area from the footage rather than keeping it.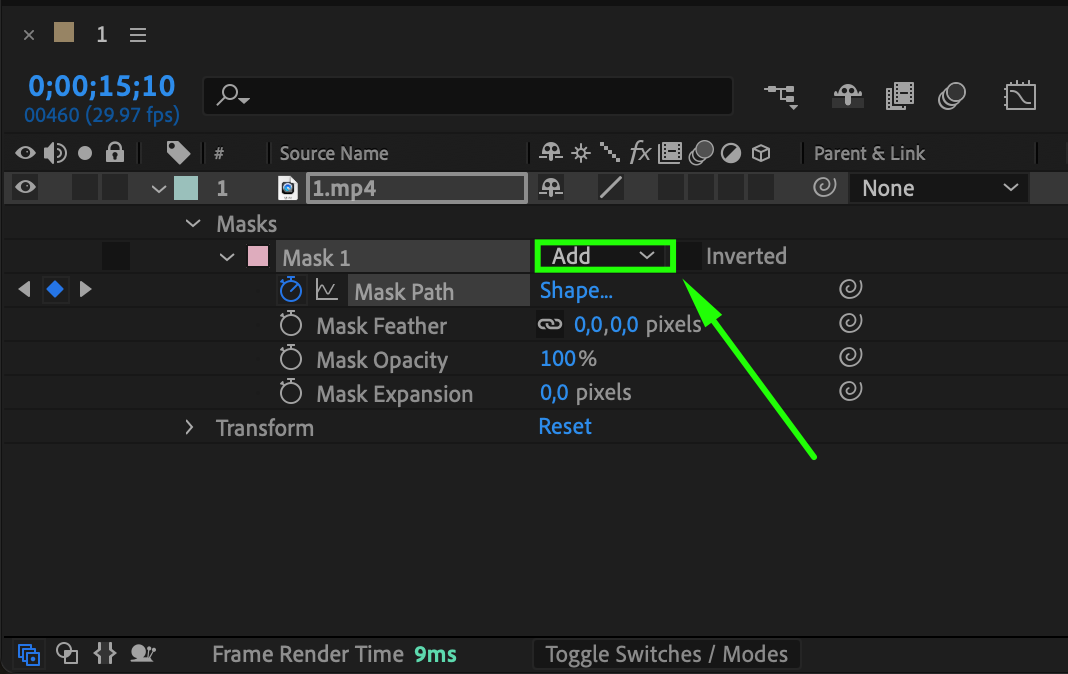

 Step 6: Open the Content Aware Fill Panel
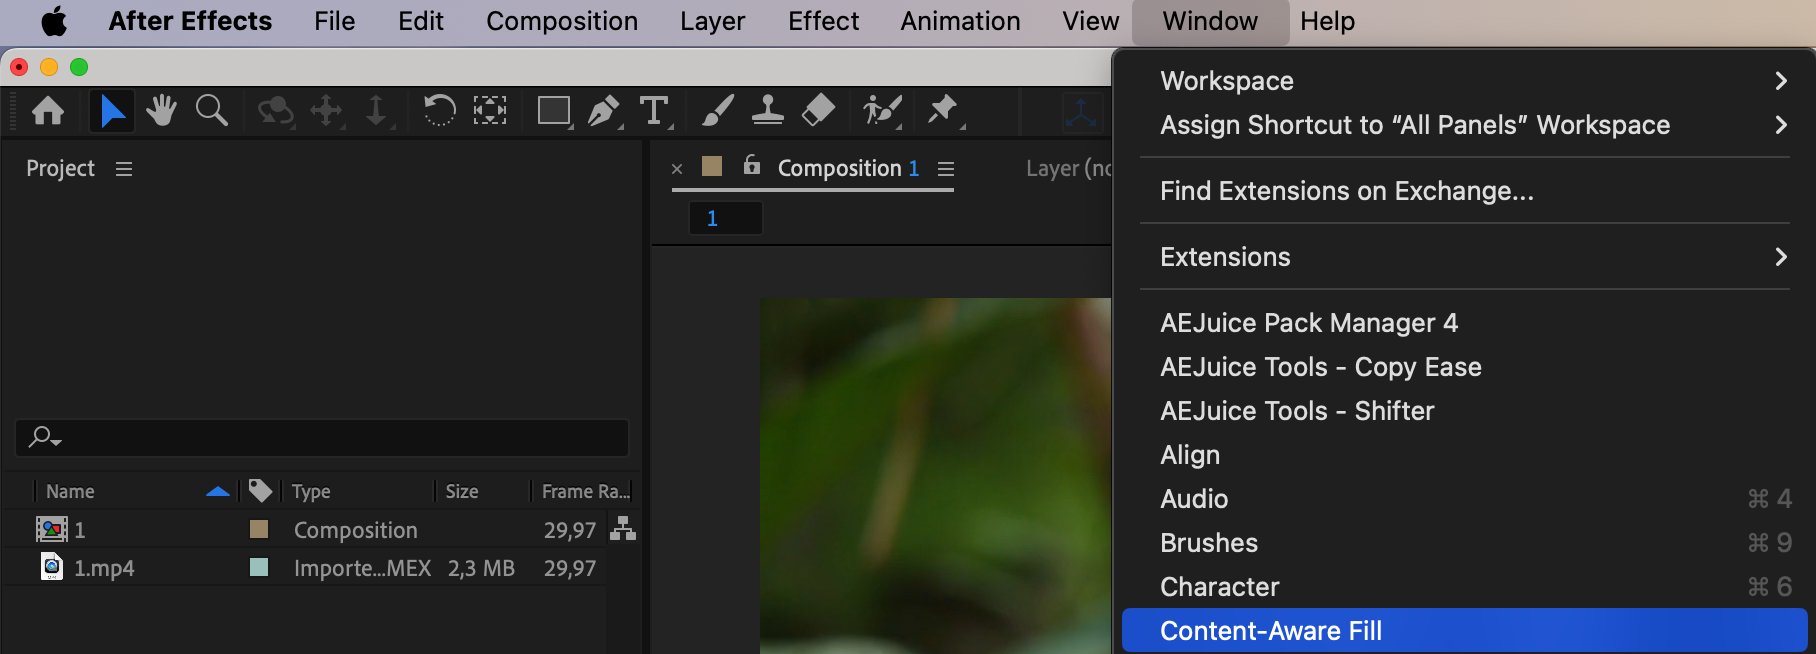
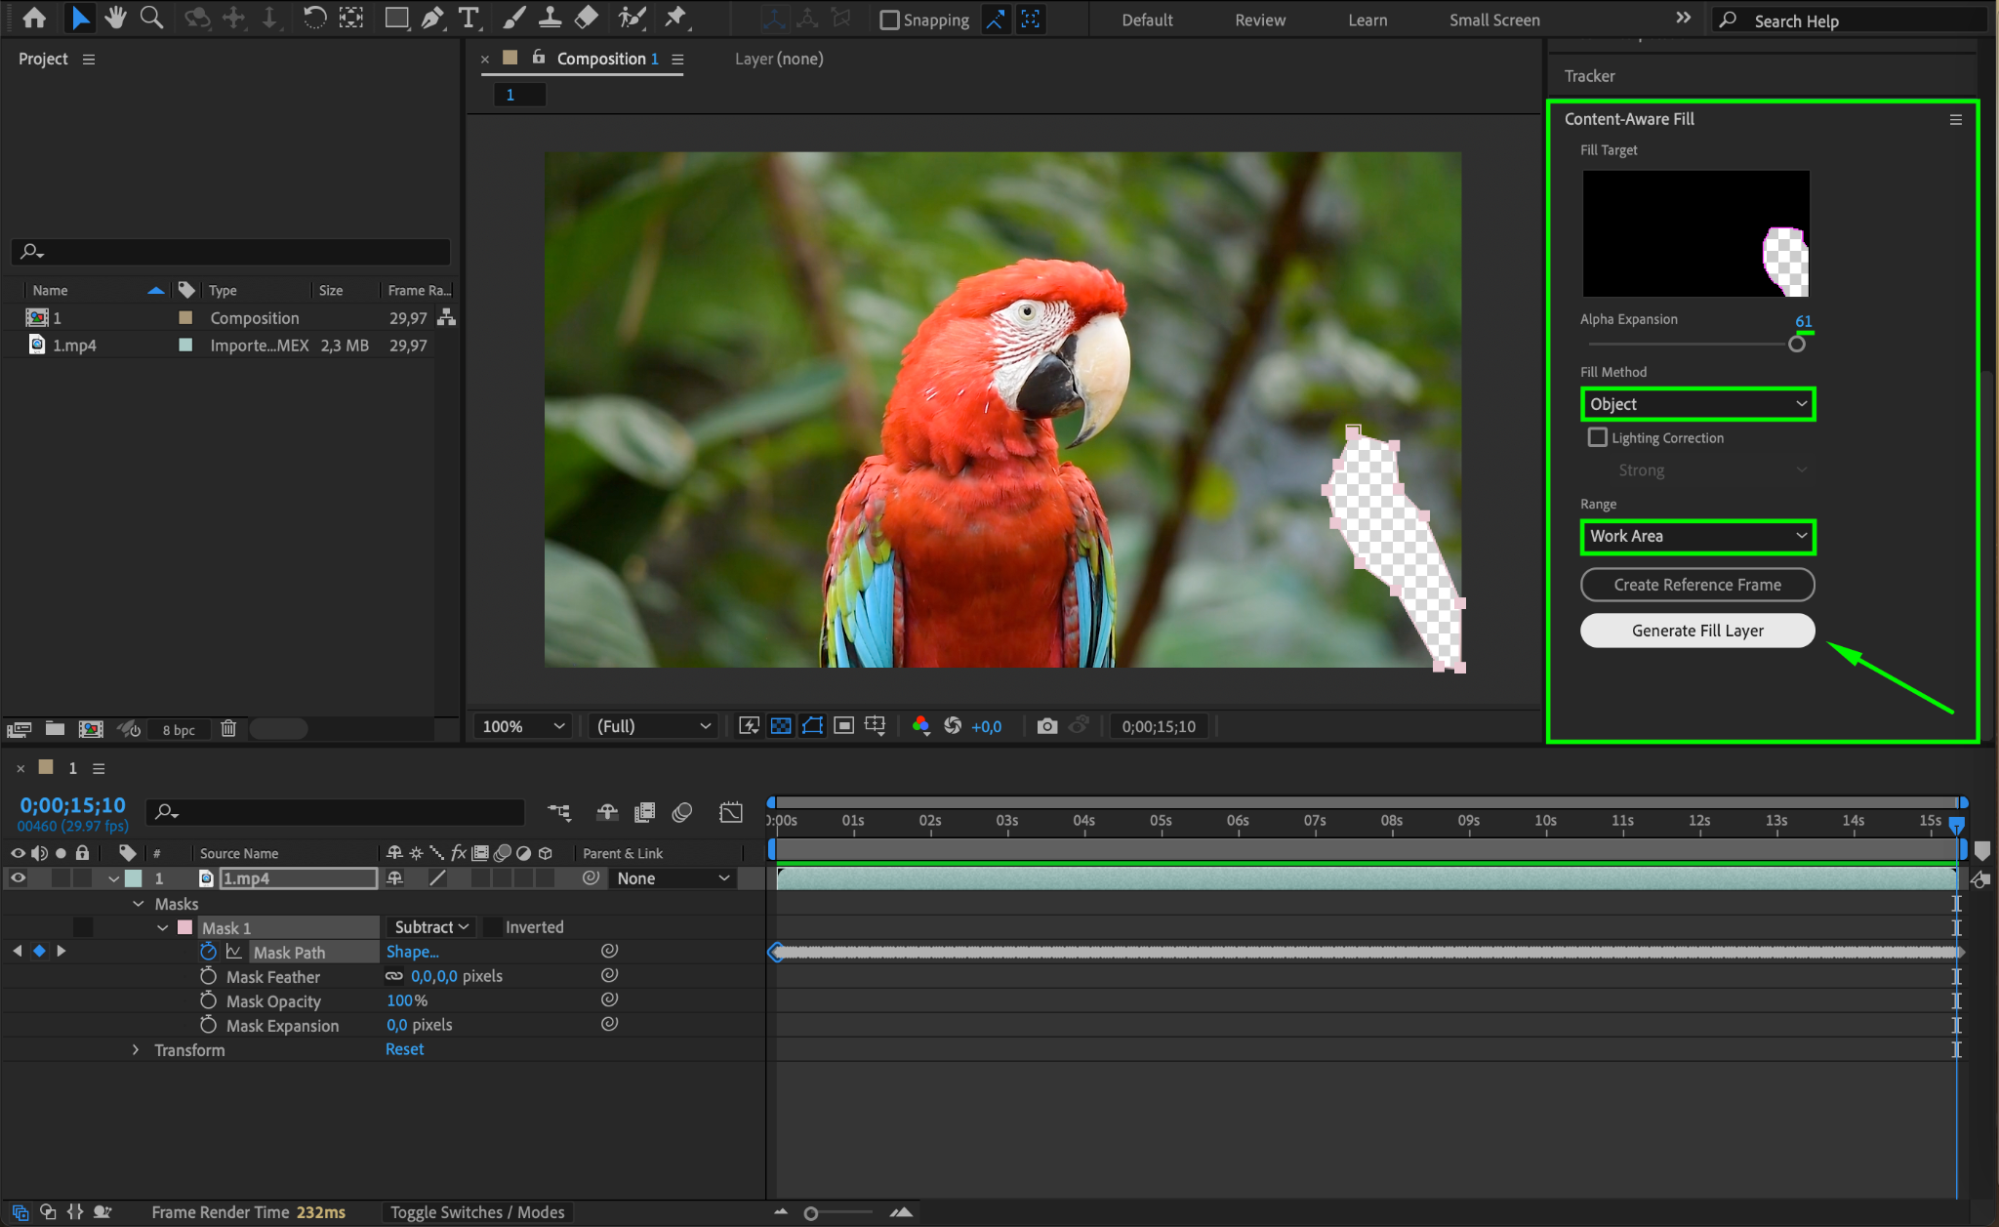
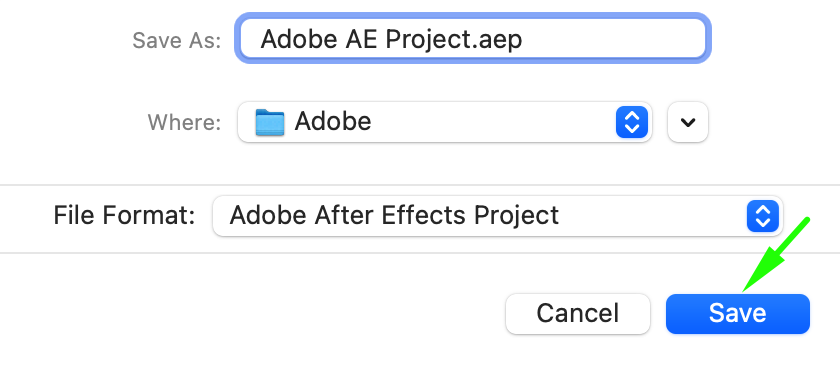
Now, go to “Window” > “Content-Aware Fill” to open the Content Aware Fill panel. In this panel, you’ll find several settings that allow you to fine-tune the fill process. Set “Alpha Expansion” to 61, “Fill Method” to “Object,” and “Range” to “Work Area.” Once your settings are configured, click the “Generate Fill Layer” button. If your project hasn’t been saved, a window will appear prompting you to save your project before the fill process begins.
 Step 7: Generate and Preview the Fill
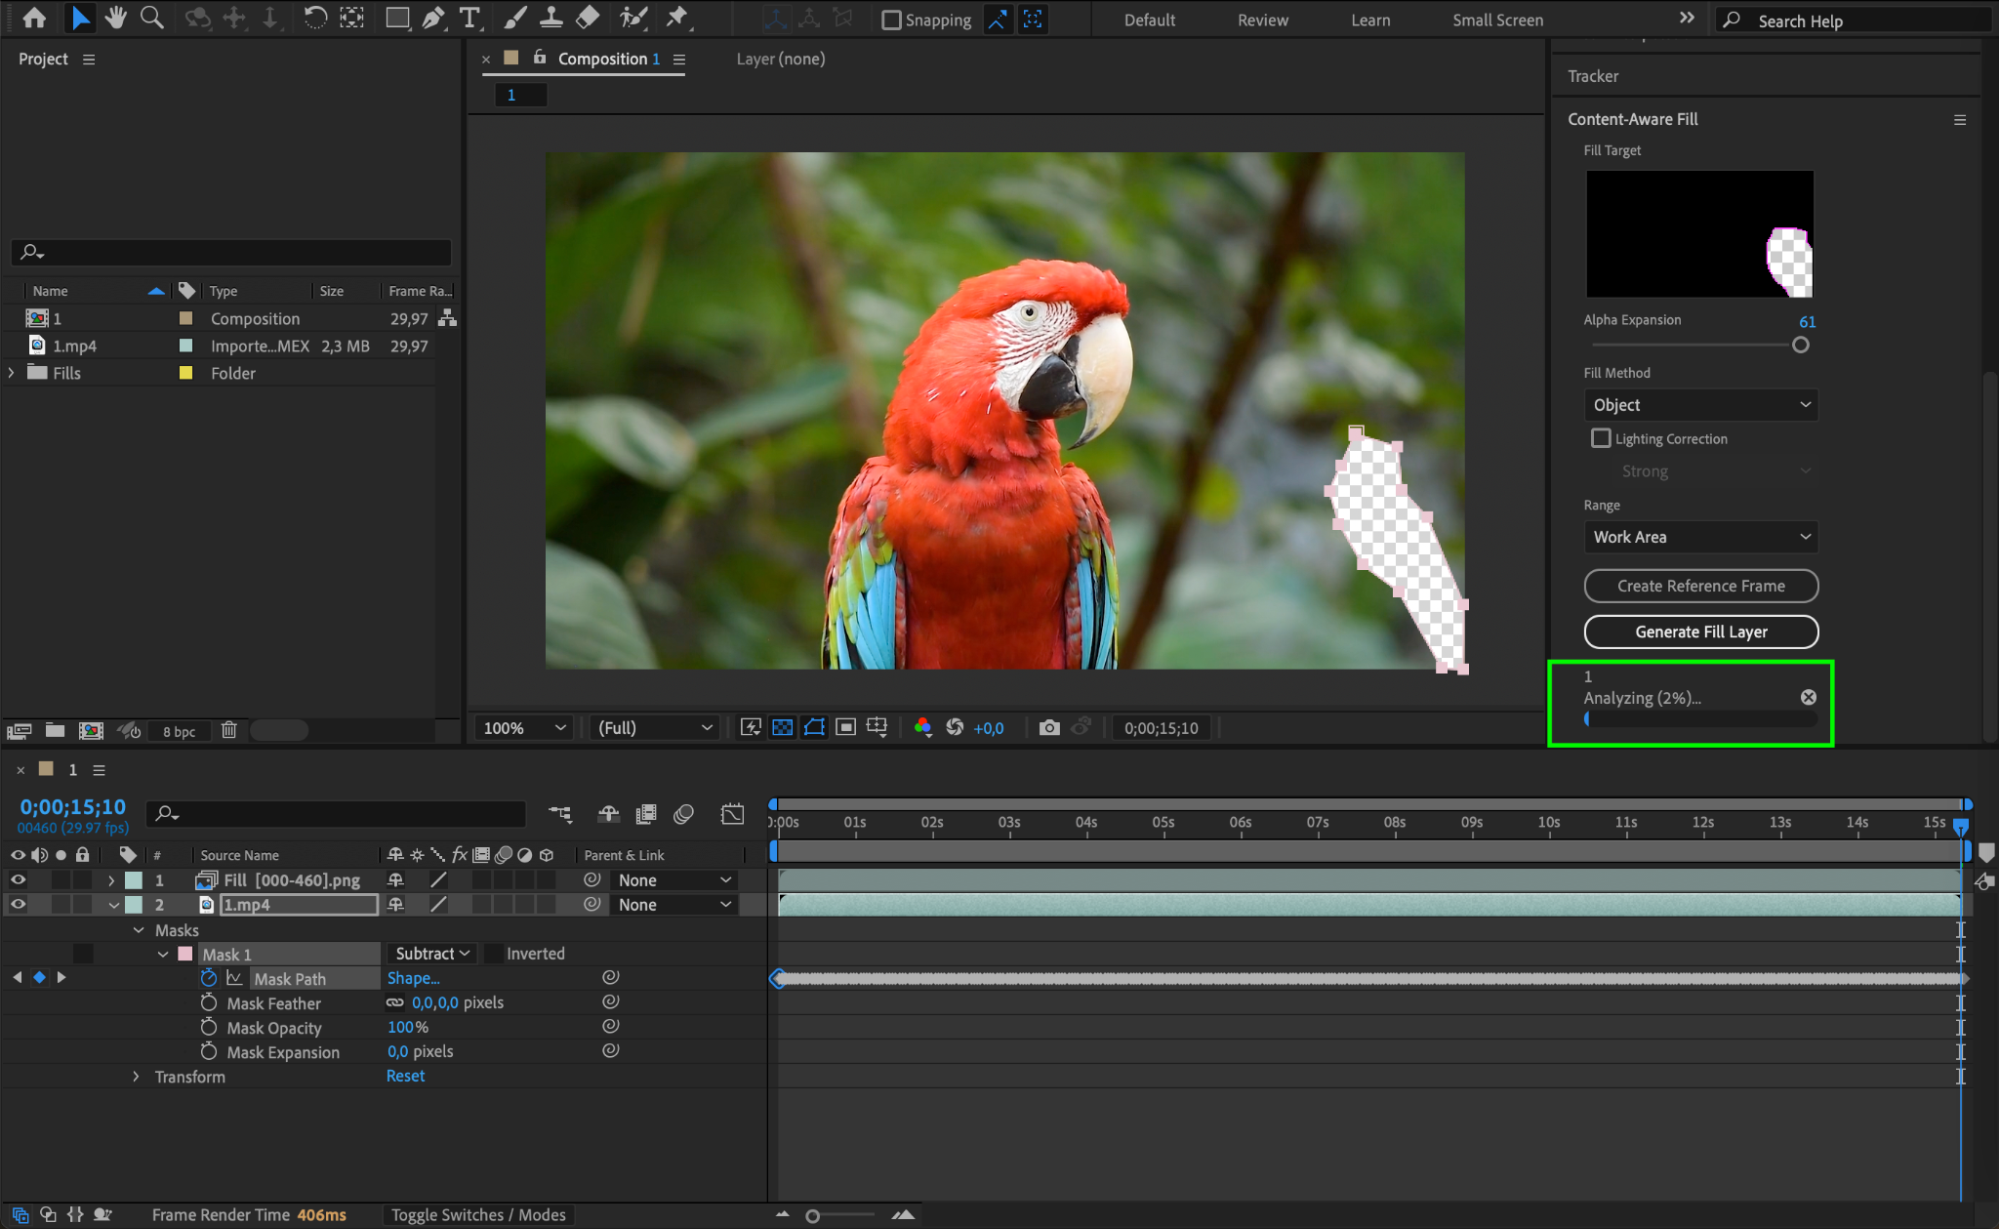
After you’ve clicked “Generate Fill Layer,” After Effects will analyze the masked area and create a new fill layer that removes the unwanted object. This process may take some time, depending on the complexity of the scene and your computer’s processing power. Once the fill layer is generated, preview your composition to ensure that the object has been removed seamlessly and that the fill matches the surrounding footage.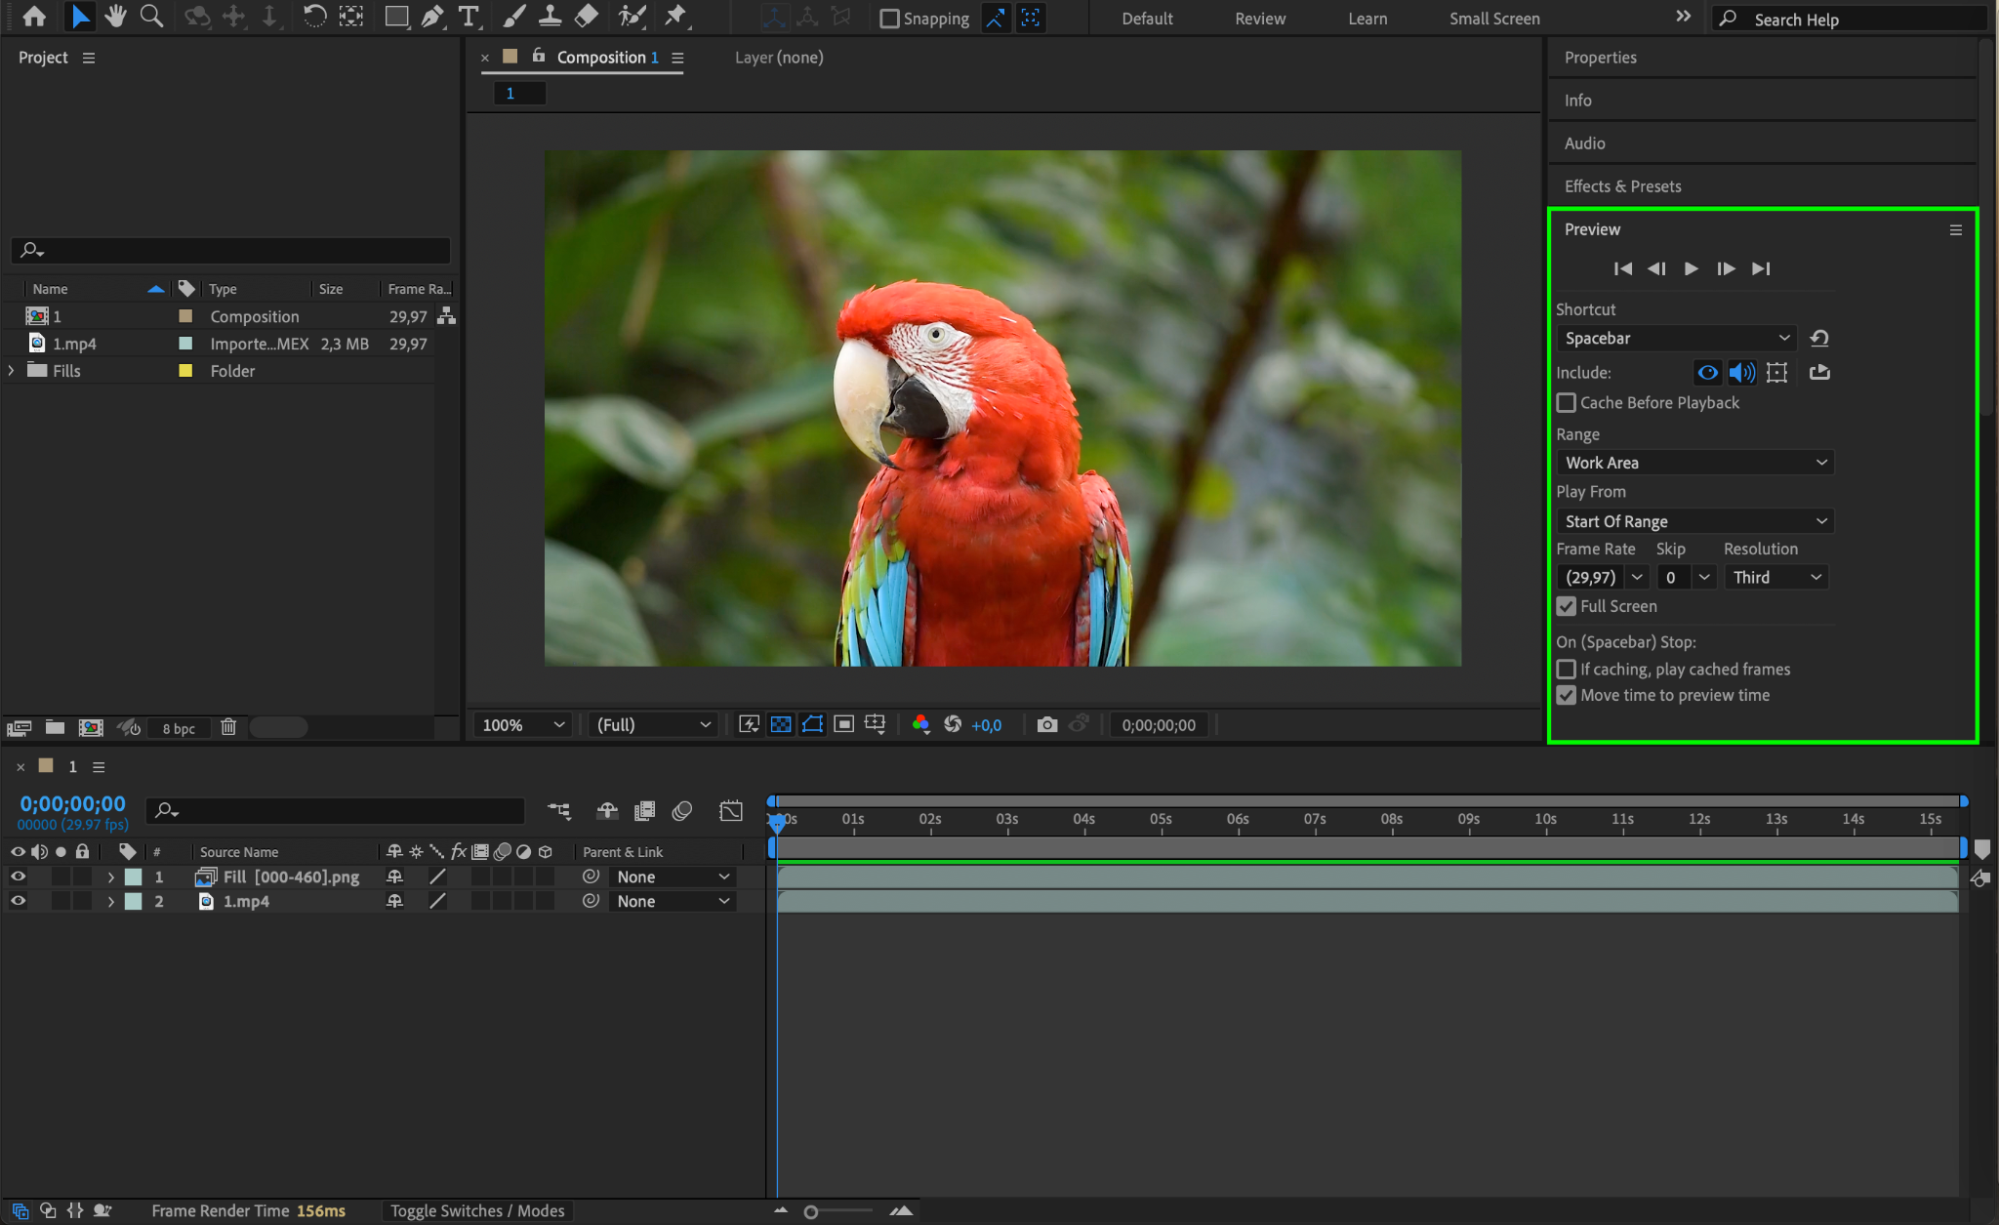
Conclusion
By following these steps and experimenting with different parameters, you can effectively use Content Aware Fill in After Effects to remove unwanted objects from your footage. This powerful tool not only saves time but also enhances your ability to create professional-looking videos. Don’t hesitate to explore the possibilities of Content Aware Fill and take your video editing to the next level!
Our Bestsellers


