How to Import and Animate Photoshop Files in After Effects
Introduction: Unlock the Power of Photoshop and After Effects Integration
Bringing your Photoshop designs into After Effects opens up a world of creative opportunities. Whether you’re a beginner or an experienced designer, understanding how to import and animate Photoshop files in After Effects is key to taking your video projects to the next level. In this guide, you’ll learn how to properly prepare and import your Photoshop files, allowing you to turn static designs into dynamic motion graphics. Let’s get started!
Step-by-Step Guide: How to Import Photoshop Files to After Effects
Step 1: Prepare Your Photoshop File
Before importing your Photoshop file into After Effects, it’s important to prepare it properly. Ensure your layers are organized, named appropriately, and grouped where necessary. Clean up the file by removing any hidden or unnecessary layers to avoid confusion later. A well-organized PSD will make the import process smoother and give you more control when animating individual elements.
Get 10% off when you subscribe to our newsletter

Step 2: Open After Effects and Import the Photoshop File
Launch After Effects and navigate to File > Import > File. In the file browser, locate your Photoshop (.PSD) file and click Open. After Effects will give you several import options, allowing you to choose how your file is brought into the project.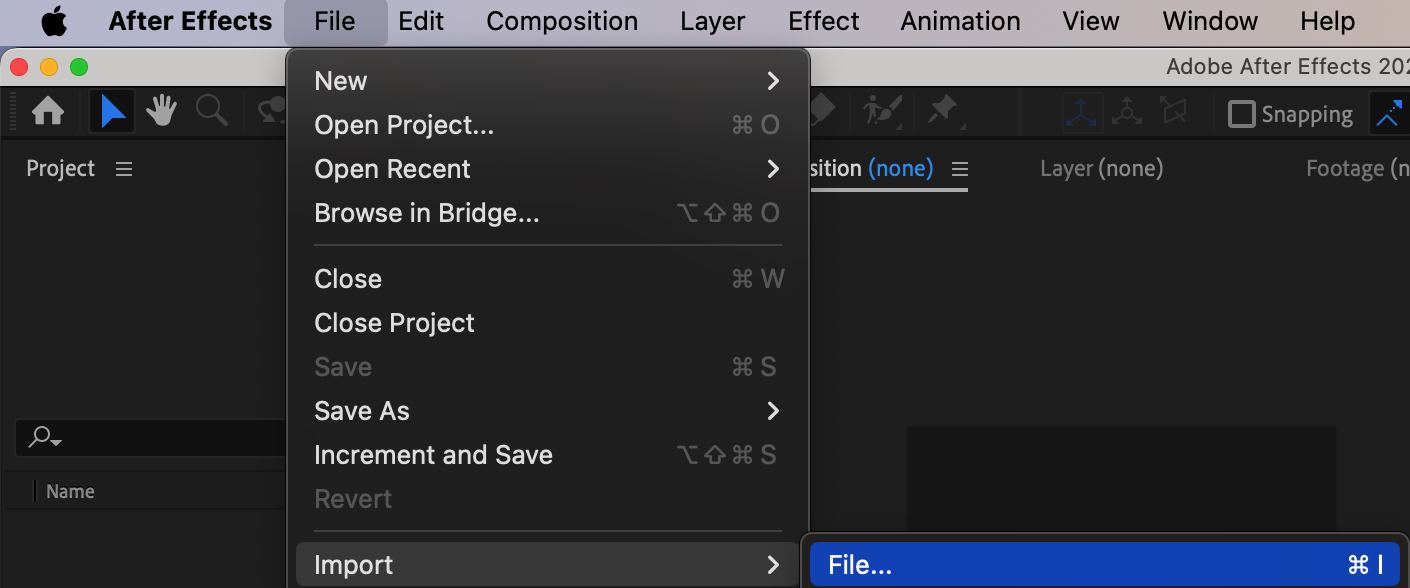 Step 3: Choose the Right Import Method
In the import dialog box, you’ll see three options for importing your file: Footage, Composition, and Composition – Retain Layer Sizes. Choose Composition – Retain Layer Sizes to import each Photoshop layer as its own editable element within a composition. This option gives you the greatest flexibility in animating and adjusting layers within After Effects.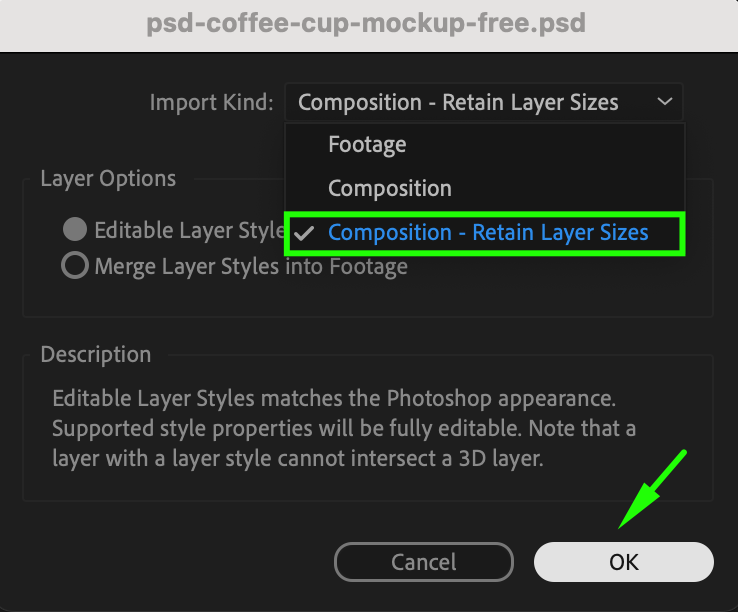
Get 10% off when you subscribe to our newsletter

Why choose Retain Layer Sizes? This ensures that each layer maintains its original size and position from Photoshop, preventing distortion or scaling issues when you begin animating.
Step 4: Open the Imported Composition
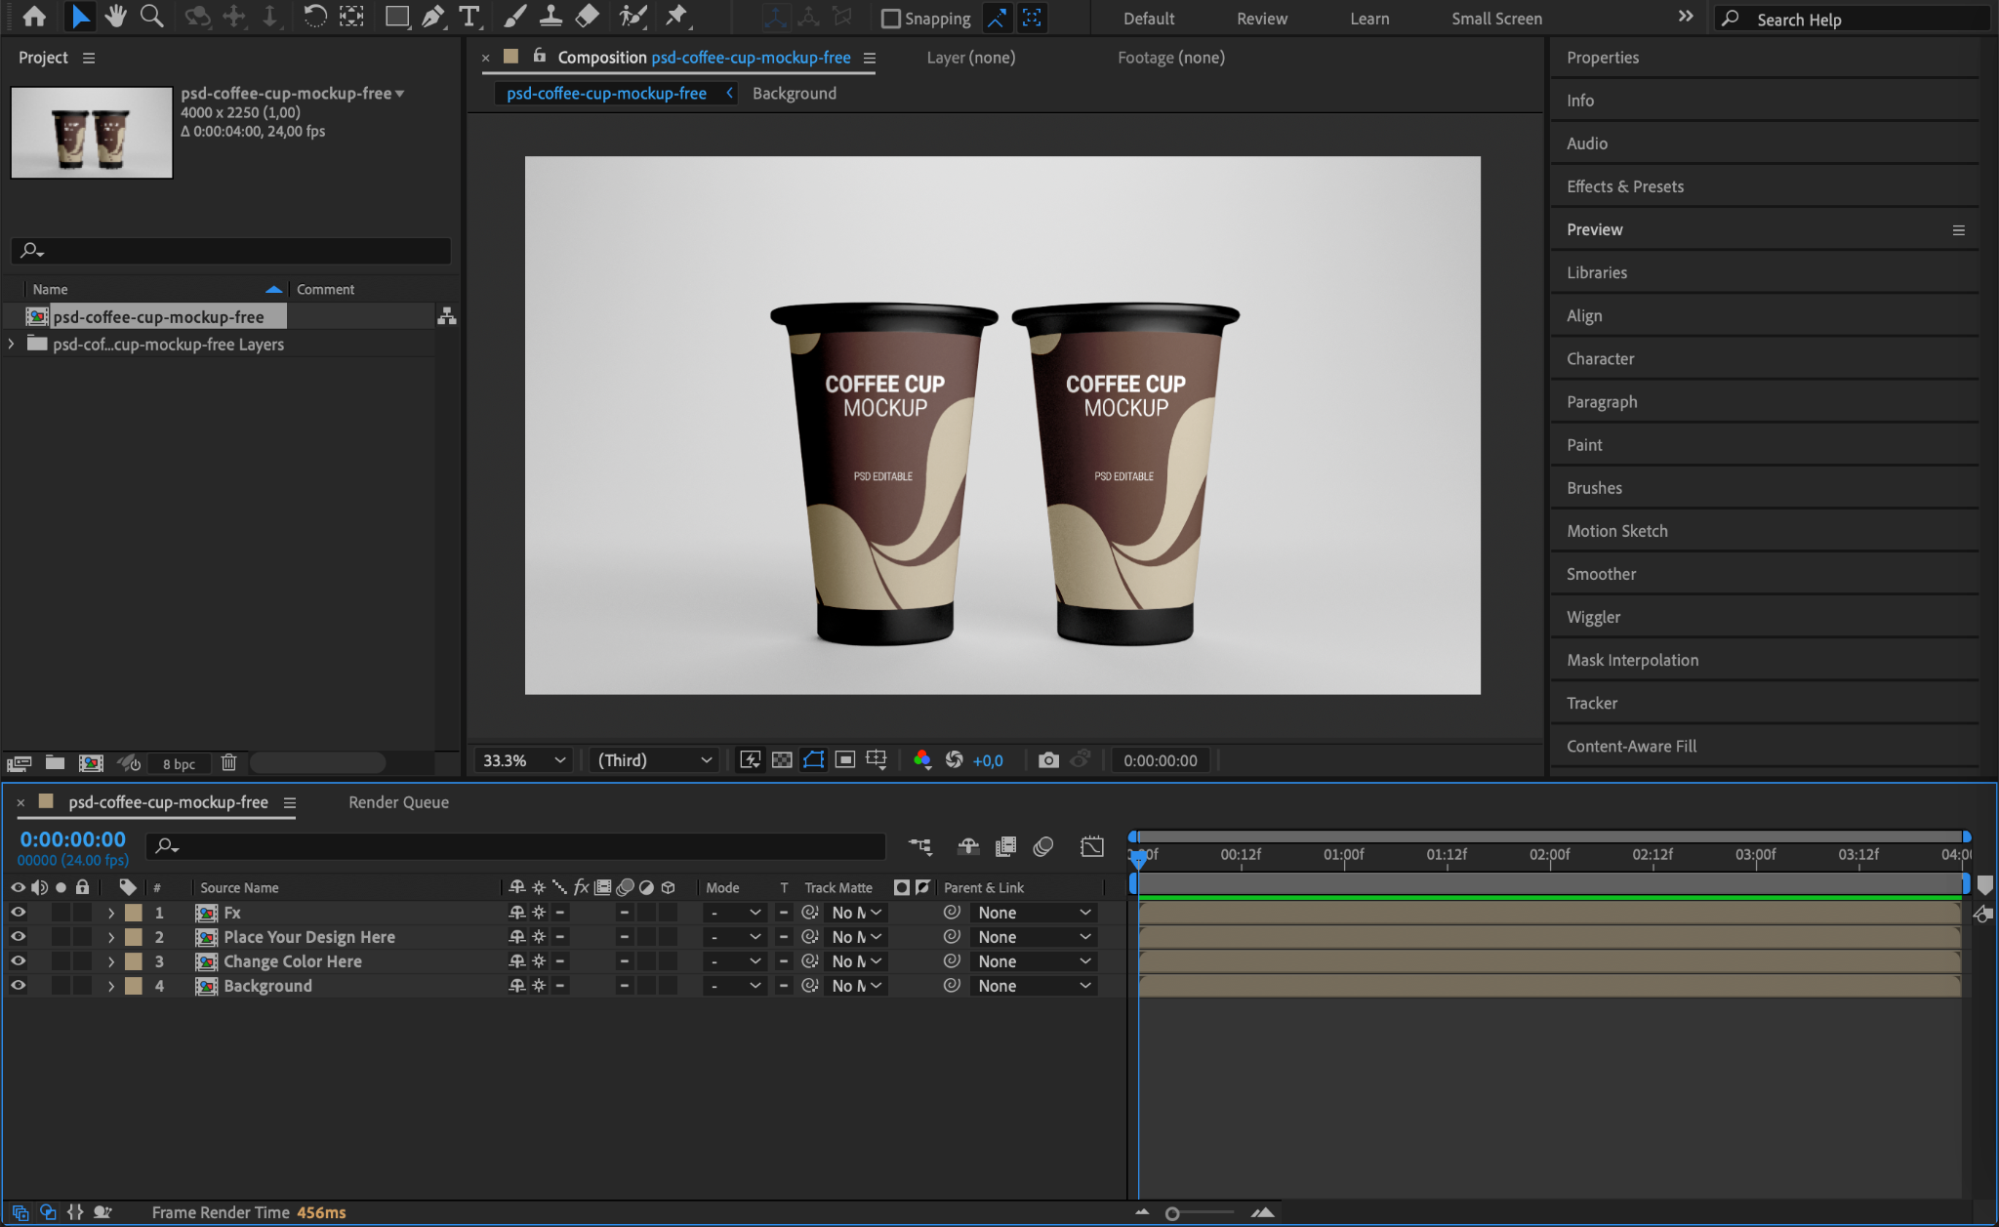
Once imported, your Photoshop file will appear in the Project Panel as a composition. Double-click the composition to open it. Inside the timeline, you’ll find all your Photoshop layers listed and ready to be animated or edited. This is where you can begin creating motion graphics from your static design.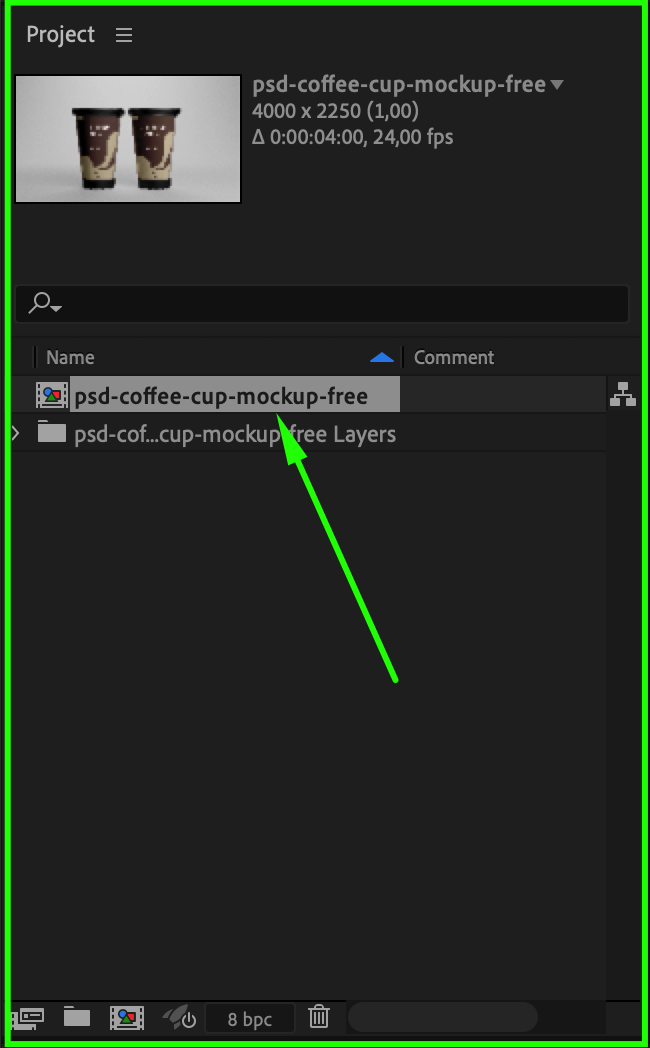
 Step 5: Find and Customize Layers
Get 10% off when you subscribe to our newsletter

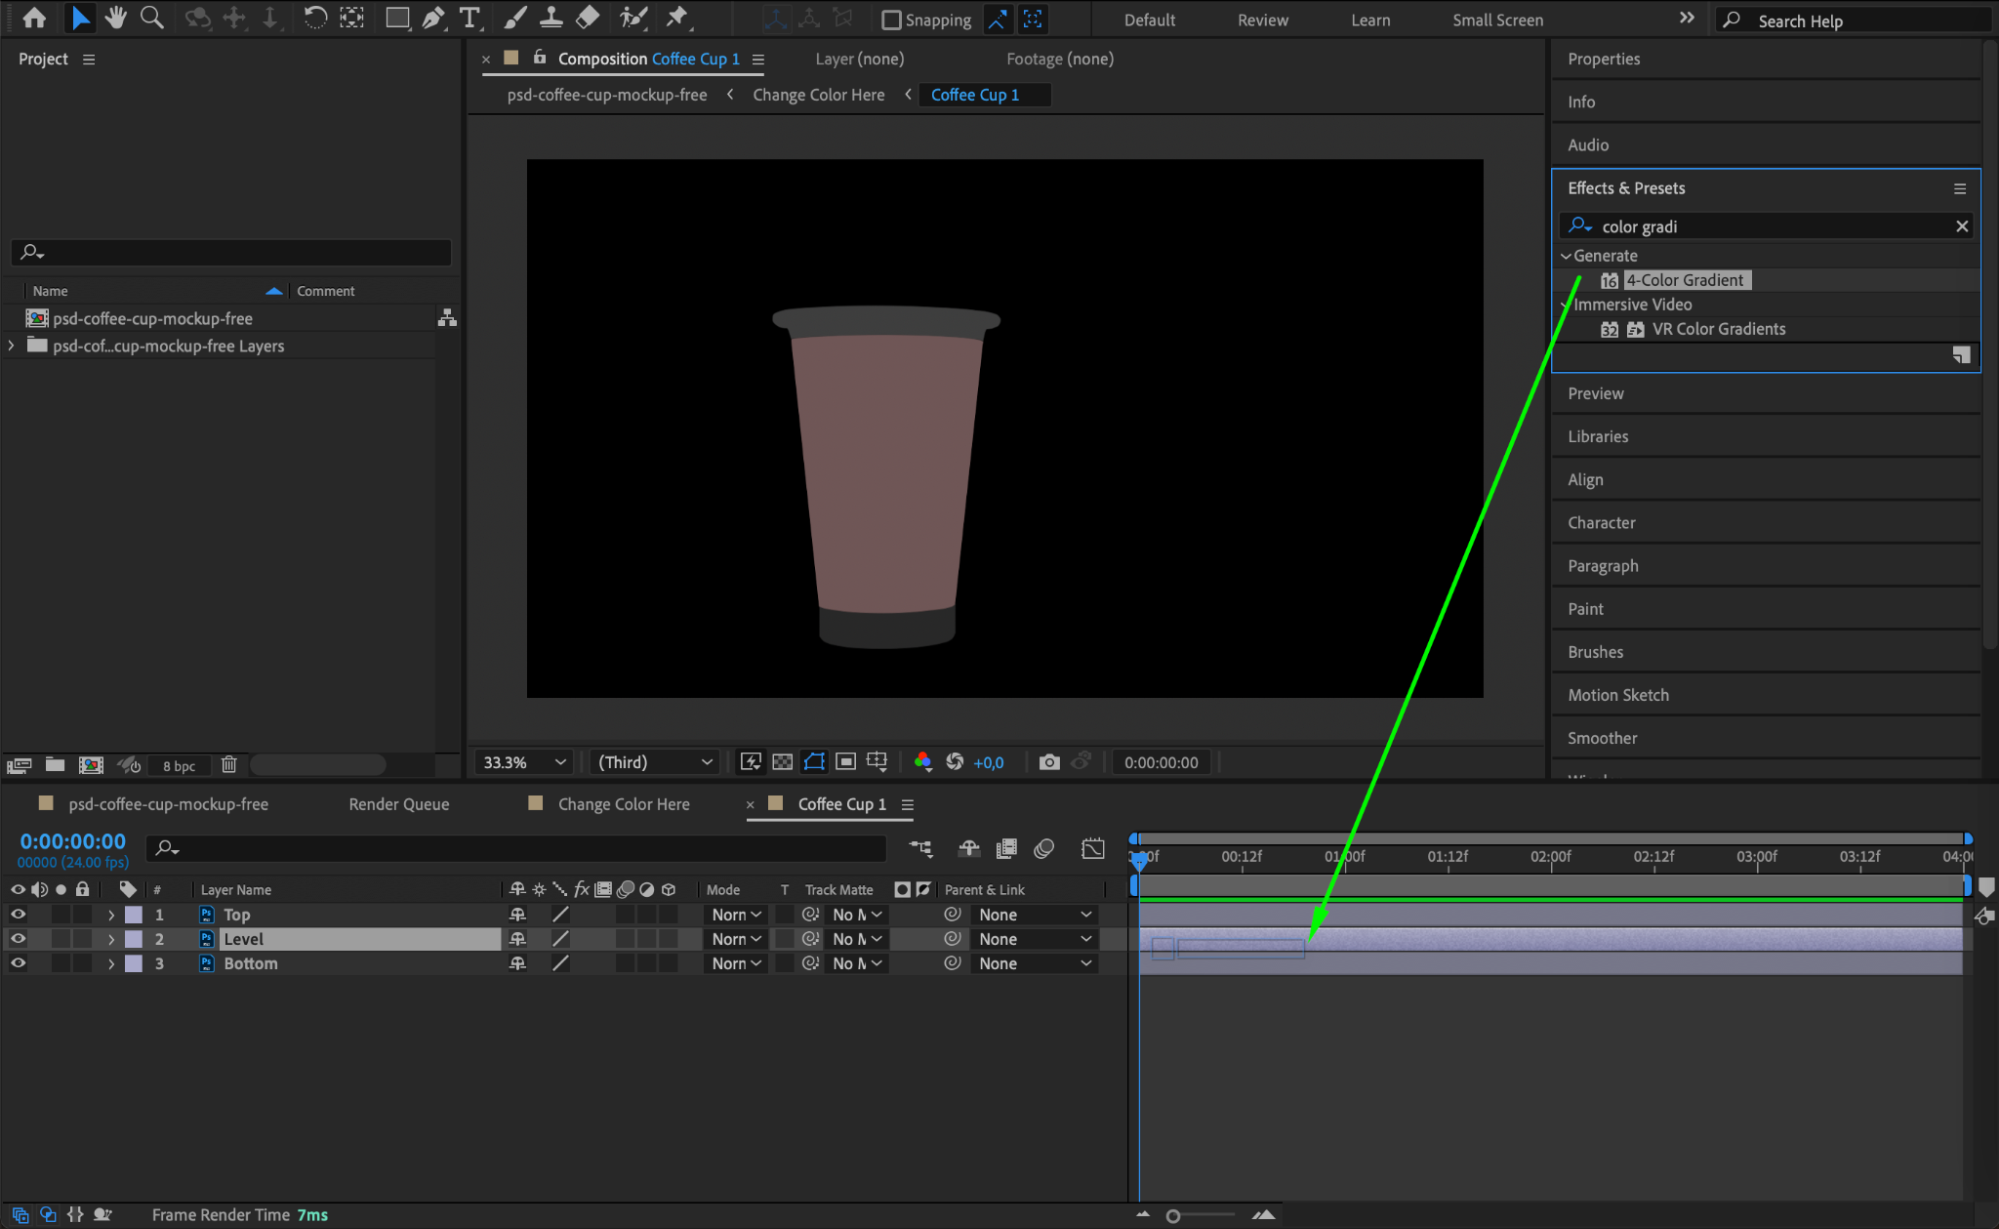
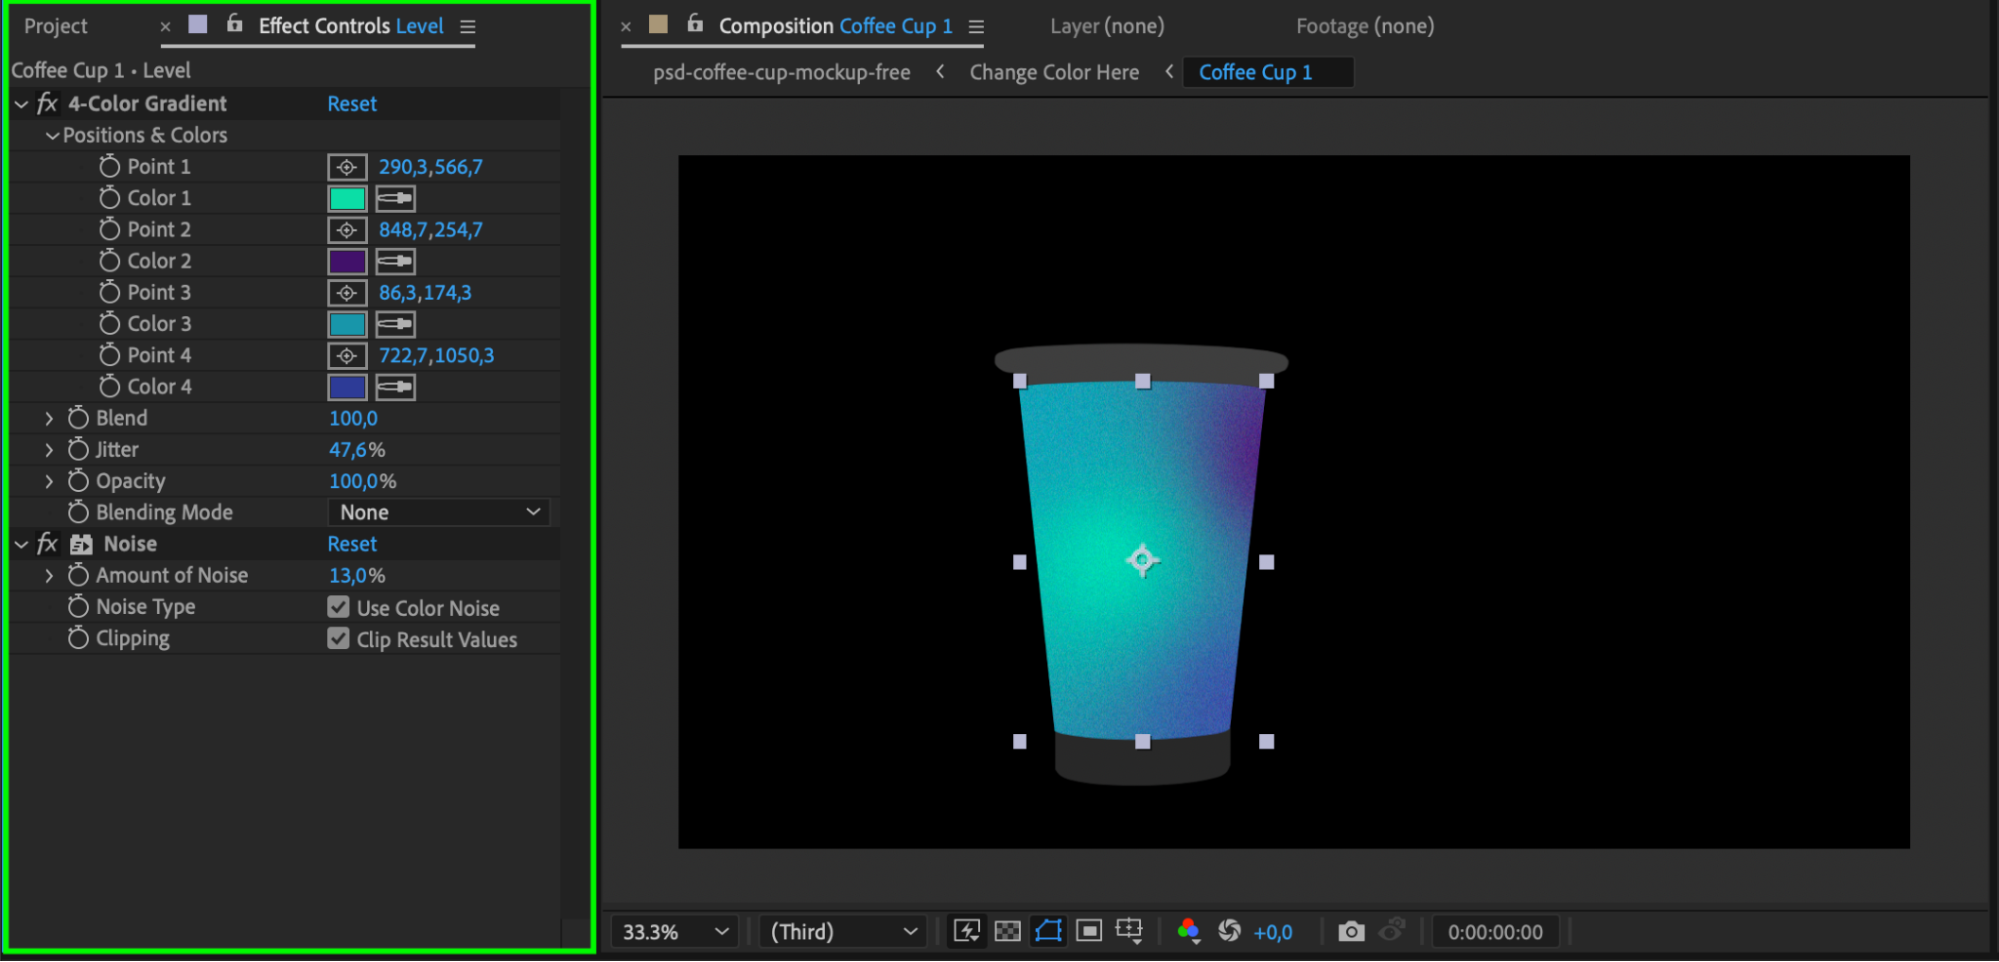
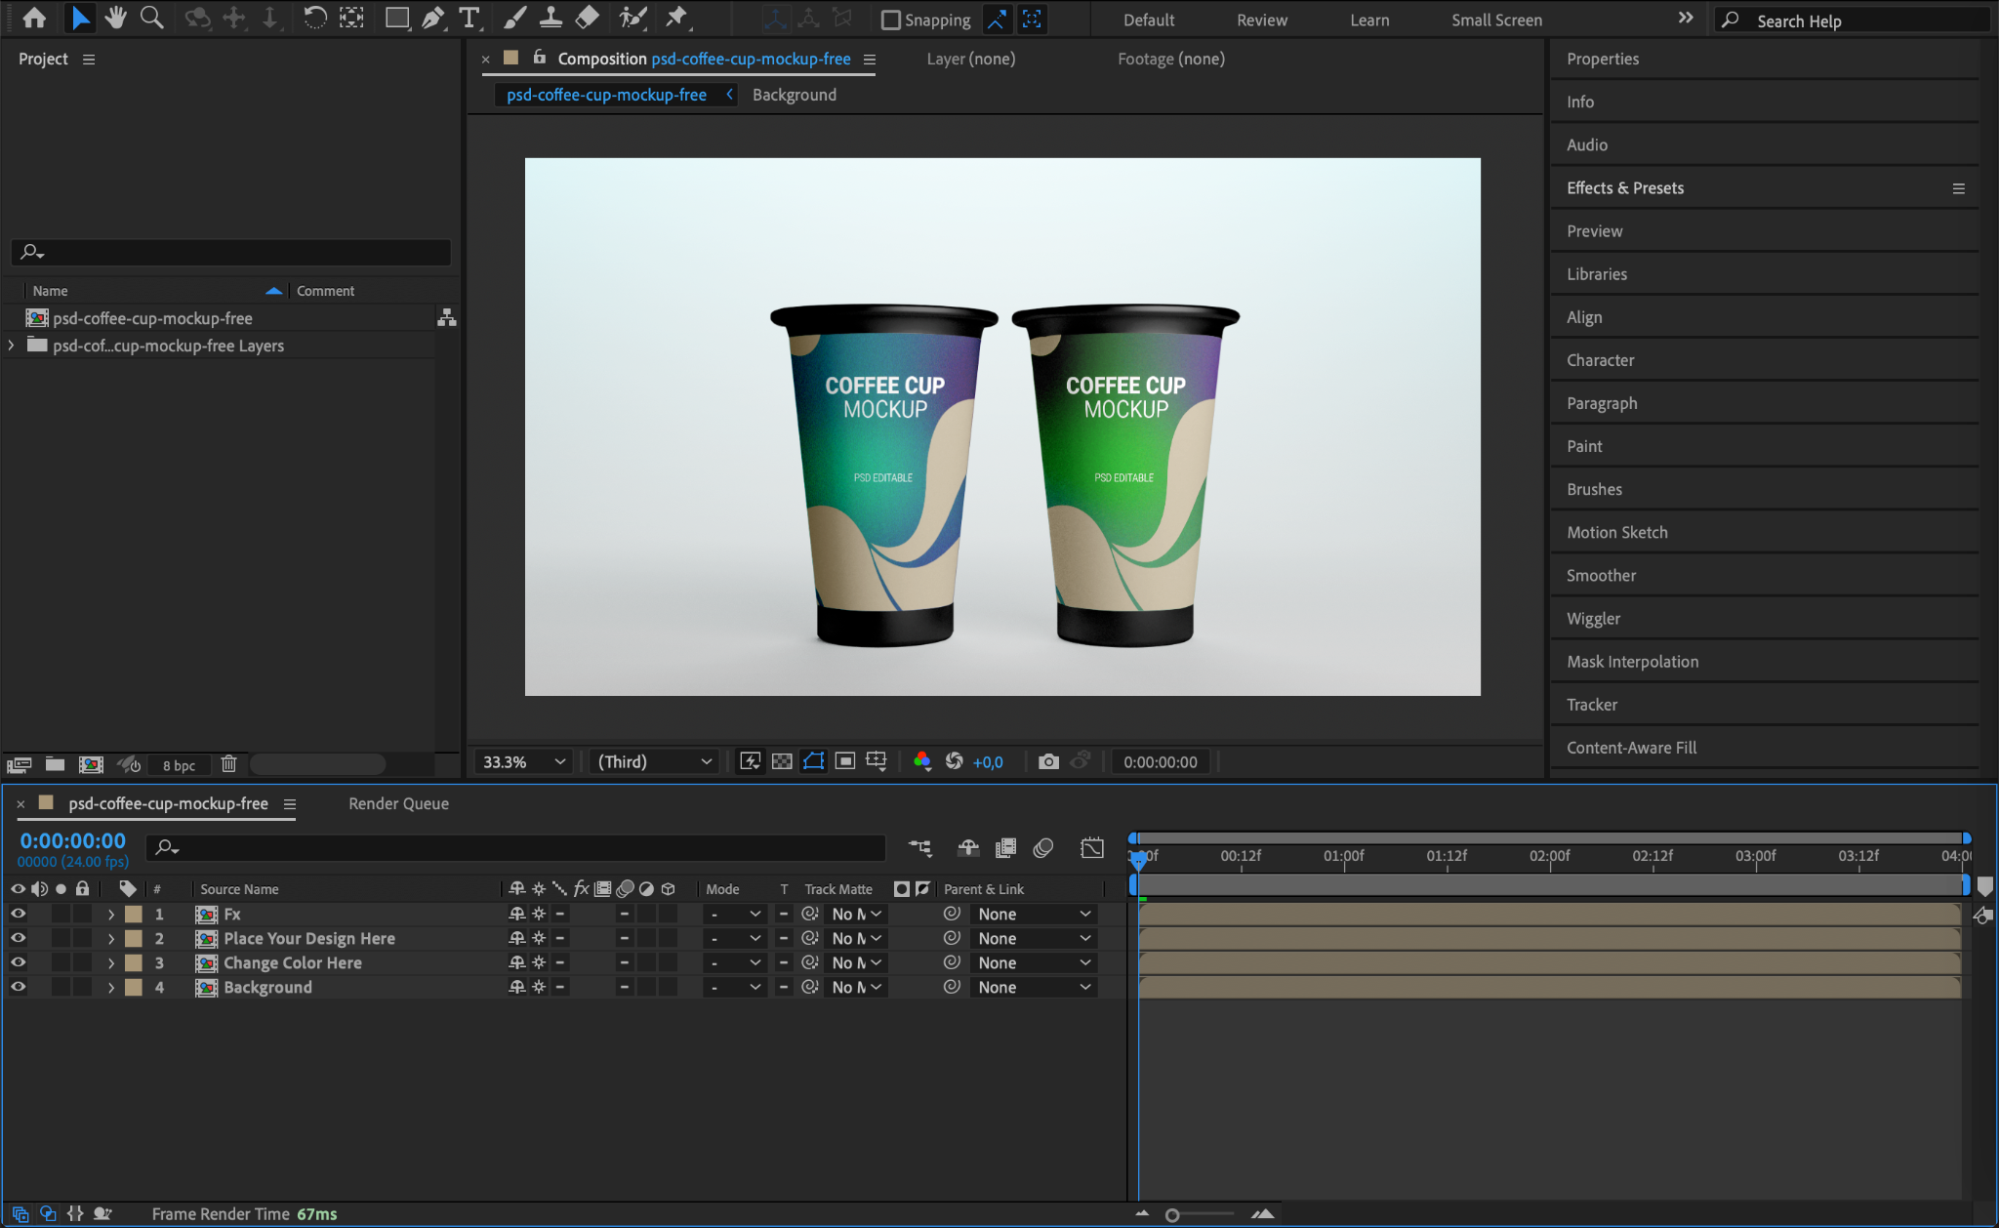
In the timeline panel, locate the layers that you want to modify or animate. Select each layer to access its properties and use After Effects’ extensive list of tools and features to customize them. You can apply effects and presets from the Effects & Presets panel to enhance or alter your layers. 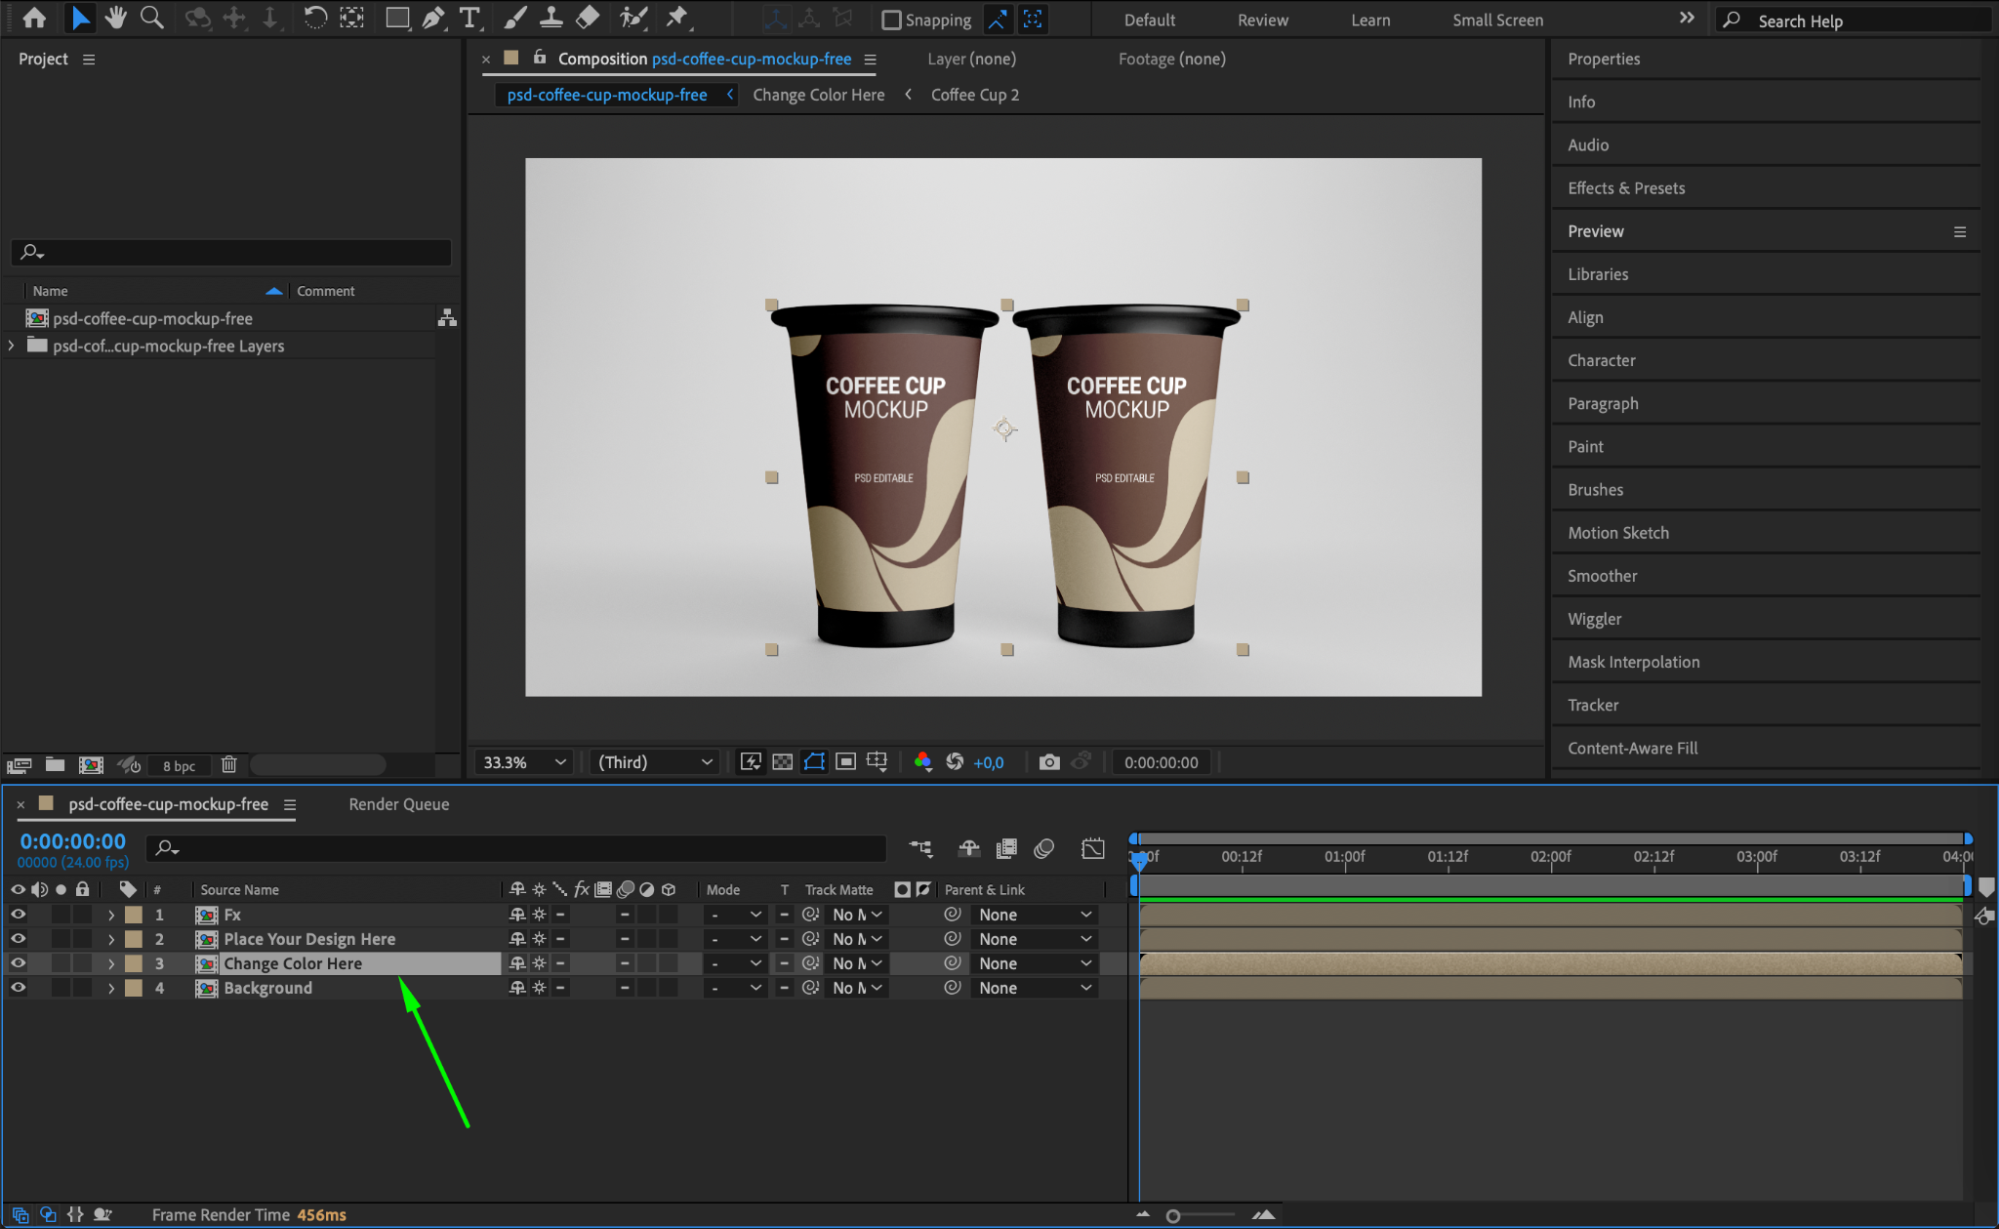
 Step 6: Create Smooth Animations with Null Objects
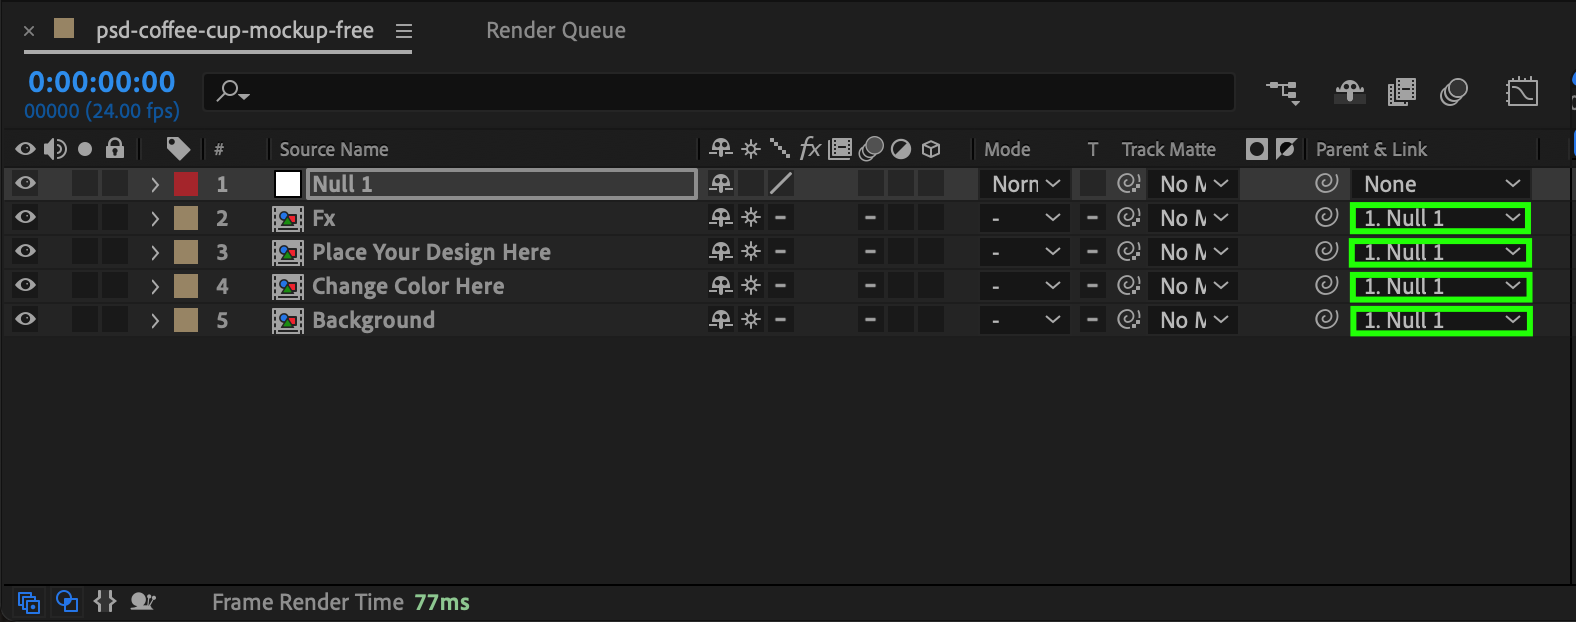
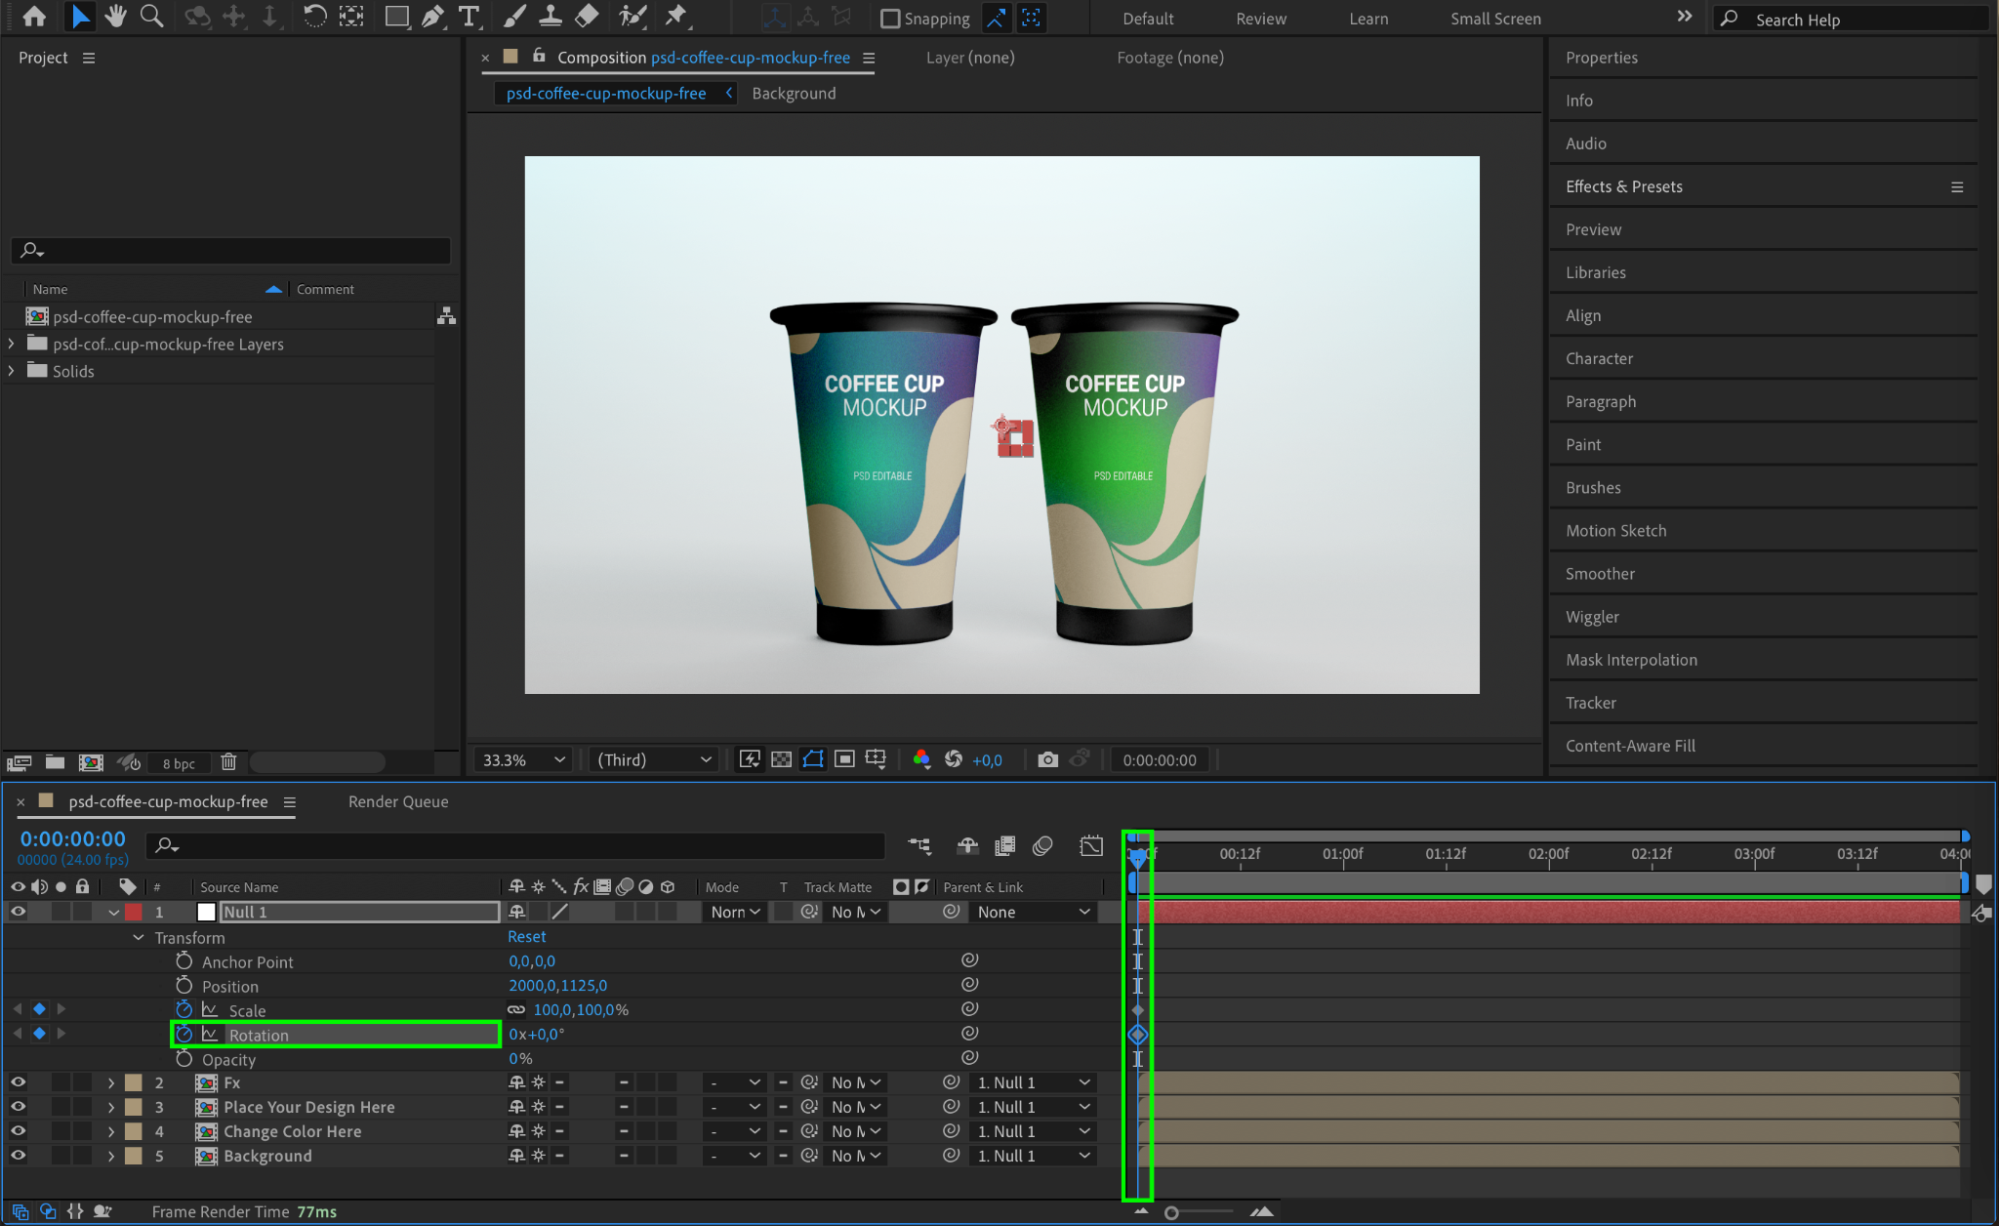
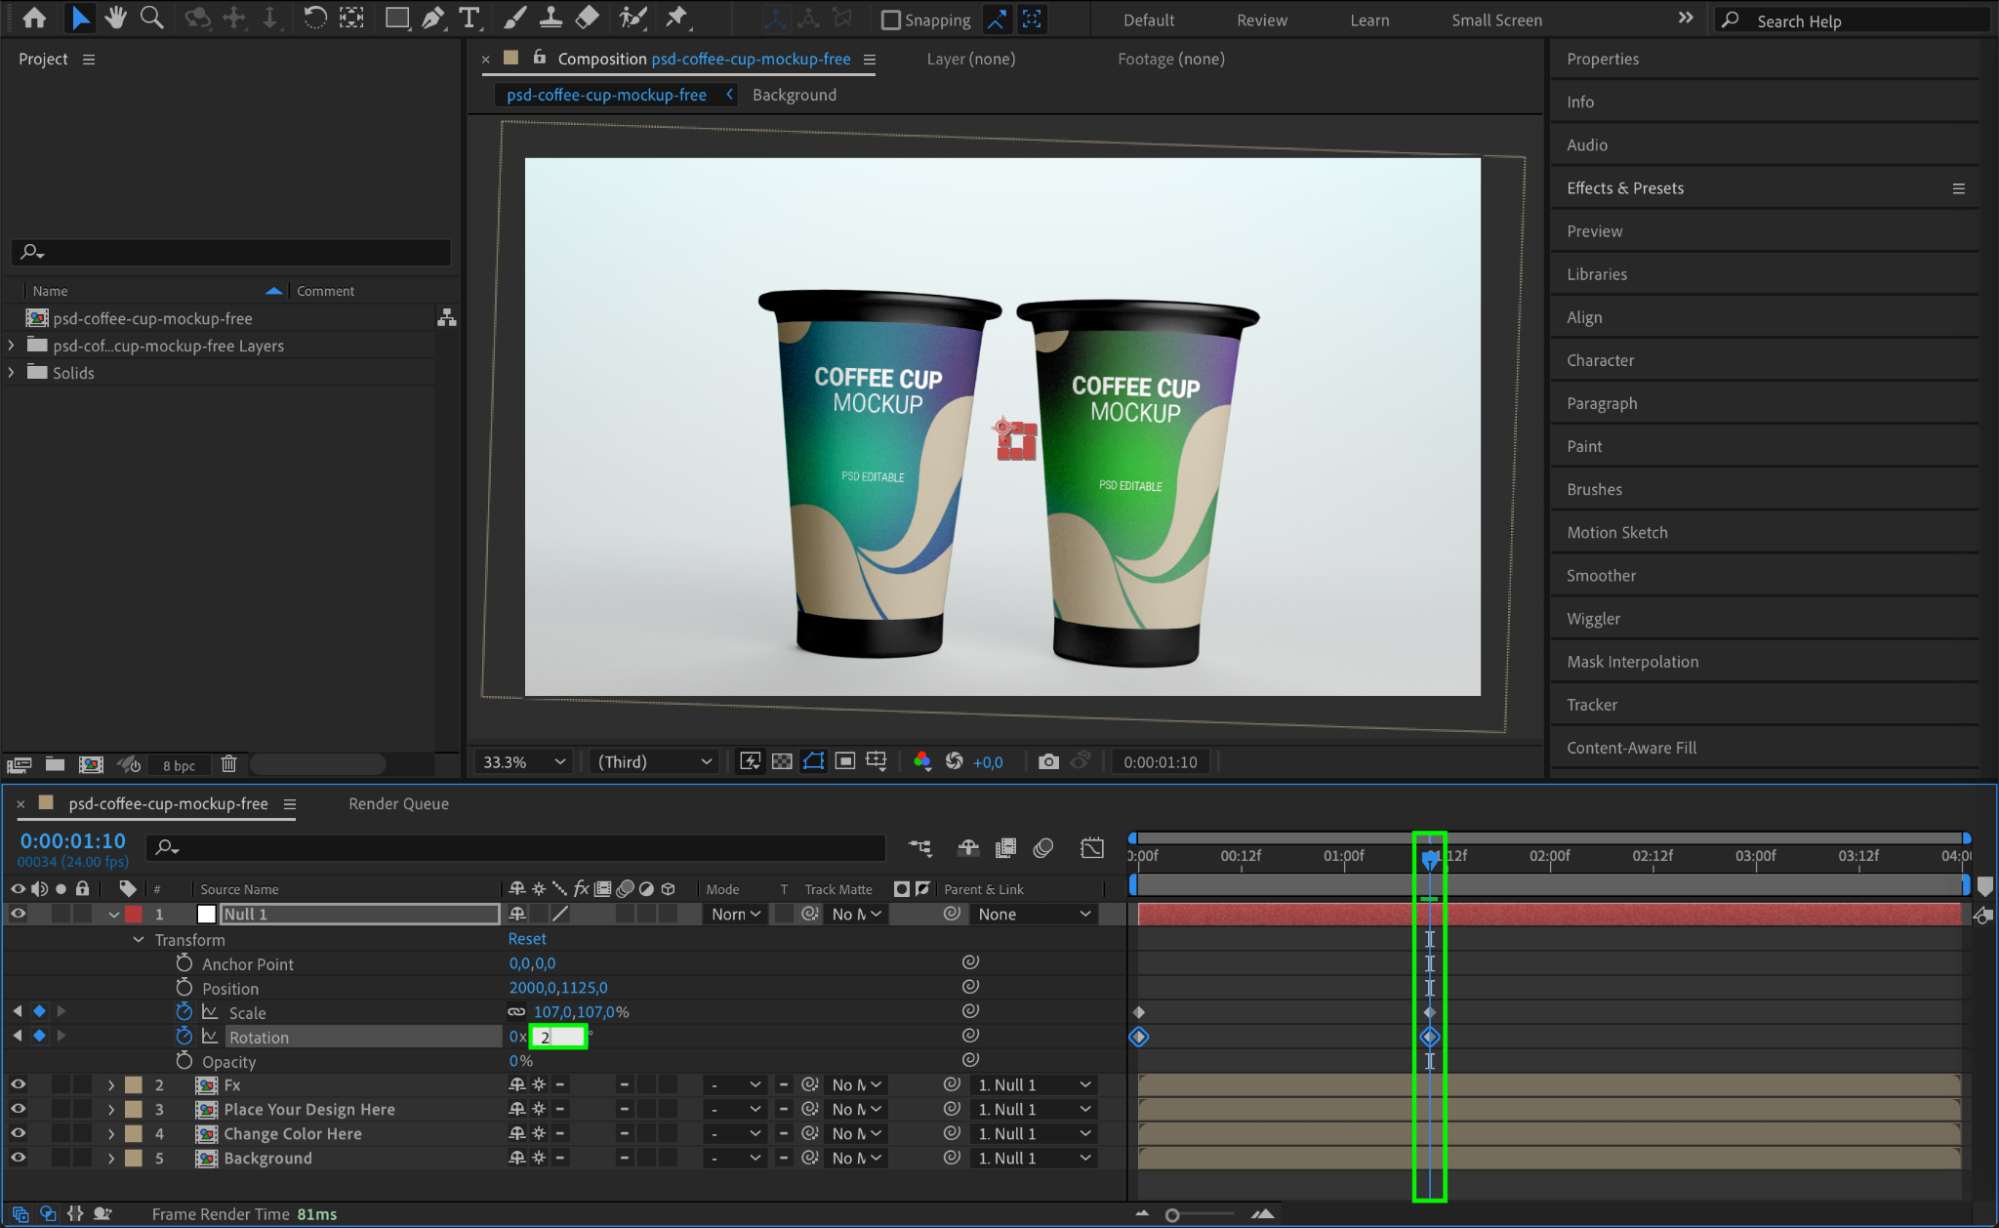
To create more complex animations, consider using a Null Object. First, make all relevant layers children of the null object by linking them in the Parent & Link column. Then, use keyframes to animate parameters such as position, rotation, and scale on the null object. This approach allows you to control multiple layers simultaneously and achieve more cohesive and fluid animations.

 Step 7: Use Preview
Get 10% off when you subscribe to our newsletter

Once you’ve set up your animations, use the Preview feature in After Effects to review your work. Press the Spacebar to play the animation and check for any discrepancies or areas that need adjustment. Make any necessary tweaks to ensure everything runs smoothly and looks as intended.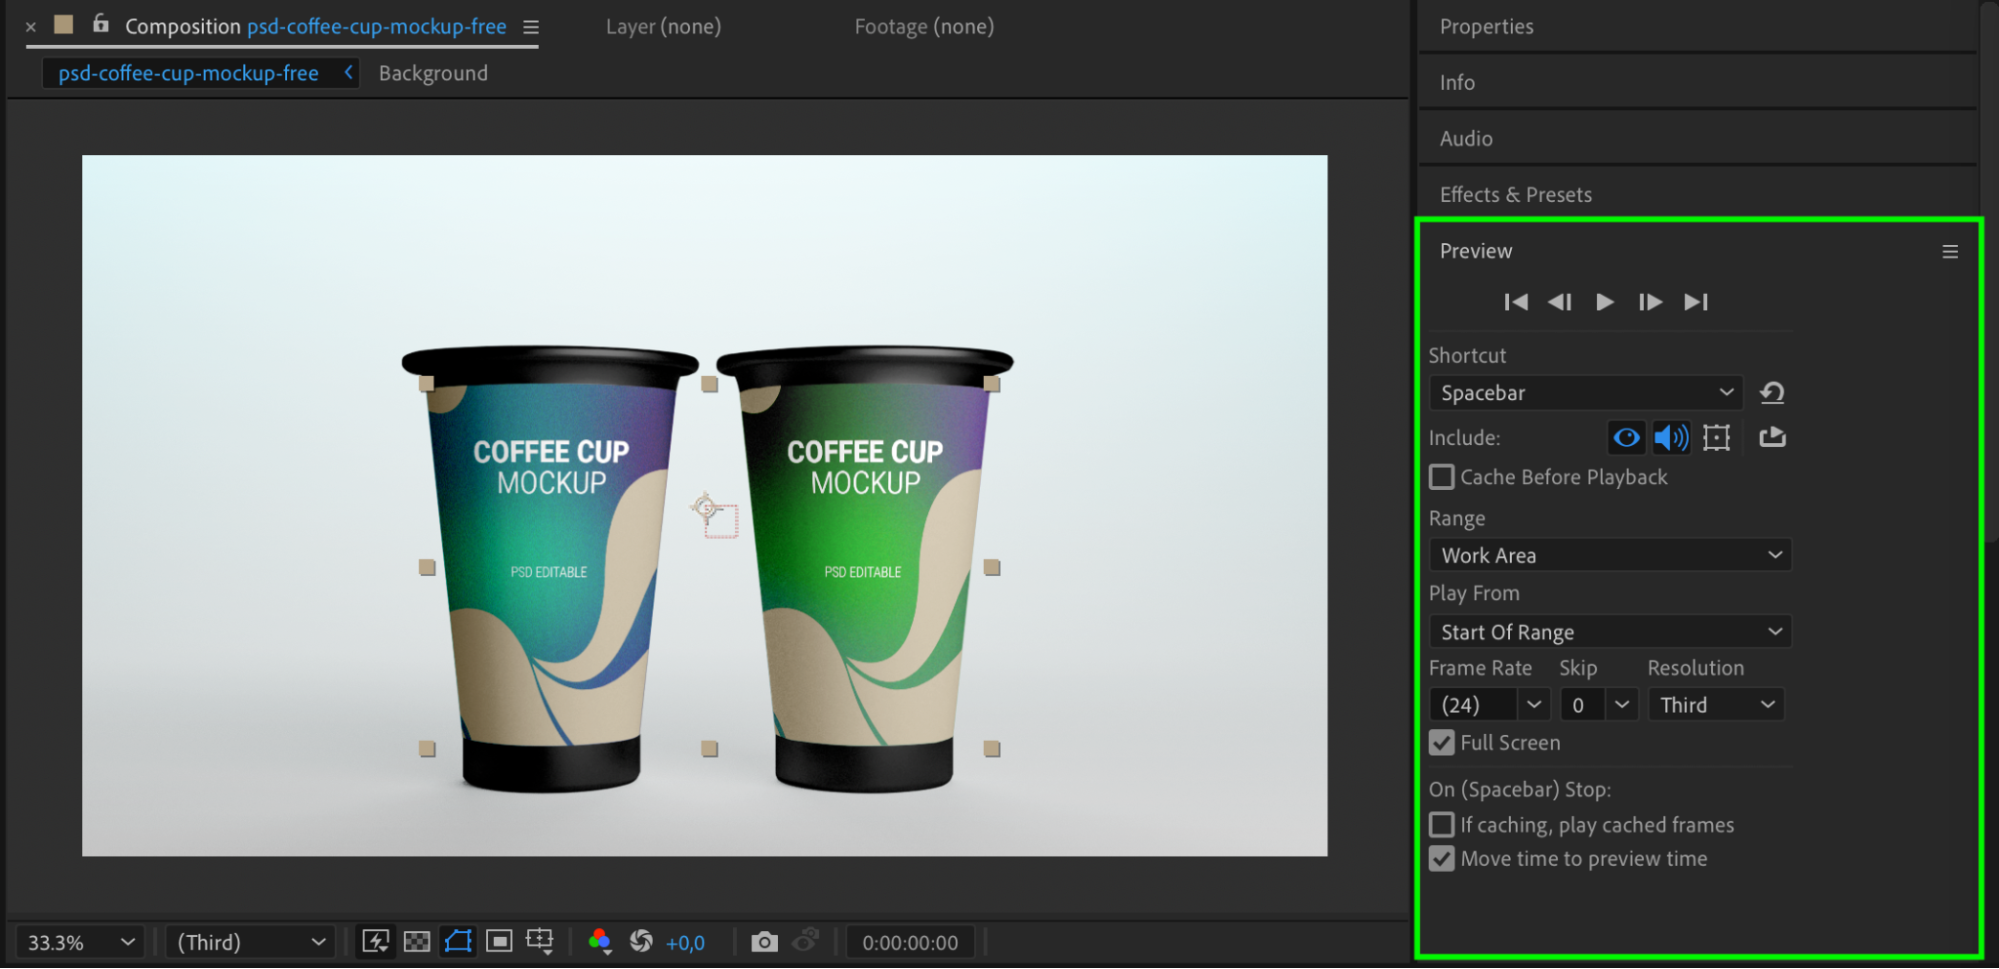 Conclusion
Get 10% off when you subscribe to our newsletter

Importing Photoshop files into After Effects opens up endless possibilities for video designers. By combining these two powerful Adobe programs, you can seamlessly integrate your static designs into motion graphics, creating visually compelling stories. Remember to organize your Photoshop file properly, interpret the footage accurately, and take advantage of the customization tools in After Effects. With practice, you’ll master this workflow and wow your audience with stunning videos.
Get 10% off when you subscribe to our newsletter

Are you ready to unleash your creativity? Get started by importing those Photoshop files into After Effects and elevate your video designs. Enjoy the adventure and happy designing!


