How to Build a 3D Cube in After Effects
Introduction to Creating a 3D Cube
Creating a 3D cube in After Effects adds depth and visual interest to your projects. This guide will walk you through the process of building a 3D cube step by step, from setting up your composition to animating the cube. Follow along to bring a dynamic 3D element to your videos.
Step 1: Set Up Your Composition
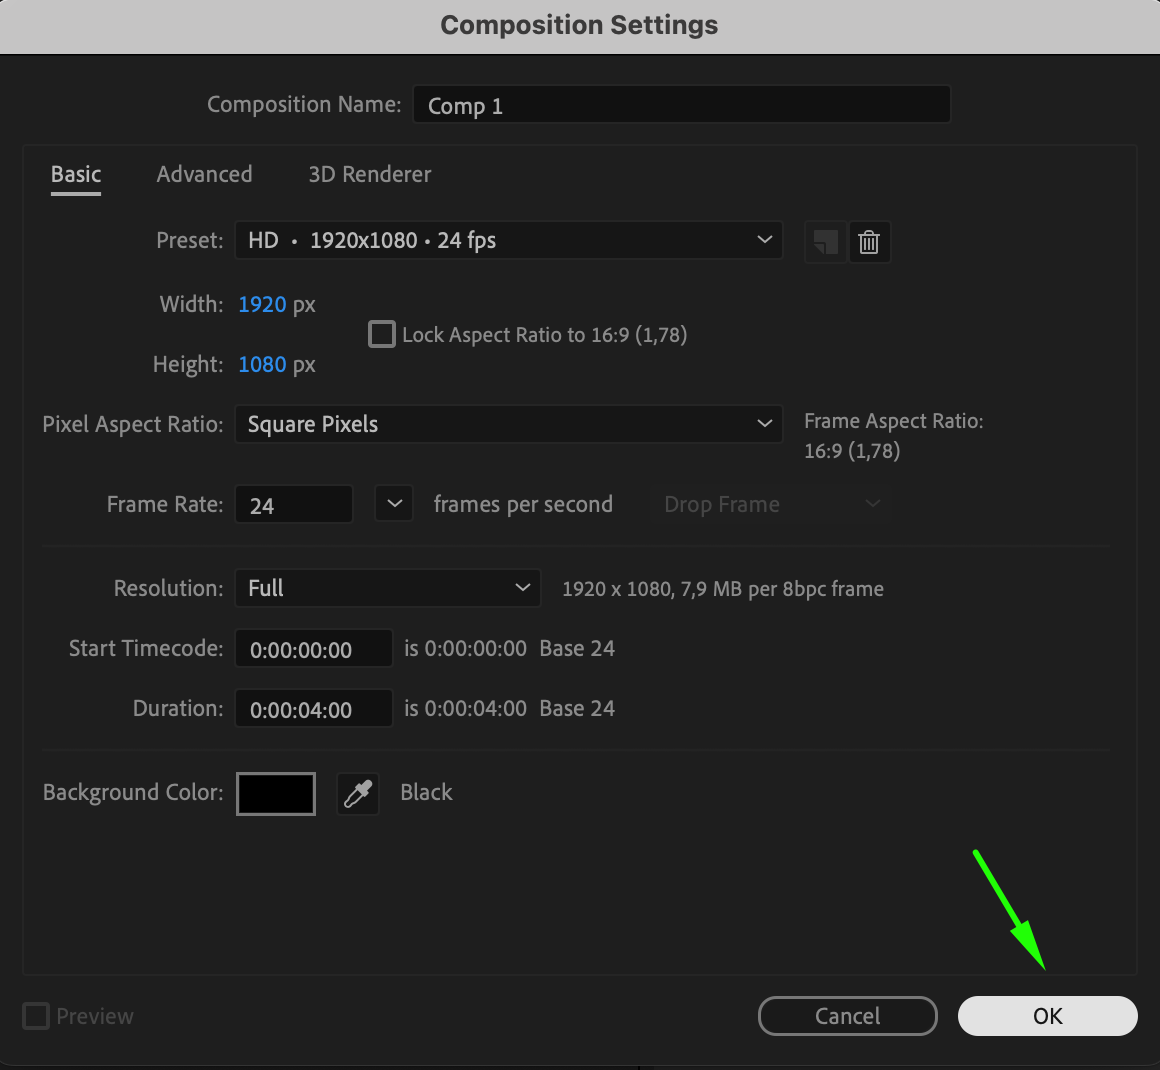
Start by ensuring you have all necessary project files, such as textures or images. Create a new composition in After Effects by selecting Composition > New Composition. Set your composition’s dimensions and frame rate according to your project needs, then click OK.
 Step 2: Toggle Transparency Grid
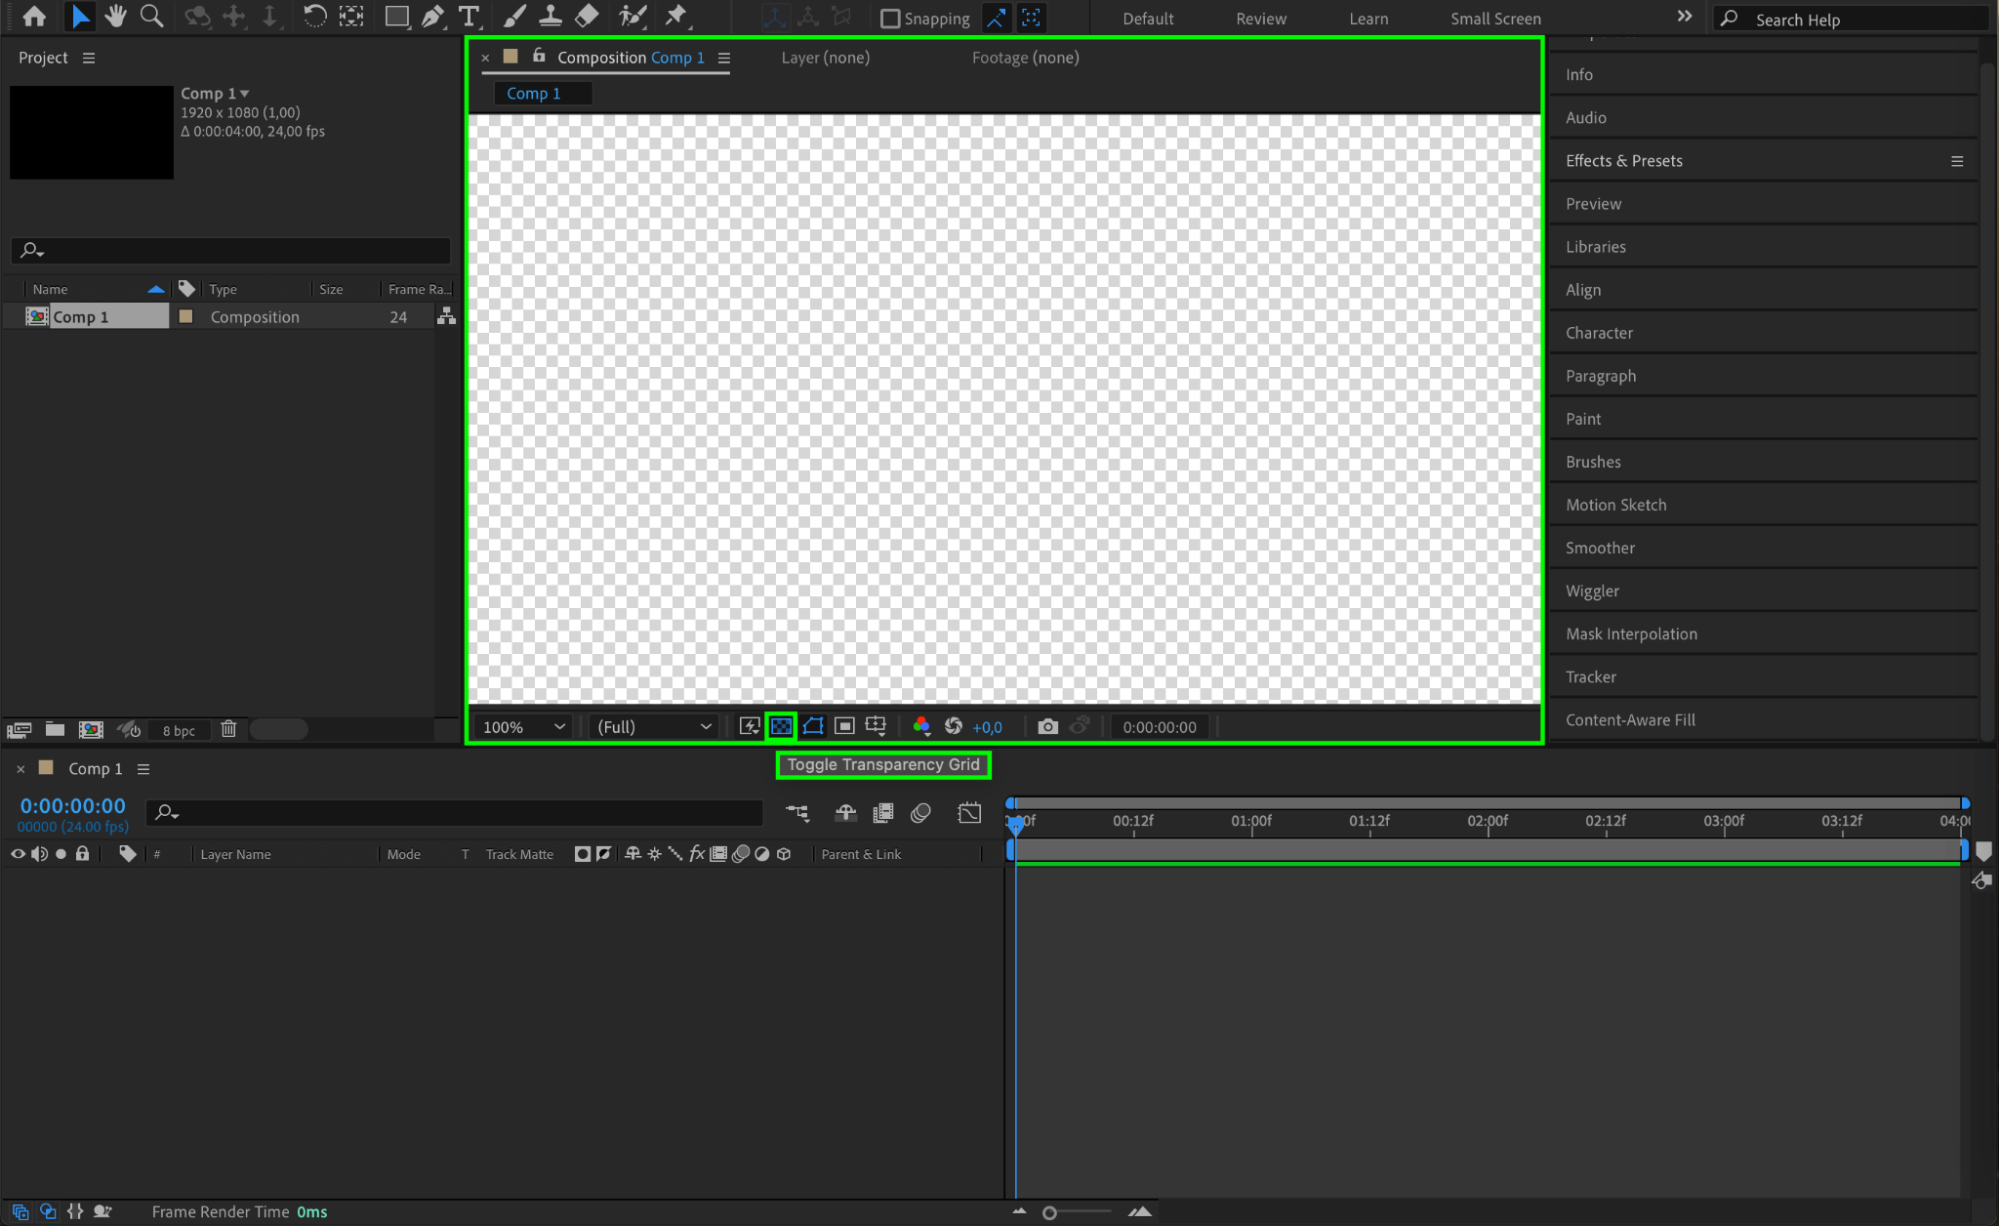
To clearly see the cube against a transparent background, click the Toggle Transparency Grid button. This will make your project canvas transparent, allowing you to view the cube’s edges more clearly as you work.
Step 3: Create a Face of the Cube
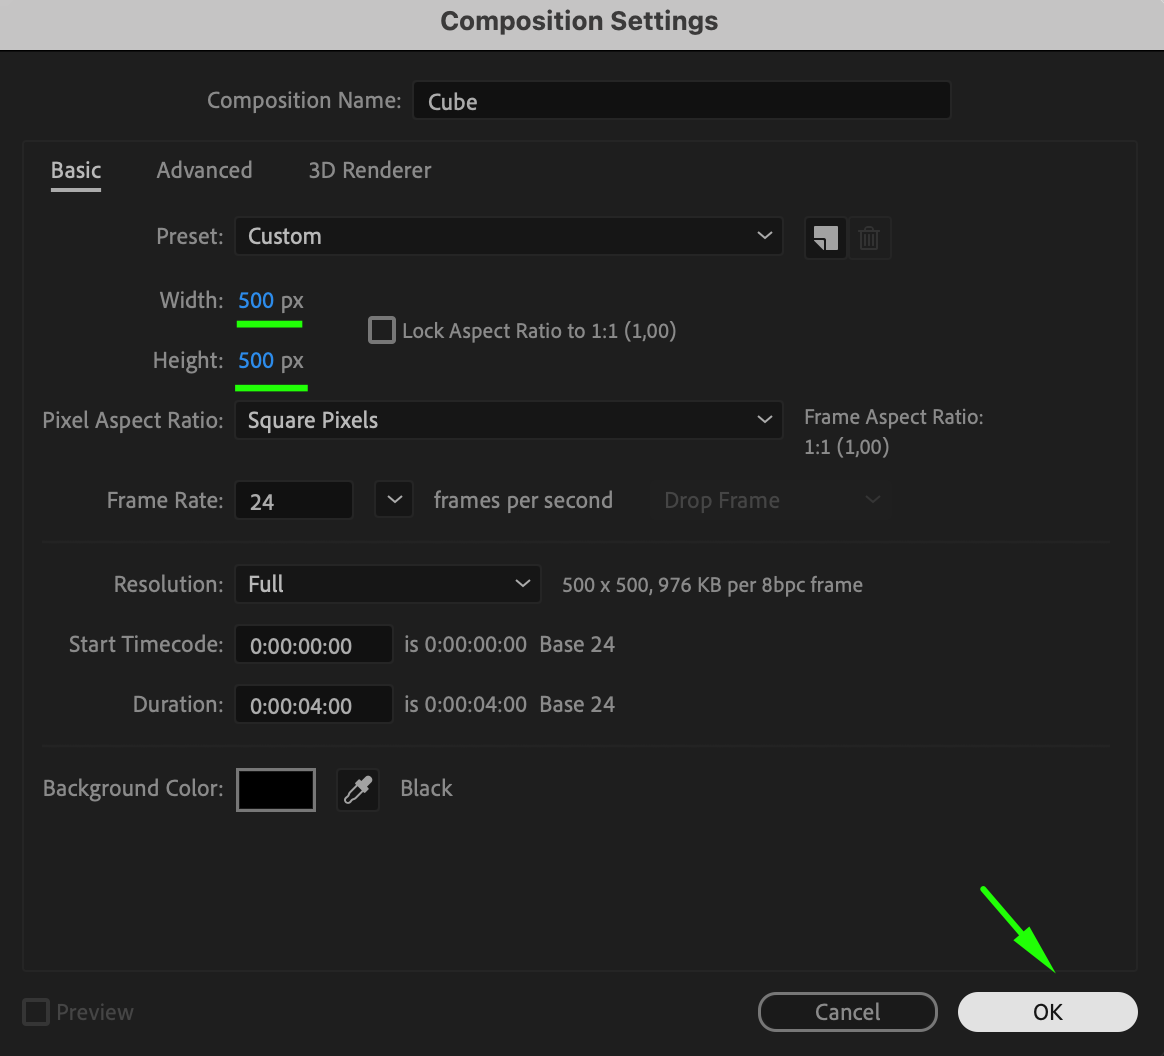
Go to Composition > New Composition, set the Width and Height to 500 pixels, and click OK. This composition will serve as one face of your cube.
 Step 4: Customize the Face
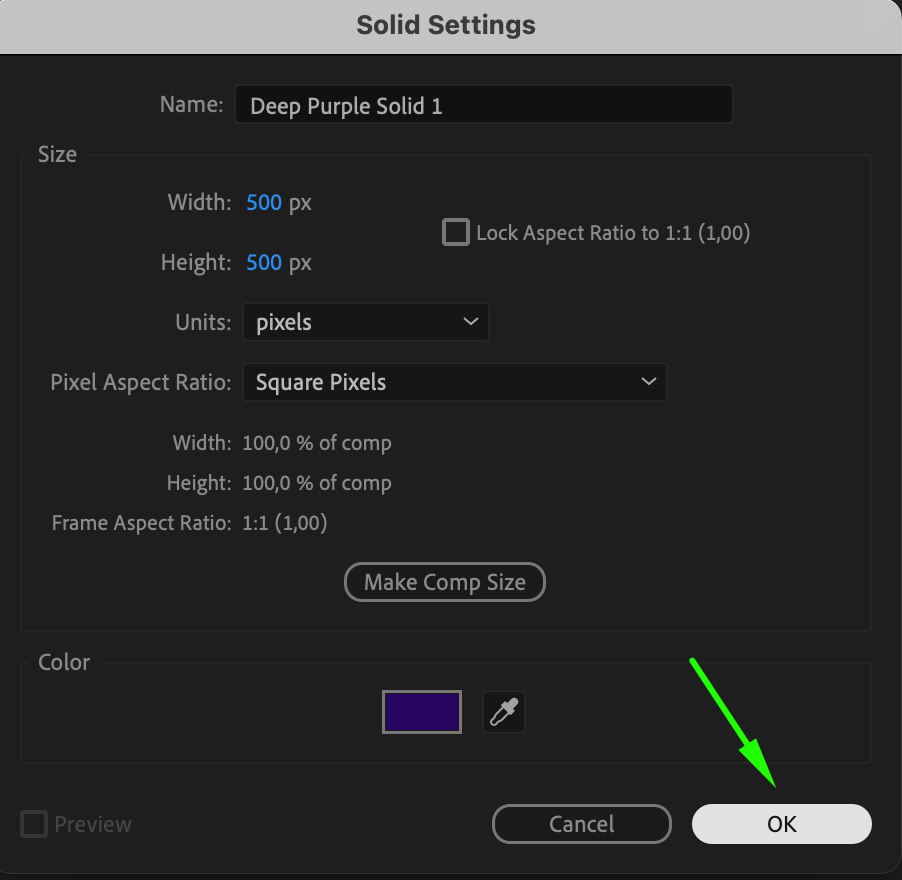
Customize this face by adding a photo, video, solid layer, or text. You can use this face as a texture for the cube. Adjust the content to fit the style and design of your cube.
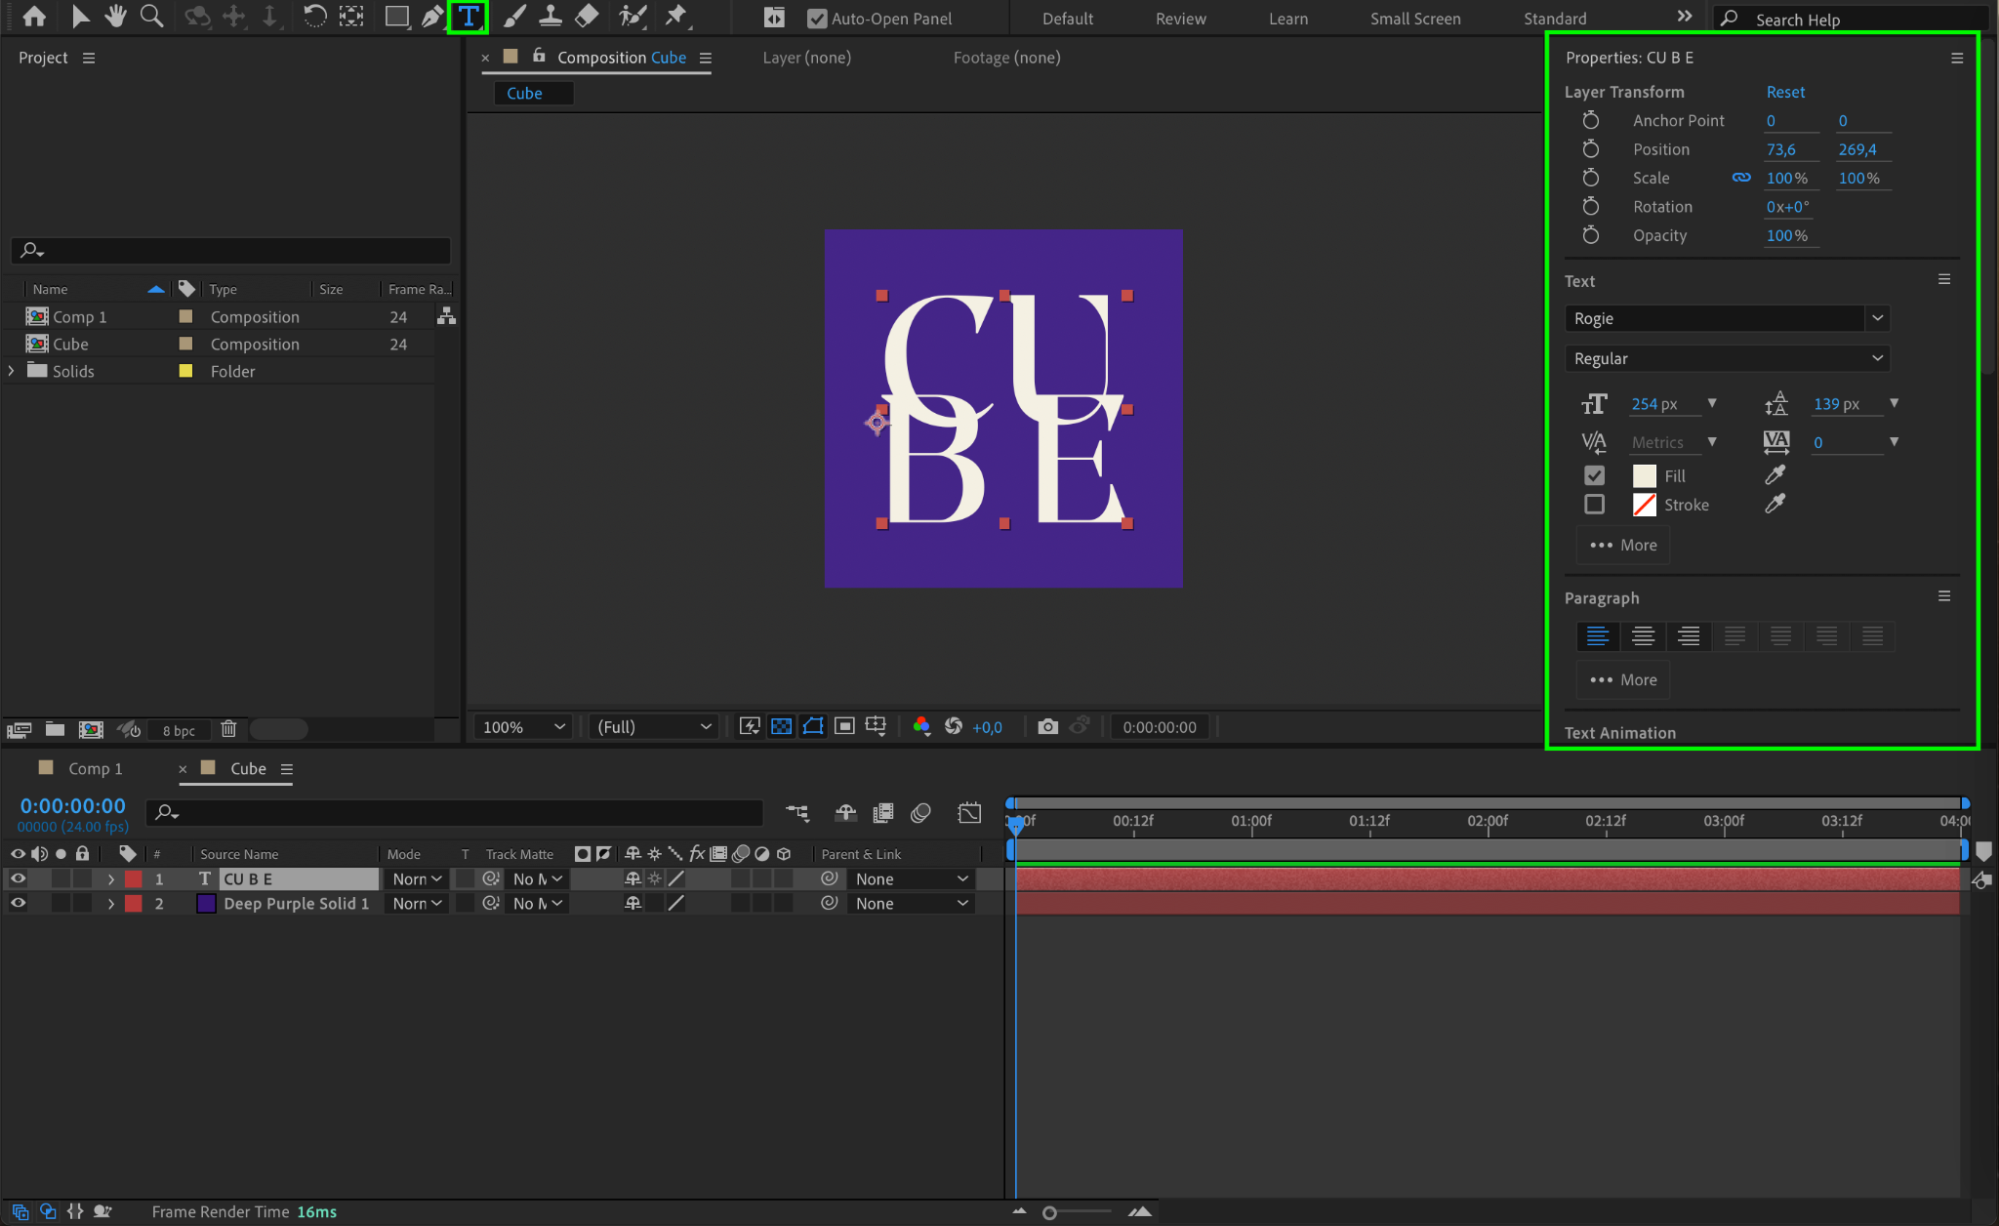 Step 5: Add the Face to the Main Composition
Return to your main composition with the transparent background. Drag the face composition you created onto the Timeline Panel of the main composition.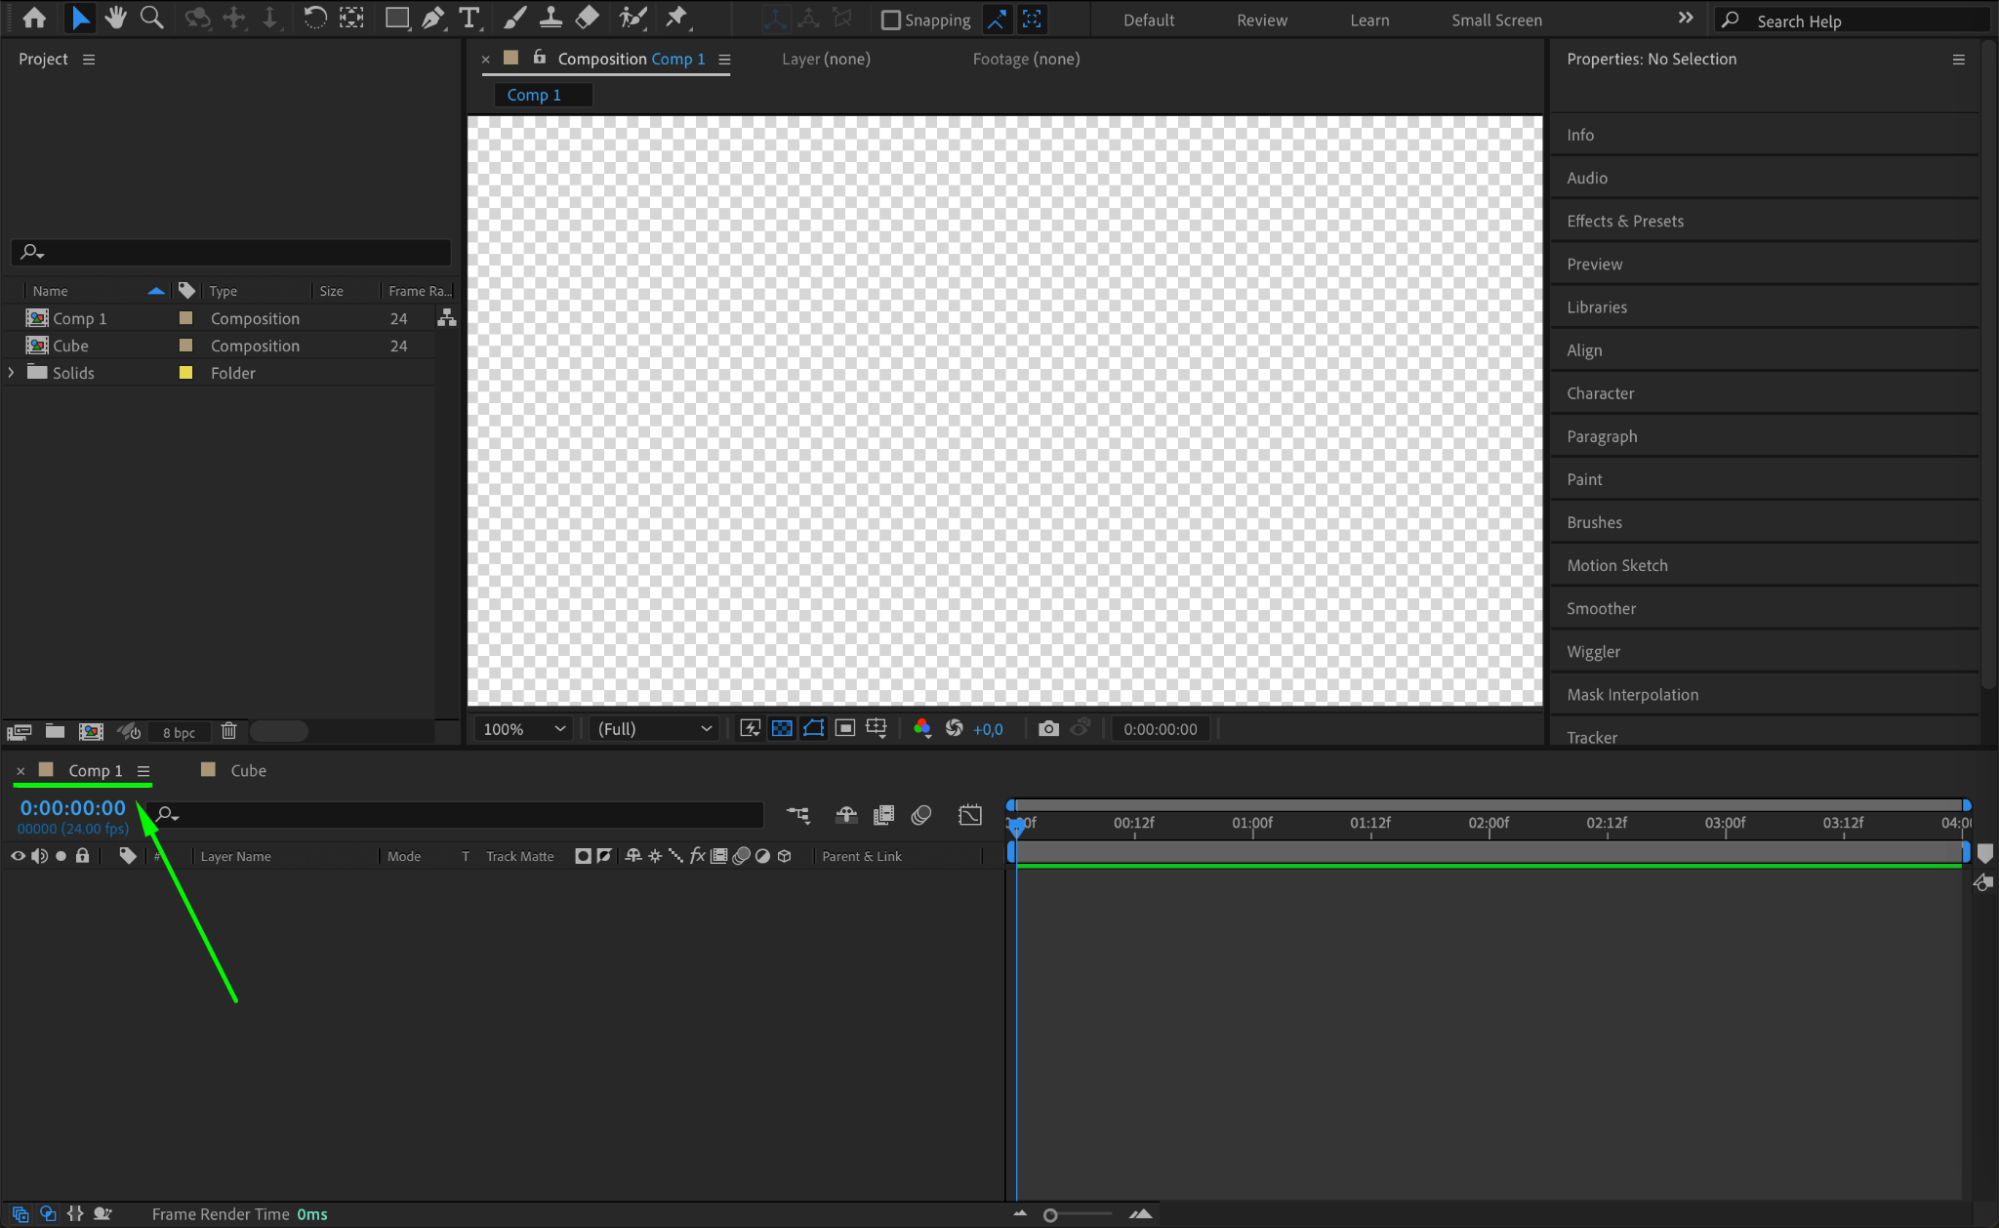
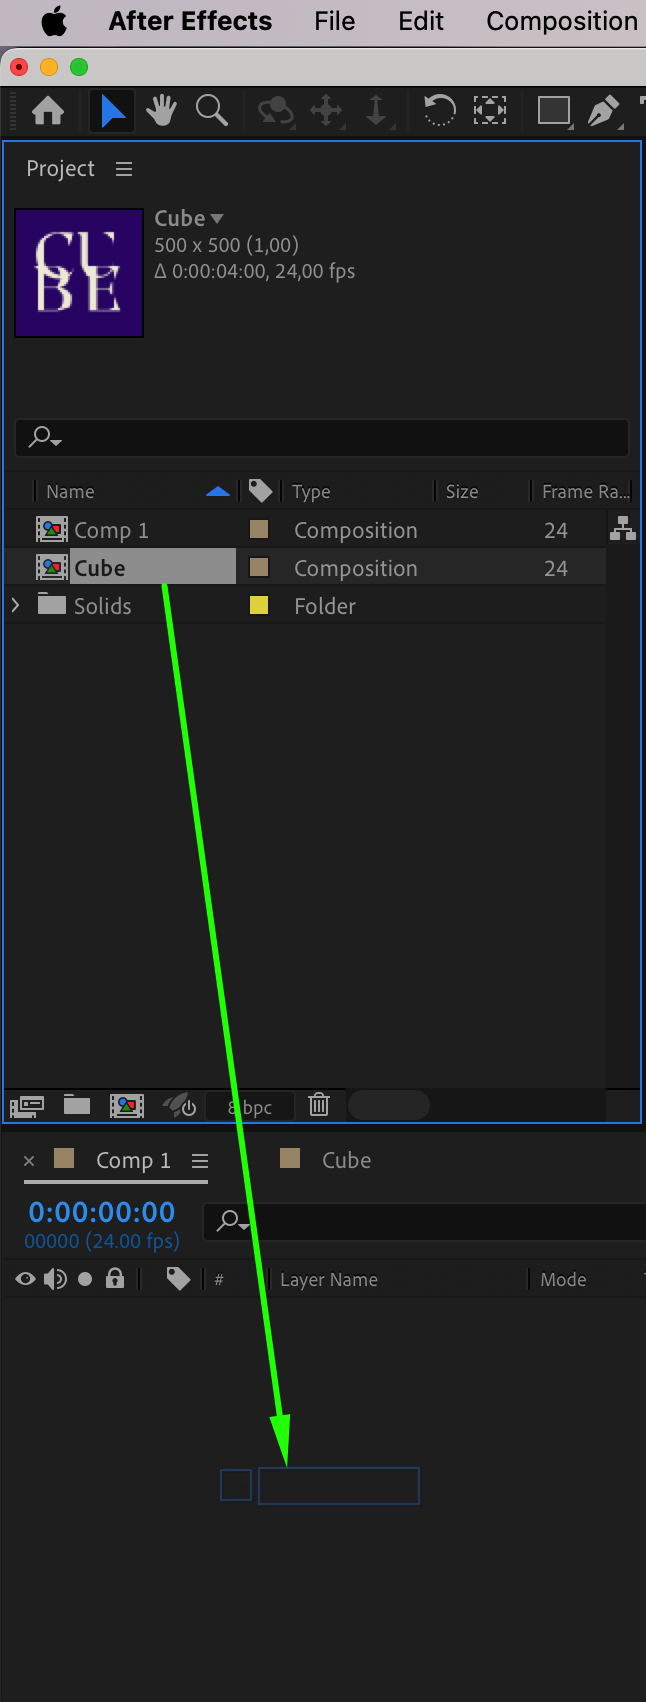 Step 6: Convert the Layer to 3D
Select the face layer and make it a 3D layer by clicking the 3D Layer checkbox (the cube icon) next to the layer in the Timeline Panel. This allows you to manipulate the layer in three dimensions.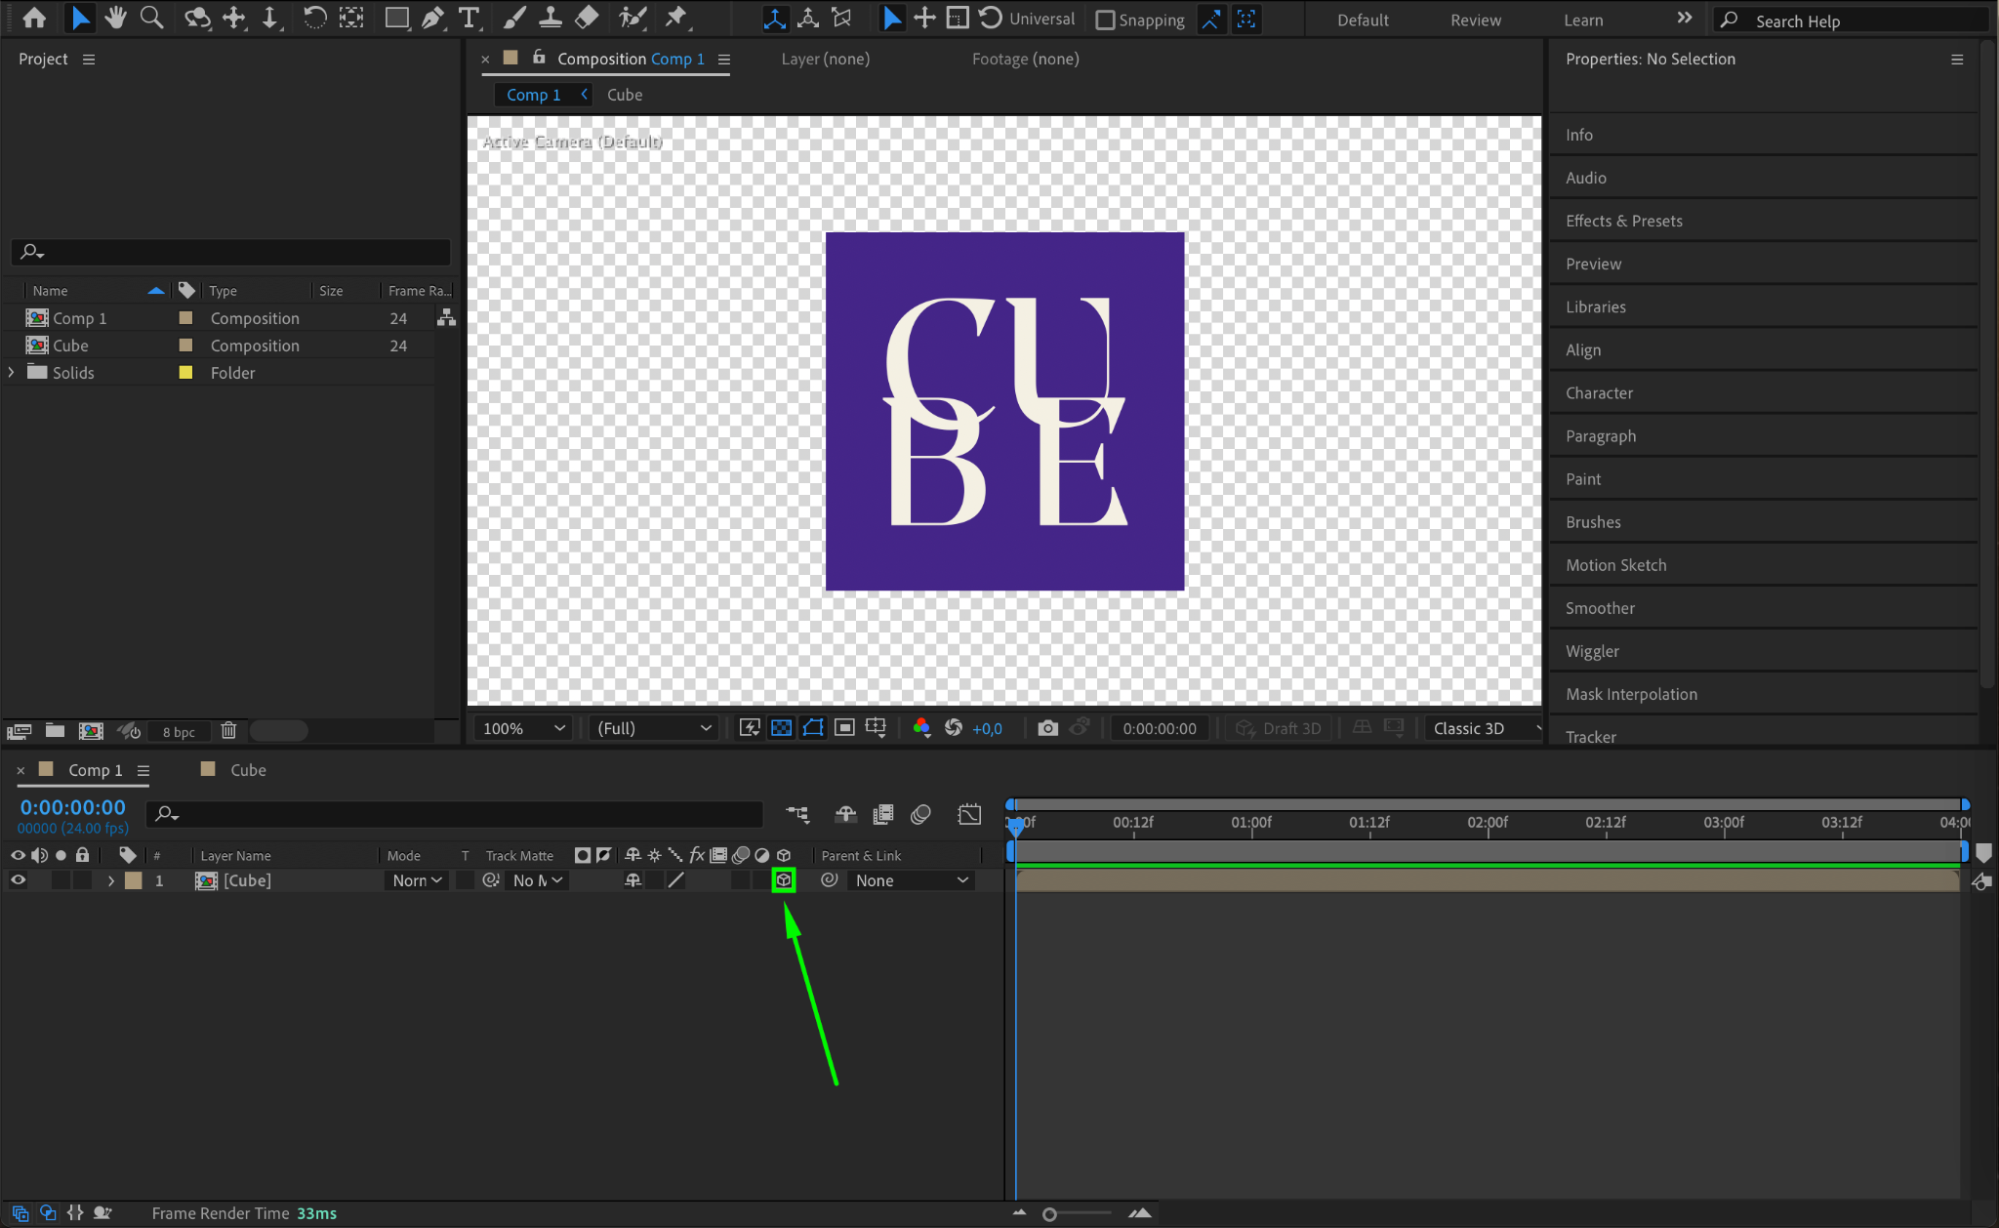 Step 7: Adjust Anchor Point
Press the hotkey “A” to open the Anchor Point property. Set the Z value to 250 to position the anchor point at the center of the face layer, which is essential for proper rotation.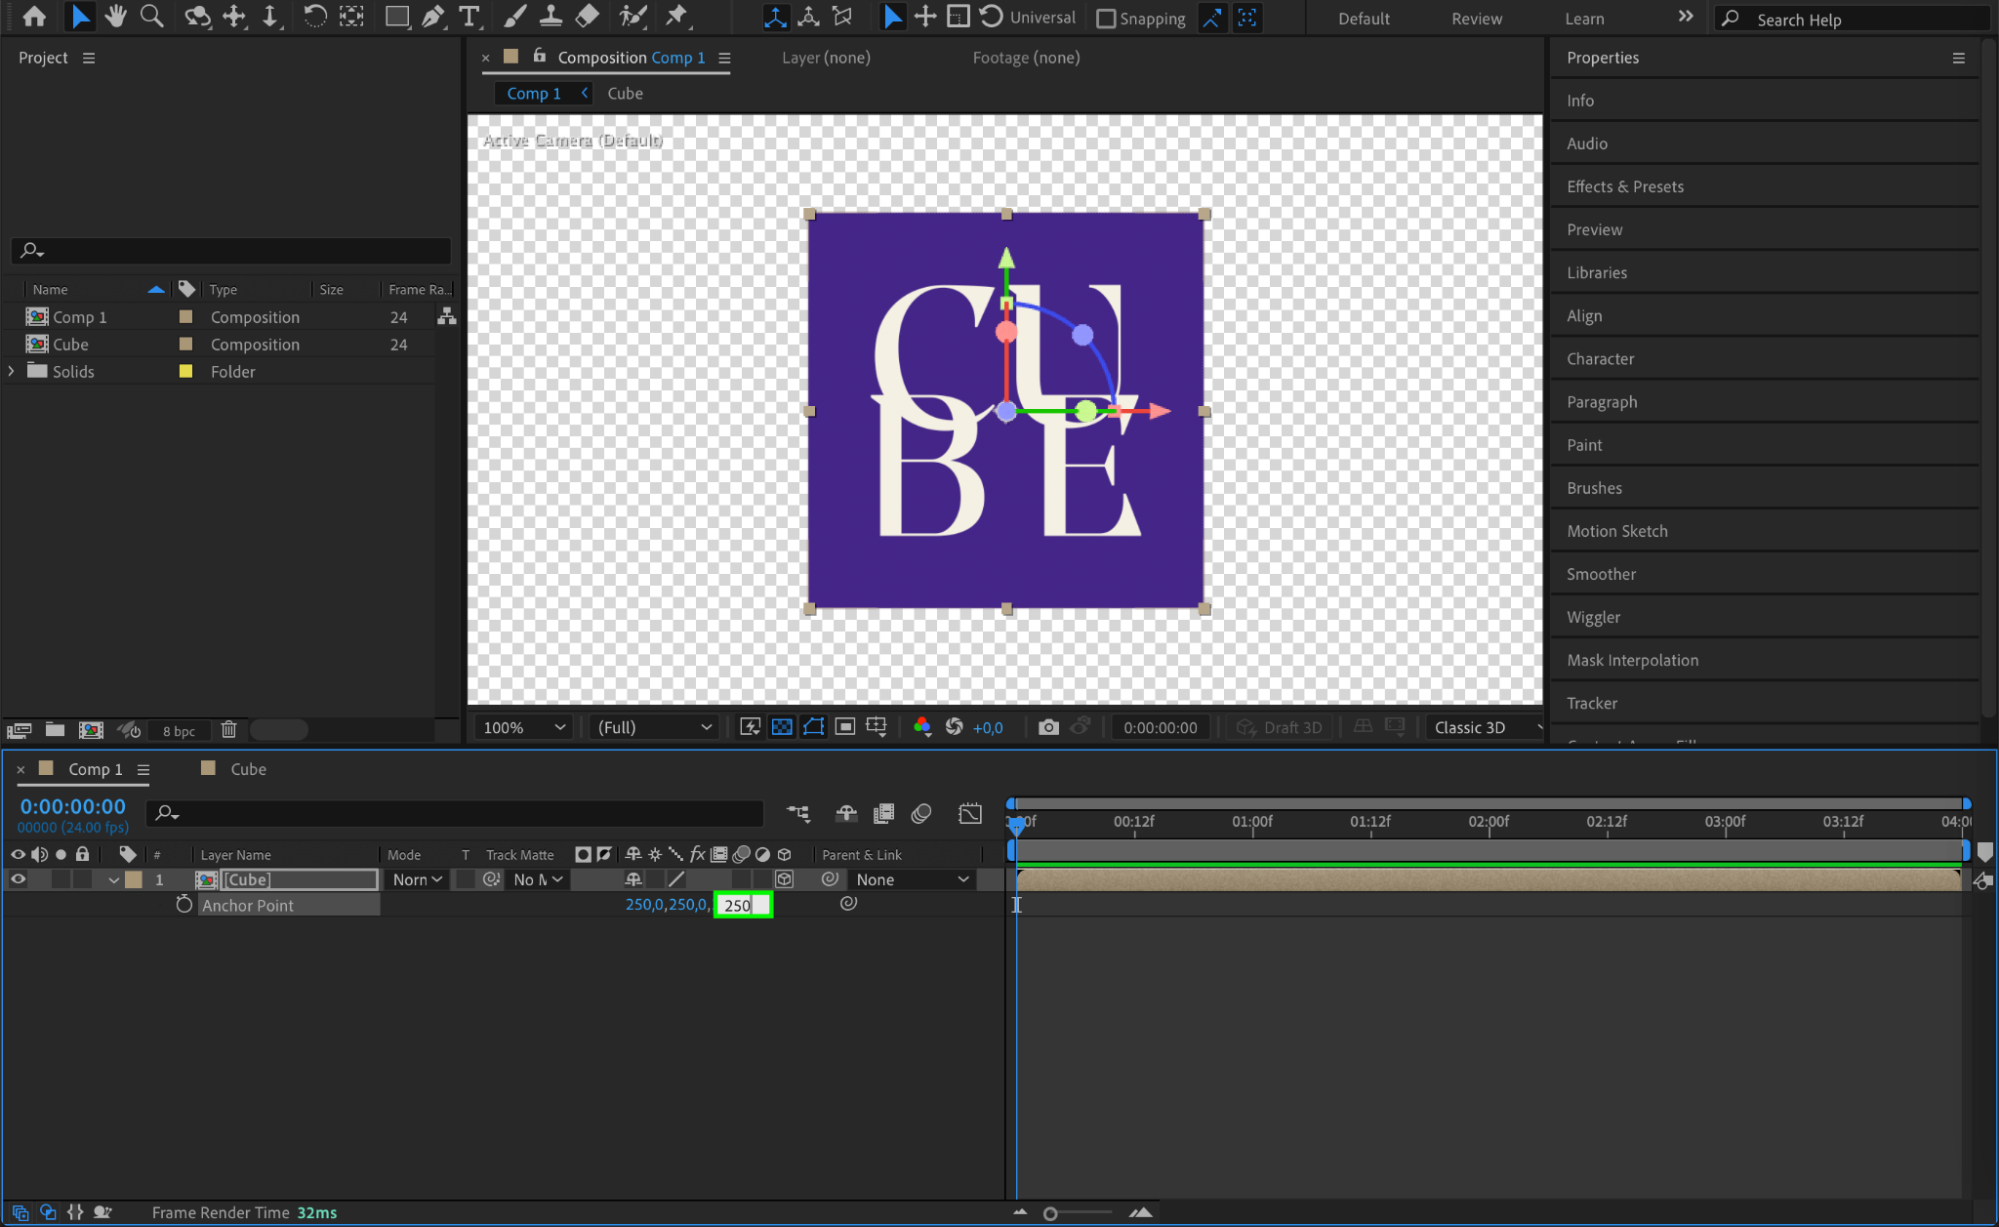 Step 8: Duplicate and Rotate Layers
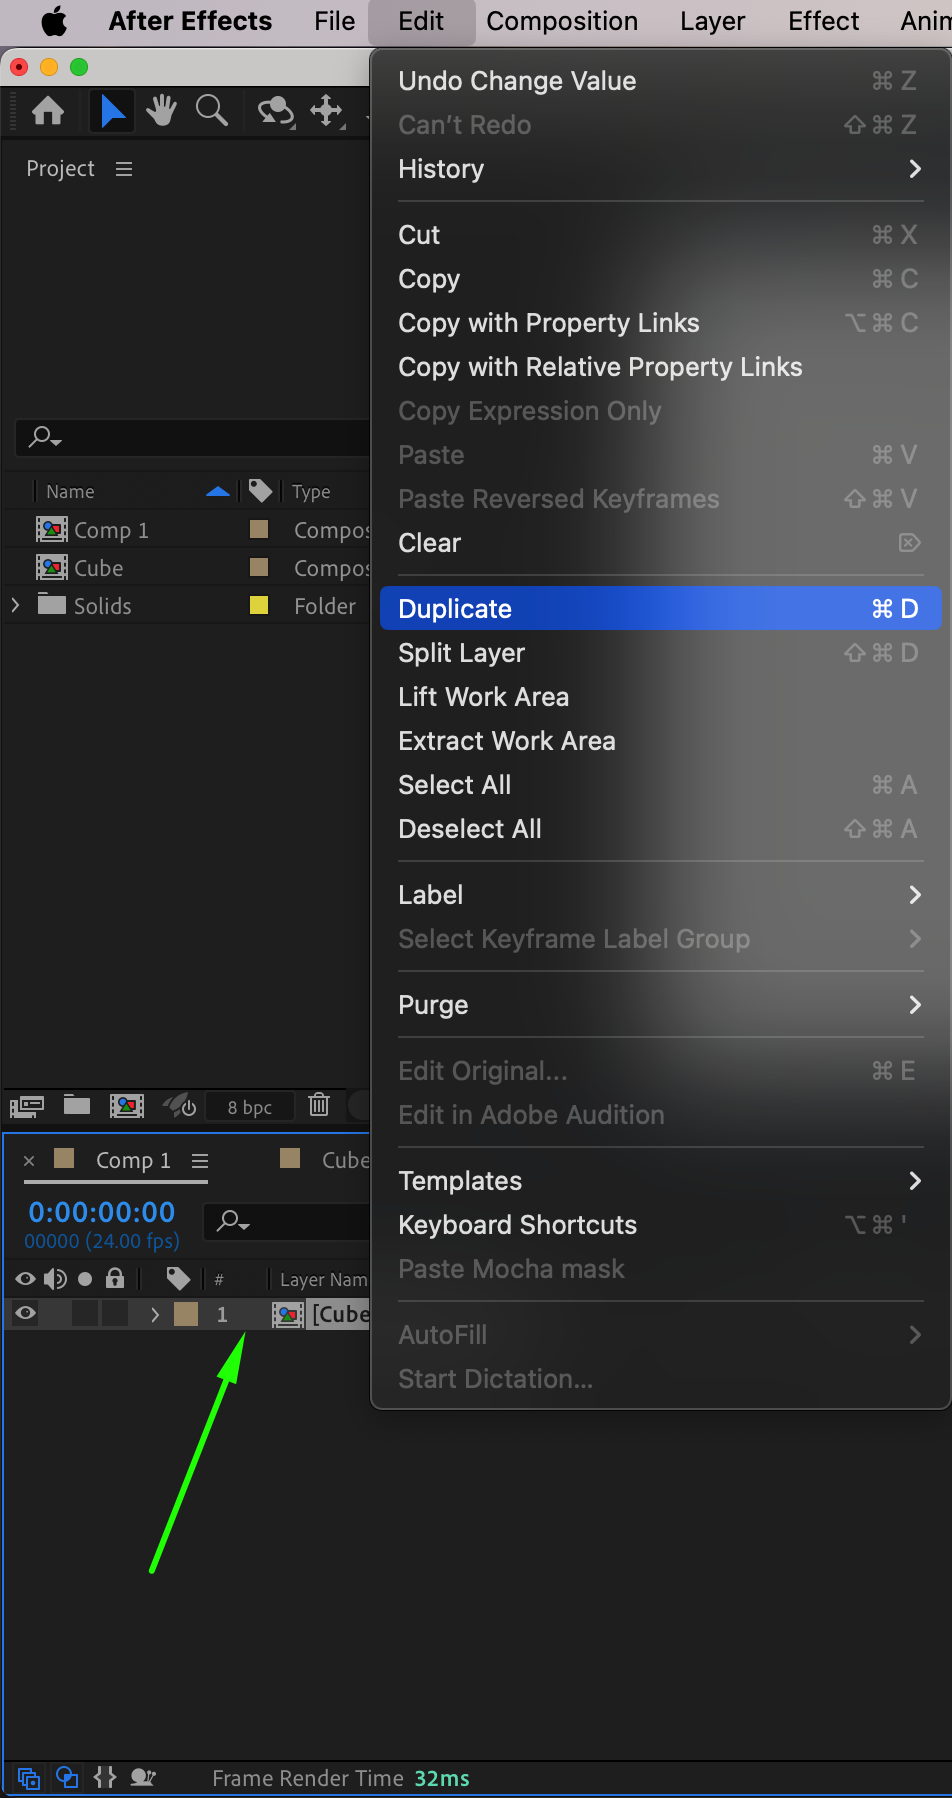
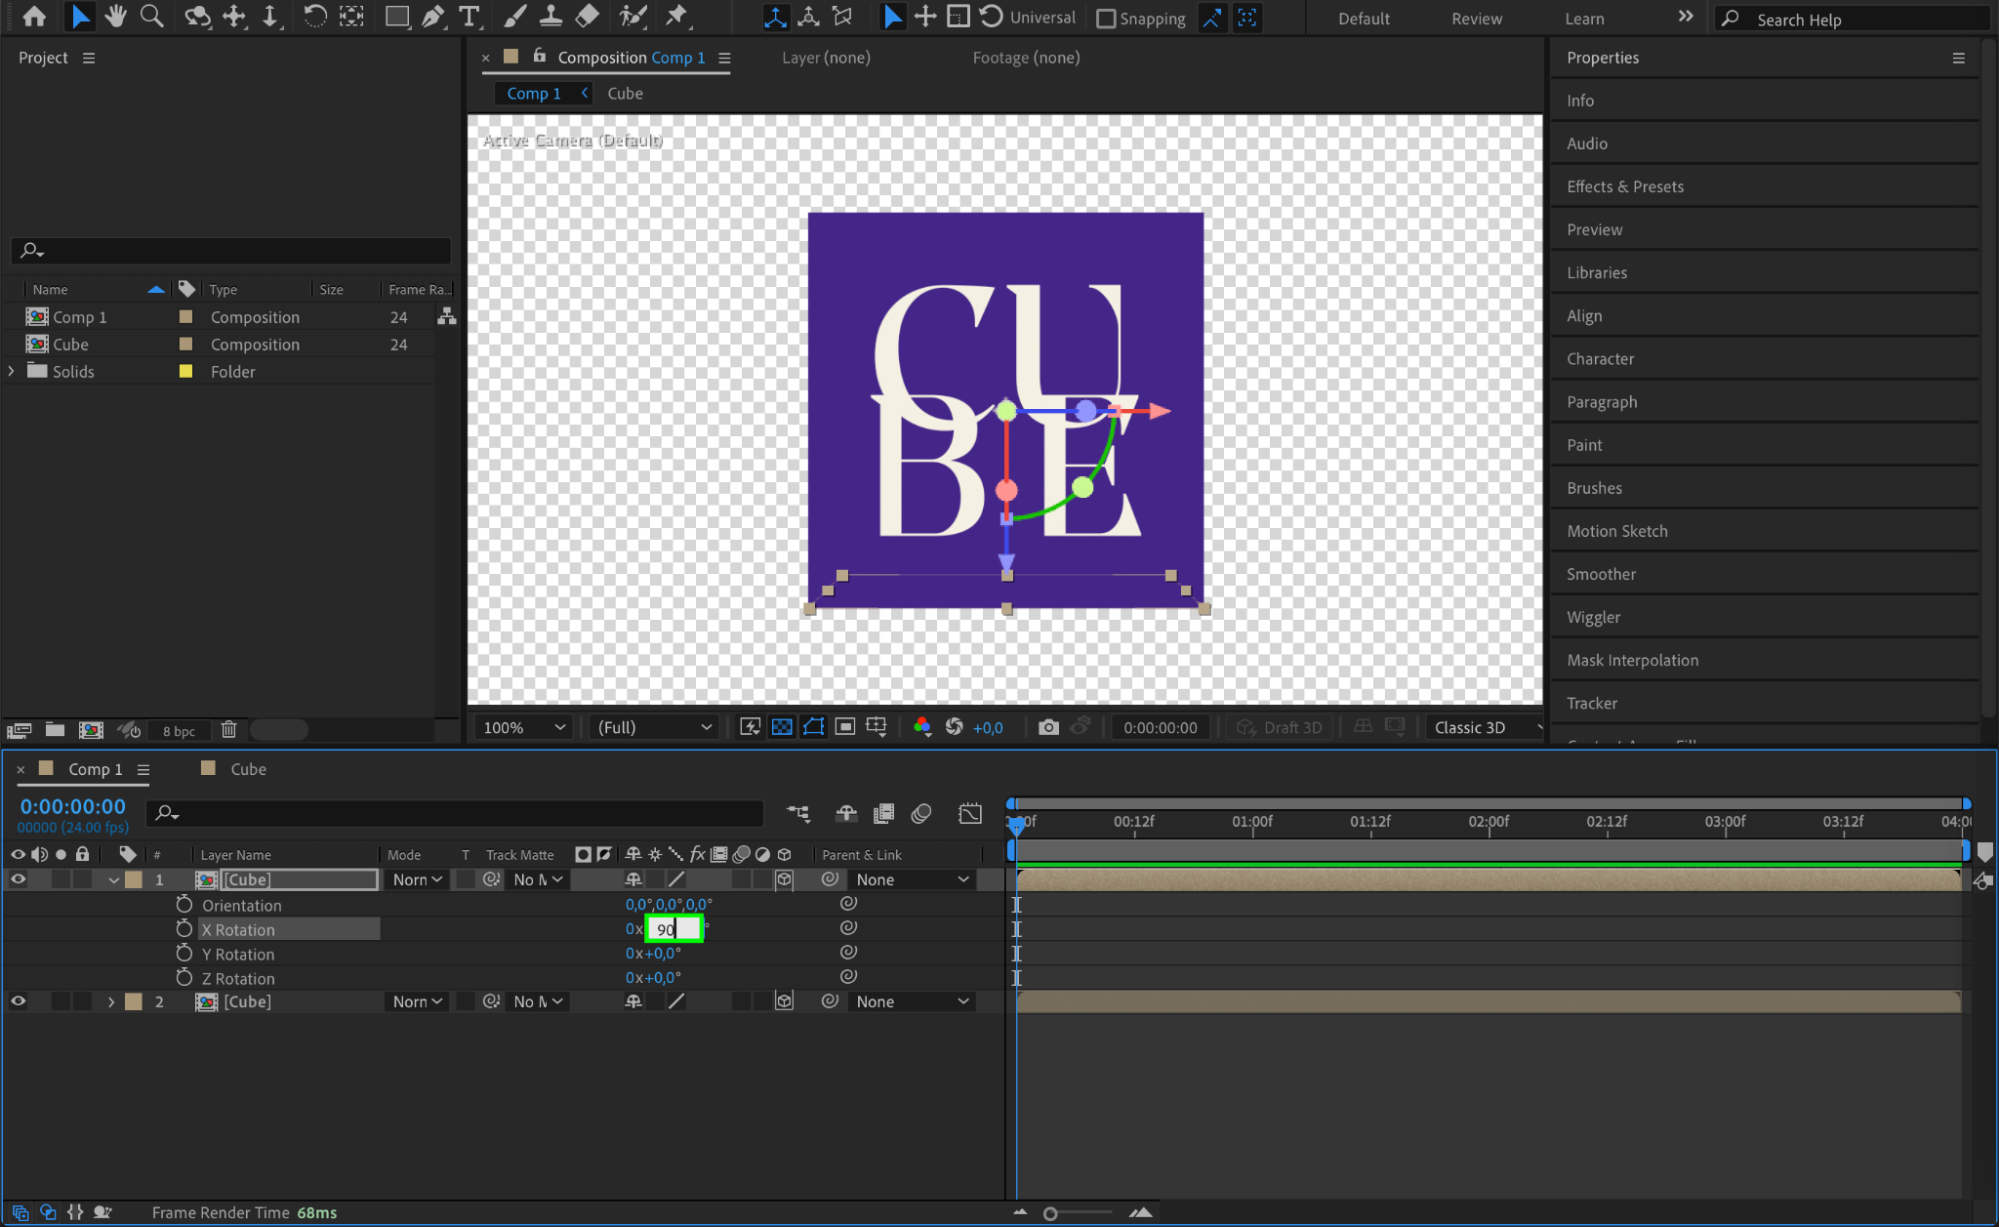
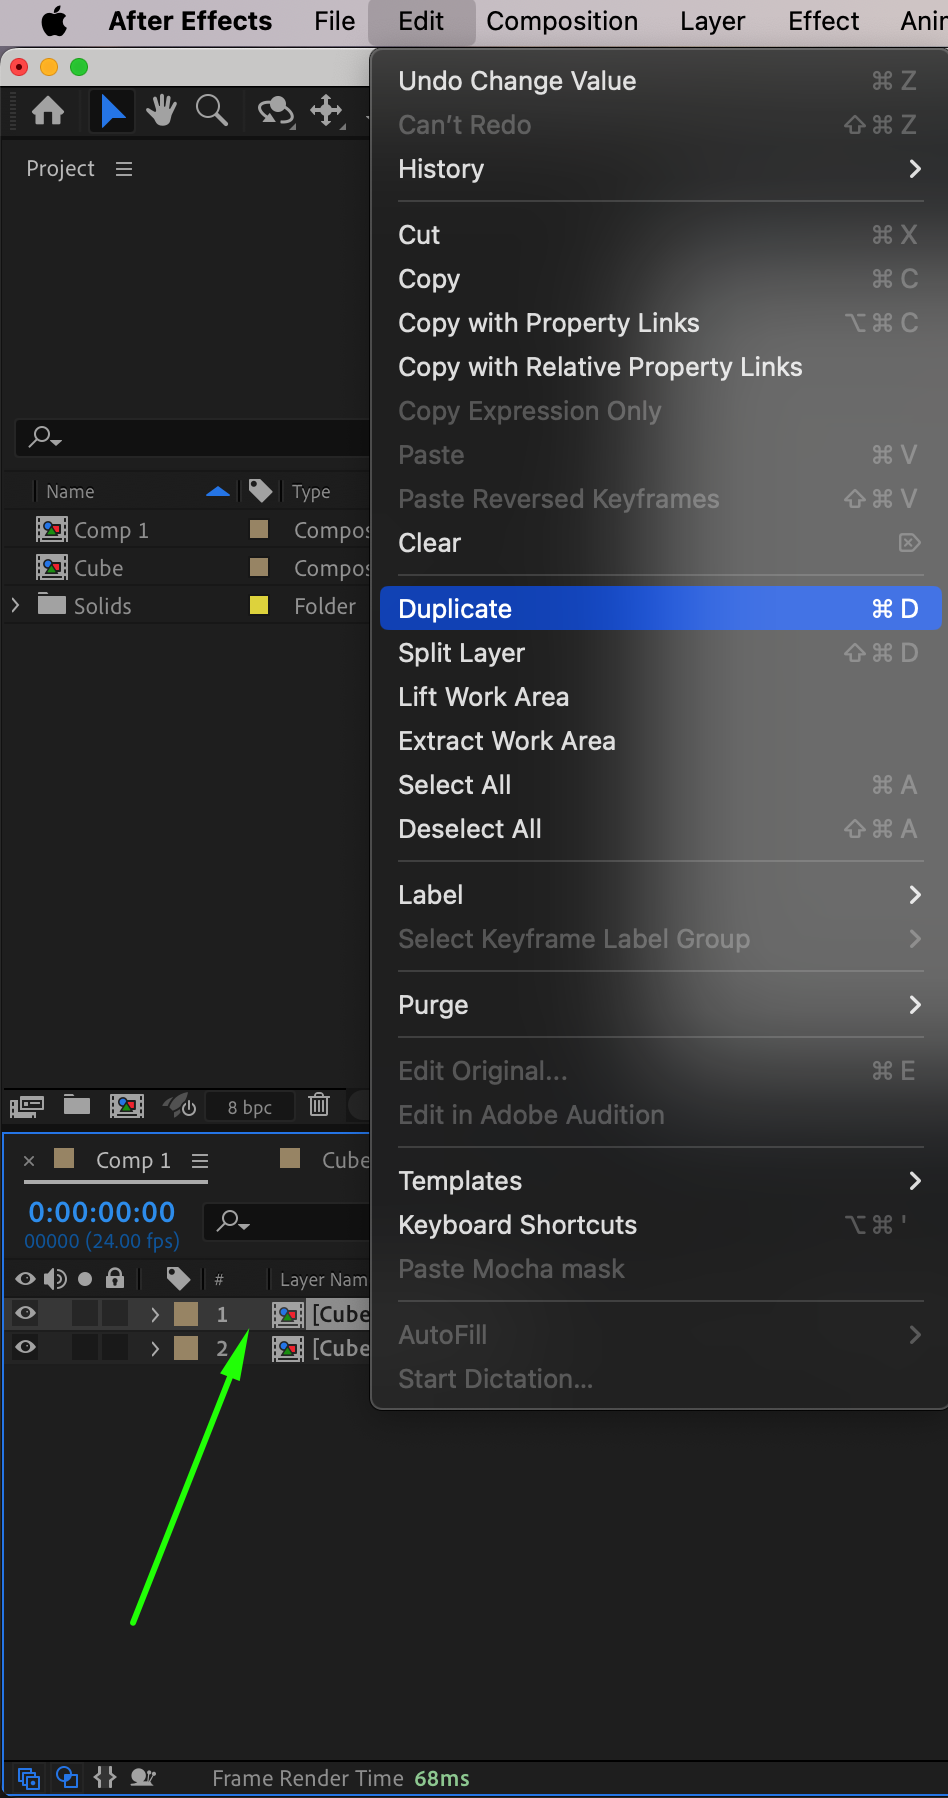
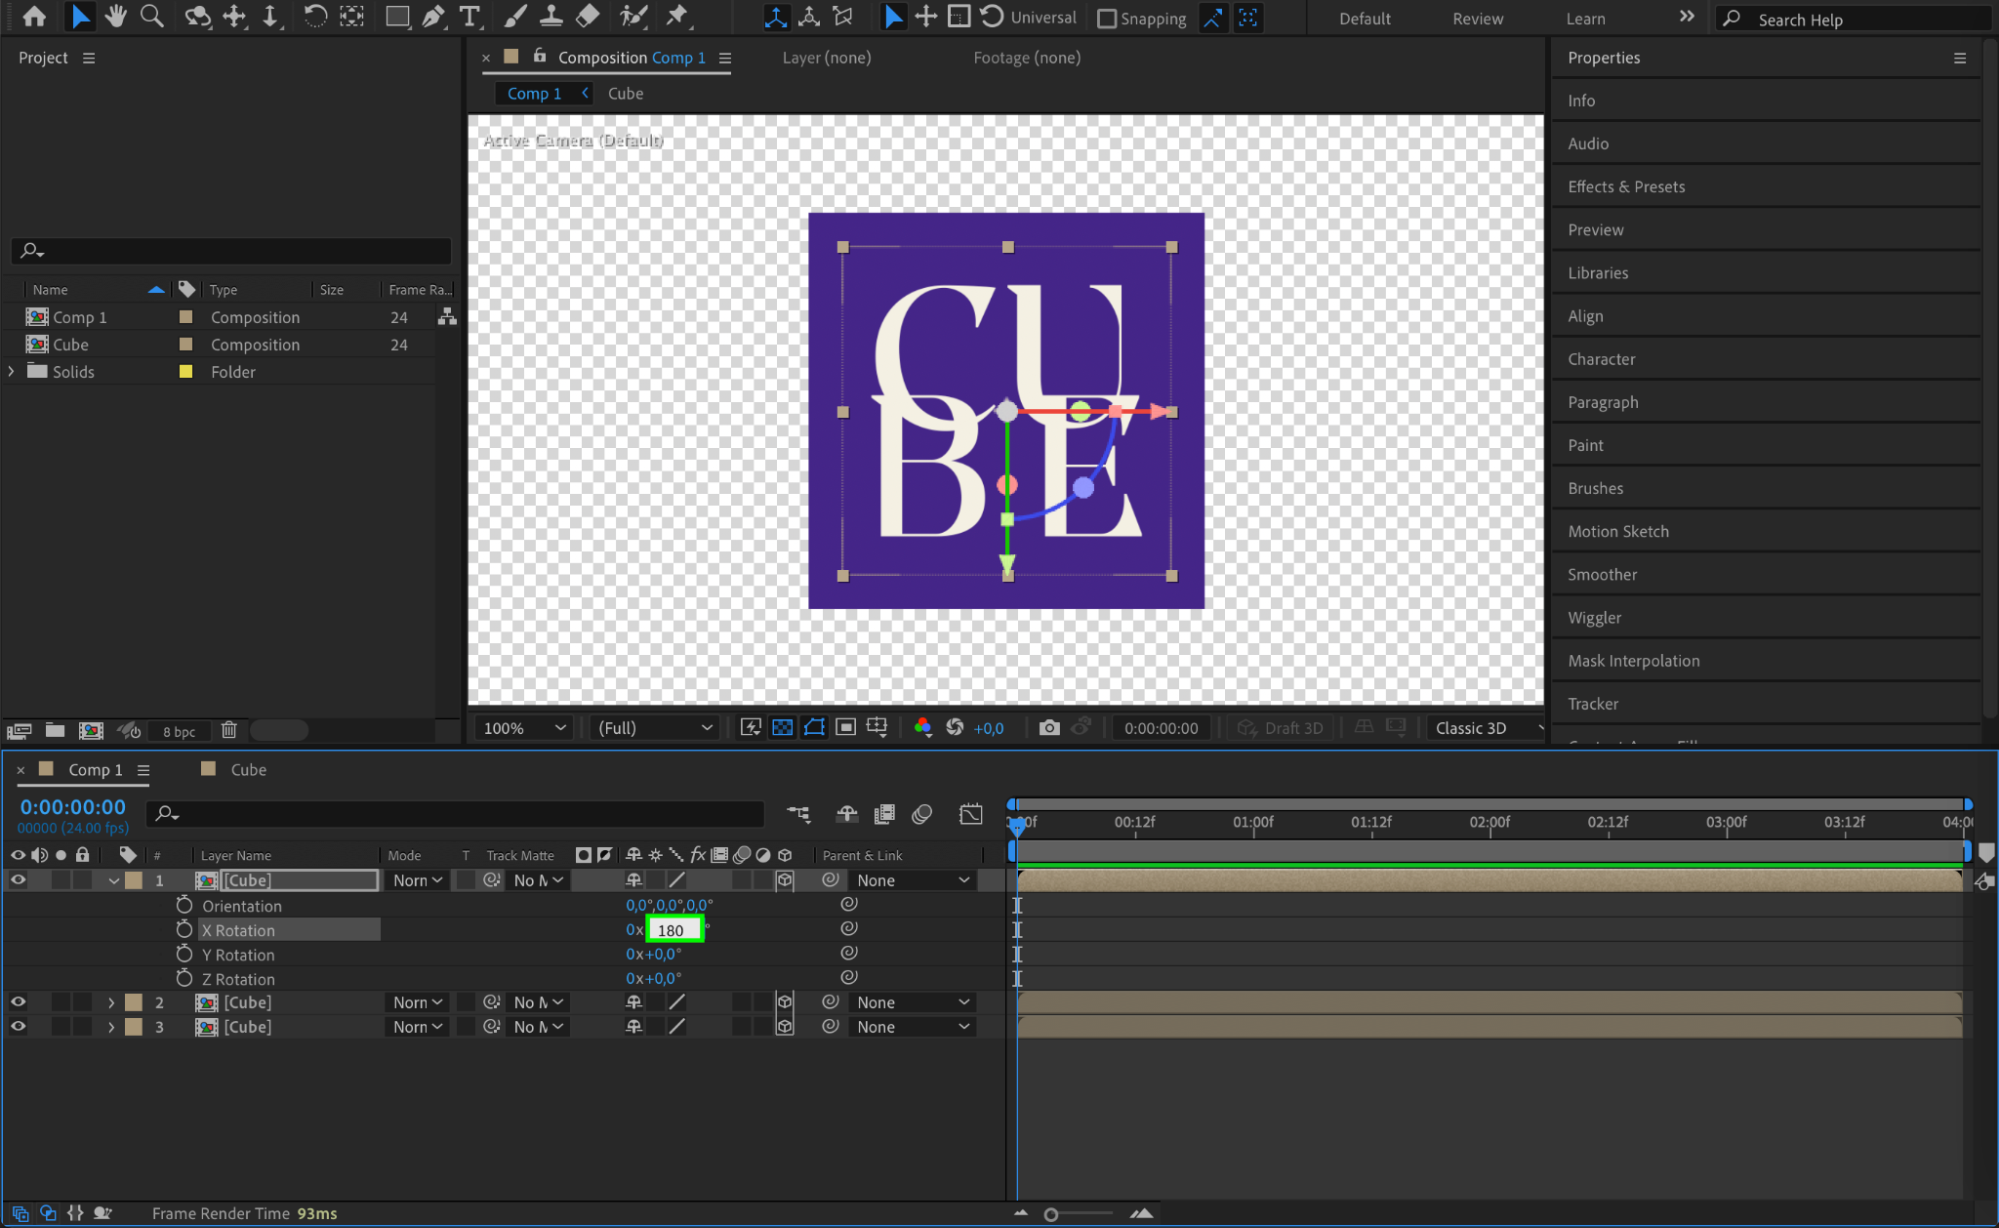
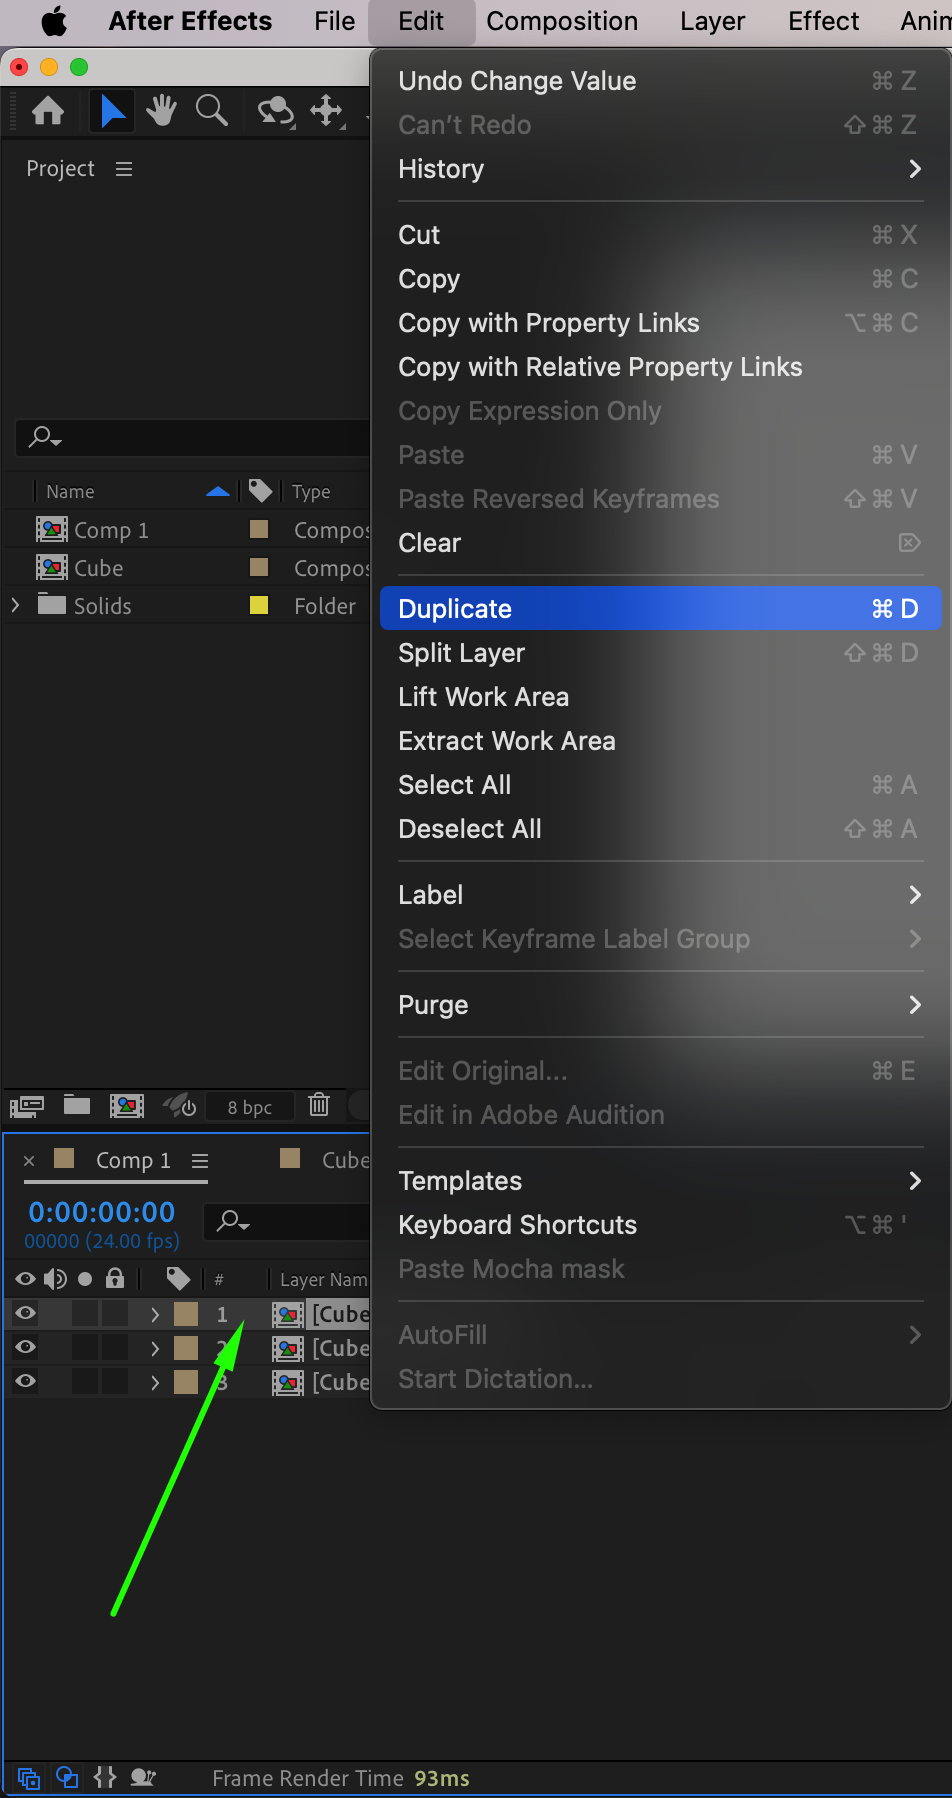
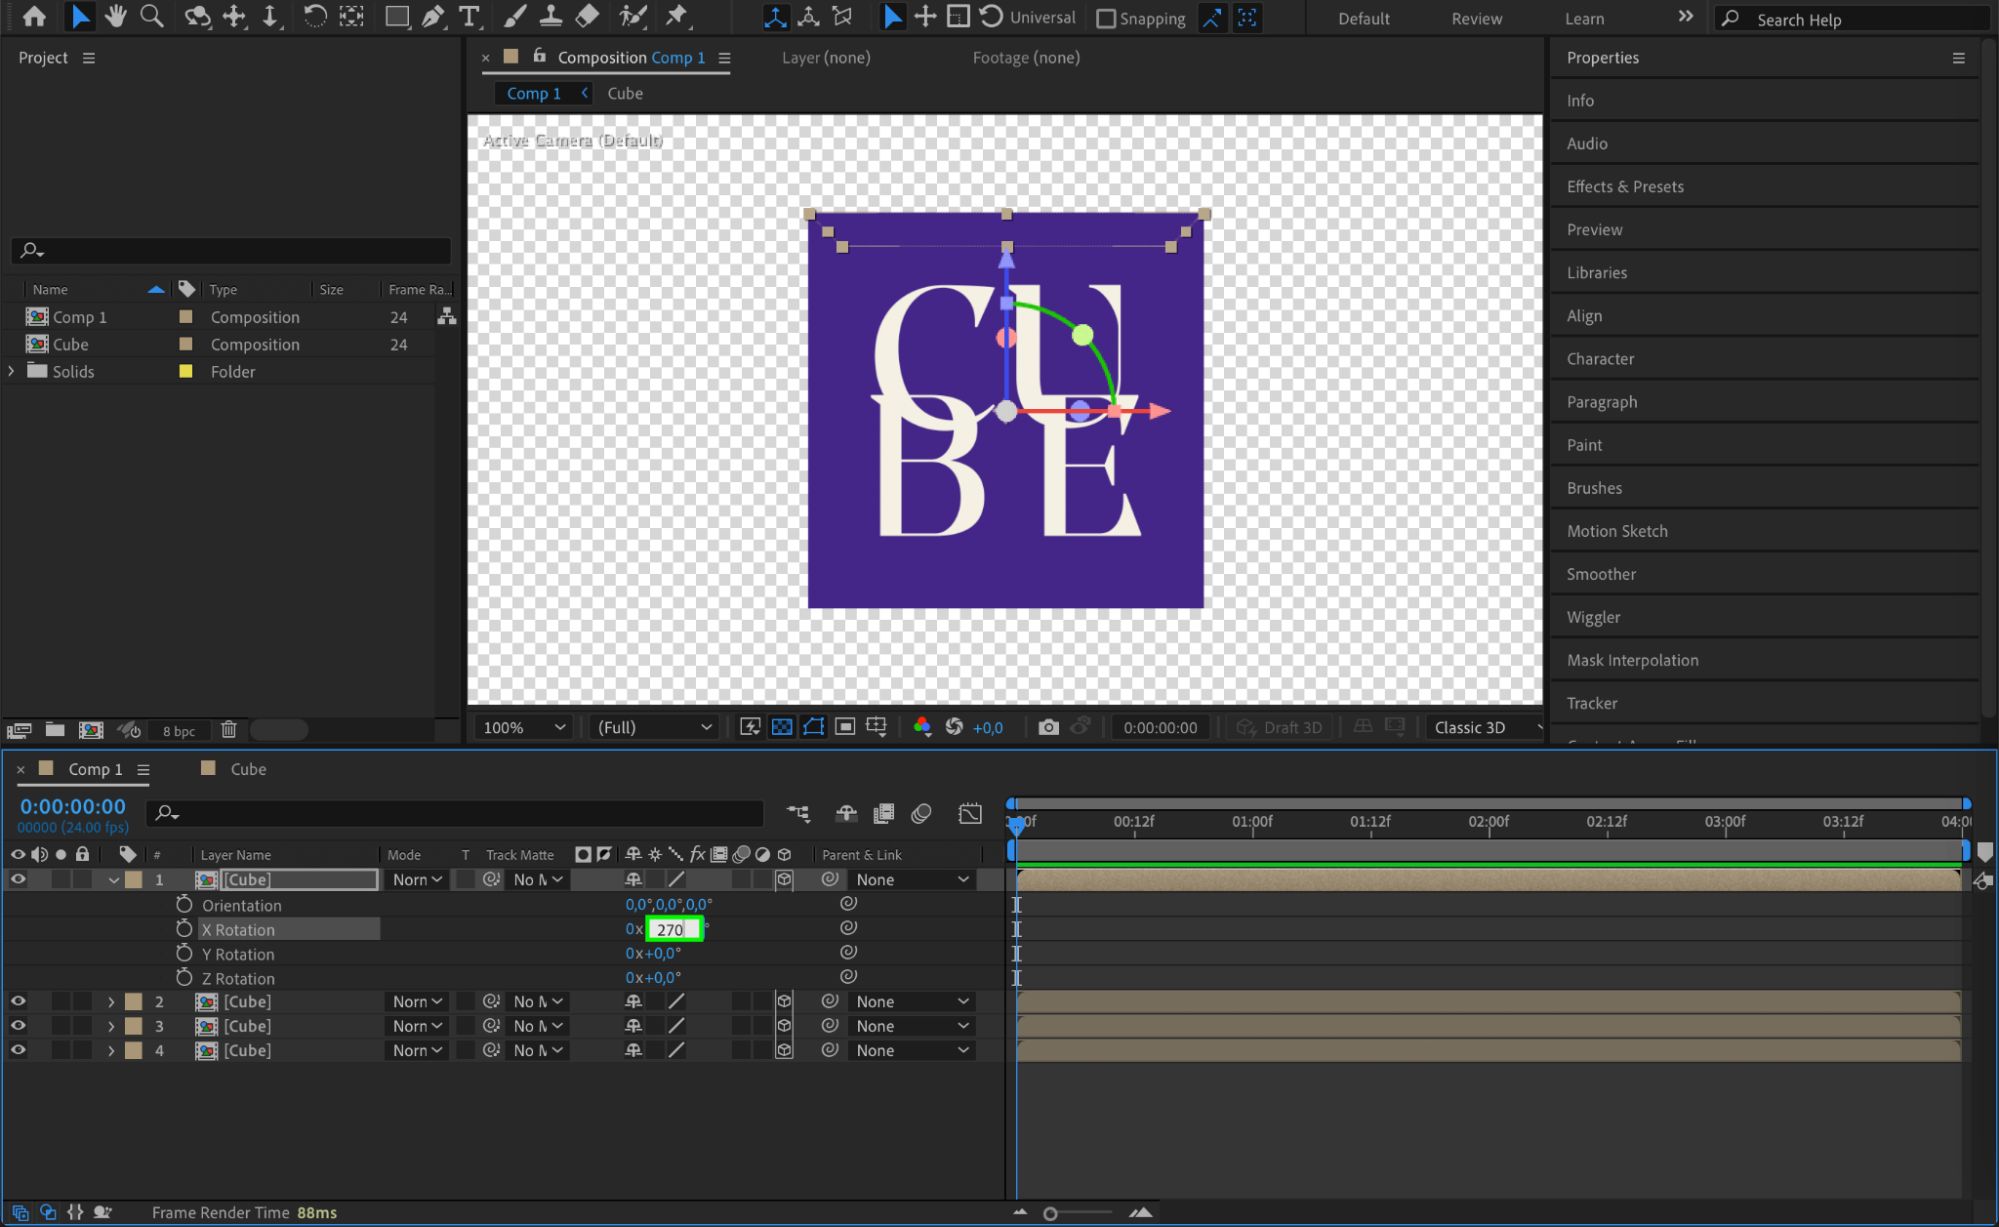
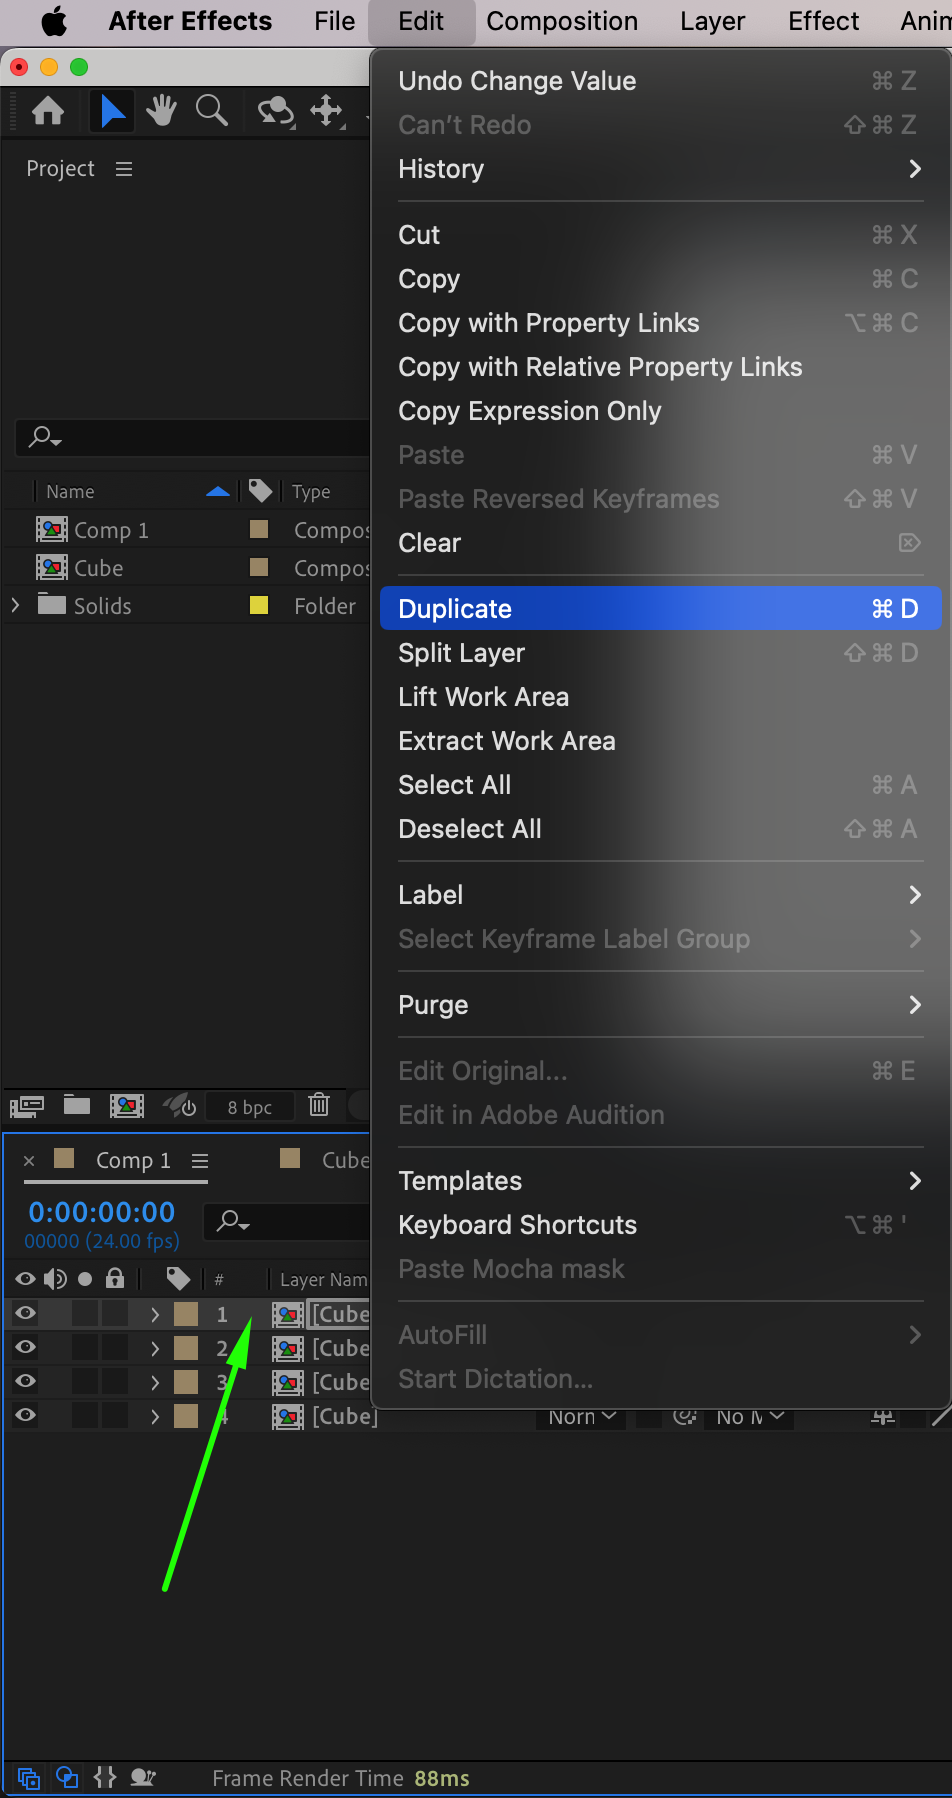
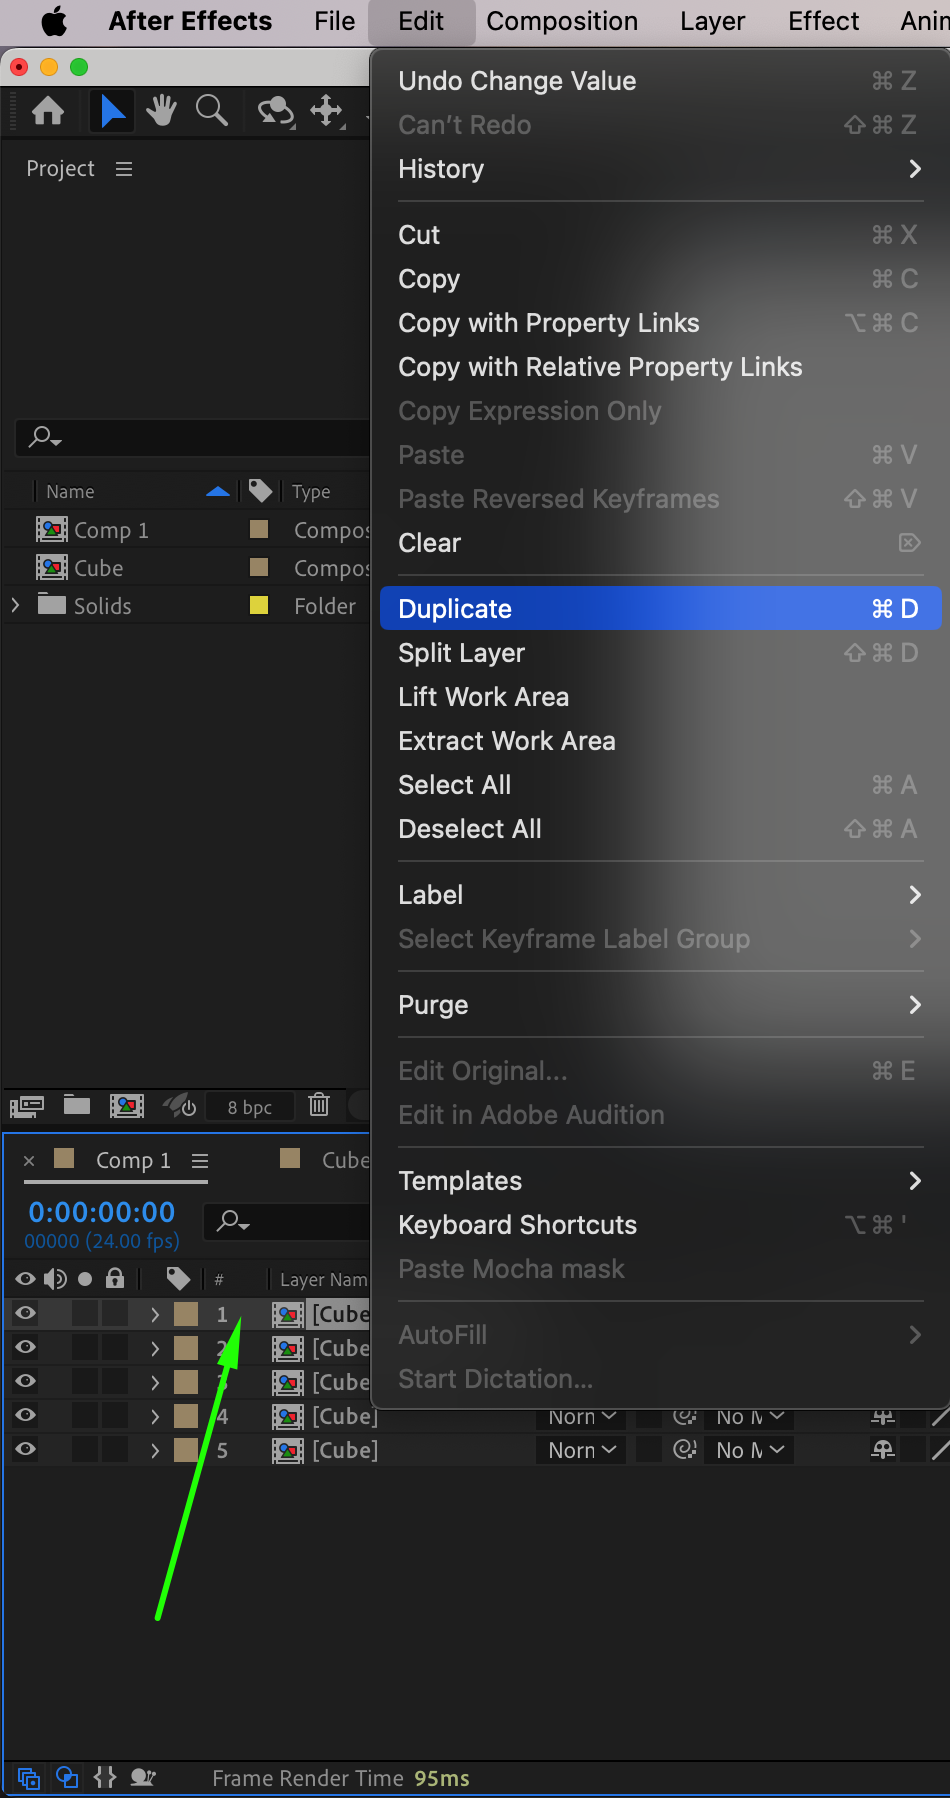
Duplicate the face layer by pressing “Ctrl/Cmd + D”. Select the duplicated layer and press “R” to open the Rotation property. Set the X Rotation to 90 degrees. Repeat this process, creating additional layers and setting the X Rotation to 180 degrees and 270 degrees for each new layer to form the sides of the cube.
Step 9: Rotate for Top and Bottom Faces
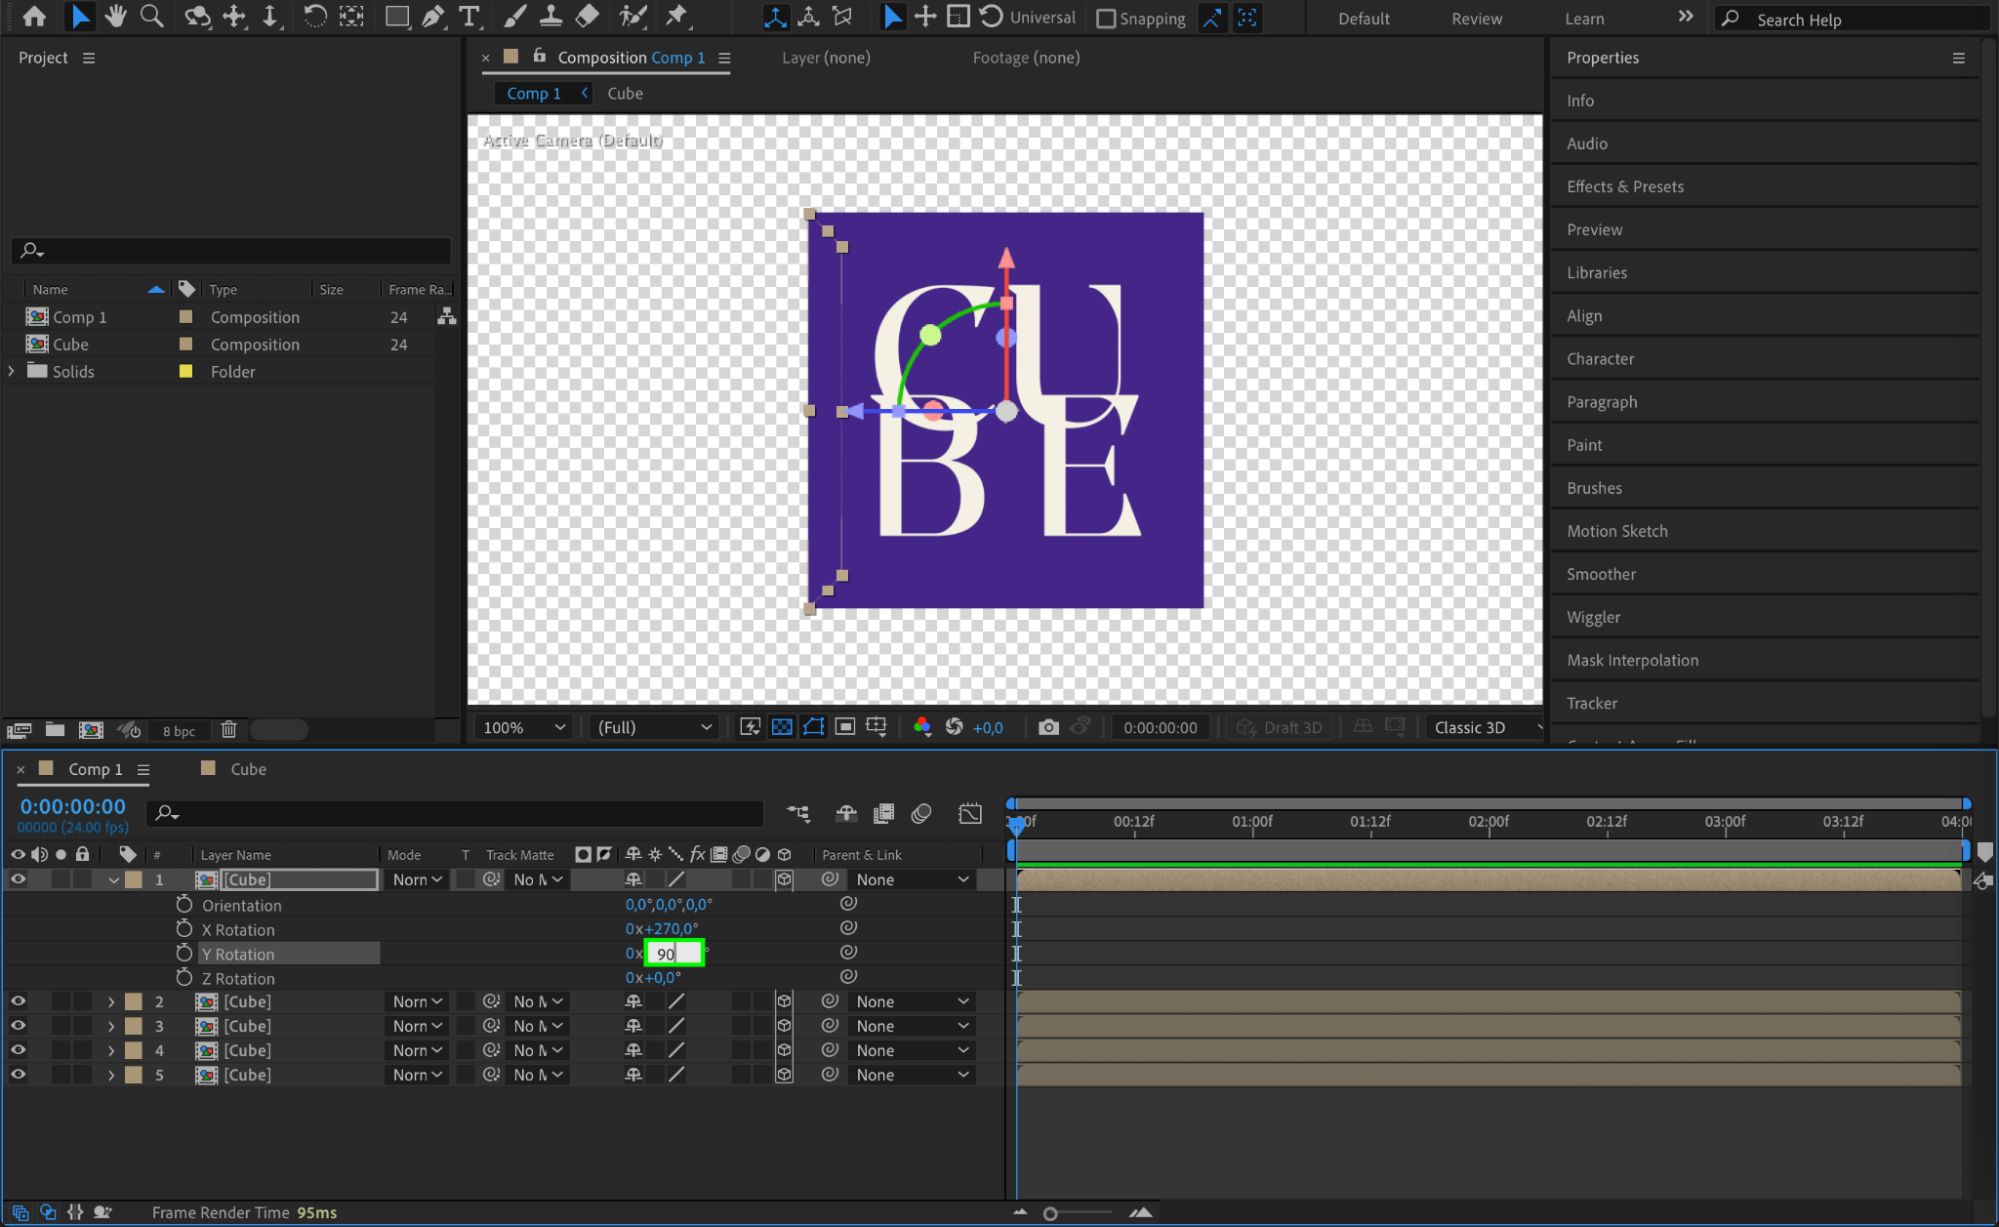
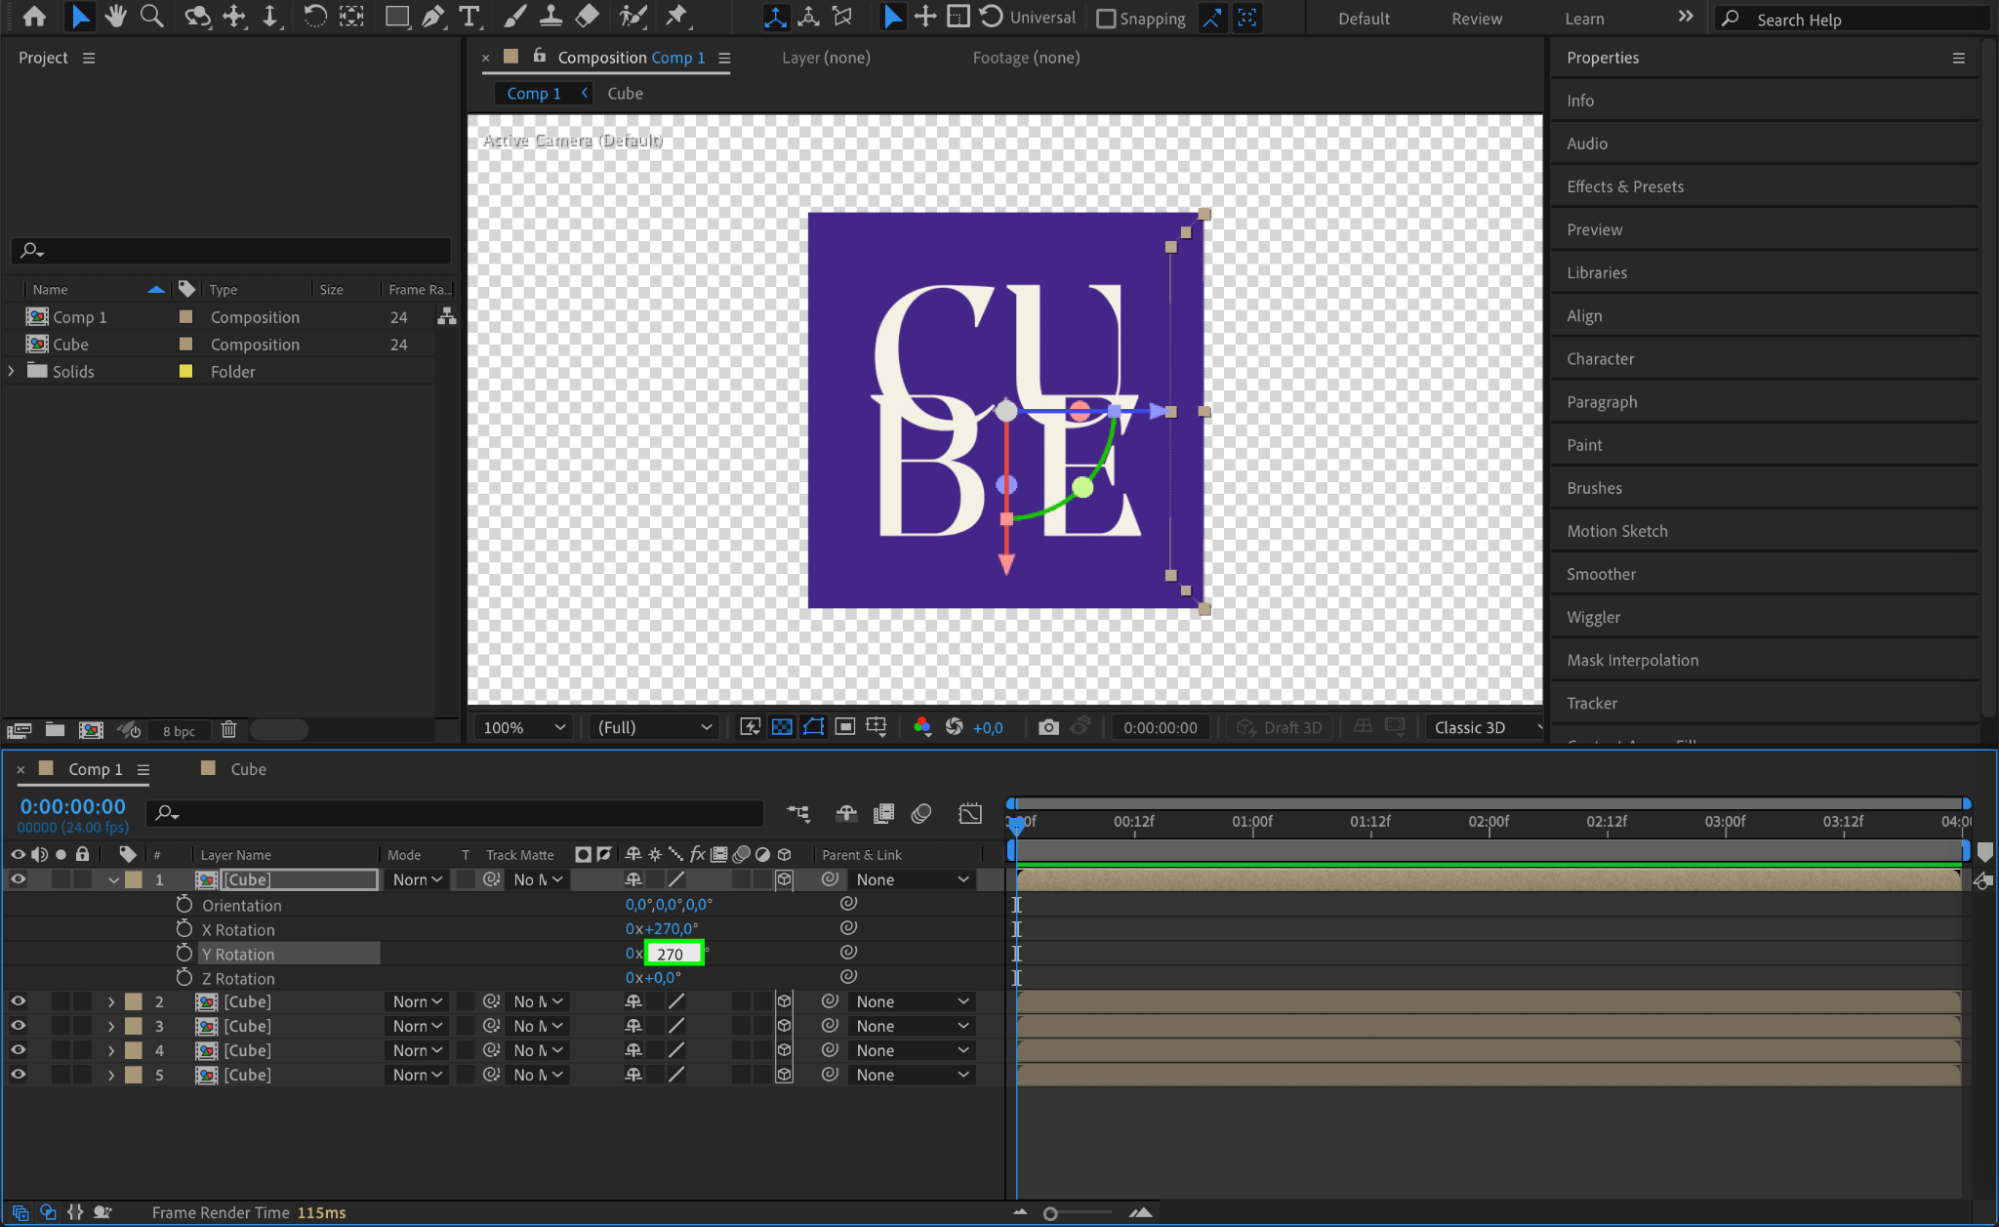
Duplicate the face layer again and set the Y Rotation of the duplicated layers to 90 degrees and 270 degrees to create the top and bottom faces of the cube.
Step 10: Create and Set Up a Null Object
Create a null object by going to Layer > New > Null Object. Make this layer a 3D layer by clicking the 3D Layer checkbox. This will act as the controller for the cube’s rotation.
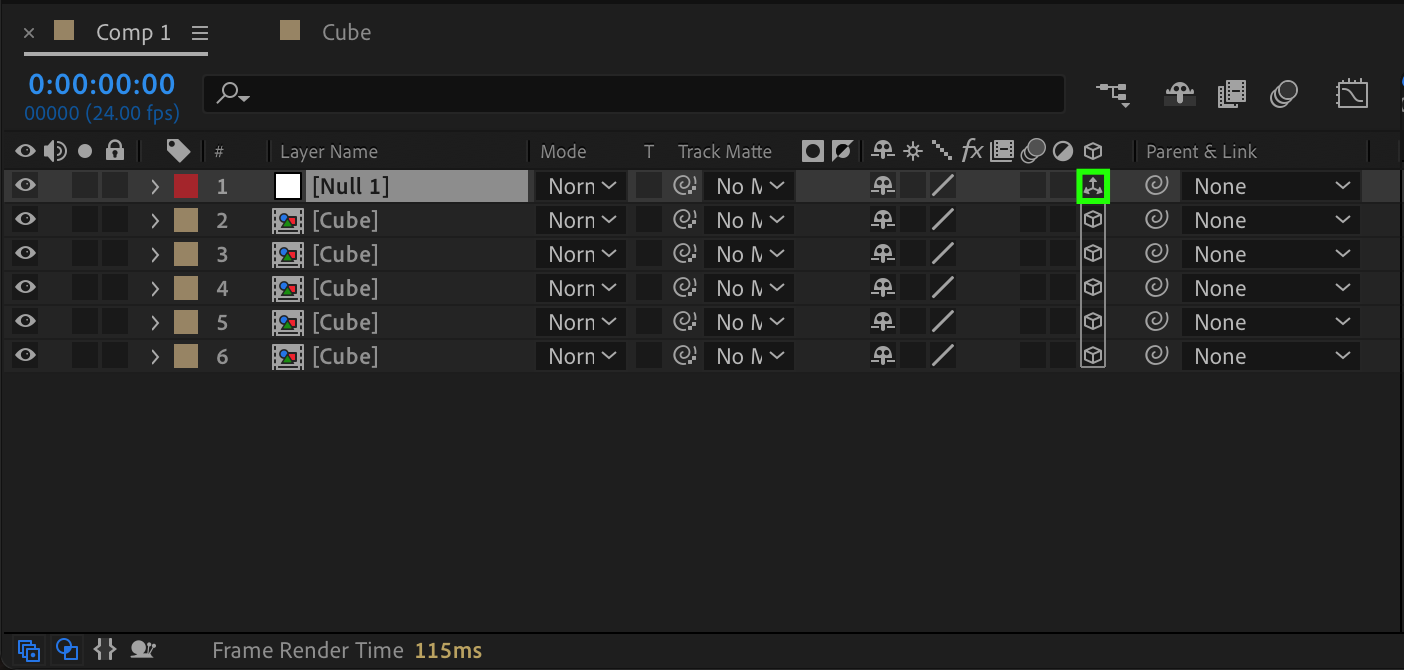 Step 11: Parent Cube Faces to Null Object
In the Parent & Link column of the Timeline Panel, set all cube face layers to be children of the null object. This allows the null object to control the rotation of all cube faces simultaneously.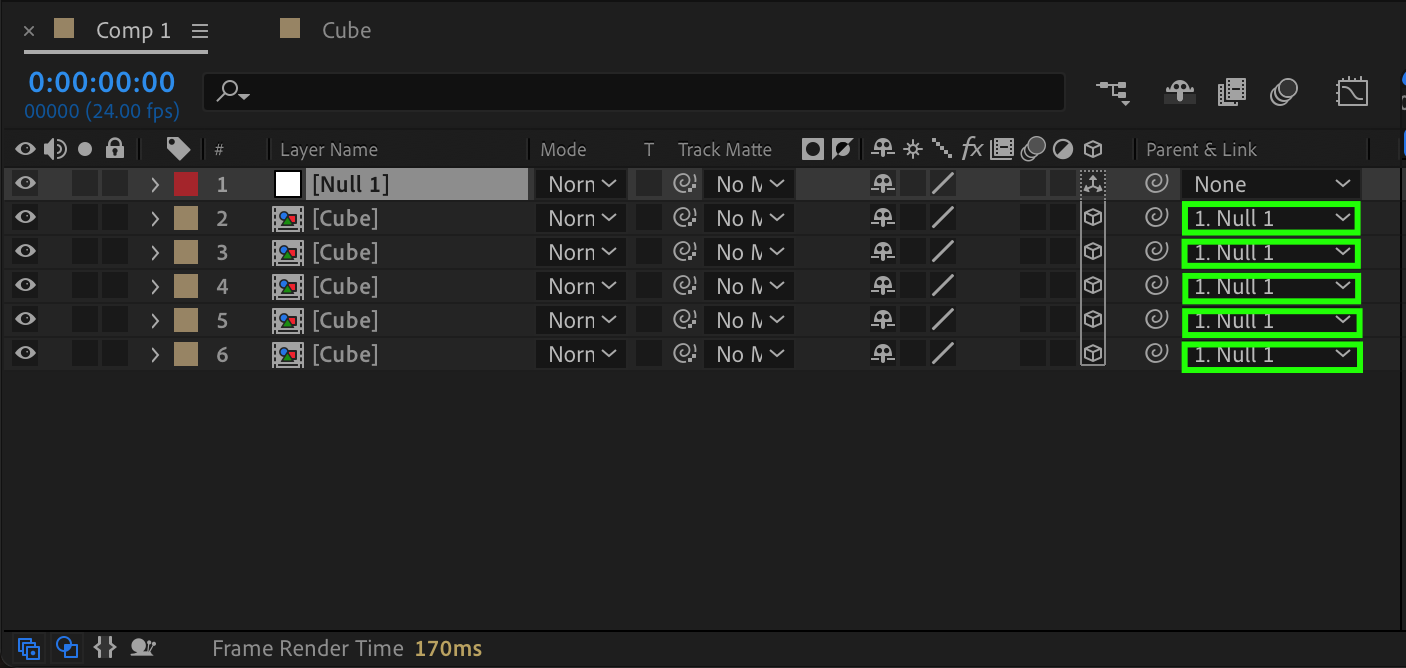 Step 12: Animate the Cube
Expand the properties of the null object and adjust the X Rotation, Y Rotation, and Z Rotation parameters to animate the cube. Rotate the cube to achieve the desired animation effect.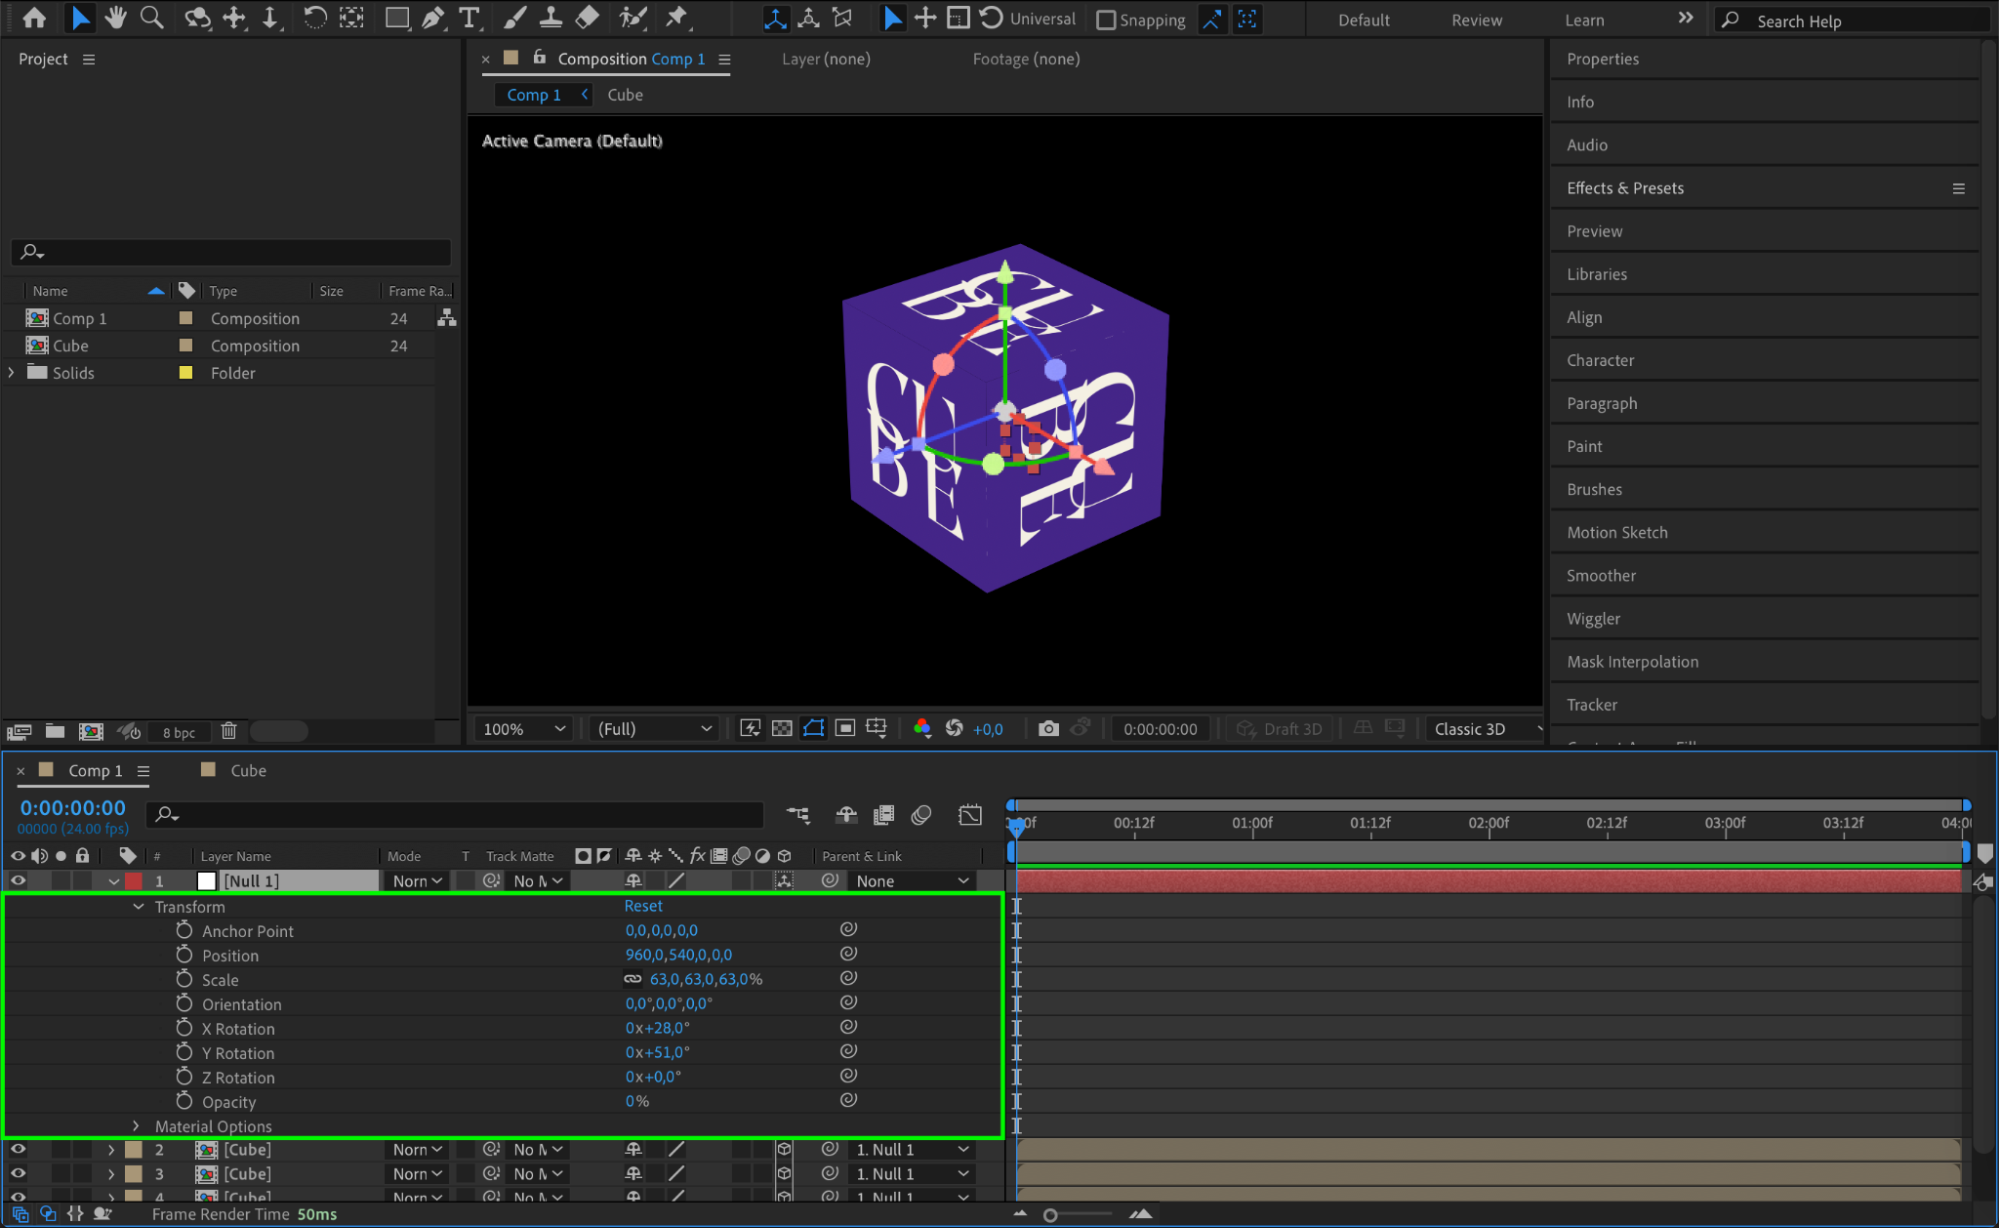 Step 13: Preview Your Animation
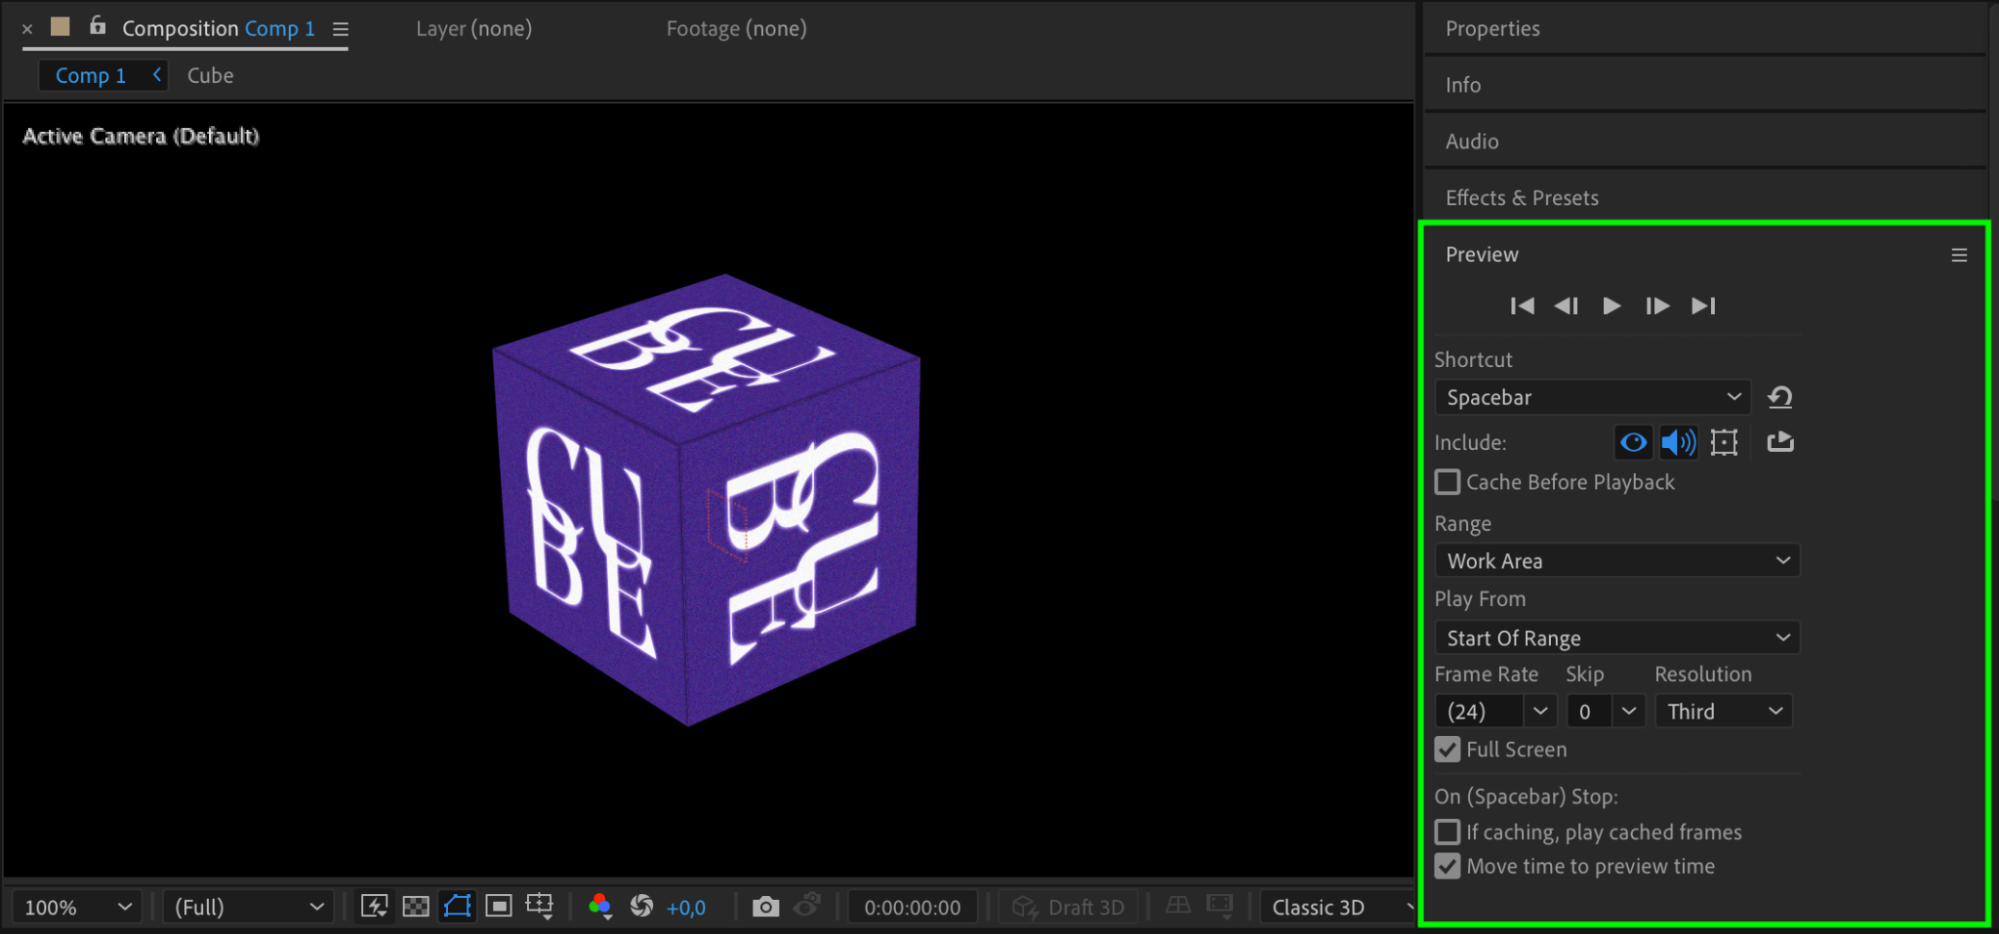
Use the Preview feature to view and fine-tune your cube animation. Make adjustments as needed to ensure the rotation and appearance meet your expectations.
Conclusion
With these steps, you can create and animate a 3D cube in After Effects, adding a dynamic visual element to your projects. Don’t hesitate to experiment with different techniques and customizations to make your cube unique. Enjoy the process of creating and animating your 3D designs!

