Mastering the Art of Spinning Images in After Effects
Introduction to Creating Spinning Effects in After Effects
Creating a spinning effect in After Effects is a fun and eye-catching way to make your images come alive. Whether you’re working on a video project or just want to add some visual interest to your visuals, After Effects has all the tools you need to create a dynamic spinning effect.
Get 10% off when you subscribe to our newsletter

Step-by-Step Guide to Creating a Spinning Image in After Effects
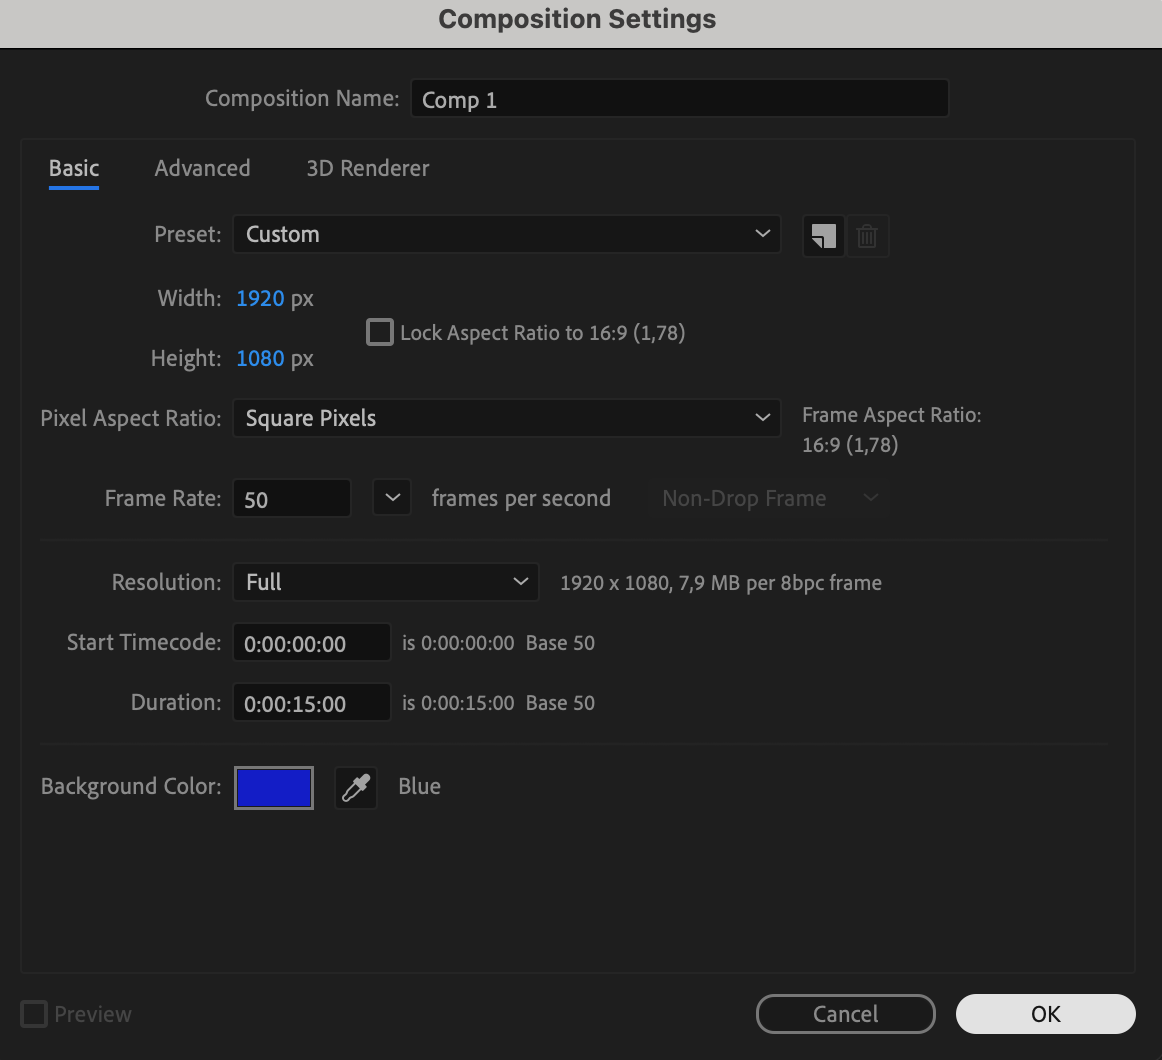
Step 1: Create a New Composition
Open After Effects and create a new composition. You can do this by selecting “Composition” from the menu and then choosing “New Composition.” Set the resolution, frame rate, and duration according to your project requirements.
 Step 2: Import Your Image
Get 10% off when you subscribe to our newsletter

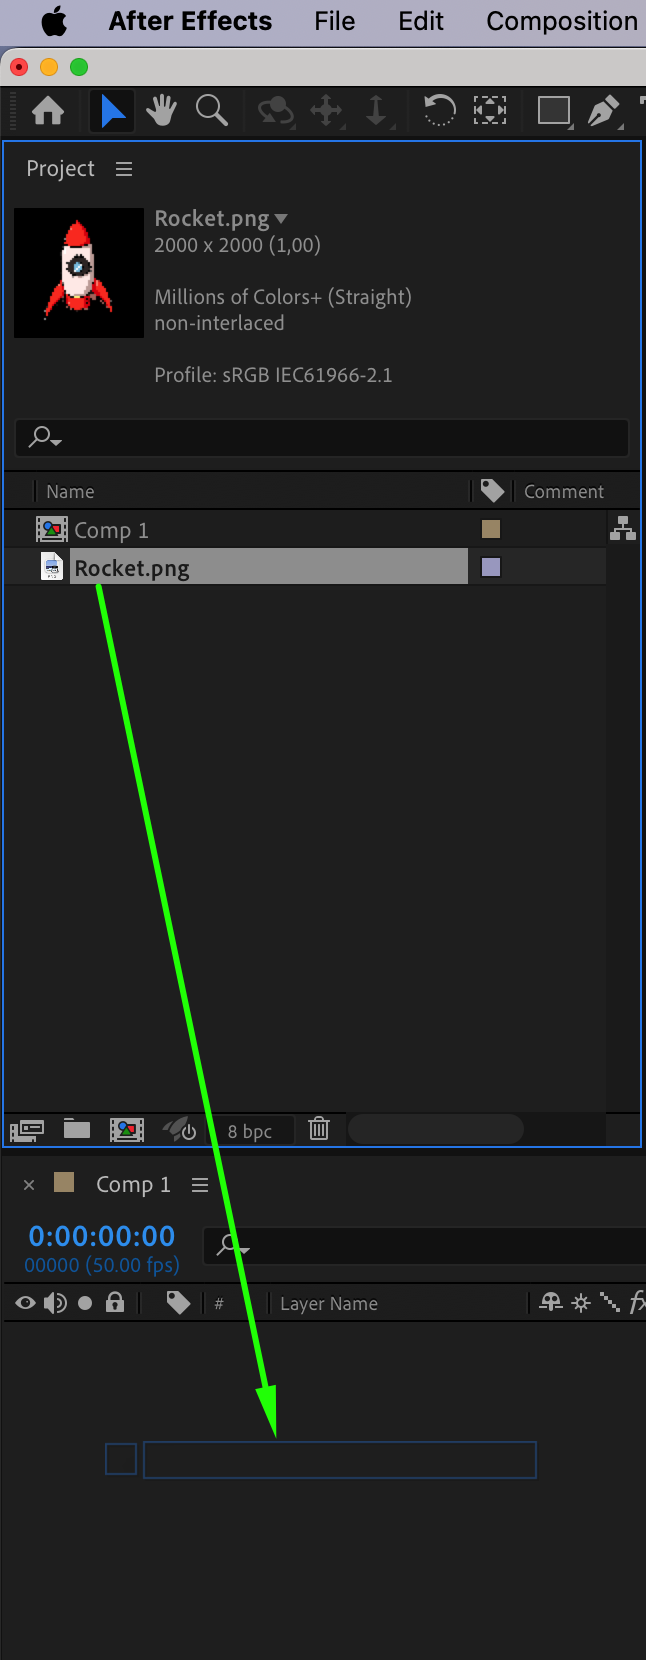
Import your image by going to “File” > “Import” > “File…” and selecting the image you want to use. Drag and drop the imported image into the composition timeline.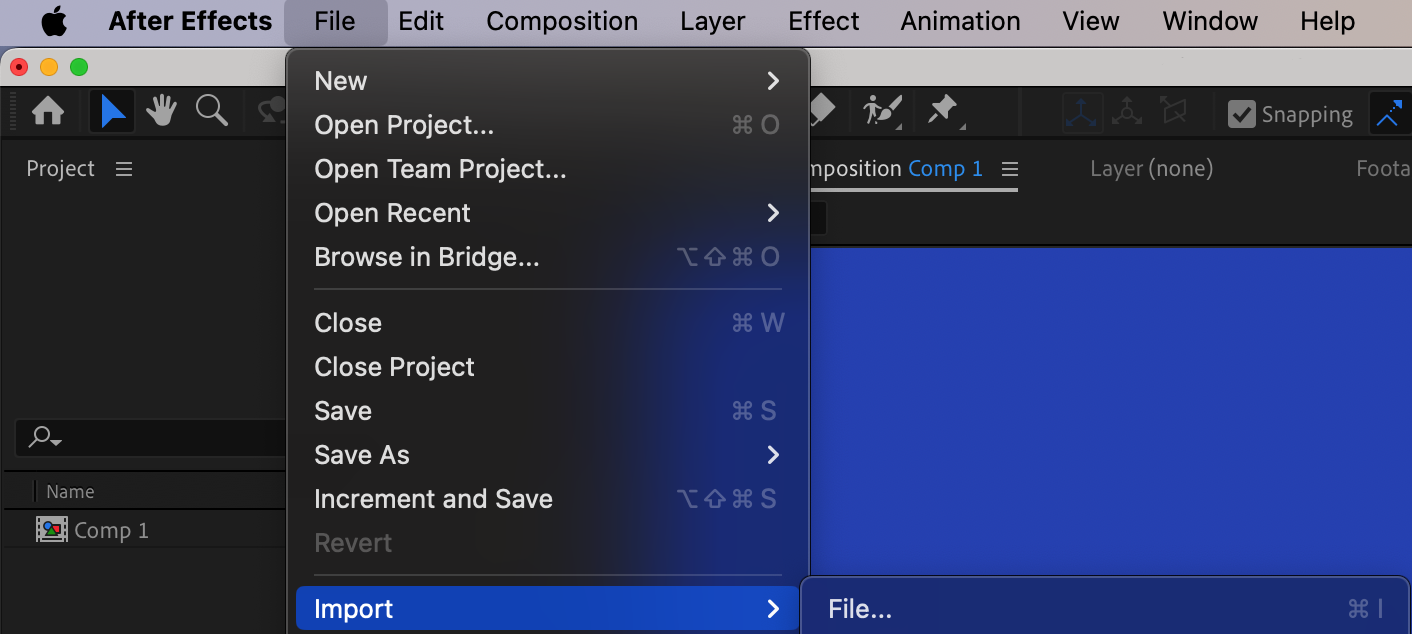
 Step 3: Rotation Parameter
Get 10% off when you subscribe to our newsletter

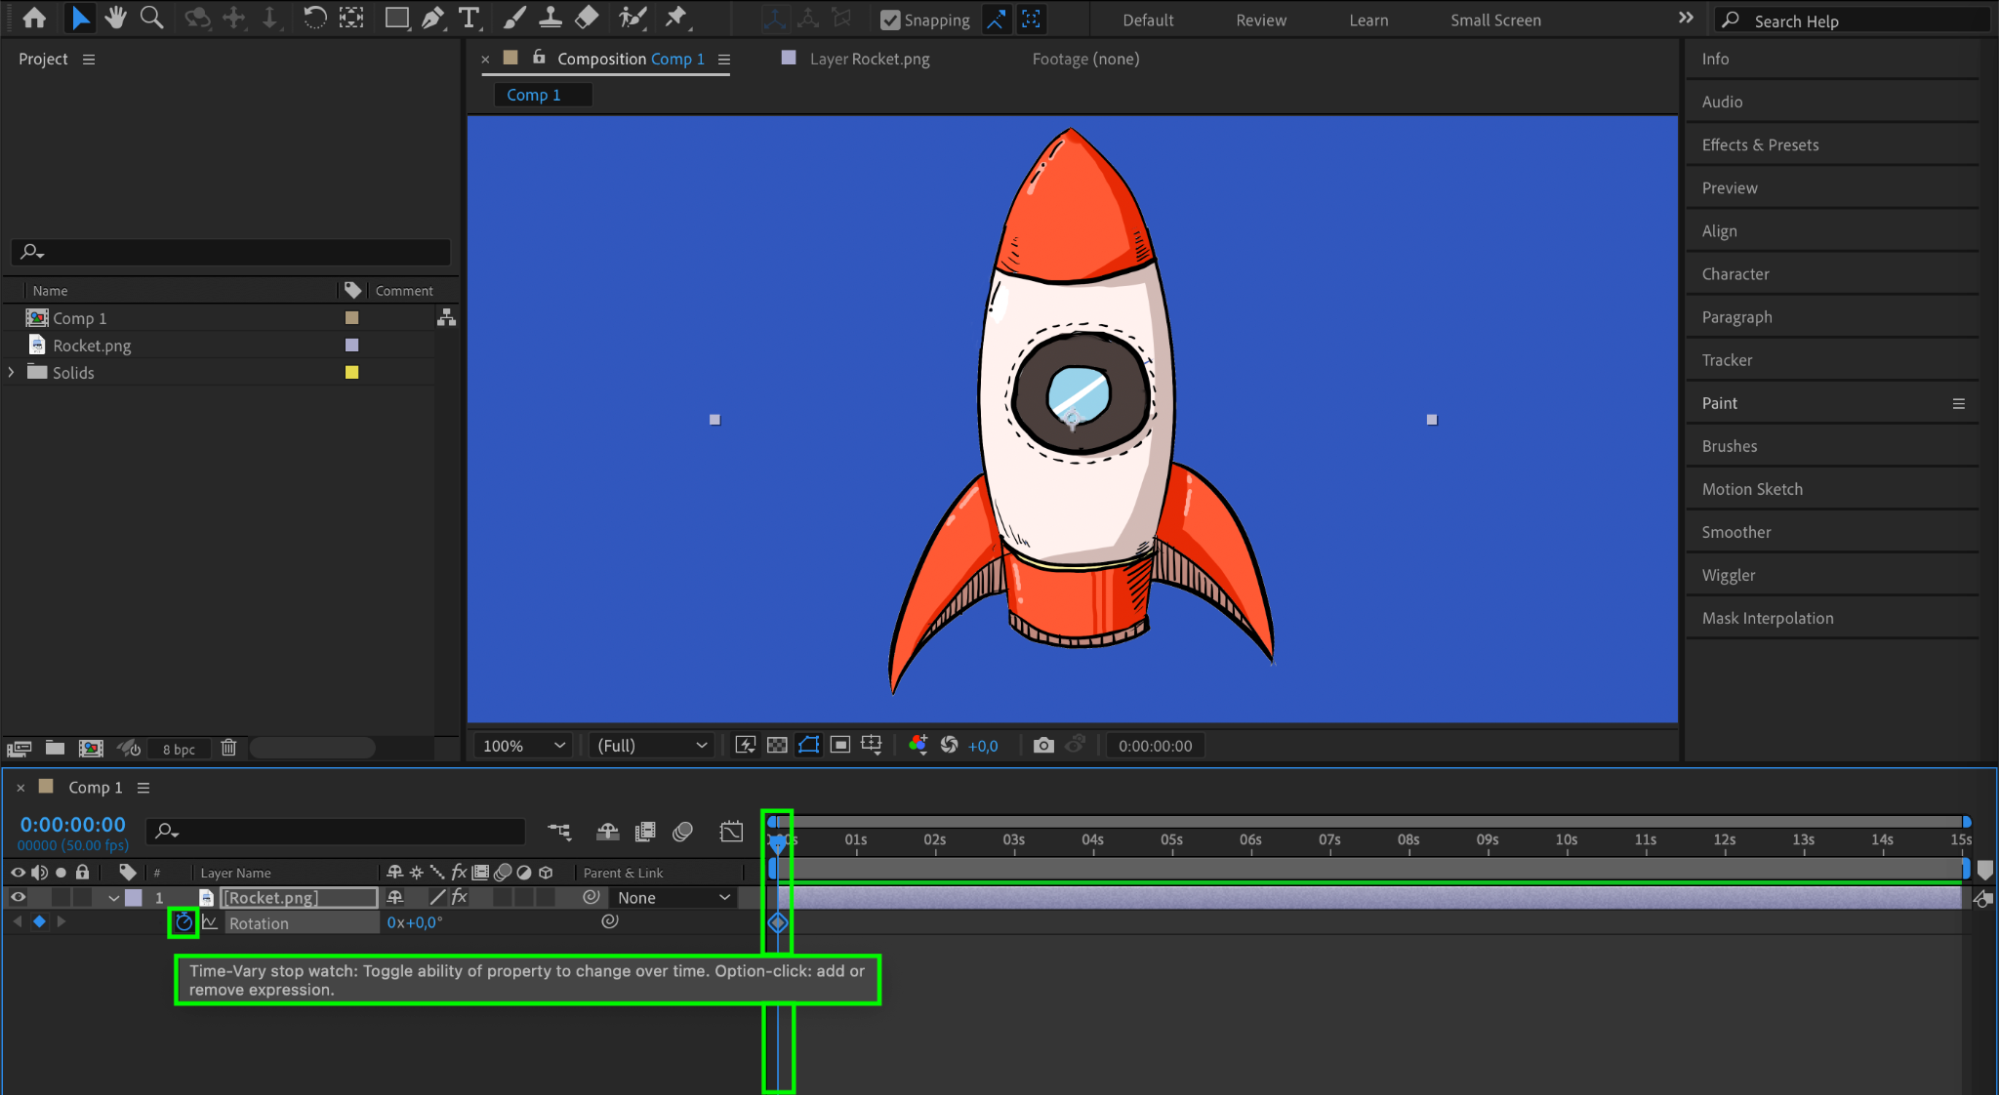
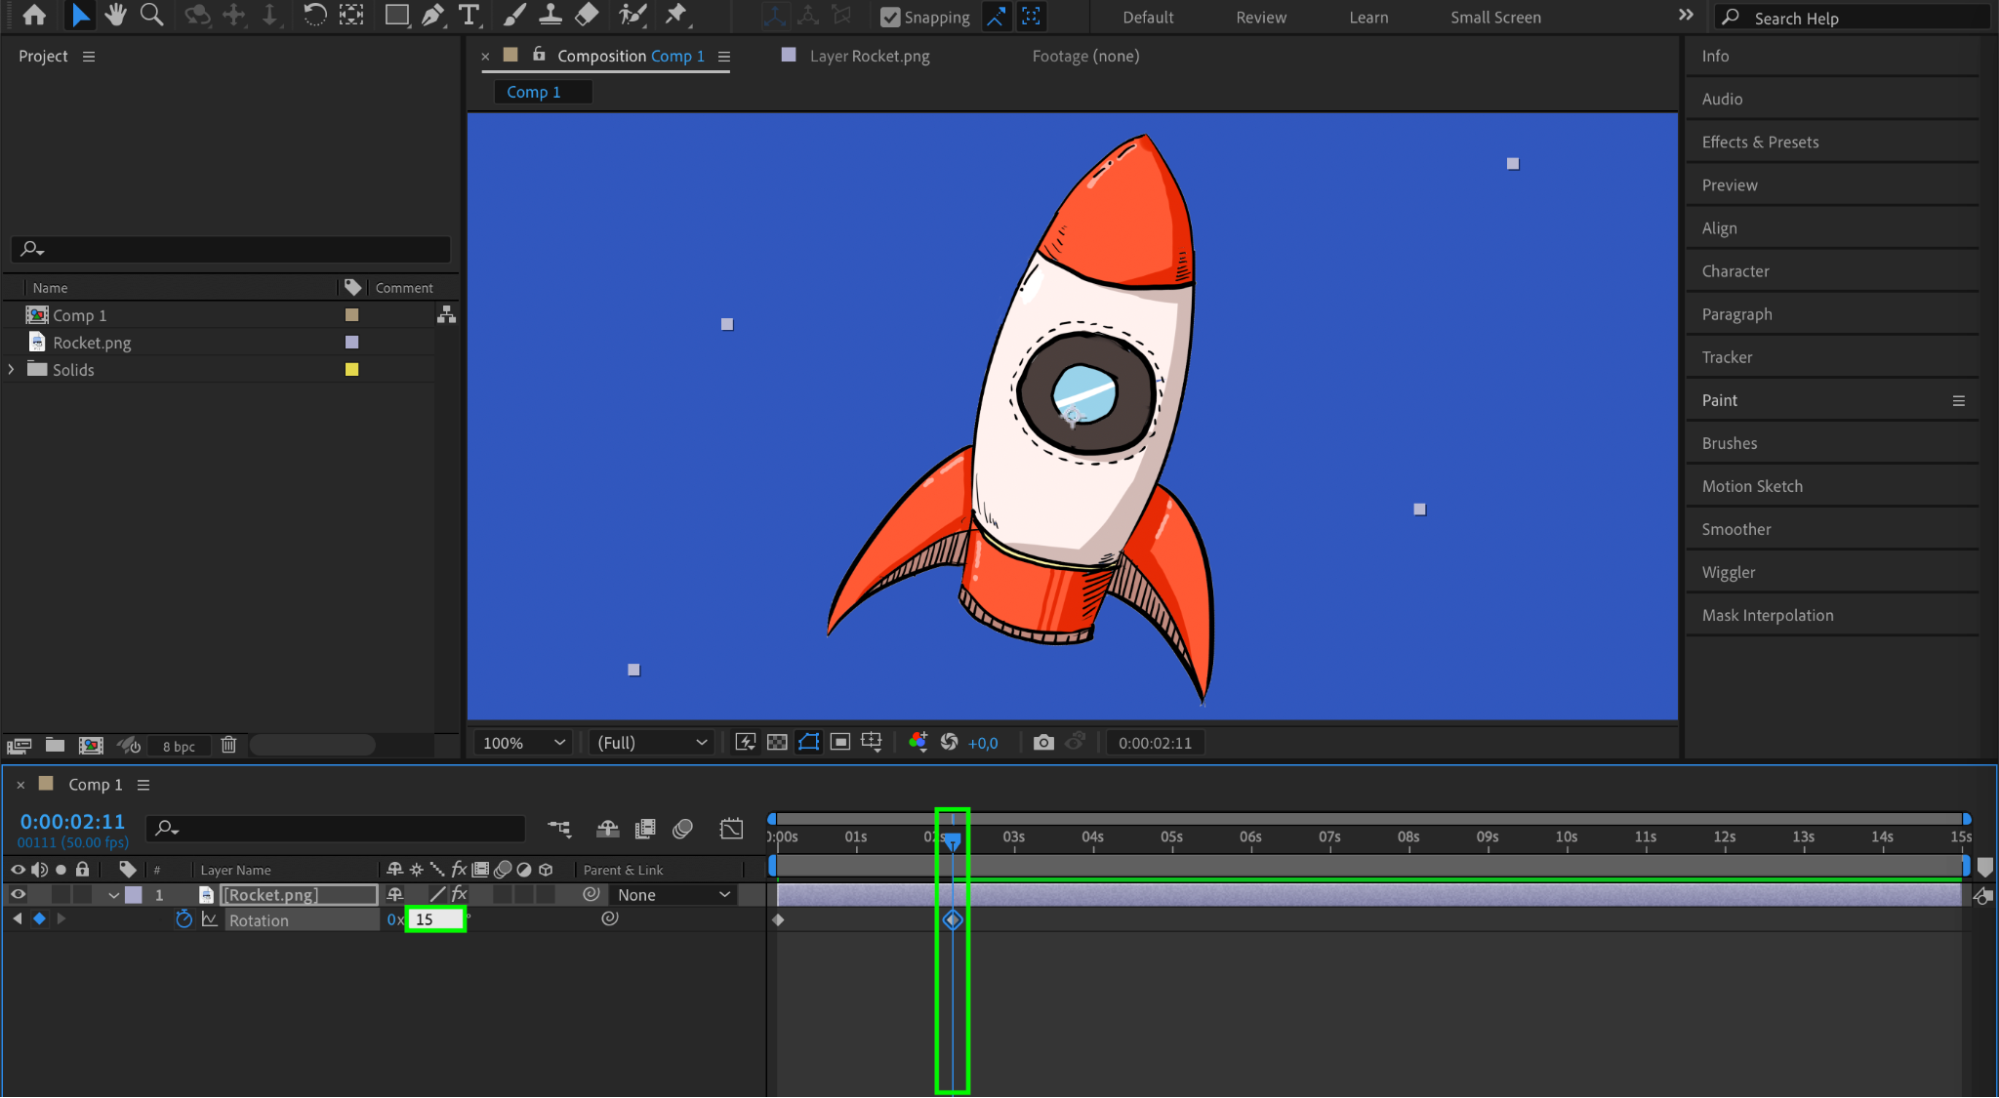
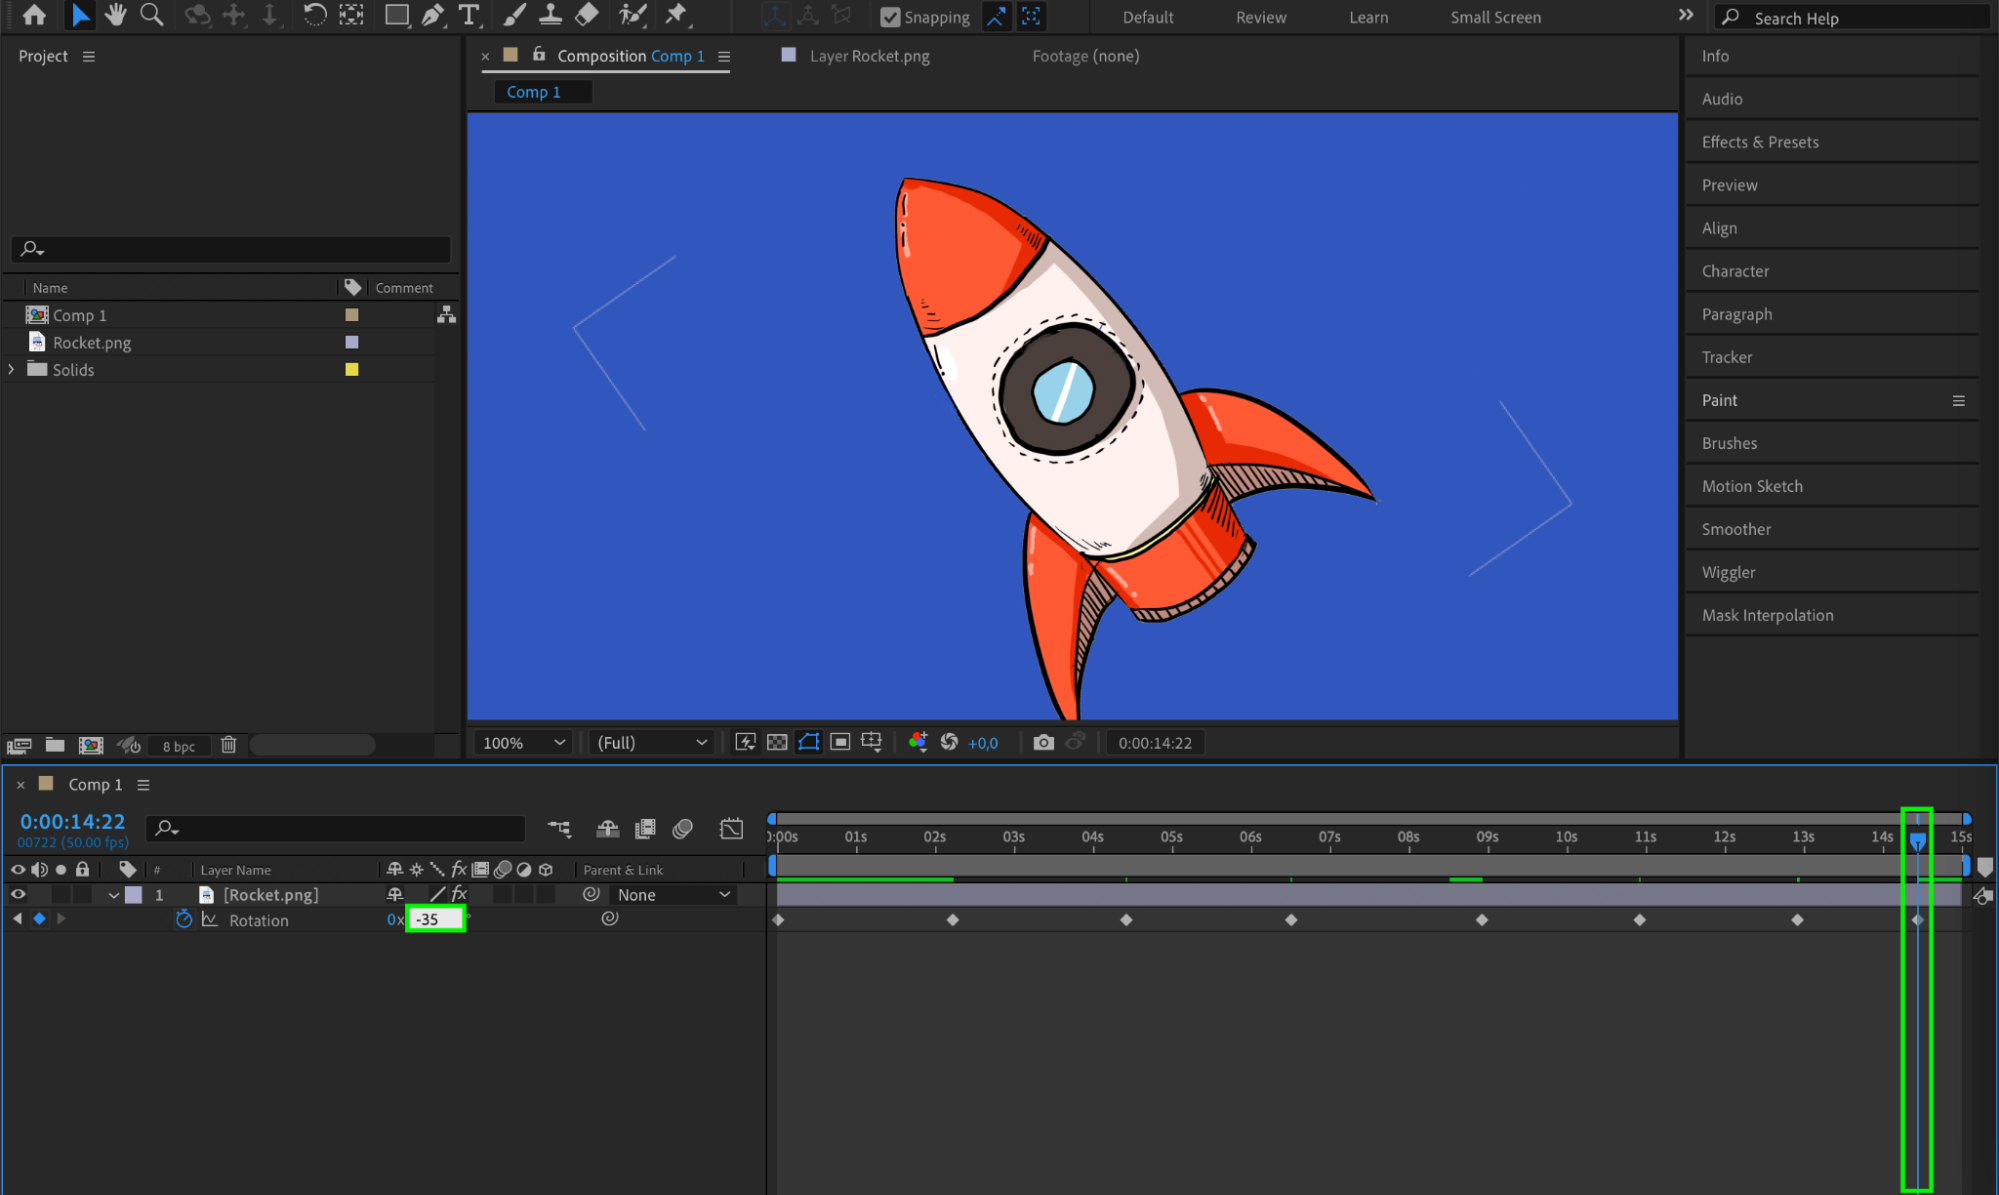
With your image layer selected, press the “R” key on your keyboard to reveal the Rotation property. Click on the stopwatch icon next to Rotation to enable keyframing. Move the playhead to the desired starting point and set an initial rotation value by adjusting the rotation dial or typing in a value. Then, move the playhead to the point in the timeline where you want the spin to end and adjust the rotation value to the desired end state.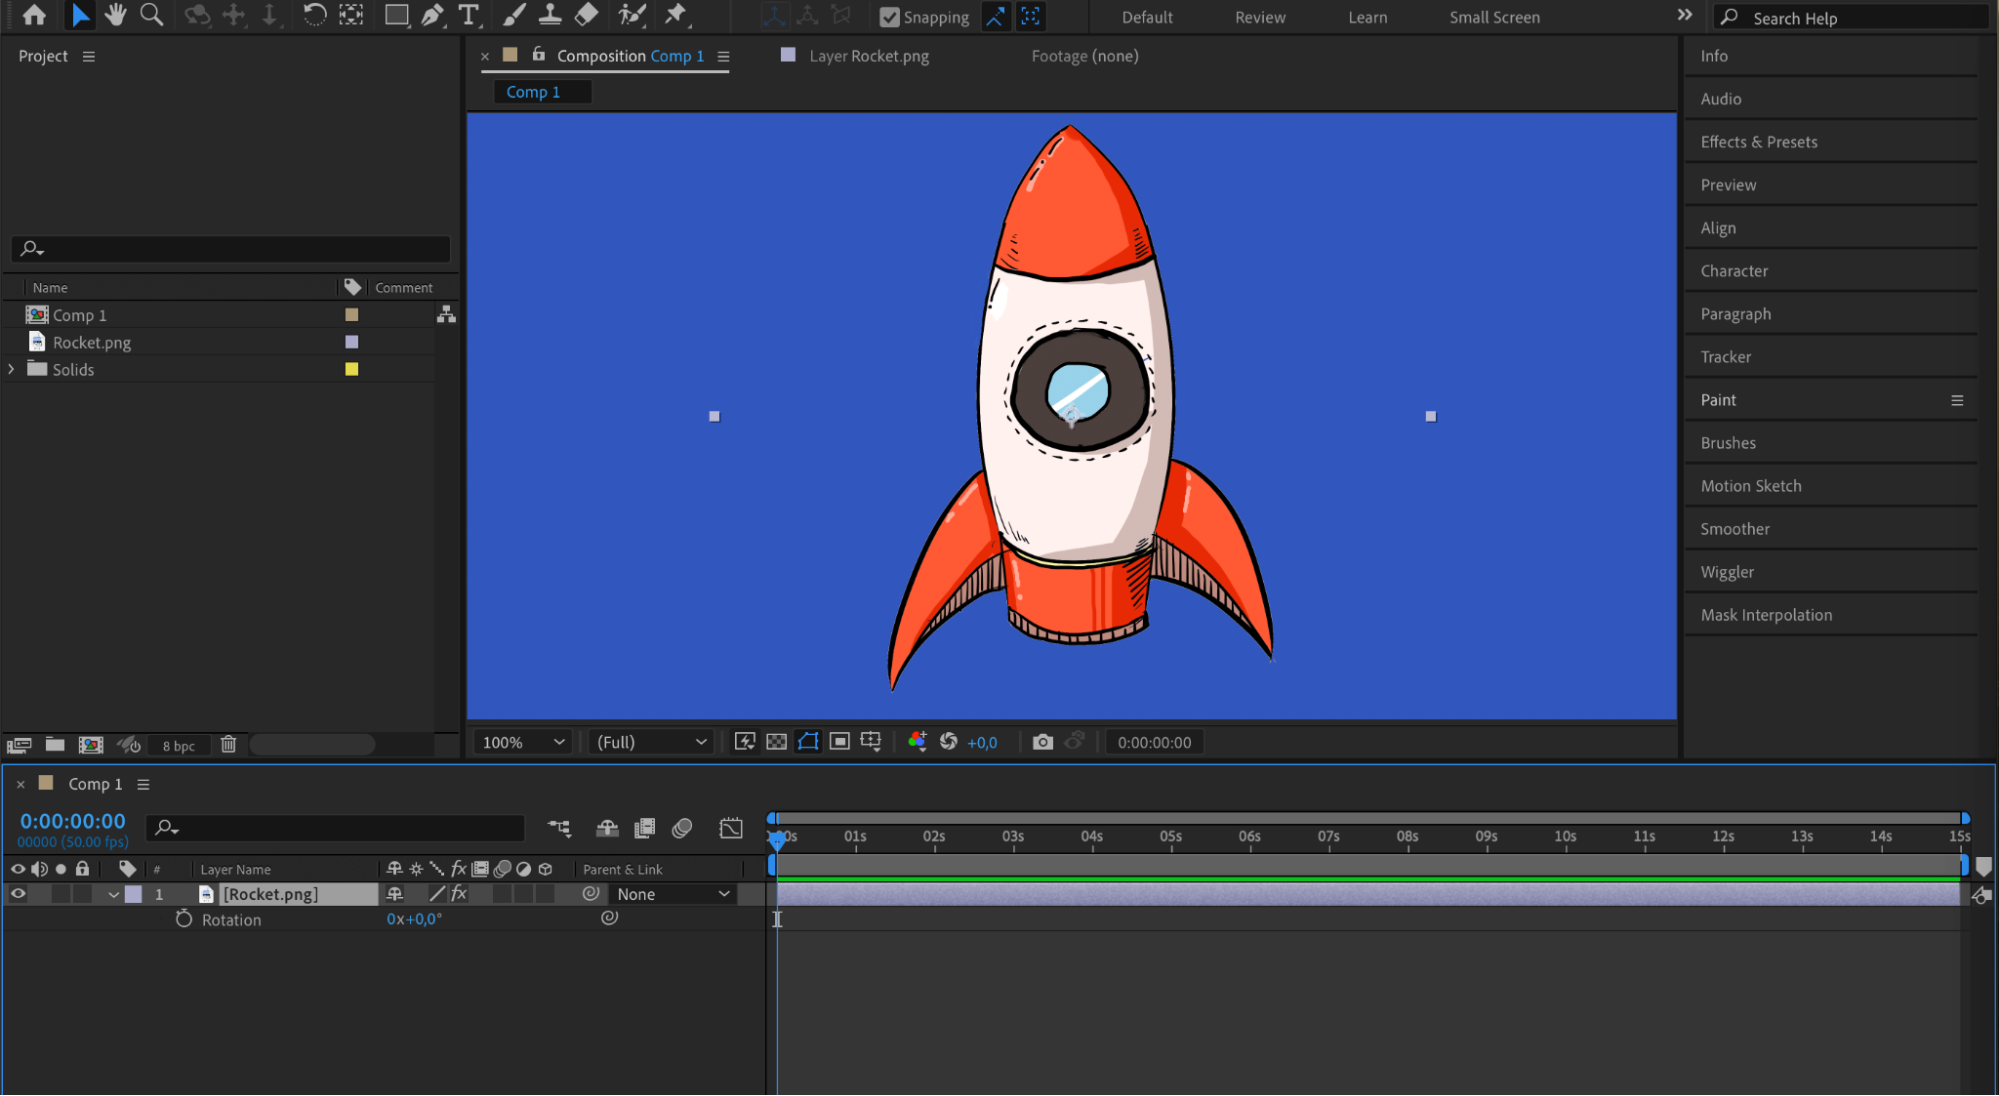
 Step 4: Apply Easy Ease to Keyframes
Get 10% off when you subscribe to our newsletter

Select the keyframes and right-click on one of the selected keyframes, go to “Keyframe Assistant,” and choose “Easy Ease.” This will smooth out the motion, making the spin look more natural.

 Step 5: Customize the Spinning Effect
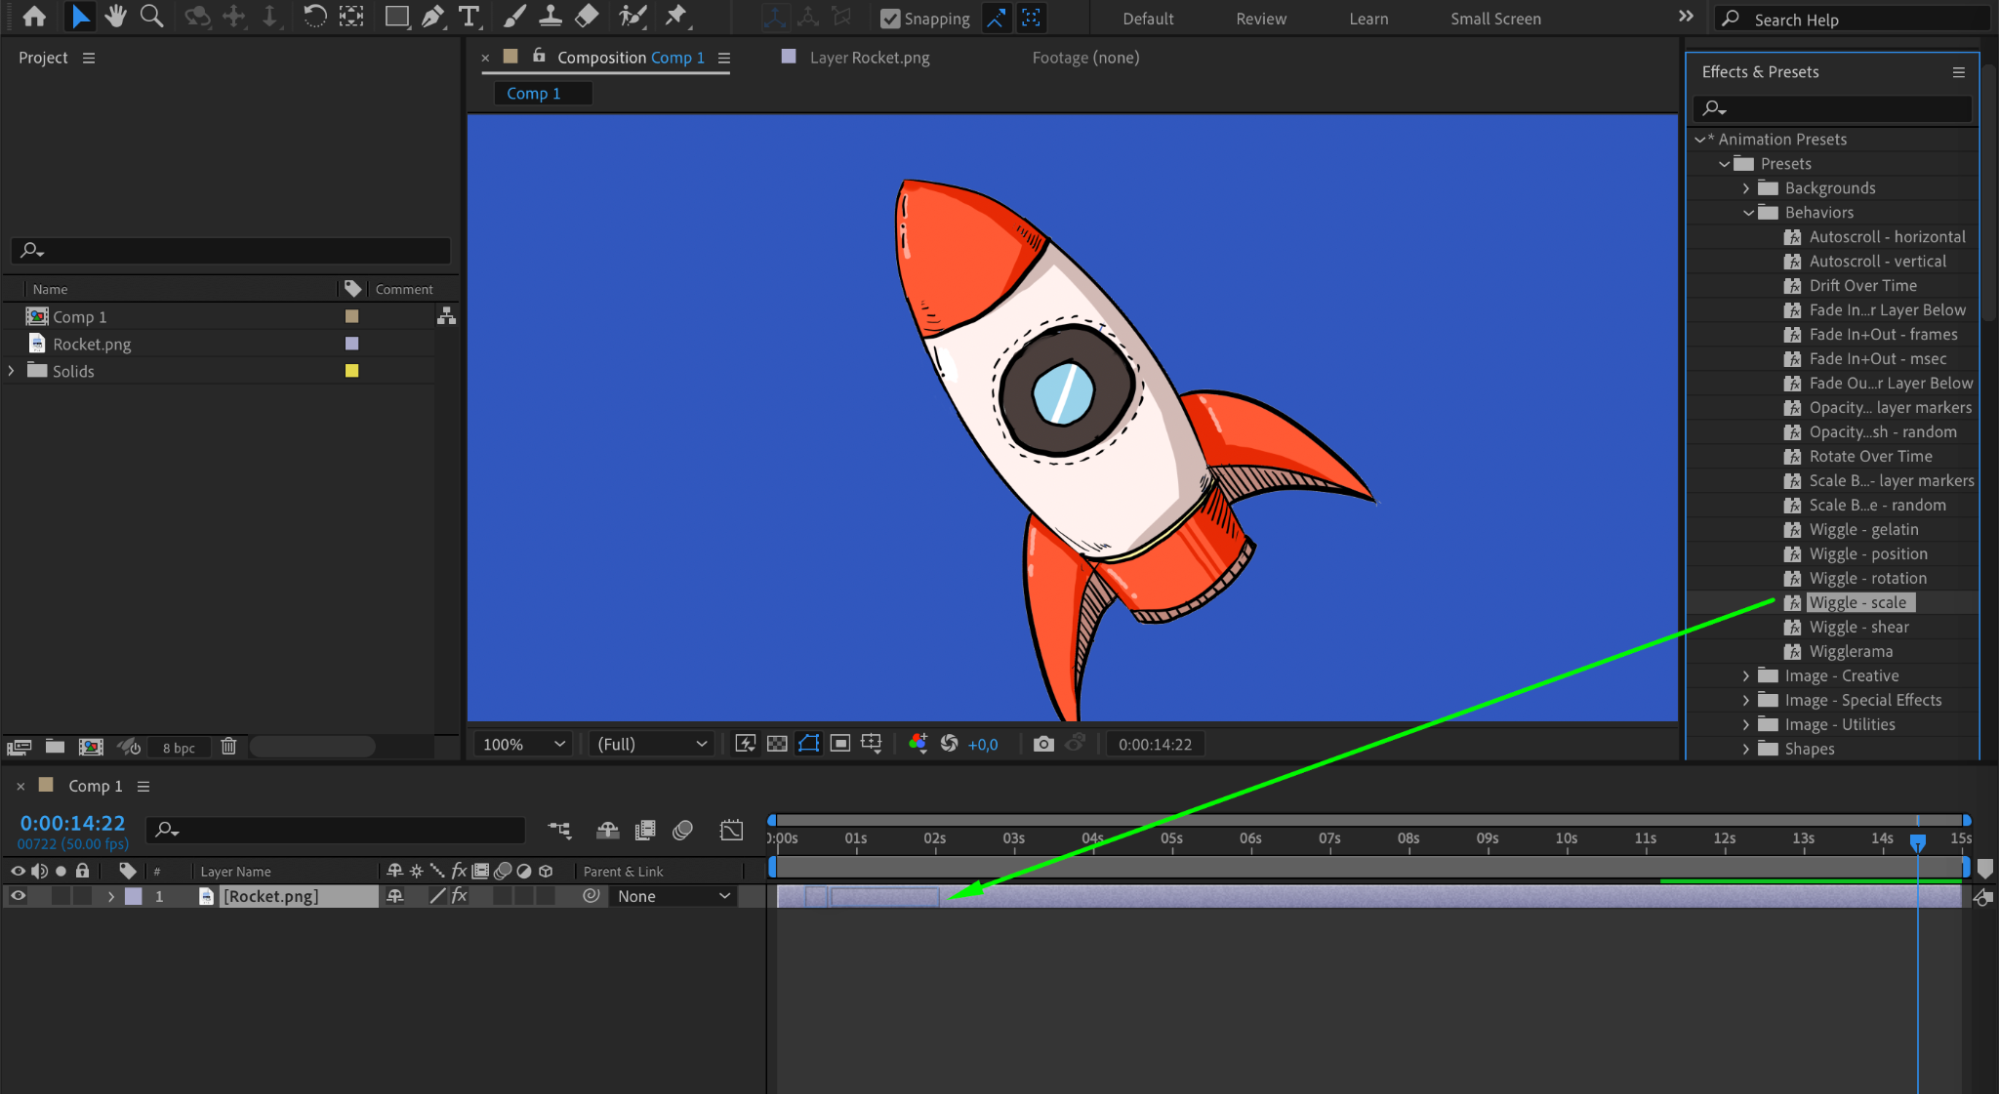
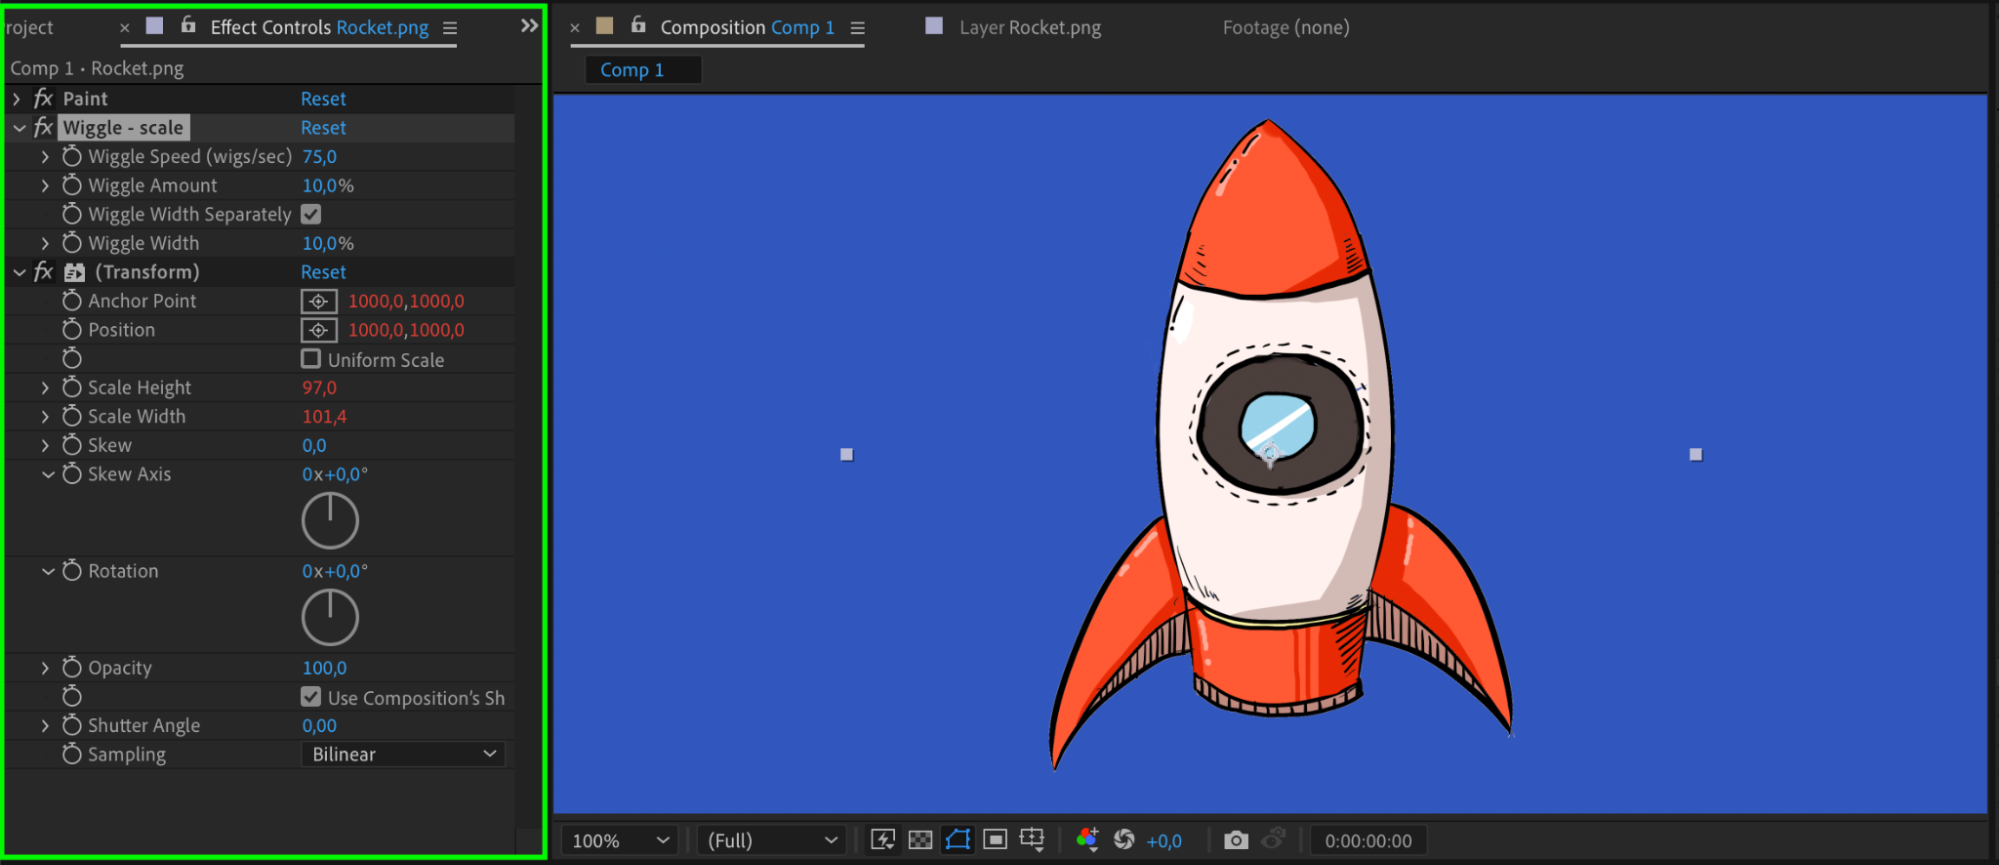
If you want to enhance the spinning effect, you can apply additional effects or plugins to your image layer. Experiment with options like scale changes, opacity adjustments, or color correction to create a unique and dynamic spinning effect.
 Step 6: Enable Motion Blur
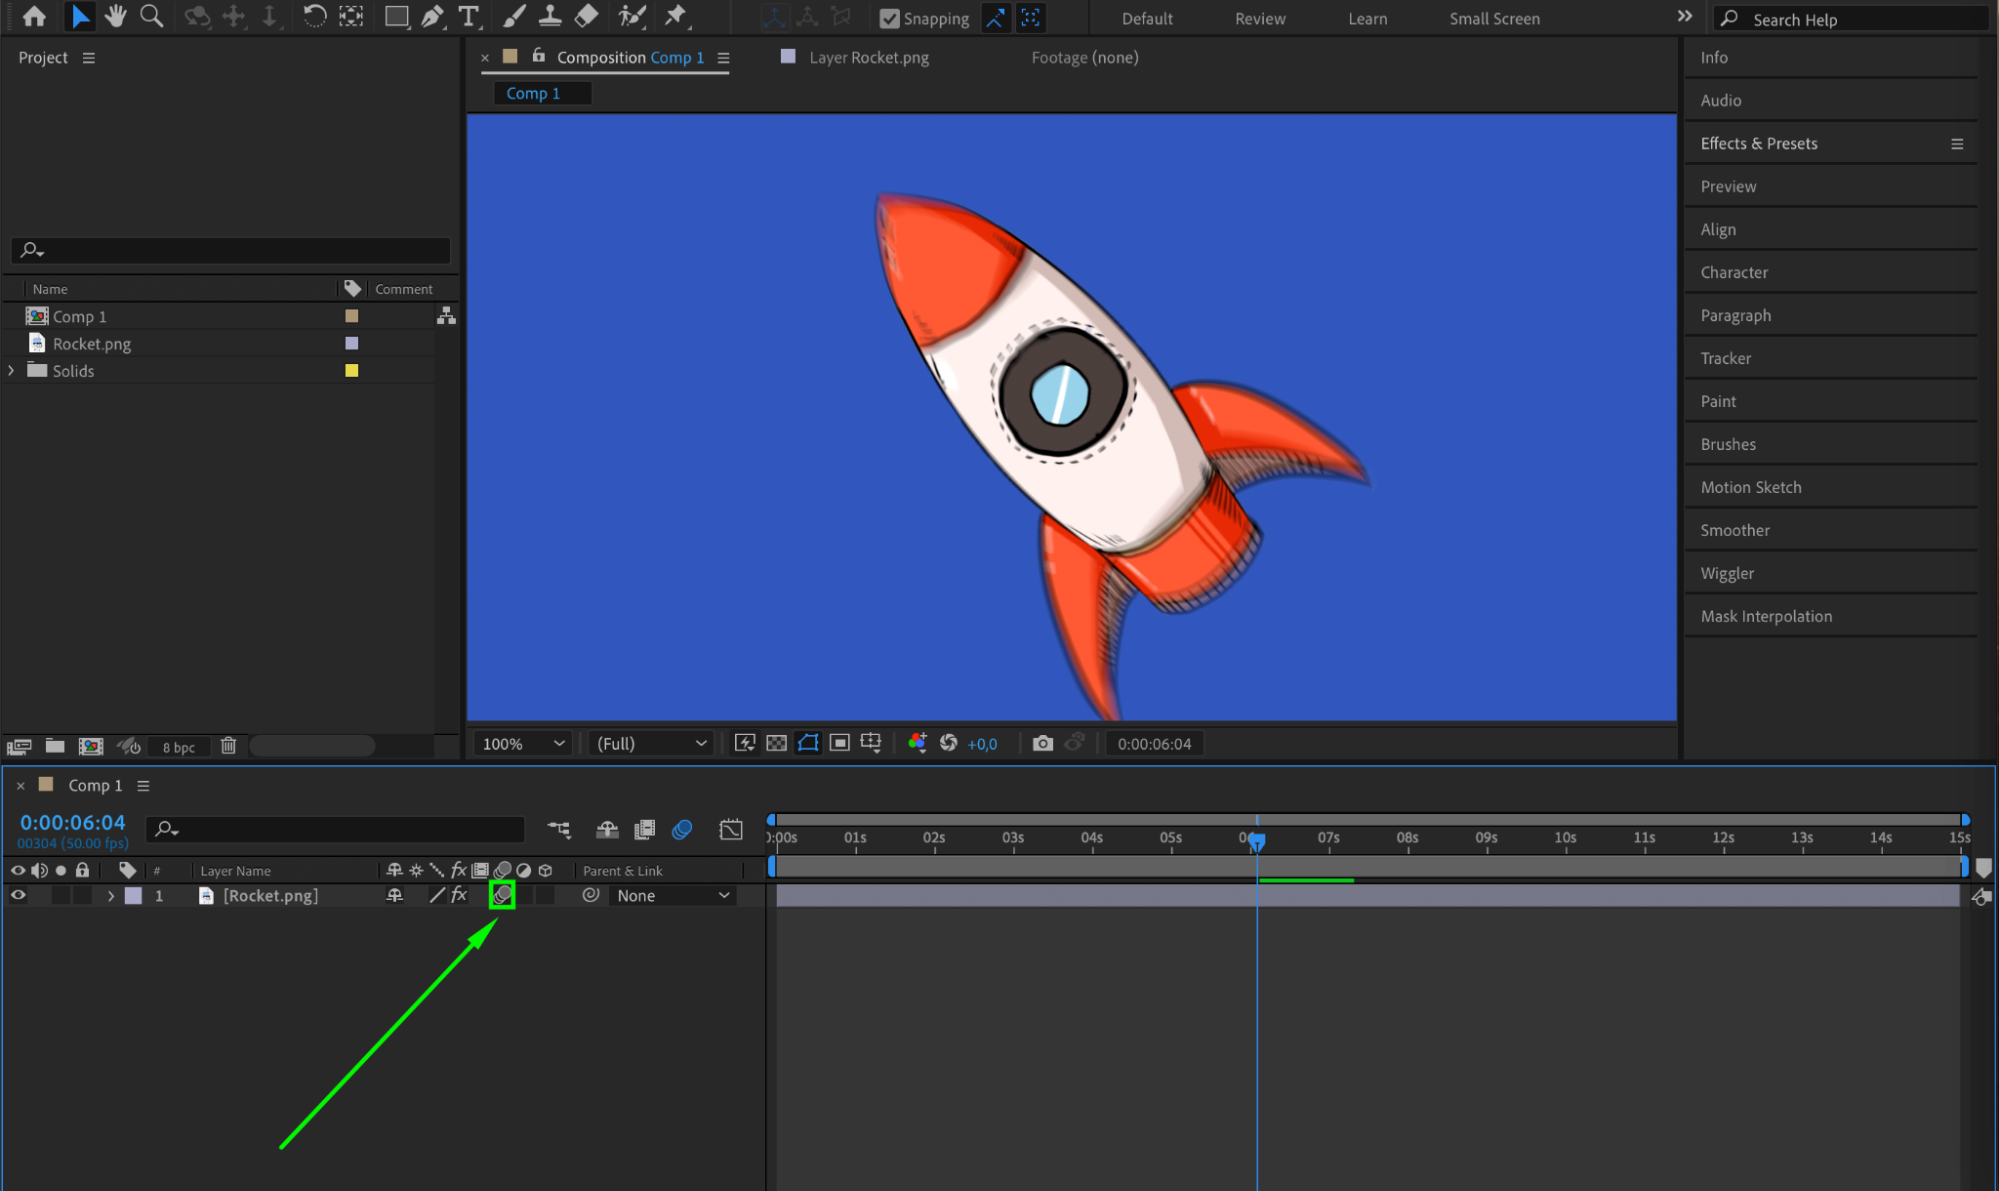
To add a realistic blur effect to the spinning image, click the checkbox for motion blur next to the image layer in the timeline, and also enable the global motion blur button located above the timeline.
 Step 7: Use a Null Object for Advanced Control (Optionally)
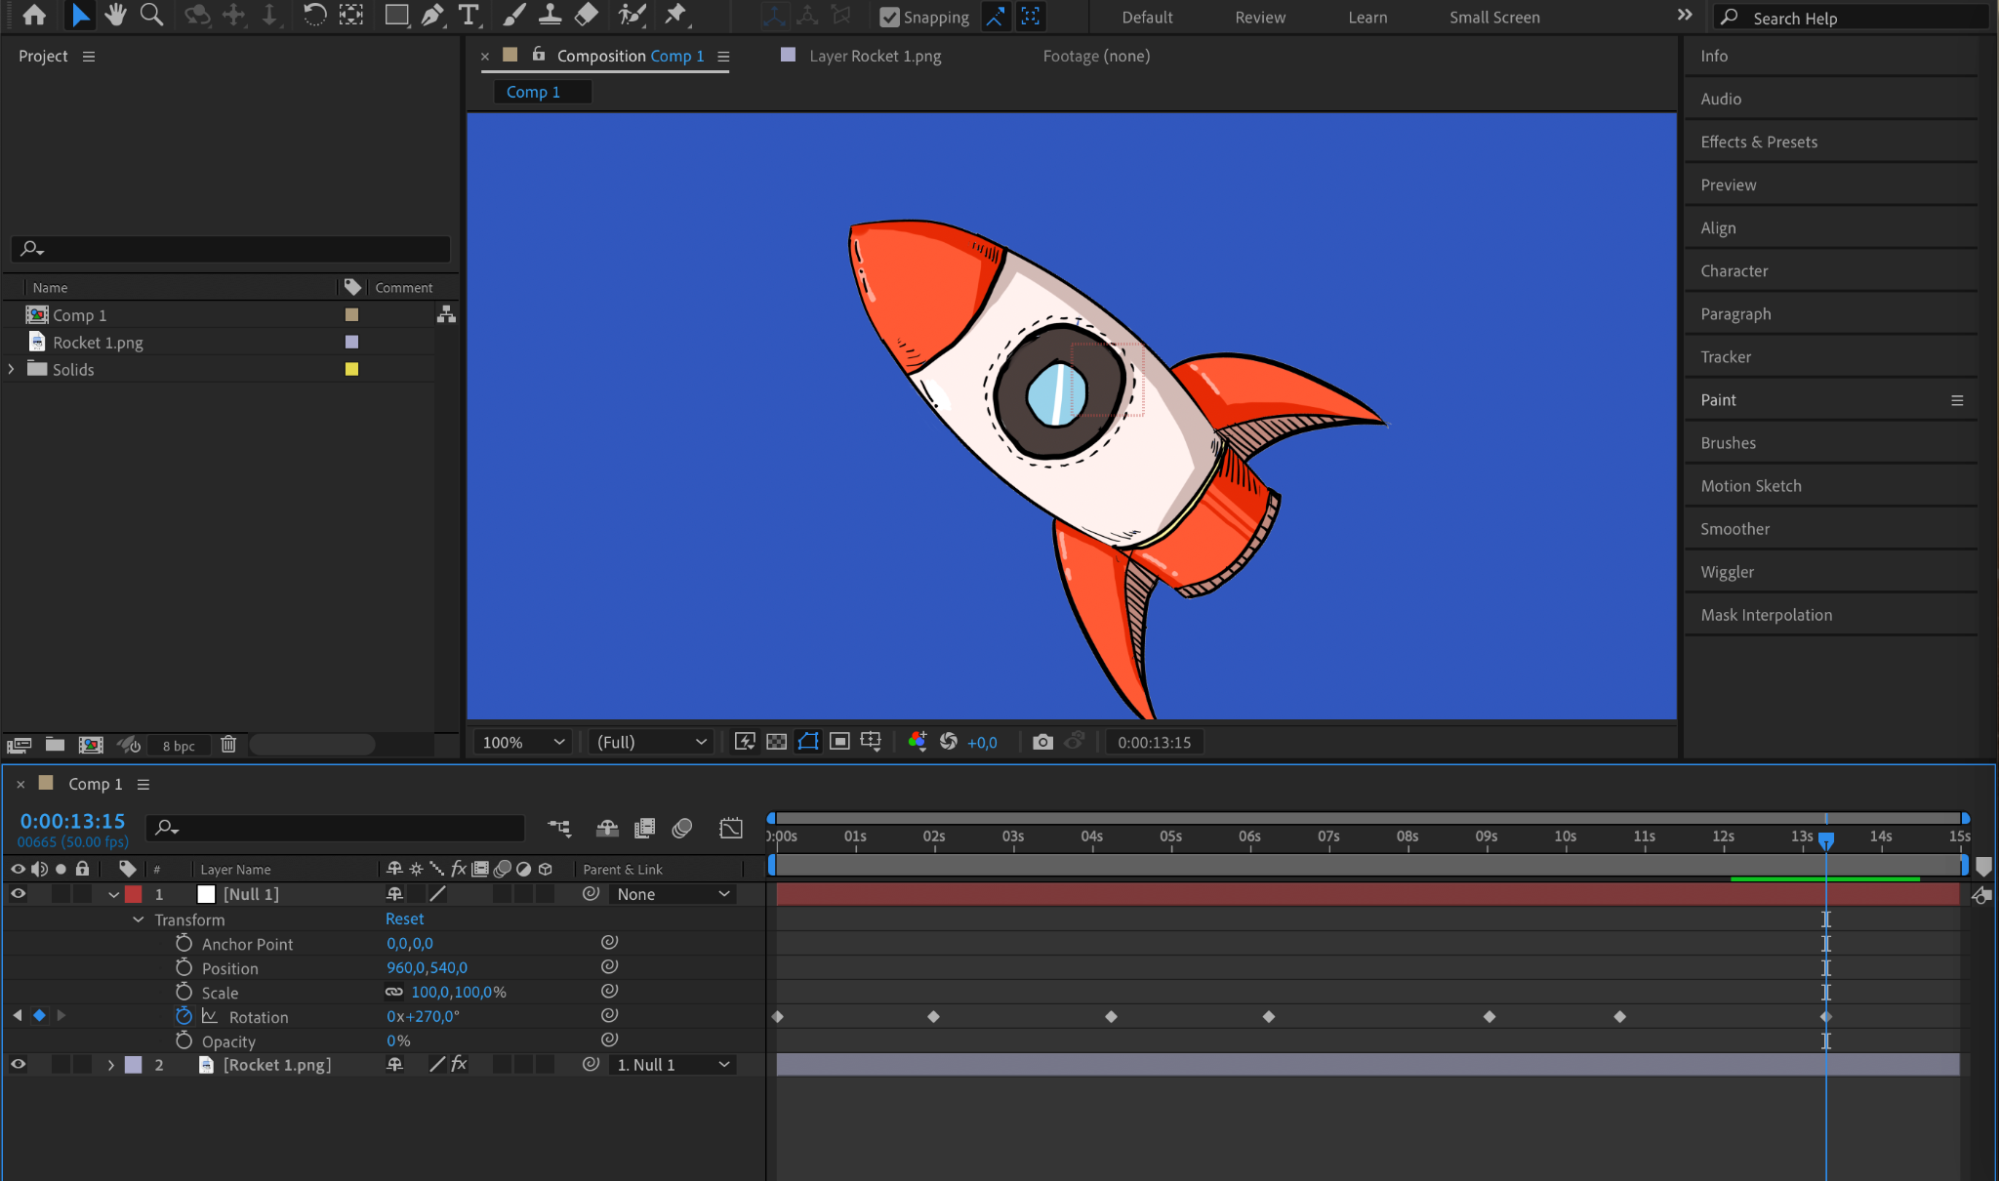
For more control over multiple layers or complex animations, create a Null object. Go to “Layer” > “New” > “Null Object.” Parent the image layer to the Null object. Animate the Null object’s rotation to control the spin.


 Step 8: Preview and Adjust as Needed
Get 10% off when you subscribe to our newsletter

Preview your spinning image by pressing the spacebar or using the preview feature in After Effects. Make any necessary adjustments to the rotation timing, speed, or overall effect until you achieve the desired result.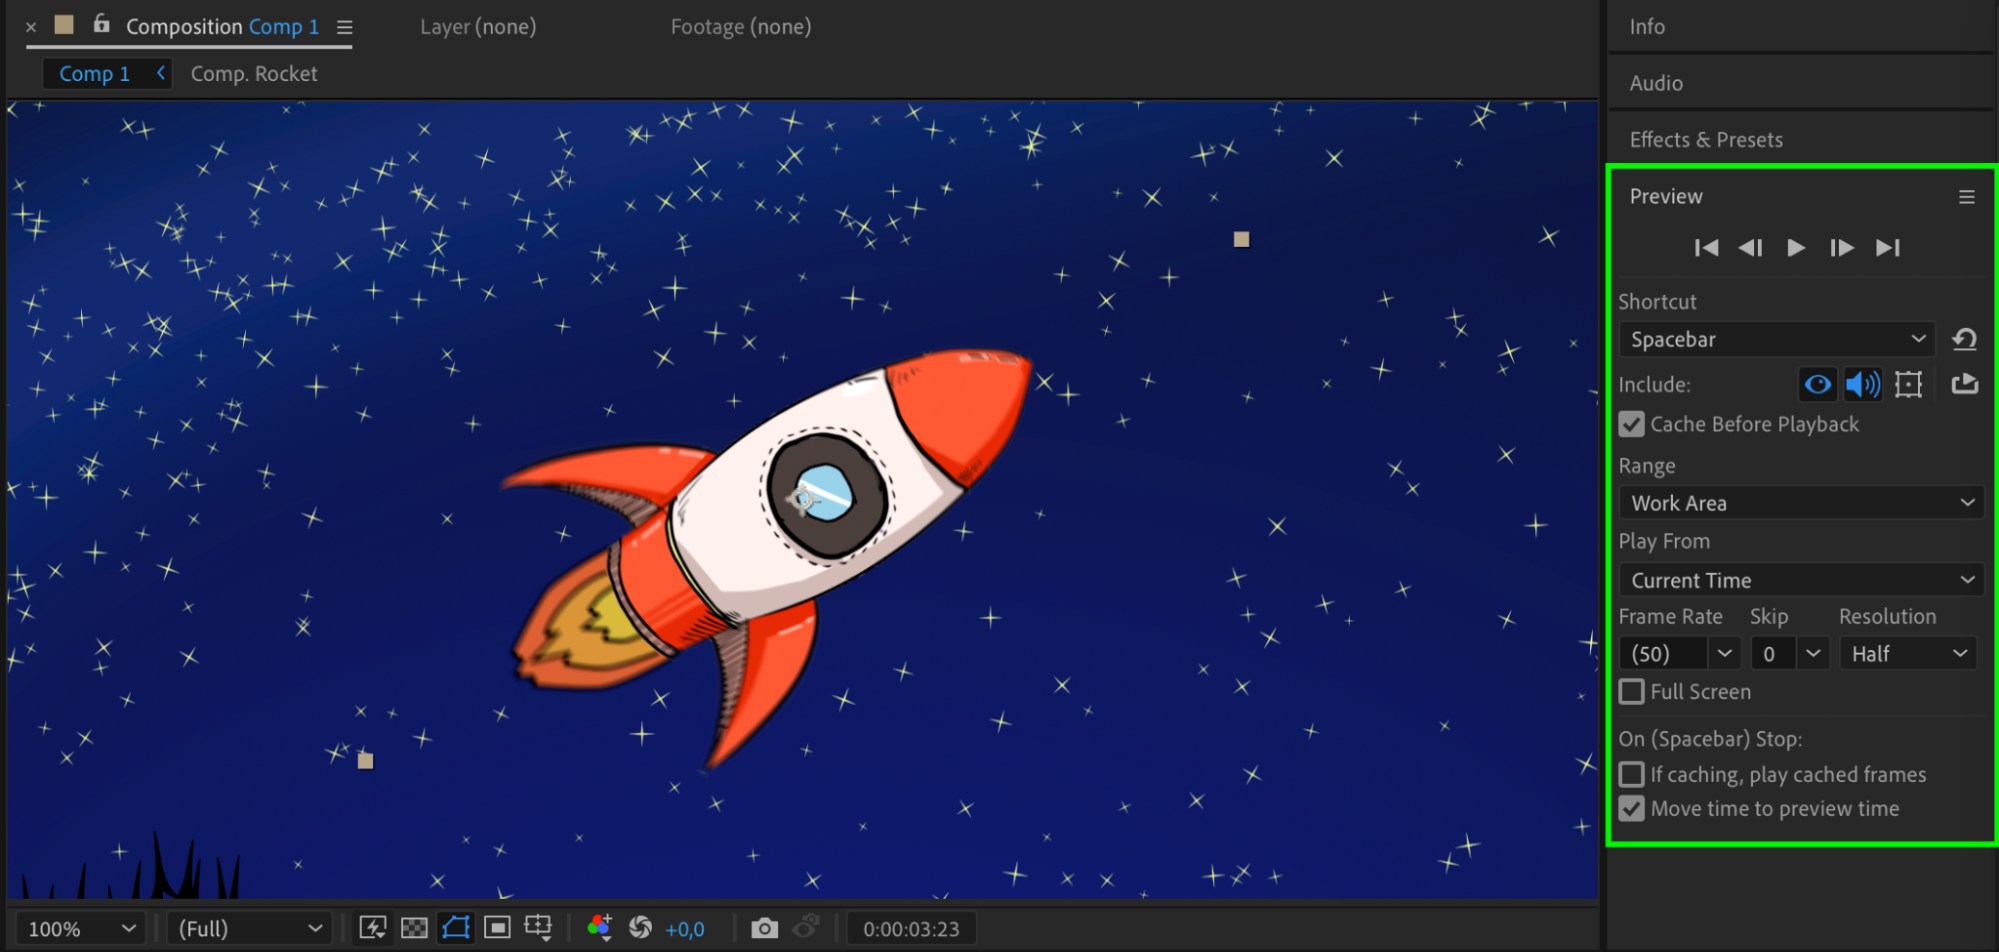 Step 9: Render and Export
Once you’re satisfied with your spinning image effect, click on “Composition” in the top menu and select “Add to Render Queue.” Adjust any settings or preferences in the Render Queue window, and then click on the “Render” button to export your final video with the spinning image effect intact.
 Conclusion
With these simple steps, you can easily create a captivating spinning image effect in After Effects. Take the time to experiment with different variations and explore further possibilities to make your visuals stand out. Enjoy the process and let your creativity shine!


