Reducing GIF Size in After Effects
Efficient Techniques to Optimize GIFs in After Effects
Have you ever wondered how to make your GIF files smaller in After Effects? If you’re looking to improve loading times and optimize your animations for better performance, then you’re in the right place. In this step-by-step guide, we will walk you through the process of reducing GIF size in After Effects, providing you with valuable insights, practical tips, and creative strategies to create compact, visually stunning GIFs that captivate your audience without compromising on quality.
Get 10% off when you subscribe to our newsletter

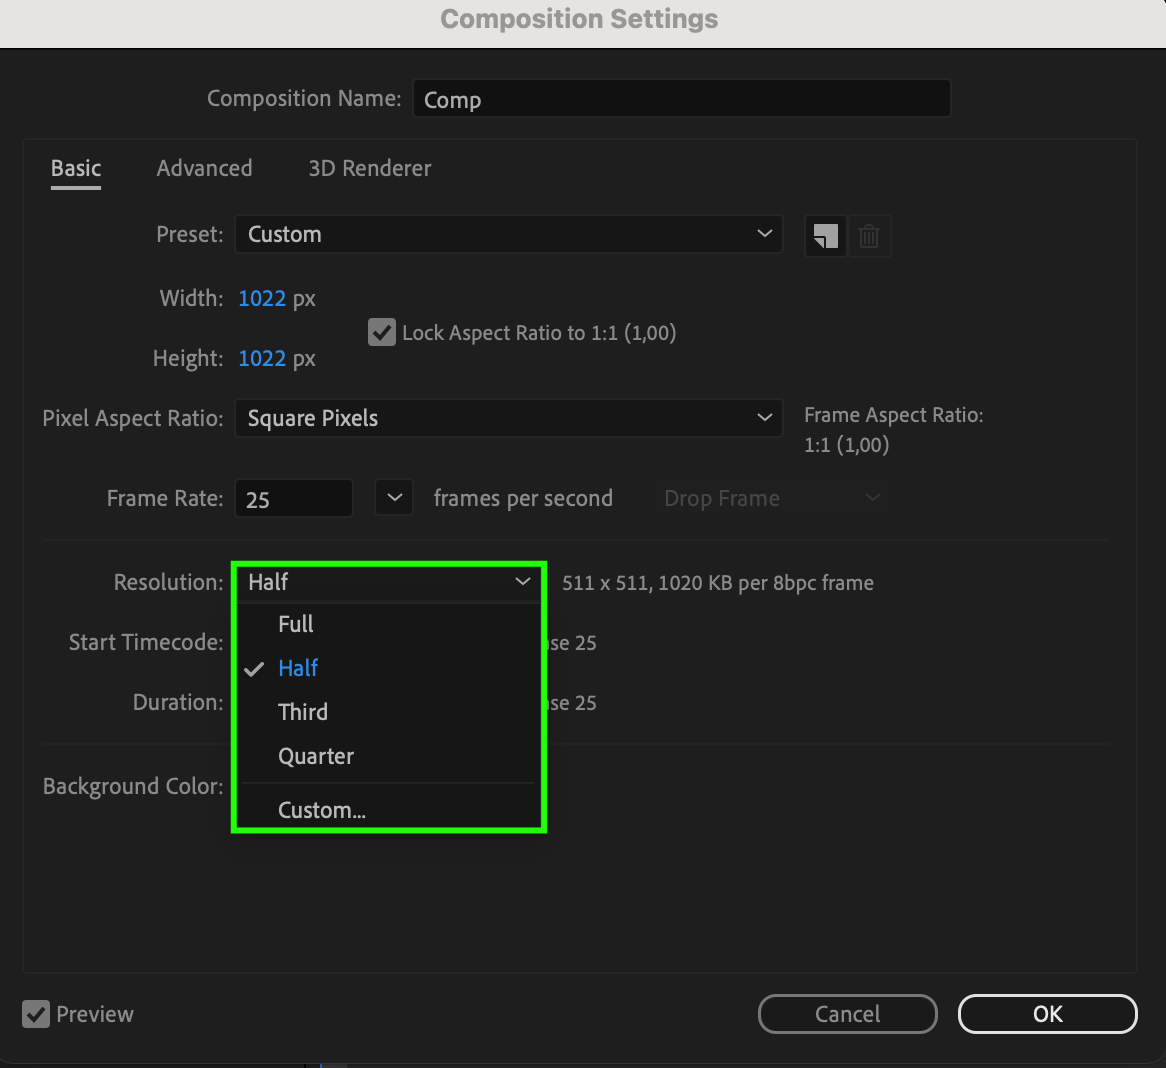
Step 1: Adjust GIF Resolution
First, determine how large your GIF should be. The smaller the resolution, the smaller the file size. In the “Composition” menu, select “Composition Settings” and set your desired resolution. For example, setting the resolution to “half” or “quarter” can significantly reduce the GIF file size while maintaining acceptable image quality.

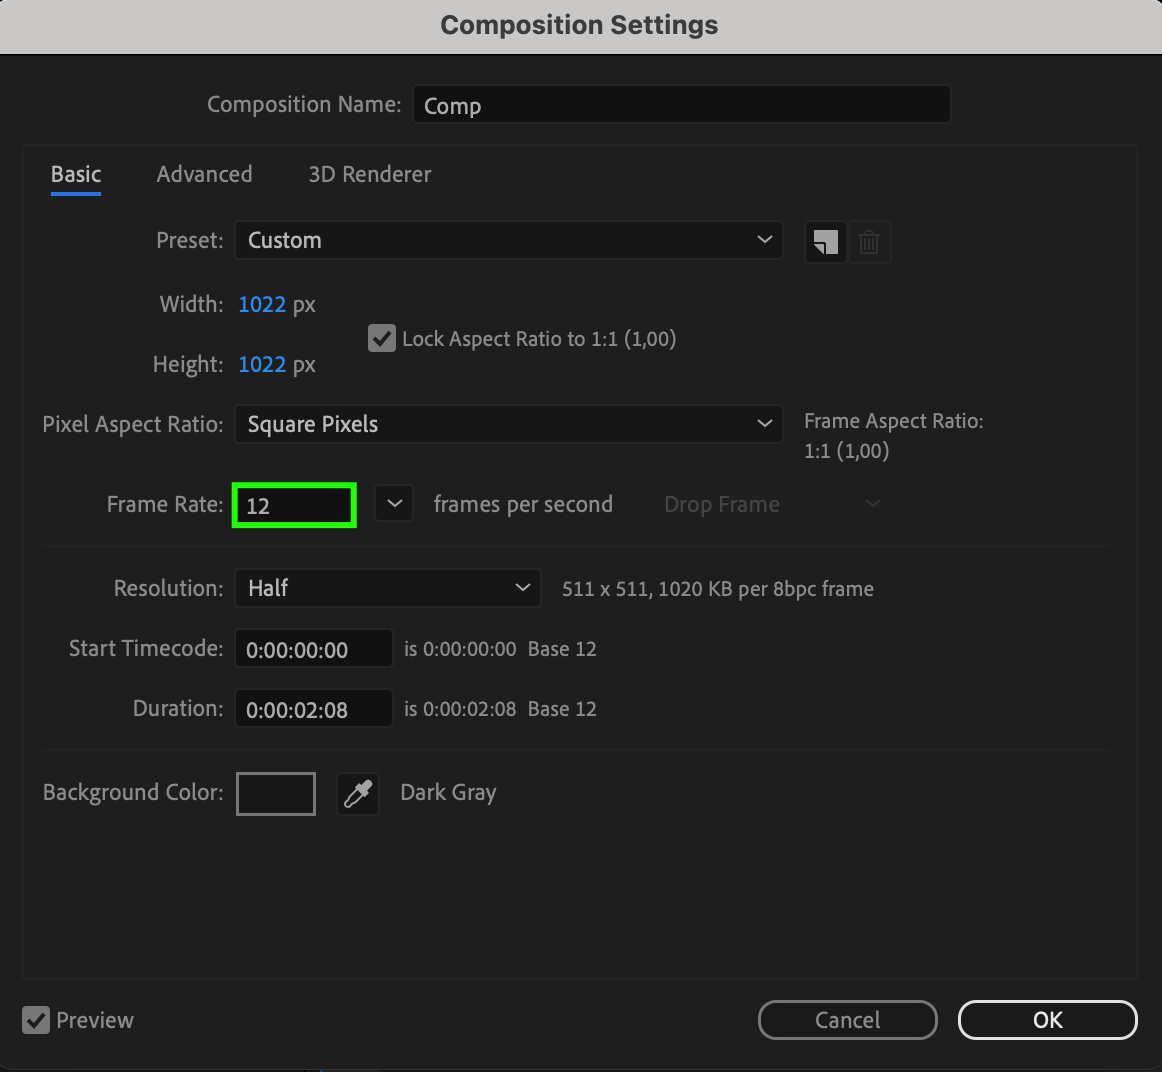
Step 2: Reduce Frame Rate
Lower the frame rate (FPS) of your project. You can do this in the composition settings. A lower frame rate means a smaller file size and can be particularly useful for animations with minimal motion.
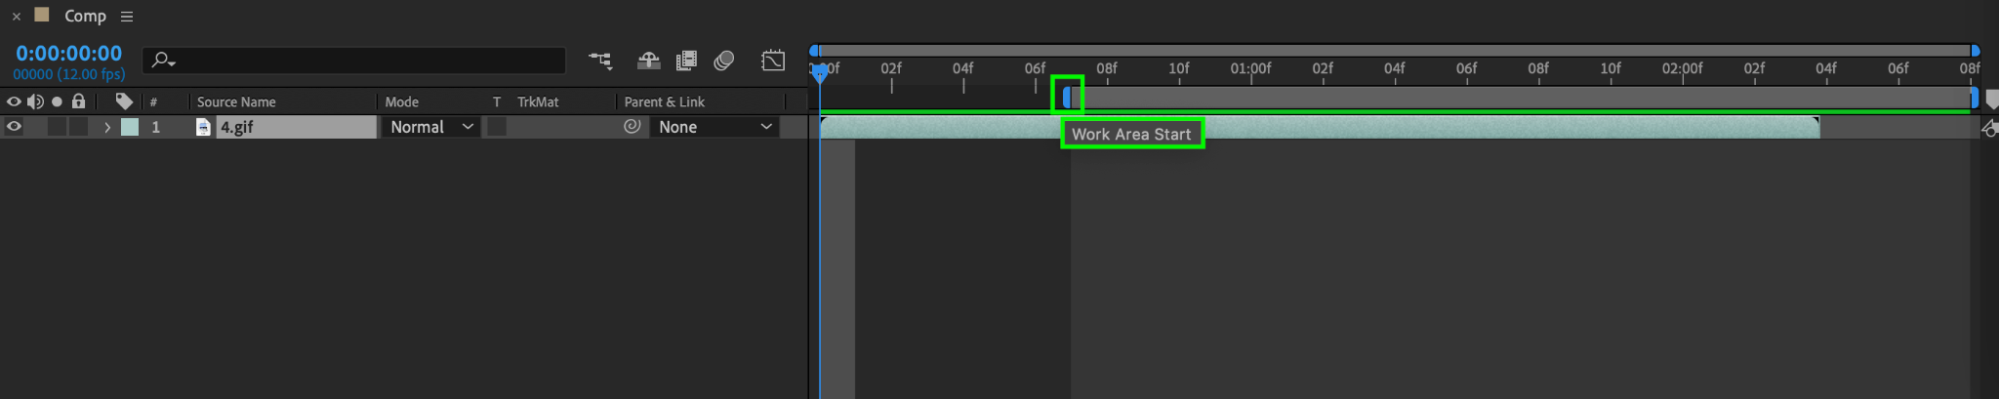
Step 3: Limit GIF Duration
If your GIF is too long, consider trimming it. Select the composition in your project, then choose “Composition” > “Trim Comp to Work Area.” This will trim the composition to match the work area, reducing its duration.

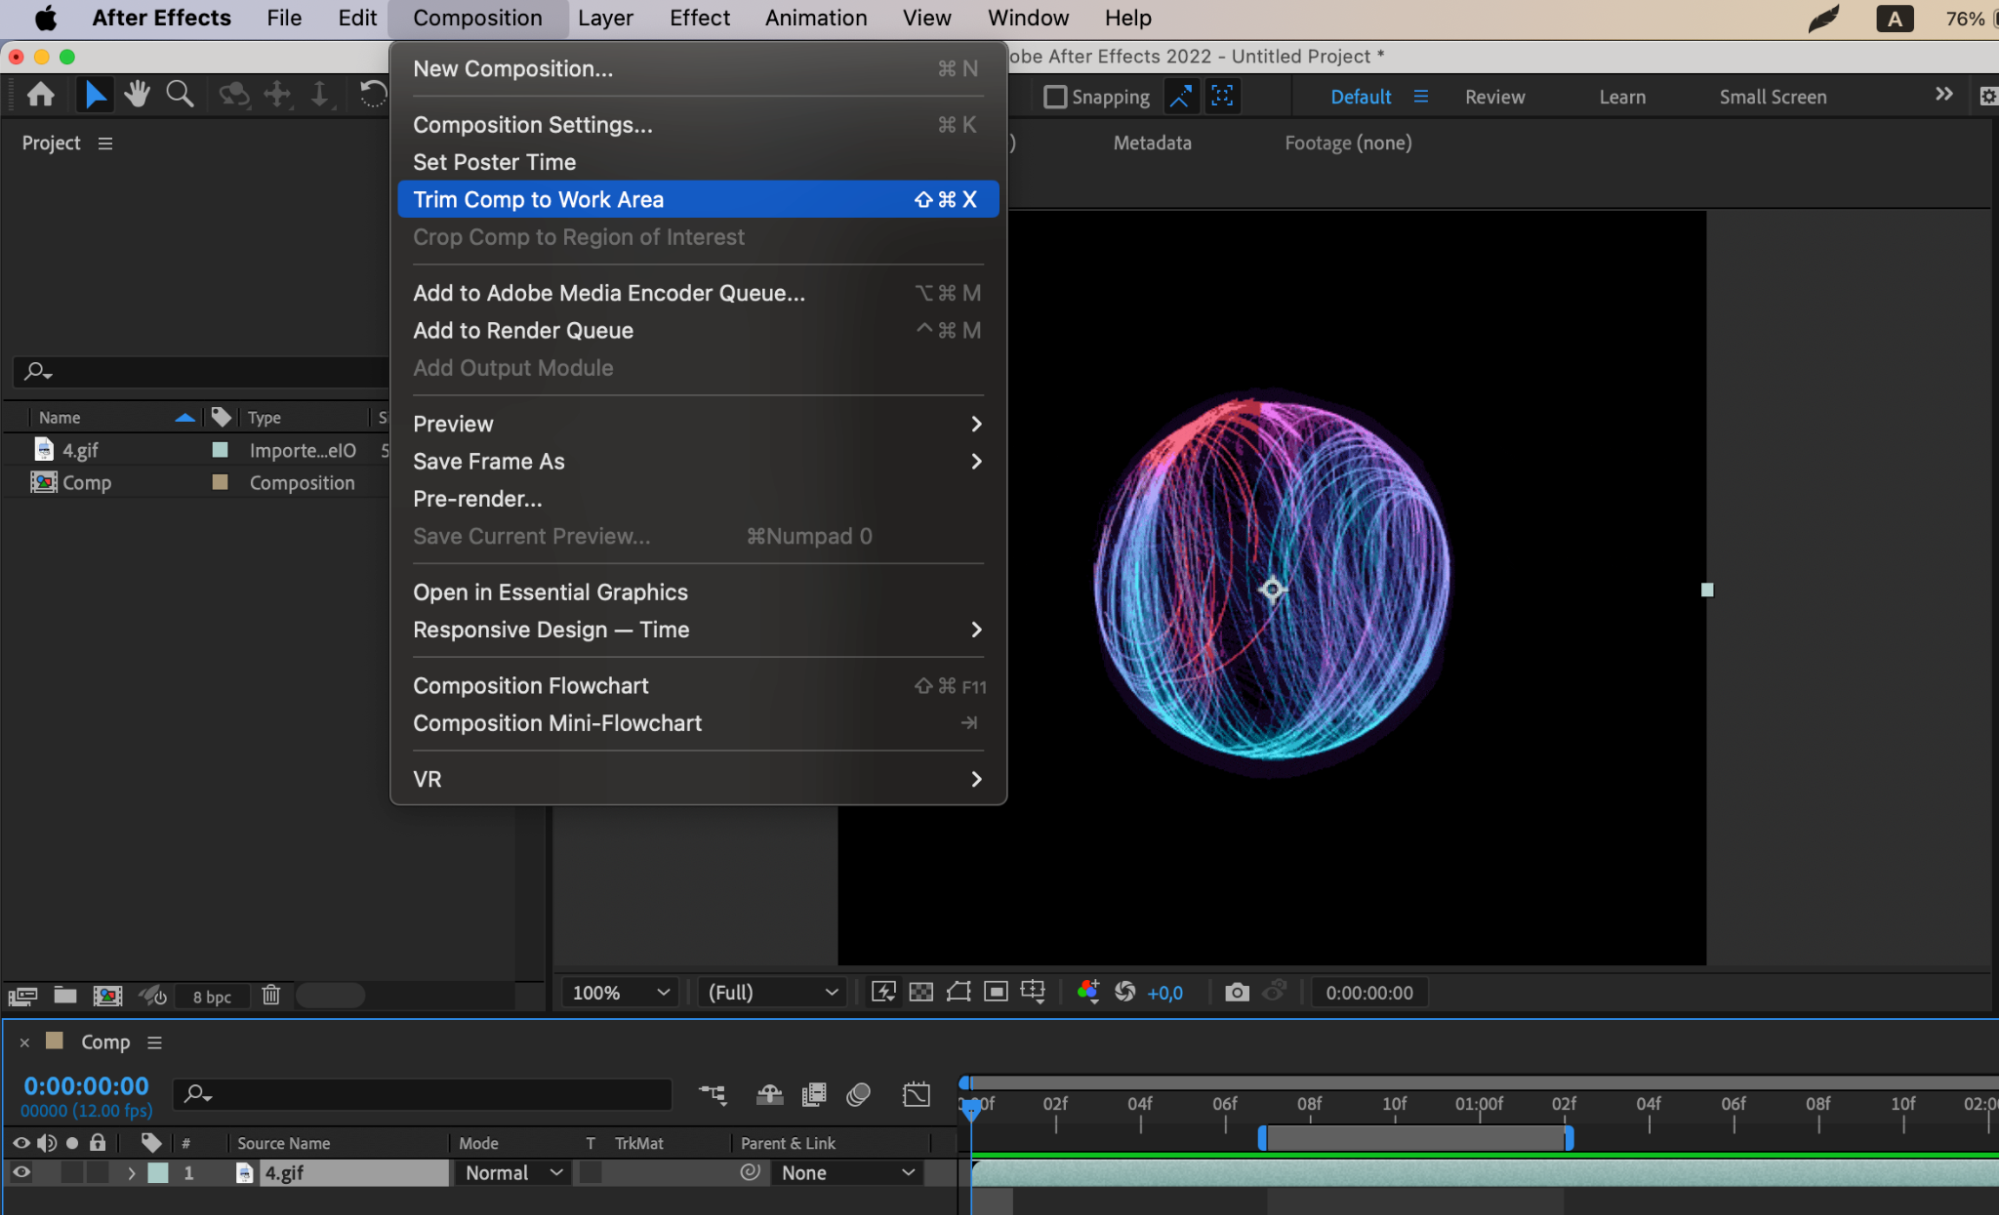

Step 4: Adjust Export Settings
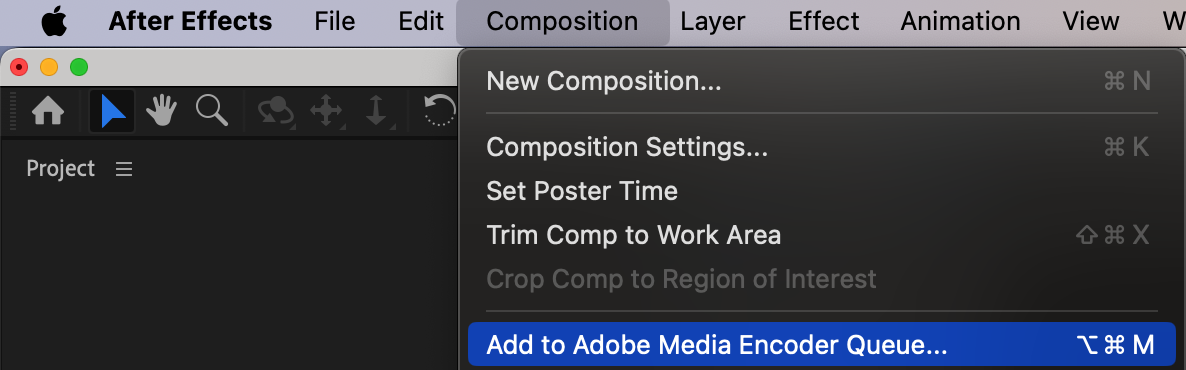
When exporting to GIF, select “Add to Adobe Media Encoder Queue” in the “Composition” menu. In Adobe Media Encoder, set the format to GIF and adjust compression settings.
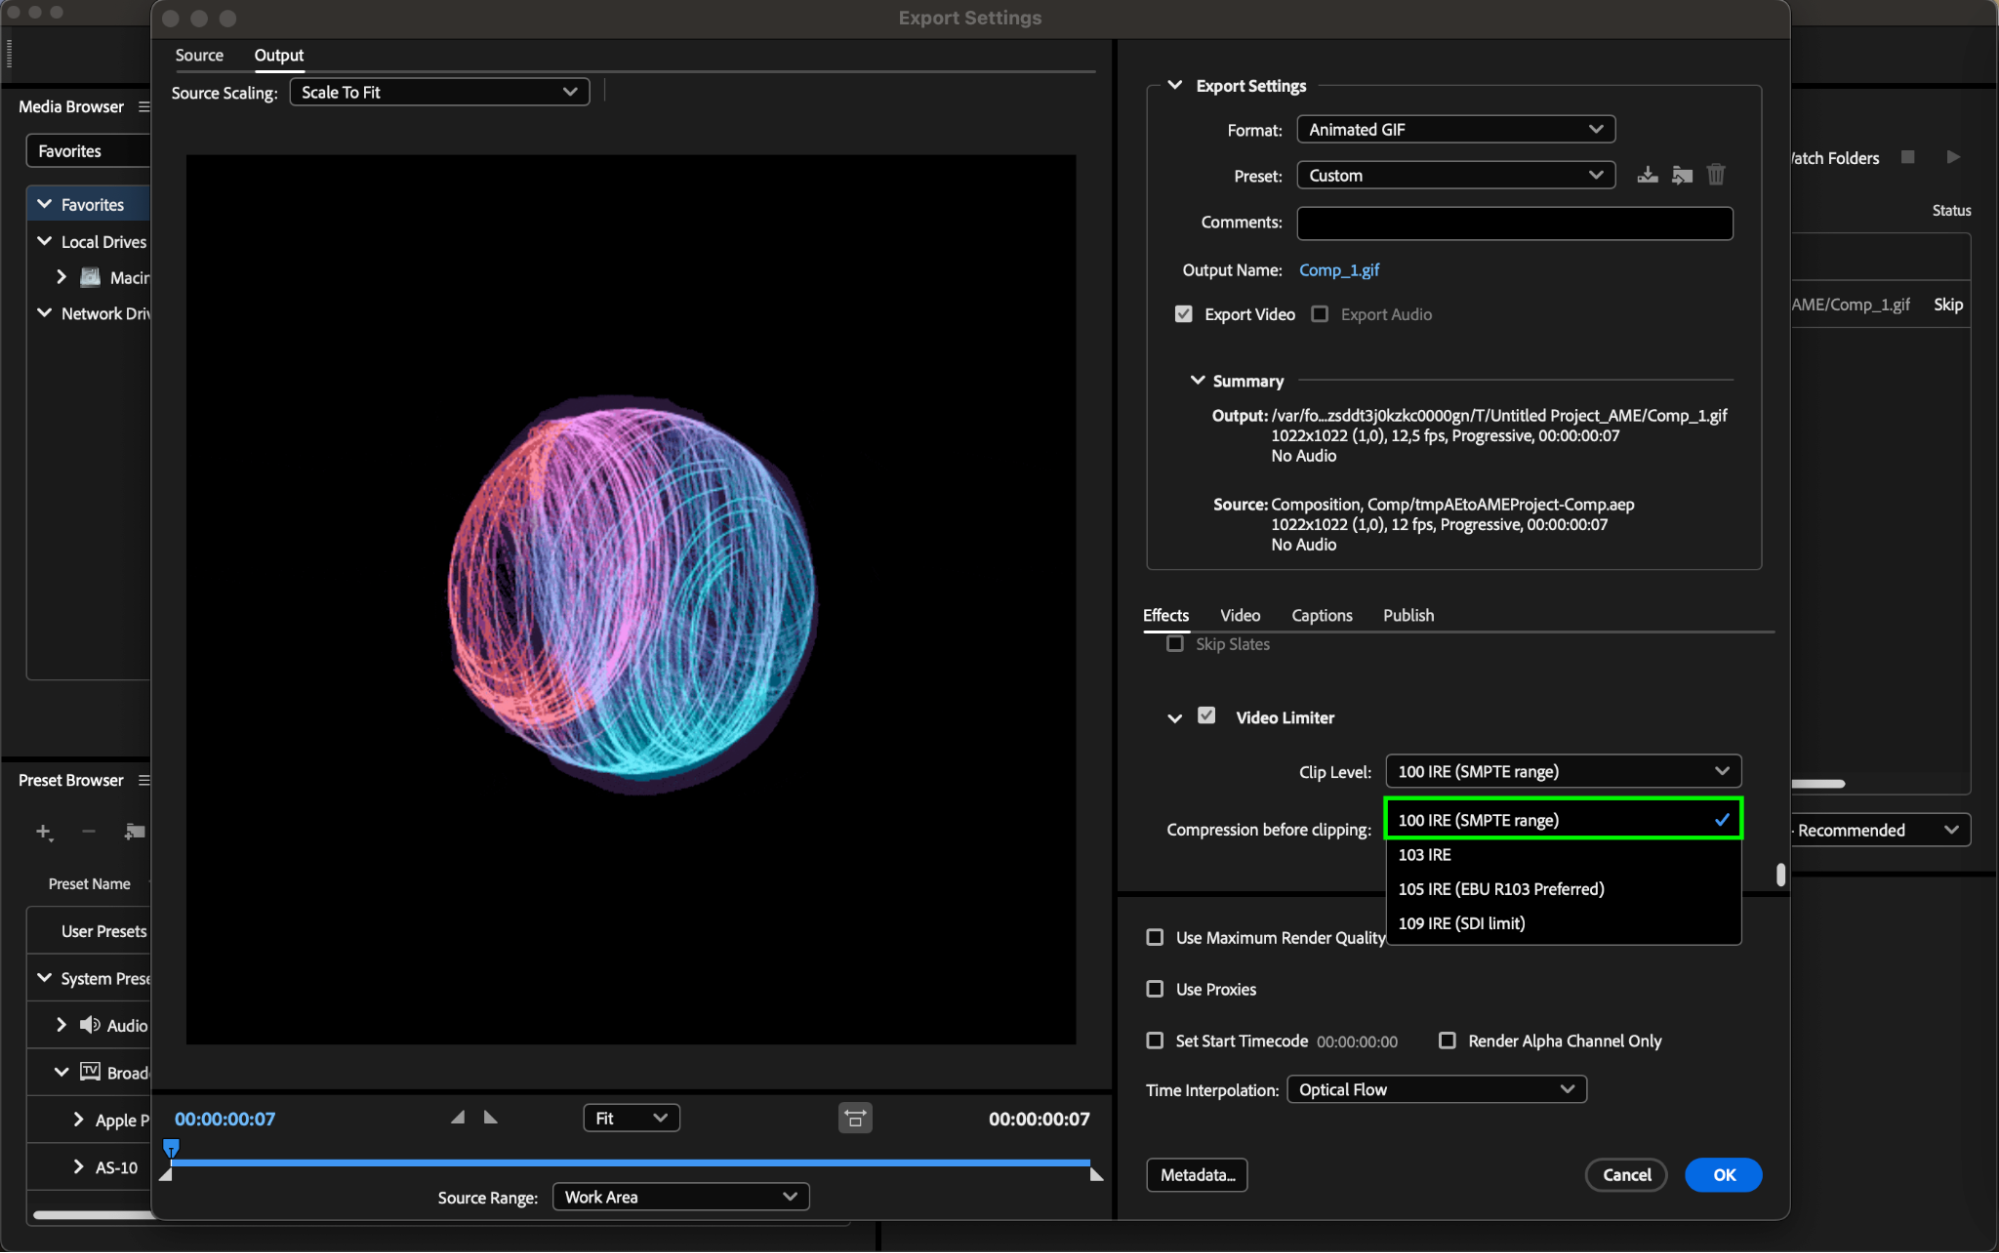
Clip level: Set the clip level to 100 IRE to clip bright areas of the image and reduce its size.
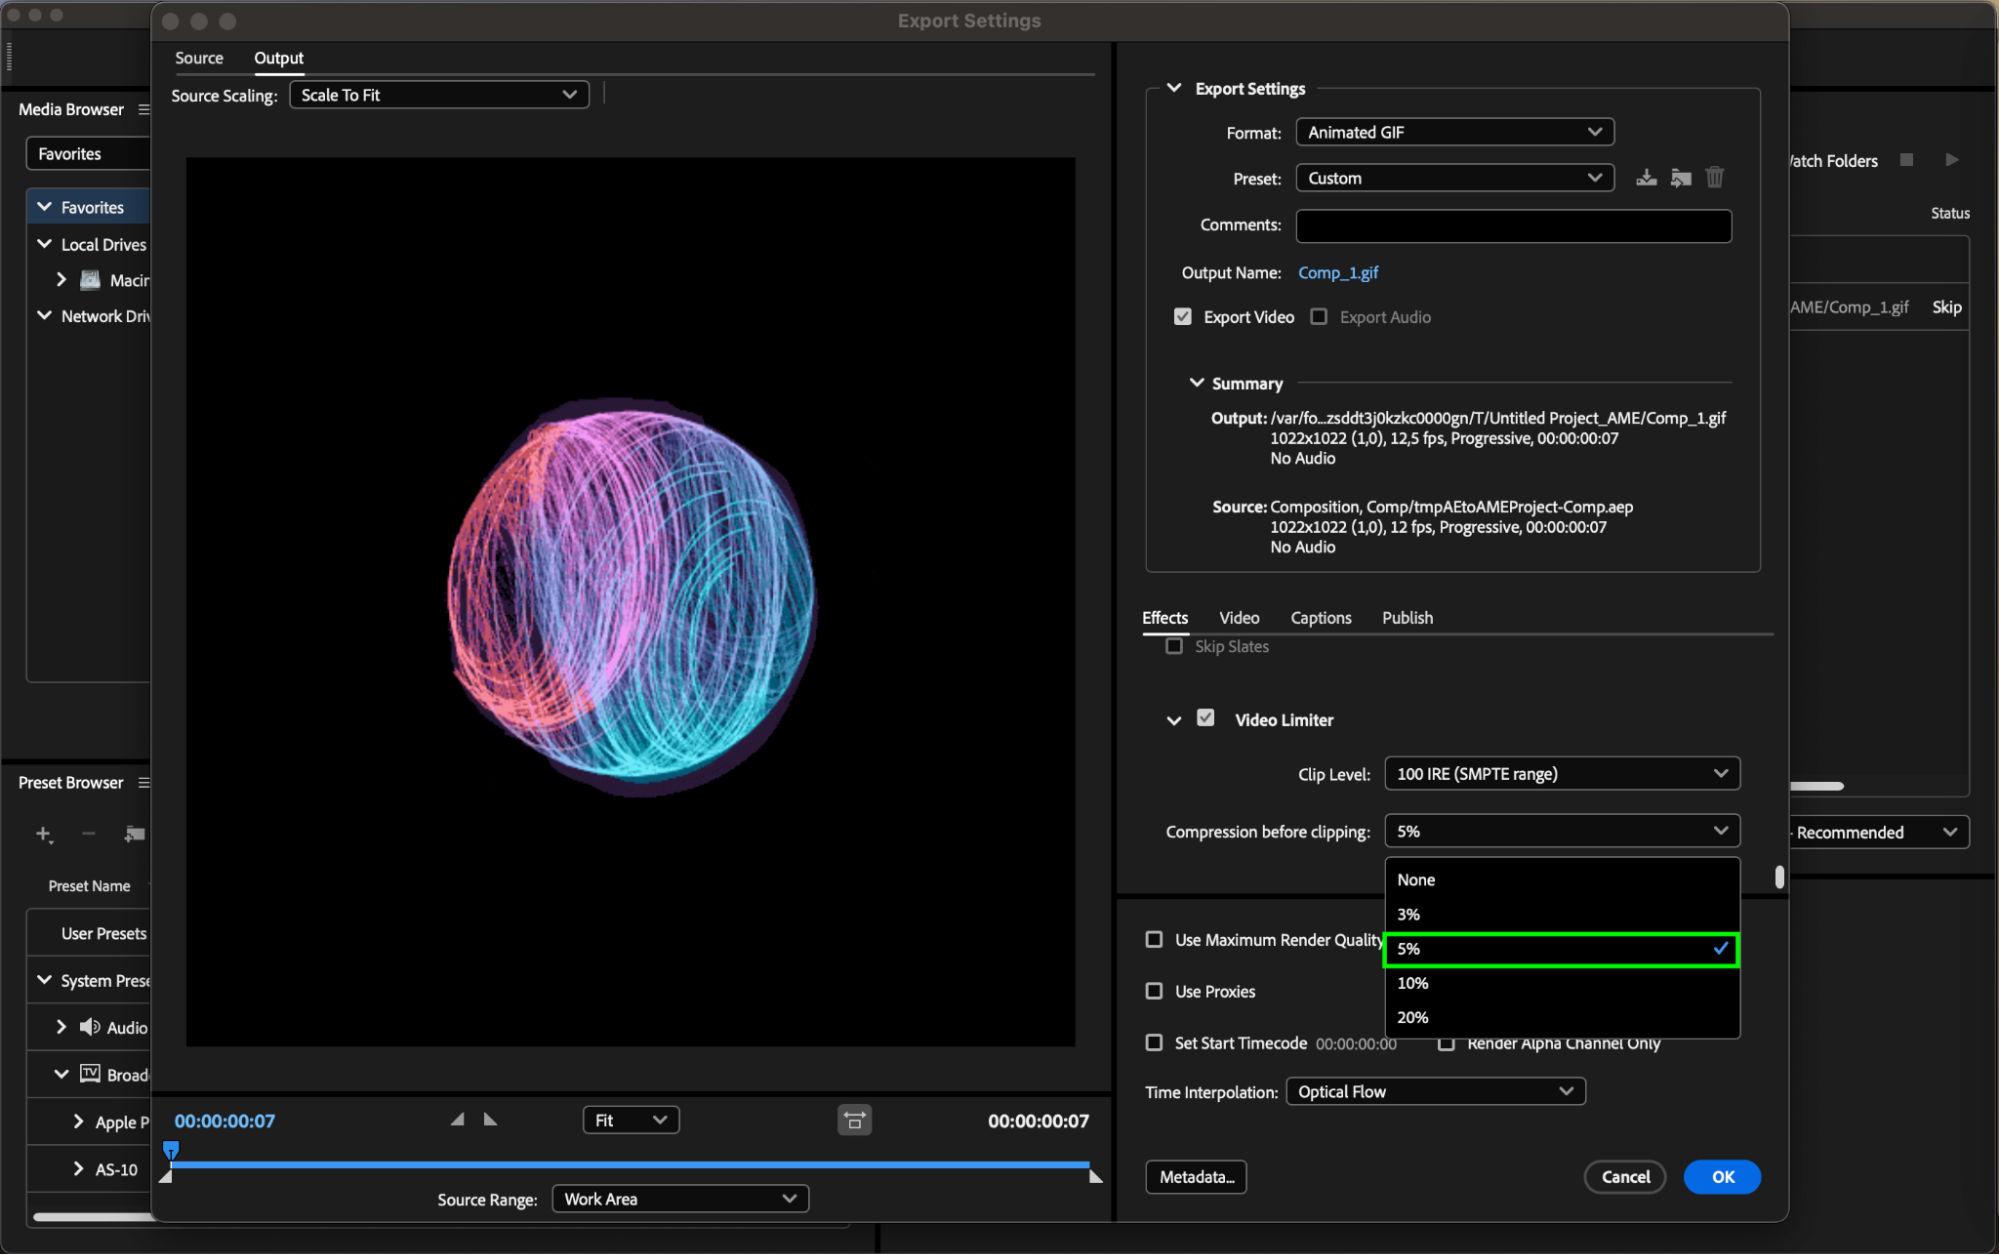
Compression before clipping: Set the value between 3% and 20% to compress the image before clipping bright areas. This will further reduce the file size without significant loss of quality.

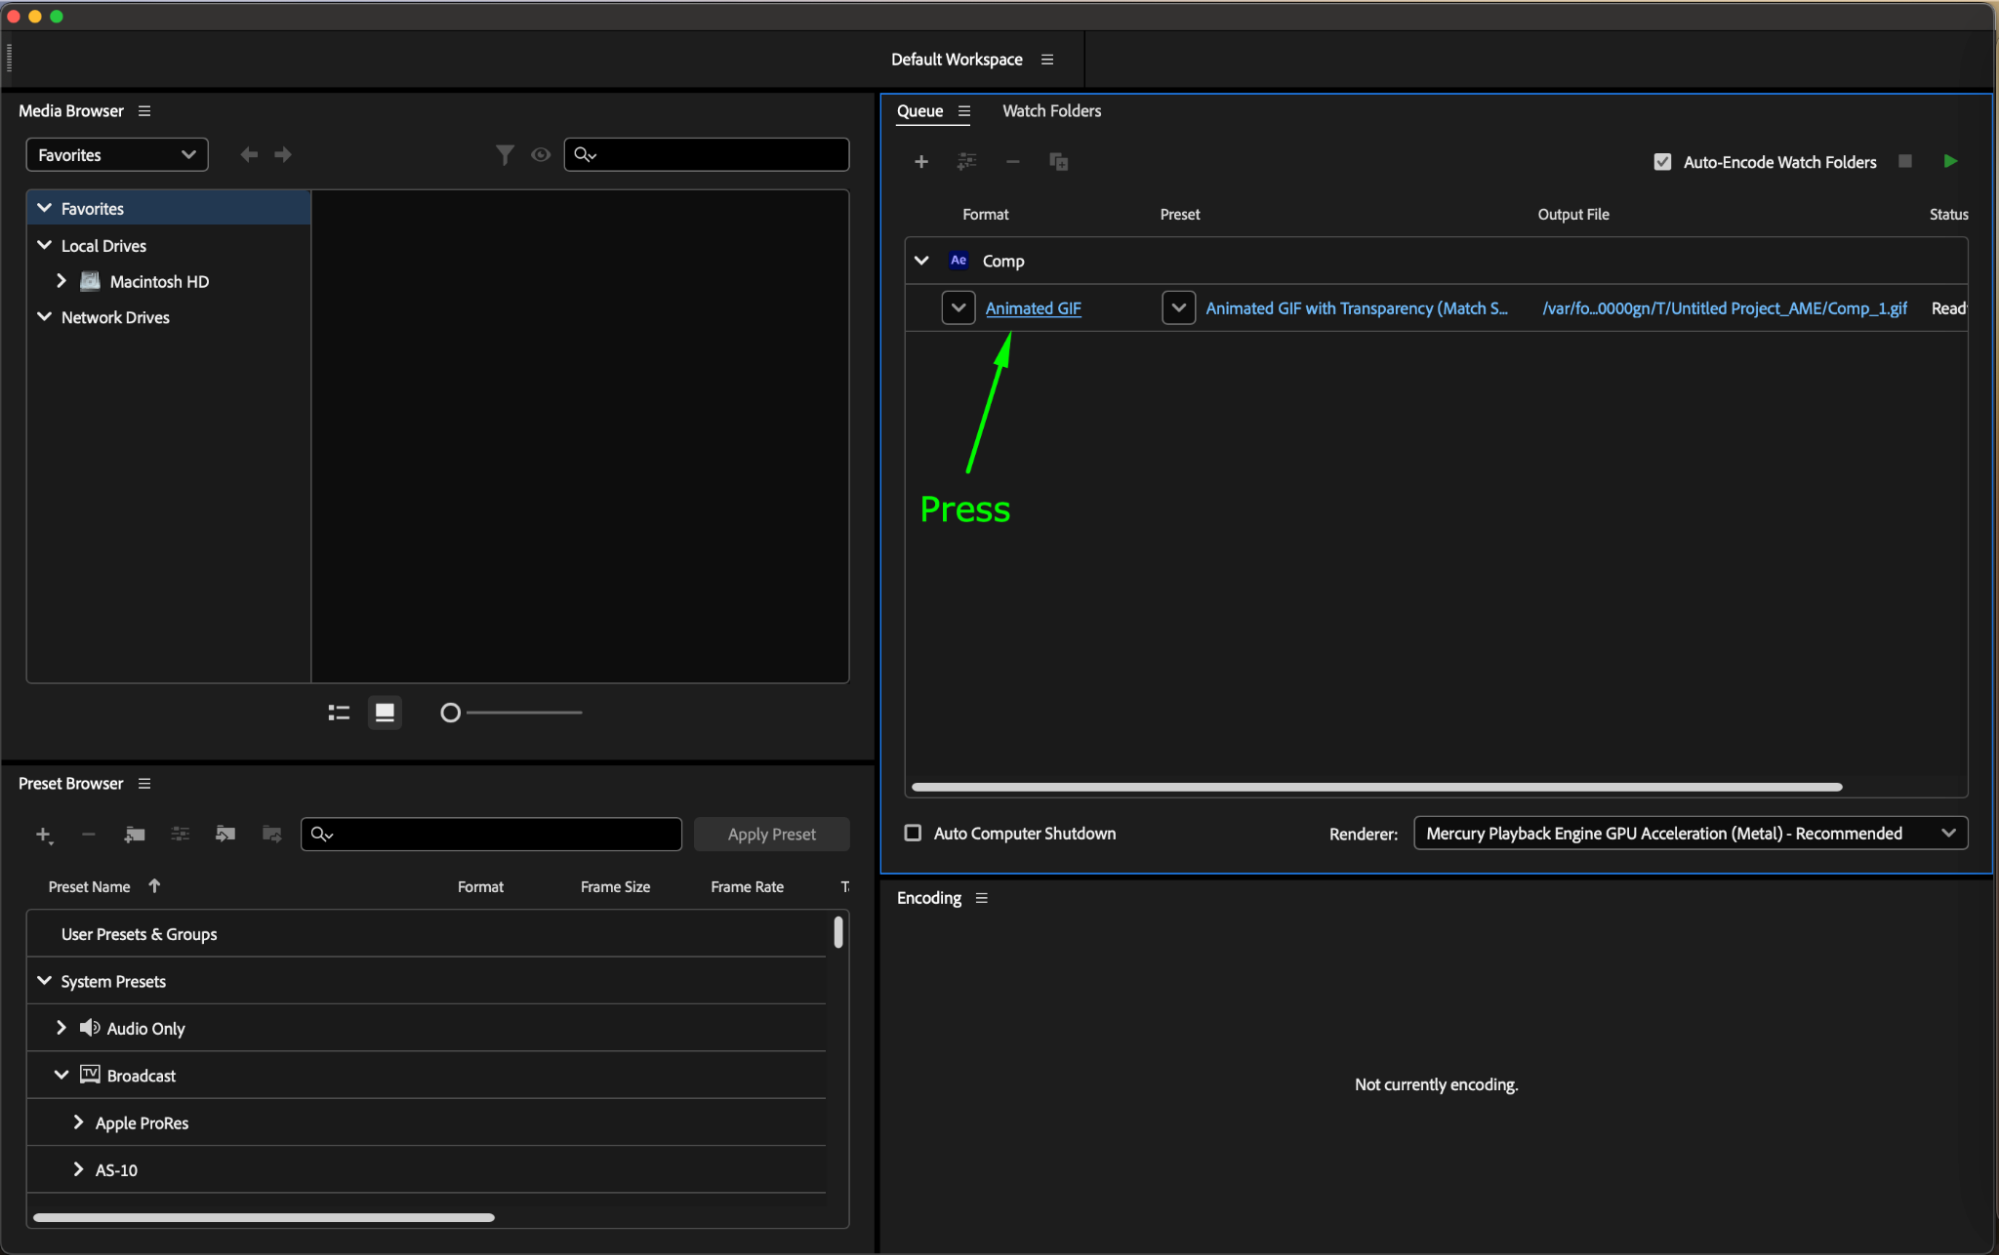
Step 5: Choose Preset
If your goal is to create a small GIF, it’s best to use the “Animated GIF” preset without transparency. GIFs with transparency will have a larger file size because they store transparency information for each pixel, increasing the file size.
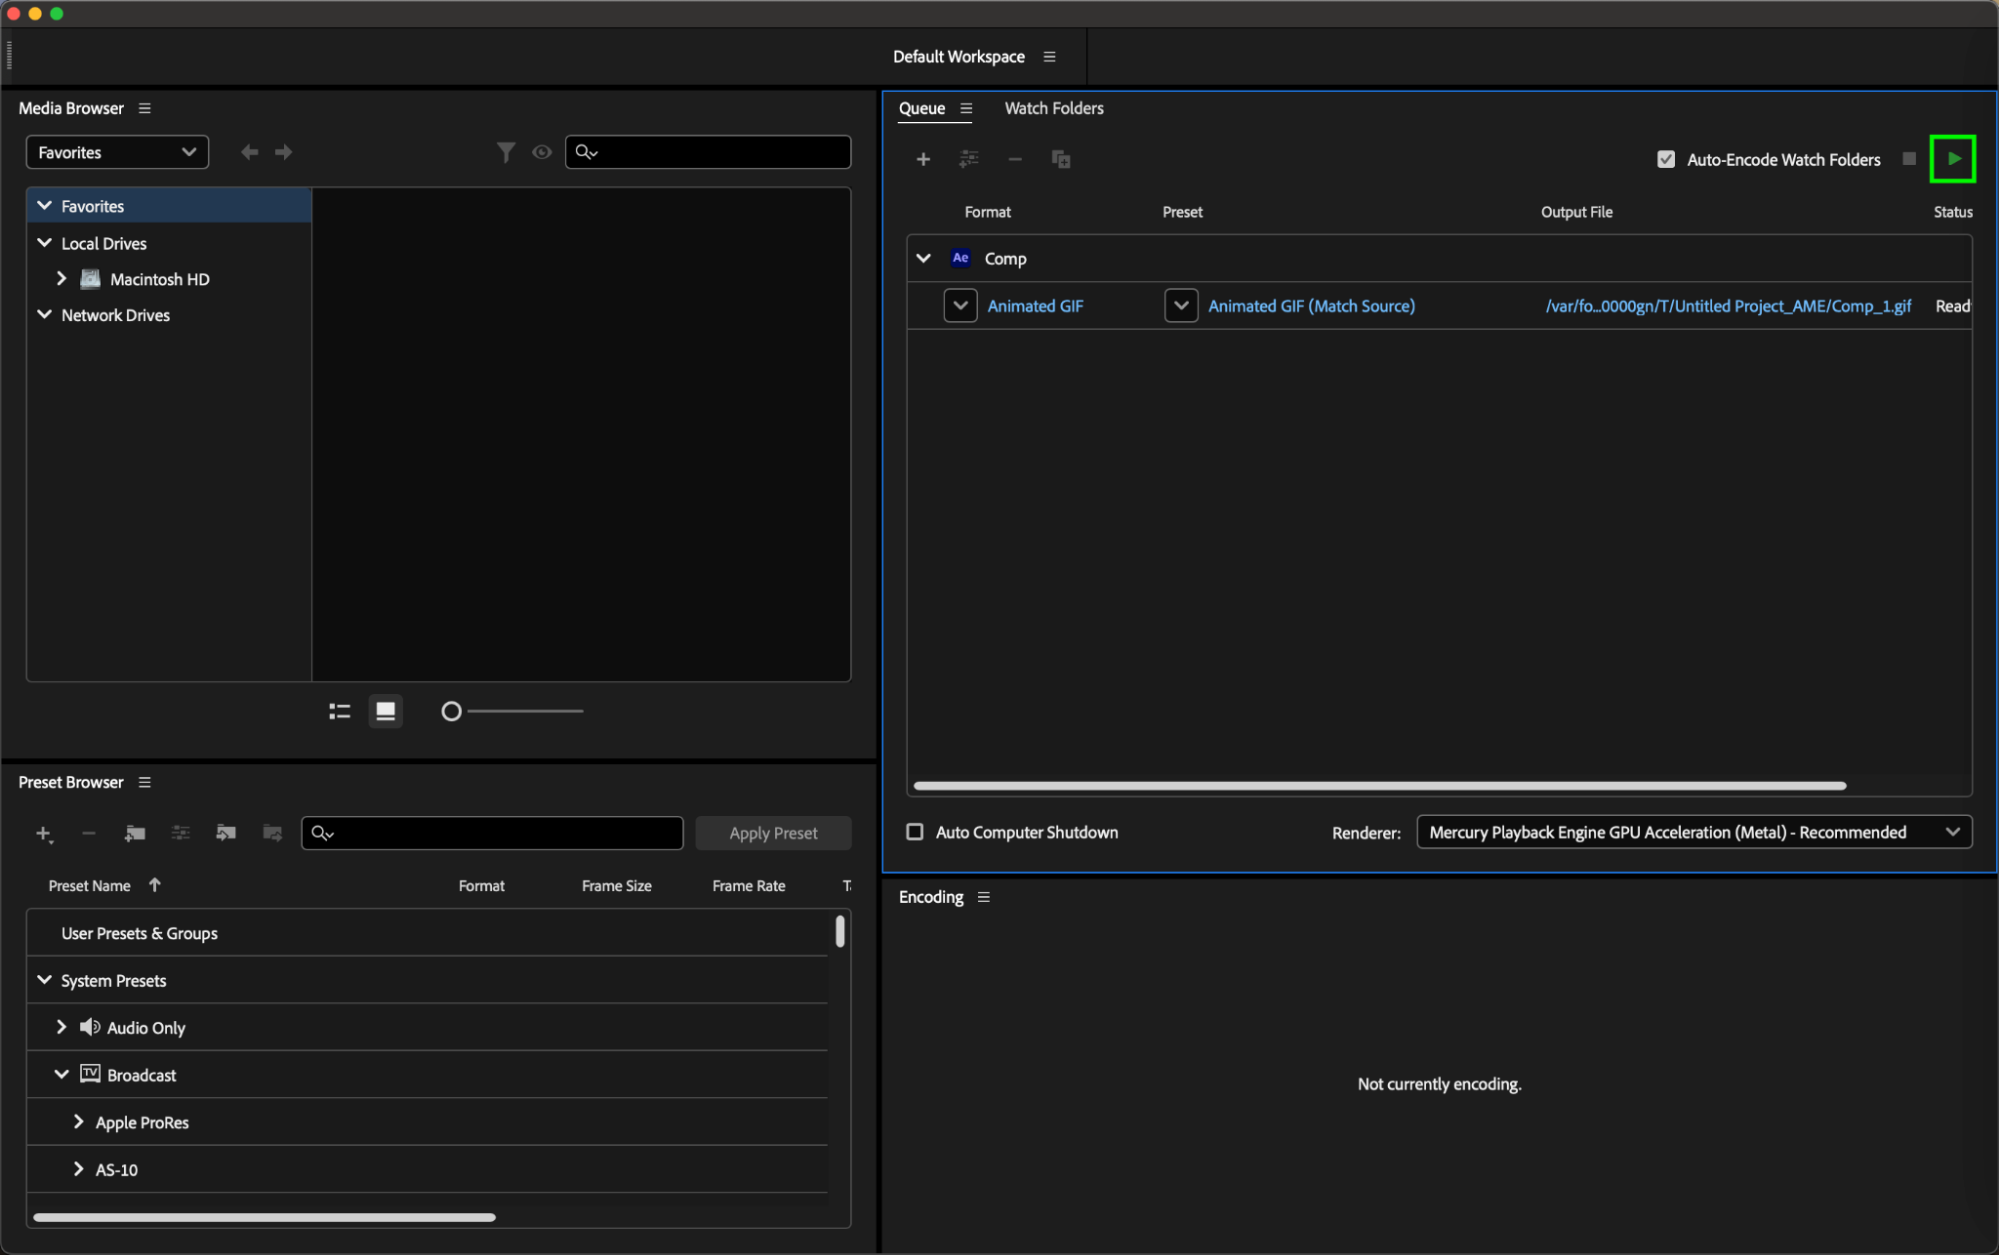 Step 6: Start Rendering Process
Once you’ve adjusted all export settings, click the “Start Queue” button in the bottom of the Adobe Media Encoder window to begin encoding your composition into a GIF with the selected settings.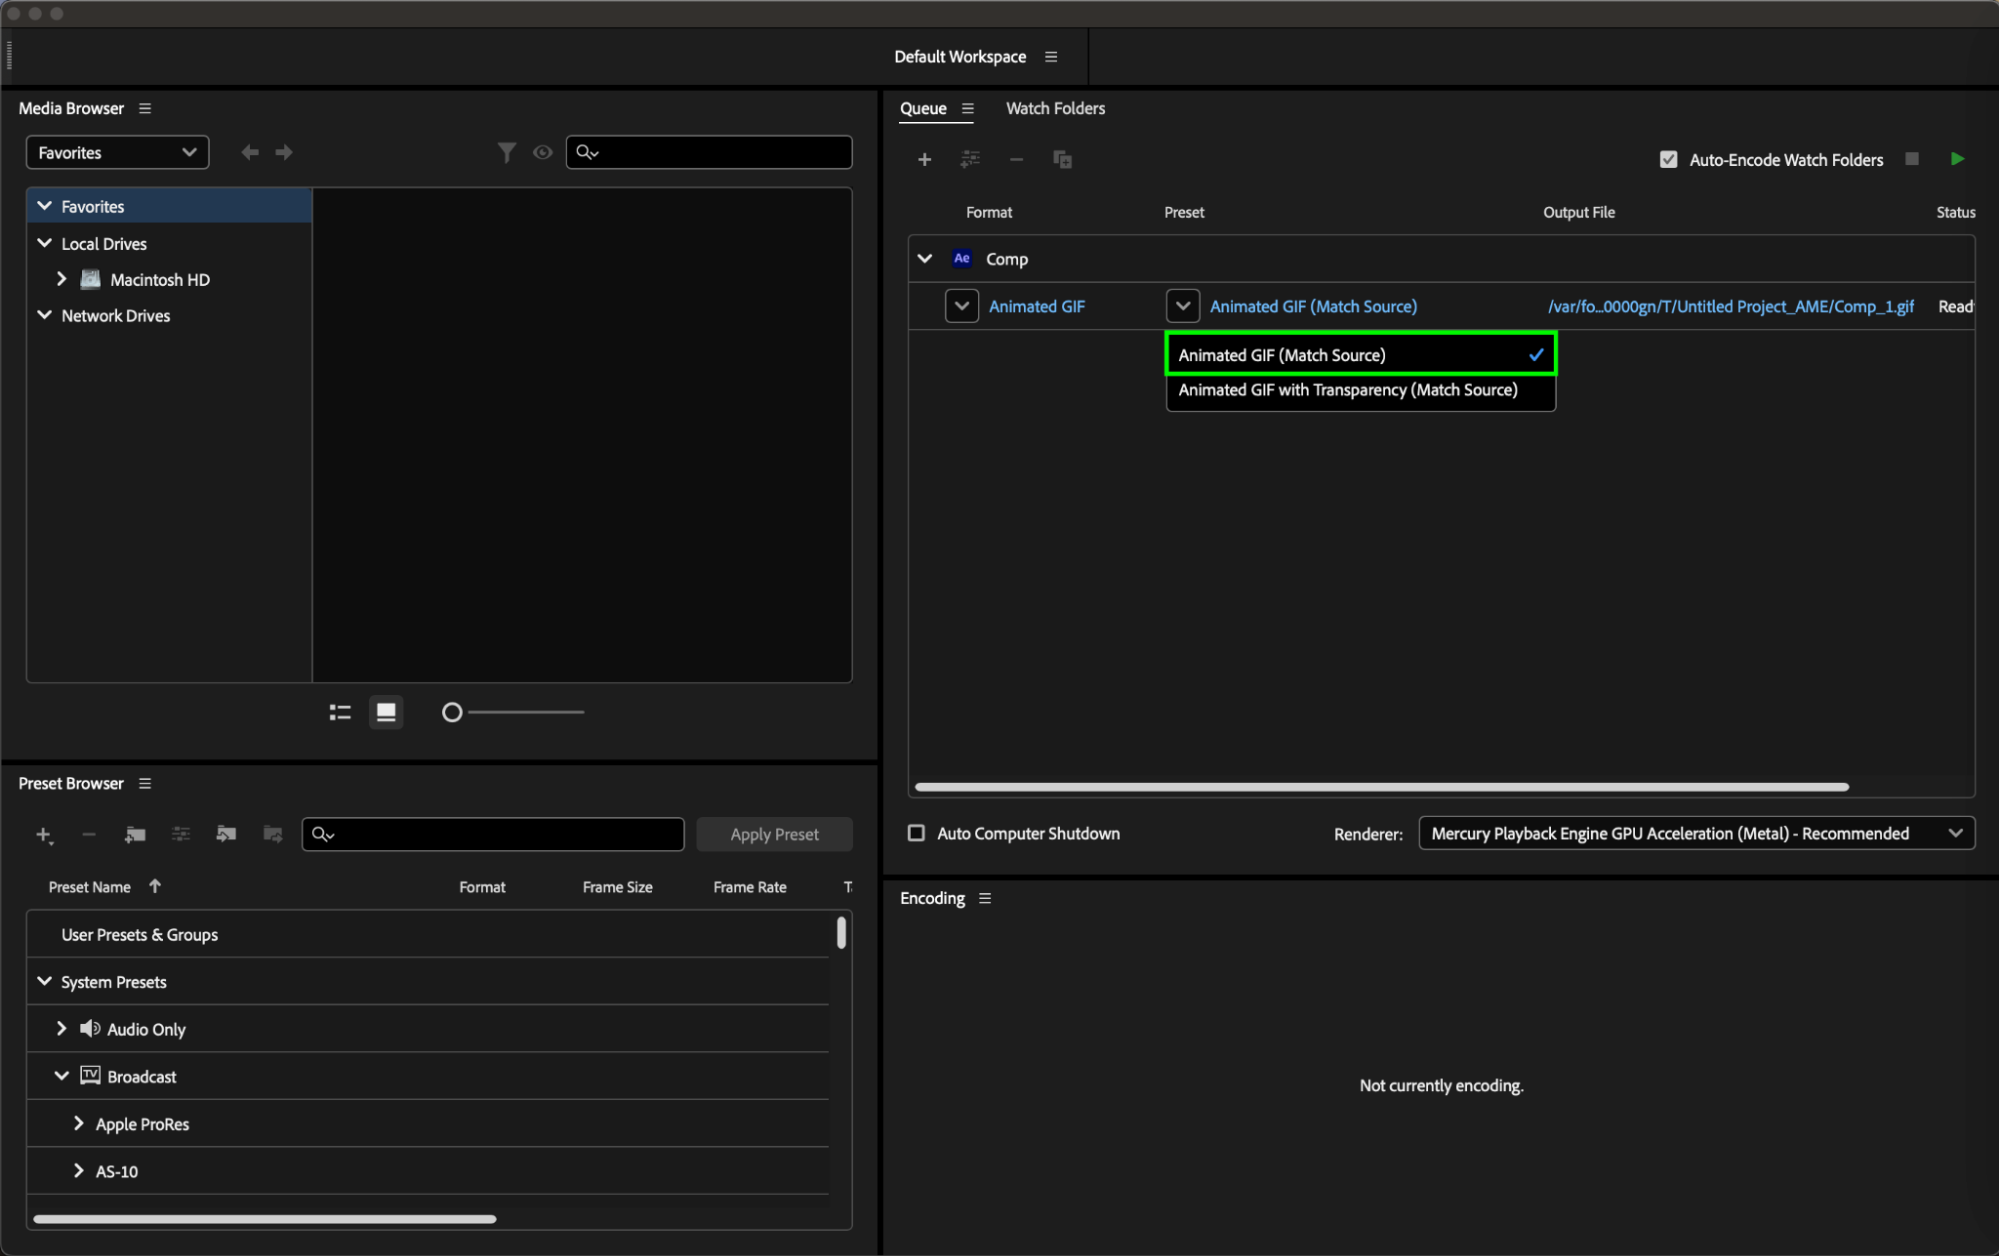
Remember, GIF compression can result in loss of image quality, so experiment with different settings to find the optimal balance between file size and image quality.
Conclusion
So, get ready to revolutionize your GIF creation process, reduce file sizes, and deliver high-quality animations that shine in the digital landscape. With the insights and techniques shared in this guide, you’ll be well on your way to creating optimized GIFs that captivate, inspire, and delight audiences around the world. Let’s roll up our sleeves, fire up After Effects, and embark on a journey of creativity and innovation in the world of GIF optimization.
Our Bestsellers


