Introduction
Masks are commonly used in After Effects to control the visibility or shape of a layer. If you’ve created a rectangular mask and no longer need it, you can remove, disable, or adjust it in just a few simple steps.
Step 1: Select the Layer
In the Timeline Panel, click on the layer that contains the rectangular mask. You’ll see a small dropdown arrow next to the layer name.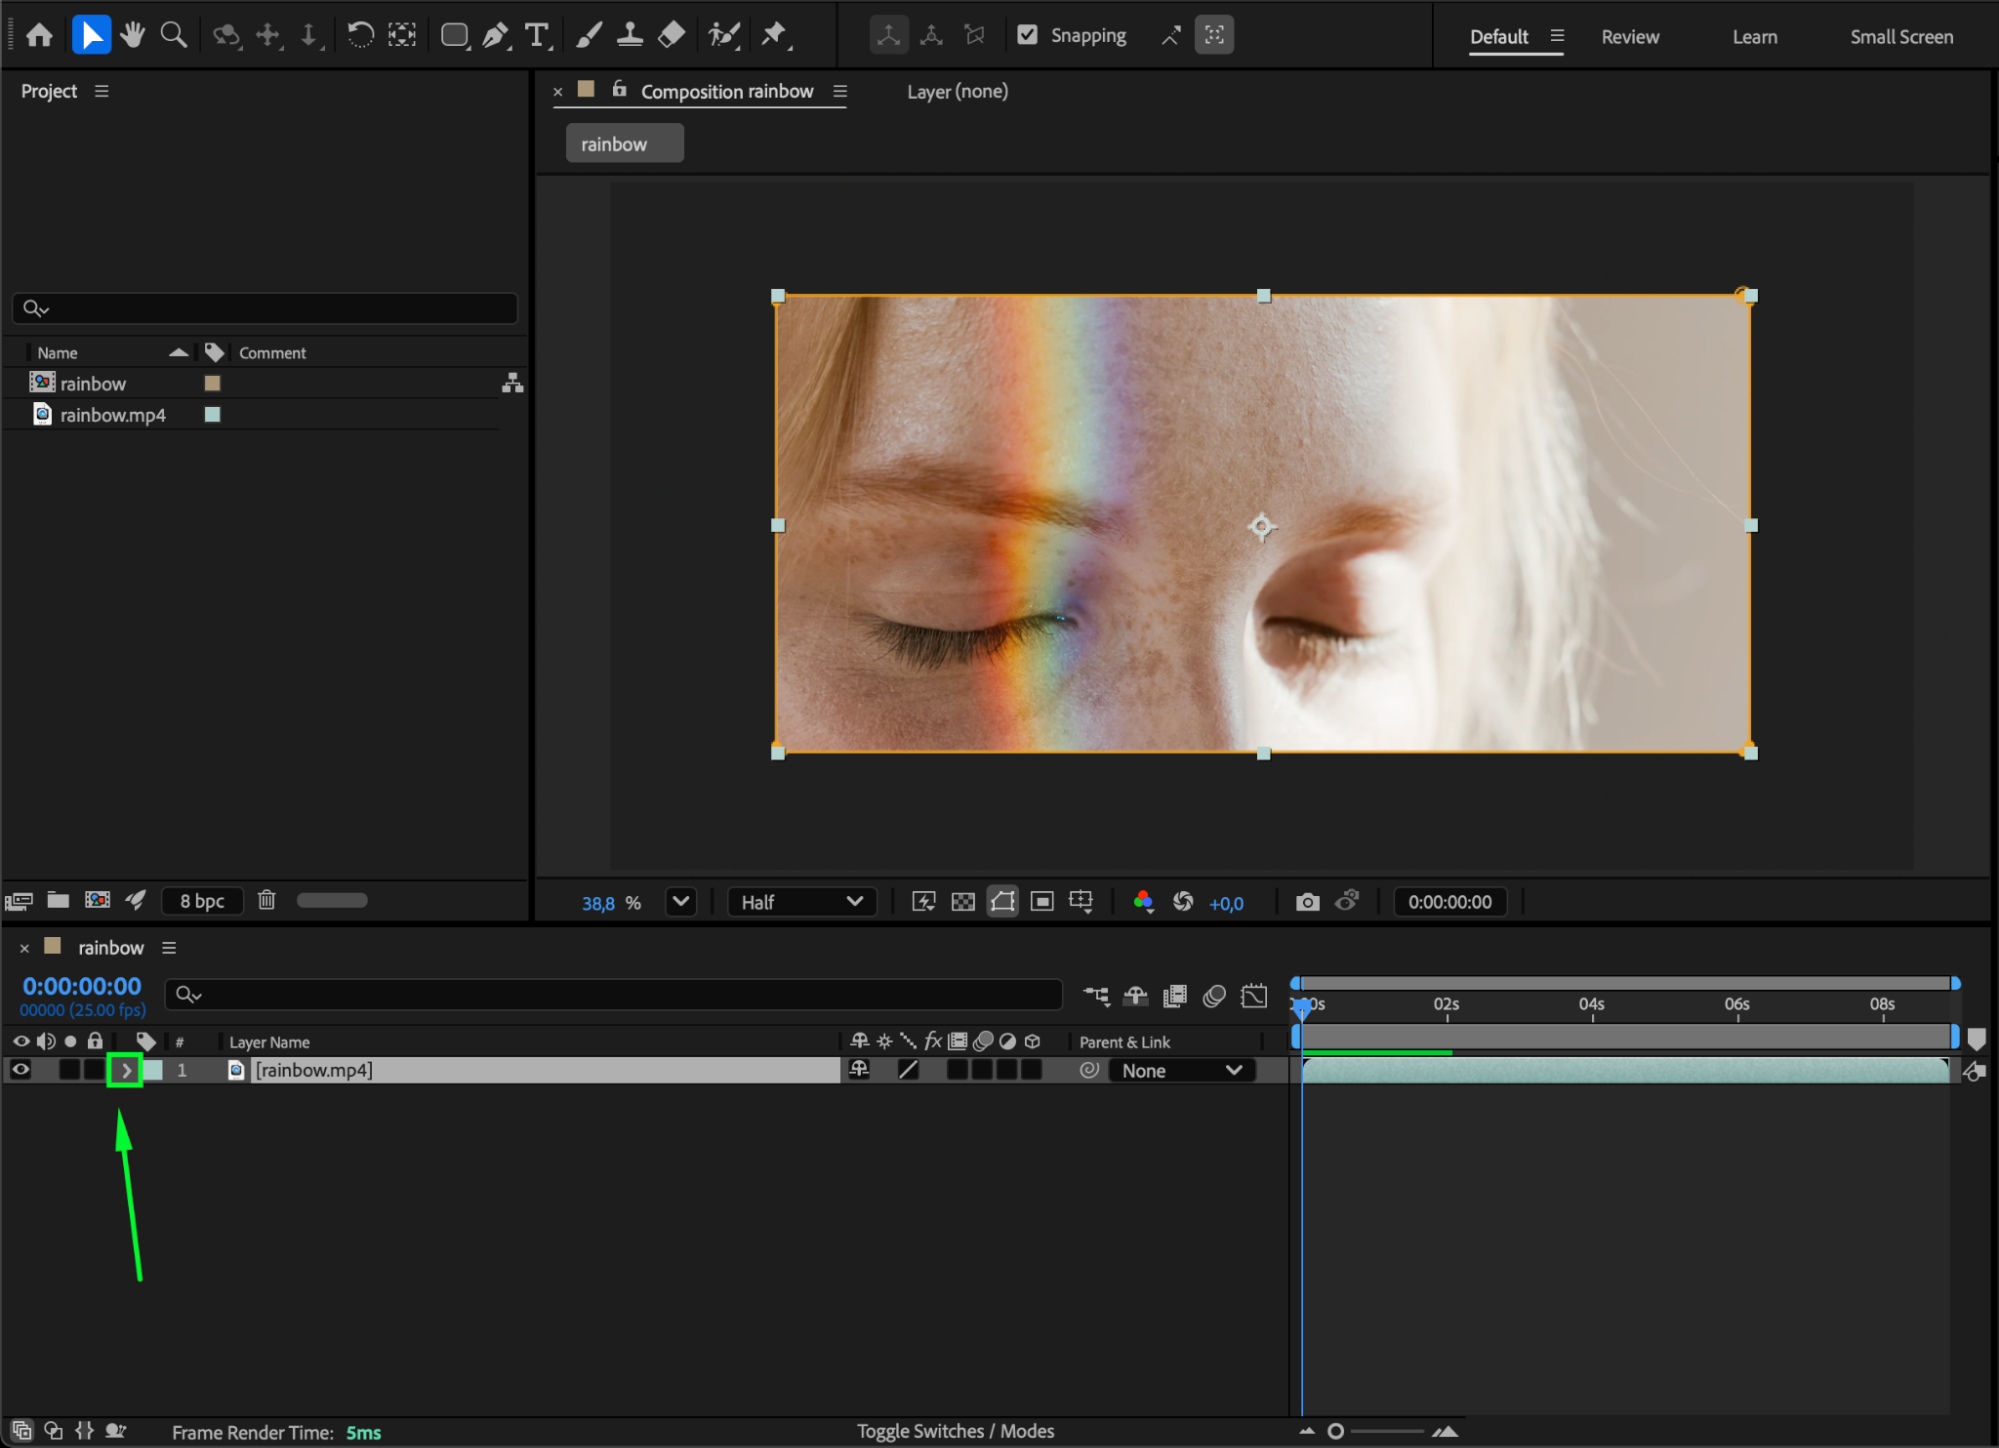 Step 2: Open the Mask Properties
Expand the layer by clicking the dropdown arrow, then open the Masks section. You’ll see all the masks applied to the layer — for example, Mask 1 (Rectangular Mask).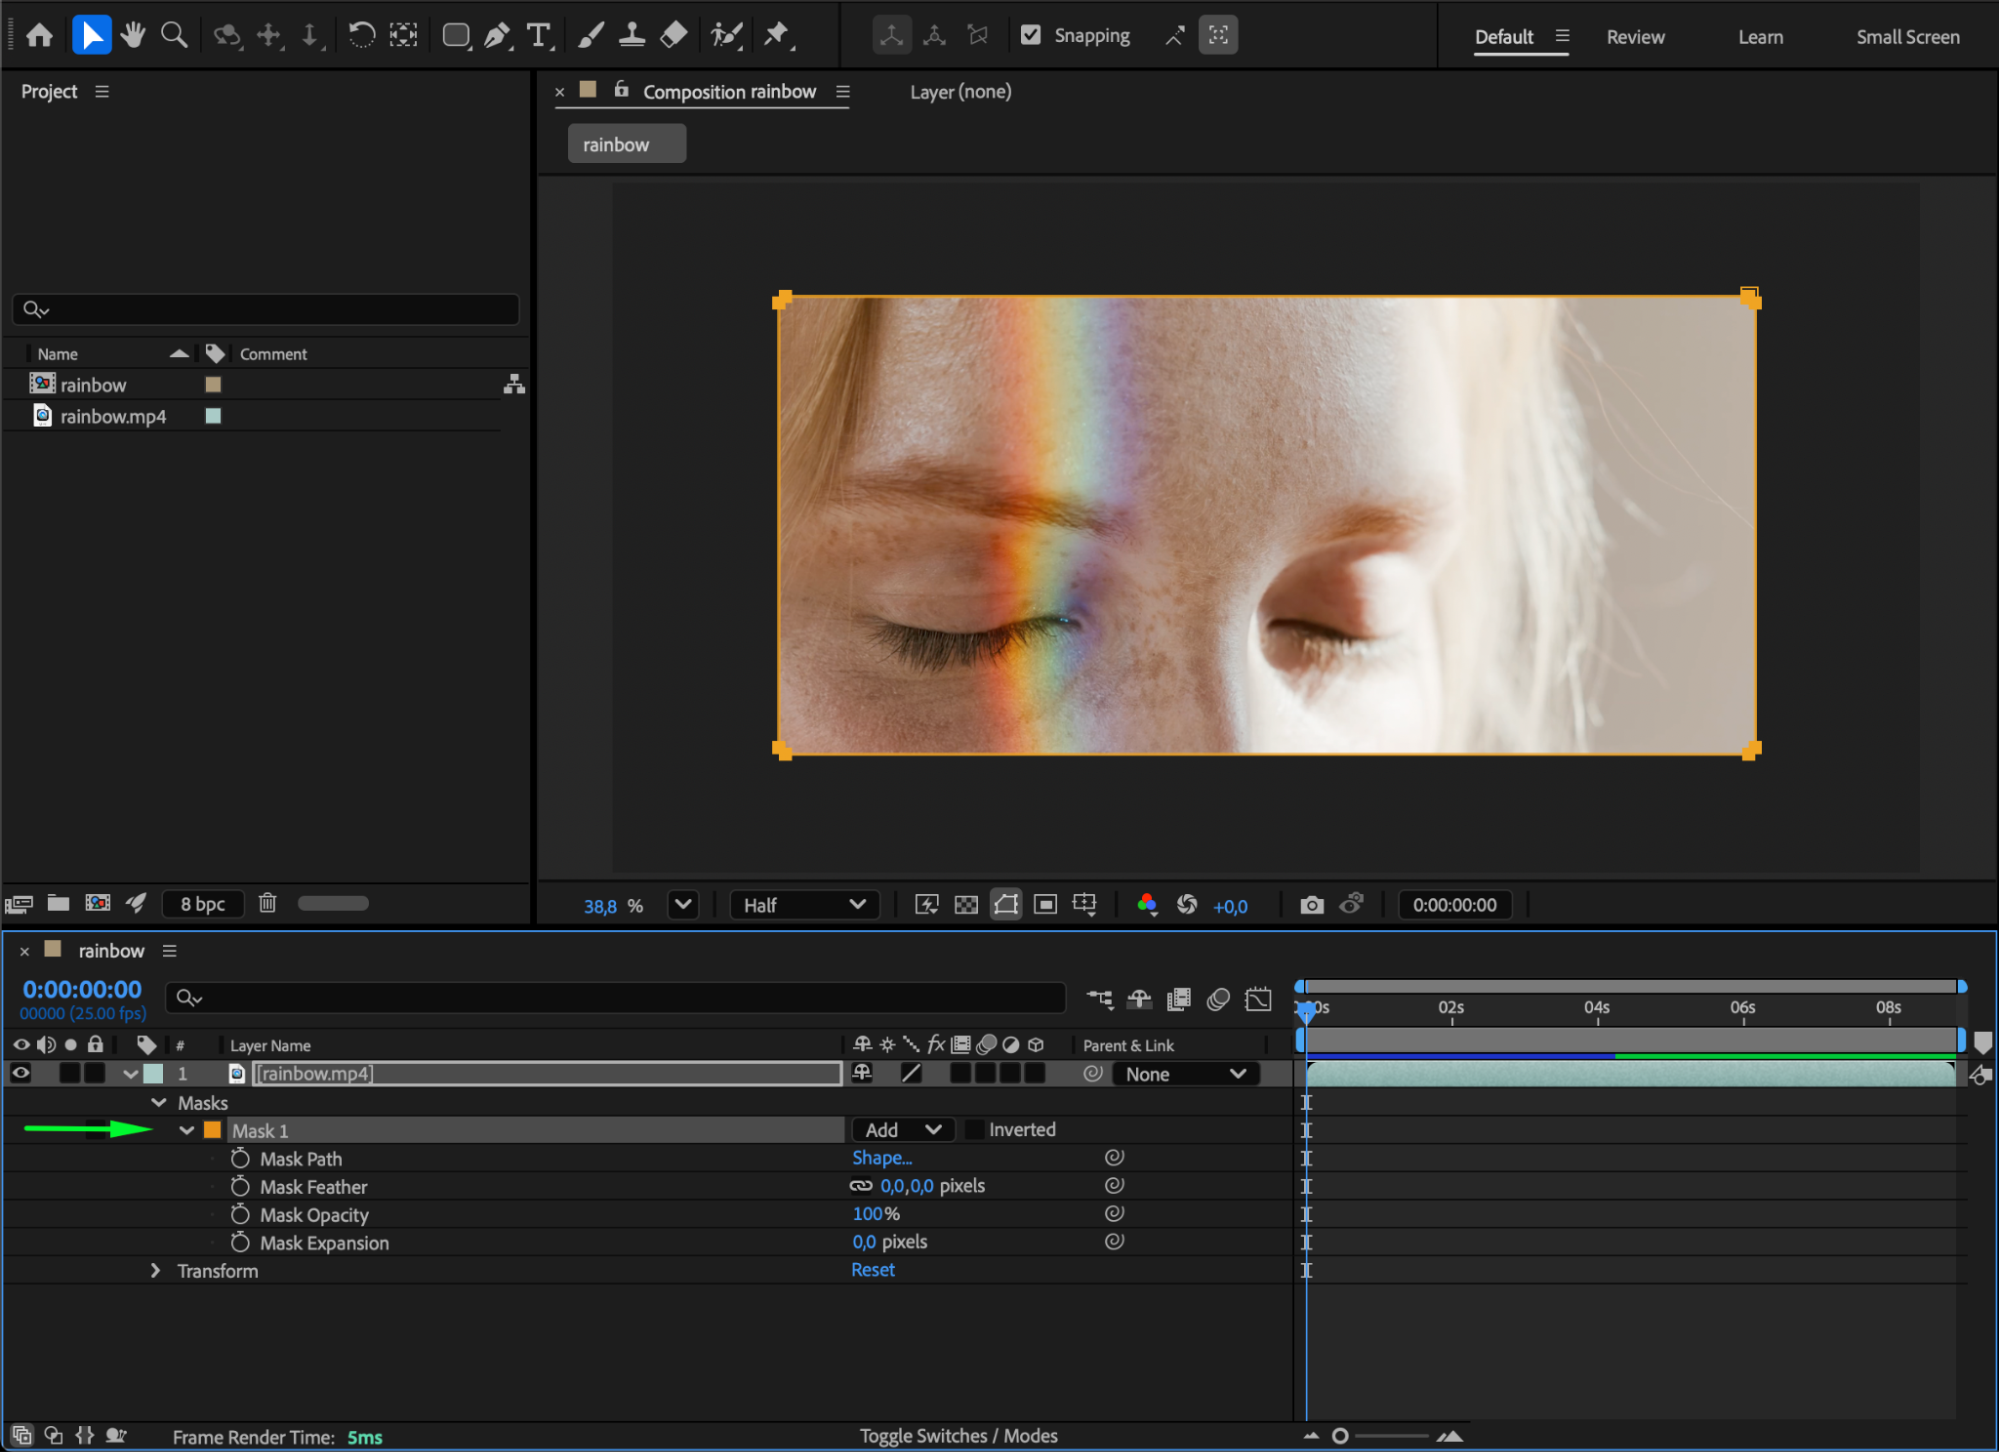
Get 10% off when you subscribe to our newsletter

Step 3: Delete the Mask
To remove the mask completely, click on Mask 1 to select it and press Delete on your keyboard. The rectangular mask will be permanently removed from your layer.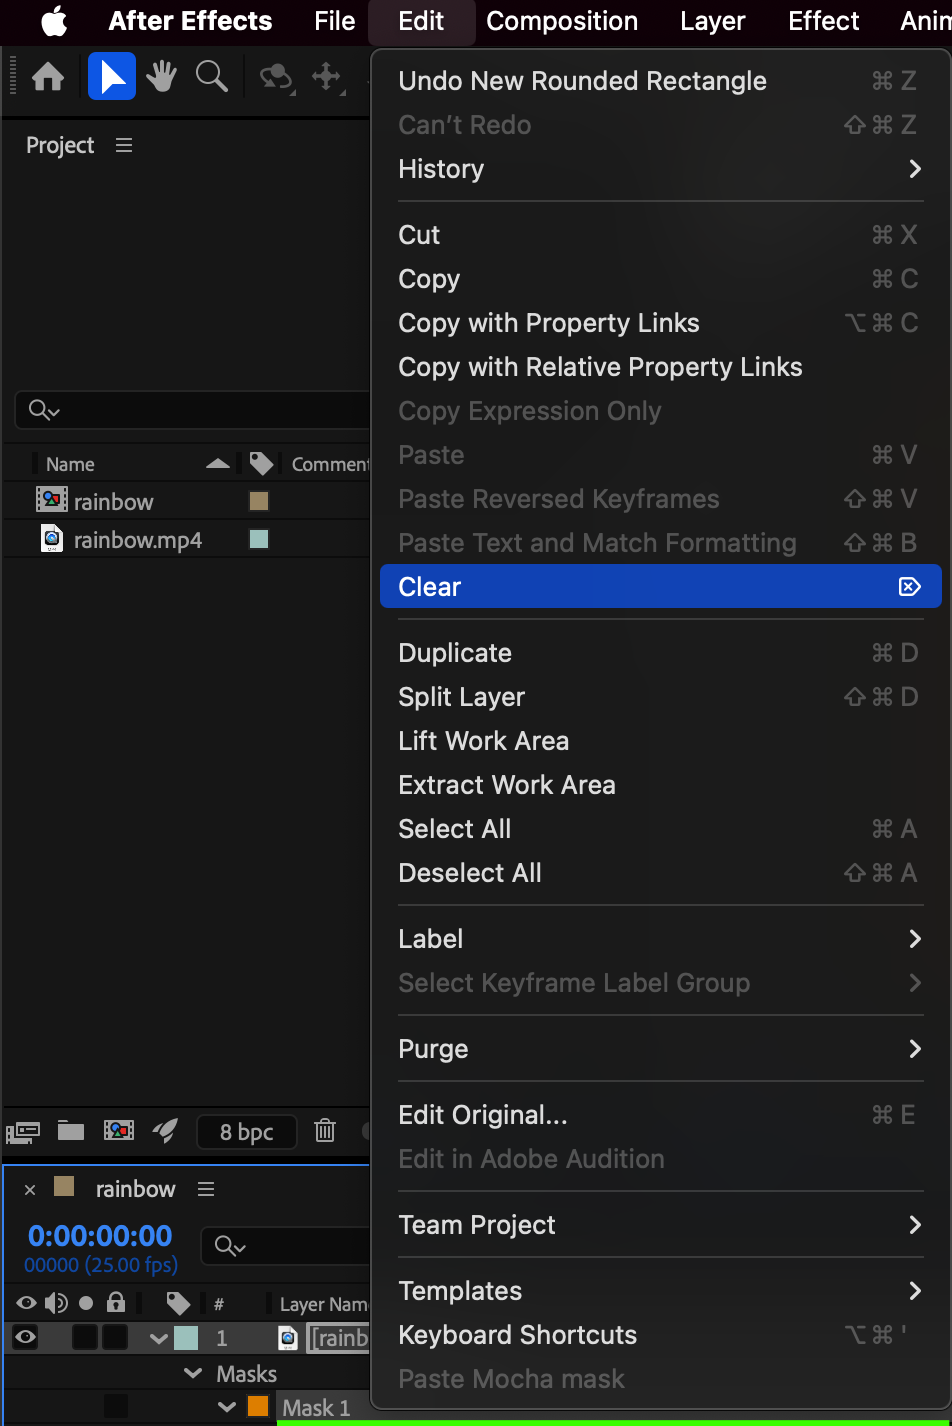
 Step 4: Change Mask Mode (Optional)
If you don’t want to delete the mask, you can change the Mask Mode to None. This will temporarily disable the mask without removing it, letting you keep it for later adjustments.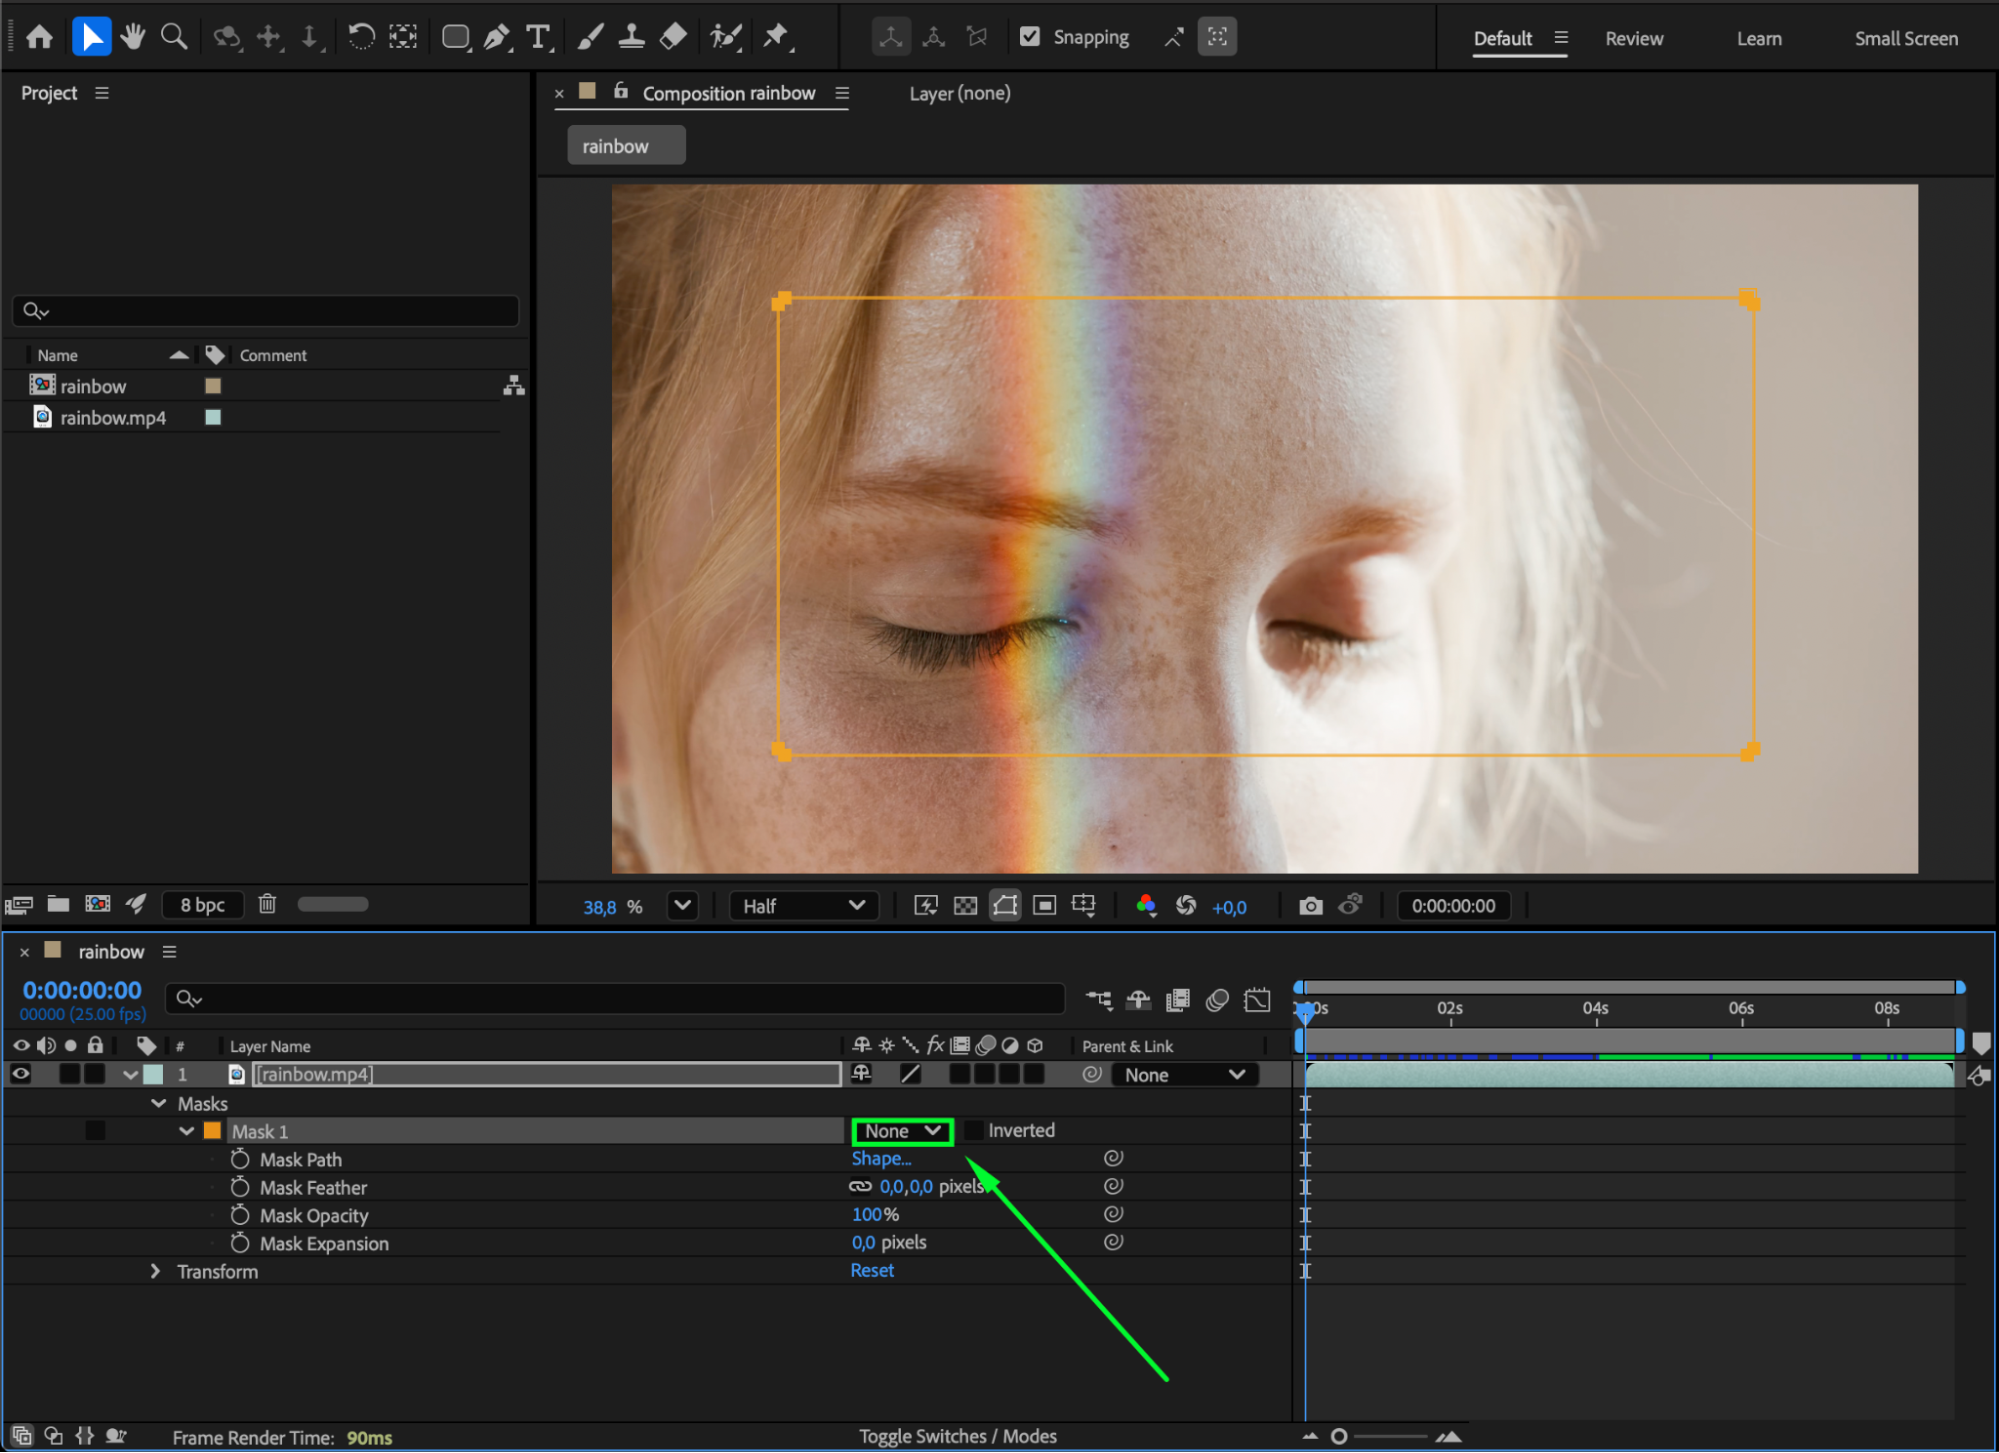 Step 5: Adjust Mask Expansion
Use the Mask Expansion parameter to increase the size of the mask or push its edges outside the composition so the entire video layer becomes visible.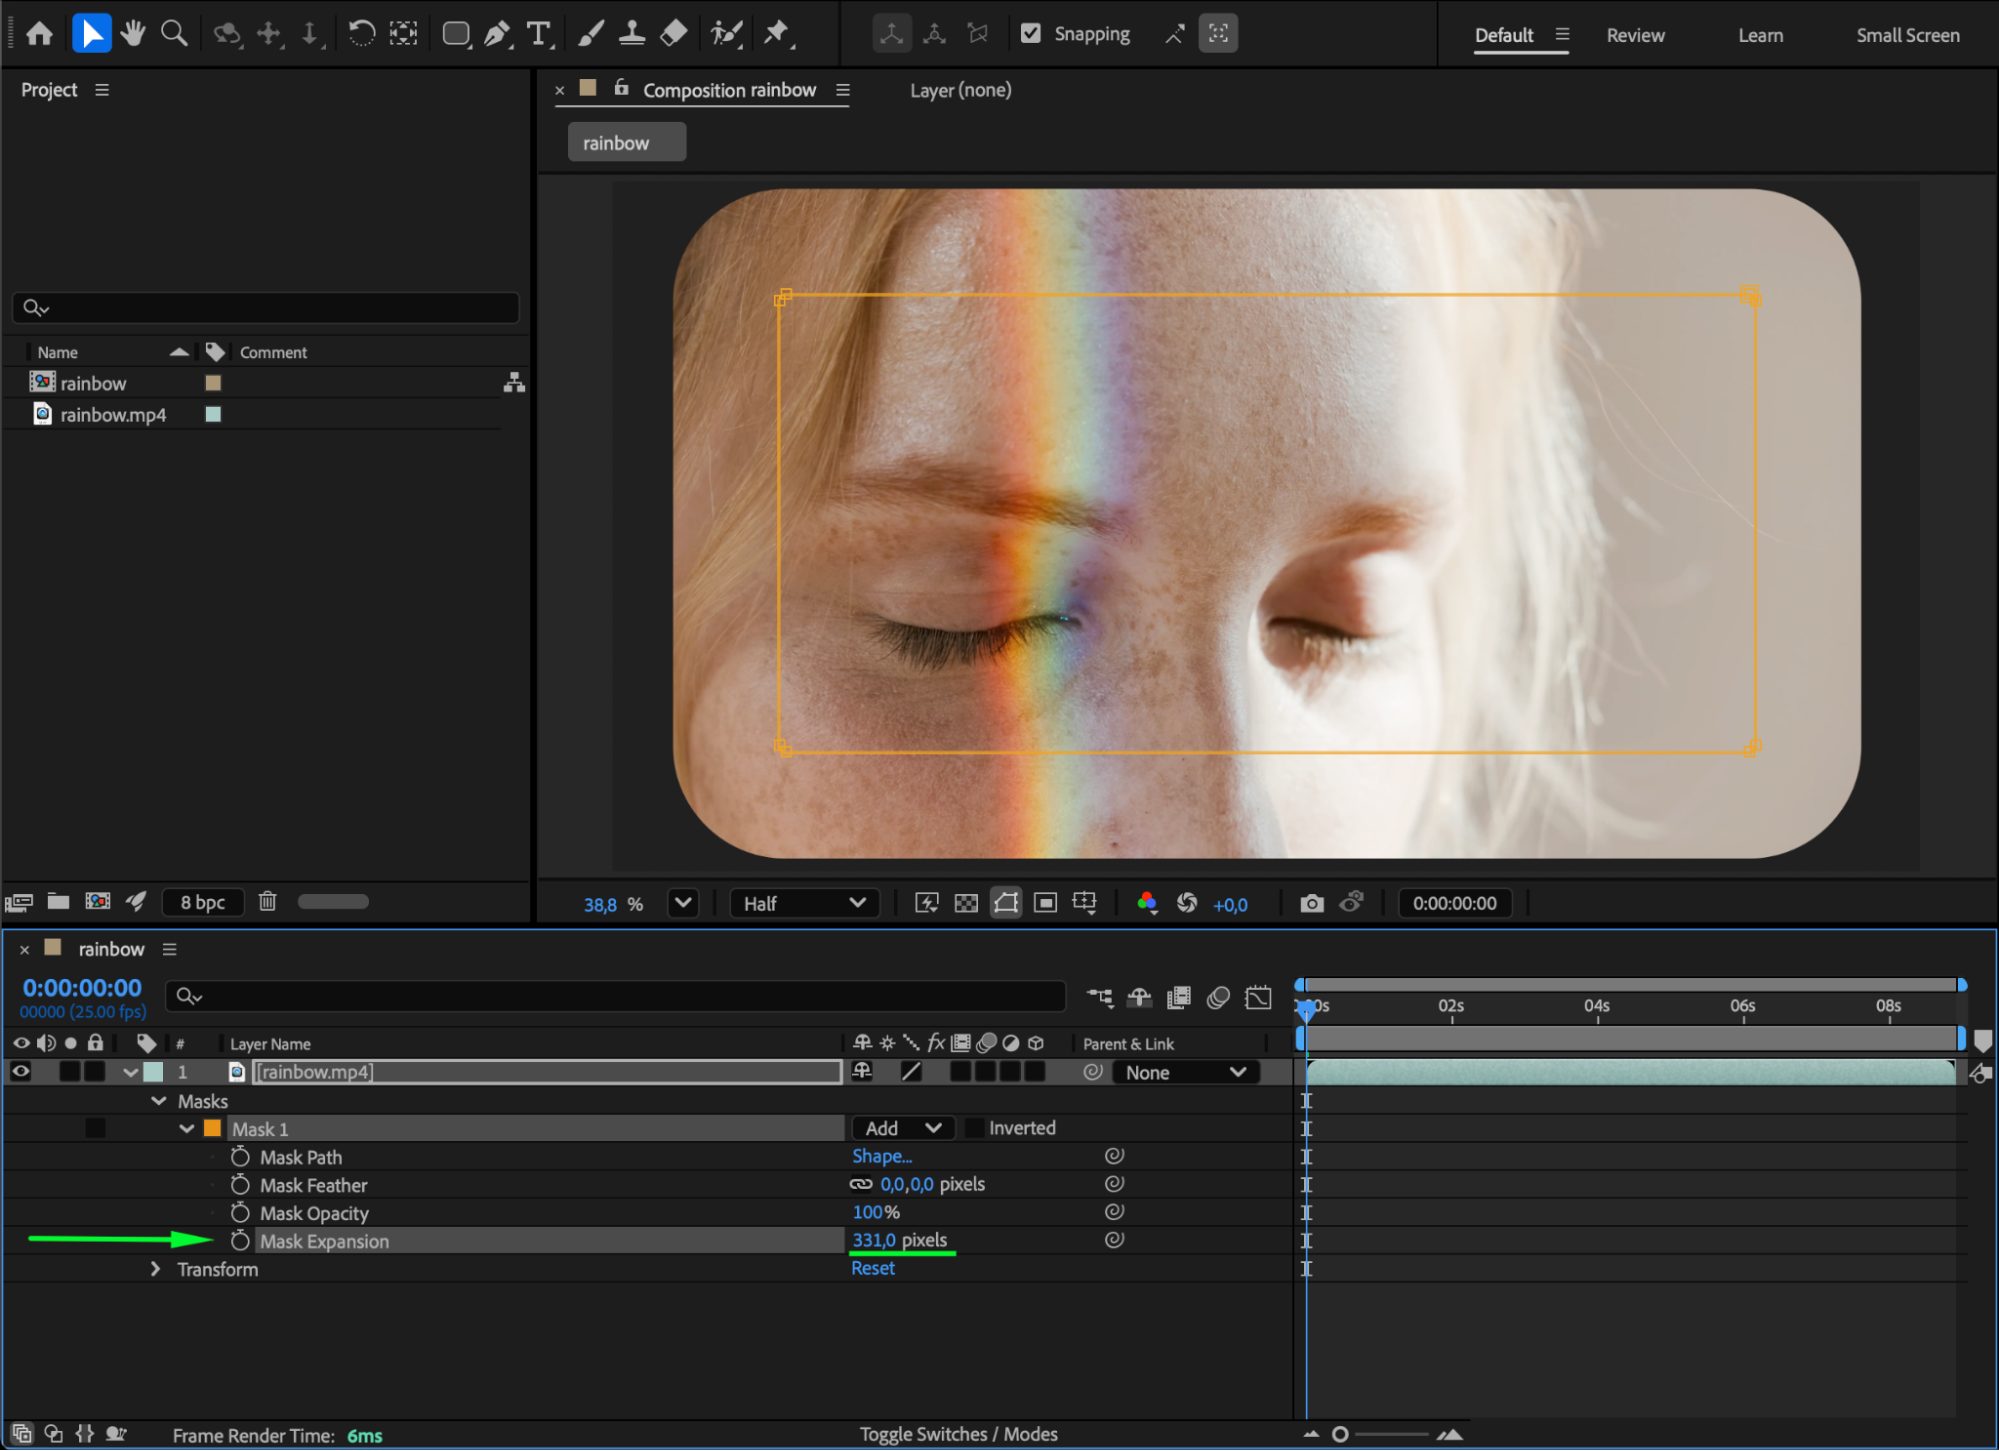
Step 6: Modify Mask Shape
Next to Mask Path, click the shape icon. You can now adjust the mask’s size numerically or even convert it into an ellipse if needed for different effects. Step 7: Preview Your Changes
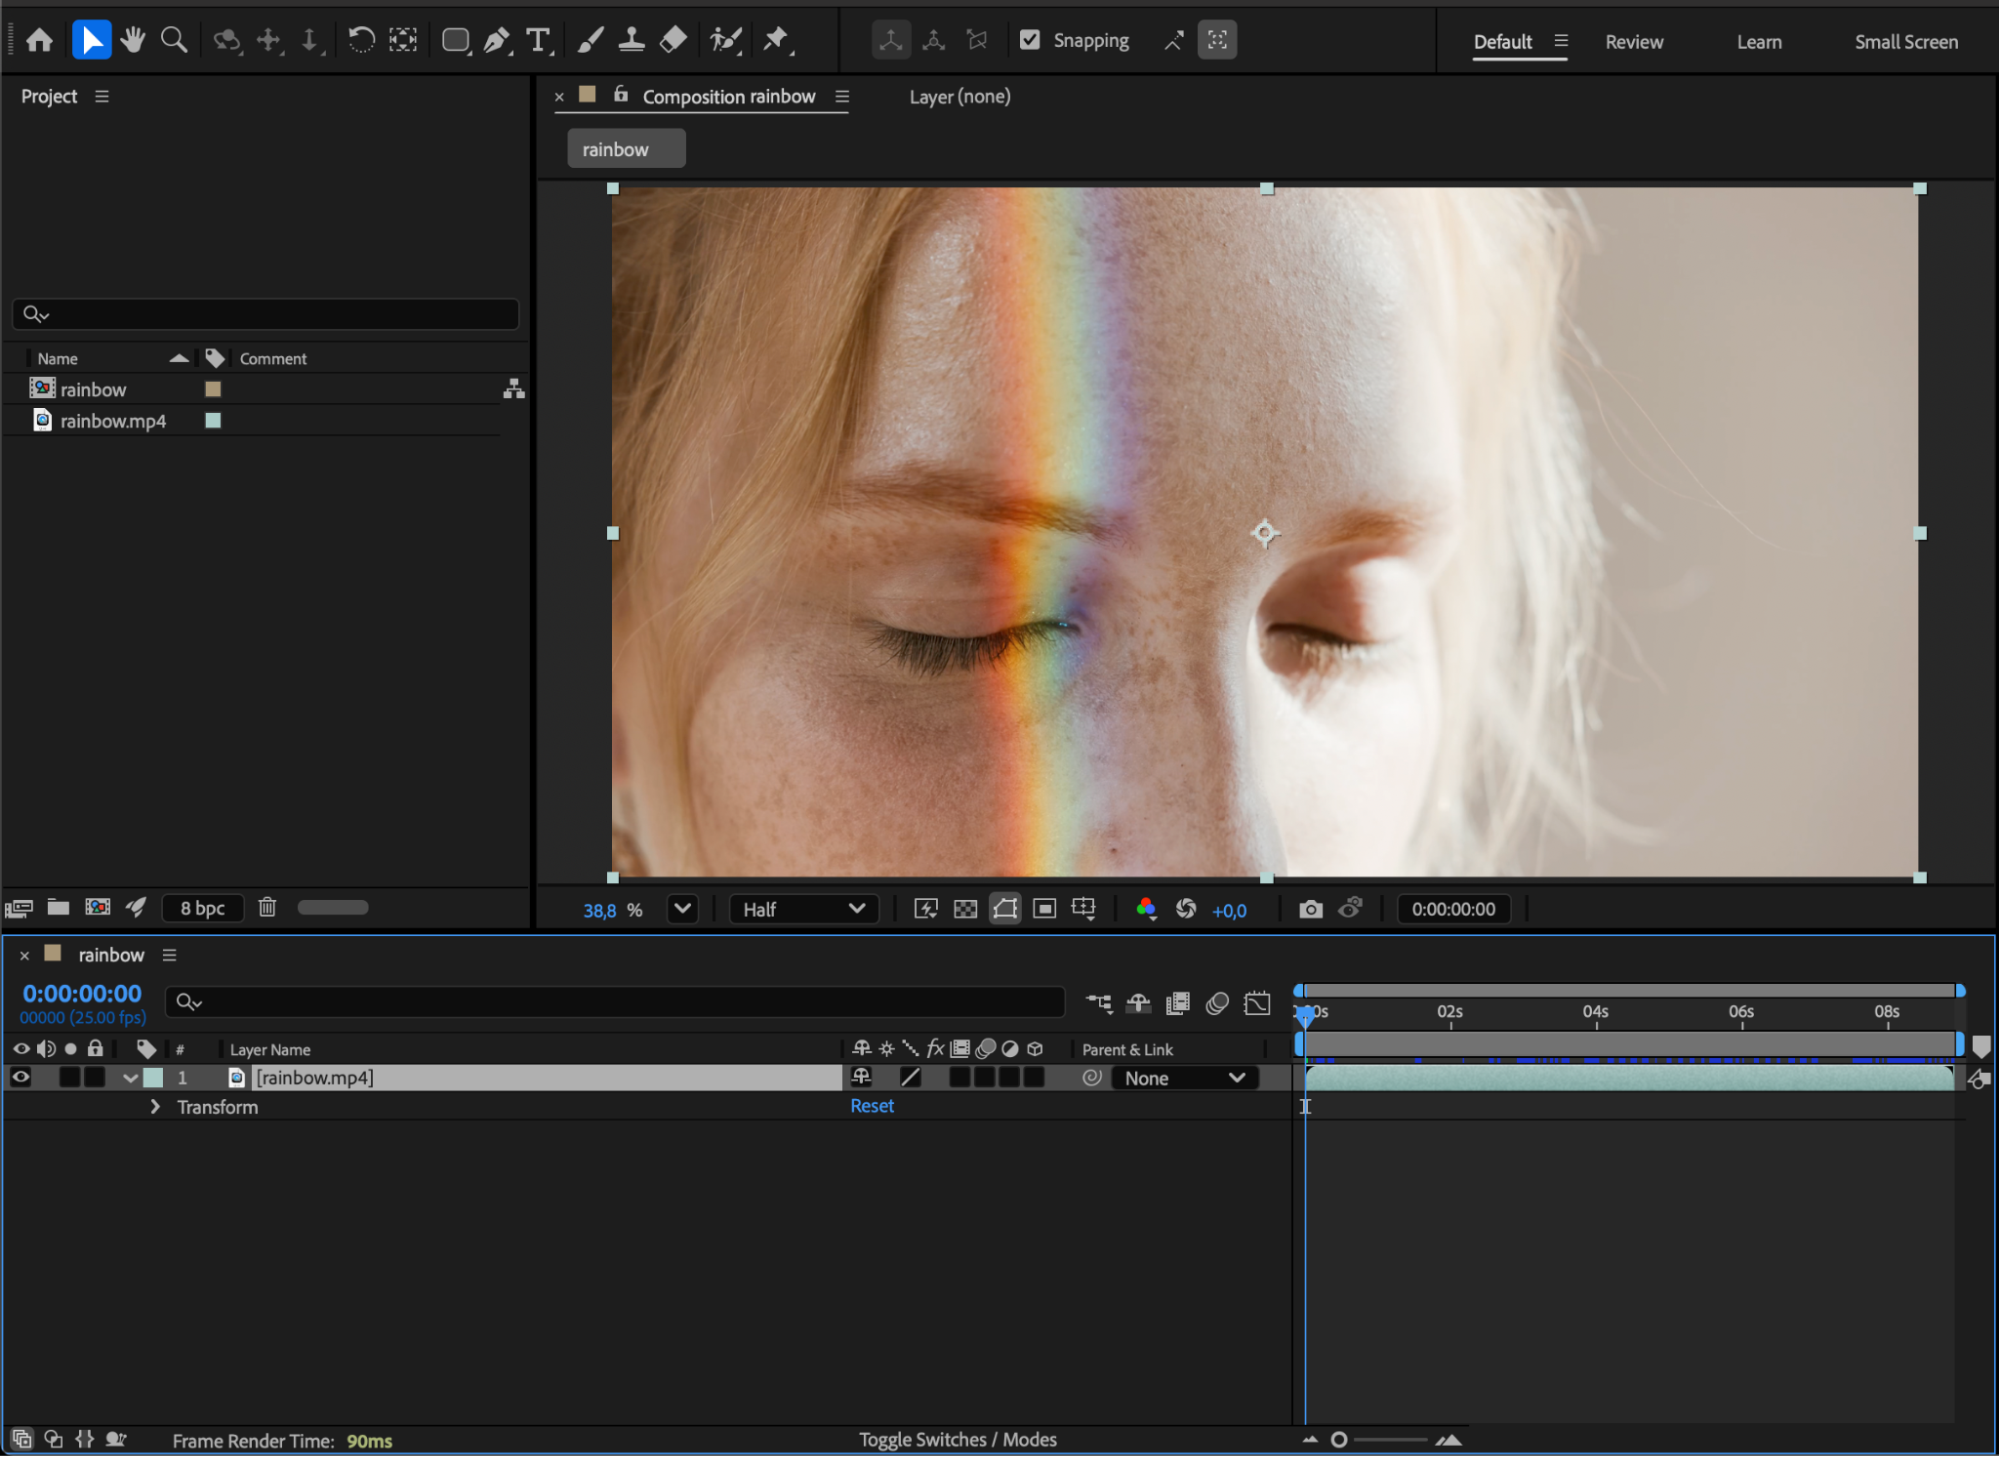
Press the Spacebar to preview your composition. Confirm that the mask is removed, disabled, or adjusted according to your needs.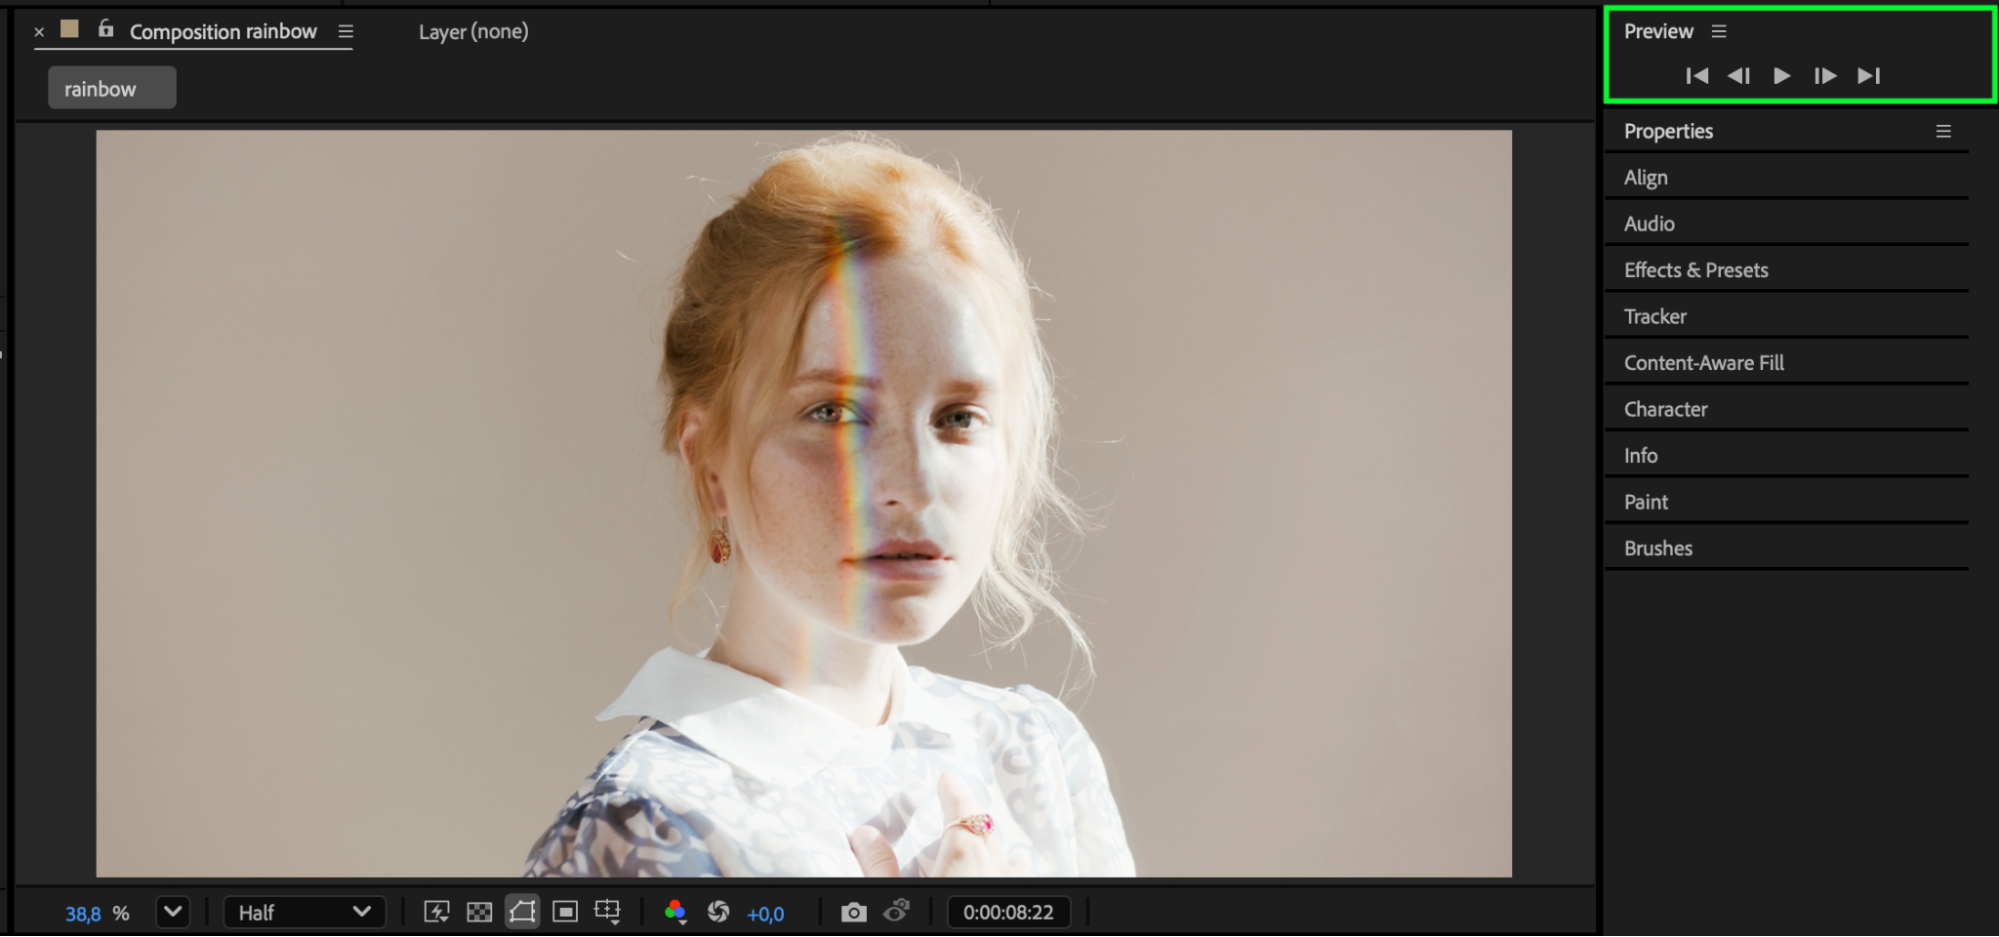
Conclusion
Removing or adjusting a rectangular mask in After Effects is quick and flexible. By deleting, changing mask mode, expanding, or reshaping it, you can control exactly how your layer is revealed, helping maintain a clean and professional composition.
Our Bestsellers


