Removing Backgrounds from Videos in After Effects: A Comprehensive Guide
Introduction: Clean Up Your Video Footage with Background Removal
Are you tired of dealing with distracting backgrounds in your video footage? You’re not alone. Many video editors and creative professionals aim for clean and precise visuals in their projects. Thankfully, Adobe After Effects provides the tools you need to remove unwanted backgrounds effectively. In this guide, we’ll walk you through the steps to remove the background from your video using After Effects, ensuring your footage looks polished and professional.
Step 1: Import Your Video Footage
To begin, you’ll need to import your video footage into After Effects. Start by navigating to the “File” menu, selecting “Import”, and then choosing the video file you want to work with. This step ensures your video is ready for editing within the After Effects environment. Step 2: Create a New Composition
Get 10% off when you subscribe to our newsletter

Once your video is imported, drag and drop the file into the timeline panel. This action will automatically create a new composition with the same settings as your video, including resolution, frame rate, and duration.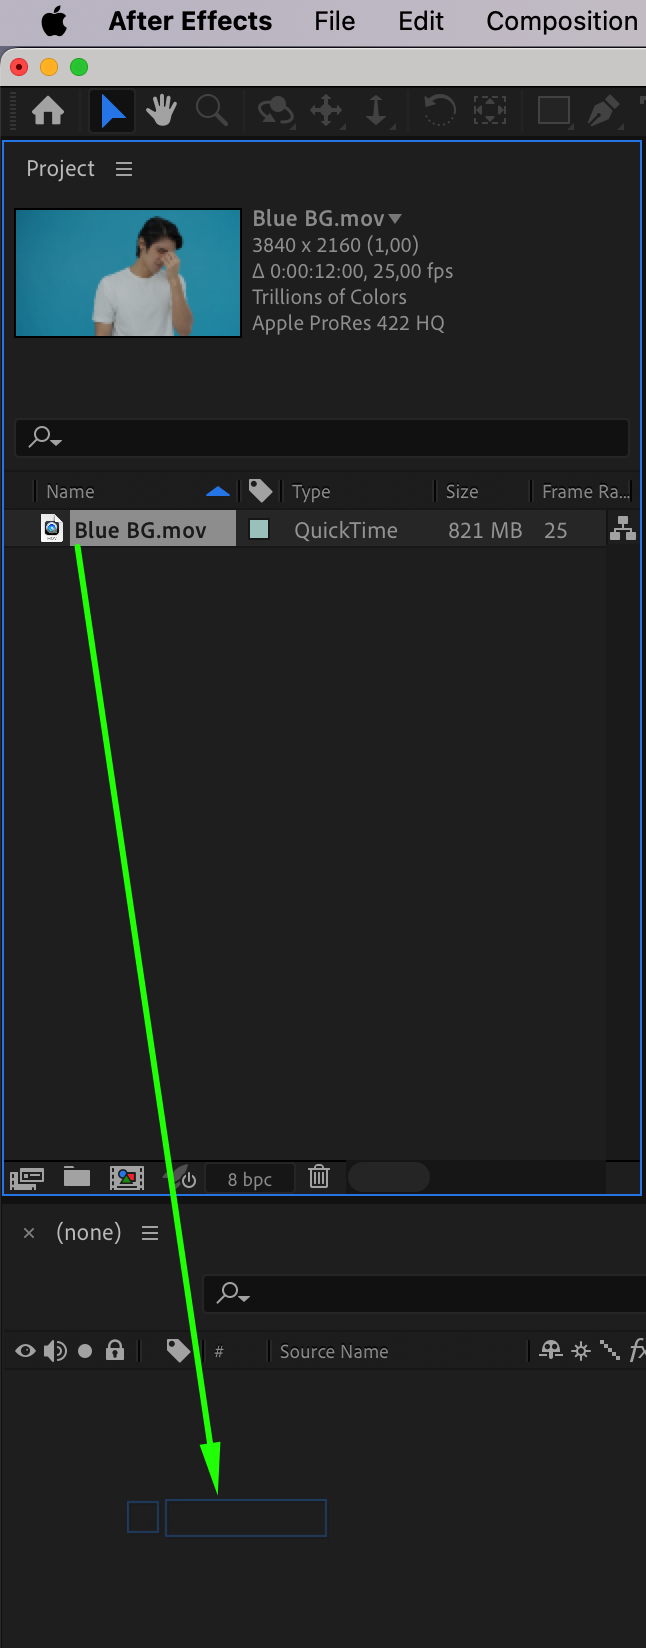 Step 3: Apply the Keying Effect
Next, it’s time to remove the background using a keying effect. One of the most effective tools for this is the Keylight (1.2) effect, which is especially powerful when working with green or blue screen footage. To apply the effect, select your video clip in the timeline, then go to the Effect & Presets panel, search for “Keylight (1.2)”, and double-click it to apply. Step 4: Select the Background Color to Remove
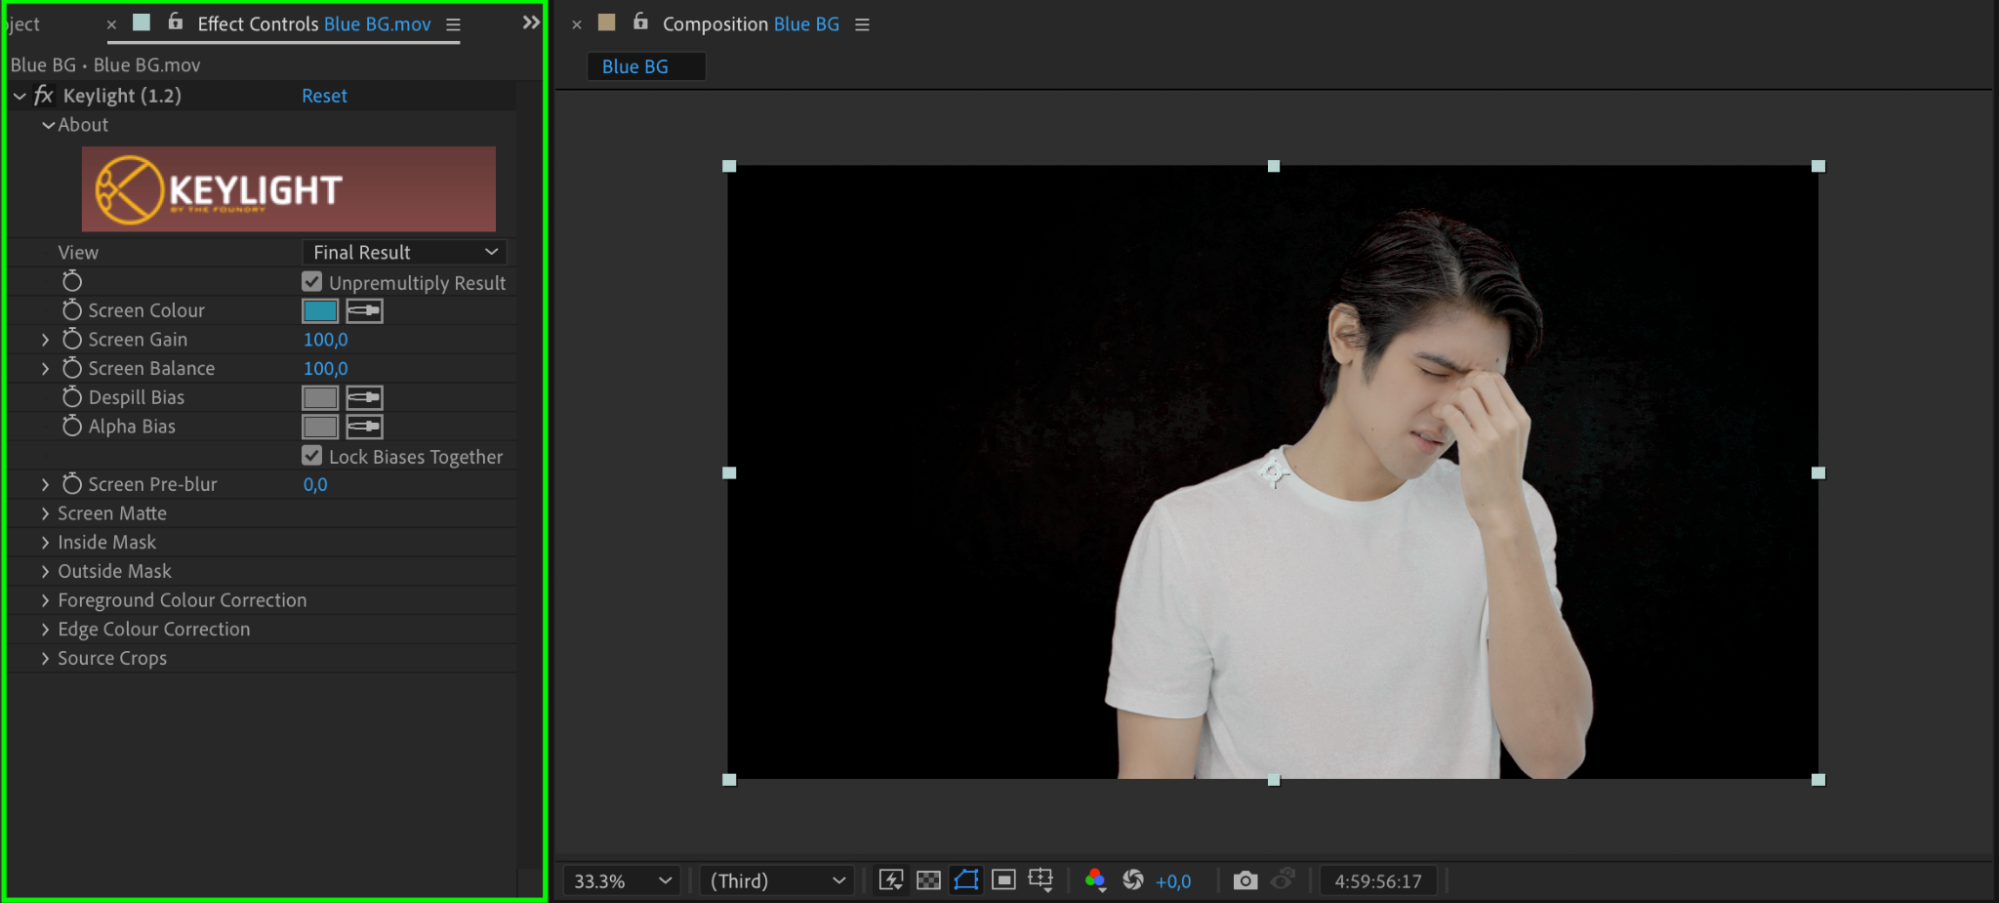
In the Effect Controls panel, you’ll see the Keylight settings. Click on the Eyedropper tool next to the Screen Color option, and then click on any part of the background you wish to remove in the preview window. The background should automatically disappear. To refine the effect, adjust the Screen Gain and Screen Balance settings until you’re satisfied with the result.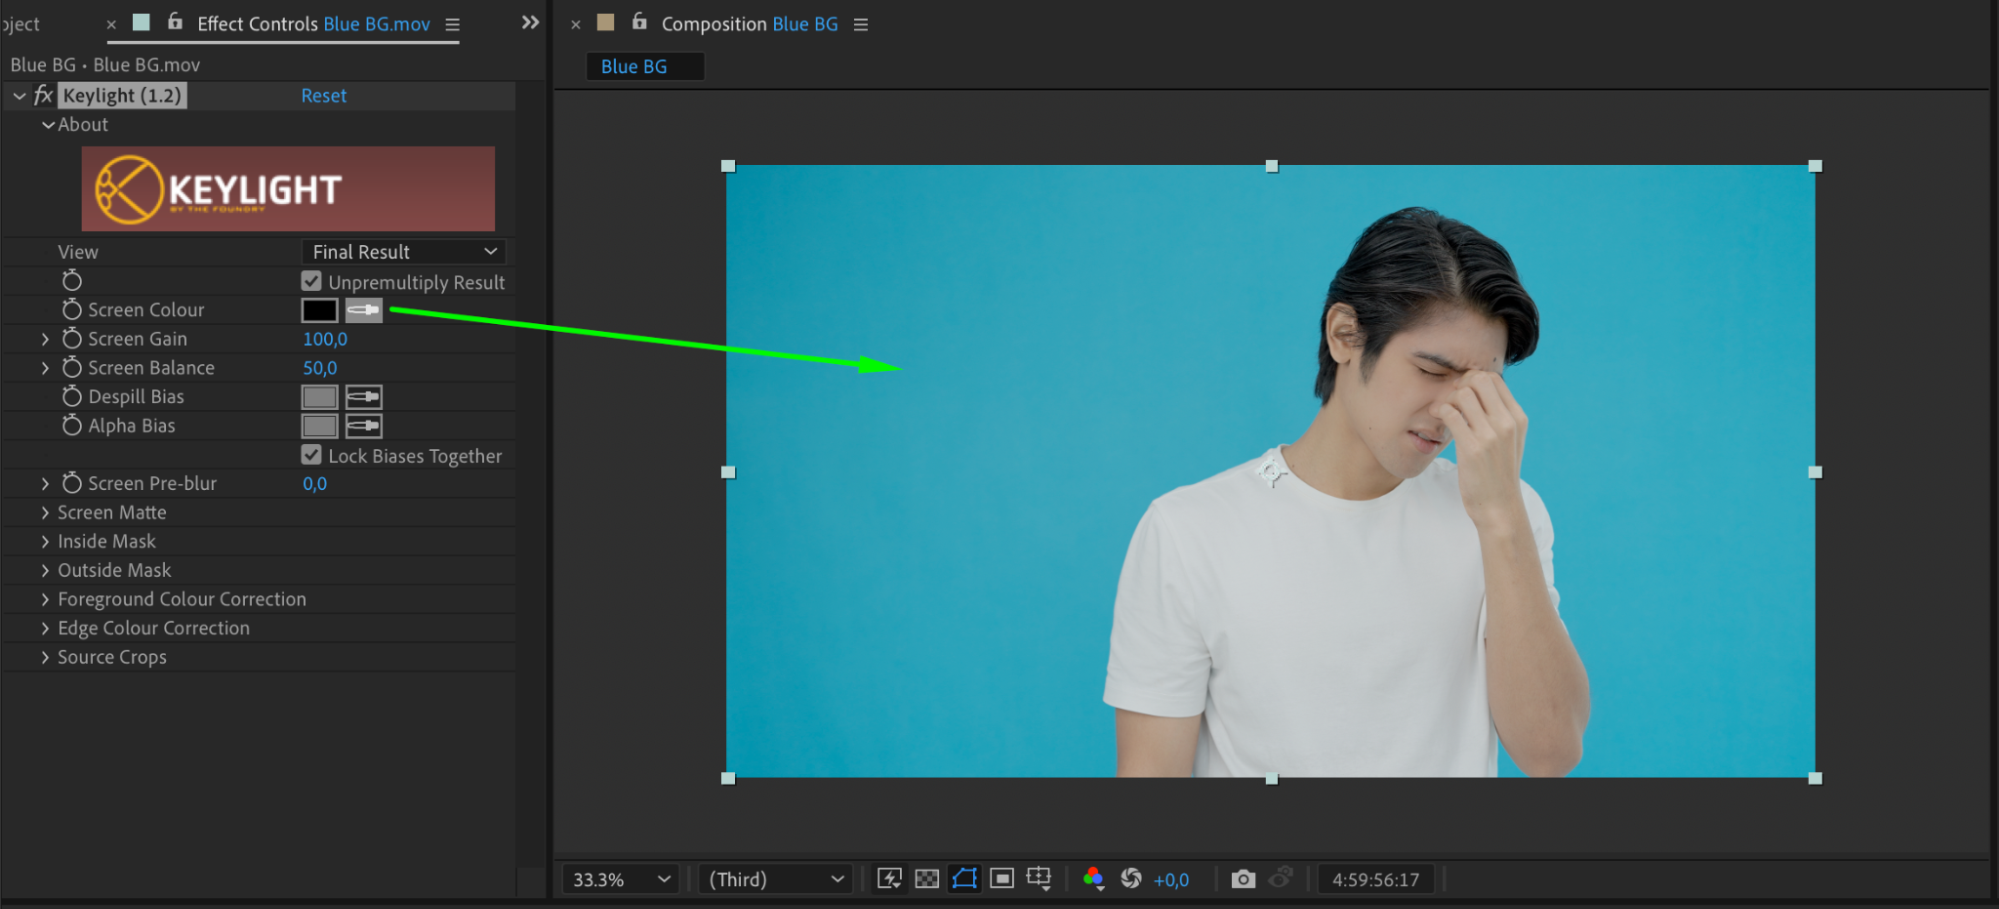
 Step 5: Check for Transparency
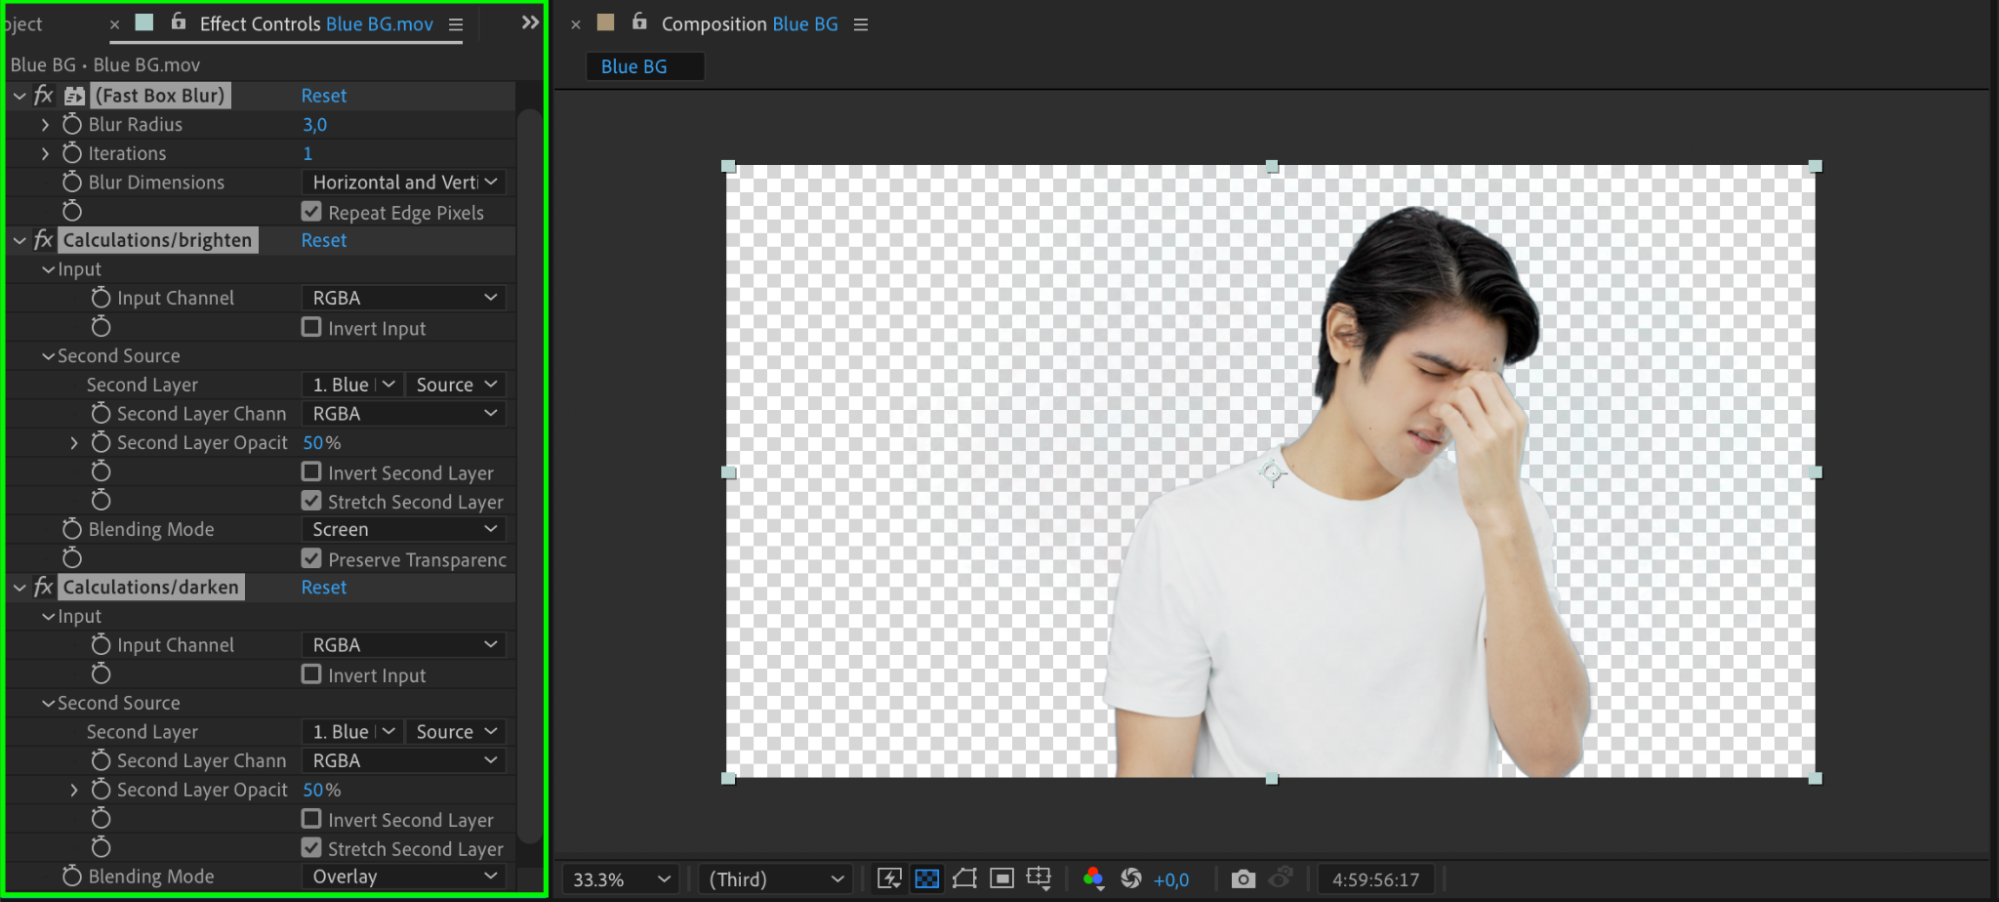
To confirm that your background has been completely removed, use the Toggle Transparency Grid button located at the bottom of the Composition panel. This will display a checkered grid behind your subject, indicating transparency. If you notice any remnants of the background, you may need to make further adjustments in the Keylight settings. Step 6: Fine-Tune Your Footage
With the background successfully removed, you can now fine-tune your footage. Consider adjusting the color, adding effects, or incorporating motion graphics to enhance your video. After Effects offers a vast array of tools and effects to help you achieve the look you want.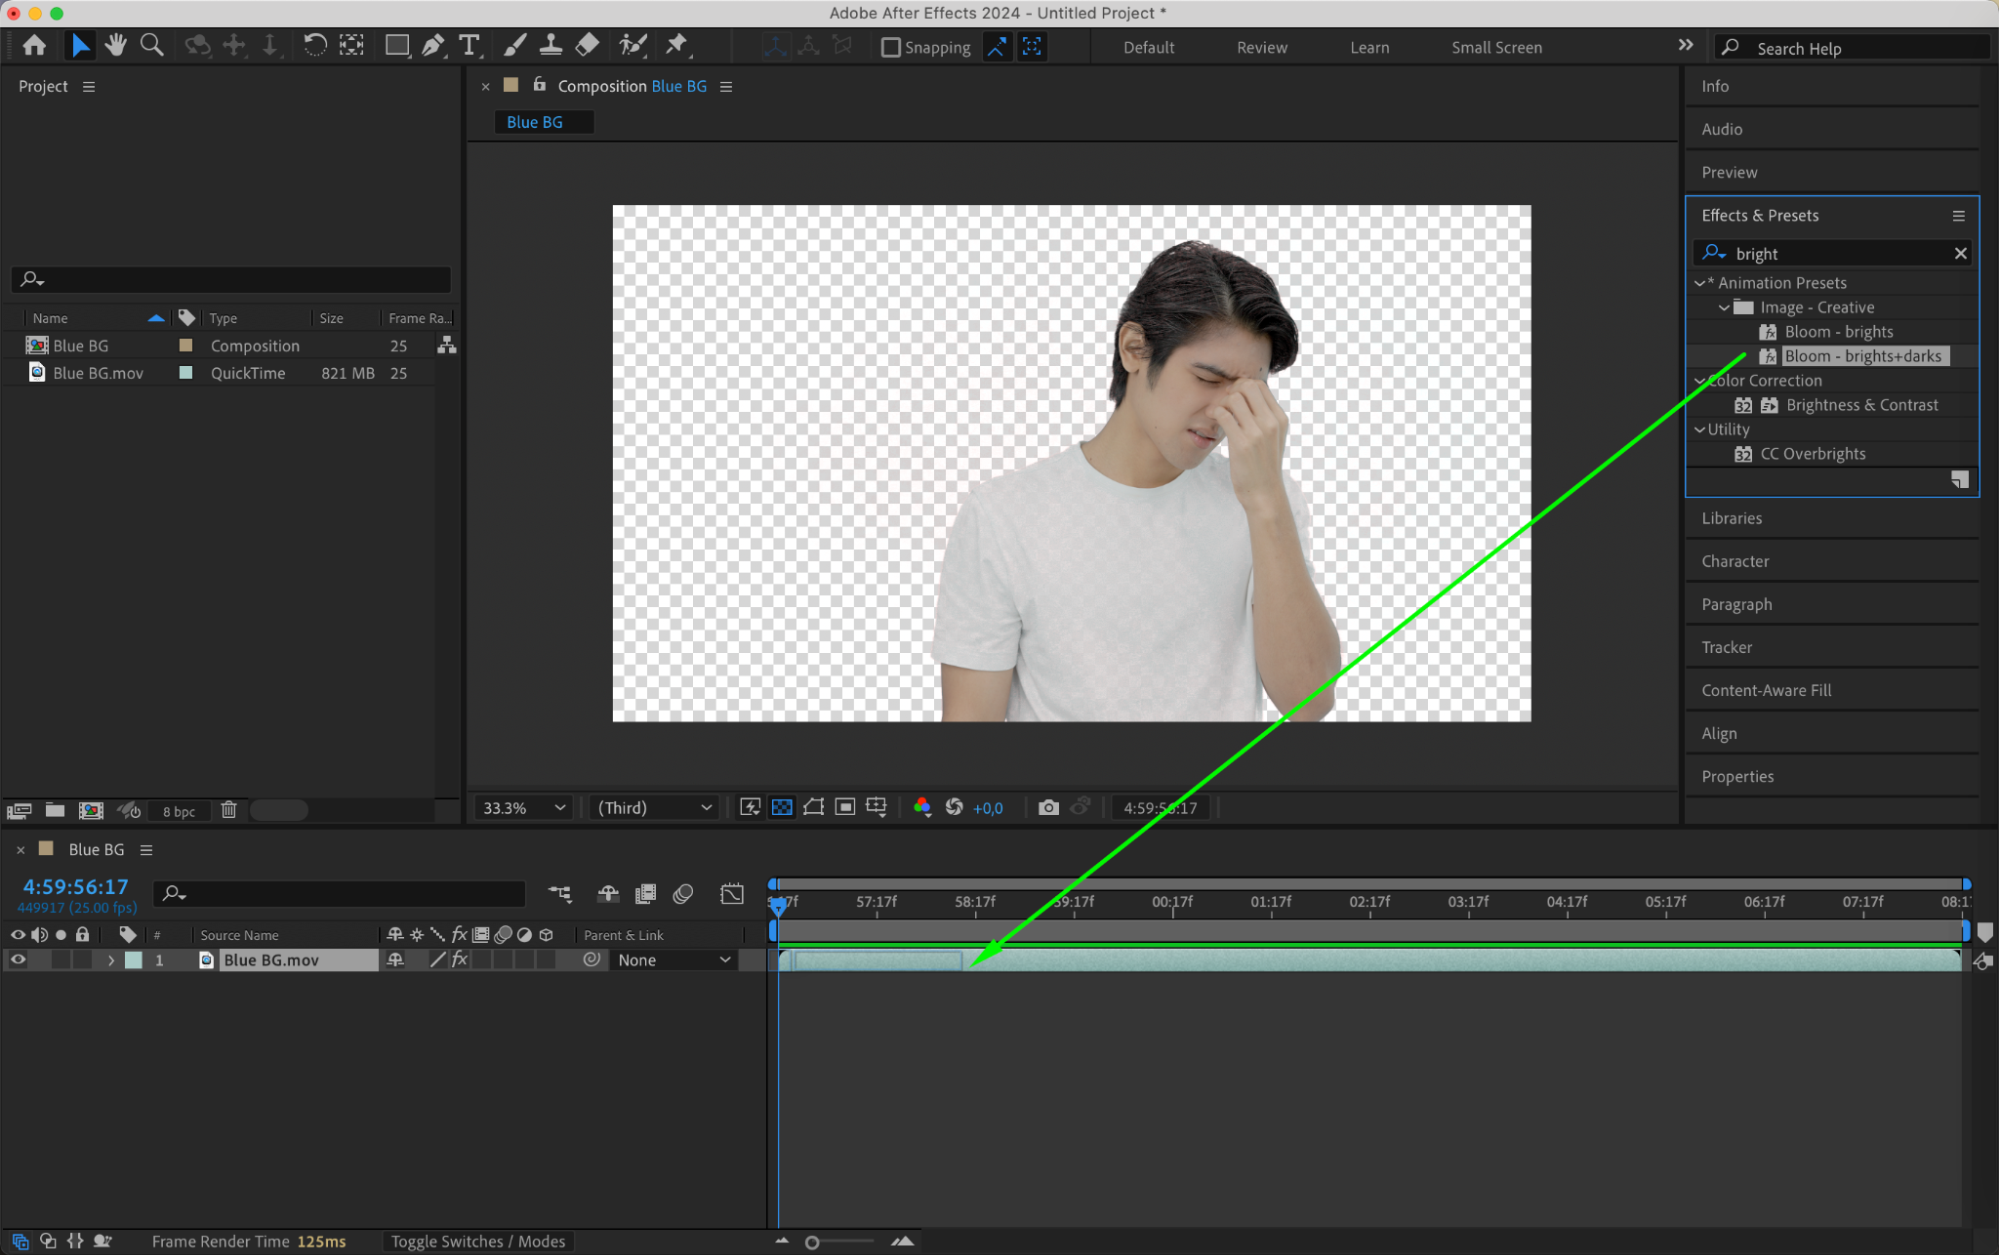
 Step 7: Export Your Video
After completing all the adjustments, it’s time to export your video. Go to the “Composition” menu and select “Add to Render Queue”. In the Render Queue panel, choose your desired output settings, including file format, resolution, and quality. Once everything is set, click the “Render” button to start the export process.
 Conclusion
By following these steps, you can confidently remove the background from your video footage using Adobe After Effects. With practice and experimentation, you’ll become a pro at creating stunning visuals that captivate your audience. So go ahead, let your creativity shine, and take your videos to the next level!


