How to Stabilize Shaky Footage in After Effects
Introduction: Why Stabilizing Footage is Important
Stabilizing shaky footage is a crucial step in video editing to ensure your content looks polished and professional. Camera shake can distract viewers and reduce the overall quality of your video. Thankfully, After Effects offers a simple yet powerful solution: the Warp Stabilizer tool. In this guide, we’ll walk you through the steps to remove camera shake in After Effects, ensuring your footage is smooth and visually appealing.
Get 10% off when you subscribe to our newsletter

Step 1: Import Your Footage
The first step is to bring your shaky footage into After Effects. Go to the File menu, click Import > File and select the video file you wish to stabilize. Once the file is imported, drag it onto the Timeline to start working on it. Having your footage on the timeline allows you to preview and assess the level of shake.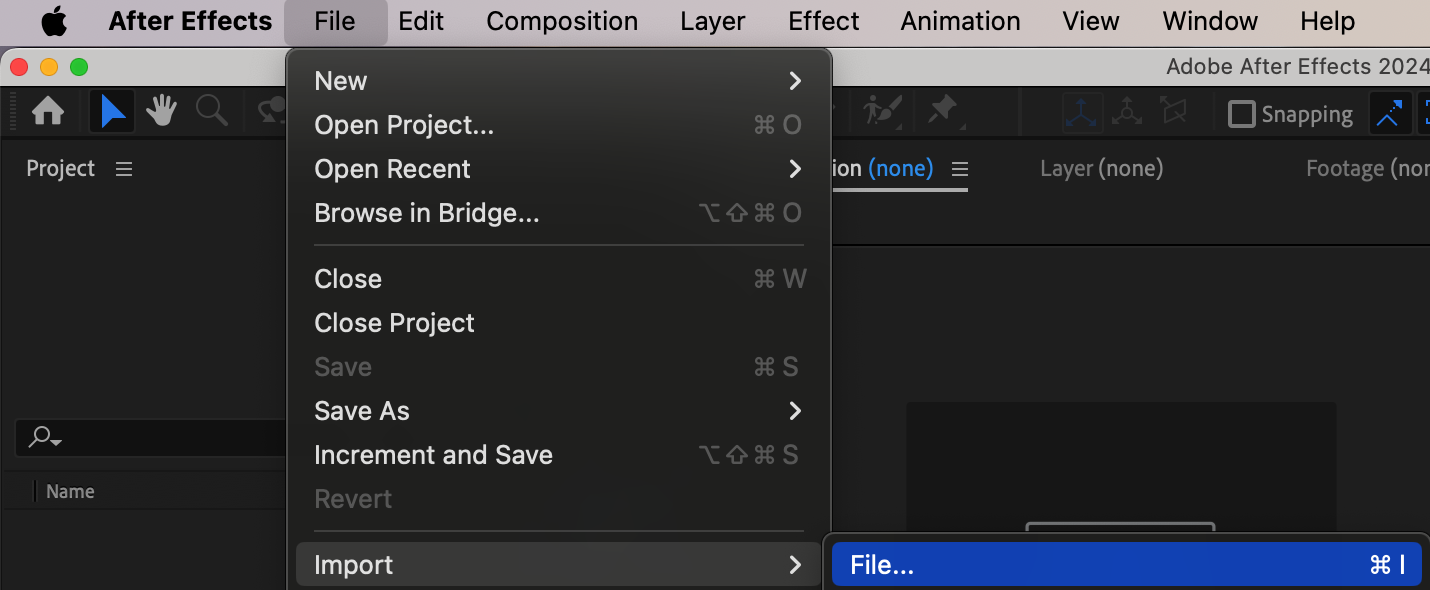
 Step 2: Apply the Warp Stabilizer Effect
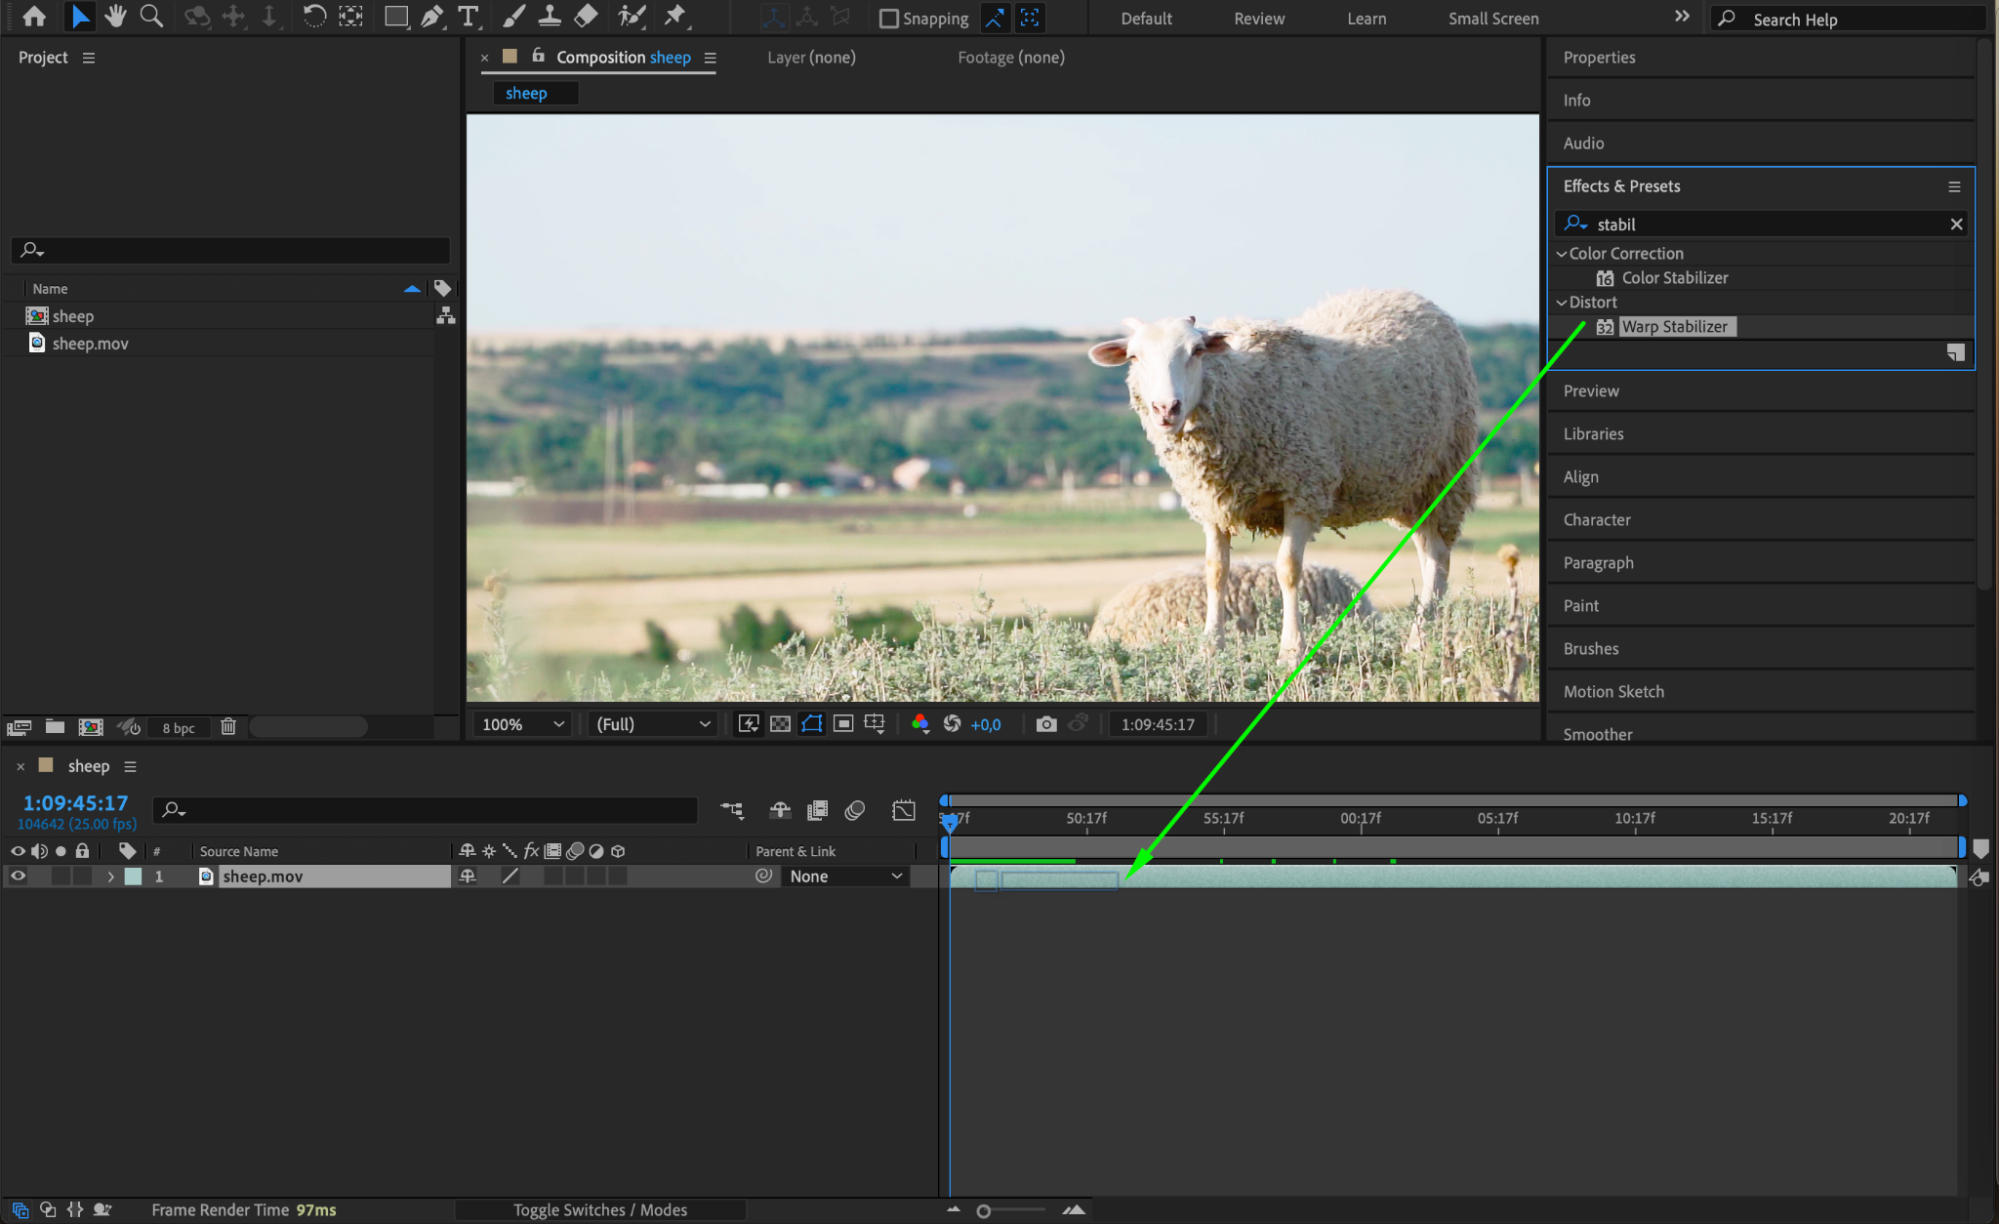
Now that your footage is in place, it’s time to apply the Warp Stabilizer effect. Go to the Effects & Presets panel, and in the search bar, type “Warp Stabilizer.” Drag and drop the Warp Stabilizer effect onto your footage layer. After applying the effect, After Effects will begin analyzing the footage for shake.
 Step 3: Adjust Warp Stabilizer Settings
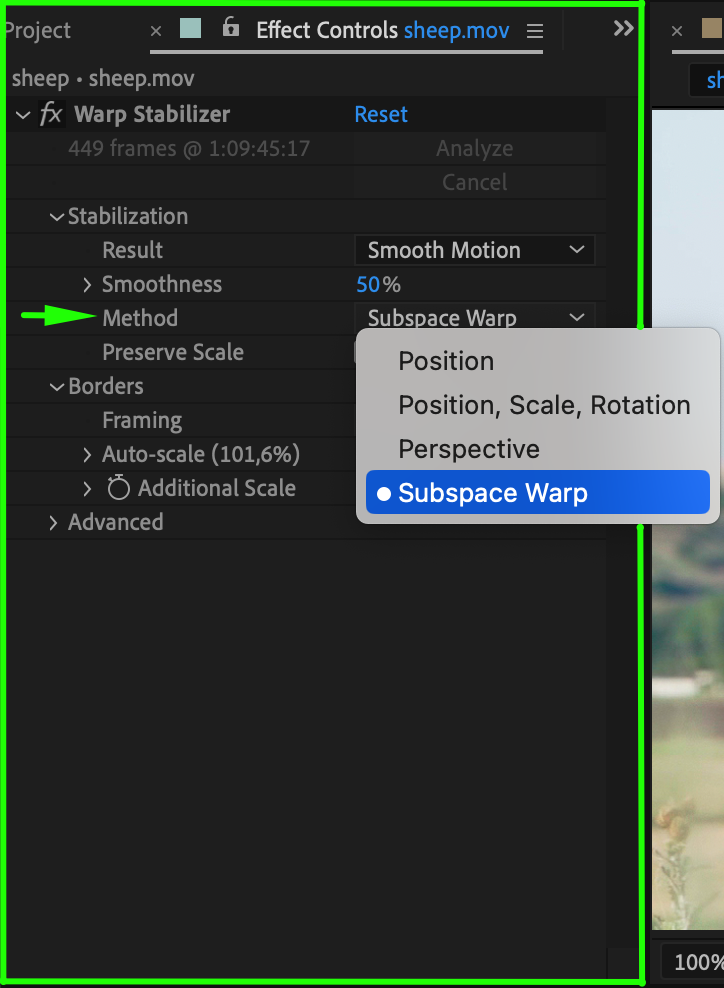
Once the analysis is complete, you can fine-tune the effect to suit your needs. In the Effect Controls panel, adjust the settings such as Smoothness to control how much stabilization is applied. You can also explore the Method options, such as “Position, Scale, Rotation” or “Subspace Warp” for more flexibility. Increasing smoothness will create a smoother shot, but make sure not to overdo it, as it can result in unnatural-looking footage.
 Step 4: Preview Your Stabilized Footage
After making adjustments, it’s essential to preview your stabilized footage. Hit the Spacebar to play the video on the timeline and check if the stabilization meets your expectations. If you’re satisfied, you can move on to the next step. If not, go back to the Warp Stabilizer settings and make further tweaks.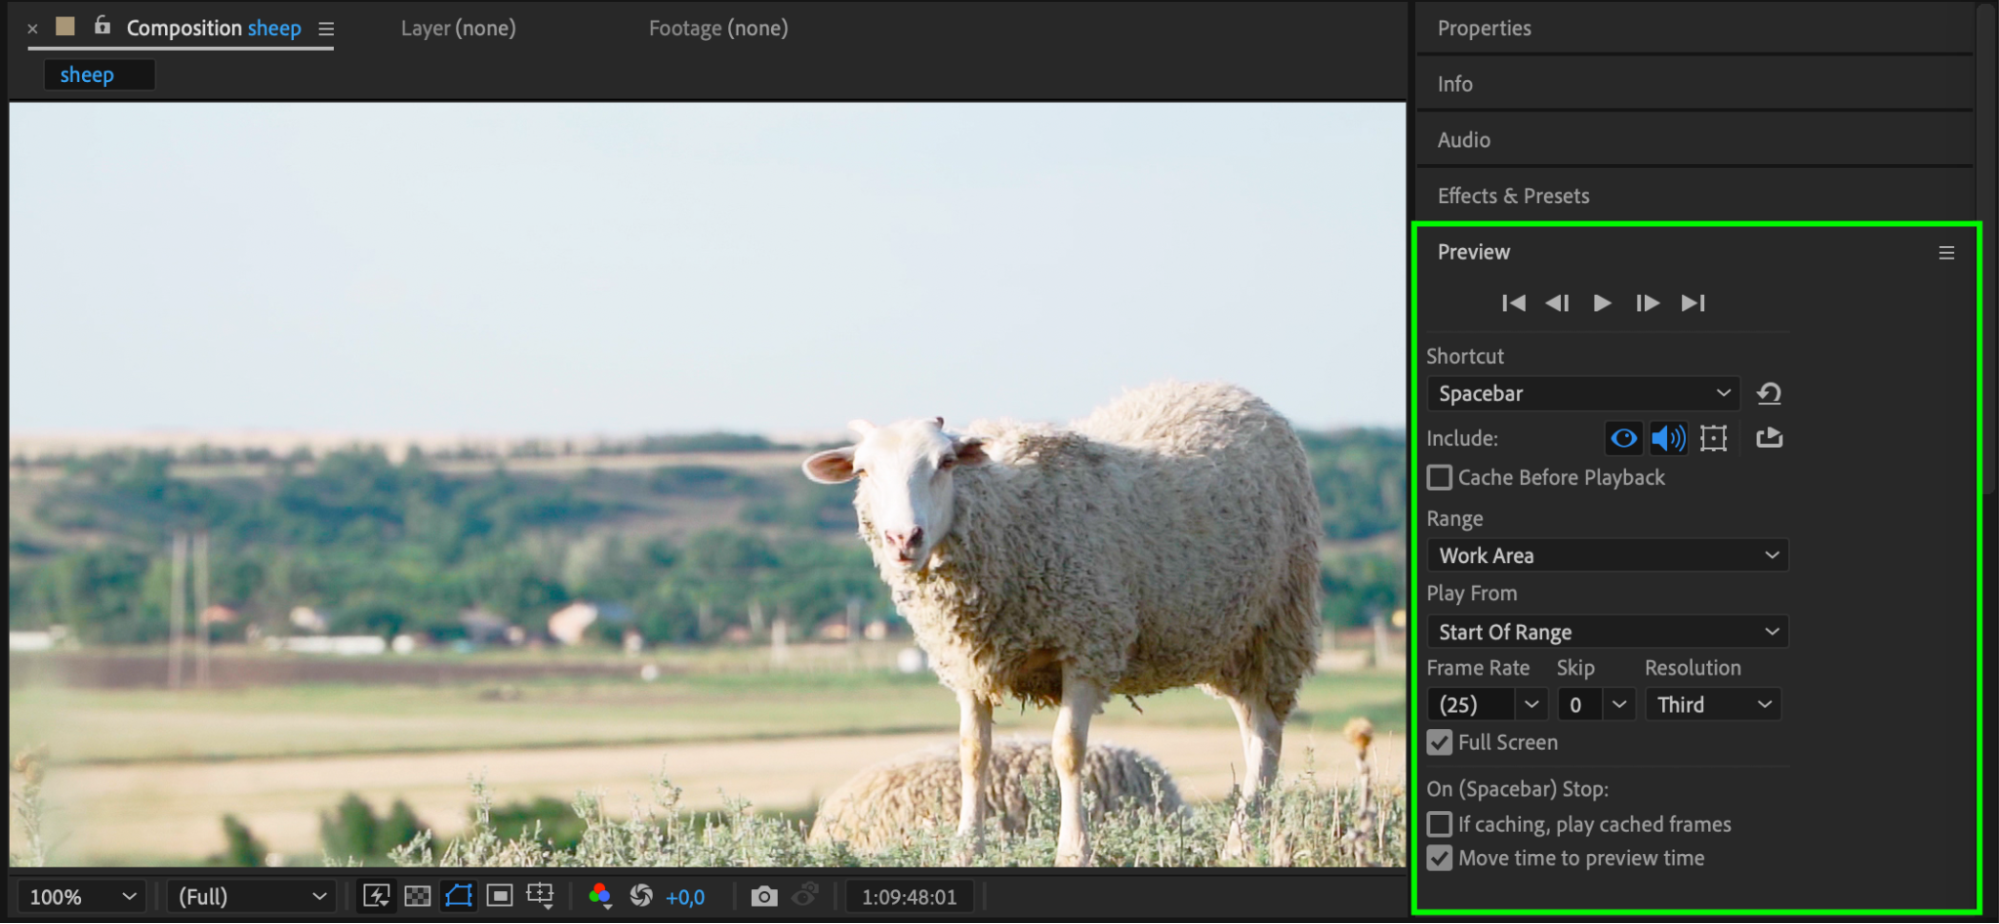 Step 5: Render Your Final Video
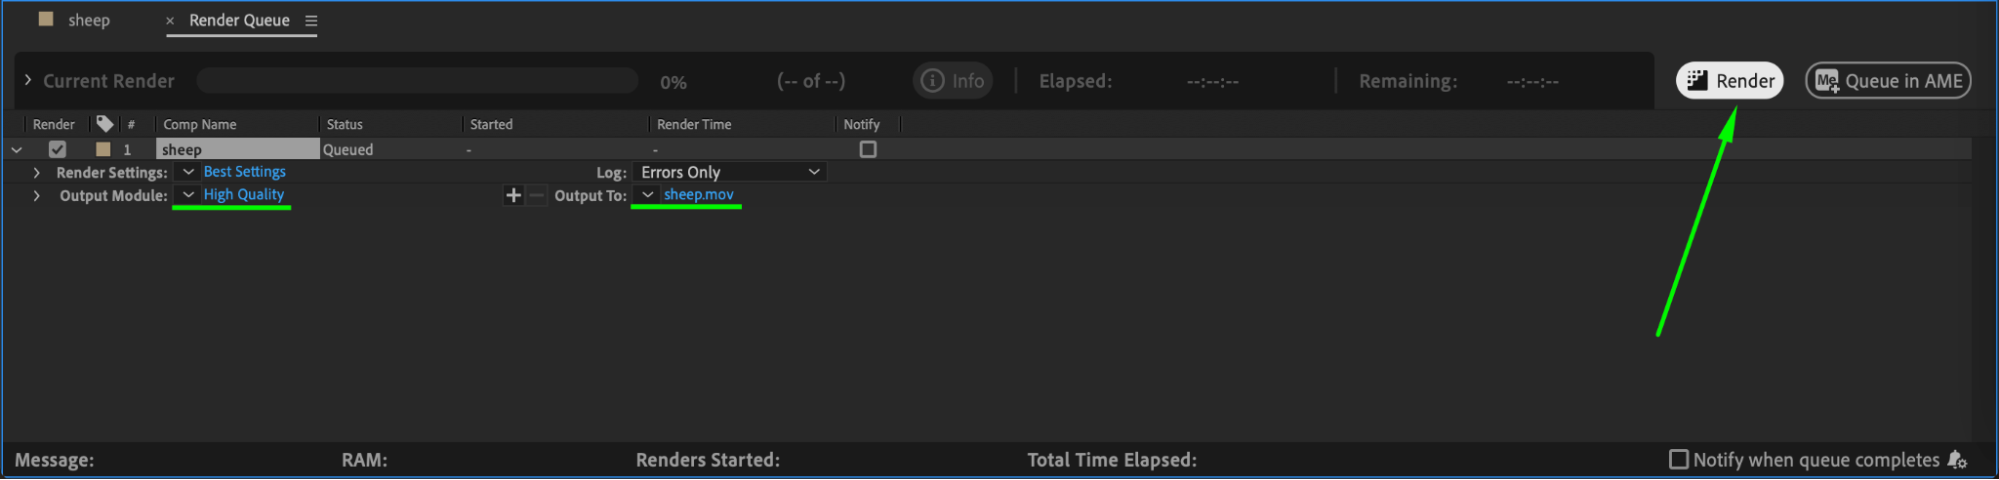
Once you’re happy with the stabilization, it’s time to render your video. Go to Composition > Add to Render Queue. In the Render Queue panel, choose your desired format and quality settings, and then click Render. Your stabilized video is now ready for export and can be used in your project.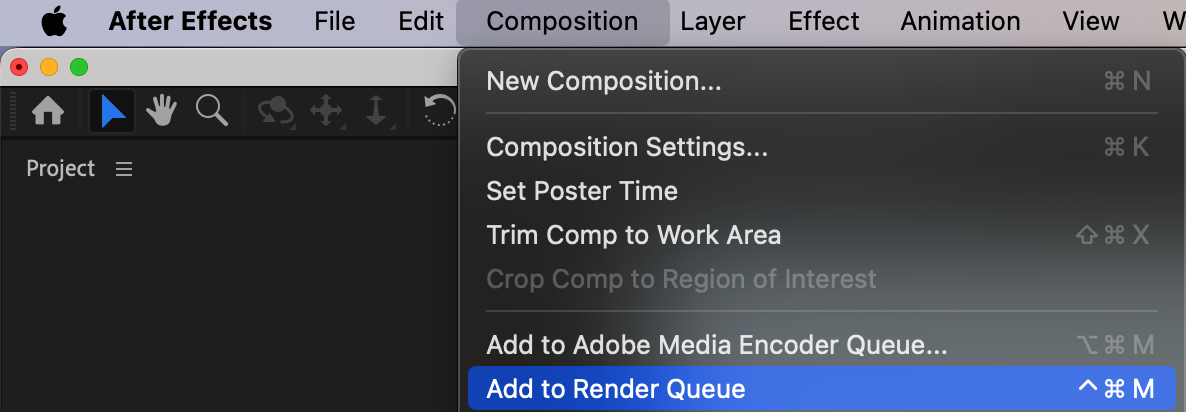
 Conclusion
Stabilizing shaky footage in After Effects is a straightforward process with the Warp Stabilizer effect. By following these steps, you’ll be able to smooth out camera shakes and improve the visual appeal of your videos. Whether you’re working on professional projects or personal videos, removing camera shake can make a world of difference in creating polished, high-quality content.
Our Bestsellers


