Learn How to Set Anchor Points in After Effects: A Step-by-Step Guide
Introduction – Understanding the Power of Anchor Points in After Effects
When it comes to creating dynamic motion graphics and stunning visual effects, Adobe After Effects is the go-to software for professionals and enthusiasts alike. One of the key elements in achieving smooth and precise animations is understanding how to set anchor points correctly.
Get 10% off when you subscribe to our newsletter

While the concept of anchor points may seem simple on the surface, their strategic placement plays a vital role in manipulating layers, creating motion paths, and animating objects. In this article, we will explore the importance of anchor points in After Effects and guide you through the process of setting them up effectively.
Whether you’re a seasoned motion graphics artist or a beginner looking to unlock the full potential of After Effects, mastering anchor points is a skill worth investing your time in. Let’s dive deeper into this essential aspect of the software and discover how it can transform your motion design projects.
Get 10% off when you subscribe to our newsletter
Setting the Anchor Point in After Effects: Expert Advice
When it comes to setting the anchor point in After Effects, there are a few key tips and tricks that can simplify the process and help you achieve precise results. Here are some expert advice to keep in mind:
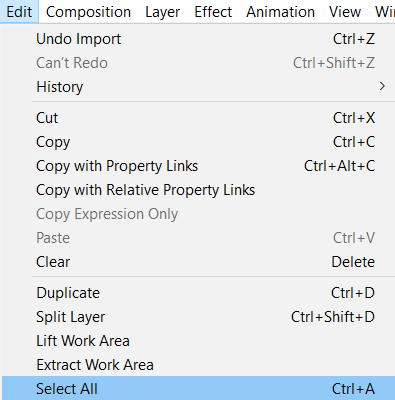
1. Select the Layer: To begin, select the layer you want to work within the composition timeline. You can do this by clicking on the layer or using the hotkey “Ctrl/Cmd + A”.
2. Reveal Transform Properties: Once the layer is selected, make sure the Transform properties are visible in the timeline.
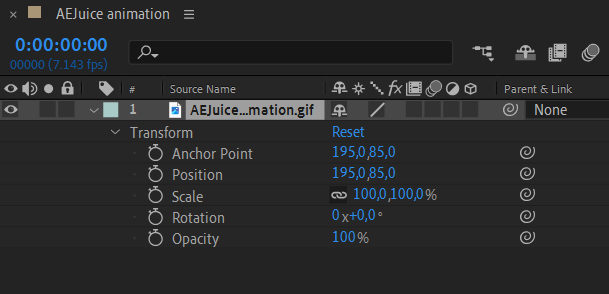
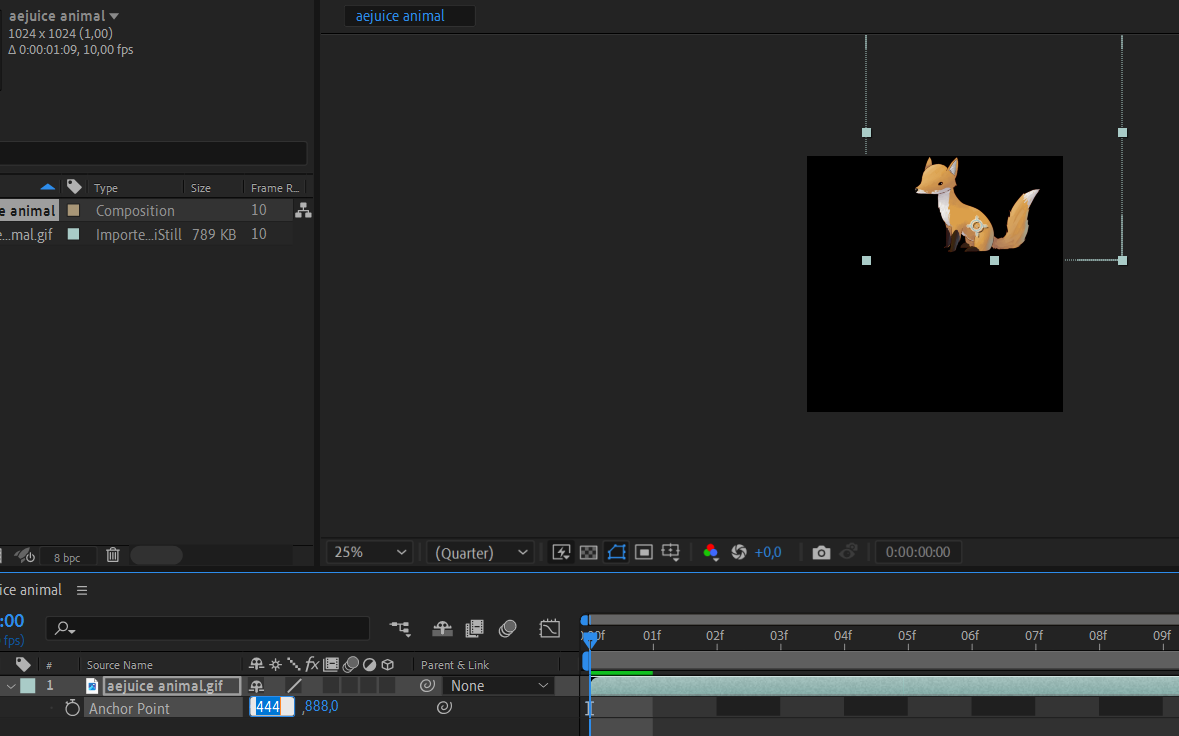
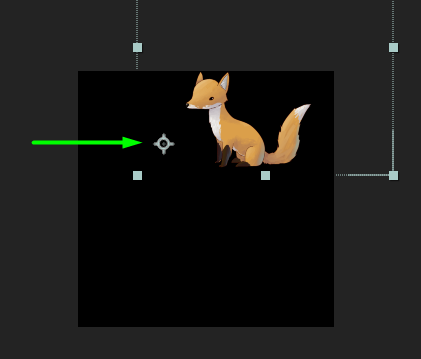
3. Locate the Anchor Point: In the Transform properties section, you’ll find the Anchor Point parameter. You can reveal them by pressing the hotkey “A” on your keyboard. This parameter determines the reference point for the layer’s transformations. By default, it is located at the center of the layer, denoted by a small crosshair icon.
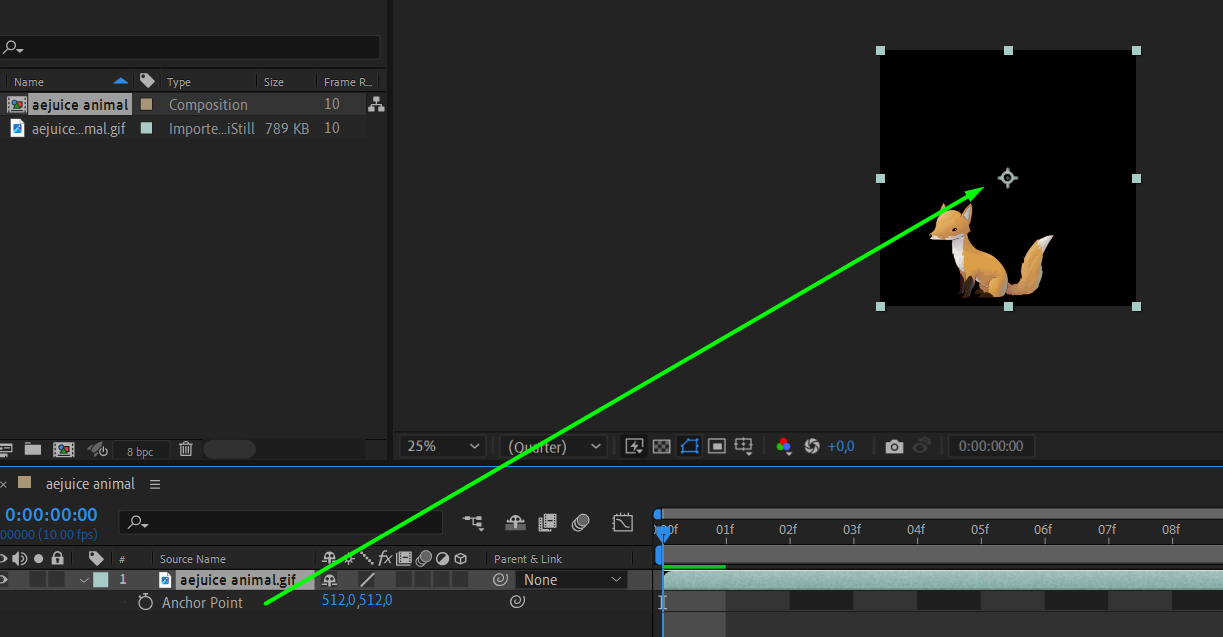
4. Modify the Anchor Point: To reposition the anchor point, click and drag the crosshair icon in the Composition panel, resetting it to the layer’s center. For precise adjustments, access the “Transform” tab, and in the “Anchor Point” section, modify the numerical values to accurately change the Anchor Point’s position.
5. Precise Adjustments: For more precise adjustments, you can also enter specific numerical values for the anchor point in the Transform properties under the Anchor Point parameter. This can be especially helpful when aligning layers or objects with precision.
Get 10% off when you subscribe to our newsletter
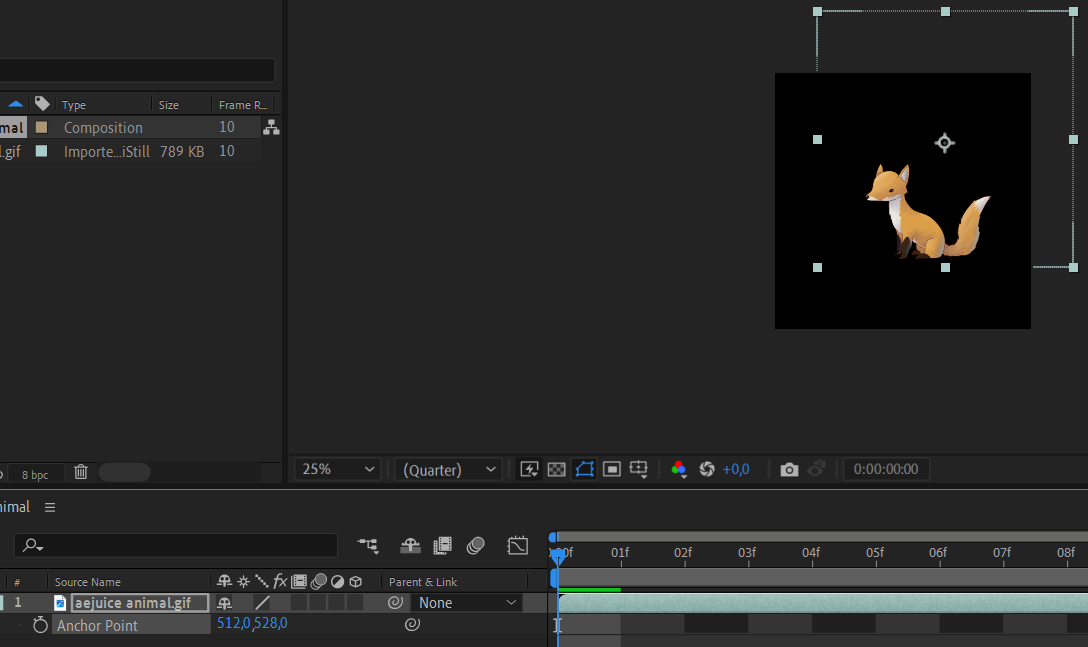
6. Pan and Zoom Technique: Another handy technique for setting the anchor point accurately is to use the Pan Behind (Anchor Point) tool. You can access it by clicking on the icon in the toolbar or by using the hotkey “Y.” This tool allows you to click and drag directly on the composition panel to adjust the anchor point.

Remember, the proper placement of the anchor point is crucial in achieving desired results. It determines the rotation, scaling, and position of a layer during animations. By following these tips and utilizing the available hotkeys, you can streamline your workflow and maintain full control over your motion design projects in After Effects.
Get 10% off when you subscribe to our newsletter
Now that you’re armed with this valuable knowledge, go ahead and experiment with setting anchor points to take your visual effects and animations to new heights. With practice and the right techniques, you’ll soon become a master of manipulating layers and achieving seamless motion effects in After Effects.
Conclusion: Unleash the Power of Anchor Points in After Effects
Setting anchor points in After Effects is a fundamental skill that every motion designer should master. By strategically placing anchor points, you gain precise control over the transformation and animation of layers, enabling you to create stunning motion graphics and visual effects.
Get 10% off when you subscribe to our newsletter
Throughout this article, we’ve explored the importance of anchor points and provided expert advice on how to set them effectively. Whether you’re adjusting the anchor point to align objects, create intricate motion paths, or achieve seamless transitions, understanding the techniques discussed here will enhance your motion design projects.
Remember to use the hotkeys mentioned, such as “Ctrl/Cmd + A” to select layers and reset anchor points quickly. By leveraging these shortcuts, you can speed up your workflow and save valuable time during the development process.
Now that you have a solid understanding of anchor points in After Effects, it’s time to put your newfound knowledge into practice. Experiment with different anchor point positions, explore their impact on animations, and discover the endless possibilities they offer.
By continually honing your skills with anchor points, you’ll unlock the true potential of After Effects and take your motion design to the next level. So, let the anchor points be your guiding compass as you embark on your journey to create captivating visuals and animations that leave a lasting impact. Happy designing!
Our Bestsellers


