Mastering Anchor Point in After Effects: Basics and Advanced Techniques
Introduction to Mastering Anchor Point in After Effects
In the world of motion graphics and visual effects, Adobe After Effects stands out as a powerful tool that allows artists and designers to bring their creative visions to life. One fundamental aspect of working in After Effects is understanding and harnessing the power of anchor points.
The Anchor Point in After Effects is a crucial element that defines the center of rotation, scaling, and movement of a layer. Understanding and effectively using Anchor Point allows for the creation of complex and creative animations. In this article, we will explore the basics of working with Anchor Point, as well as advanced techniques for maximum control over your projects in After Effects.
Basics of Using Anchor Point:
Get 10% off when you subscribe to our newsletter

1. Open the composition in After Effects:
Load your project into After Effects and open the composition where you want to work with Anchor Point.
2. Select the layer:
Choose the layer to which you want to apply an Anchor Point by clicking on it in the composition panel or selecting it in the project window.

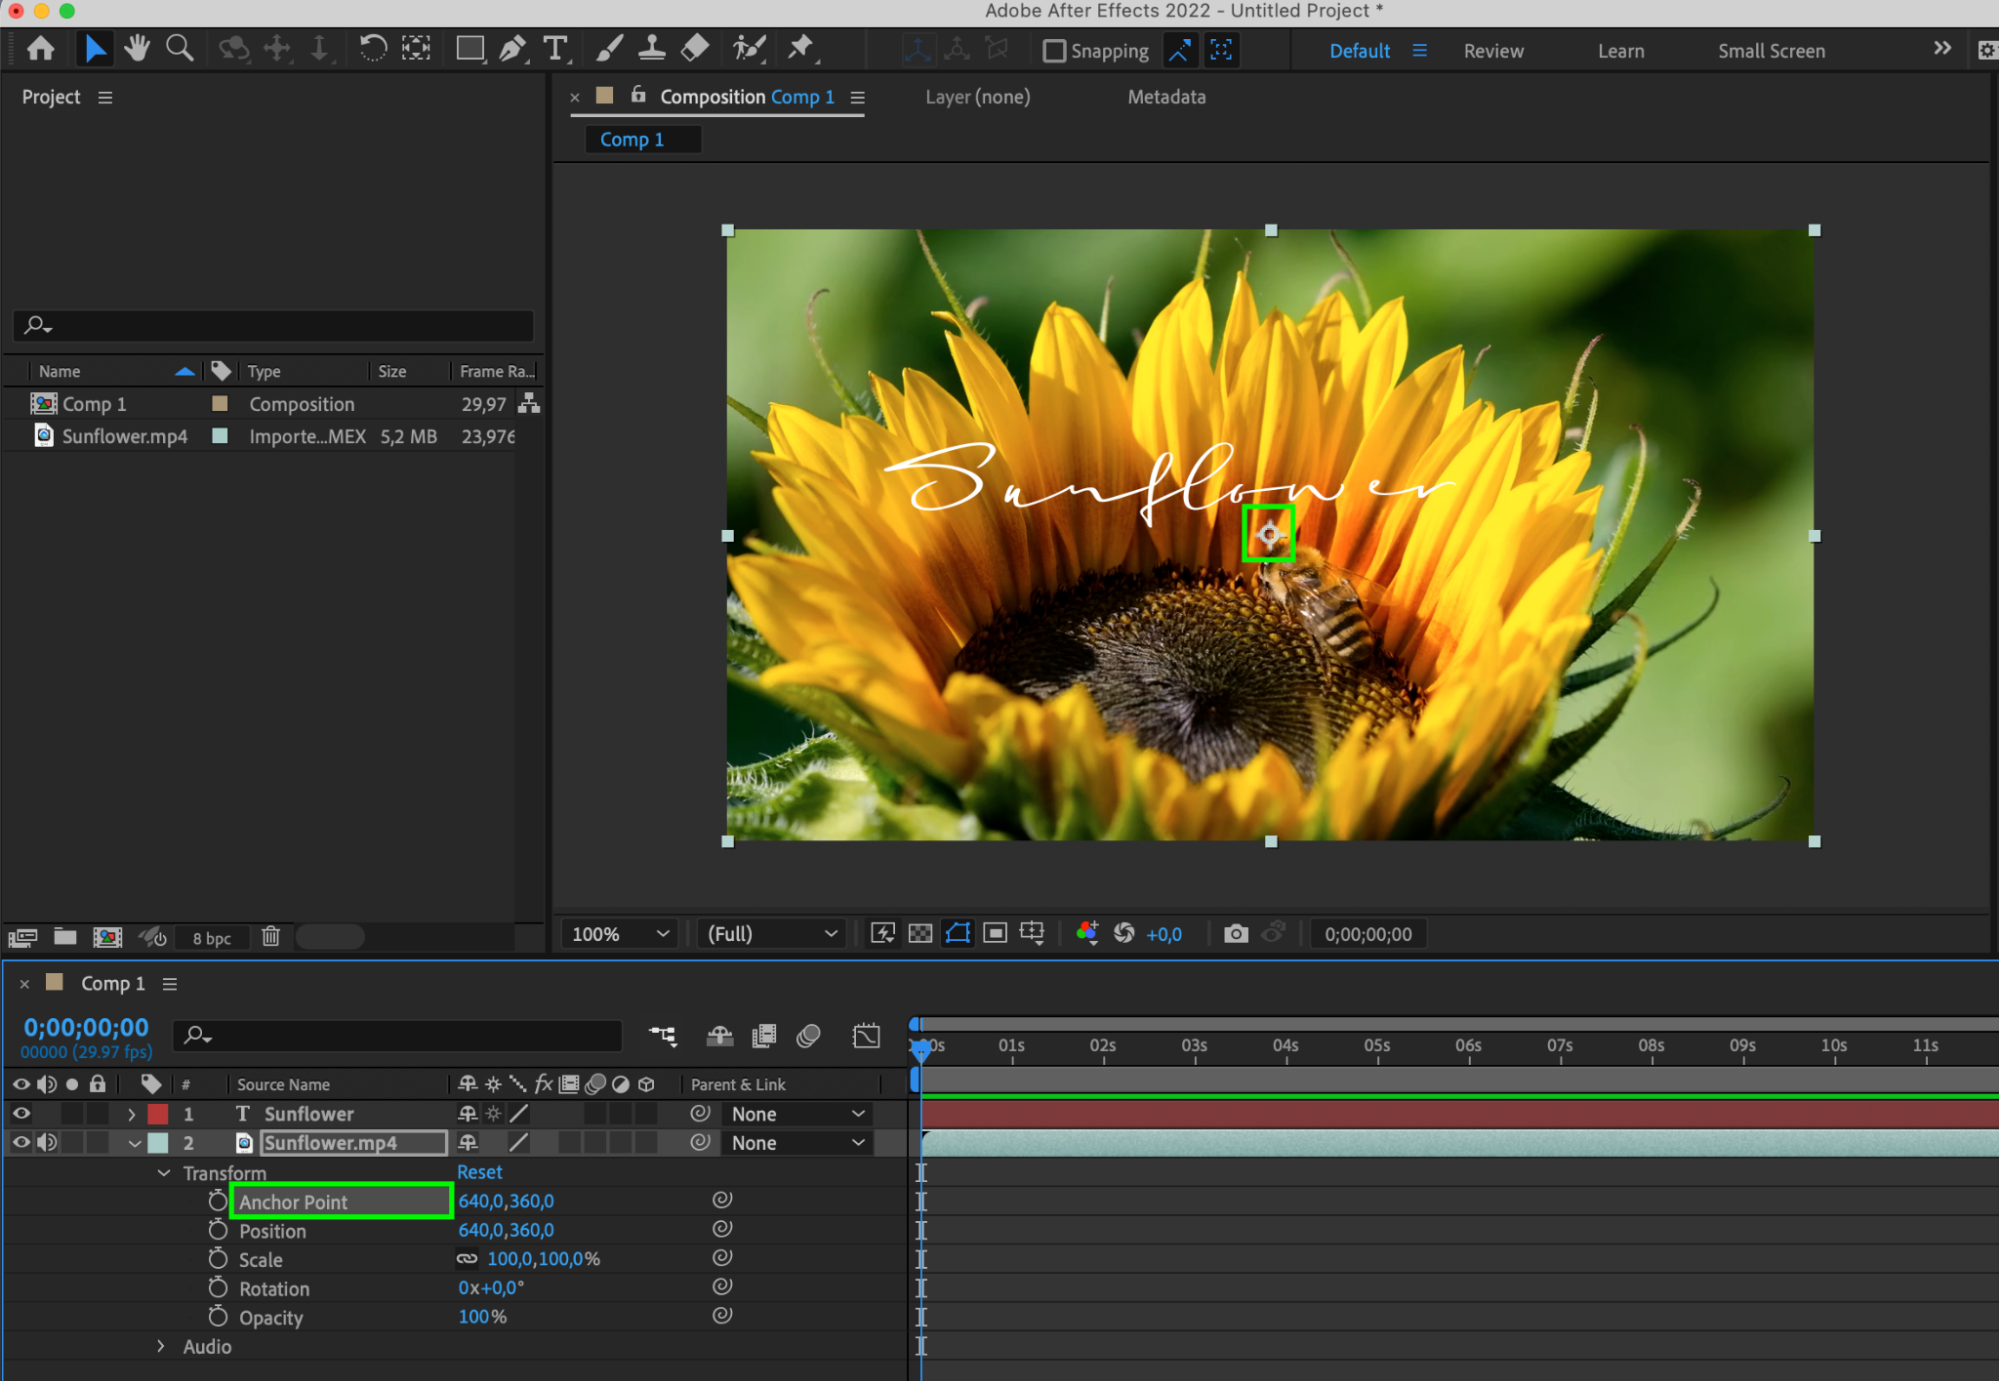
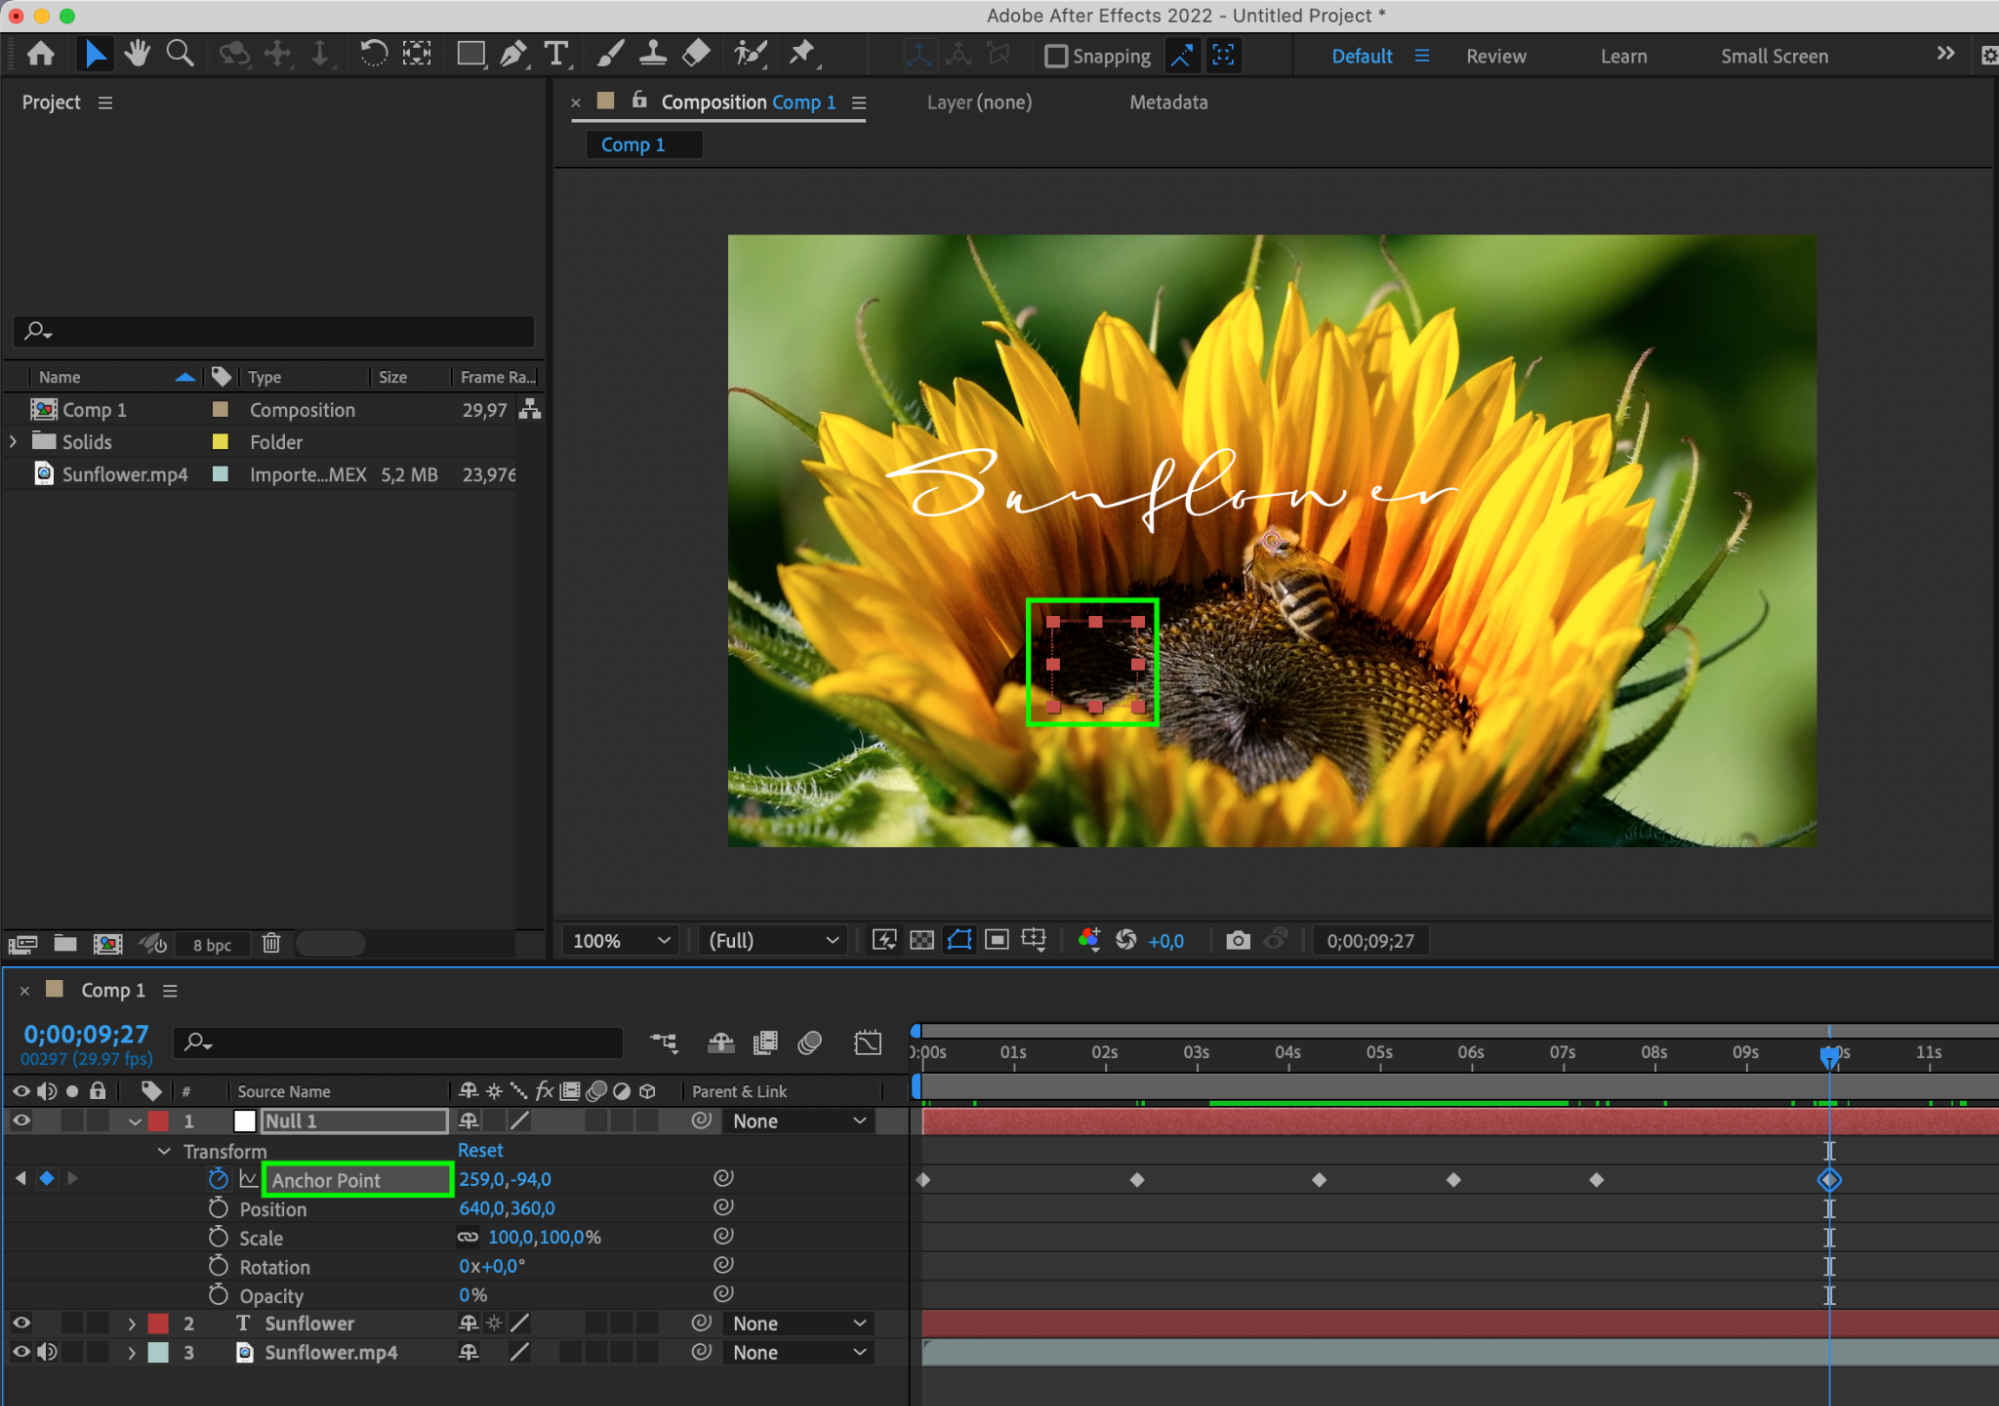
3. Adjust the Anchor Point:
In the Transform panel, located at the bottom of the After Effects interface, find the Anchor Point parameter. Click on the icon with coordinates next to “Anchor Point.” A crosshair will appear – this is your Anchor Point. Drag this crosshair to any position on your layer.
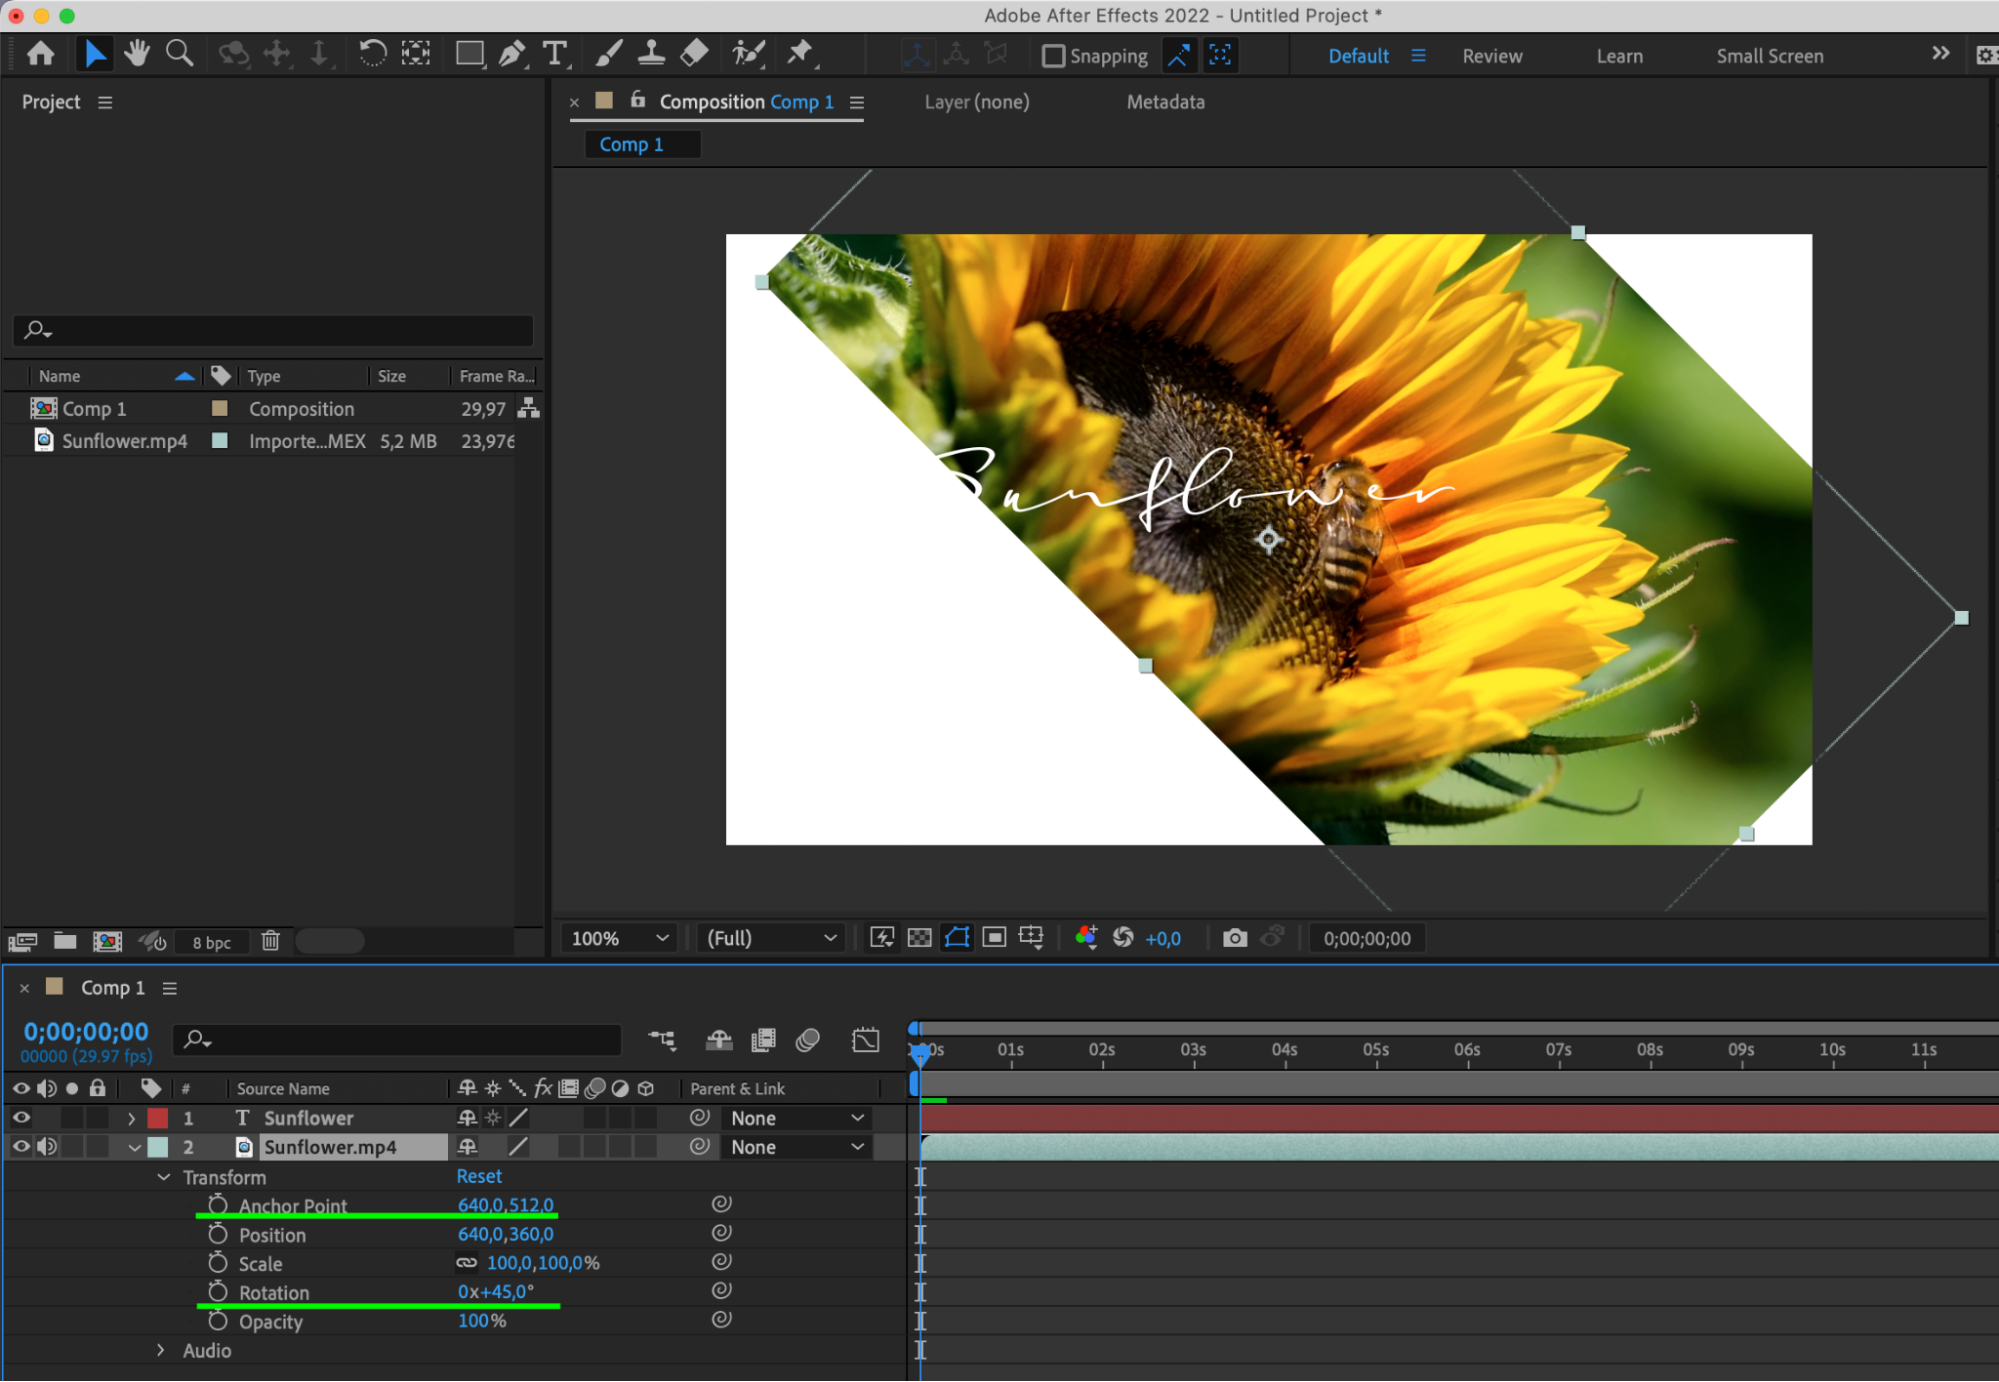
4. Apply transformations:
After setting the Anchor Point, any transformations, such as scaling, rotation, or movement, will occur relative to this point.
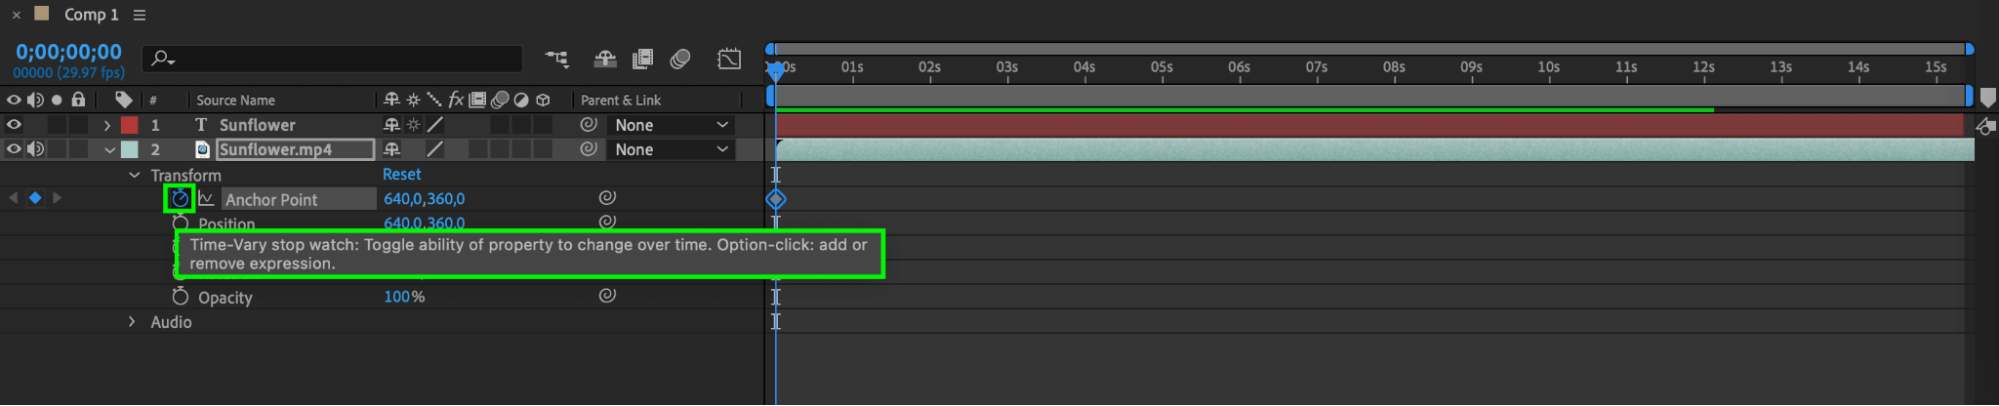
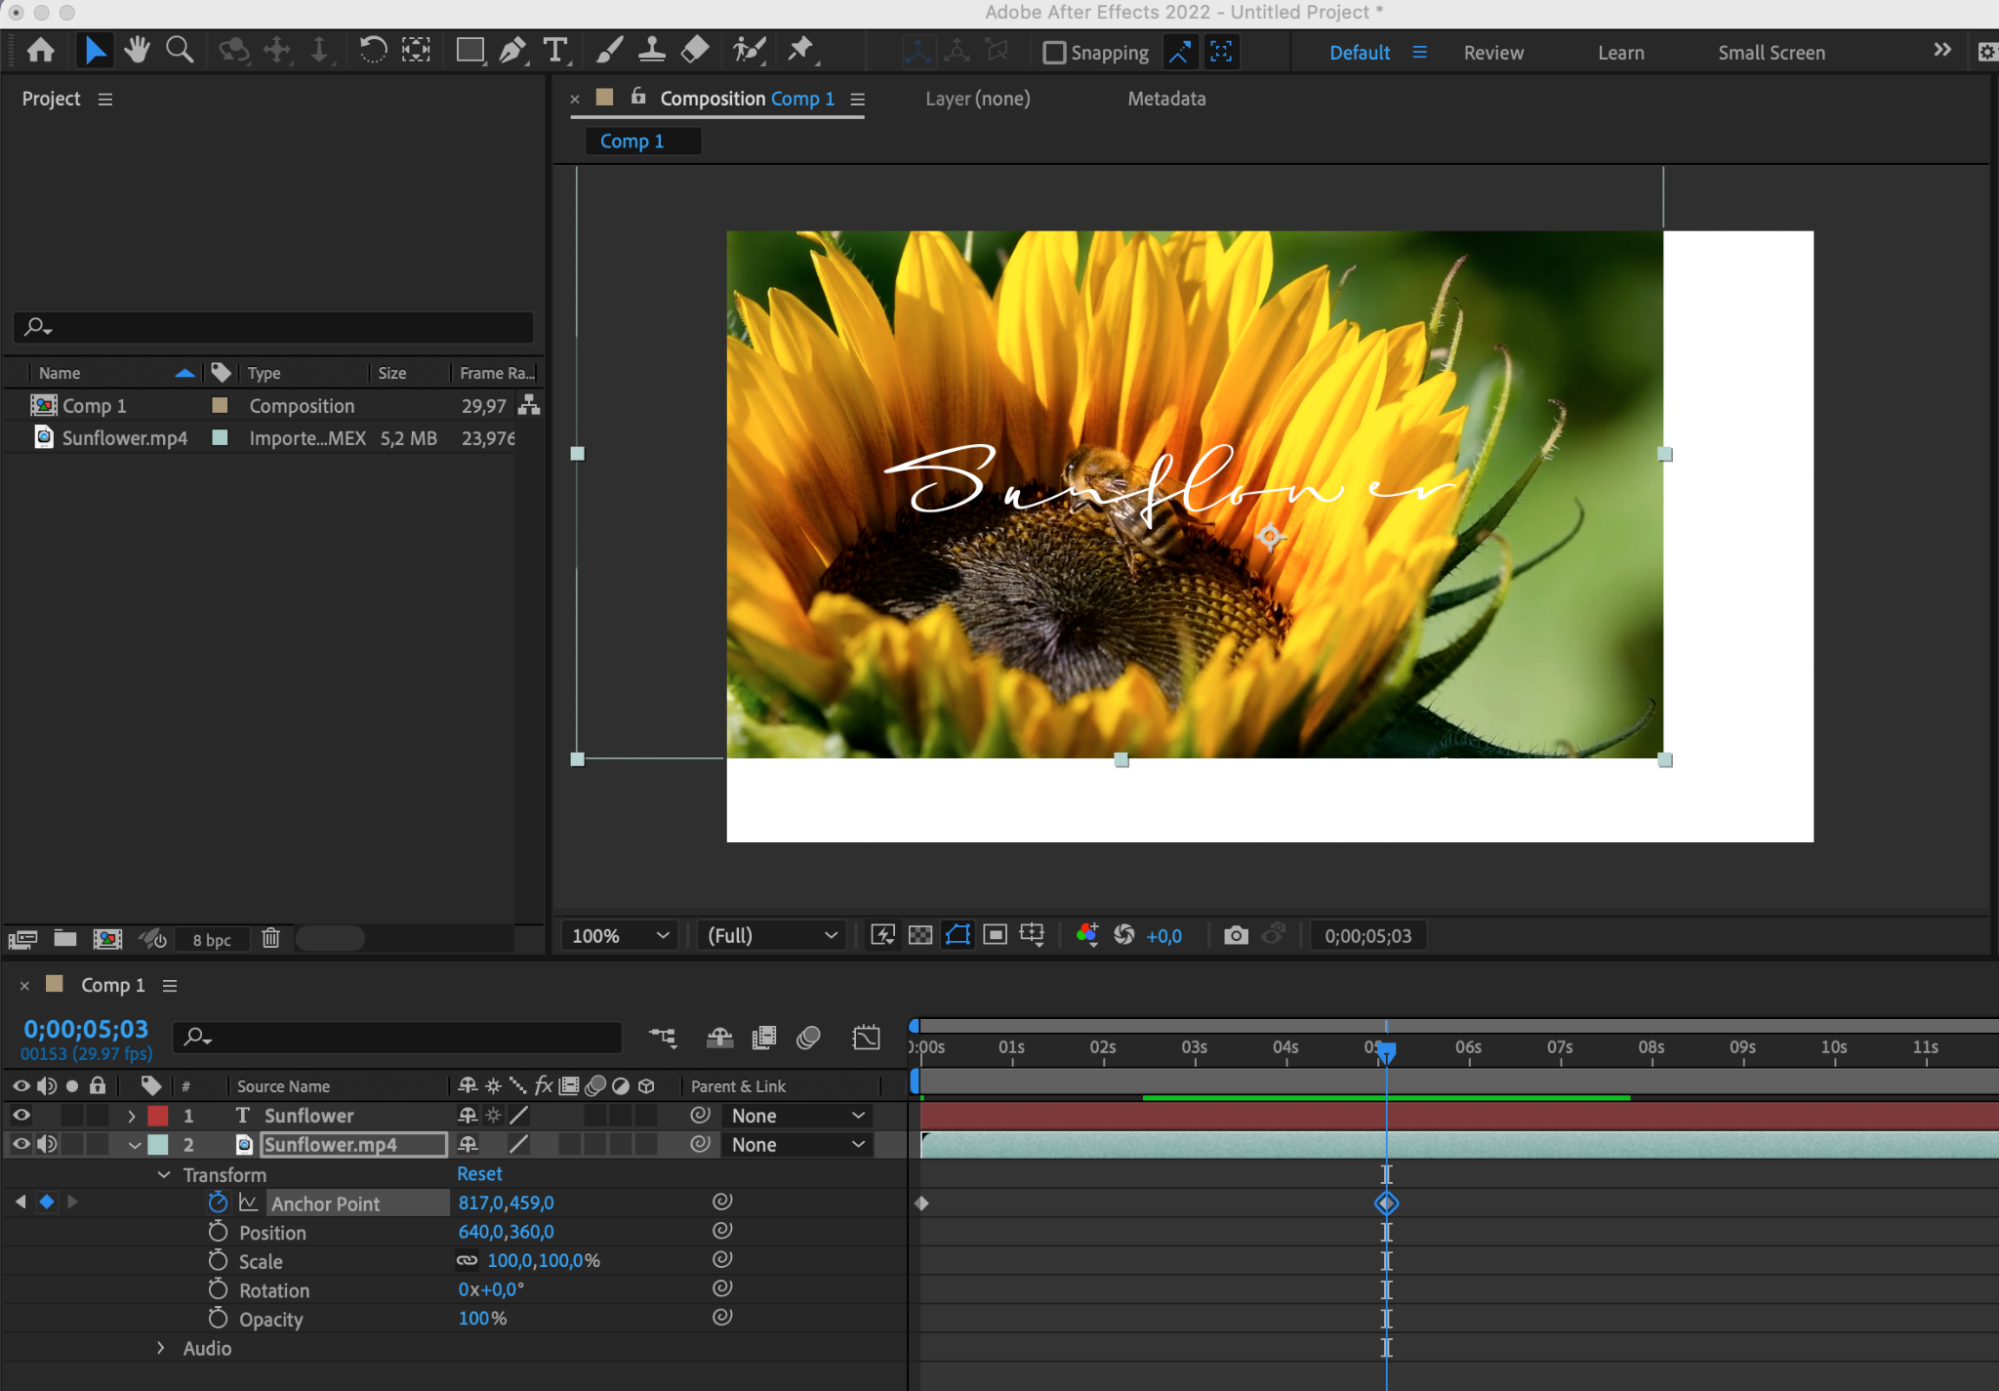
5. Animate Anchor Point:
Create an animation for the Anchor Point to change its position over time. To do this, open the Transform panel, select the frame where you want to set a keyframe, and move the Anchor Point. After Effects will create a keyframe for the Anchor Point on the selected frame.
Advanced Techniques:
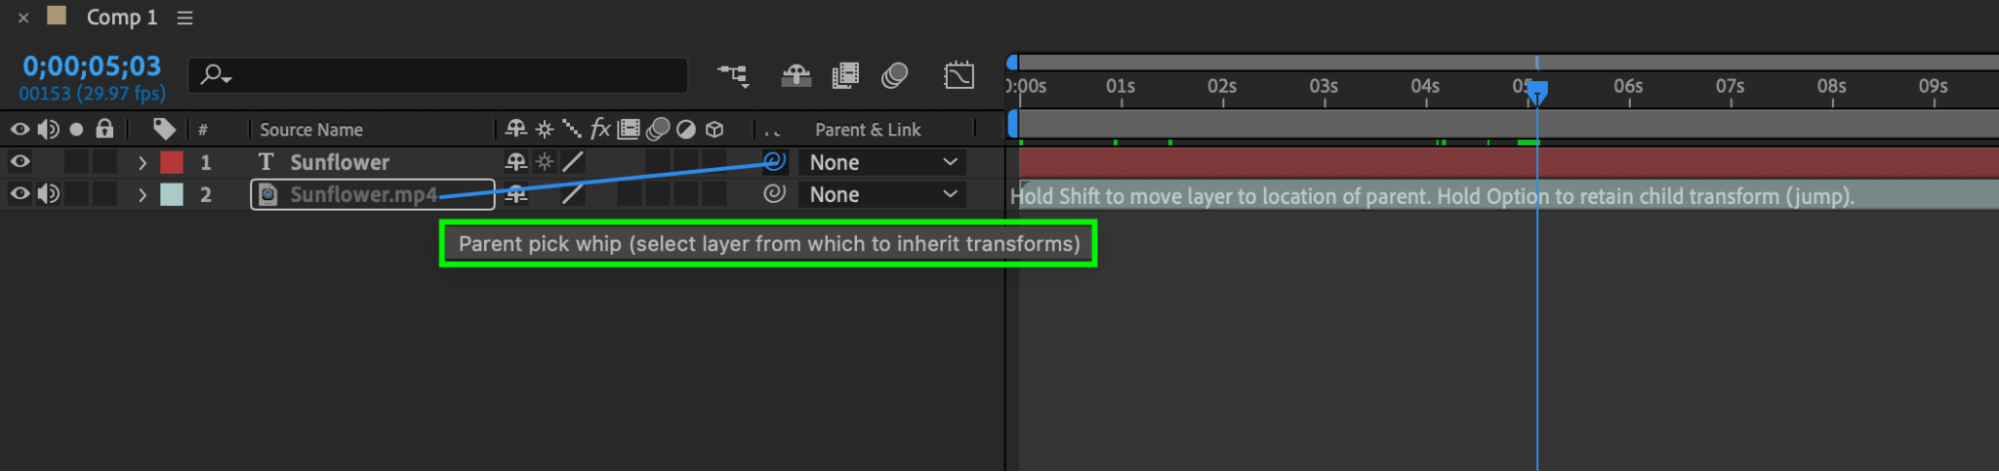
6: Utilizing Parent-Child Relationships
Assign parent and child layers to make the latter follow the settings of the parent layers, which can significantly streamline the animation process.
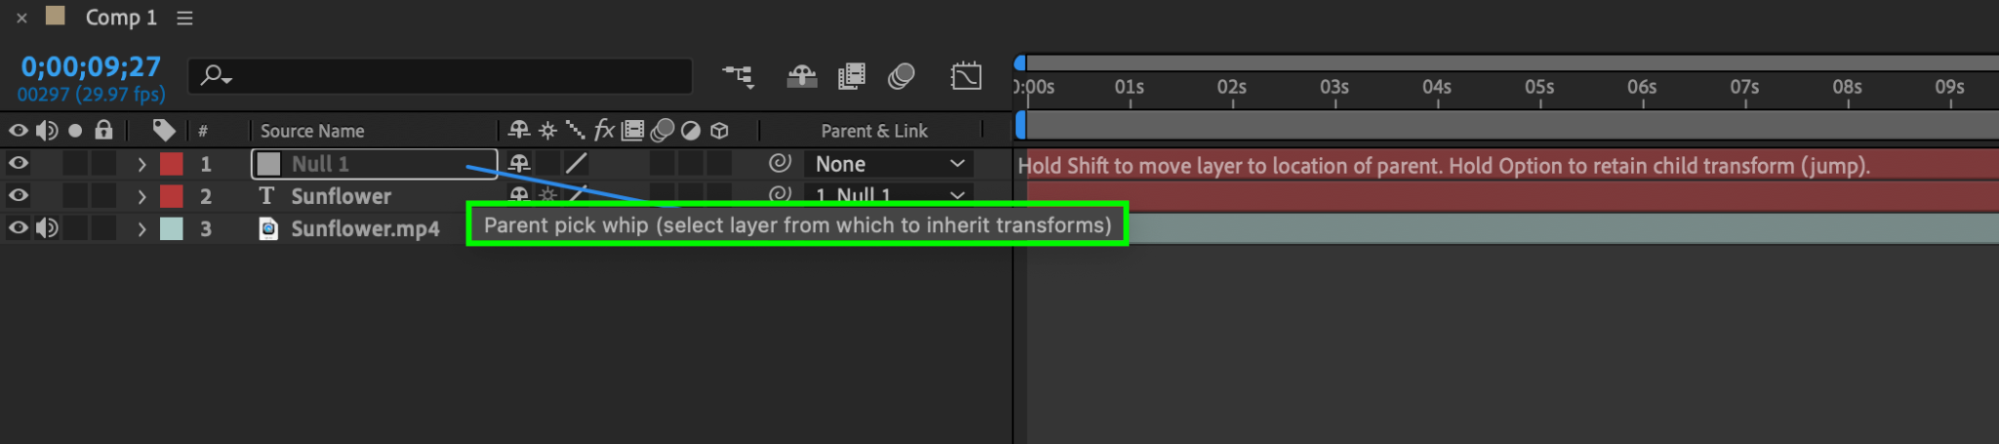
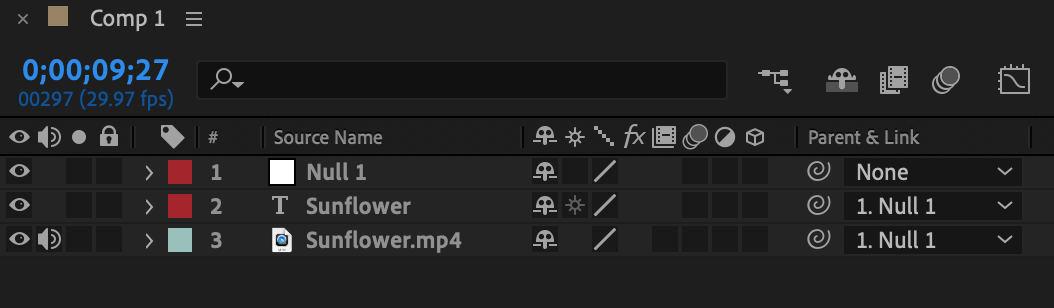
7: Advanced Techniques with Null Objects
Use null objects as control layers to manipulate Anchor Points on multiple layers simultaneously, creating complex animations with precise synchronization.
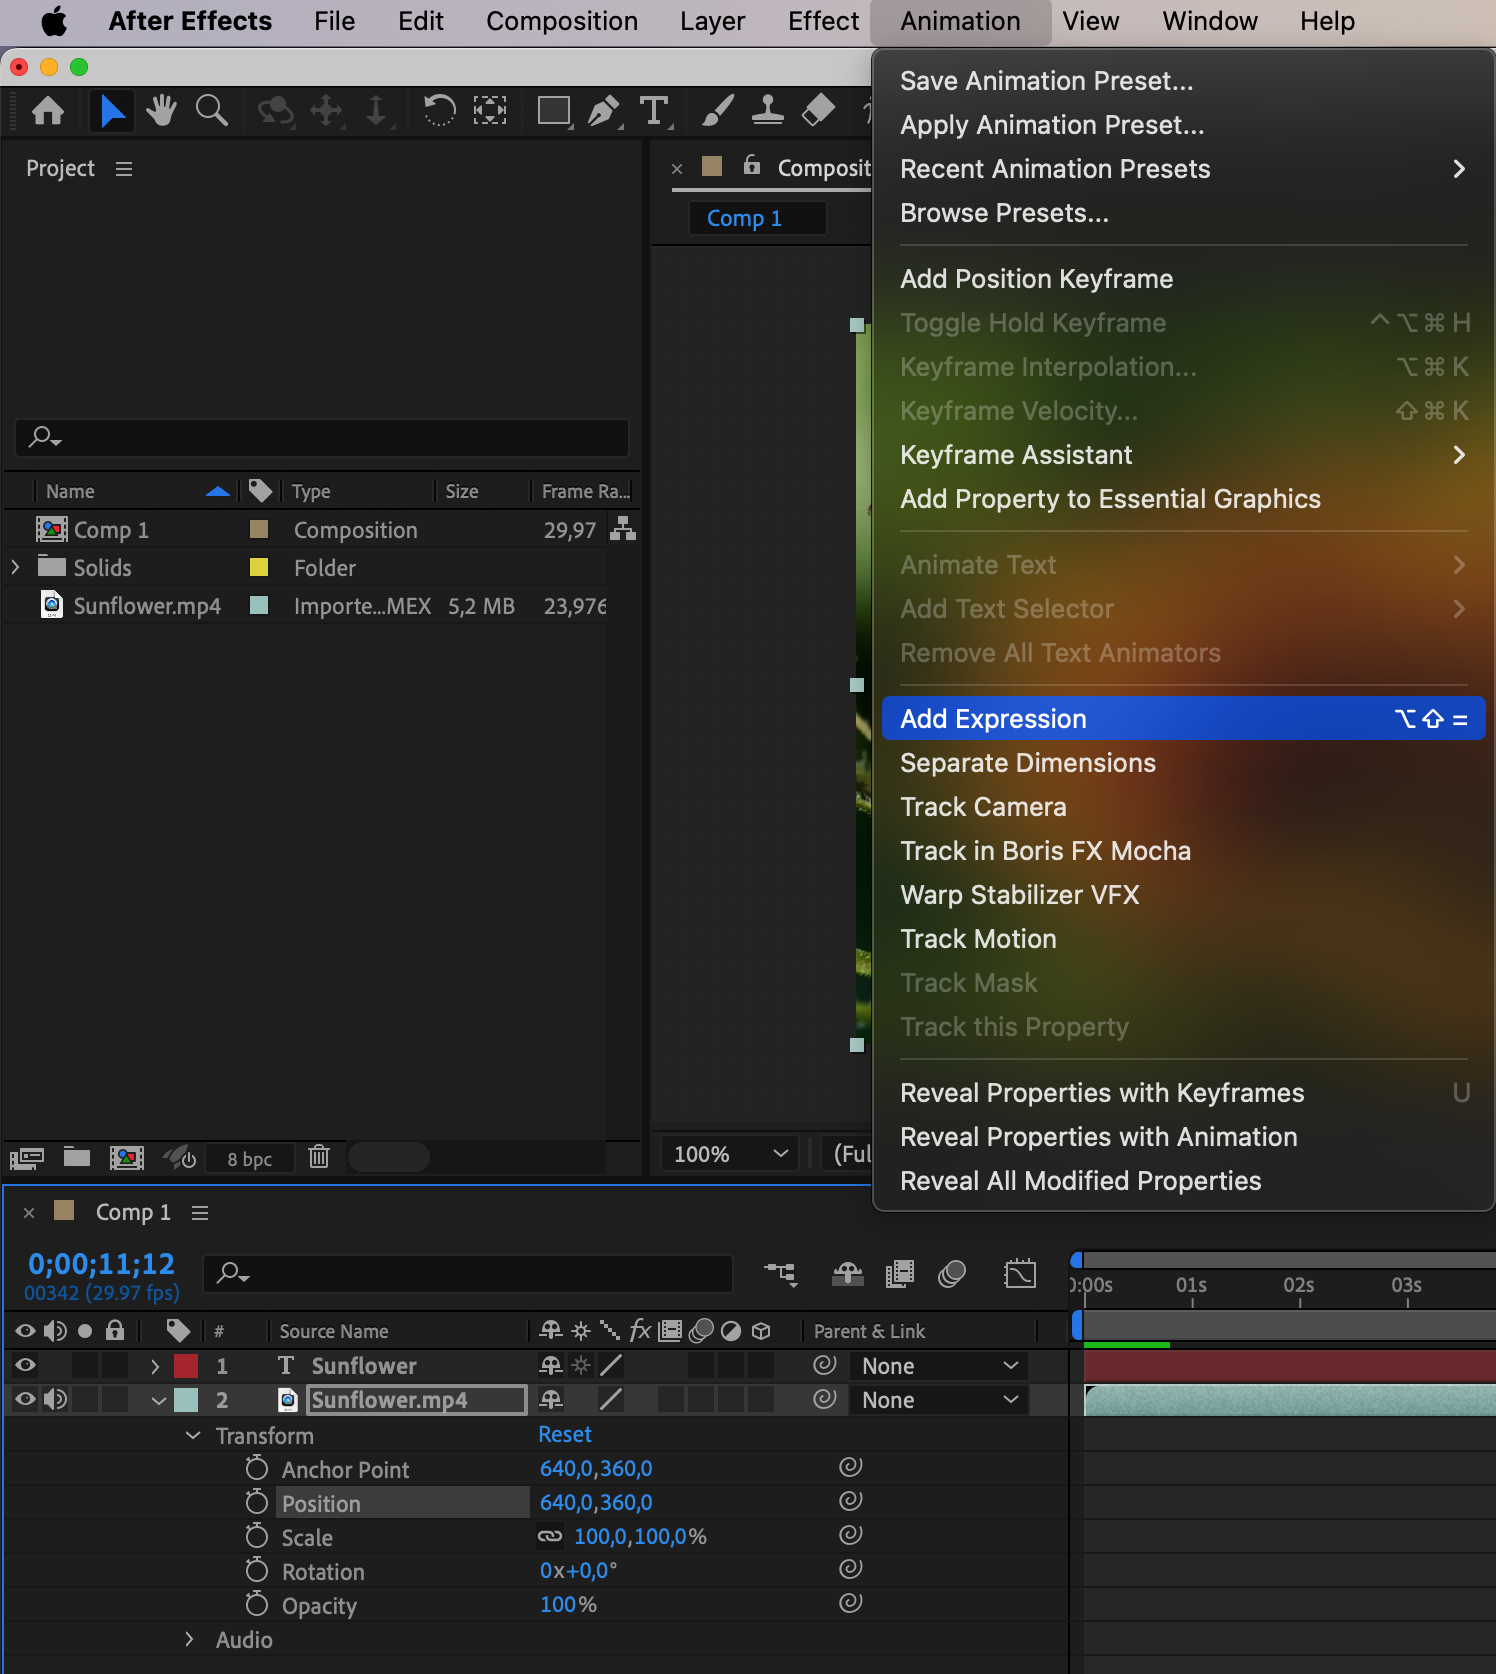
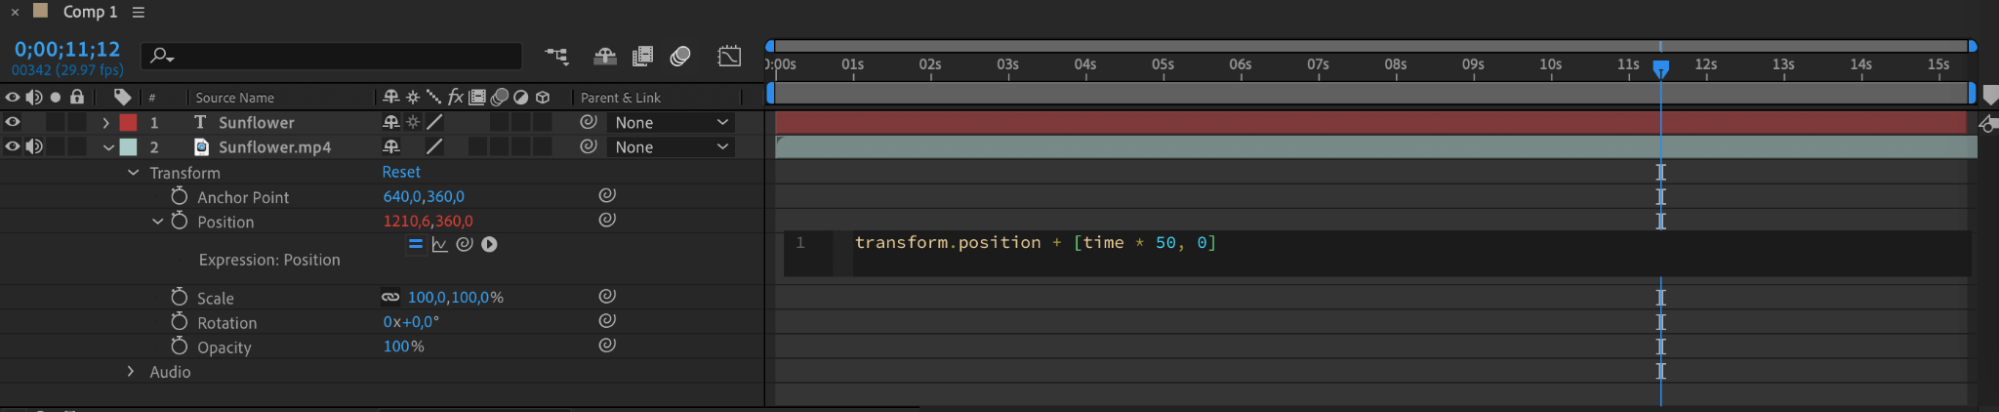
8: Harnessing Expressions
Explore expression capabilities to automate Anchor Point transformations and create dynamic animations responsive to changes in variables such as time, position, or scale.
These advanced techniques will not only allow you to manage Anchor Point more efficiently, but also create more complex and engaging animations in After Effects.
Conclusion
Whether you are creating dynamic animations, captivating visual effects, or polished motion graphics, the strategic use of anchor points can help you achieve precise control over your compositions and bring your creative visions to life. By incorporating the knowledge and skills presented in this guide into your workflow, you can confidently navigate the intricacies of anchor points in After Effects and take your projects to new heights of excellence.
Embrace the power of anchor points in After Effects, and unleash your creativity with precision and purpose. Start your journey to mastering anchor point usage today and elevate your motion graphics to a whole new level of artistry and sophistication.
Our Bestsellers


