Mastering Shape Layers in After Effects
Getting Started with Shape Layers in After Effects
Shape layers in Adobe After Effects are a versatile tool for creating custom shapes, illustrations, and animations directly within your project. With shape layers, you can draw vector shapes, customize their appearance, and add animations to bring your graphics to life. In this guide, we’ll walk through the basics of creating, editing, and animating shape layers, enabling you to add unique, polished visuals to your compositions.
Step 1: Creating a Shape Layer
Start by creating a new shape layer. Select the Shape Tool (Rectangle, Ellipse, Polygon, or Star) from the toolbar or use the shortcut Q. Click and drag on the composition panel to draw your shape, and a new shape layer will appear in the timeline. Shape layers are vector-based, meaning they stay sharp at any size, ideal for high-resolution projects.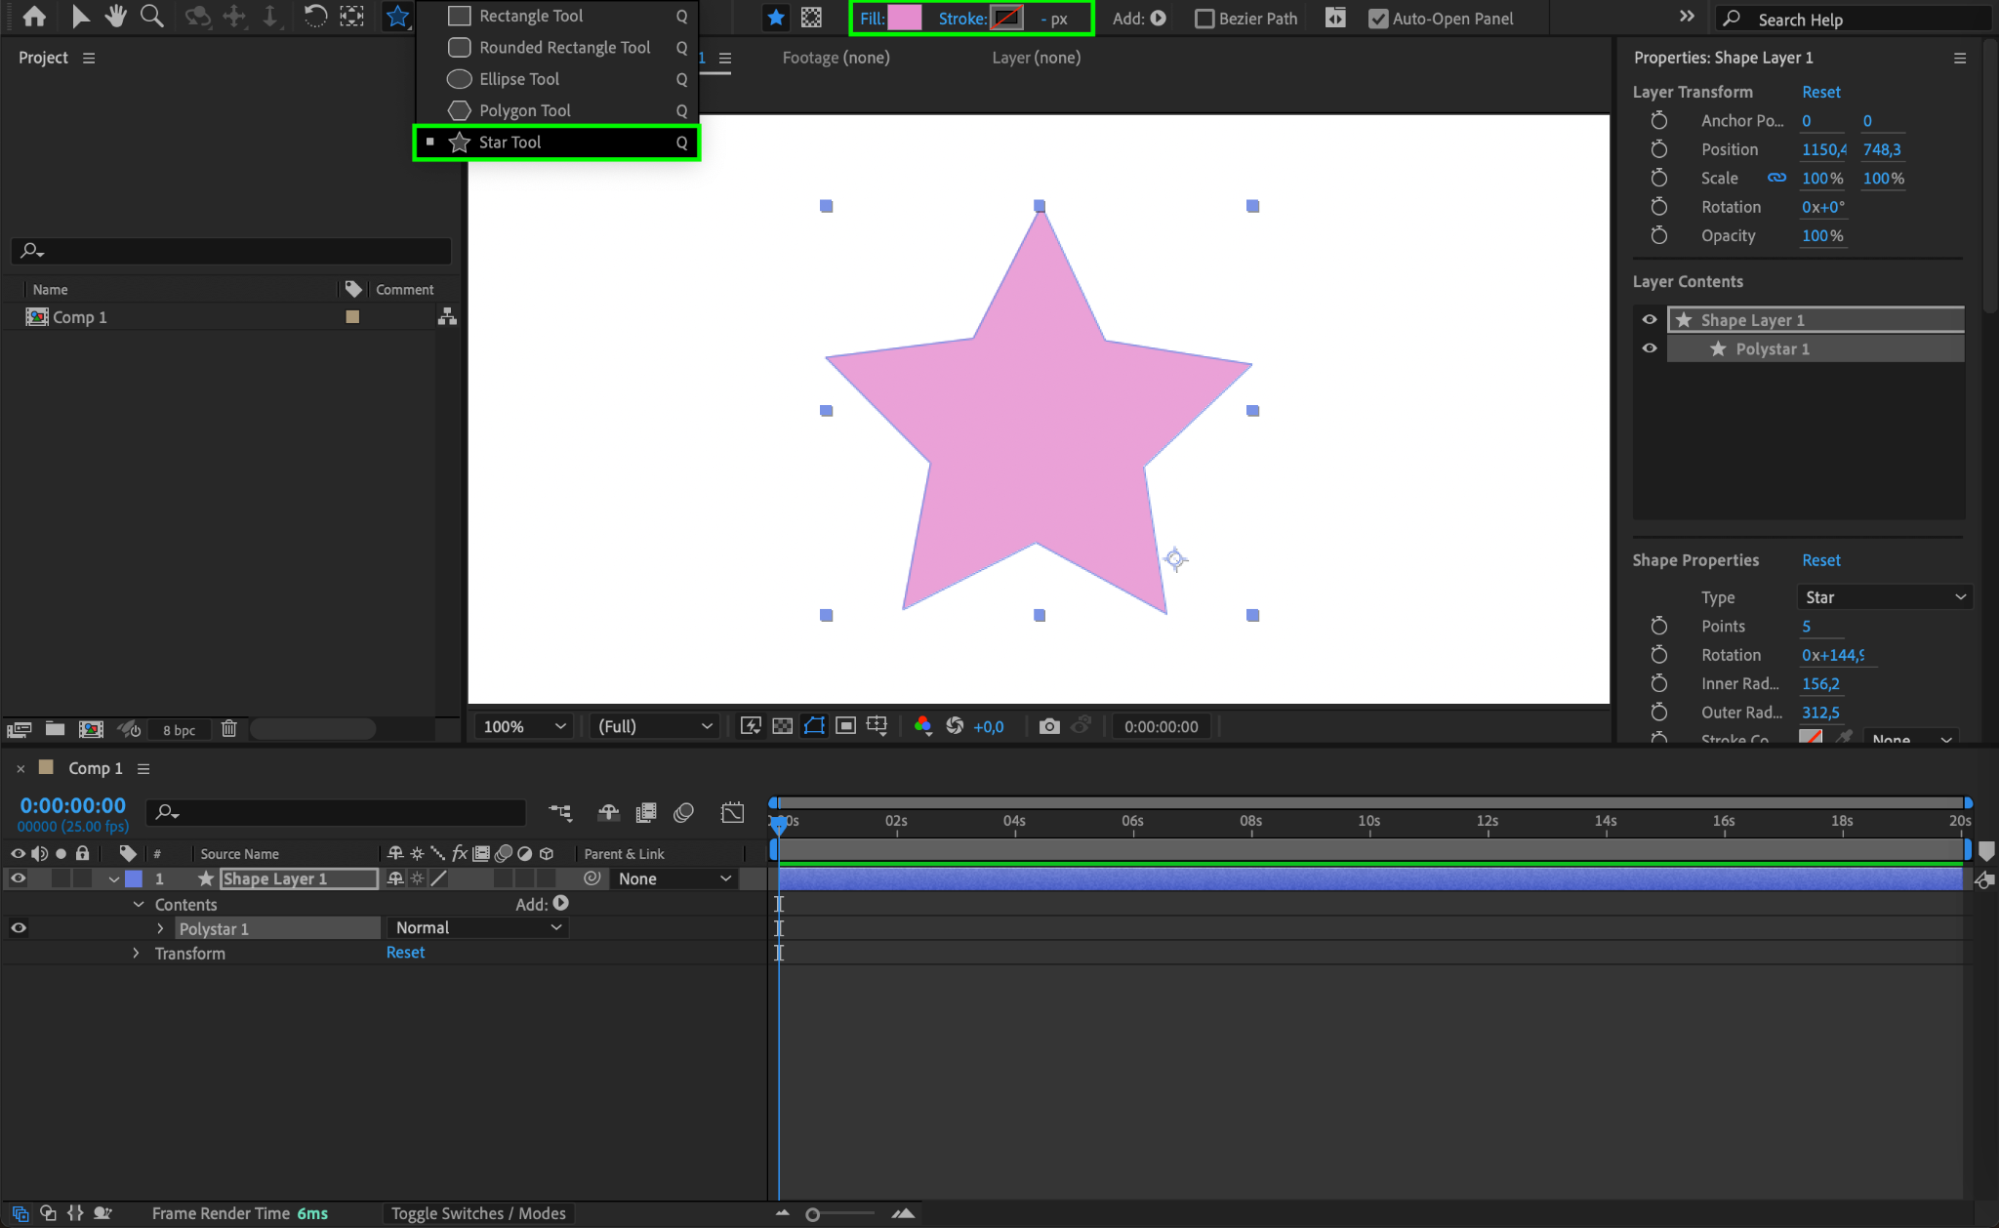 Step 2: Customizing Shape Properties
Once you’ve created your shape layer, customize its properties by expanding the layer in the timeline. Adjust properties like Fill, Stroke, and Opacity to refine its appearance. The Fill option lets you add a solid color or gradient, while Stroke adds an outline. Customizing these properties ensures that your shapes integrate seamlessly with the rest of your composition.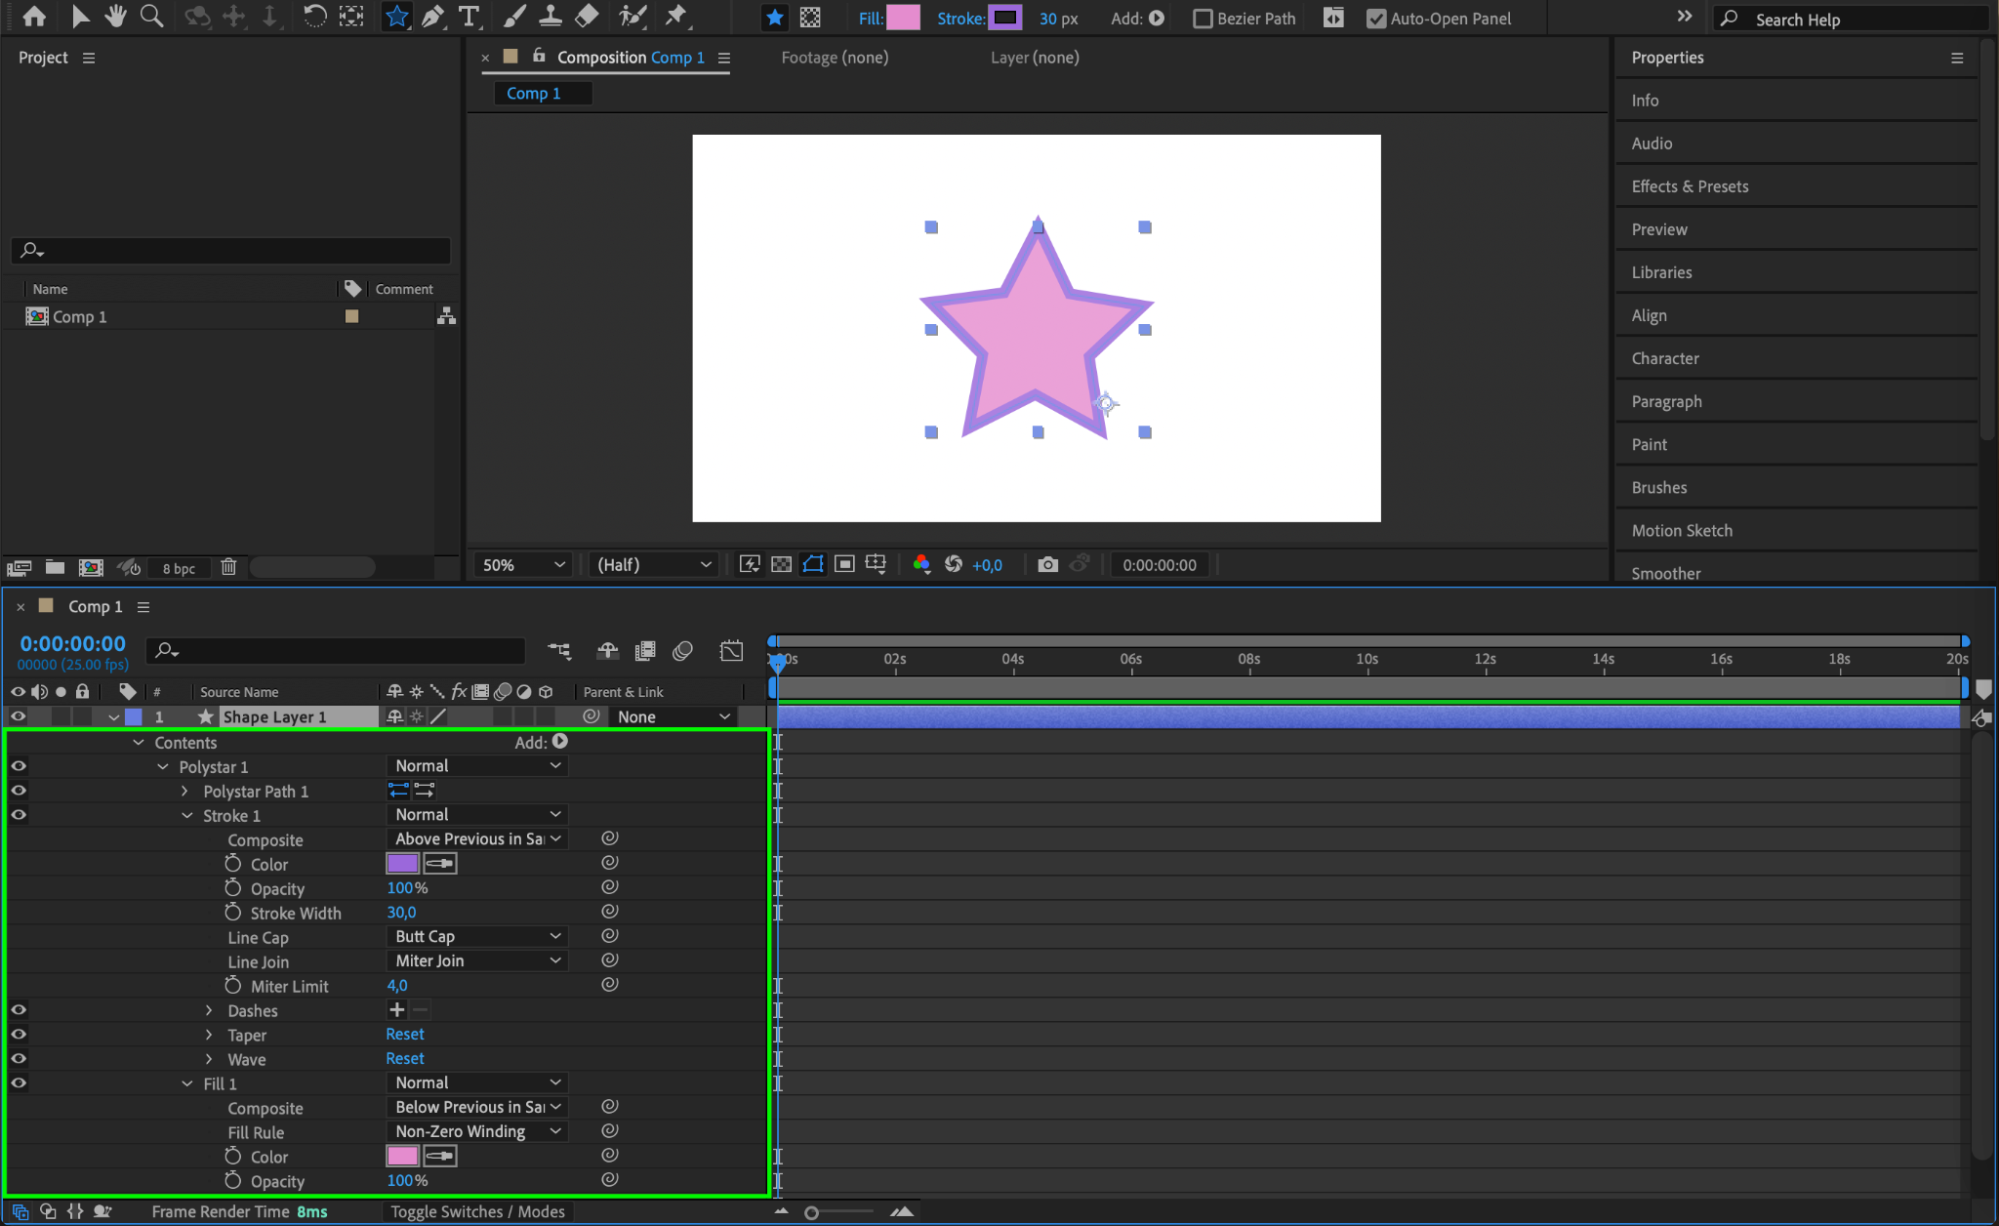
Step 3: Transforming the Shape Layer
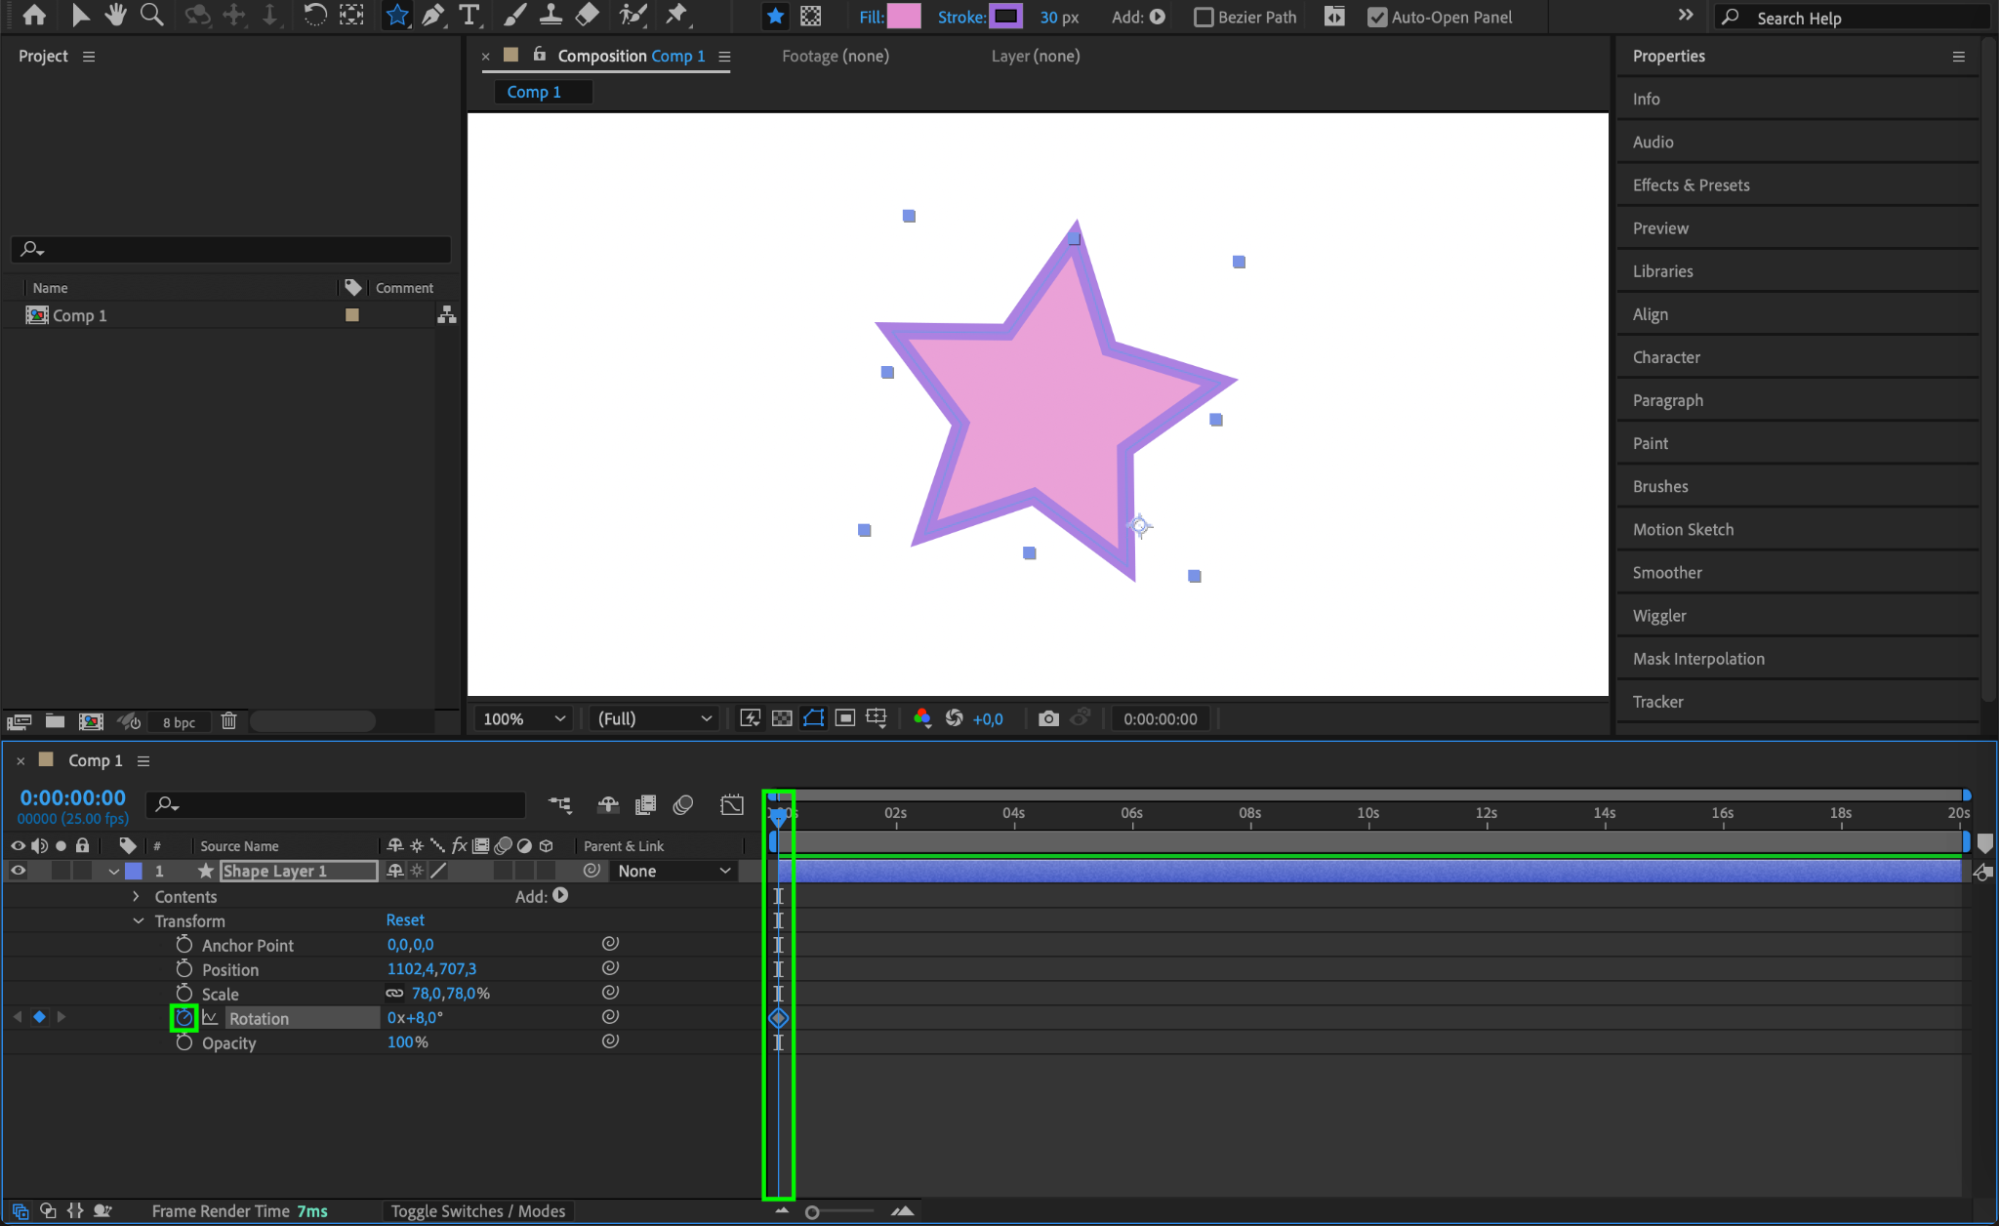
Each shape layer has Transform options, including Position, Scale, Rotation, and Opacity. These allow you to place, size, or rotate the shape precisely within the composition. You can animate these transform properties to make your shape move, grow, or rotate over time, adding a dynamic element to your design.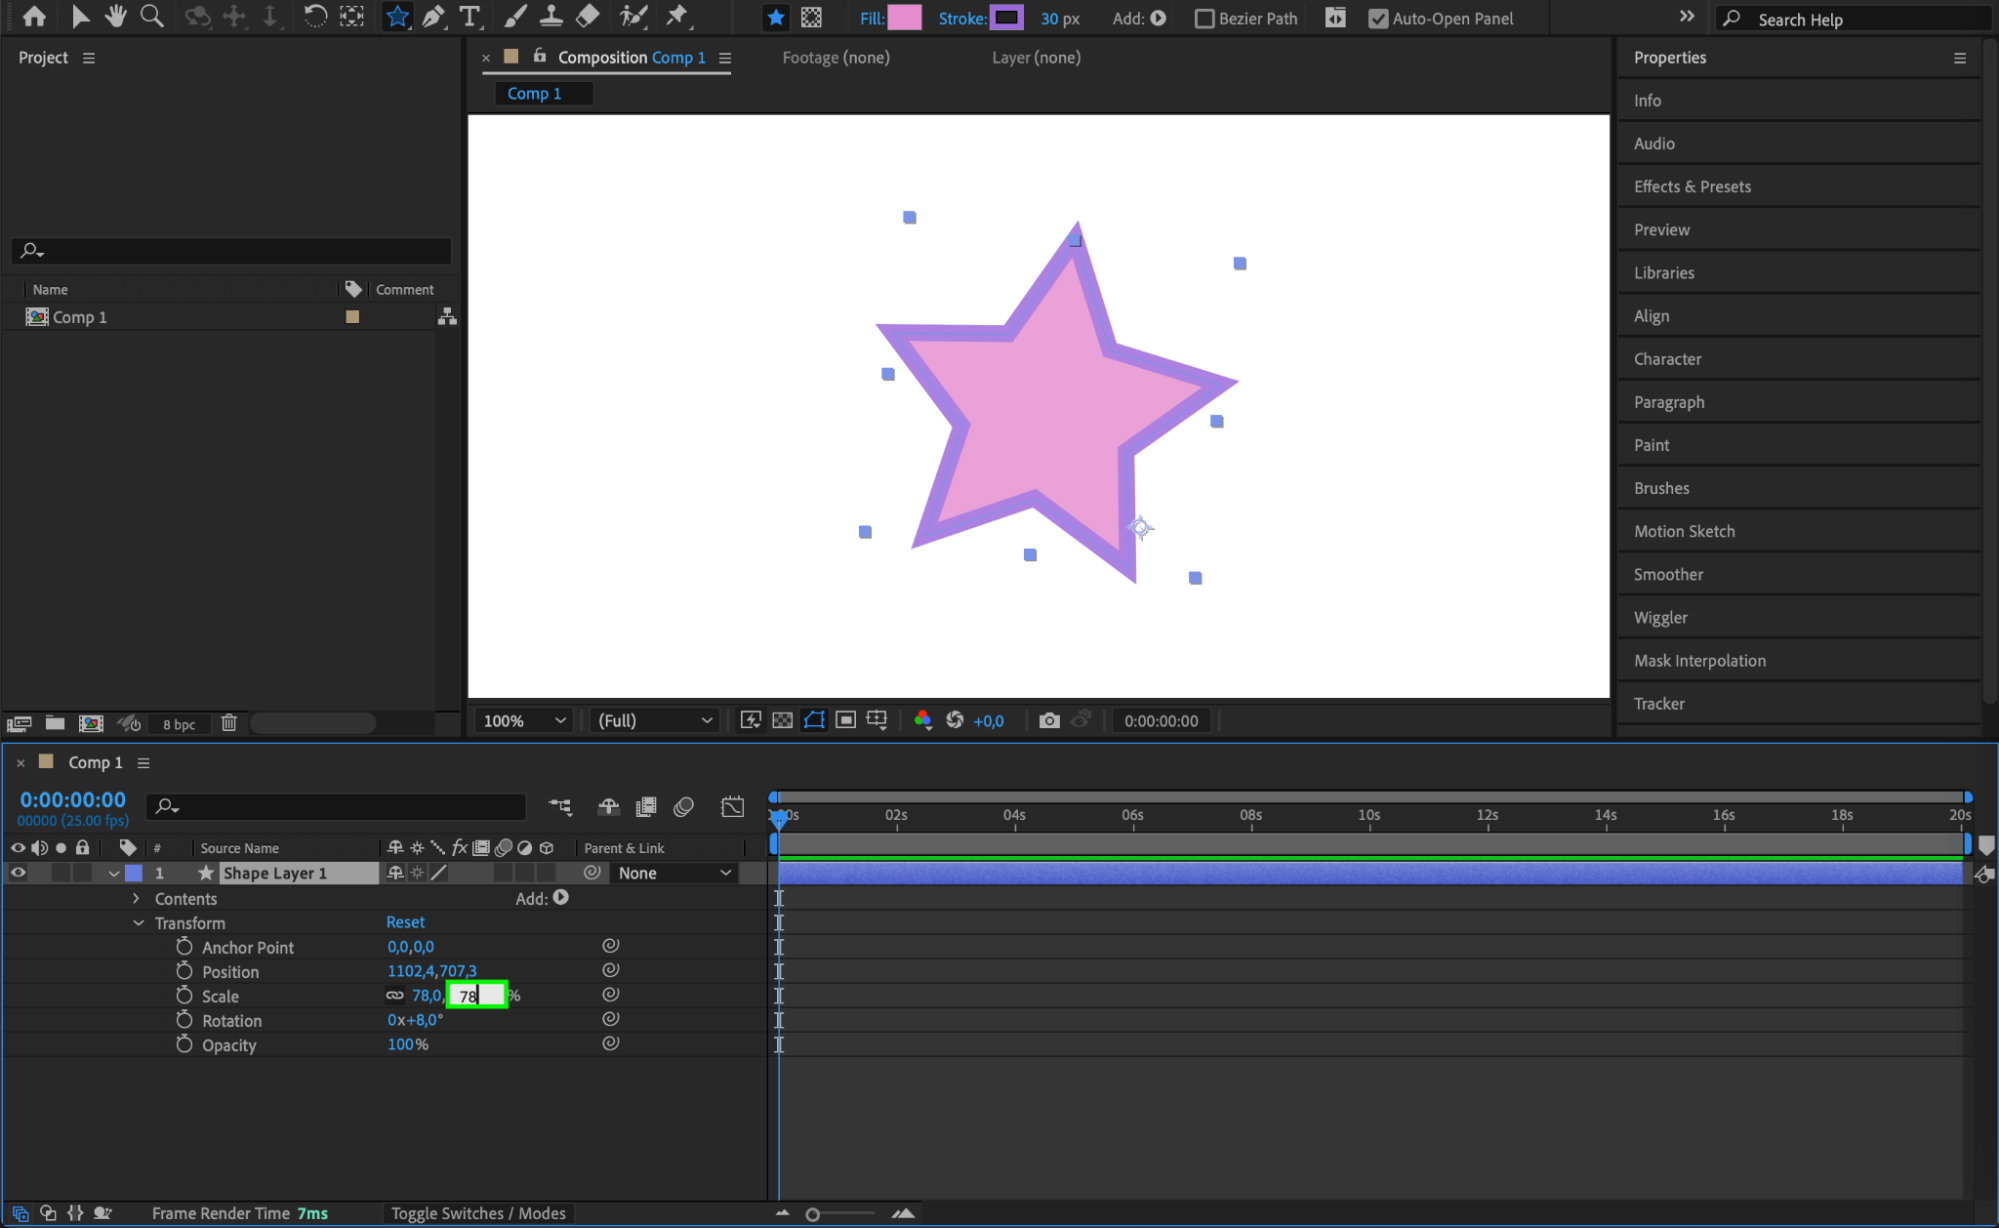
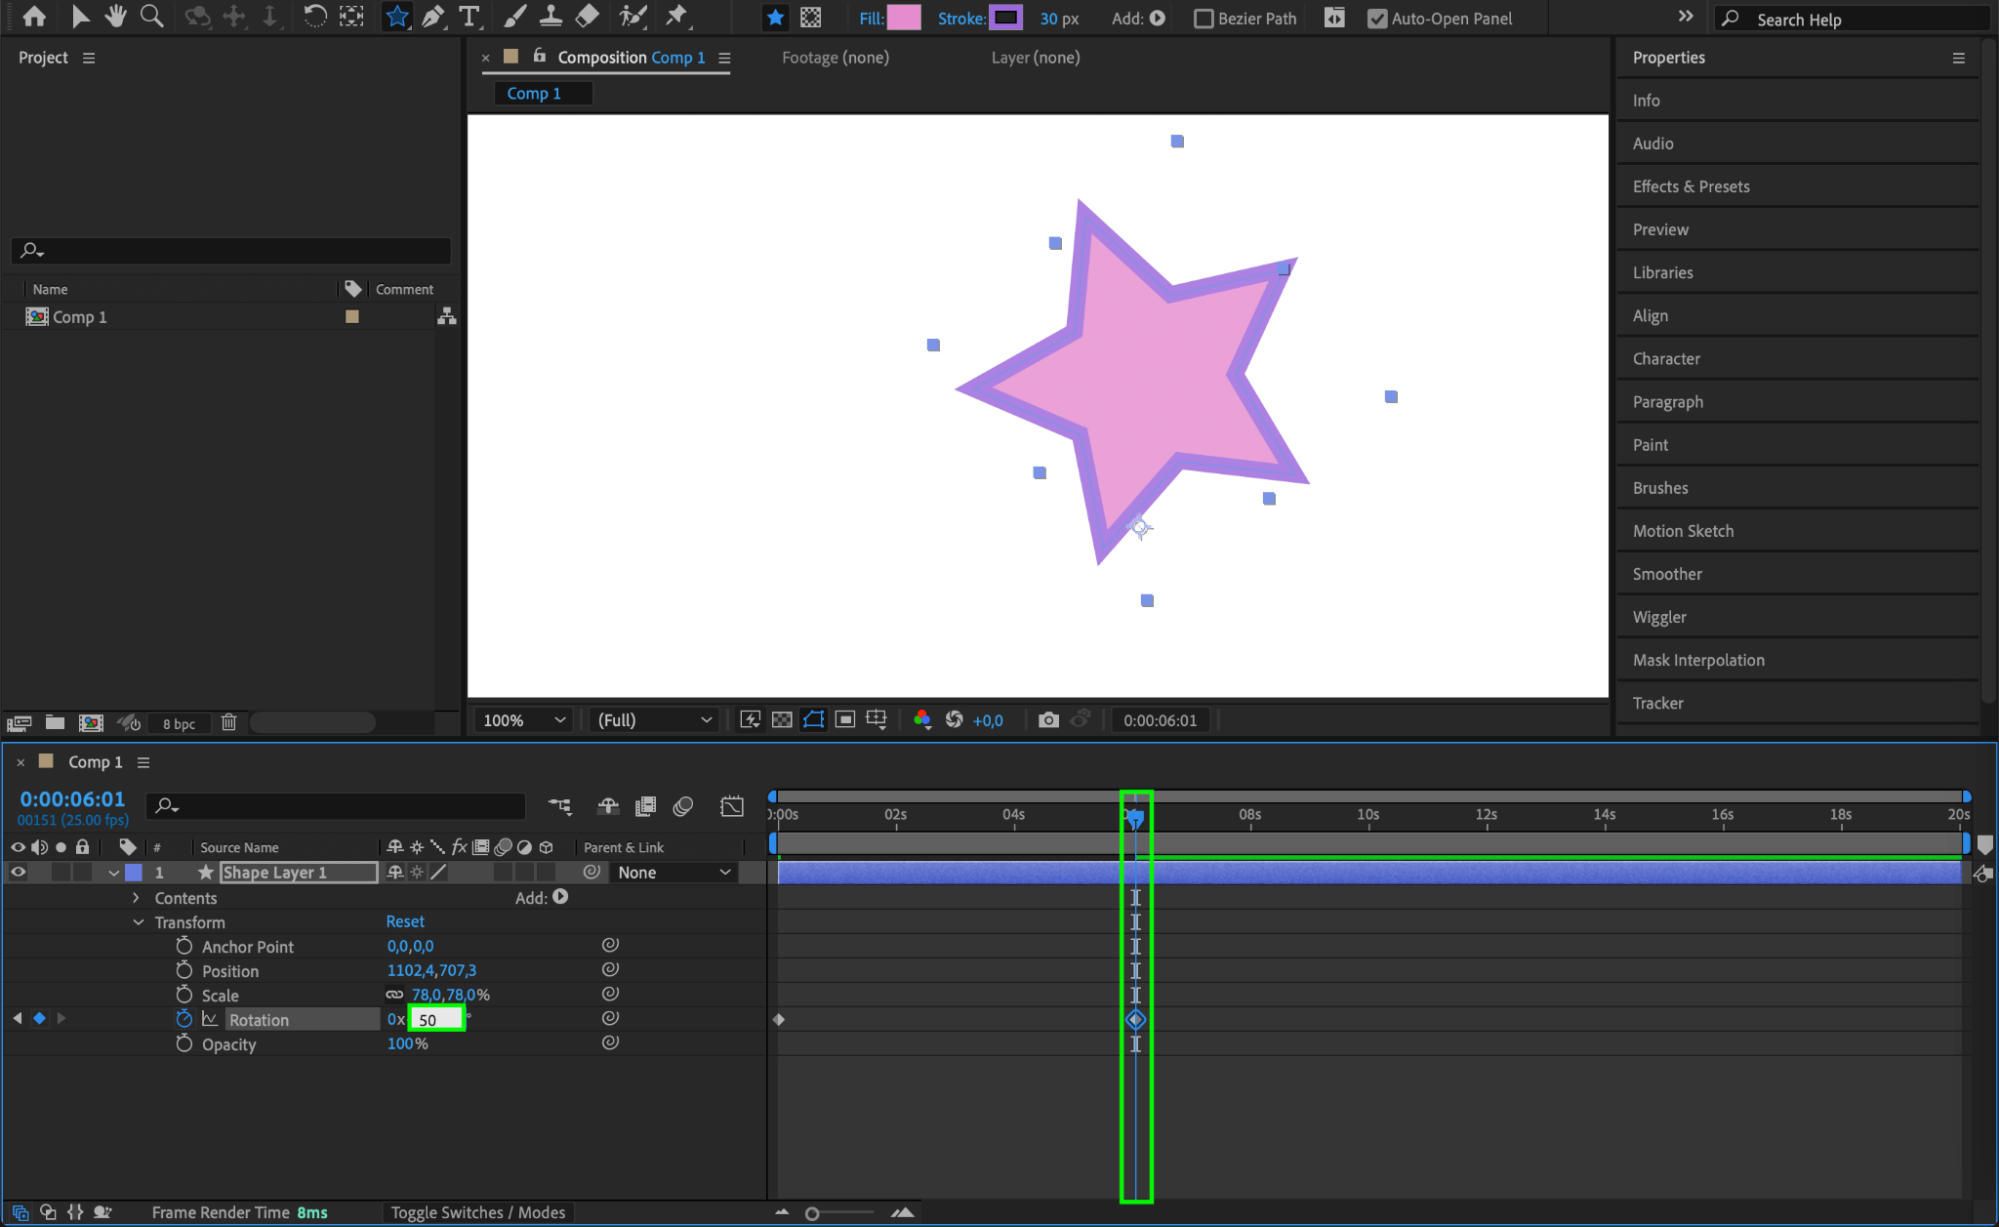 Step 4: Adding Shape Path Animations
Get 10% off when you subscribe to our newsletter

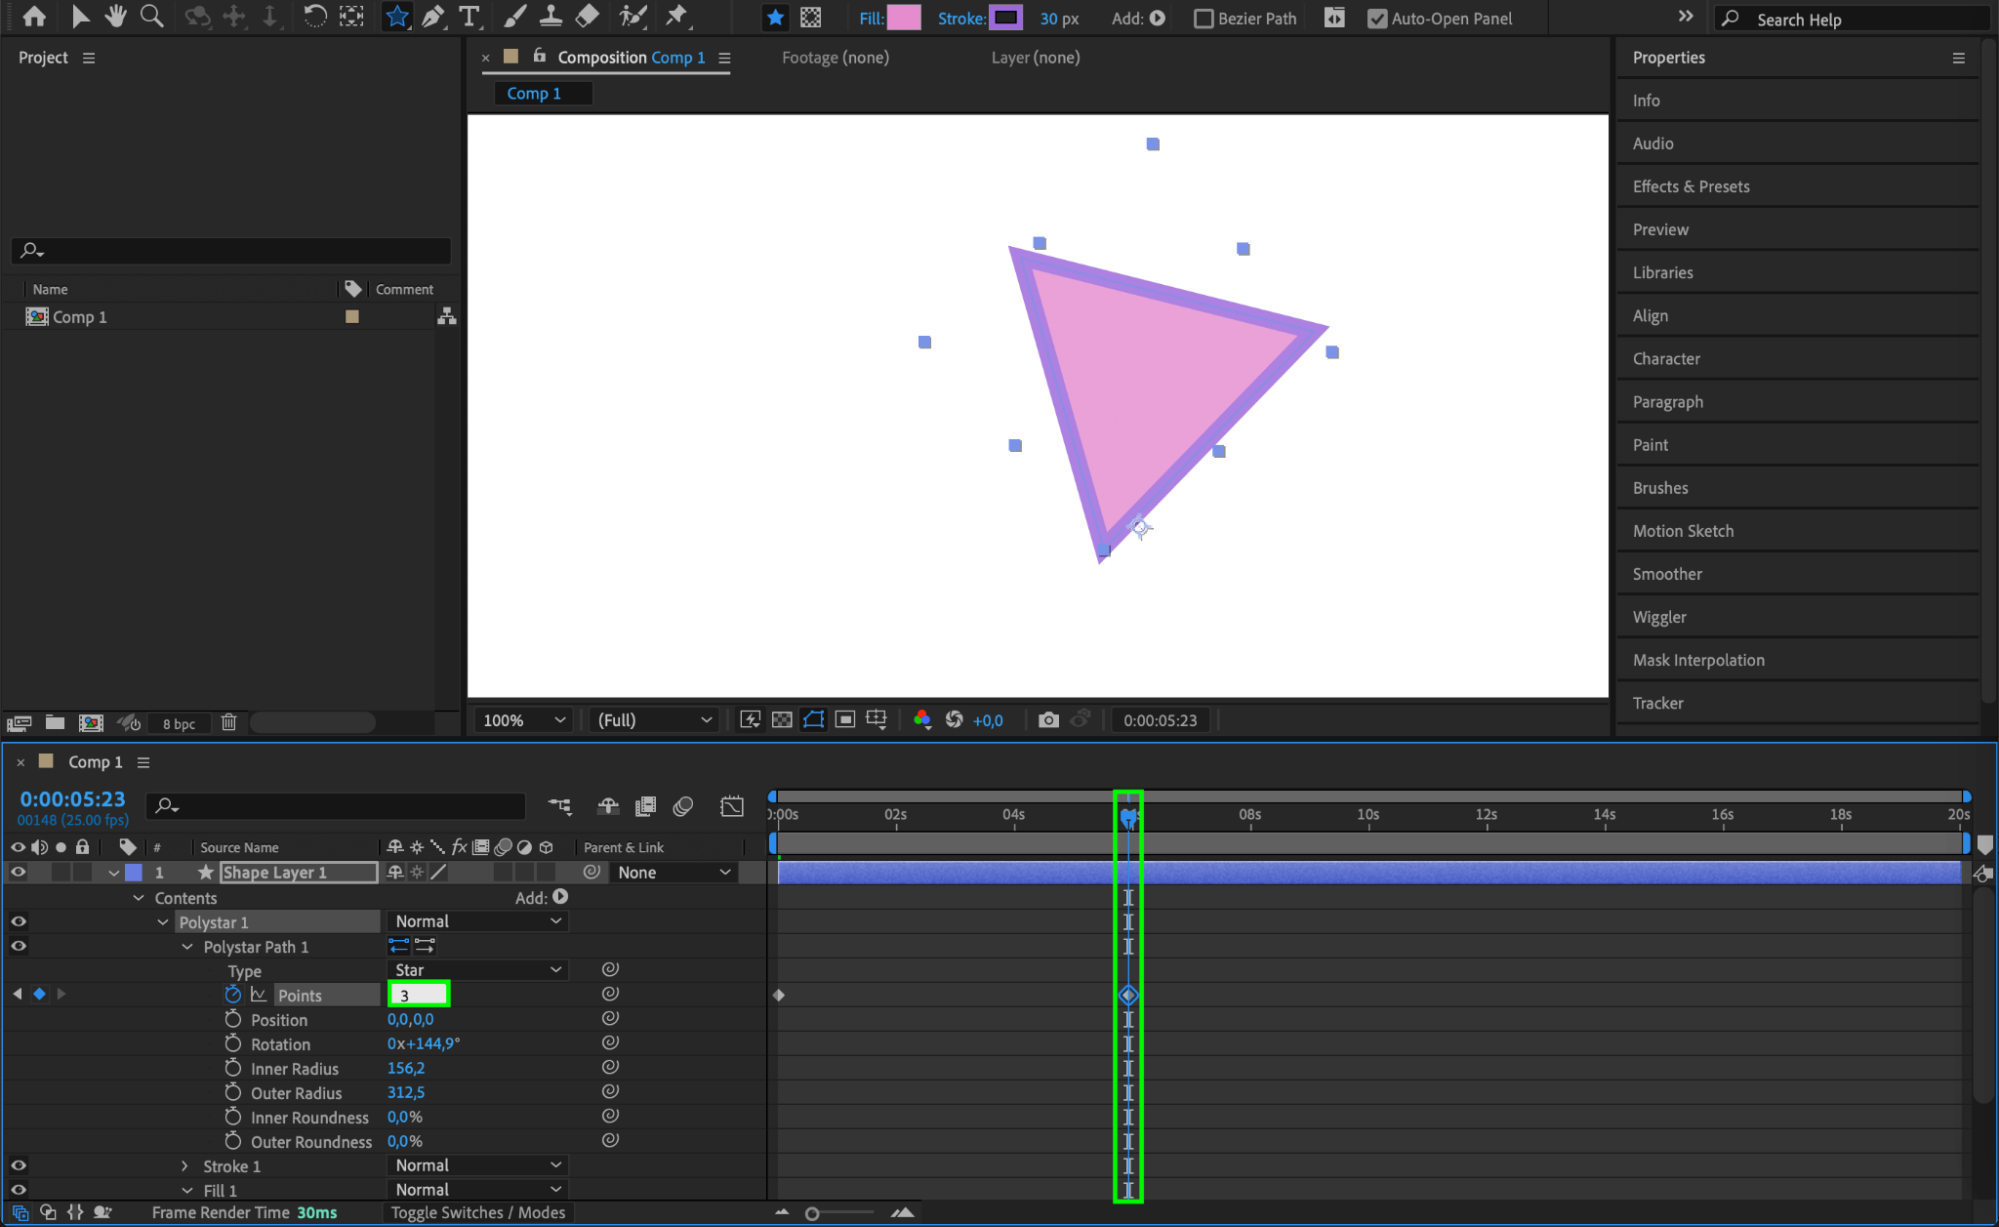
Expand the Contents section of your shape layer, and animate properties like Path to create dynamic animations. You can adjust the Points on the path to create morphing effects. By animating points over time, you can make shapes transform smoothly between different configurations, adding interest and depth to your design.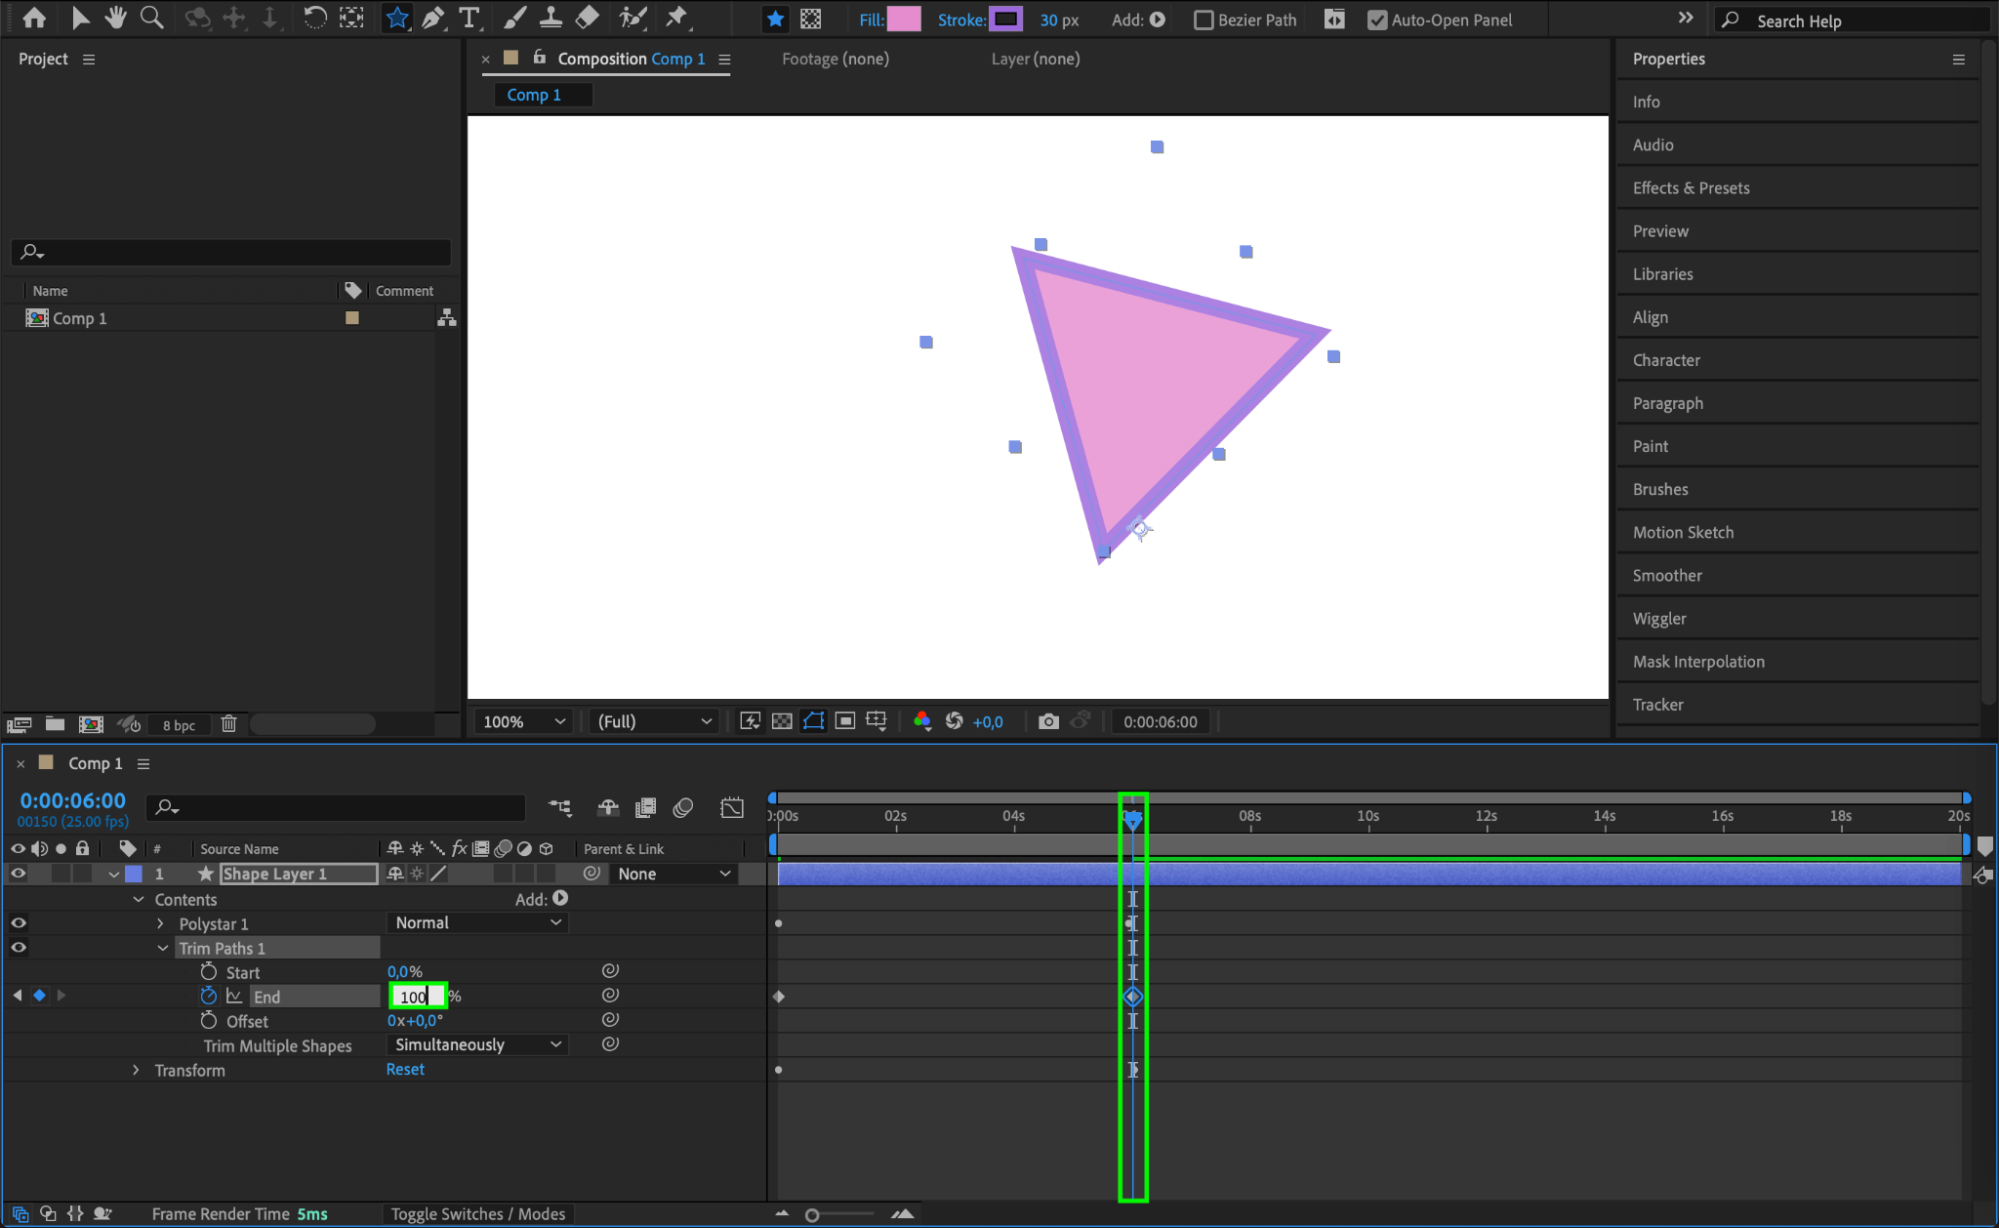 Step 5: Using Shape Modifiers for Enhanced Effects
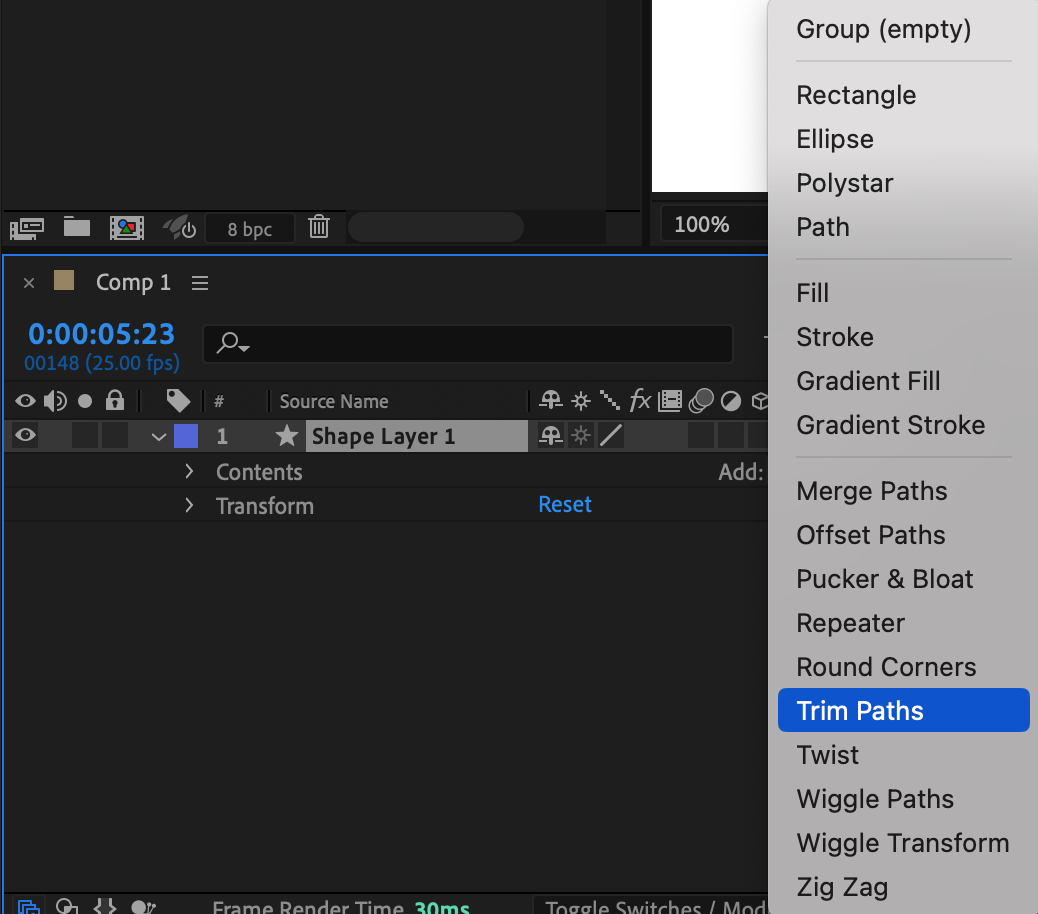
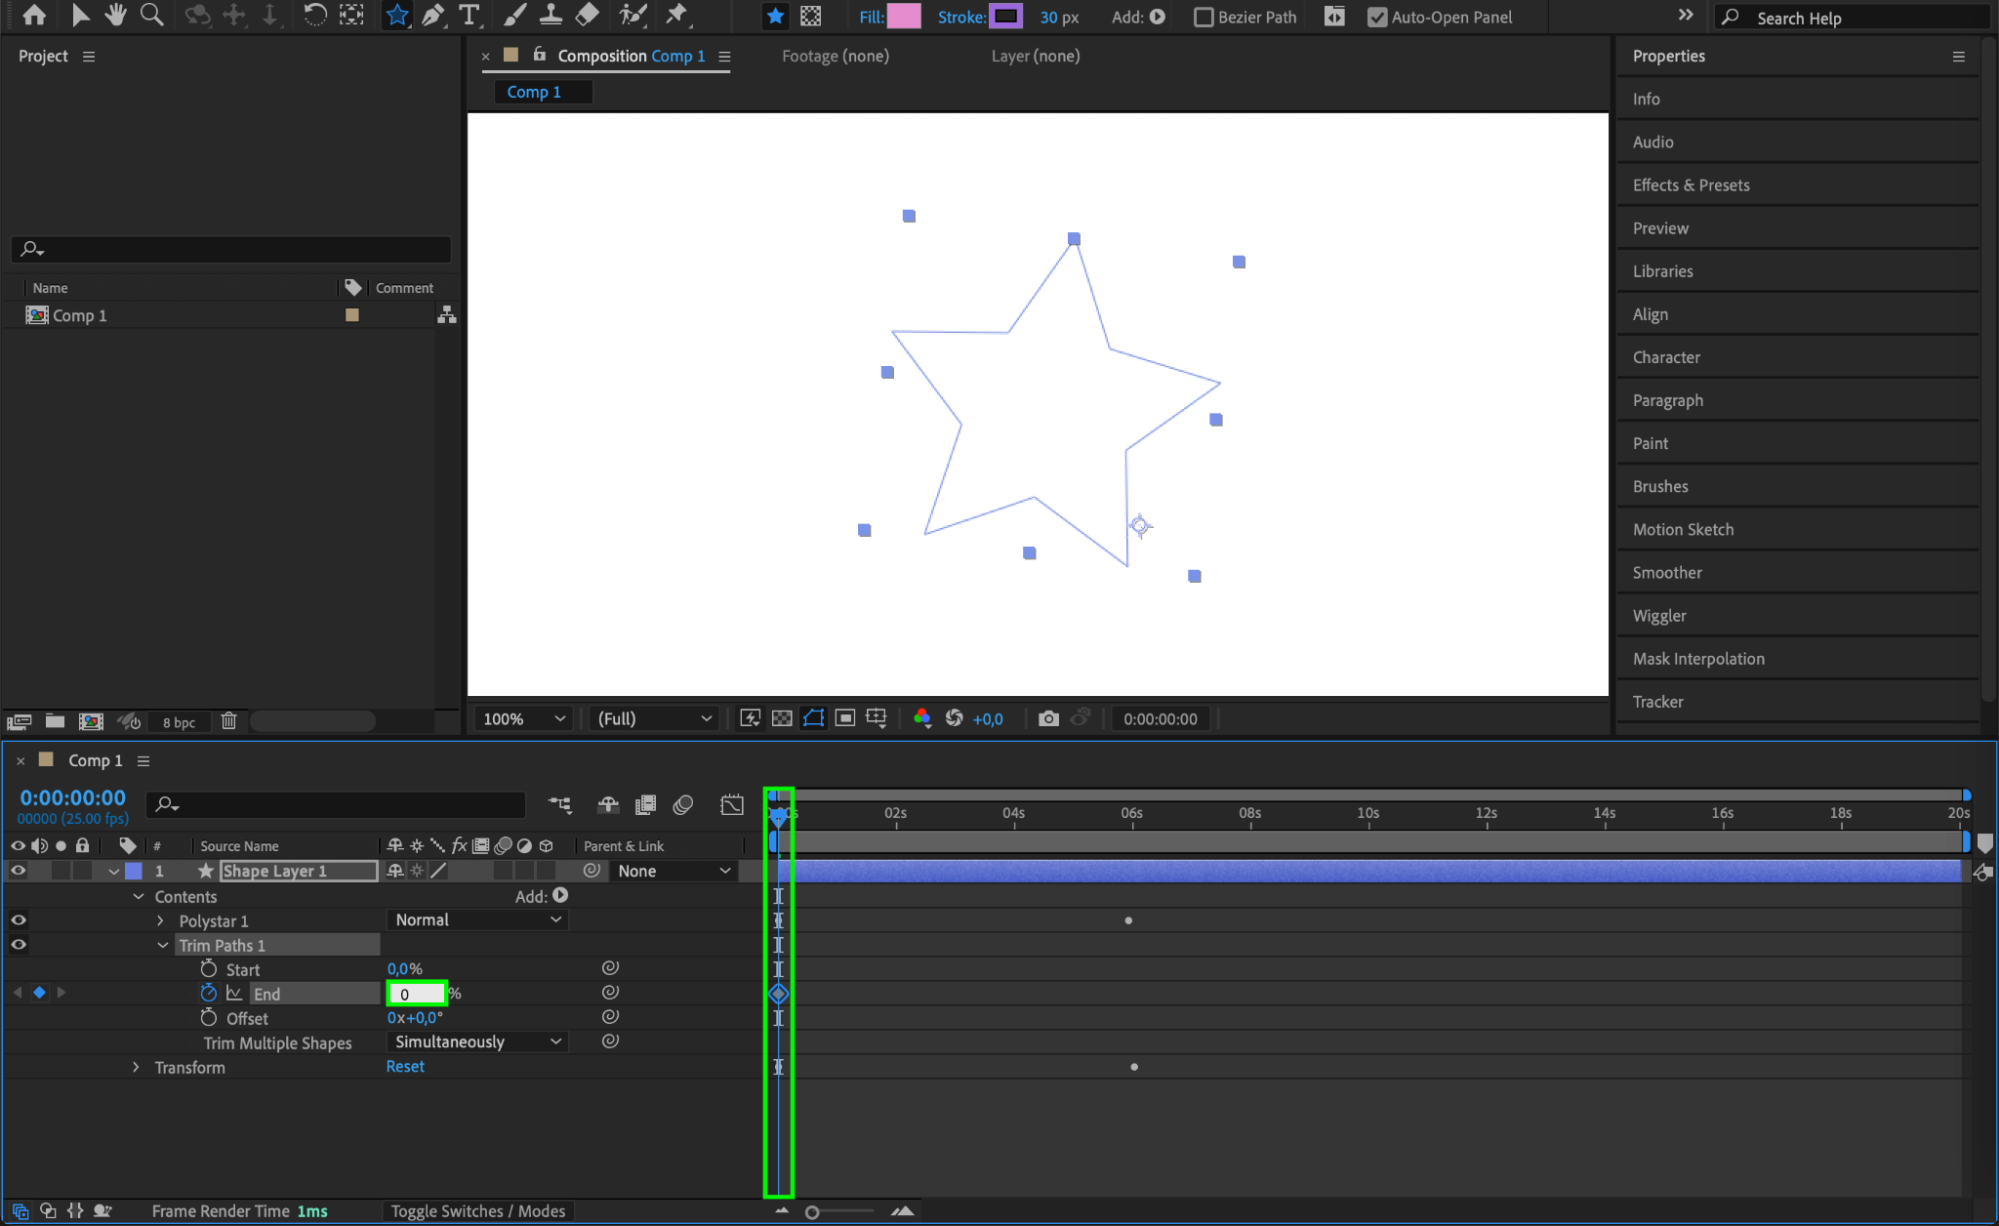
In the Add menu within the shape layer, find modifiers such as Trim Paths, Pucker & Bloat, and Twist. These effects enable advanced customizations, like animating strokes along a shape’s outline (using Trim Paths) or creating twists and distortions. Experimenting with modifiers gives your shapes unique visual characteristics that can elevate your composition.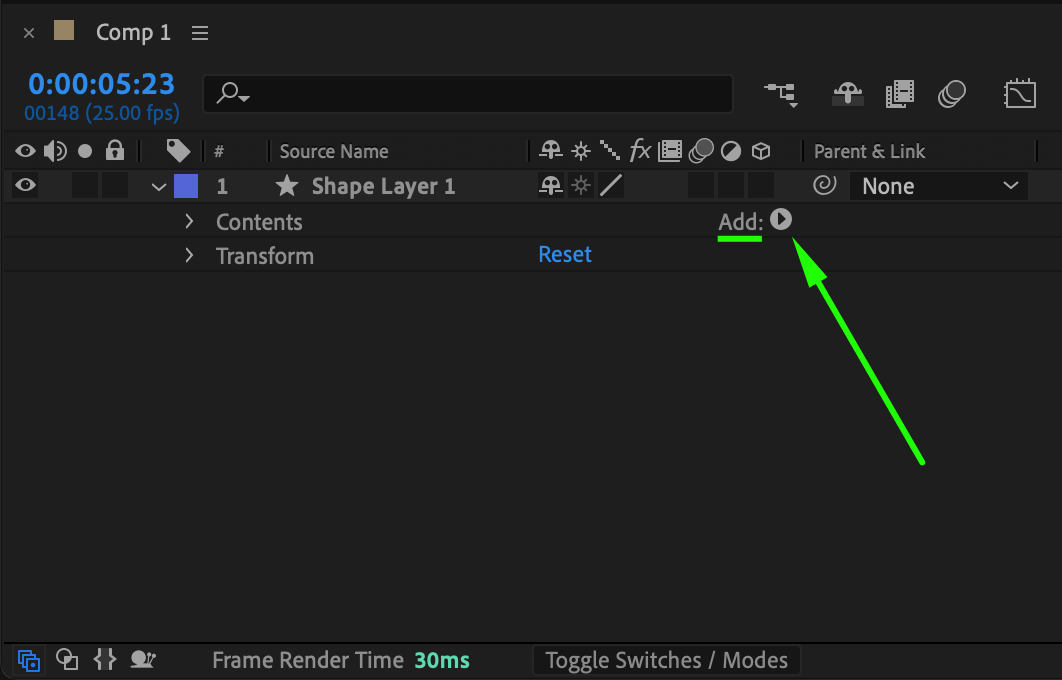
 Step 6: Combining Multiple Shapes in One Layer
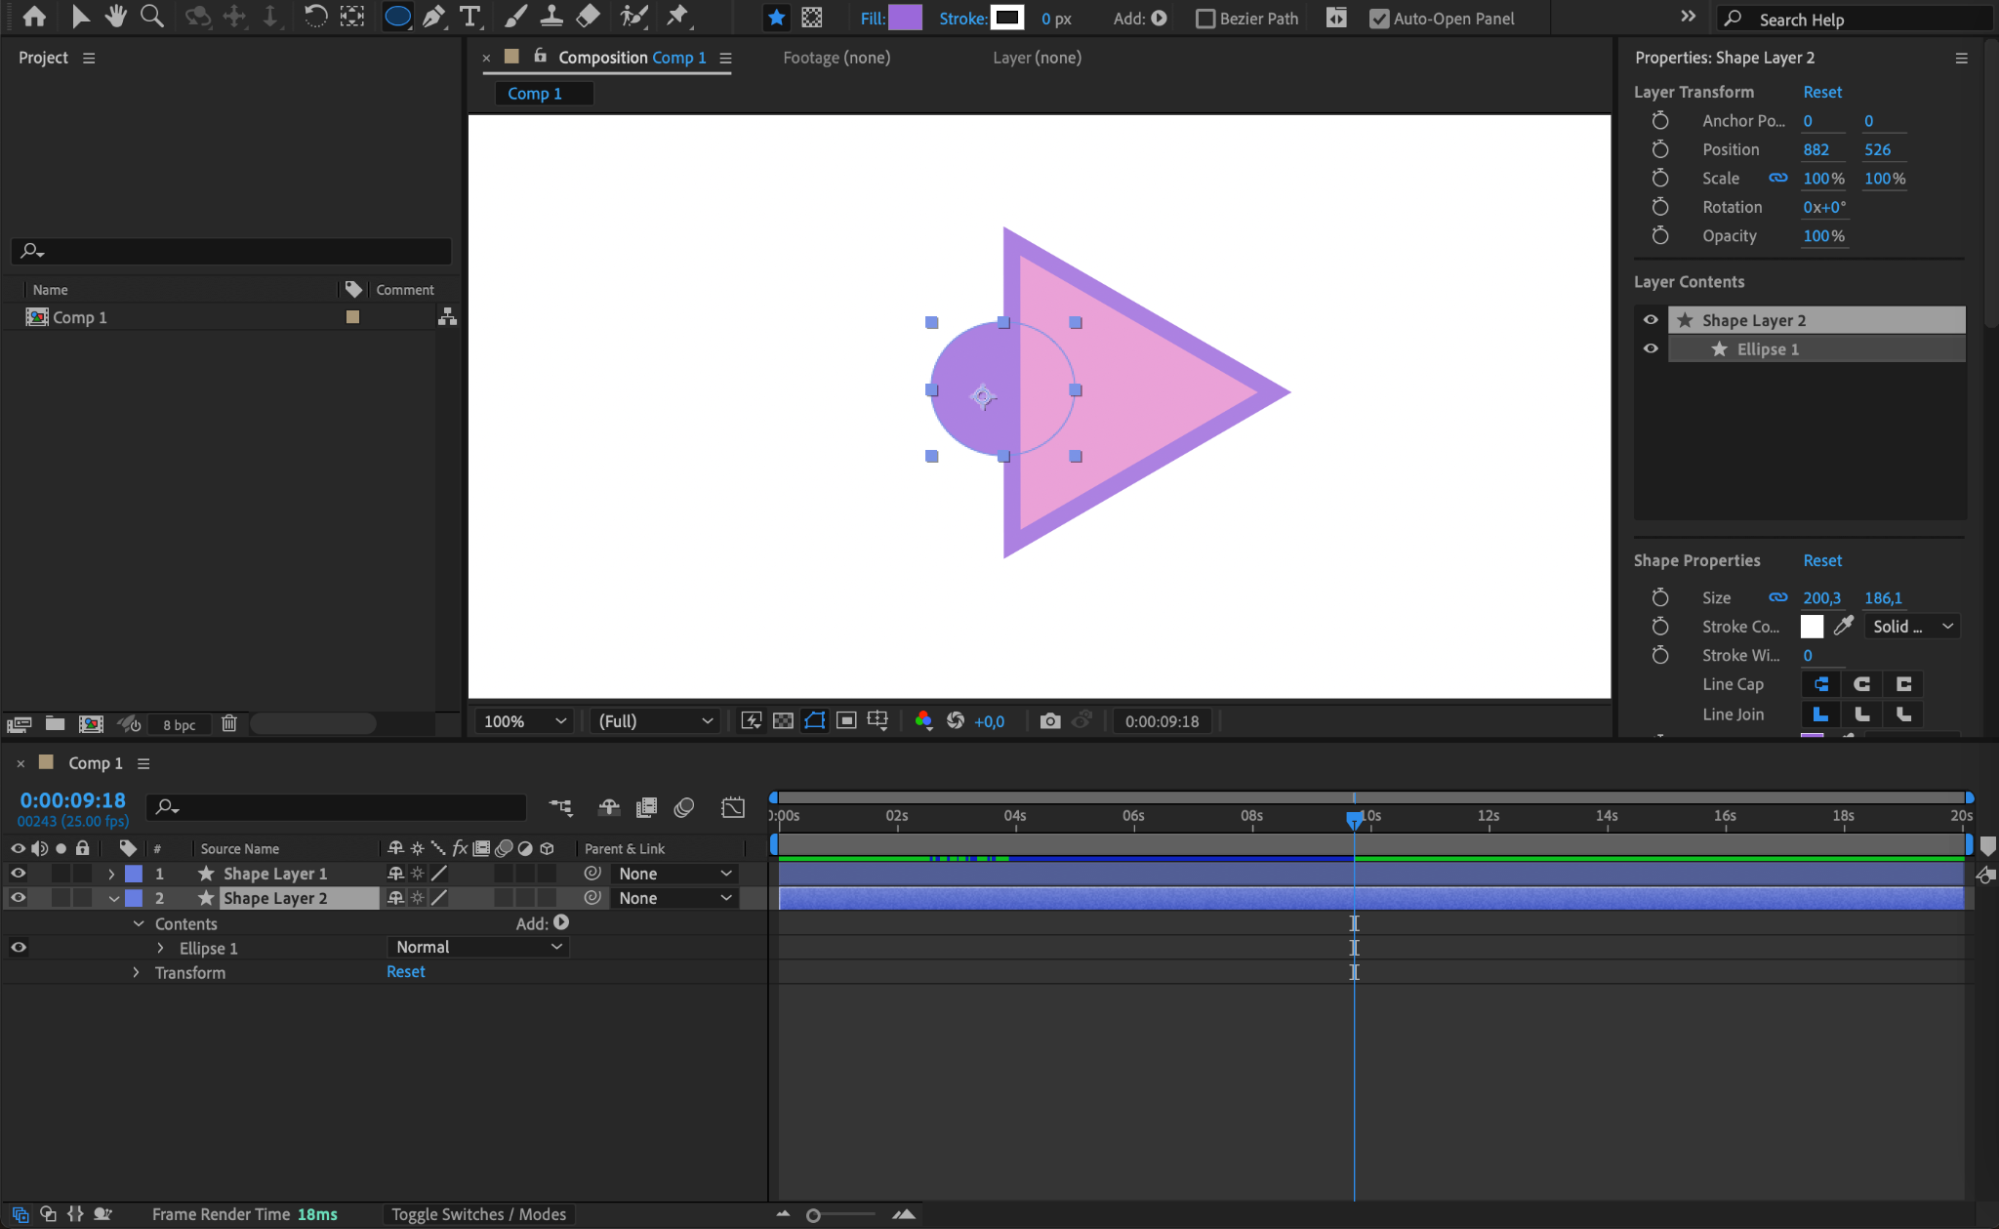
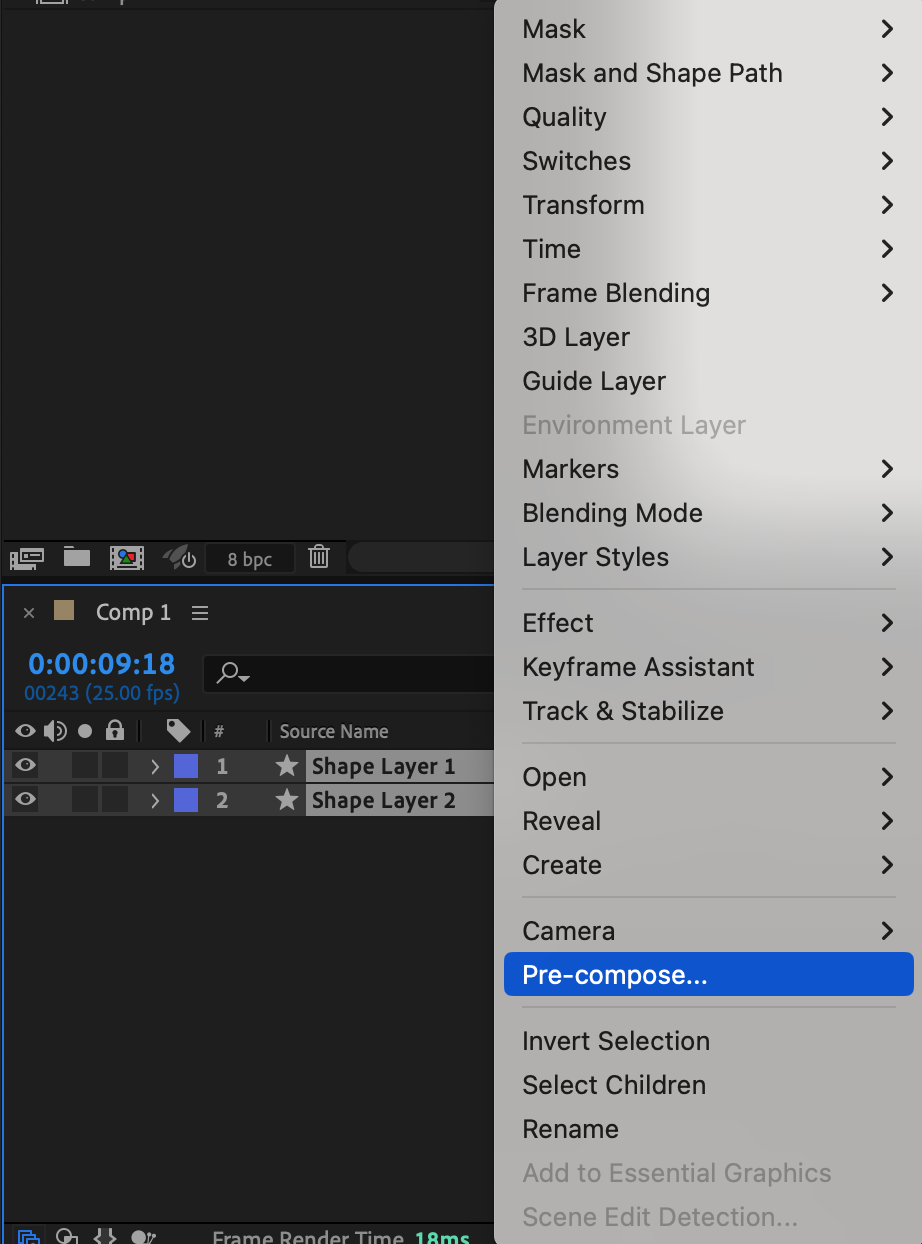
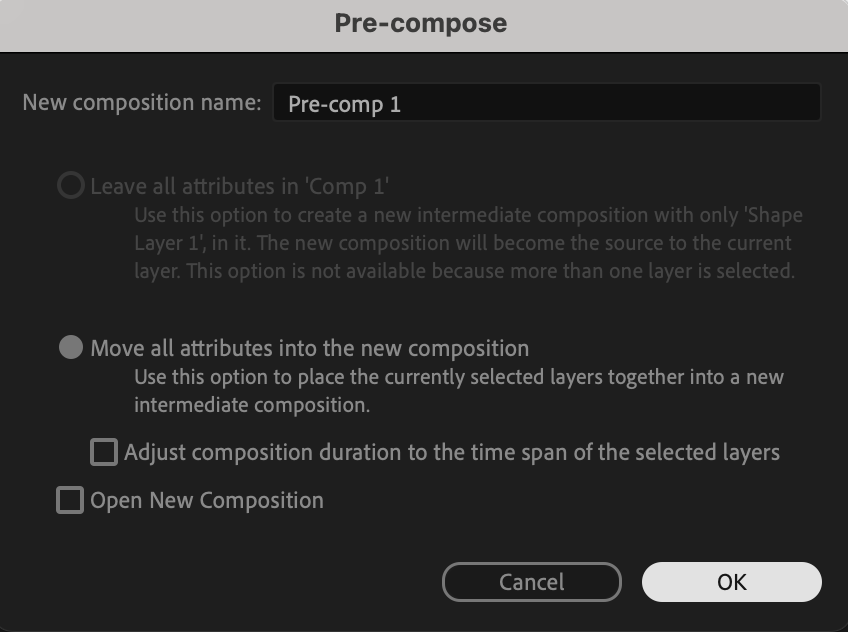
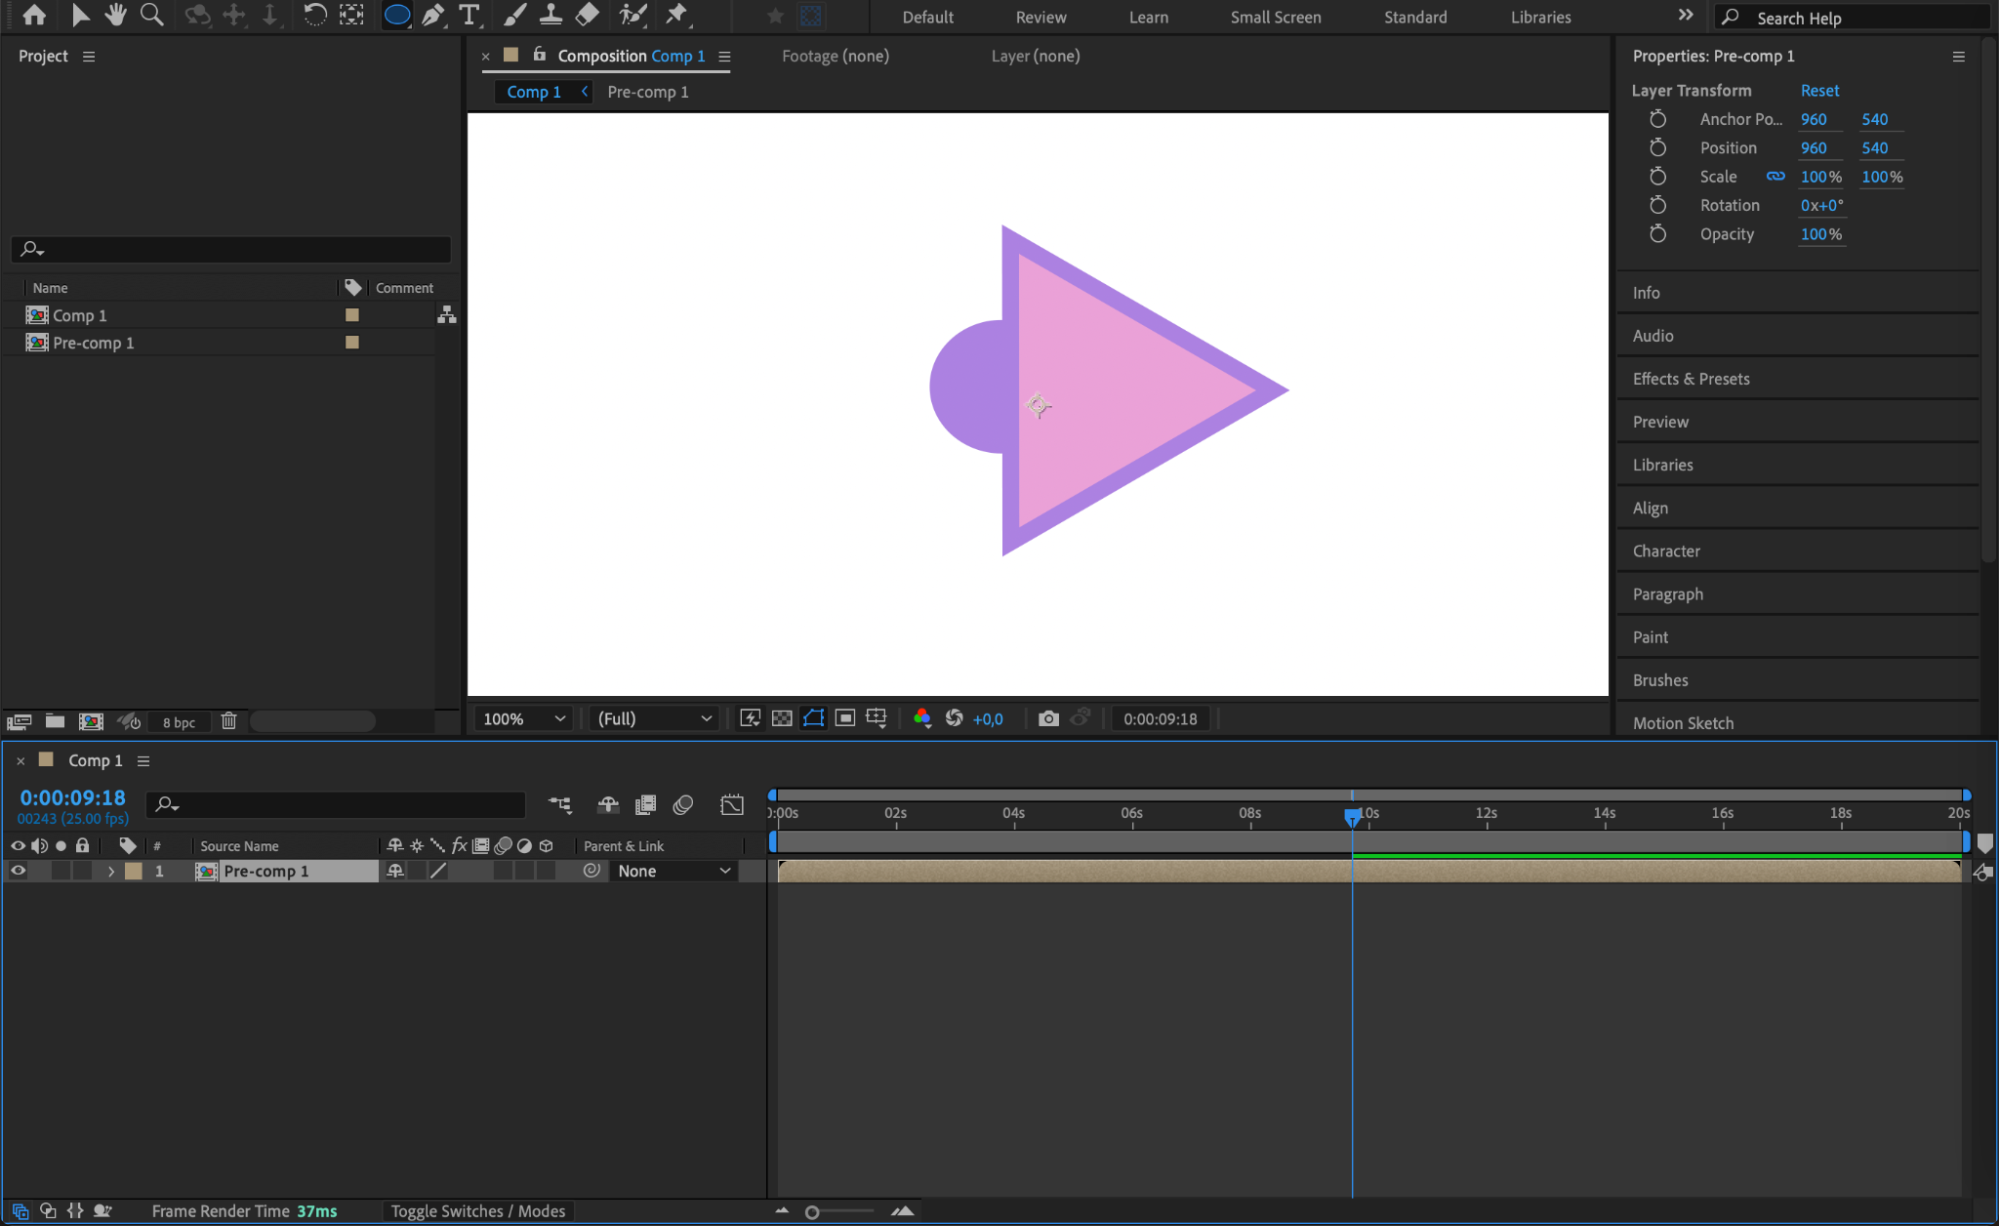
To create complex designs, combine multiple shapes in a single layer. Use the Add menu to add more shapes to the layer, or create several shape layers and pre-compose them to organize your timeline. Combining shapes within layers or using pre-compositions allows you to create intricate graphics while keeping your workflow organized.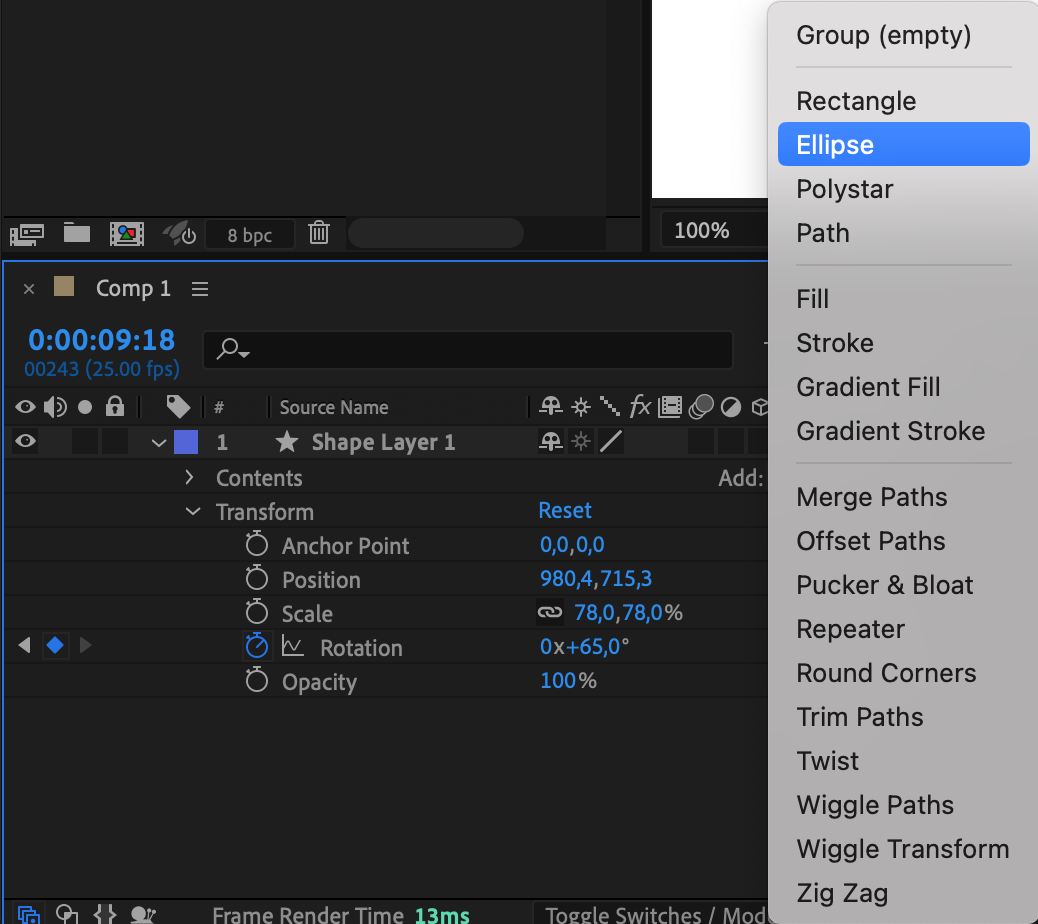
 Step 7: Previewing and Refining Your Animation
After customizing and animating your shape layers, preview the animation by pressing Spacebar. Observe how each adjustment flows in motion, and make final tweaks to the timing, colors, or transform properties as needed. Refining your animations improves the visual quality and cohesion of your project.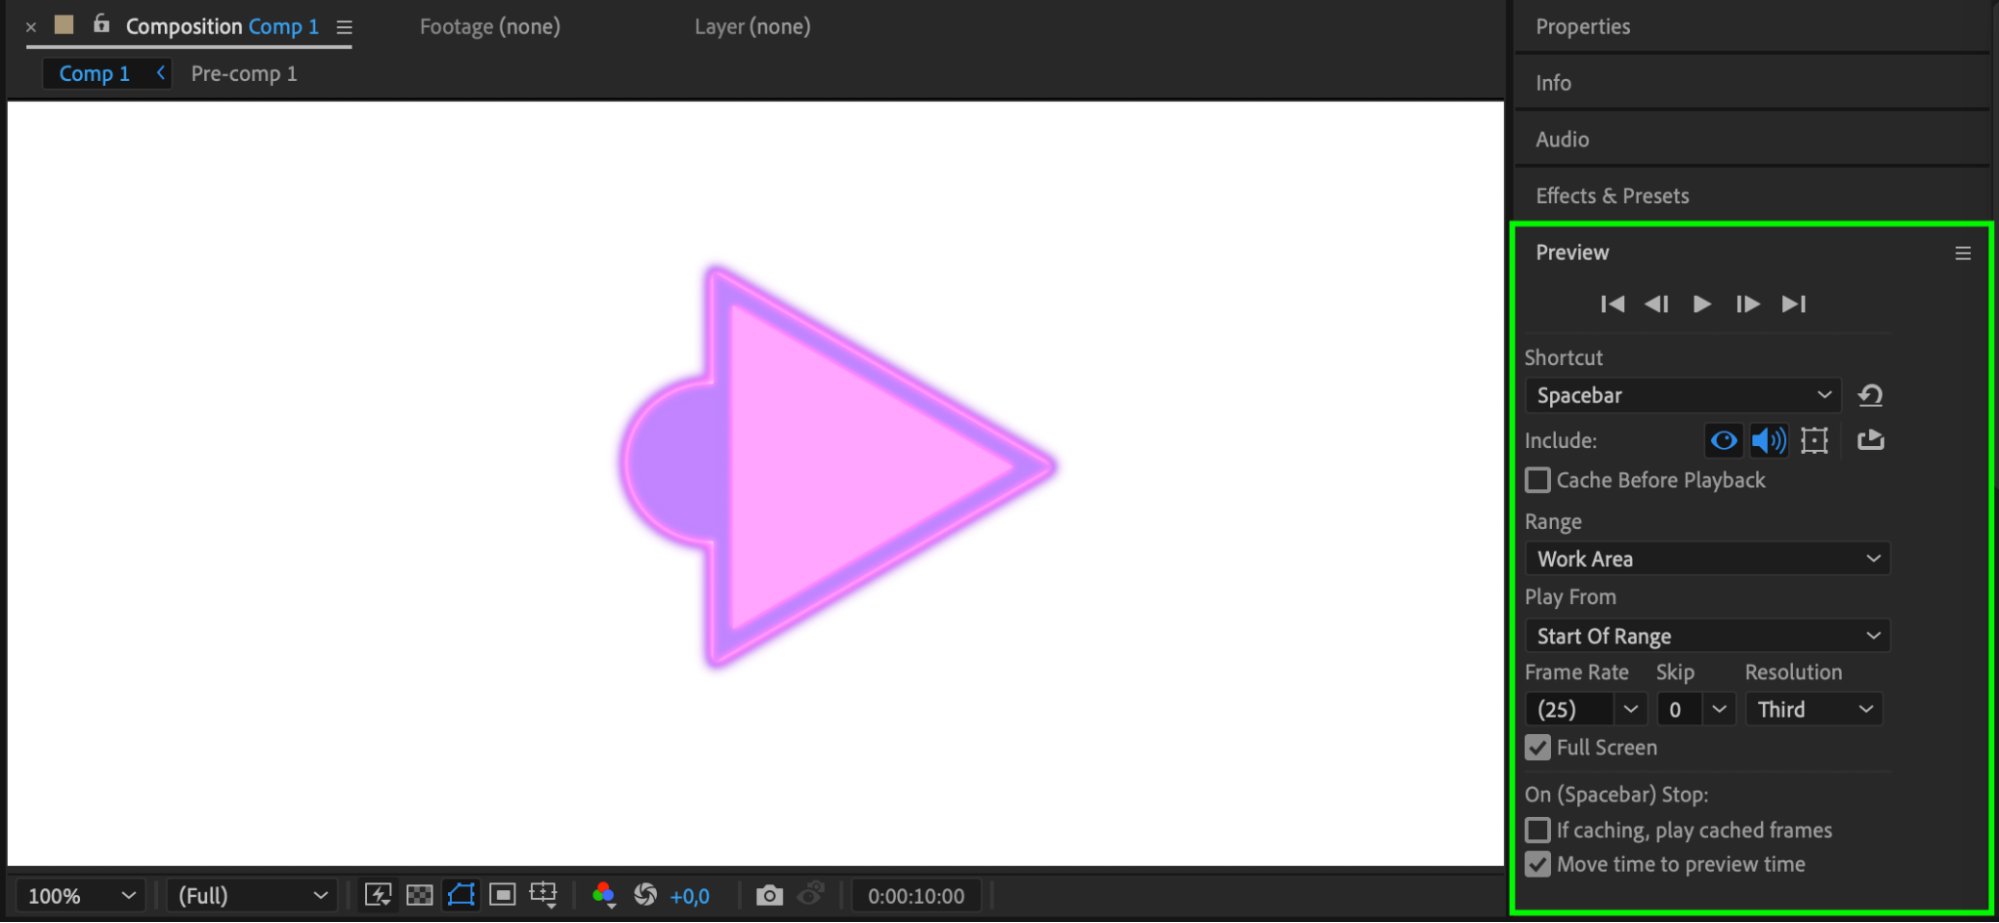 Step 8: Saving Your Project
When you’re satisfied with the result, save your project by navigating to File > Save or using “Ctrl/Cmd + S”. Saving regularly ensures that all your adjustments and animations in shape layers are preserved.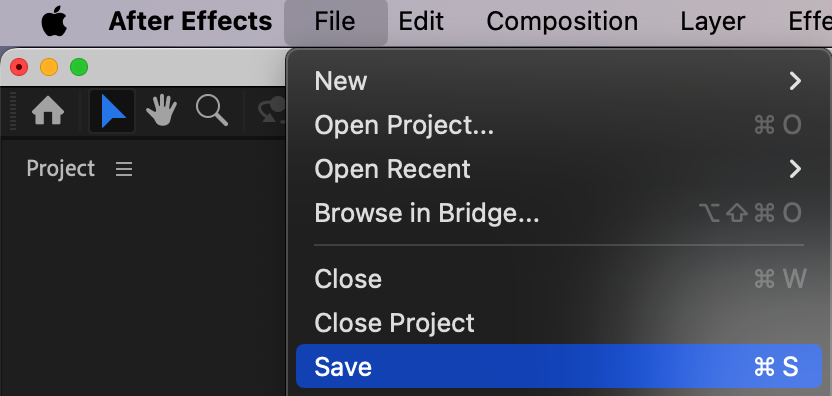
Conclusion
Shape layers in After Effects offer a wide range of creative possibilities, from simple graphics to complex animations. By following these steps, you’ll gain confidence in using shape layers to enhance your compositions and add polished, dynamic visuals to your projects.


