Step-by-Step Guide to Using the Shatter Effect in After Effects
Introduction to the Shatter Effect in After Effects
Welcome to our tutorial on using the shatter effect in After Effects! If you want to add dynamic and eye-catching visual effects to your videos, the shatter effect is perfect. In this guide, we’ll show you how to apply and customize the shatter effect, so you can create stunning visuals that will captivate your audience.
Get 10% off when you subscribe to our newsletter

Step 1: Create a New Composition
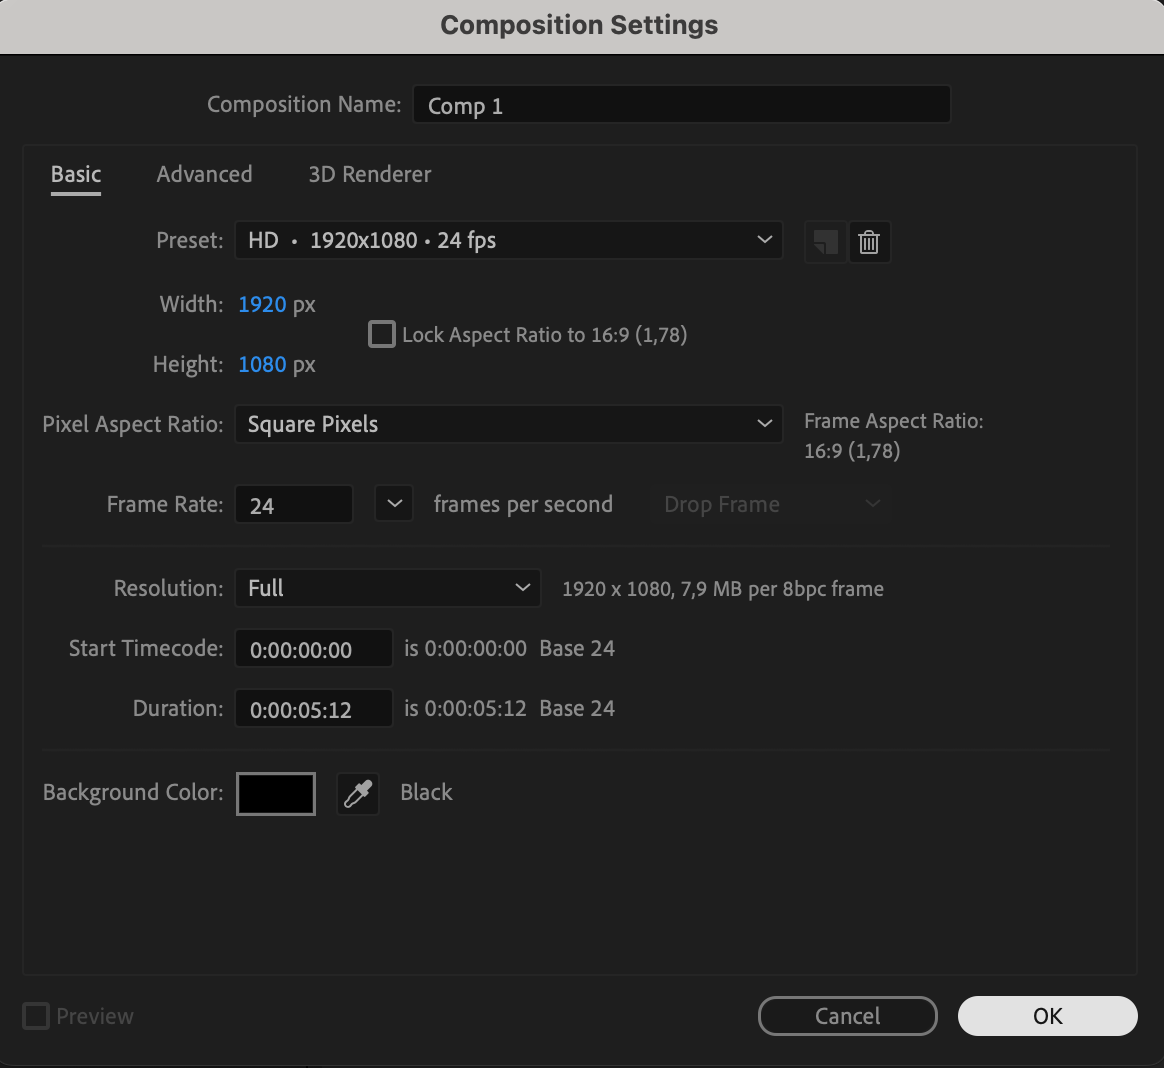
Start by opening After Effects and creating a new composition. Go to Composition > New Composition and set the desired dimensions, frame rate, and duration based on the goals of your project. This ensures your composition is optimized for the final output, whether it’s for a video, animation, or special effects sequence.
 Step 2: Import and Prepare Your Asset
Import the file you want to apply the shatter effect to by going to File > Import > File. Drag your imported file to the Timeline panel. If you prefer, you can also create a shape or text layer directly within After Effects to apply the effect to. Preparing your assets carefully is crucial, as the shatter effect will break apart the selected layer, so make sure it’s centered and scaled as needed.
 Step 3: Pre-compose Your Layer
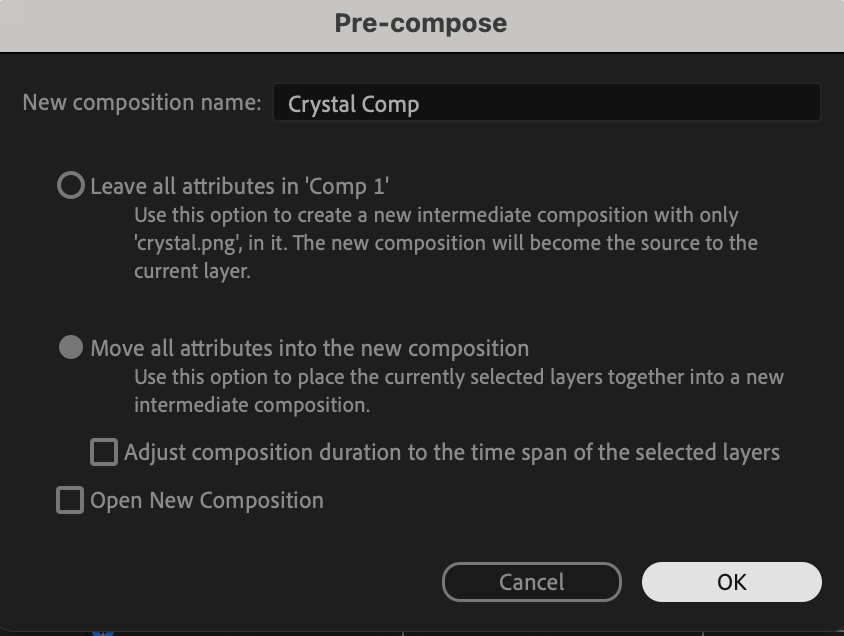
Once your asset is on the timeline, right-click on the layer and choose Pre-compose from the submenu. 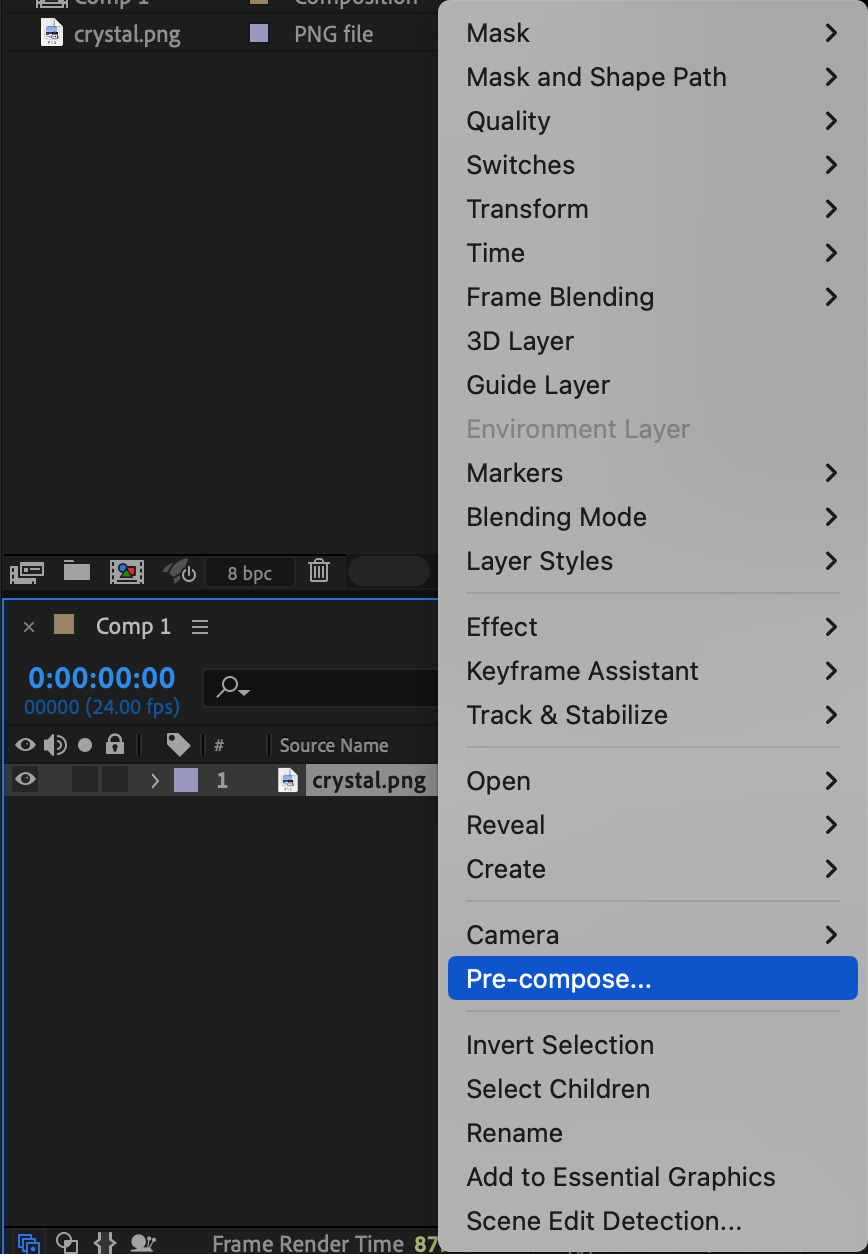
 Step 4: Apply the Shatter Effect
Next, navigate to the Effects & Presets panel and search for “Shatter.” Drag the shatter effect onto your pre-composed layer. This will break the layer into pieces based on the default settings. The shatter effect is now applied, but we can further customize it to create a more unique and controlled visual.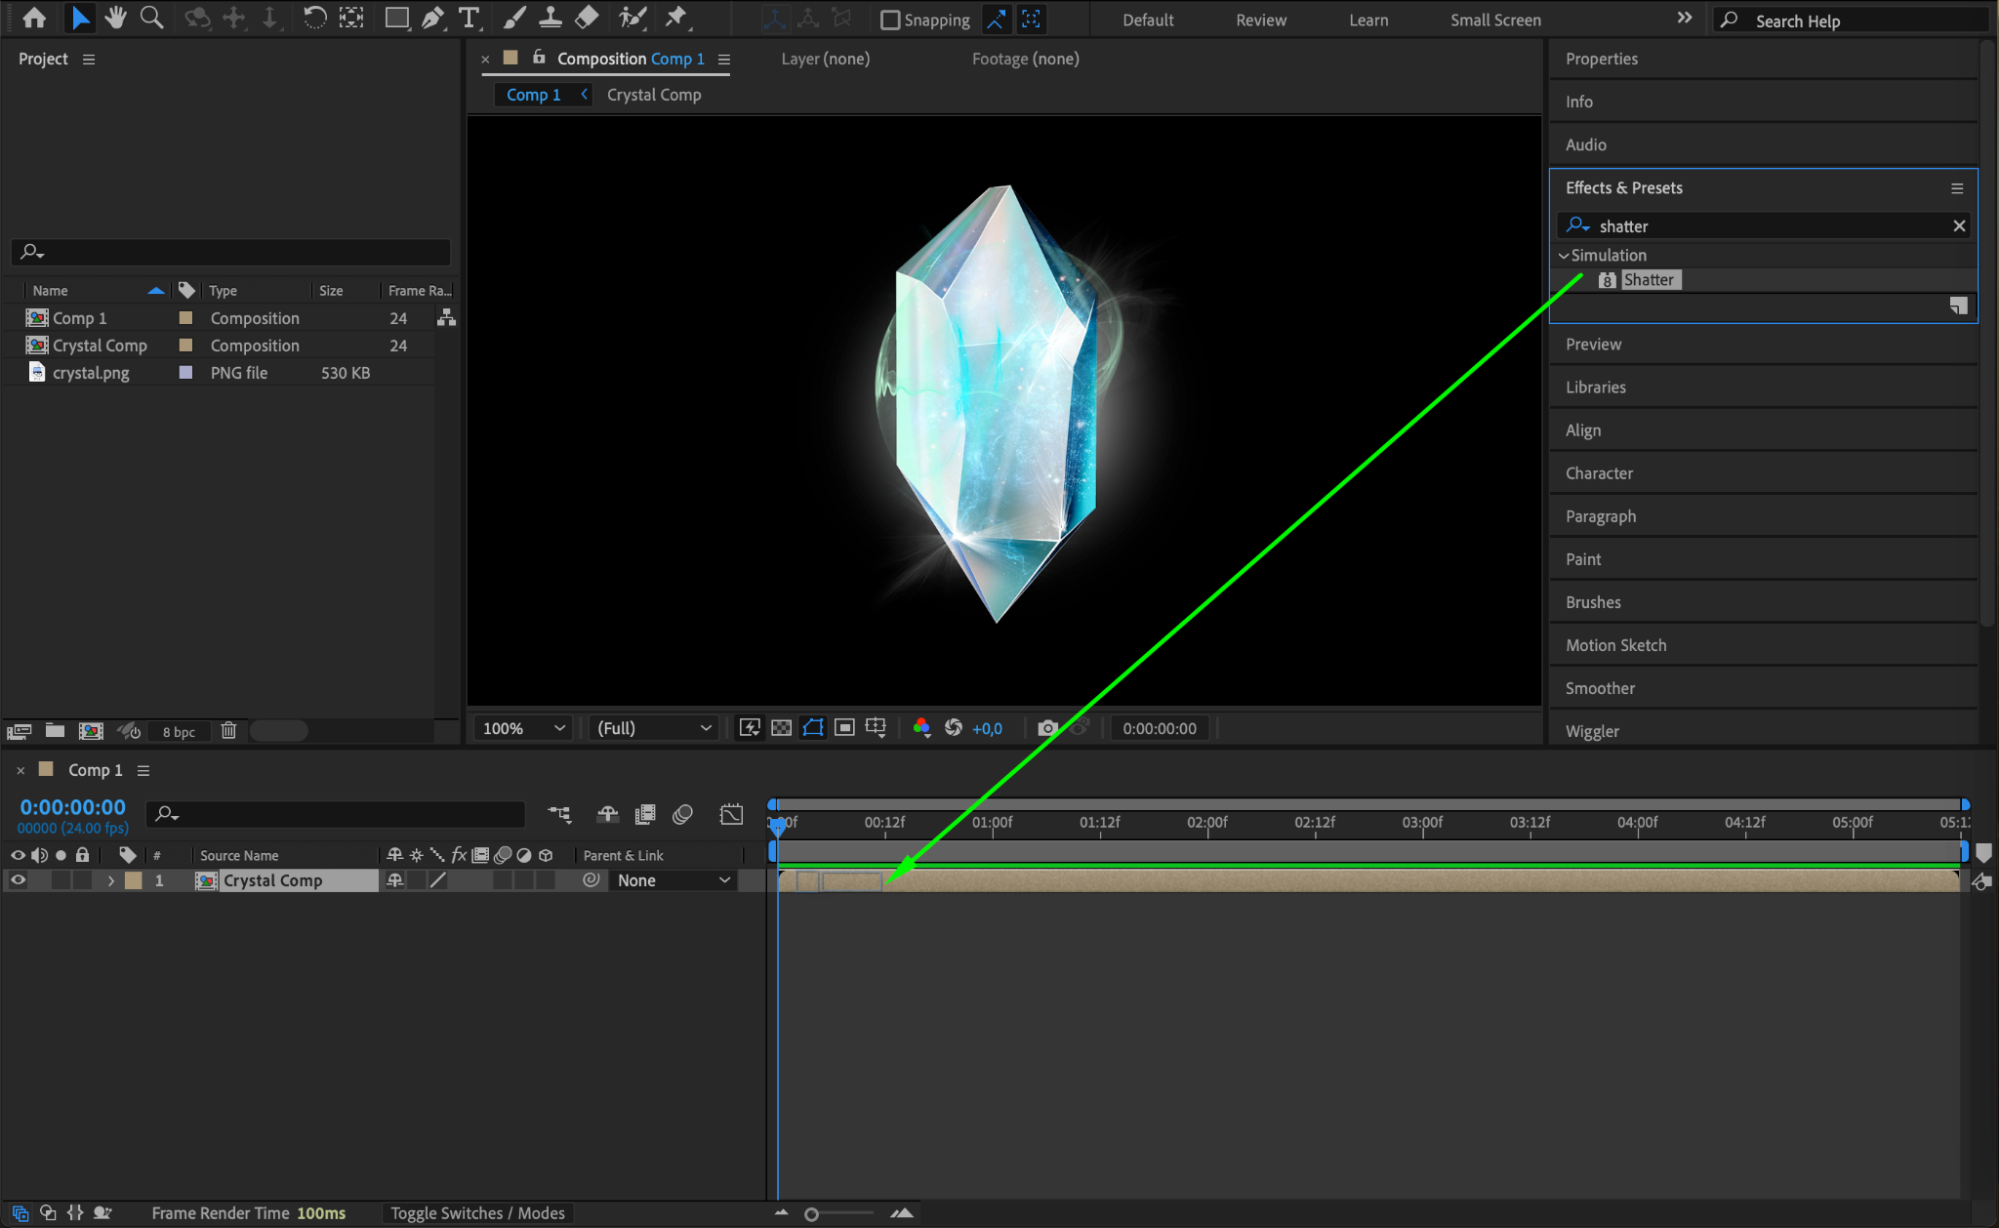 Step 5: Customize Shatter Effect Settings
In the Effect Controls panel, you’ll see several settings for the shatter effect. Start by changing the View option to “Rendered” to see the final effect. Set the Pattern to “Glass” and adjust the Repetitions to around 50. These settings will give your shatter a realistic glass-breaking appearance with a fine level of detail. You can experiment with different patterns and repetition values to suit the style you’re aiming for. Step 6: Isolate the Shatter Effect to a Specific Area (Optional)
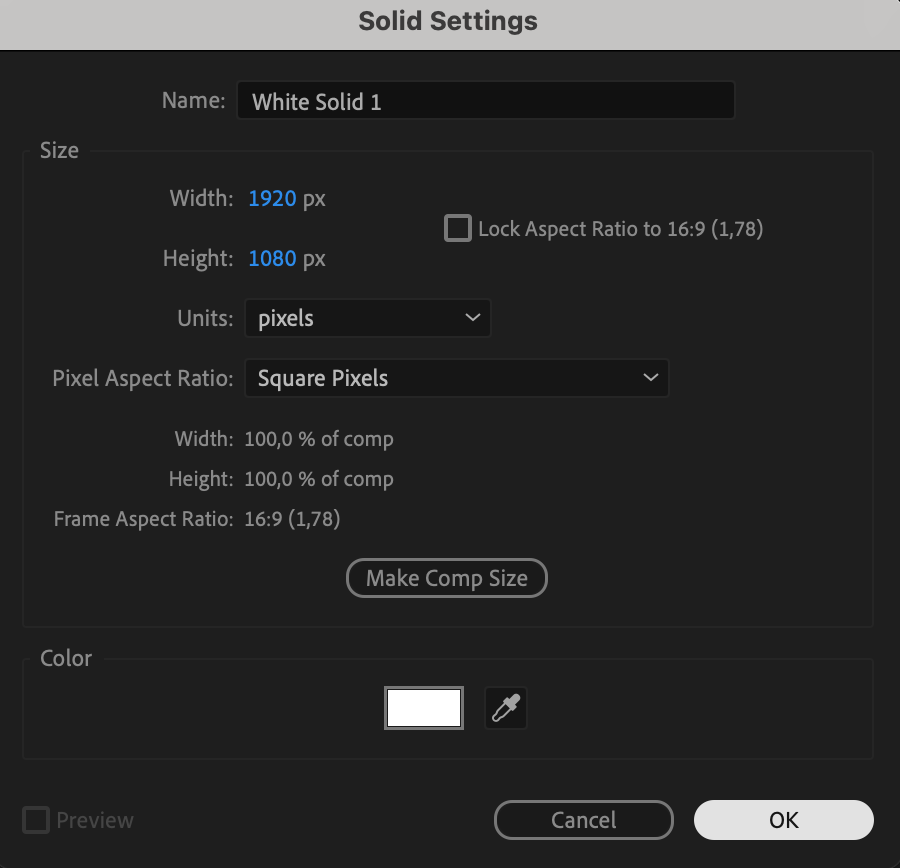
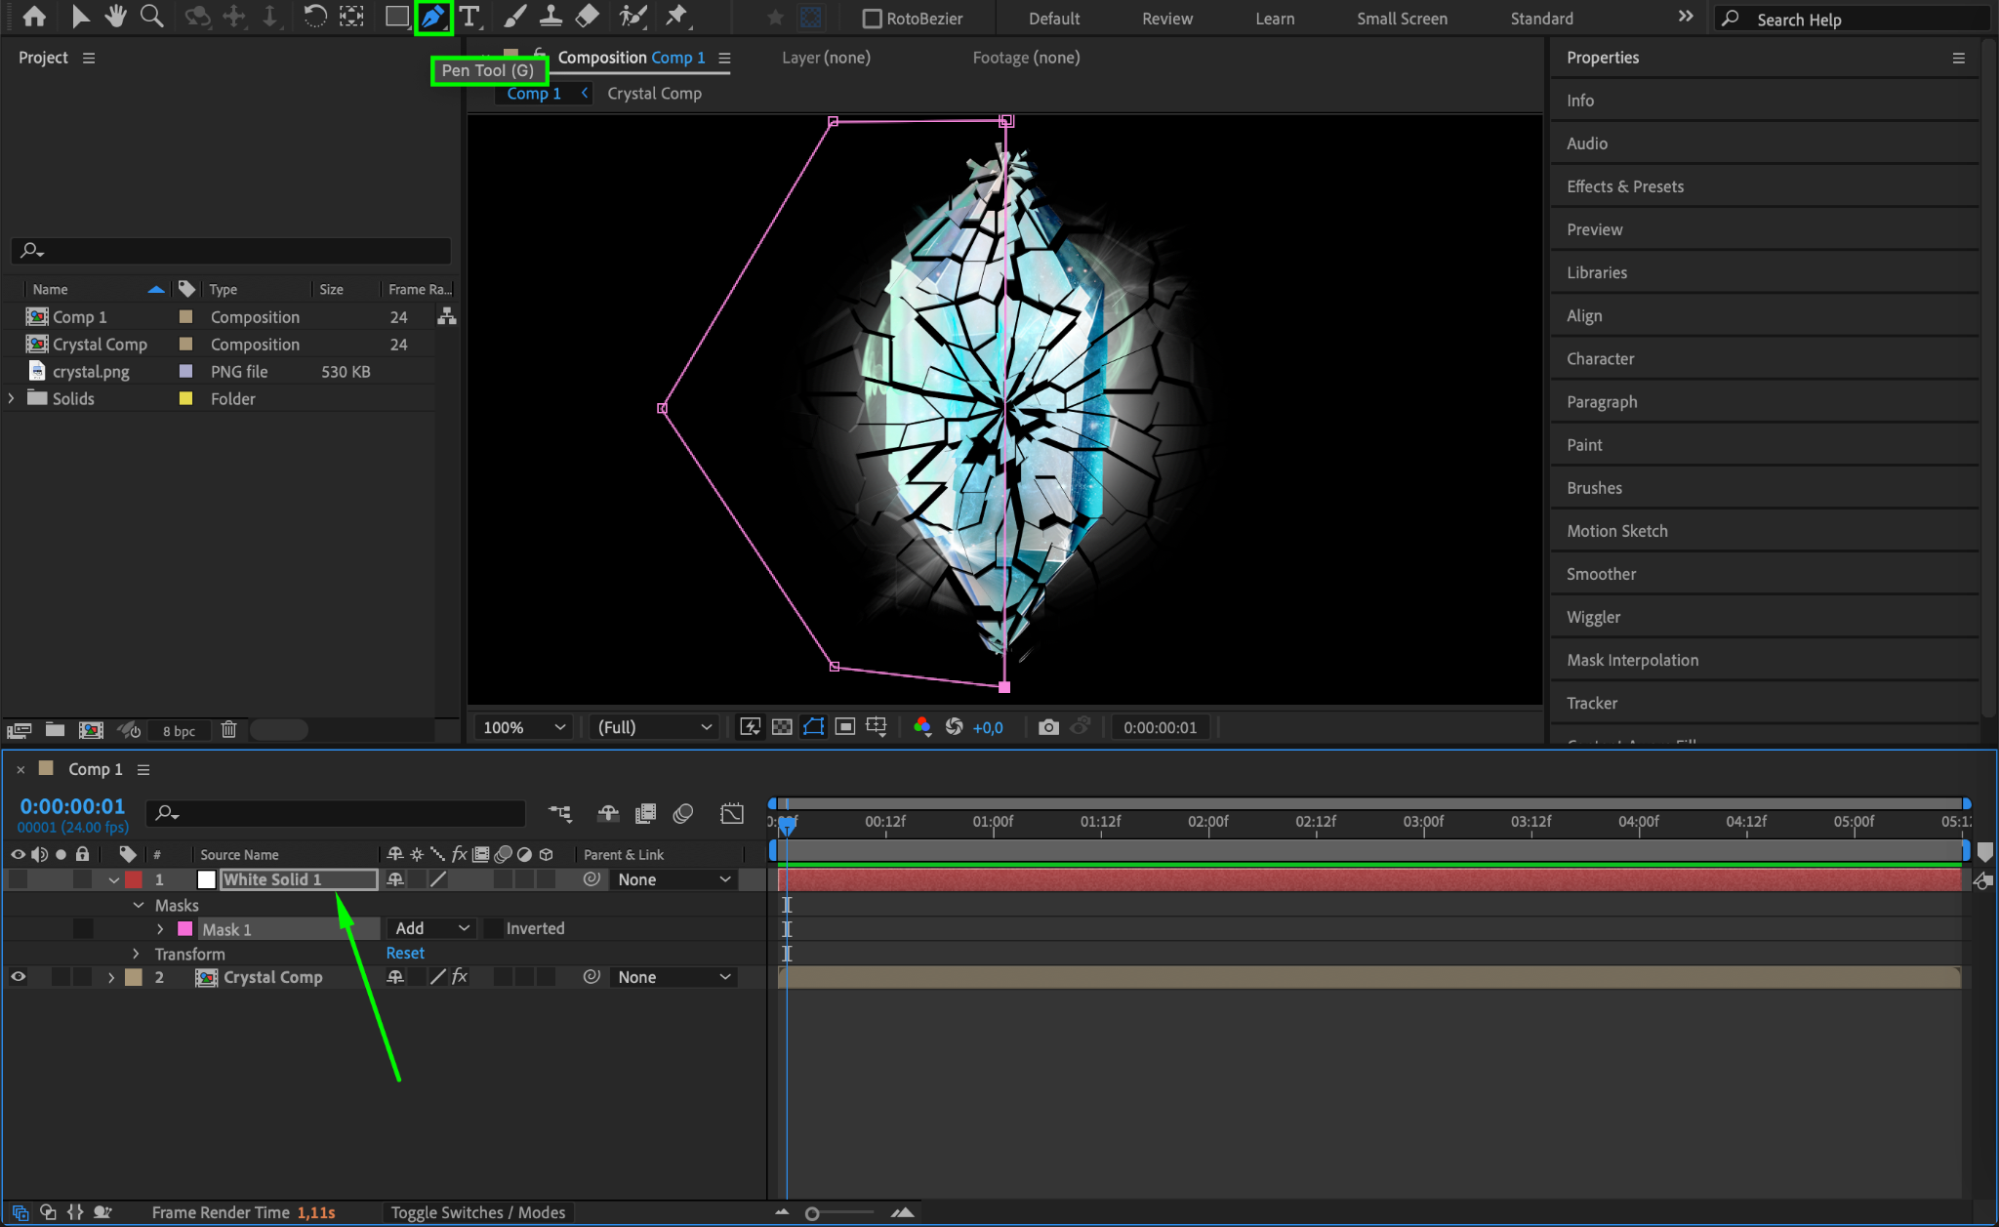
If you want the shatter effect to only apply to a specific area of your layer, you can isolate it by using a solid layer and a mask. First, create a solid layer by going to Layer > New > Solid. On the timeline, turn off the visibility of the solid by clicking the eye icon next to the layer. This solid will be used as a reference for the shatter effect.
 Step 7: Create a Mask to Define the Shatter Area
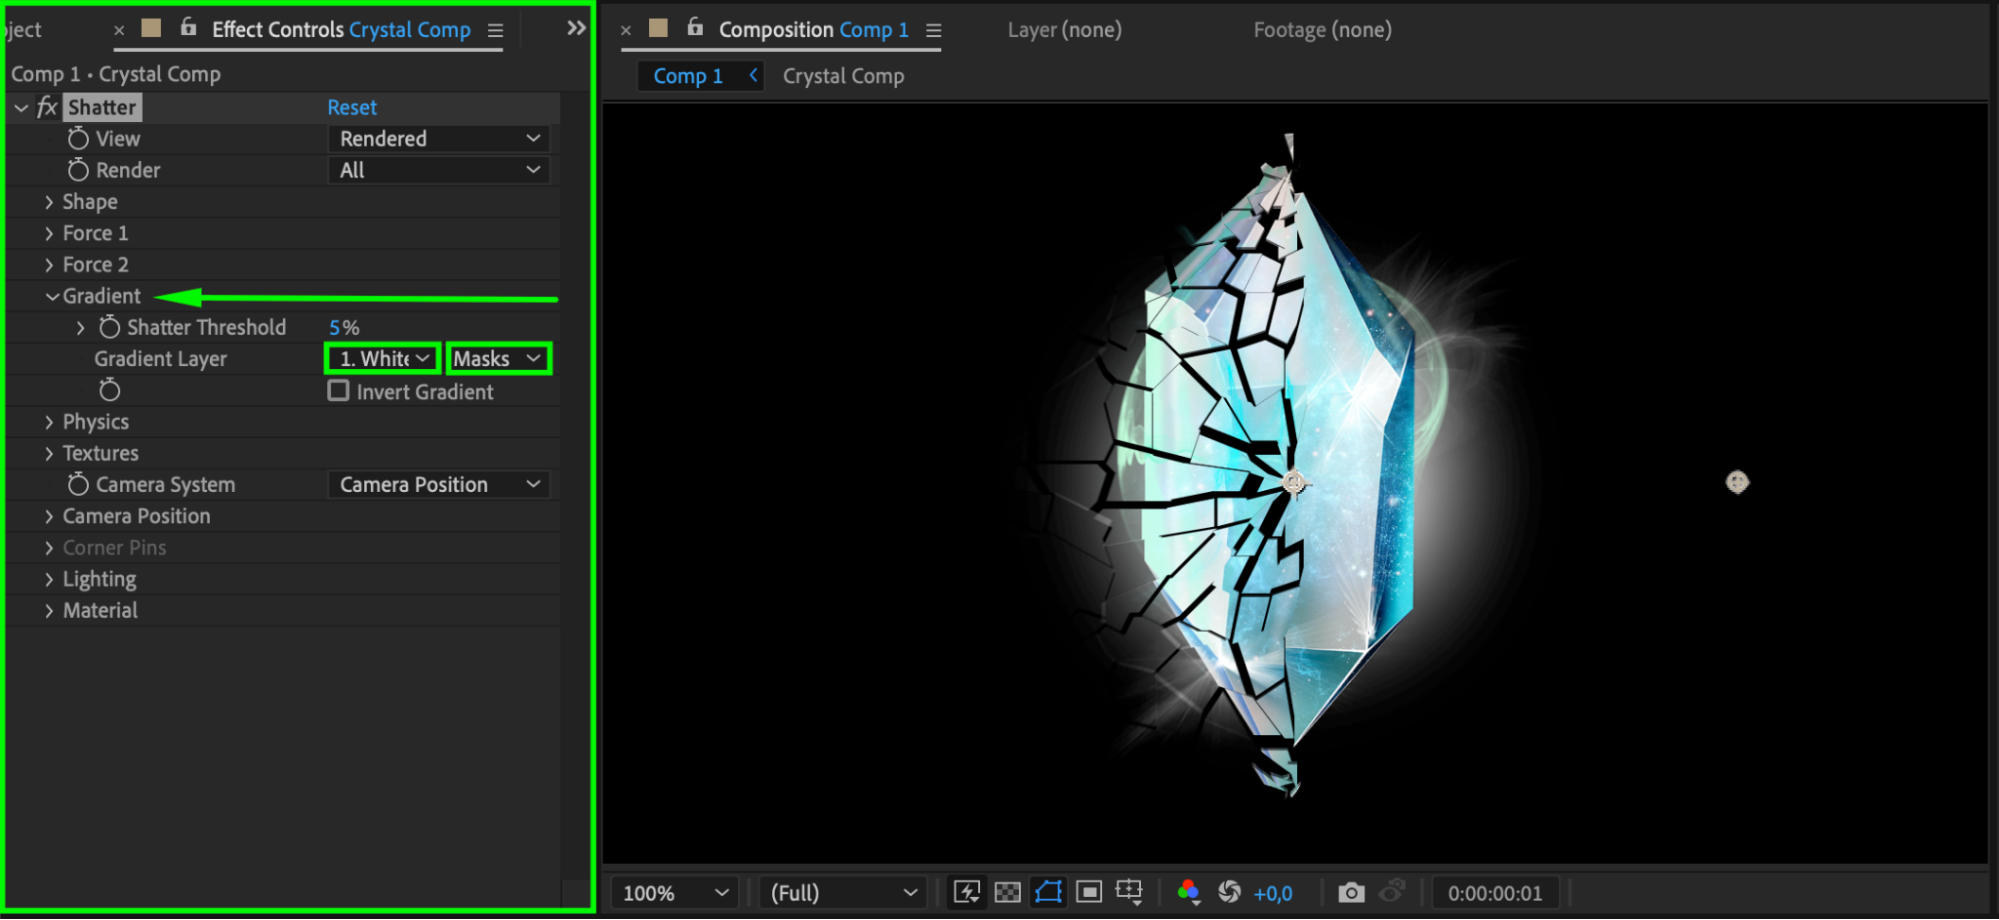
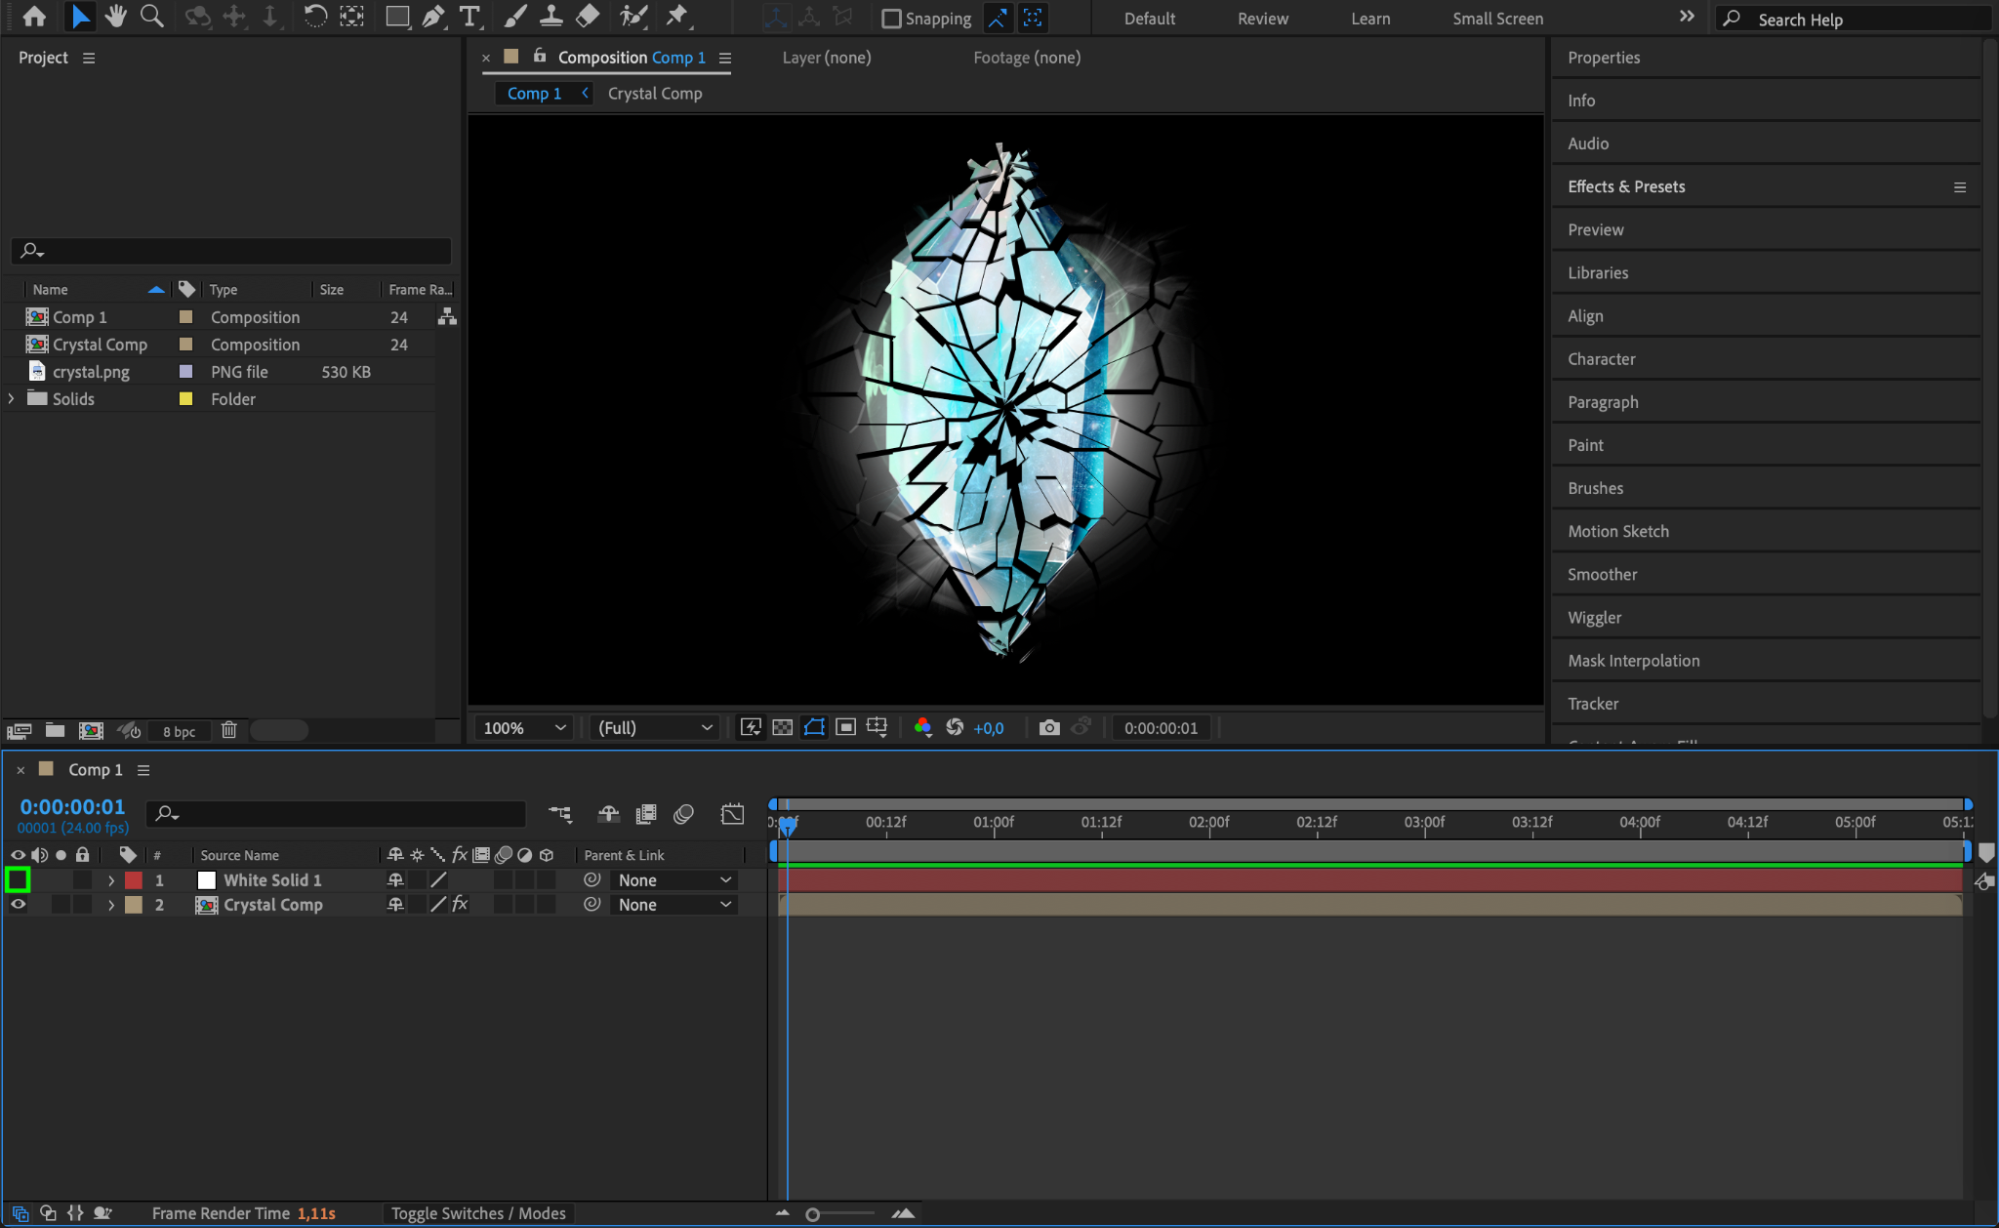
With the solid layer selected, use the Pen Tool (G) to draw a mask around the area where you want the shatter effect to occur. Then, in the Effect Controls panel, expand the Gradient section of the shatter effect. Set the Gradient Layer to your solid layer and choose Masks for the Gradient option. Finally, adjust the Shatter Threshold percentage (e.g., 5%) to control how much of the layer shatters. This technique allows you to create a more targeted and controlled shatter effect.
 Step 8: Preview and Refine
After applying your custom settings, use the Preview function to play back the shatter effect and see it in action. Pay attention to the timing, realism, and overall impact of the effect. Adjust settings as needed until you achieve the desired look. Previewing your work ensures that the effect blends seamlessly with the rest of your project.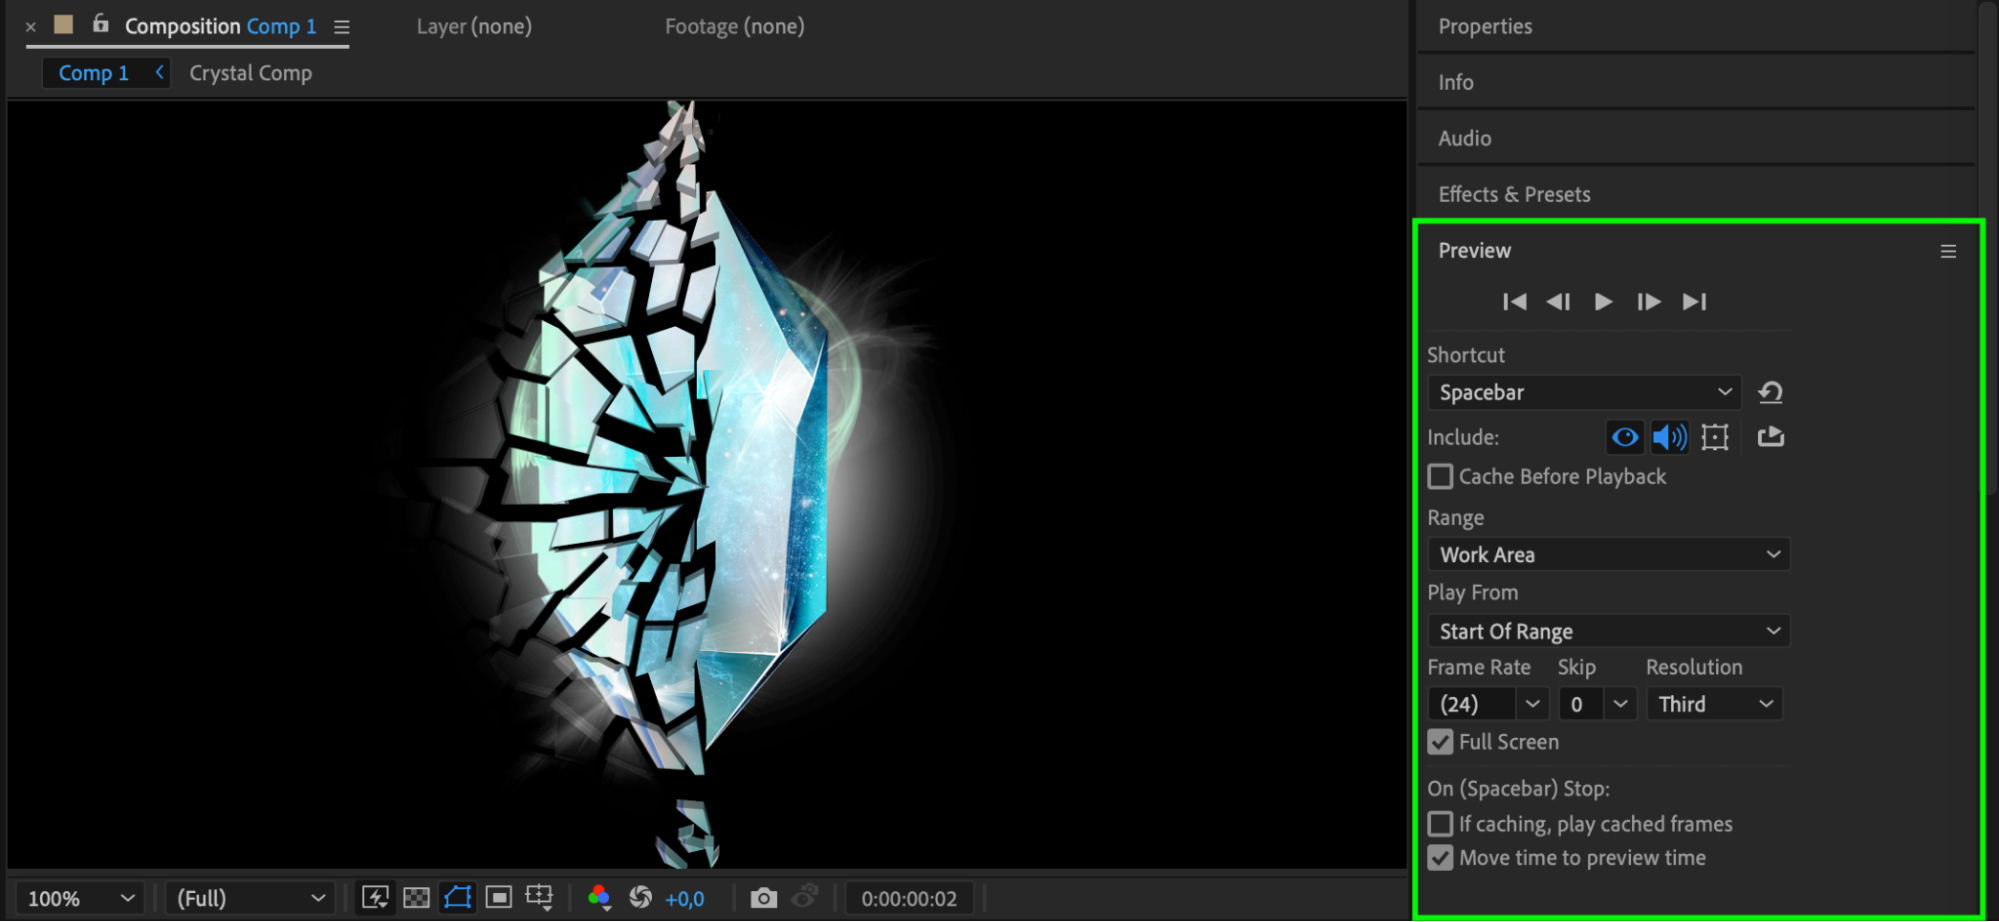 Conclusion
The shatter effect in After Effects is a powerful tool for creating stunning visuals. By applying and customizing the effect, you can create captivating and attention-grabbing videos. Remember to be creative and experiment with different settings. Combine the shatter effect with other effects to create unique visual effects that will set your videos apart. So go ahead, unleash your creativity, and start using the shatter effect in After Effects today!
Our Bestsellers


