Learn how to easily manipulate the anchor point in After Effects to enhance your motion graphics and video editing projects.
Whether you’re a seasoned motion graphics artist or a beginner diving into the world of video editing, understanding how to change the anchor point in After Effects is a fundamental skill. The anchor point serves as the pivot point or center of transformation for a layer, influencing its position, rotation, and scale. By knowing how to manipulate the anchor point, you can take your motion graphics to the next level and achieve precise placements and dynamic animations.
To change the anchor point of a layer, follow these simple steps:
1. Select the layer you want to modify in the timeline panel.
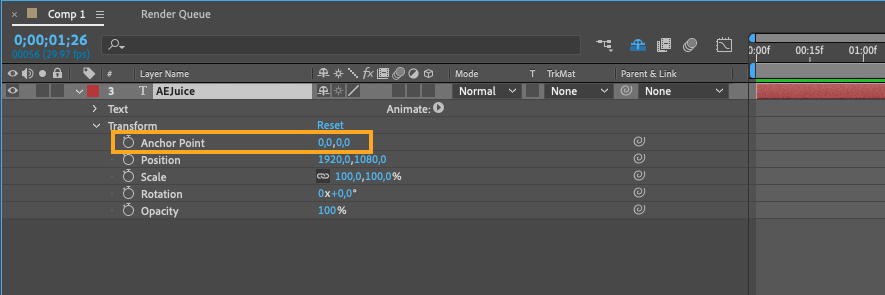
2. Go to the “Properties” panel, and you will see a section labeled “Transform.” This section contains various properties like position, scale, and rotation.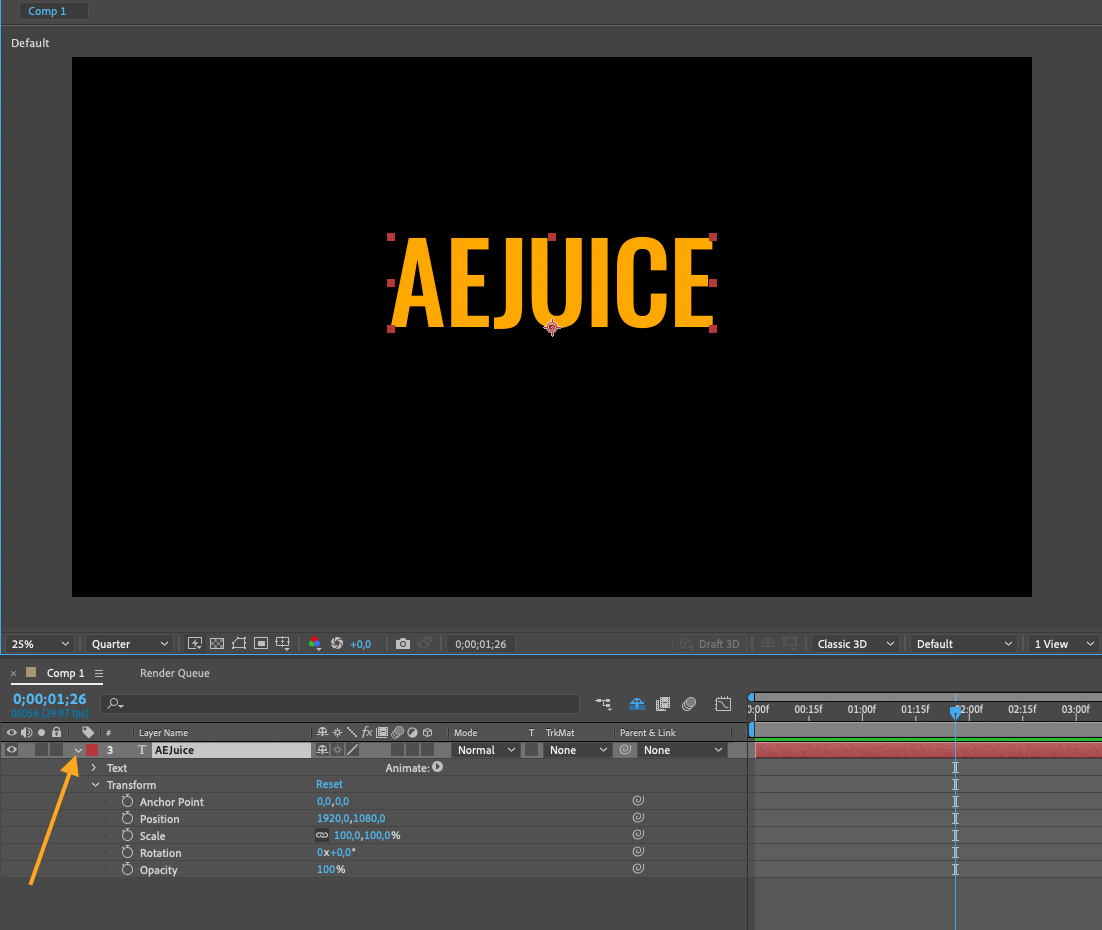 3. Locate the anchor point property, which is represented by a small crosshair icon. By default, it is positioned in the center of the layer.
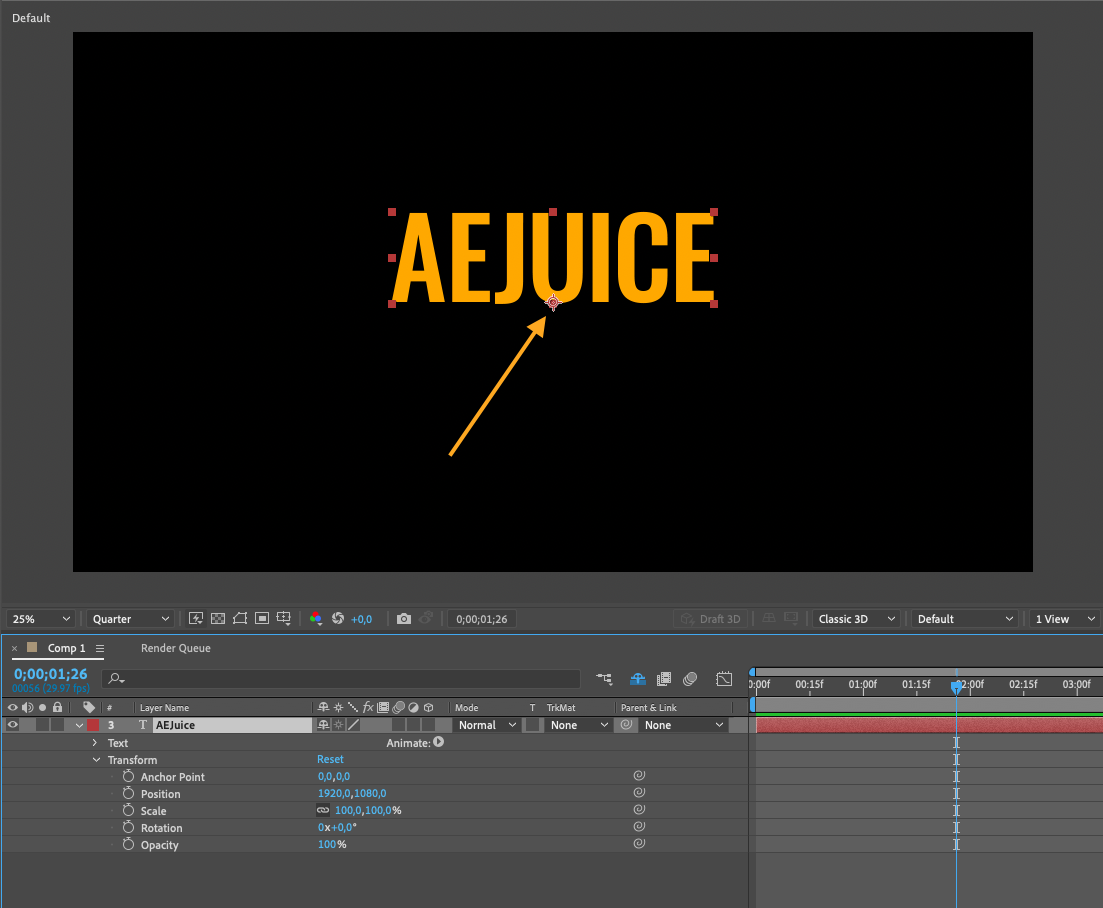 4. Use the Anchor Point tool from the top menu to drag the anchor point to the desired position on the layer. Once you’ve changed the anchor point, you will notice that the layer’s position, rotation, and scale are affected accordingly.
 5. You can also input specific coordinates in the property values to be even more precise.
Changing the anchor point opens up a world of creative possibilities. Here are a few examples:
1. Rotation:
By changing the anchor point, you can rotate a layer around a specific point instead of its default center. This is useful for creating spinning objects, circular animations, or rotating text effects.
Get 10% off when you subscribe to our newsletter

2. Scale and Transformations:
Adjusting the anchor point allows you to control the scaling behavior of a layer. For example, if you want to scale a layer from one corner, simply move the anchor point to that corner, and the layer will scale from there. 3. Parenting and Layer Connections:
The anchor point plays a crucial role in parenting and linking layers. By changing the anchor point of a parent layer, you can precisely control how the child layers connect and interact with each other.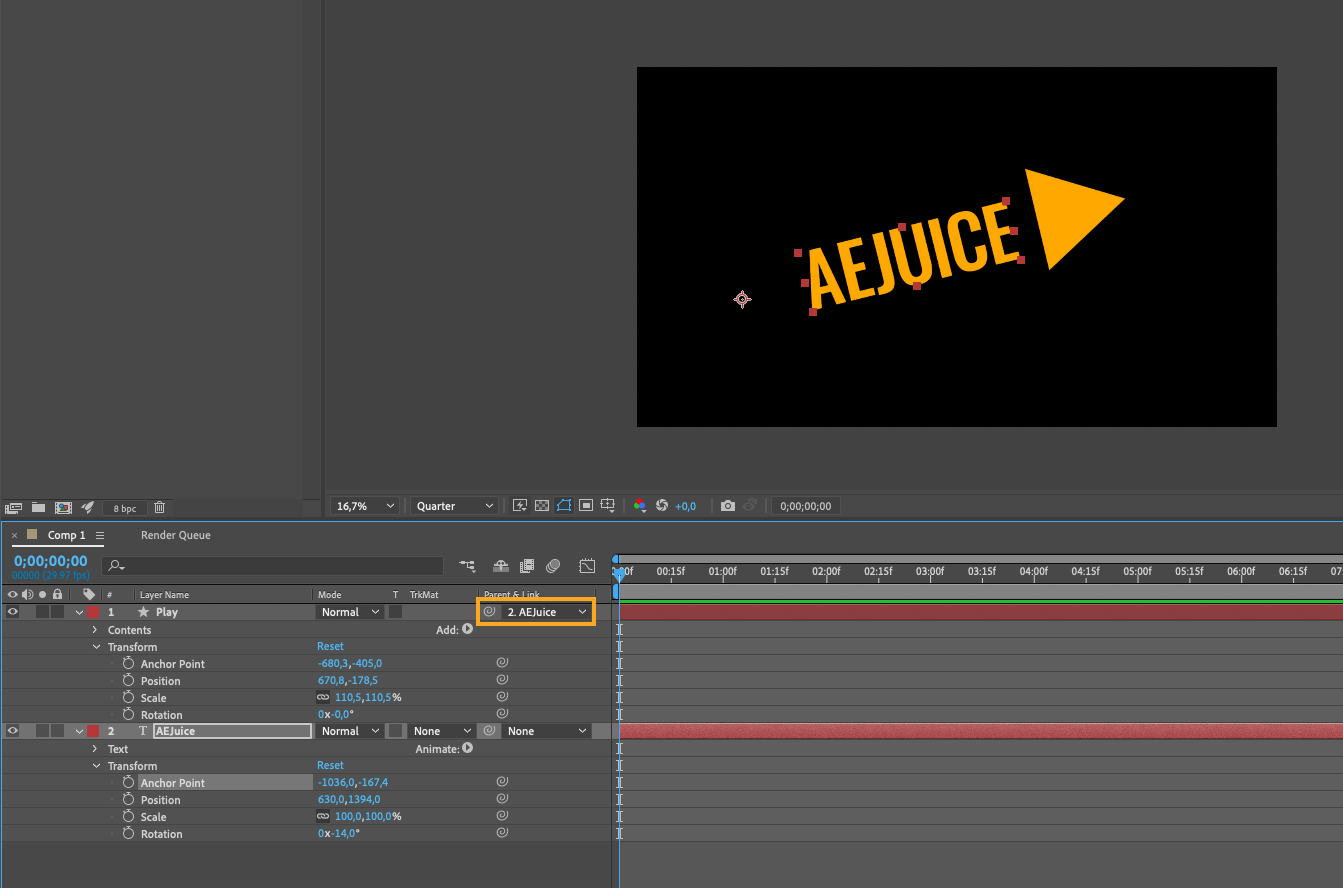 4. Animation Effects: Manipulating the anchor point opens up new creative possibilities for various animation effects. For example, you can create dynamic camera movements by changing the Point of interest of a camera layer, or simulate the motion of a pendulum by adjusting the anchor point of an object.
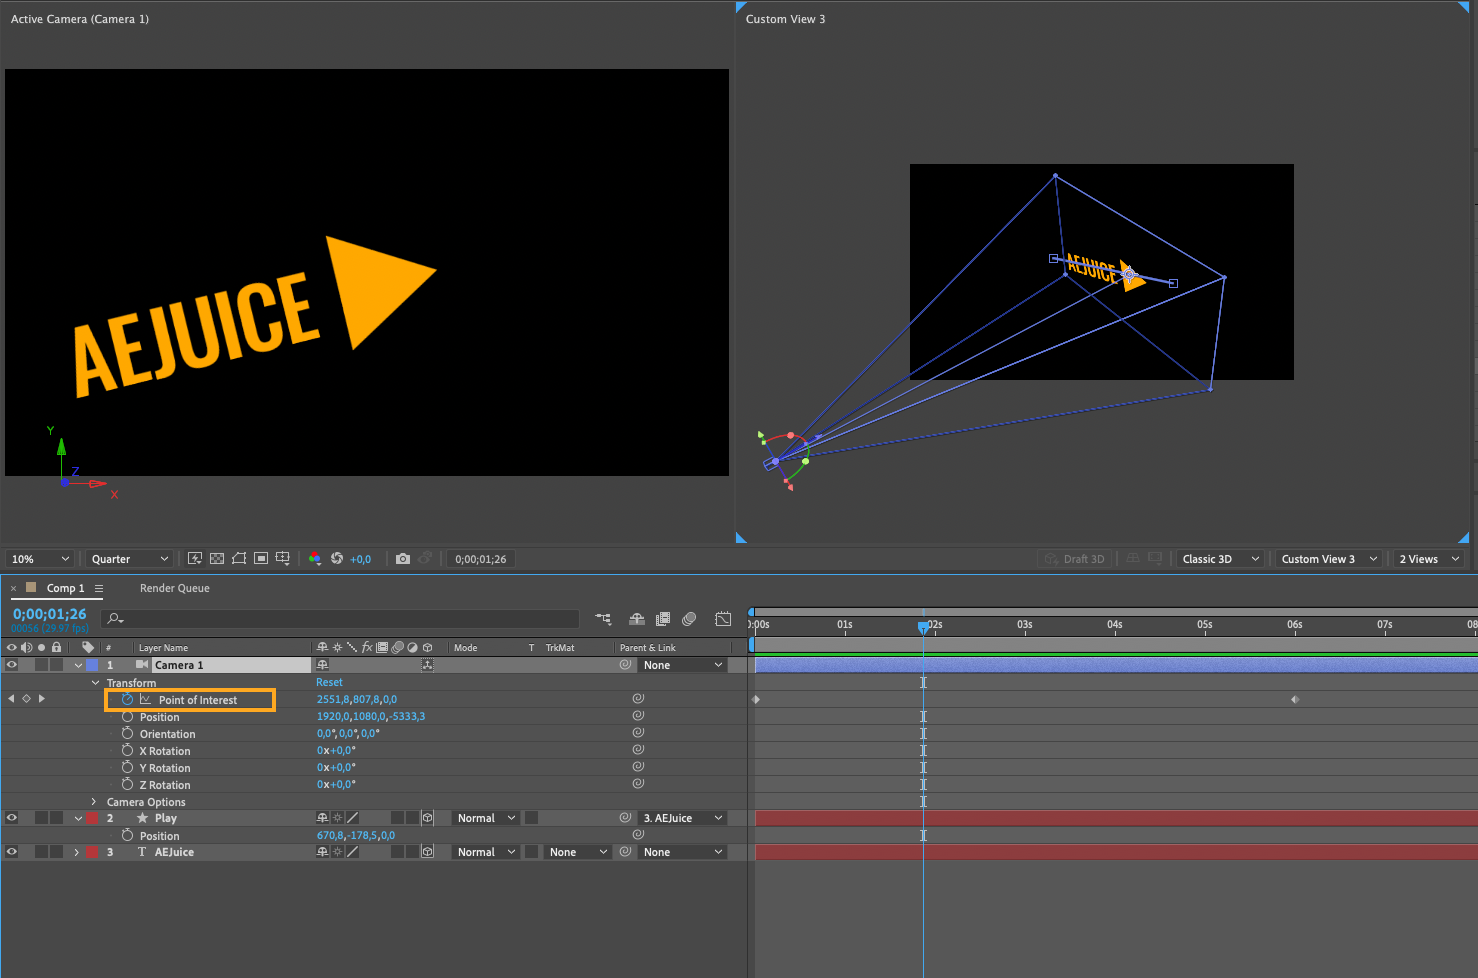
As you can see, changing the anchor point in After Effects is a simple yet powerful technique that can greatly enhance your motion graphics and video editing projects. Experiment with different anchor point positions, explore its impact on transformations and connections, and let your creativity run wild.
In conclusion, mastering the art of changing the anchor point in After Effects will give you precise control over your layers, allowing you to create stunning animations and achieve seamless visual effects. Give it a try and unlock the endless creative possibilities that this essential technique offers.


