How to Create a Background for Your Text in After Effects
Introduction
In this guide, we will show you how to add a background behind your text in After Effects. This can help improve readability and make your text stand out in your project. Let’s get started!
Step 1: Create a New Composition
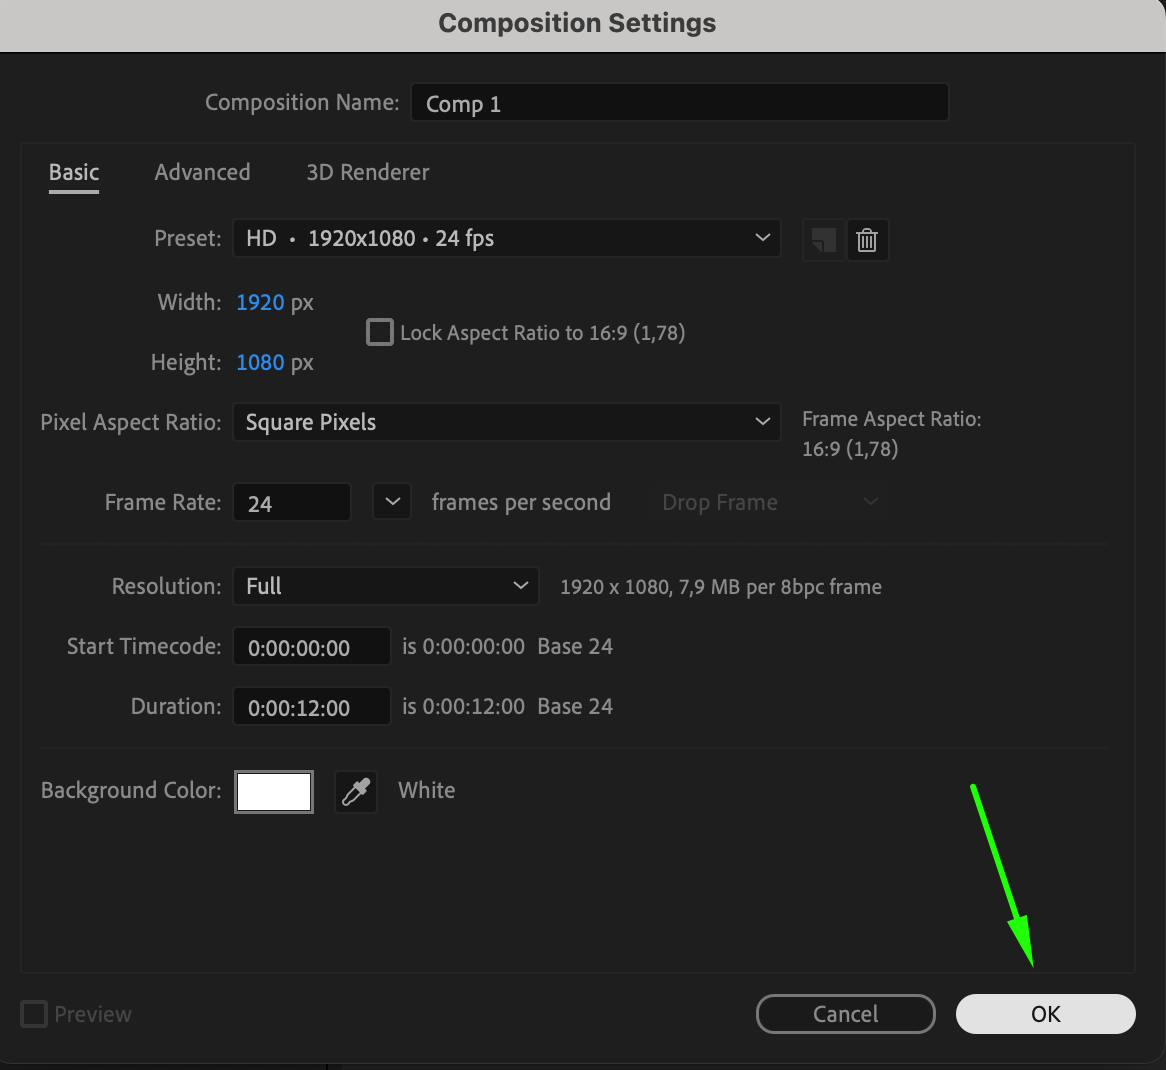
Open After Effects and create a new composition by going to Composition > New Composition. Choose your desired resolution and duration based on your project.
 Step 2: Add Text to Your Composition
Select the Type Tool (Ctrl/Cmd + T) and click anywhere in the composition to create a text box. Type in the text you want to appear. Adjust the font, size, and color to fit your design. Step 3: Create a Solid Layer for the Background
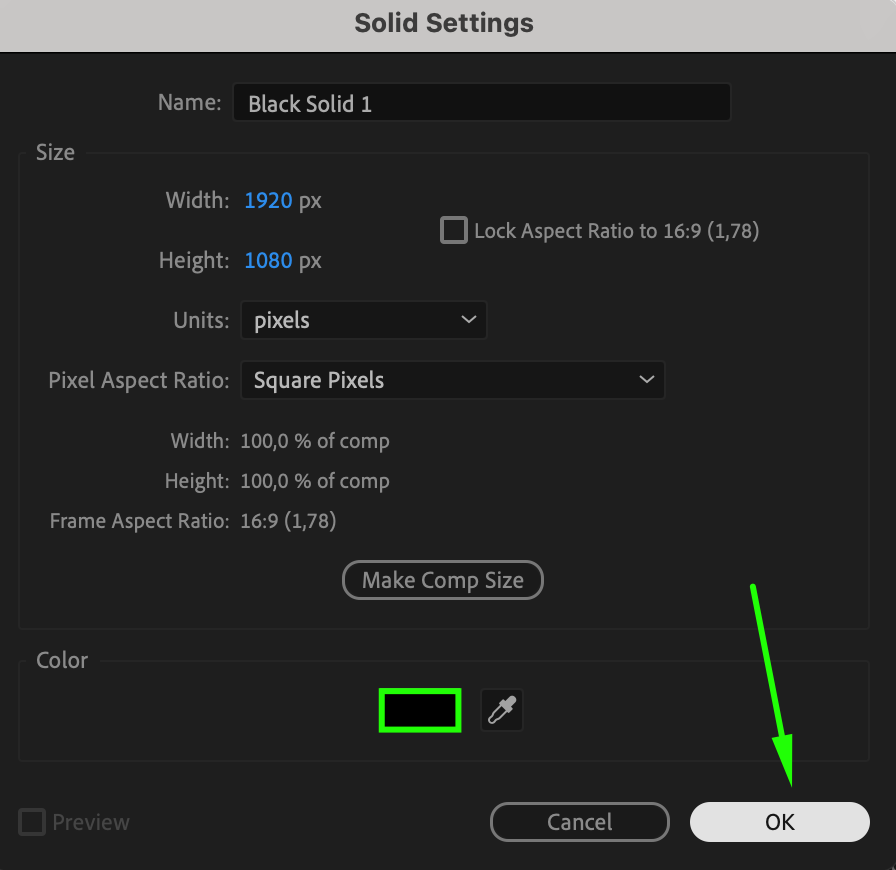
To add a background to your text, go to Layer > New > Solid. Choose the color for the background (e.g., black or any color you prefer) and click OK.
 Step 4: Position the Solid Layer
Get 10% off when you subscribe to our newsletter

By default, the solid layer will be placed above the text layer. To position it behind the text, drag the solid layer to the bottom of the layer stack in the timeline. This ensures the text is displayed on top of the background. Step 5: Resize and Adjust the Background
Select the solid layer and adjust its size to match the size of your text. Use the Selection Tool to scale or reposition the solid layer. If you want to add padding around the text, you can resize the solid accordingly.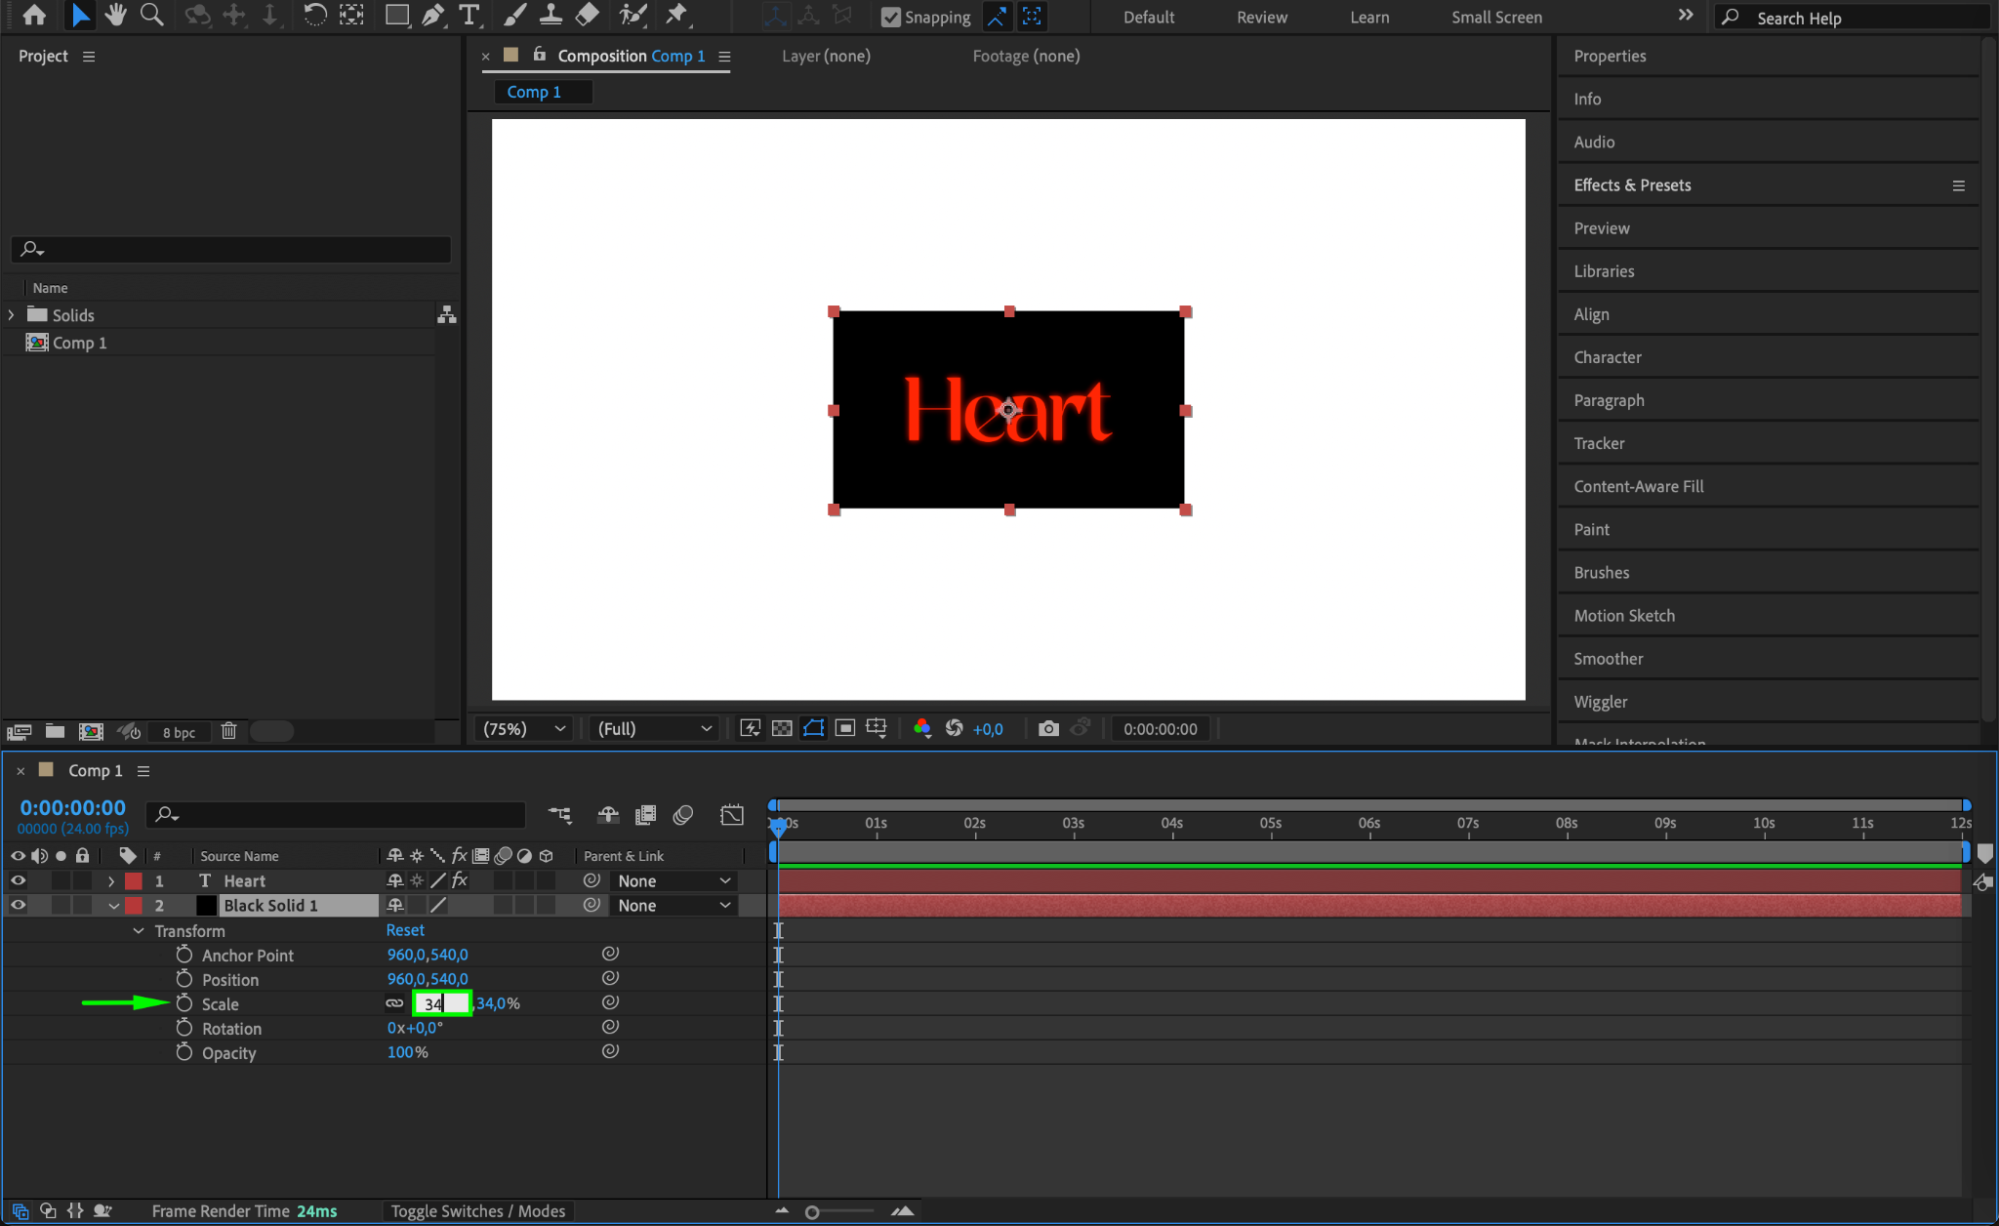 Step 6: Add Animation or Customize the Background (Optional)
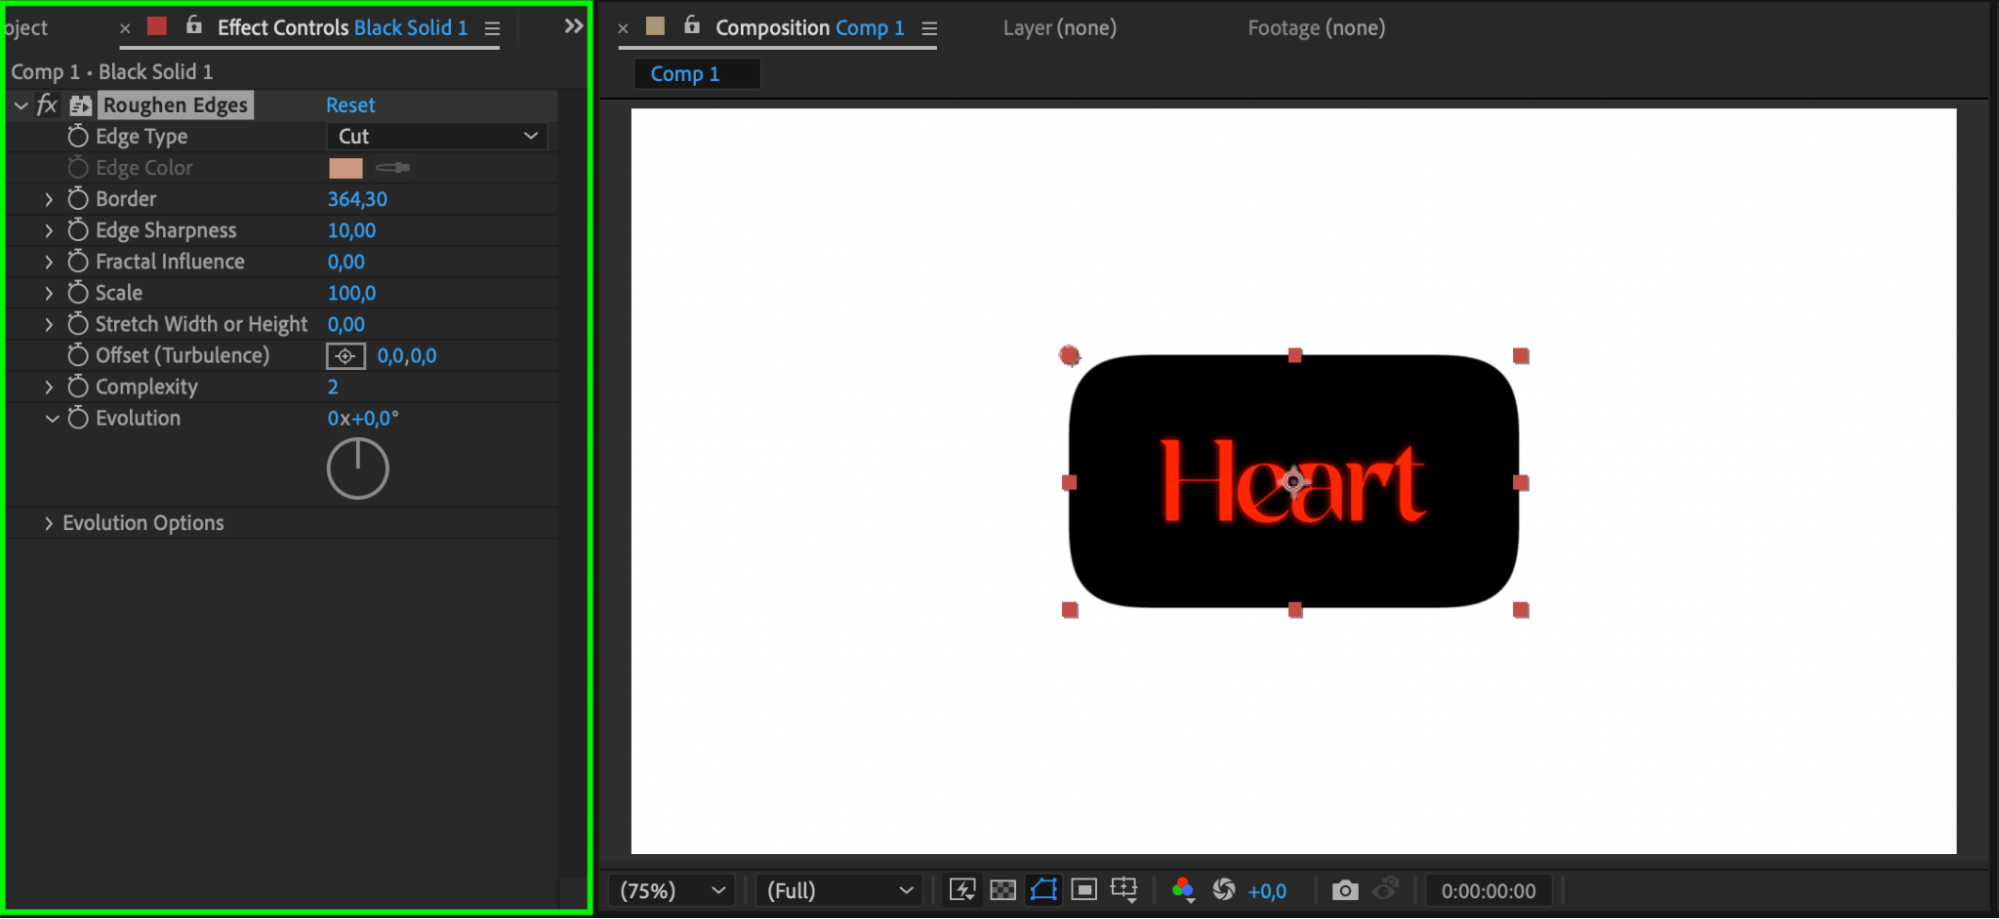
To make the background more dynamic, you can animate its position, opacity, or scale. For example, you can create a fade-in effect by animating the opacity of the solid layer, or make it grow by animating its scale. Alternatively, you can experiment with the appearance of the solid layer, such as adding rounded corners using the Roughen Edges effect.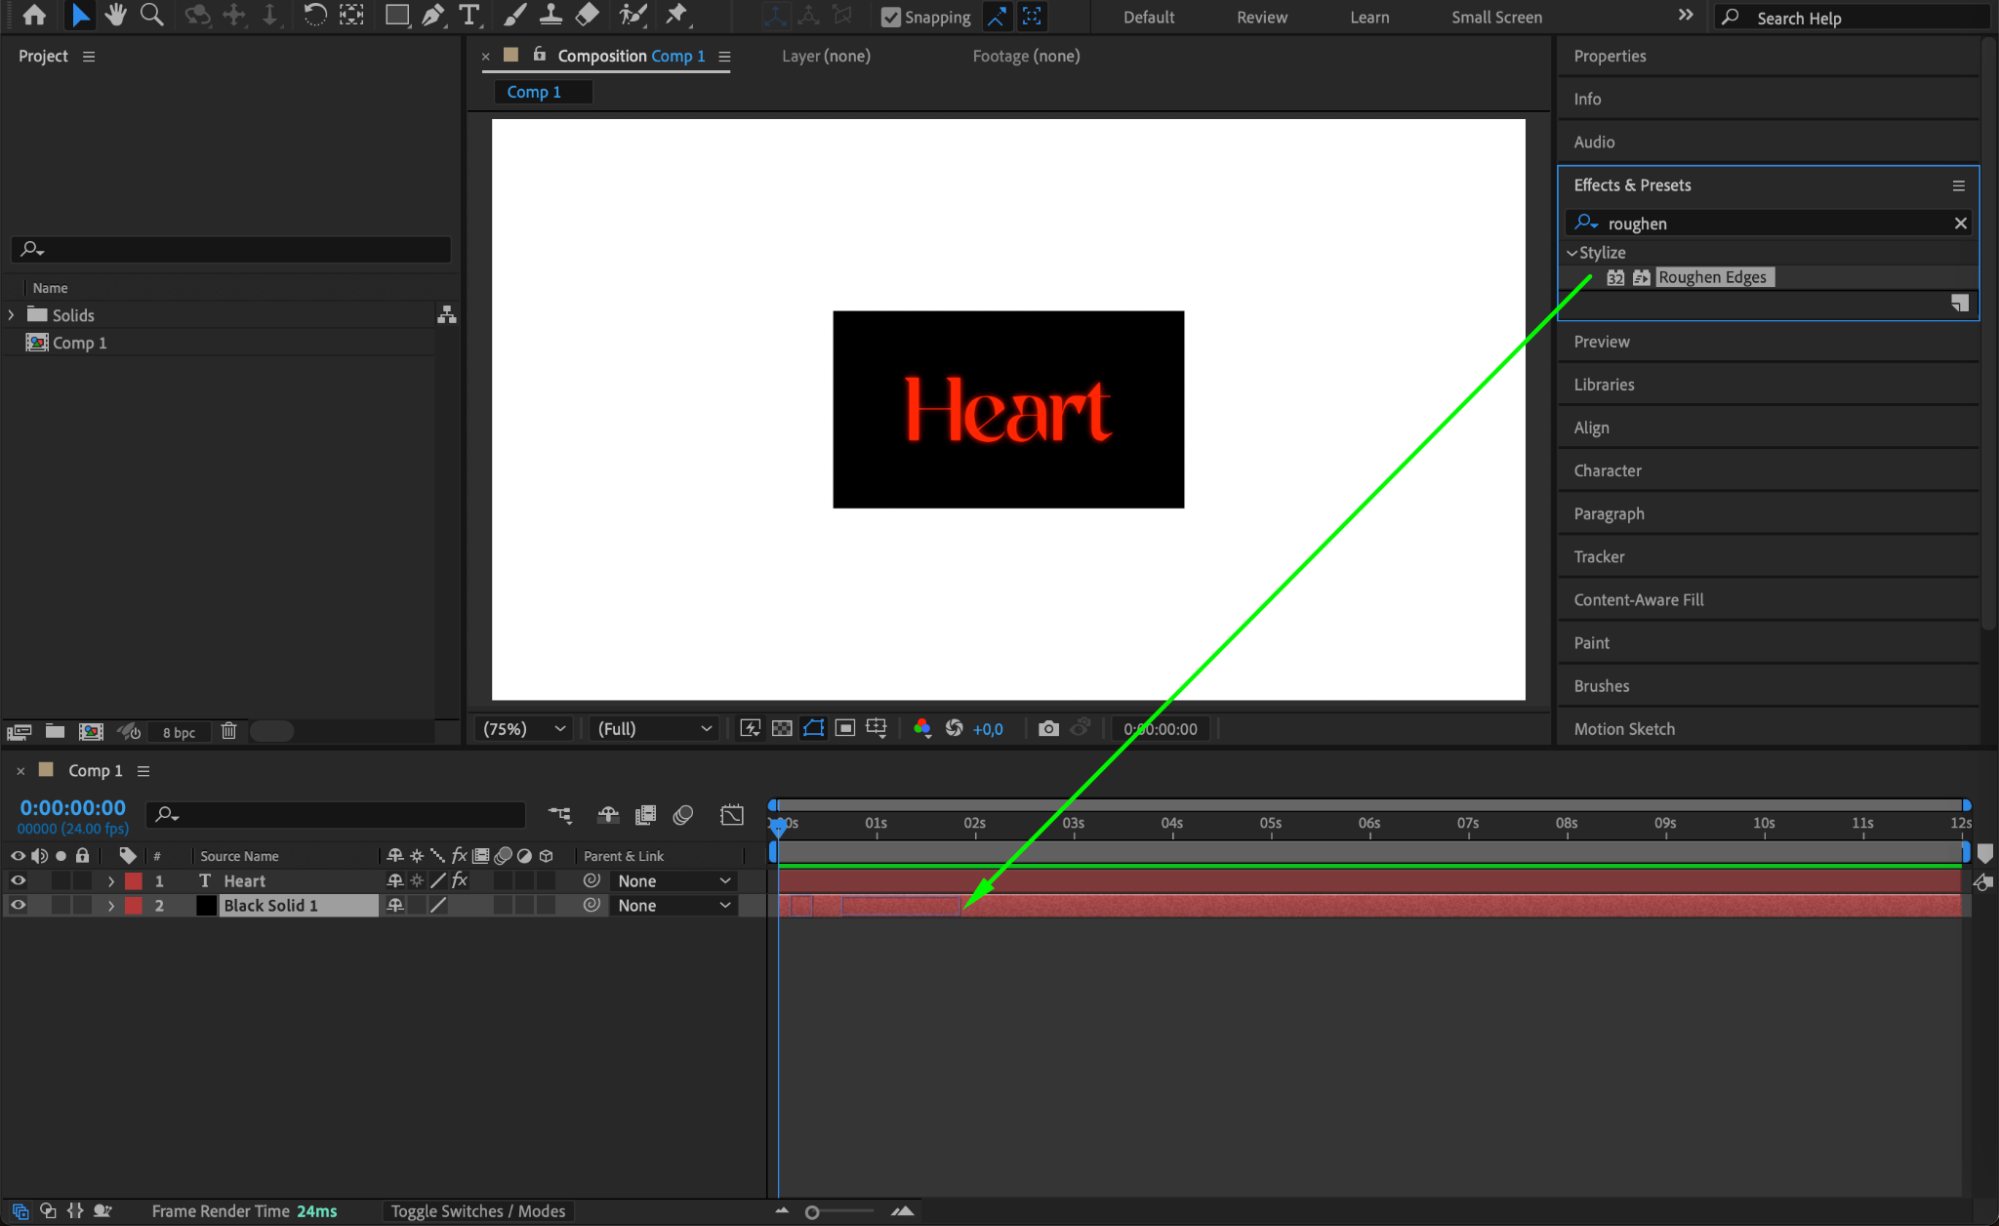
 Step 7: Preview Your Work
Press the spacebar to preview the animation and see how the text and background look together. Make any final adjustments if necessary.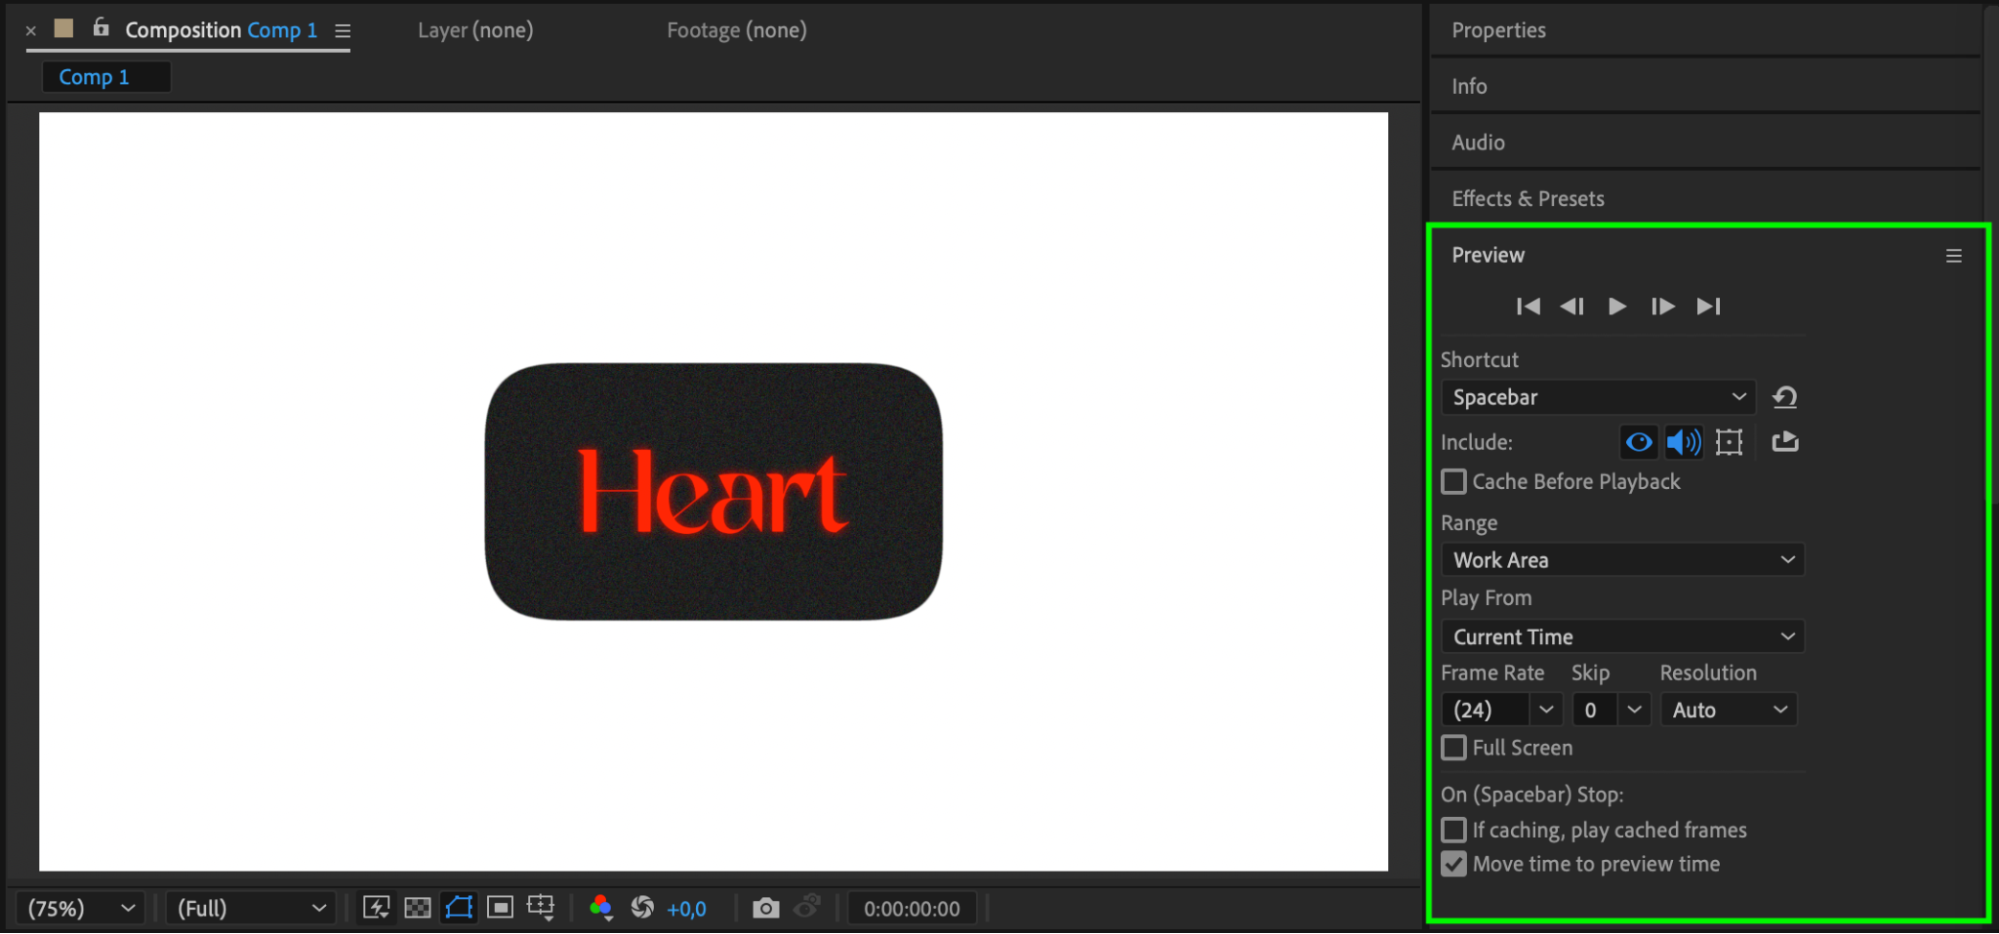 Step 8: Render the Composition
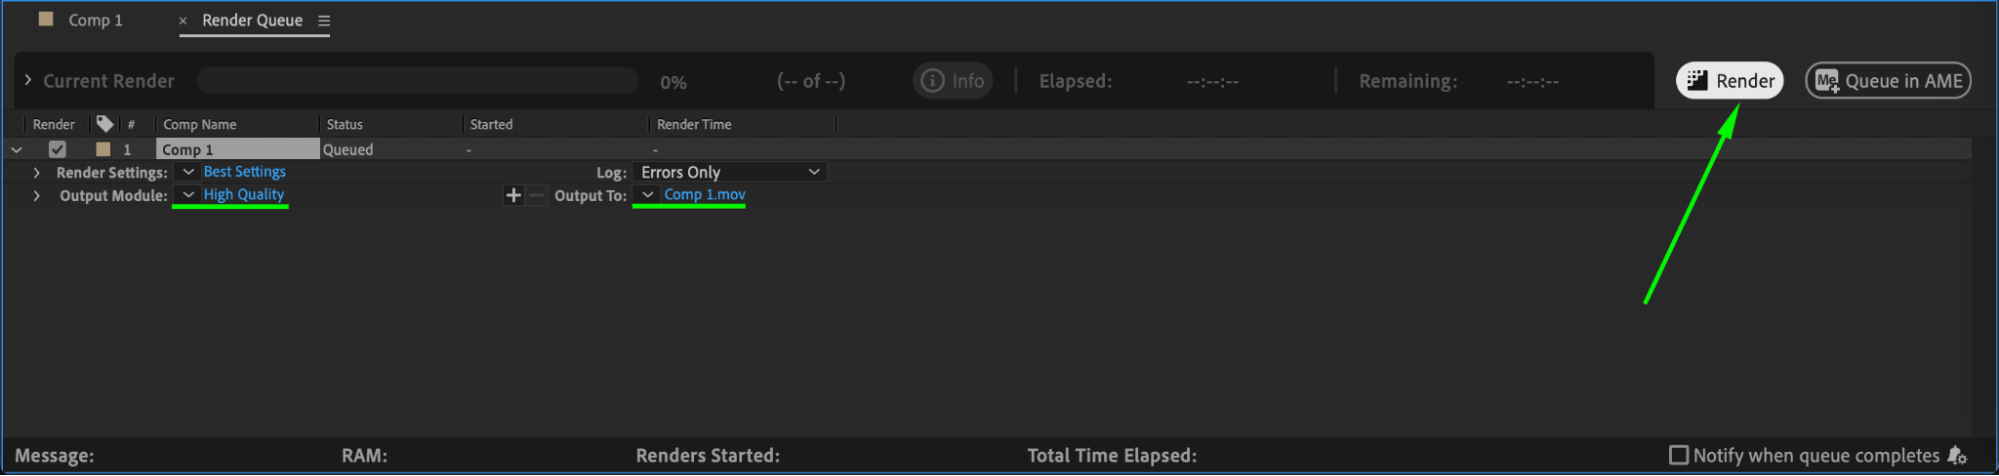
Once you’re satisfied with the result, go to Composition > Add to Render Queue. Choose your output settings and render the composition to export the video with the text and its background.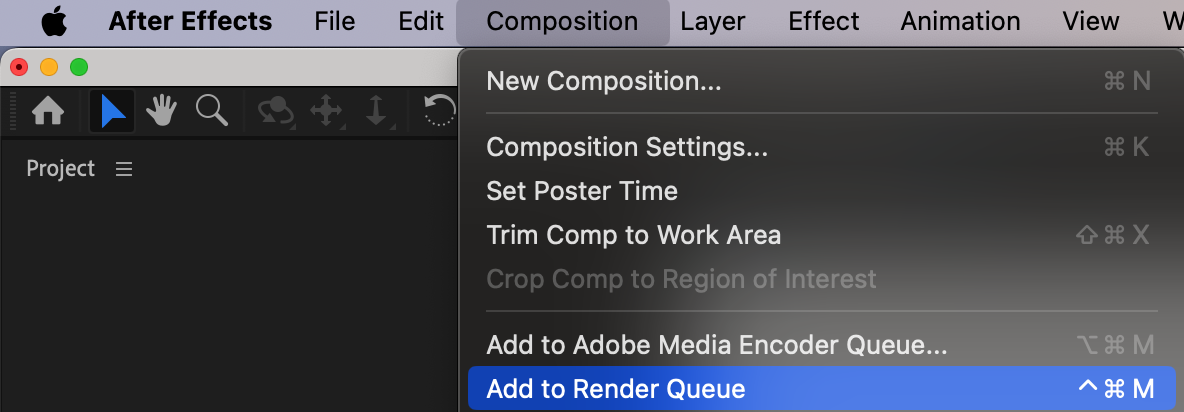
 Conclusion
By following these steps, you’ve successfully added a background to your text in After Effects. This technique is simple yet effective for enhancing text visibility and can be customized to fit any design style.
Our Bestsellers


