In this tutorial, we will provide a basic overview of how to set keyframes in After Effects, a popular motion graphics and compositing software. Keyframes are an essential tool for animating in After Effects, as they allow you to control the specific points in time where changes occur.
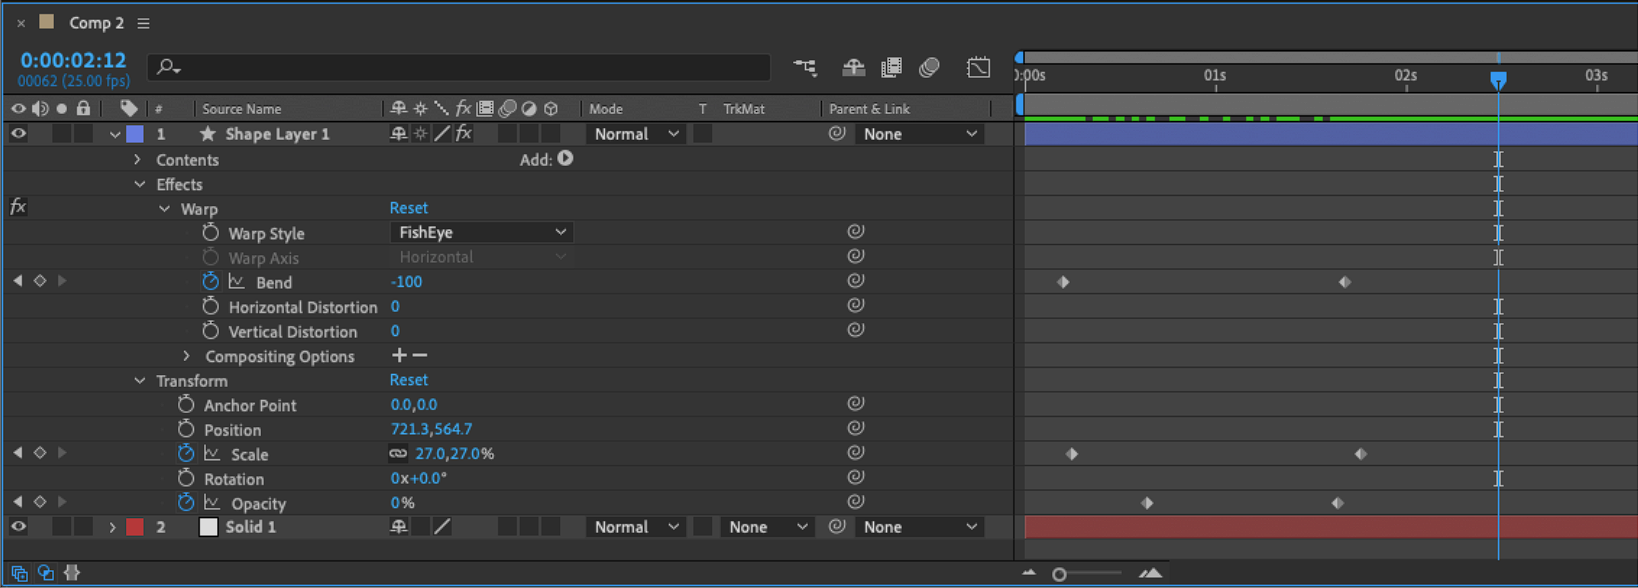
Keyframes in After Effects are markers in time that indicate where you want to change a value for a layer or effect property such as position, scale, or rotation. By setting keyframes and adjusting the values between them, you can create animations. Keyframes can be set in the timeline, and are used to tell After Effects where you want an animation to begin and end.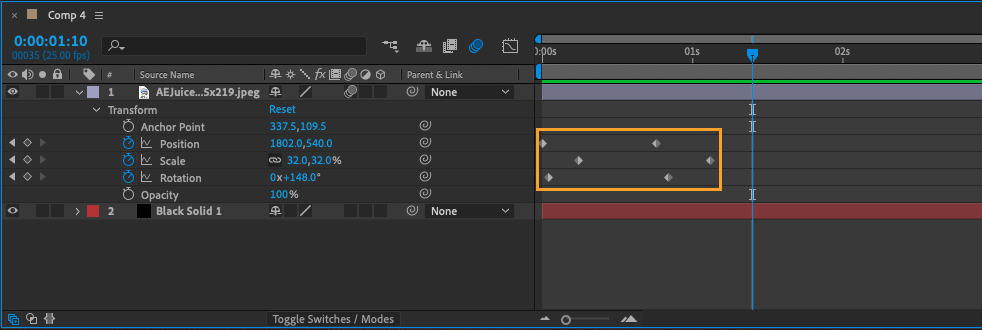 In addition to moving layers from one side of the composition to the other, keyframes can be used to change the opacity of an element over time, scale an element over time, or add keyframes to effects, unlocking a wide range of possibilities for motion design.