Step-by-Step Guide: Adding Transitions in After Effects for Stunning Visual Effects
Elevate Your Videos with Seamless Transitions in After Effects
Are you looking to enhance and elevate your videos with stylish and seamless transitions? Look no further than Adobe After Effects. This powerful motion graphics and visual effects software allows you to add professional-looking transitions to your video projects, offering a visually appealing and captivating viewing experience.
With After Effects, the possibilities for creative transitions are endless. Whether you want to smoothly dissolve between scenes, add dynamic effects, or customize transitions to match your unique style, After Effects provides all the tools you need.
In this comprehensive guide, we will walk you through the step-by-step process of adding transitions in After Effects. Whether you’re a seasoned motion designer or new to the software, this tutorial will equip you with the knowledge and techniques necessary to create stunning transitions that will wow your audience.
Get 10% off when you subscribe to our newsletter

So, let’s dive into the world of After Effects and learn how to take your videos to the next level with captivating transitions!
Choosing the Right Transition
Before we delve into the technical aspect of adding transitions in After Effects, it’s important to consider the purpose and mood of your video. Think about the story you want to tell and the emotion you want to evoke. This will help you choose the most suitable transition for your project.
Get 10% off when you subscribe to our newsletter
Here are a few key points to keep in mind when selecting a transition for your video:
1. Consider the Context: Take into account the overall style and theme of your video. Are you working on a corporate video that requires clean and subtle transitions, or are you creating an energetic music video that calls for bold and dynamic effects? Understanding the context will guide your decision-making process.
2. Keep it Cohesive: The transition you choose should seamlessly merge one scene with another. It should be smooth and natural, maintaining a cohesive flow throughout your video. Avoid jarring transitions that disrupt the viewer’s experience.
3. Experiment and Explore: Don’t be afraid to experiment with different transitions and effects. After Effects offers a wide range of options, including fades, wipes, slides, and more. Play around with the settings and test different combinations to achieve the desired effect.
By considering these aspects, you’ll be able to make an informed decision and select the perfect transition that aligns with your video’s storyline and style.
Adding Transitions in After Effects
Now that we’ve covered the importance of selecting the right transition, let’s get into the nitty-gritty of adding transitions in After Effects. Follow these step-by-step instructions to enhance your video with captivating and seamless transitions:
Get 10% off when you subscribe to our newsletter
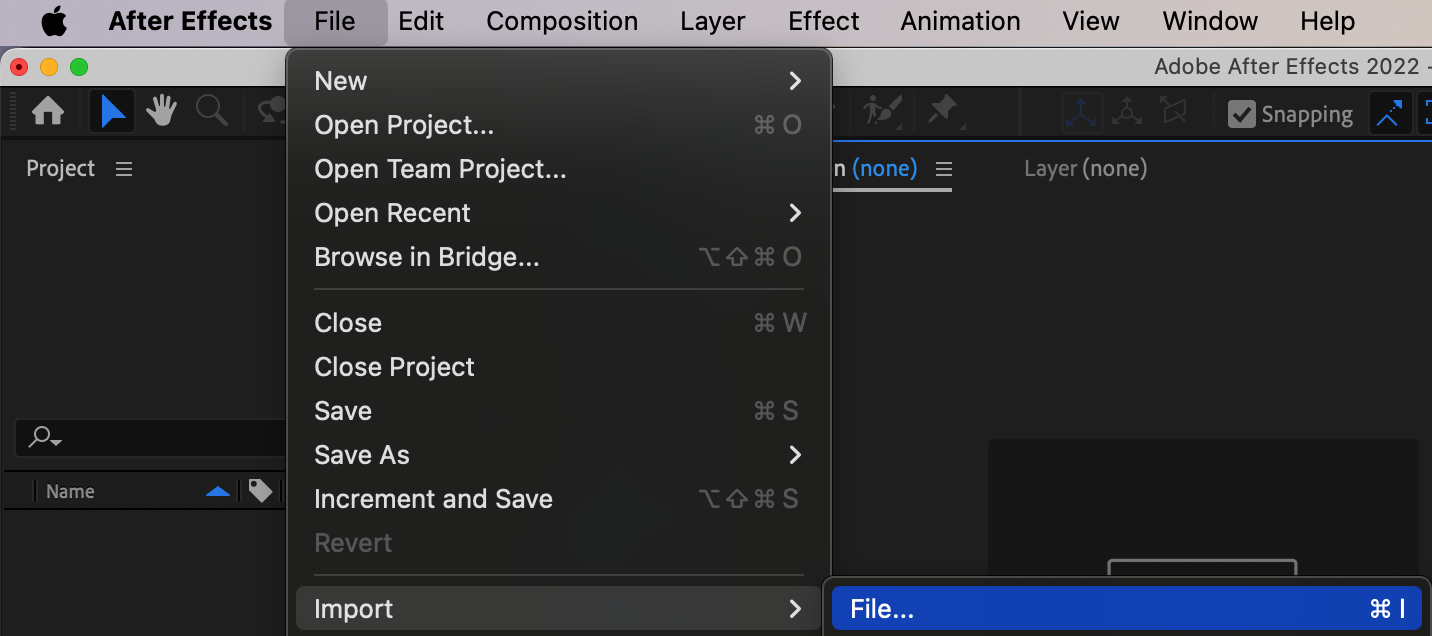
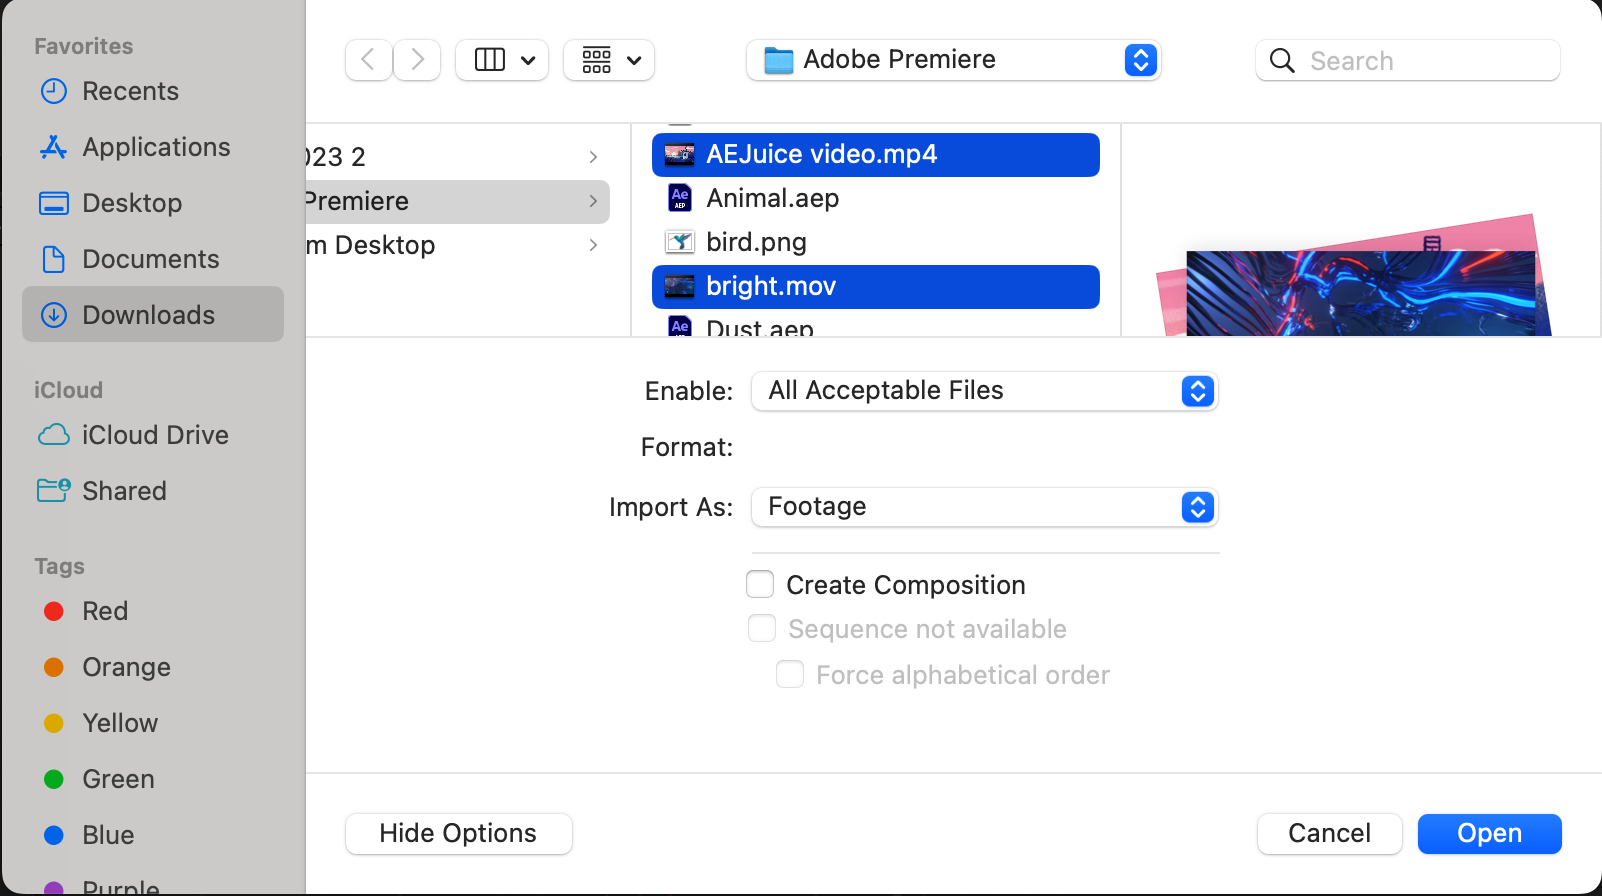
1. Import your Footage: Open After Effects and import your video footage by clicking on “Import” and then select “File”. Choose the file you want to work with and click “Open”.
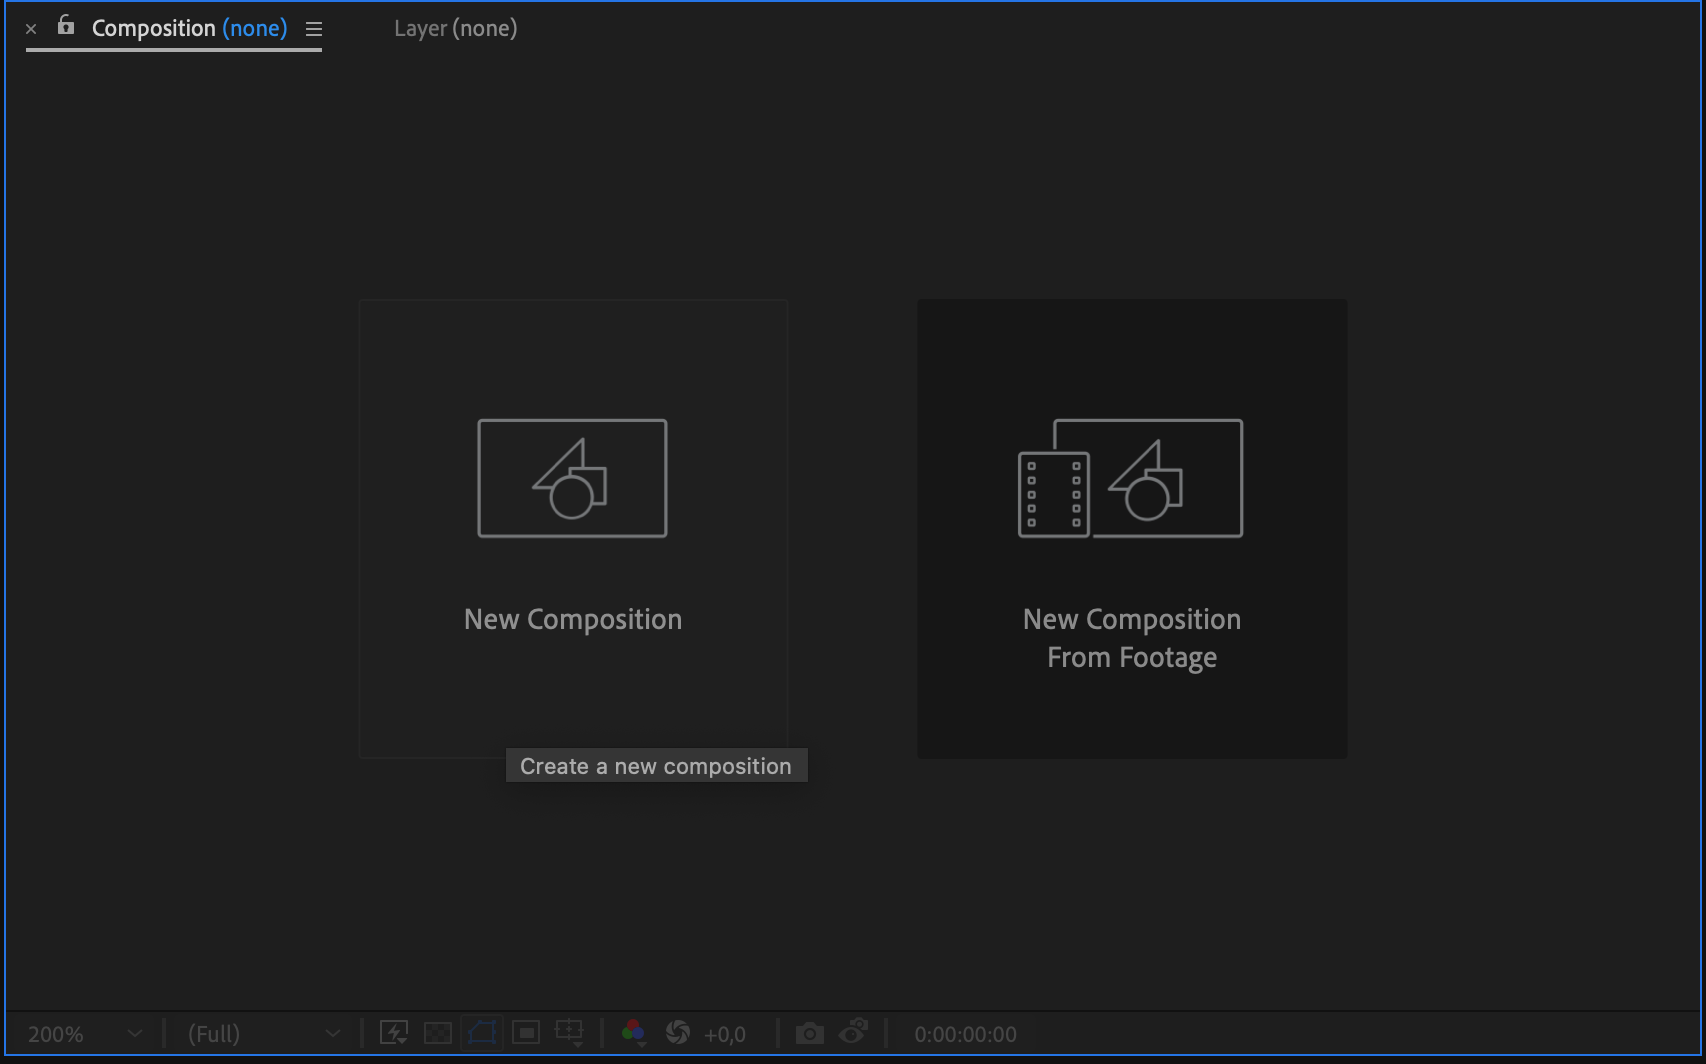
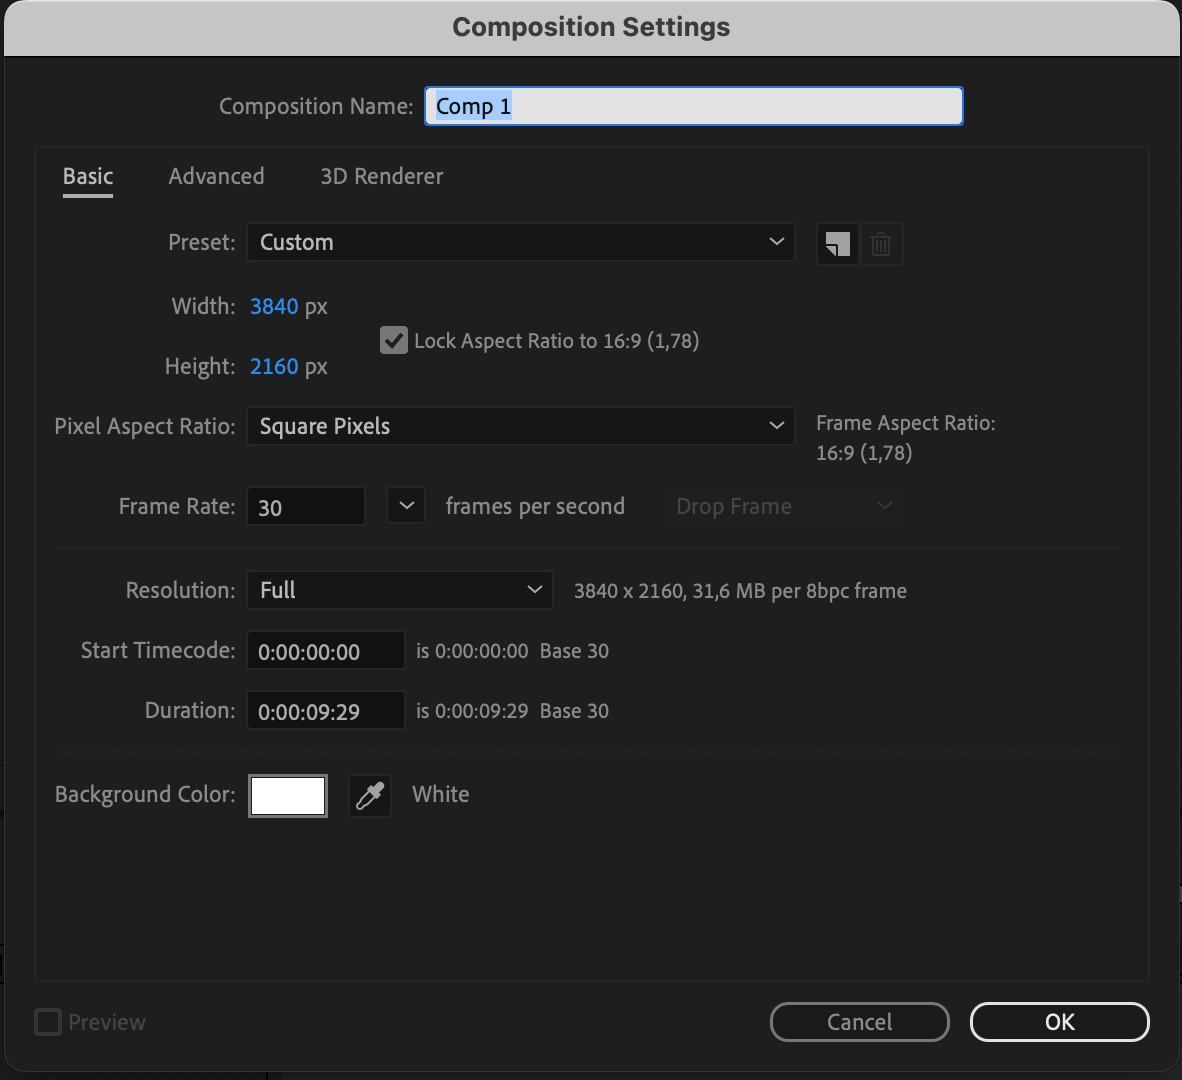
2. Create a New Composition: Once your footage is imported, create a new composition by clicking on “Composition” and selecting “New Composition”. Adjust the settings, such as duration and resolution, according to your project requirements.
Get 10% off when you subscribe to our newsletter
3. Arrange your Clips: Drag and drop your footage onto the timeline in the desired order. This will determine the sequence of your scenes.

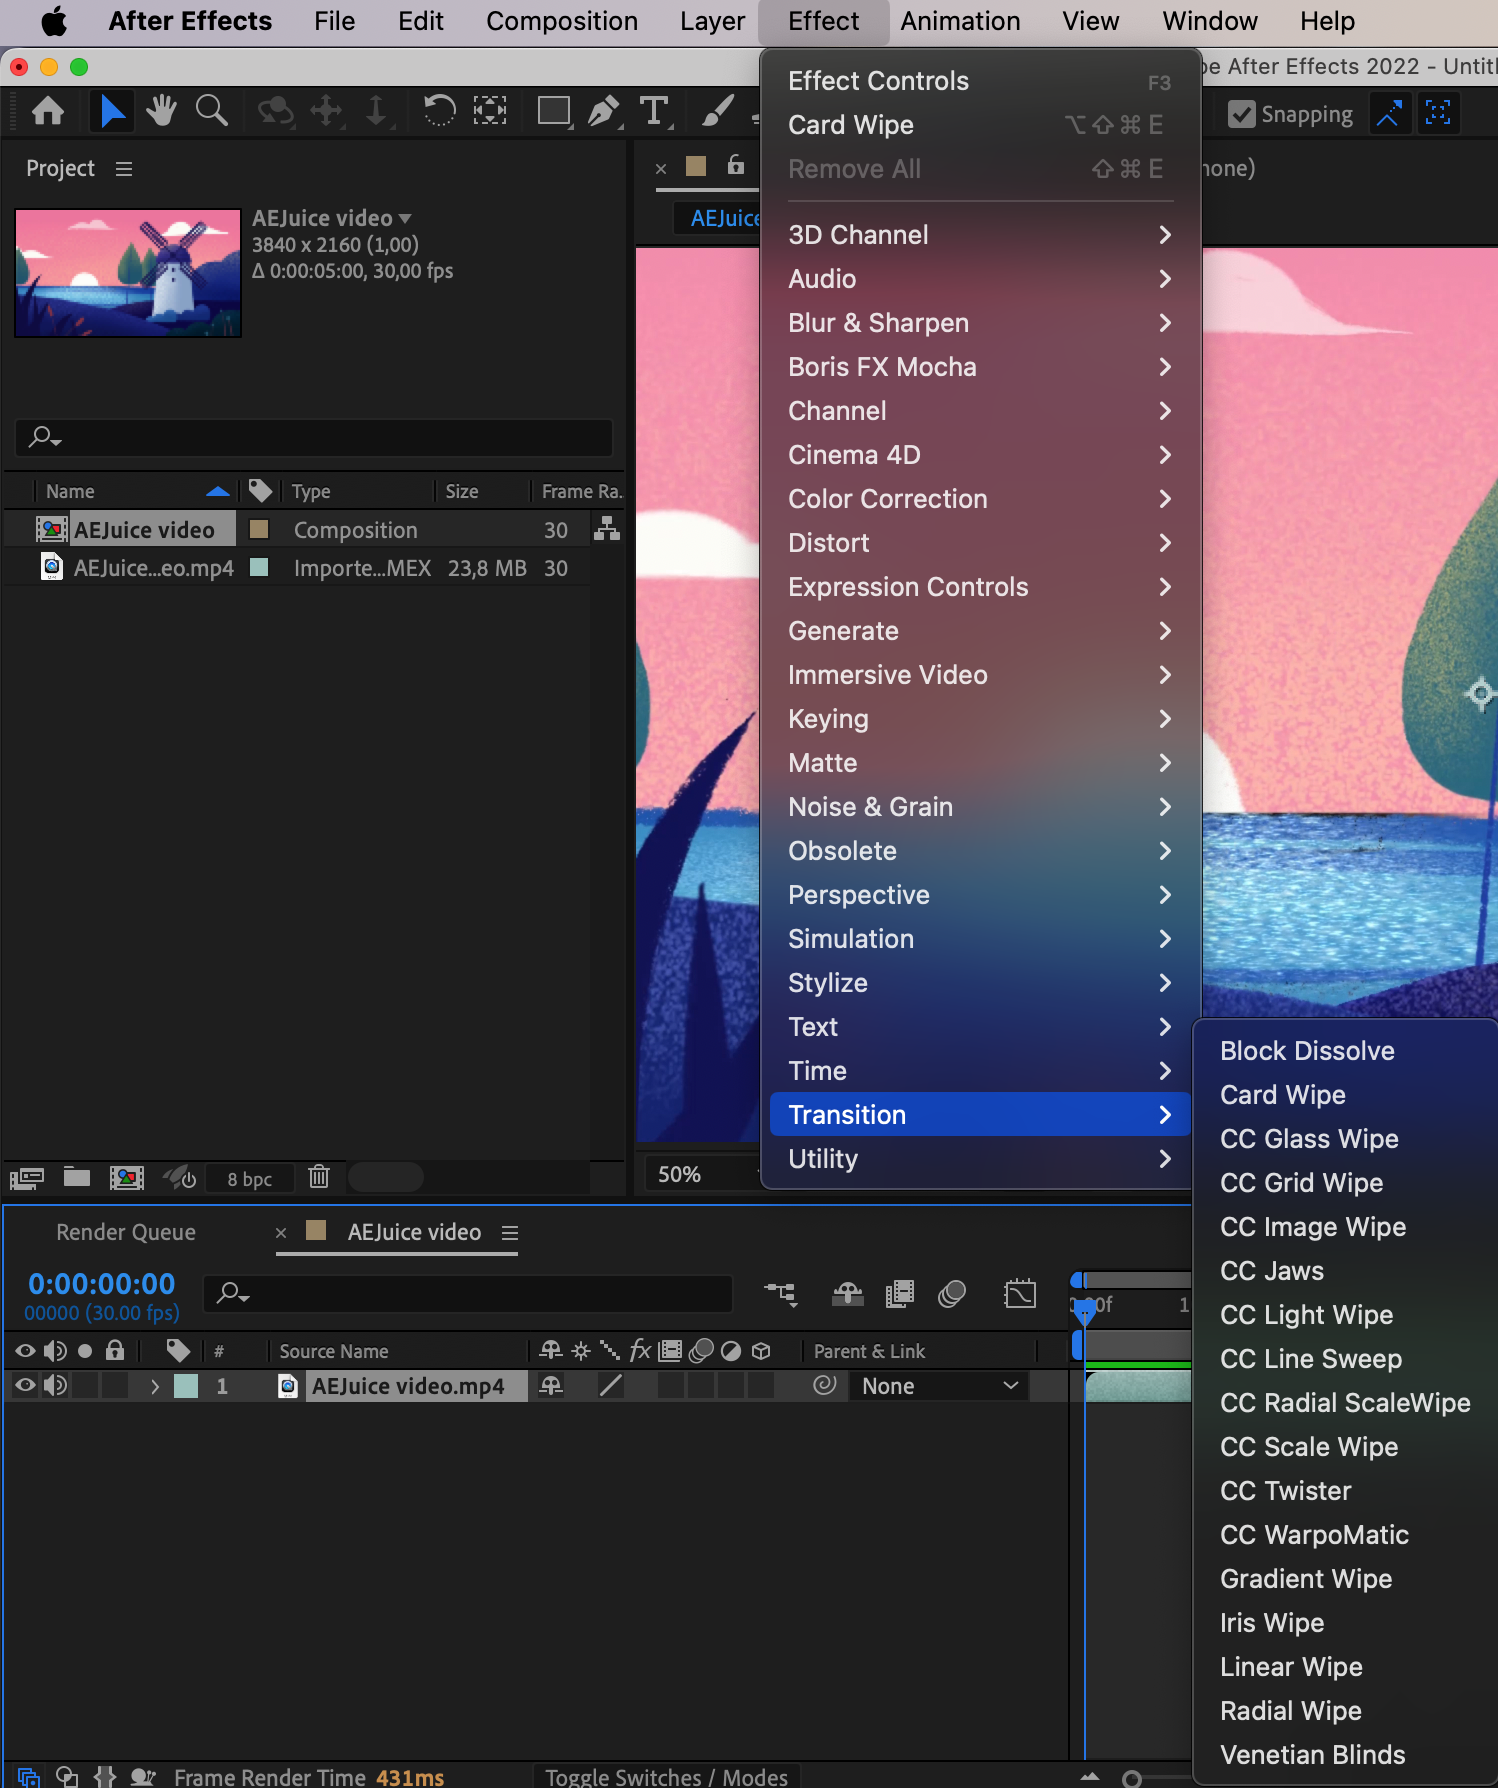
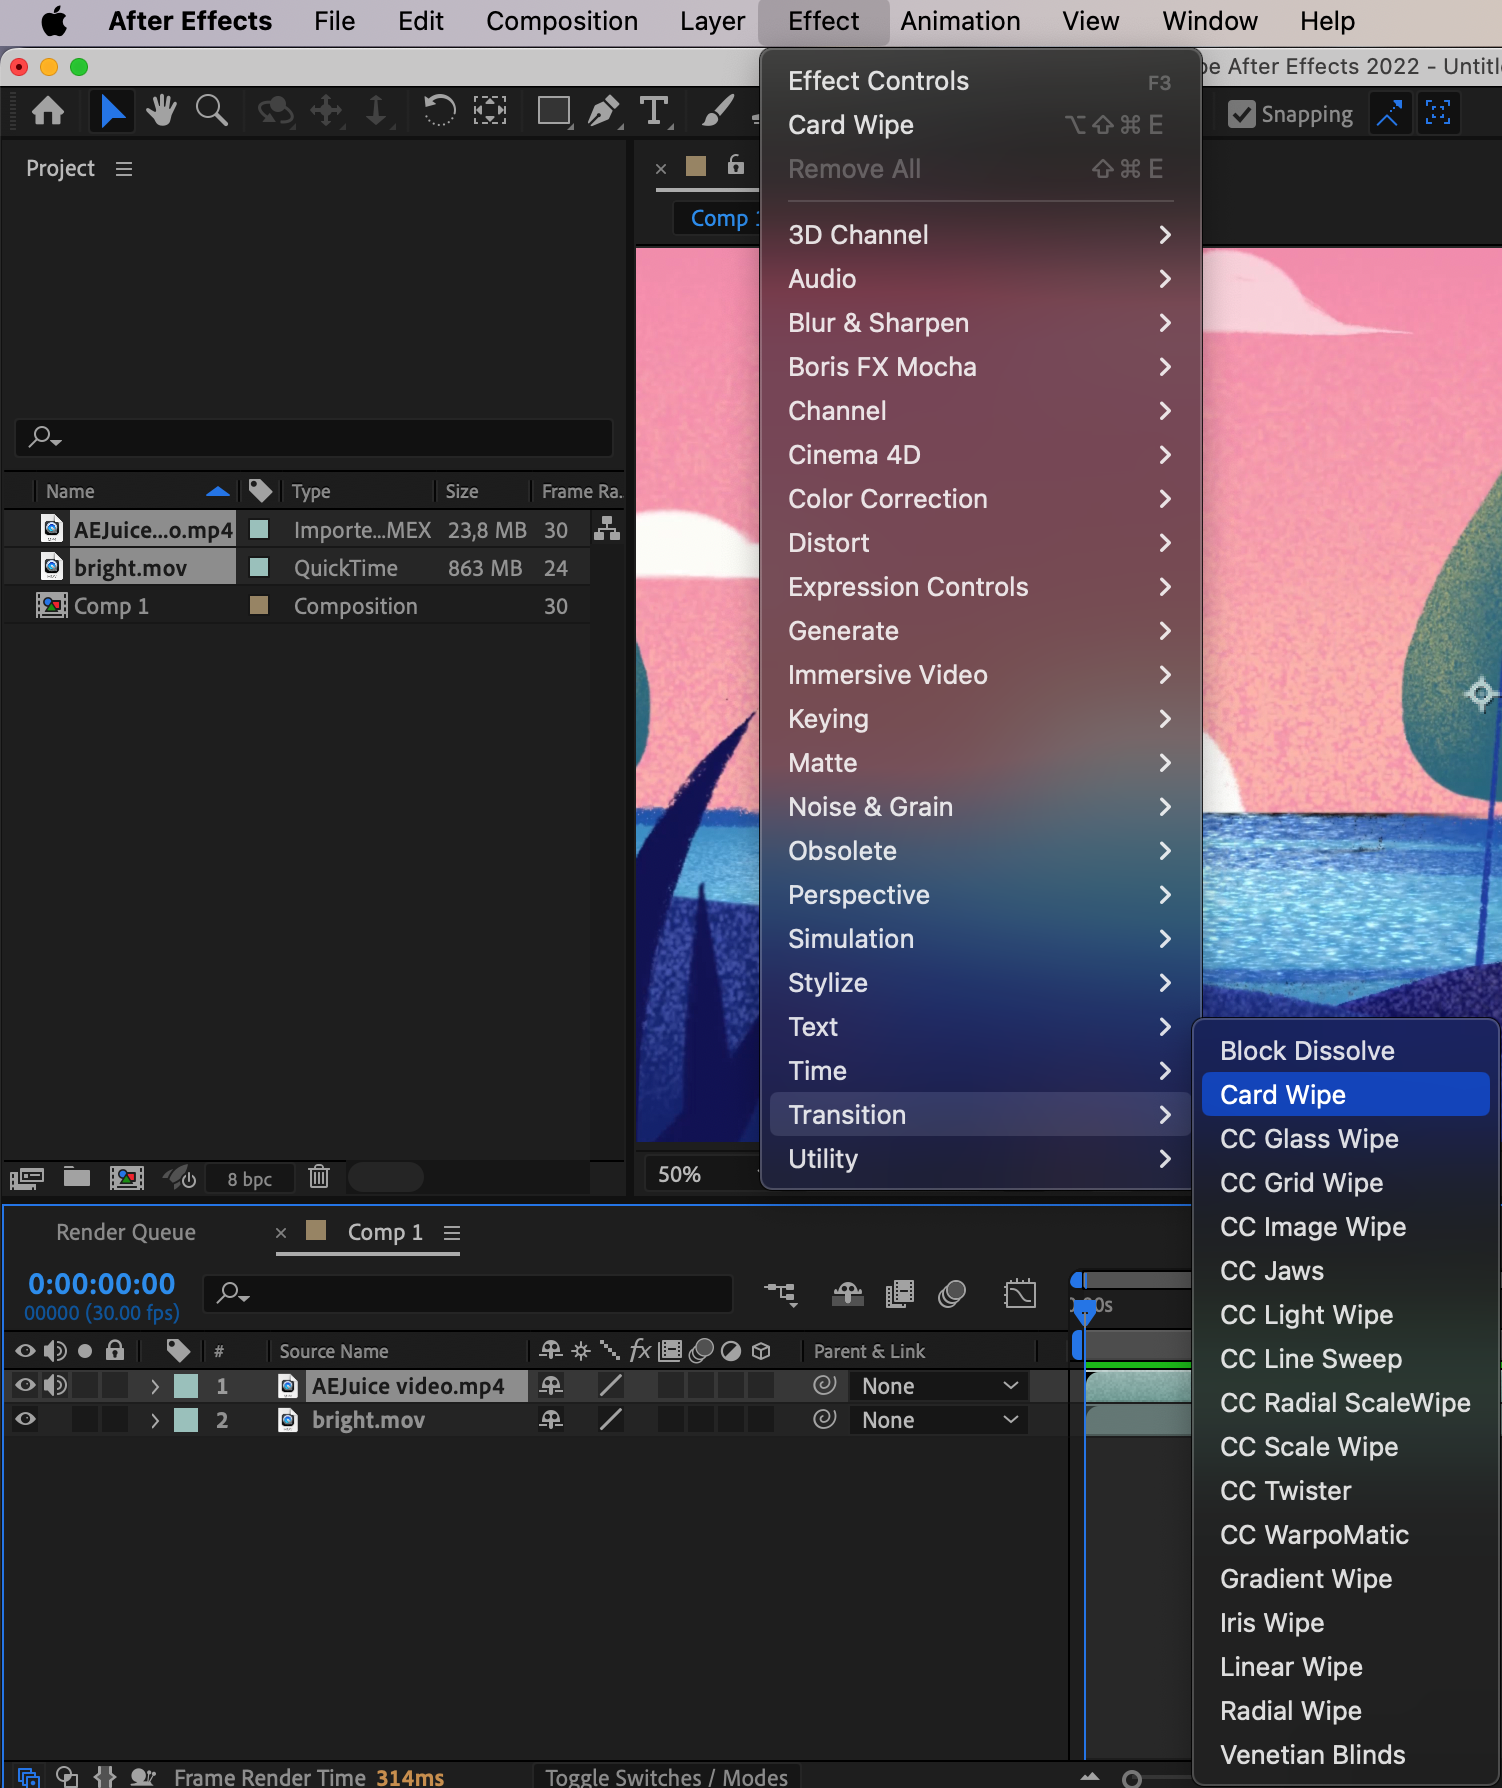
4. Apply the Transition: To add a transition, locate the “Effects & Presets” panel on the right side of the interface. Type “Transition” in the search bar to filter the available options. Choose the transition effect you want to apply and drag it onto the timeline between two clips.
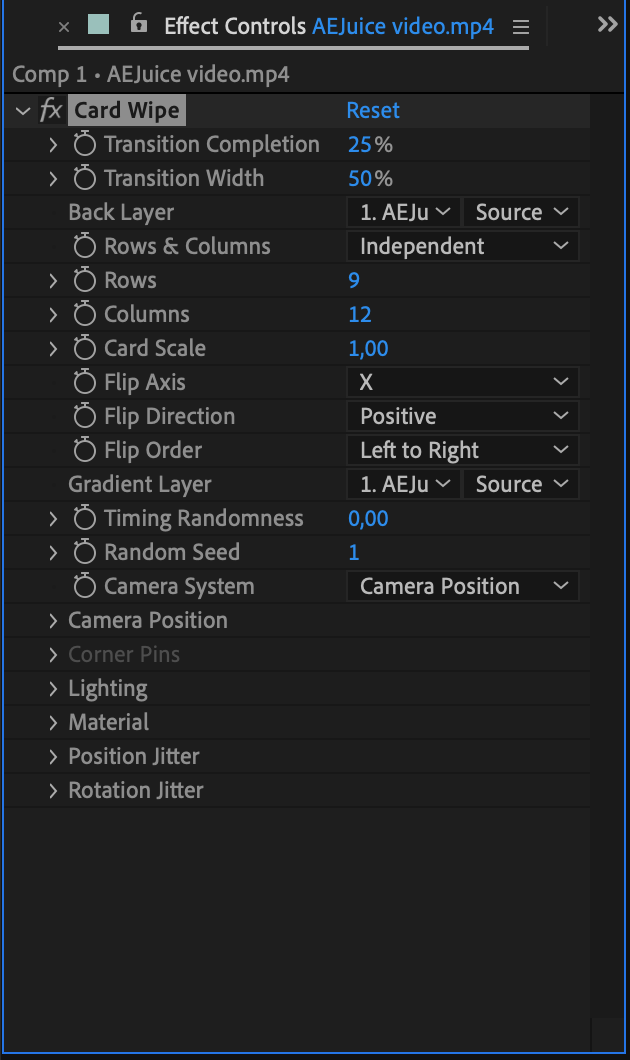
5. Customize the Transition: To further enhance your transition, you can adjust its properties in the “Effect Controls” panel. Experiment with options like duration, direction, and easing to create the desired visual effect. Use keyframes to set the start and end times of the chosen transition.
Get 10% off when you subscribe to our newsletter

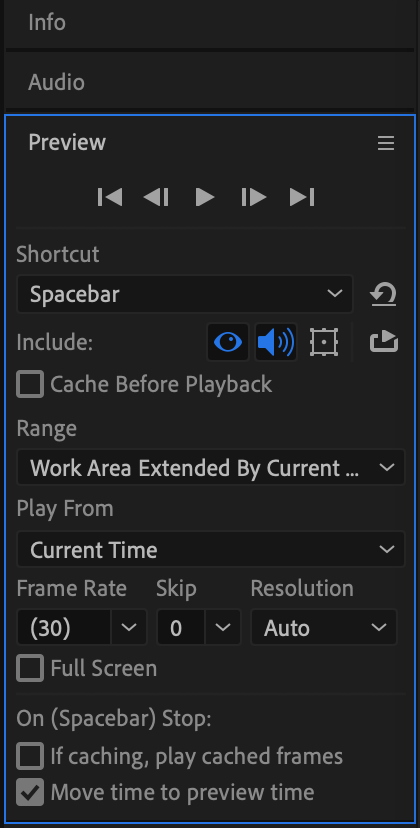
6. Fine-tune and Playback: Press the spacebar to play back the transition and ensure it meets your expectations.
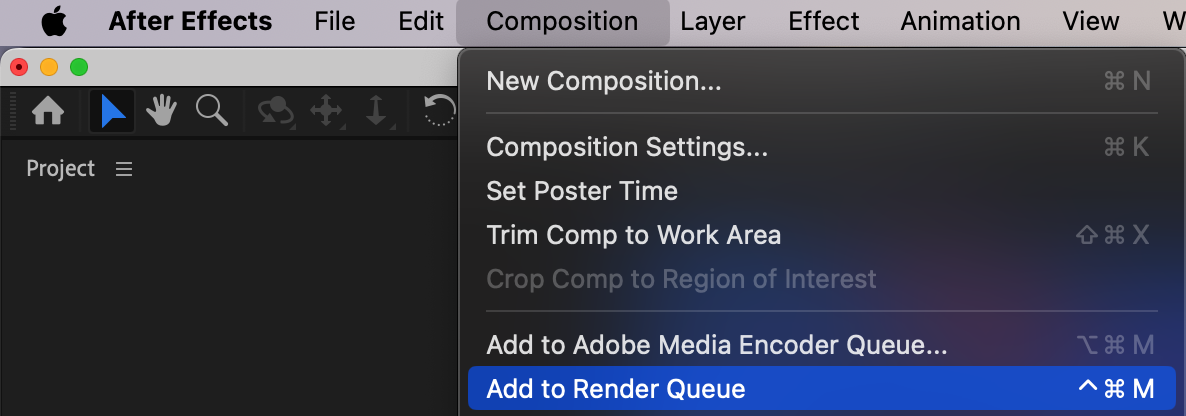
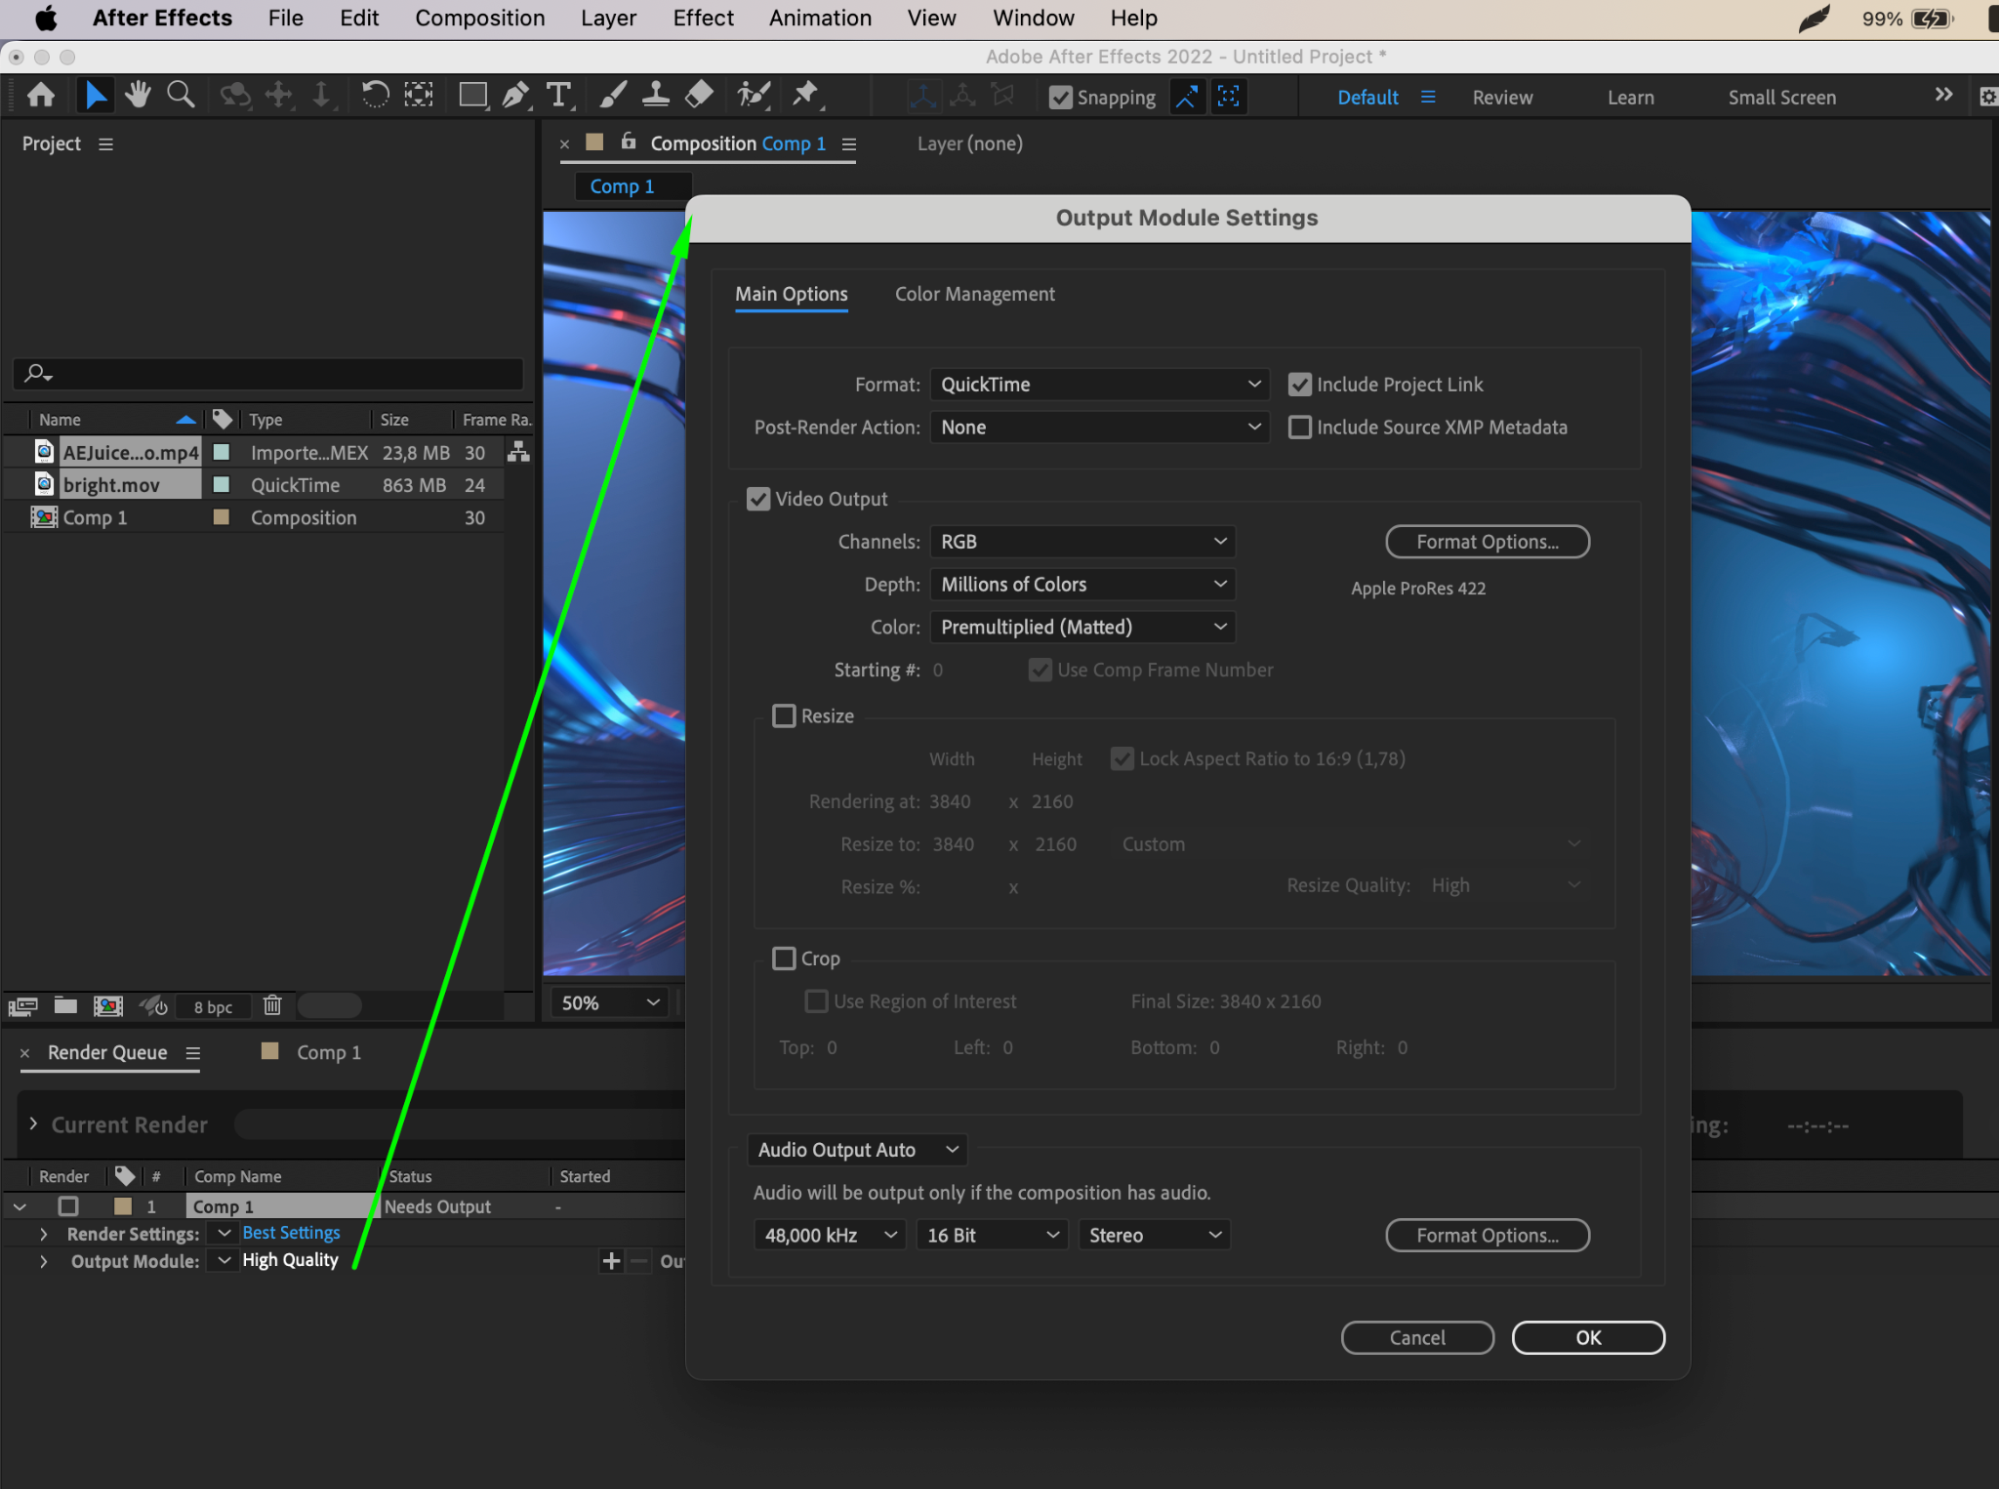
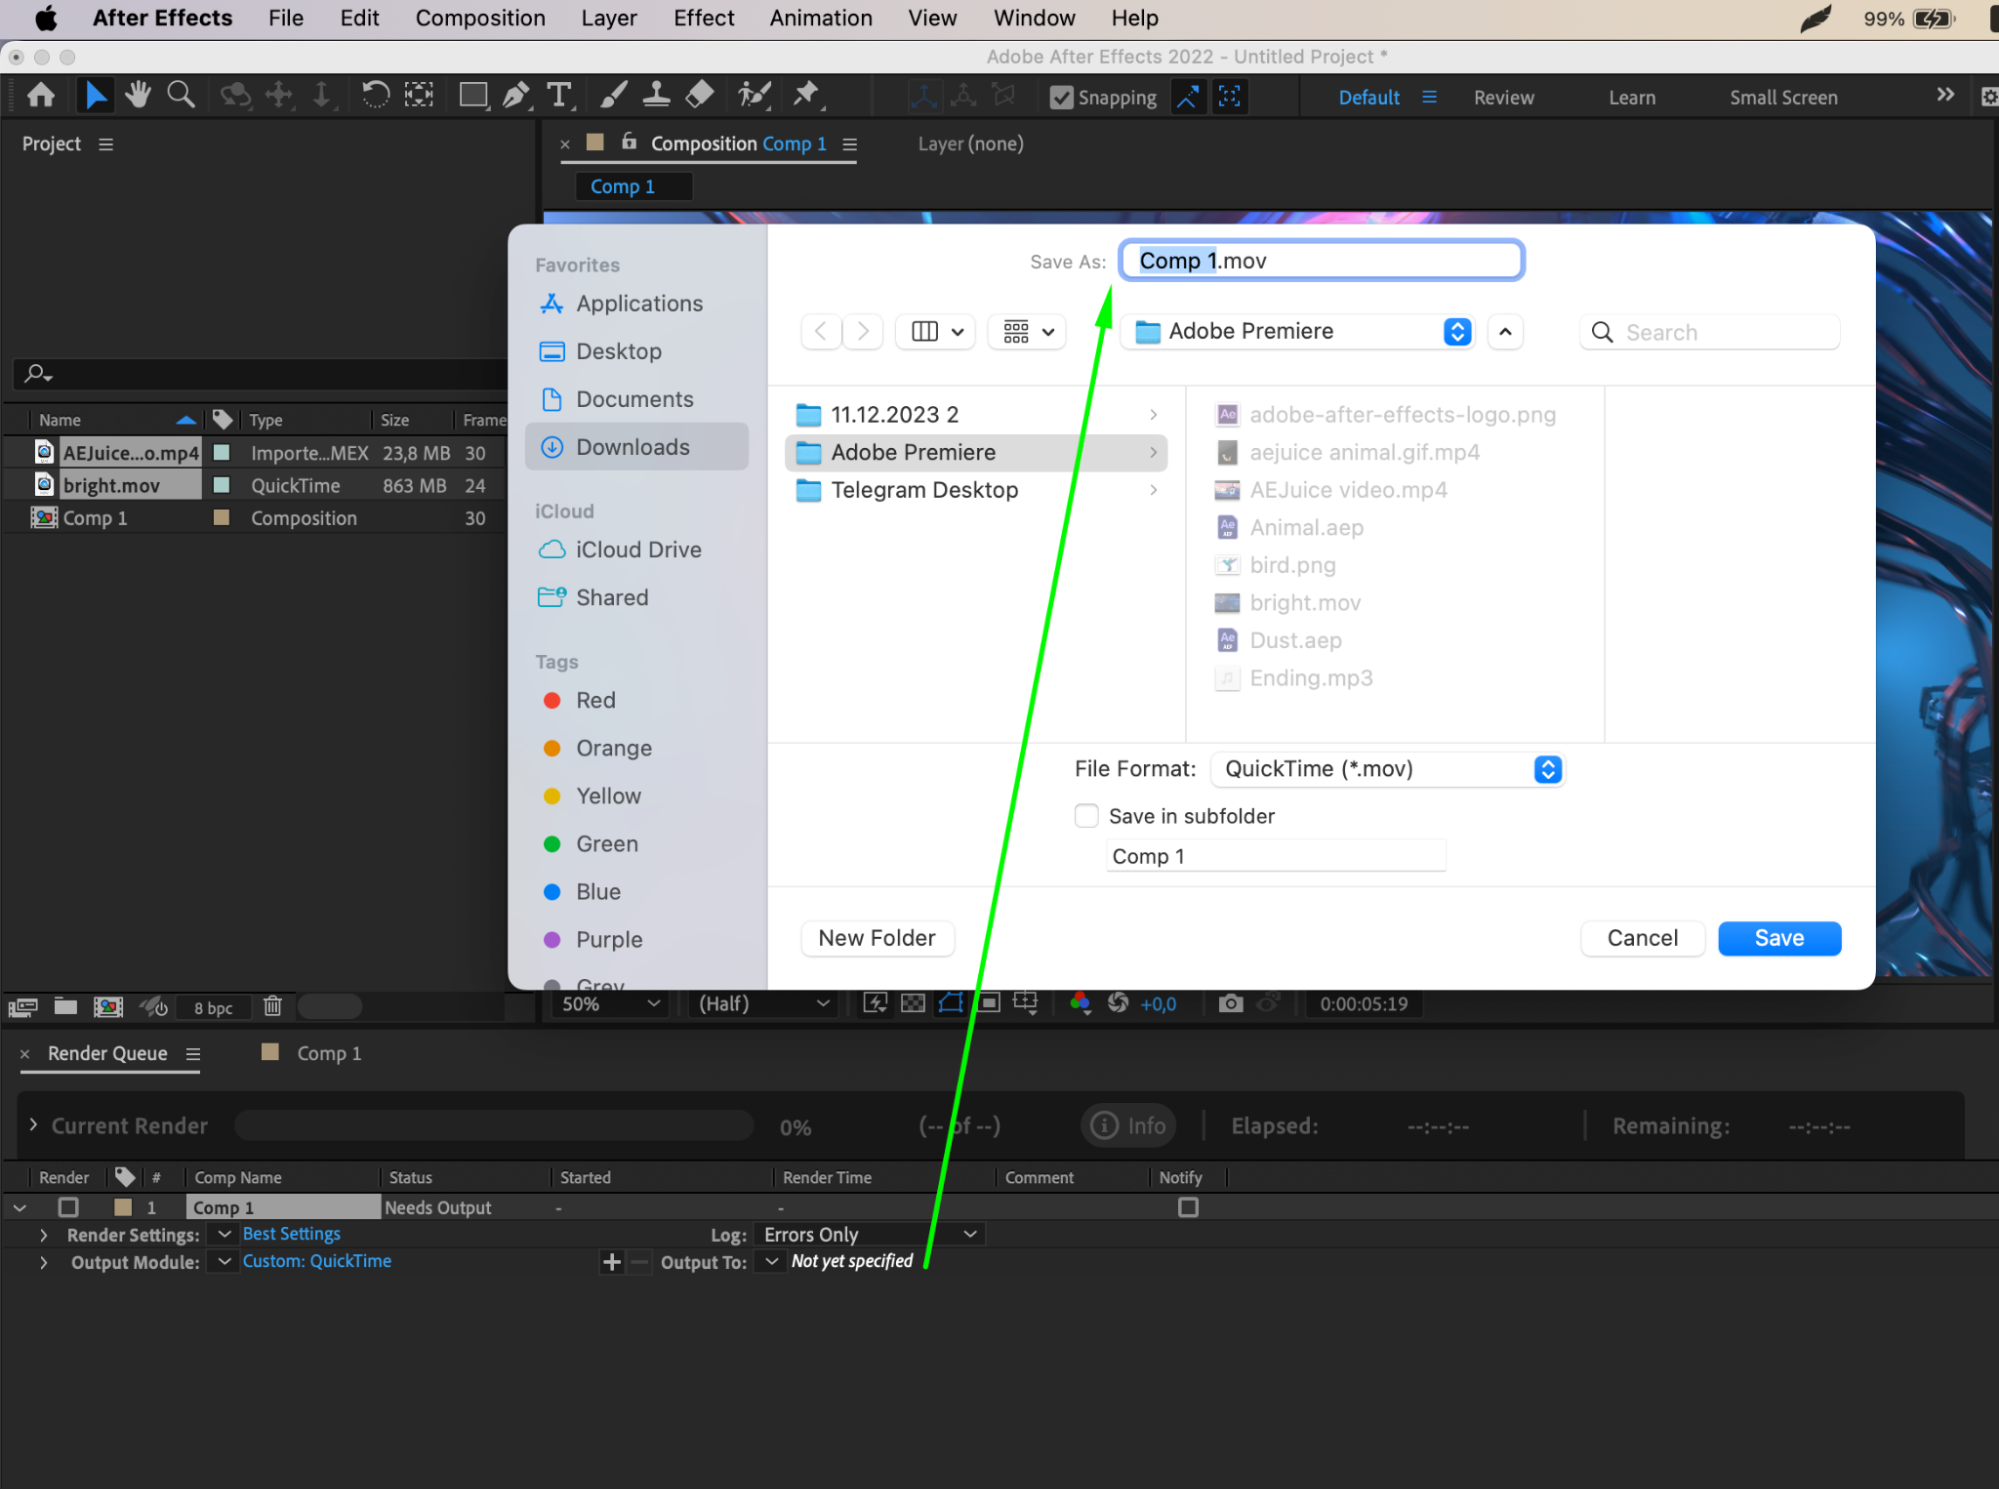
7. Render and Export: Once you are satisfied with your transitions, go to “Composition” and select “Add to Render Queue”. Choose the desired output settings and location to export your video with the transitions intact.

Get 10% off when you subscribe to our newsletter
By following these steps, you’ll be able to add professional-looking transitions to your video projects in no time.
Conclusion
Adding transitions in After Effects is a potent means of enhancing the visual appeal and storytelling of your videos. By carefully considering the context and mood, experimenting with various transitions, and fine-tuning the settings, you can create seamless and captivating transitions that elevate your video projects.
Remember, transitions should serve the purpose of enhancing the flow and cohesion of your video, rather than distracting or overwhelming the viewer. With practice, you’ll develop a keen eye for selecting the most suitable transitions that align with your project’s theme and style.
As you continue to explore and experiment with After Effects, you’ll discover the endless possibilities and creative options available. Don’t hesitate to push boundaries, think outside the box, and tailor the transitions to your unique artistic vision.
By following the step-by-step guide outlined in this article, you now have a solid foundation for adding transitions in After Effects. Take what you’ve learned and start applying it to your upcoming projects, creating enchanting transitions that captivate your audience and take your videos to new heights.
Now, armed with the knowledge and techniques shared here, it’s time to unleash your creativity and immerse yourself in the world of mesmerizing transitions in After Effects. Happy editing!
Our Bestsellers


