How to Add Subtitles with SRT File in After Effects
Introduction to SRT Files and After Effects
An SRT file, or SubRip Subtitle file, is a plain text document that contains subtitle data, including the timecode and the actual dialogue. Adding subtitles to a video in Adobe After Effects using an SRT file allows you to make your content more accessible and improve viewer engagement. In this guide, we’ll walk you through a simple process for manually adding subtitles using an SRT file, without the need for plugins.
Step 1: Organize Your Project Folder
Before you start, it’s important to keep your project files organized. Create a dedicated folder for your After Effects project, and place both the video file and the corresponding SRT file in this folder. Keeping things organized will make it easier to manage assets during the editing process and prevent any missing file errors.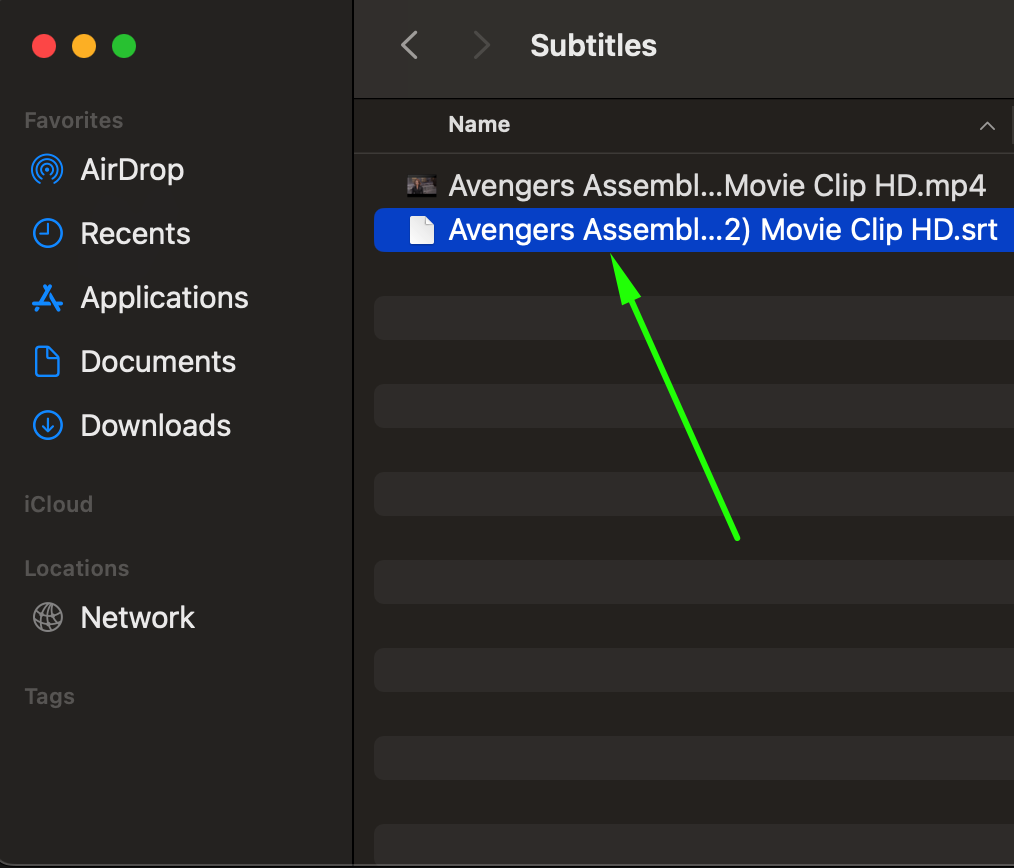 Step 2: Open the SRT File
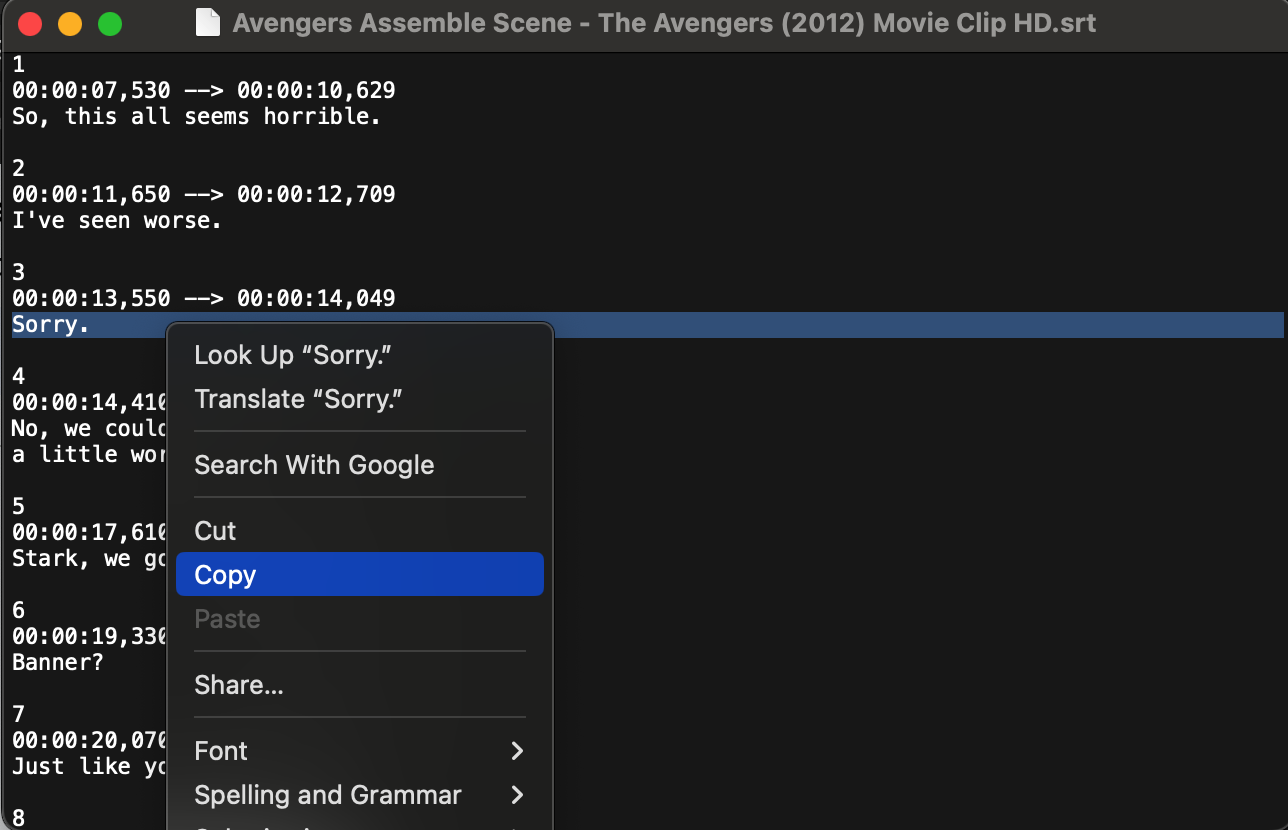
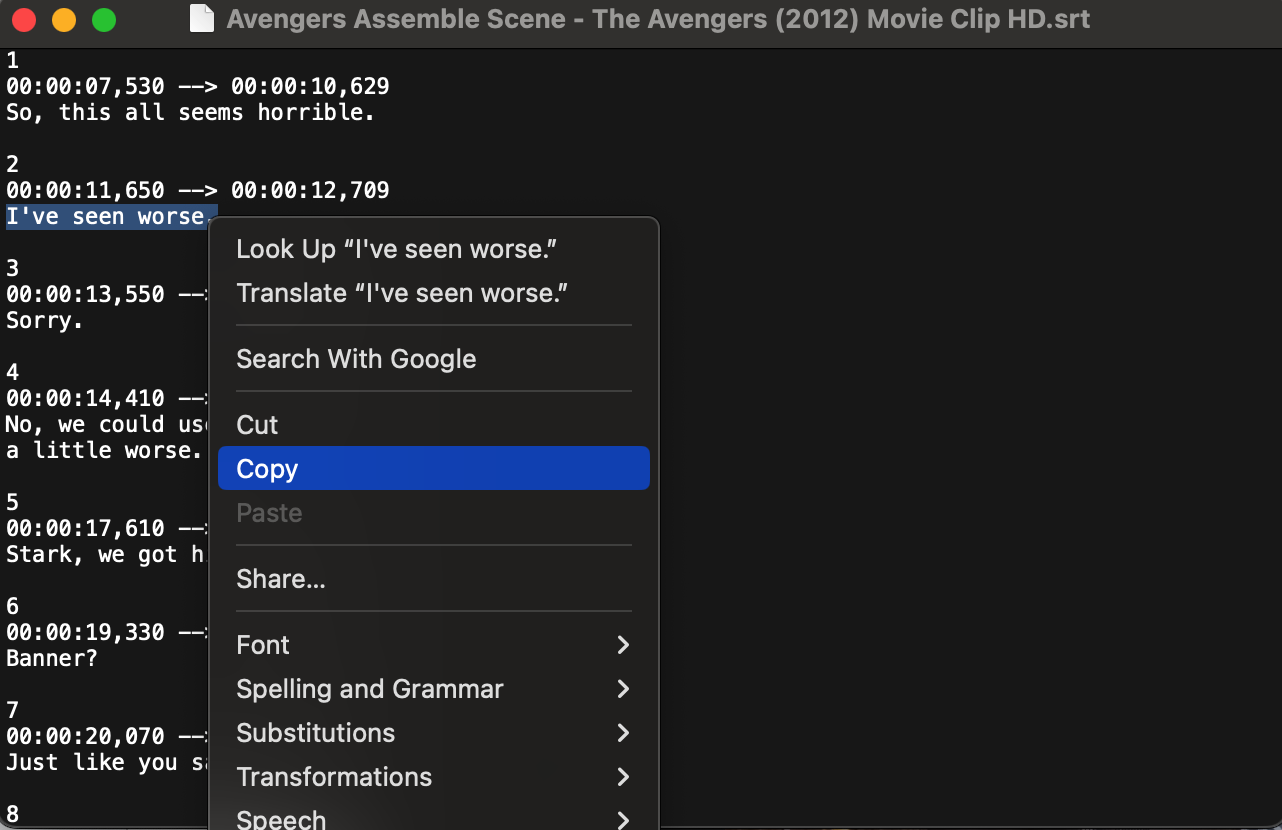
Locate the SRT file on your computer and open it using a text editor such as Notepad (Windows) or TextEdit (Mac). This will allow you to view and copy the individual subtitle lines and their corresponding timecodes. You’ll refer to this file throughout the process to accurately place the subtitles in After Effects.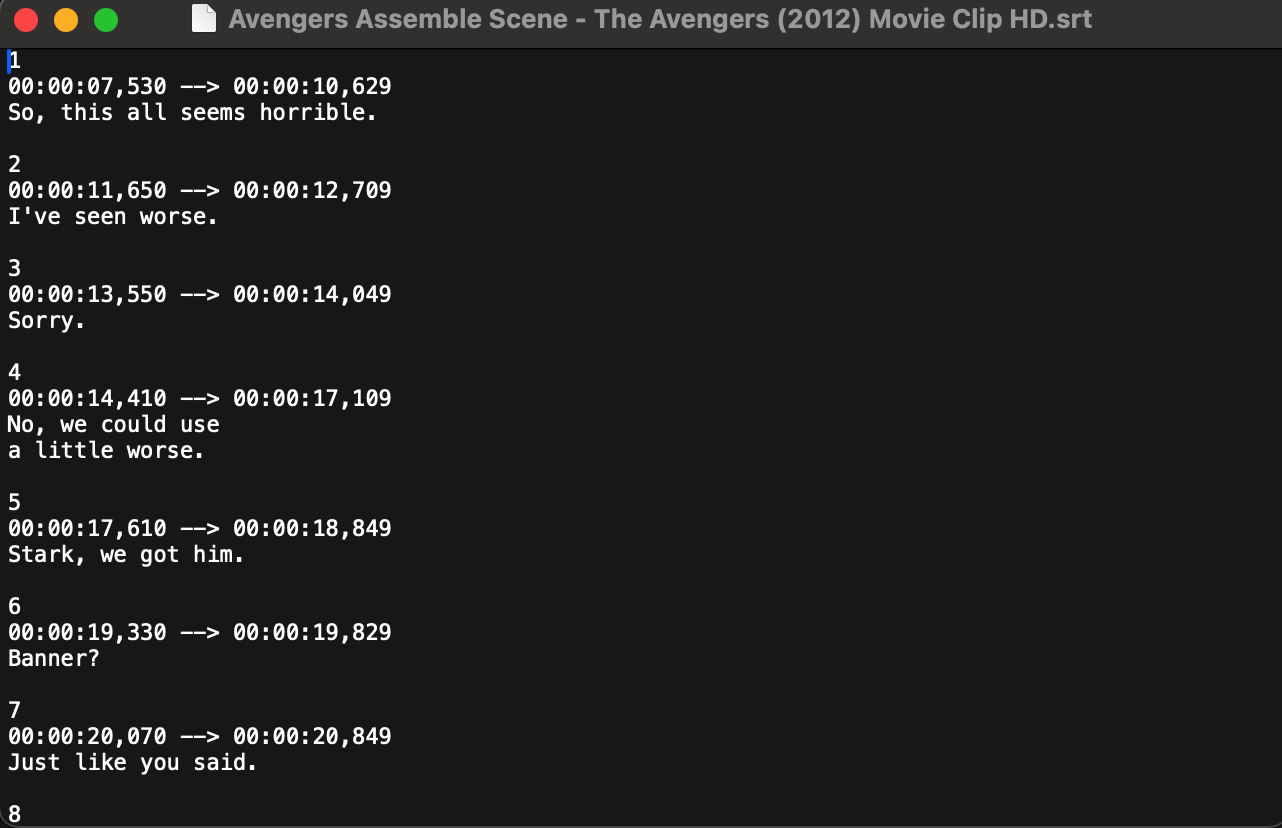 Step 3: Import Your Video into After Effects
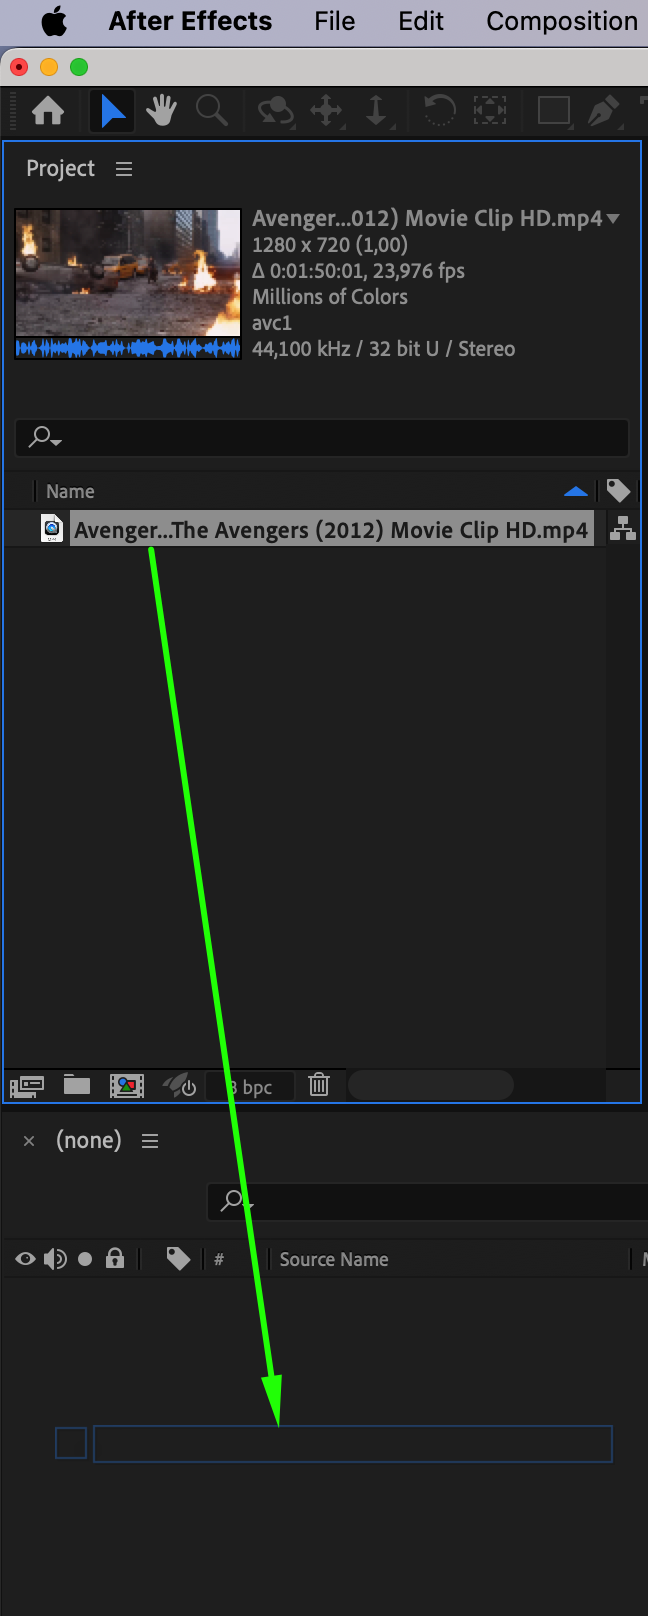
Launch After Effects and import your video by navigating to File > Import > File. Once imported, drag the video onto the timeline to begin working on your project. This is where you’ll align the SRT subtitles with your video.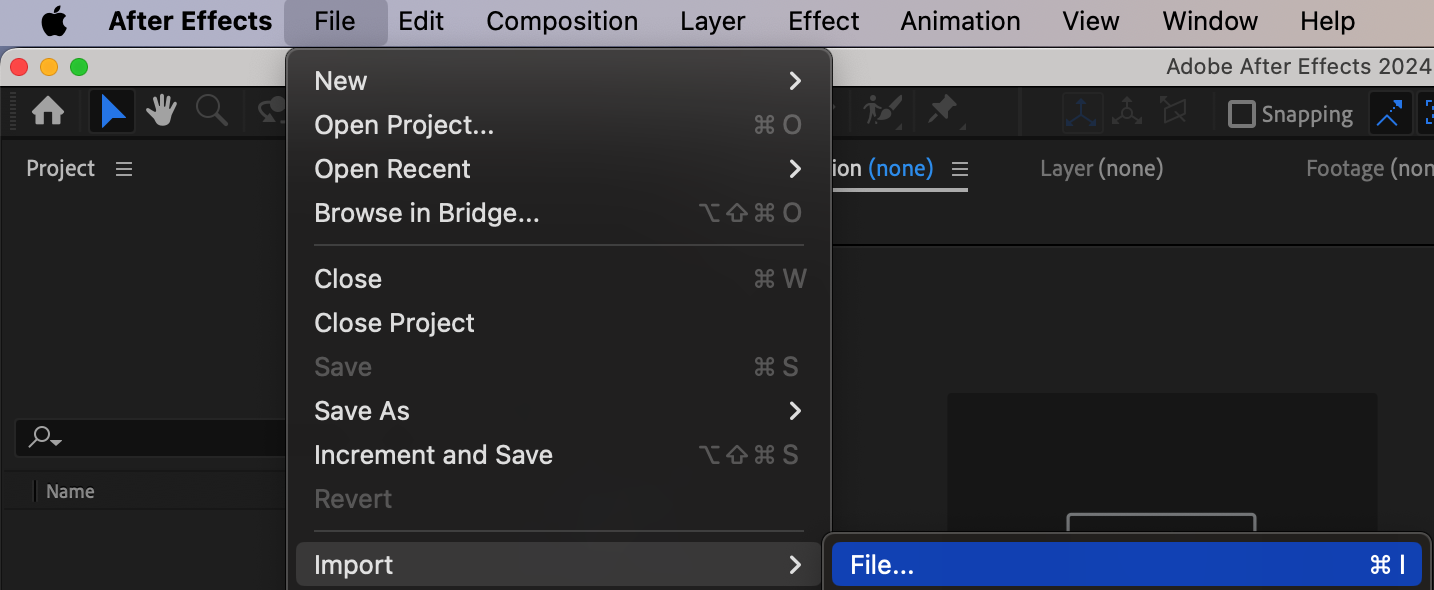
 Step 4: Create a Canvas for Subtitles with the Shape Tool
Get 10% off when you subscribe to our newsletter

To make your subtitles easier to read, create a background canvas using the Shape Tool (Q). This can be a simple rectangular shape placed at the bottom of your video. Adjust the opacity and color of this shape to match your aesthetic. This step enhances the visibility of your subtitles, especially on videos with busy backgrounds.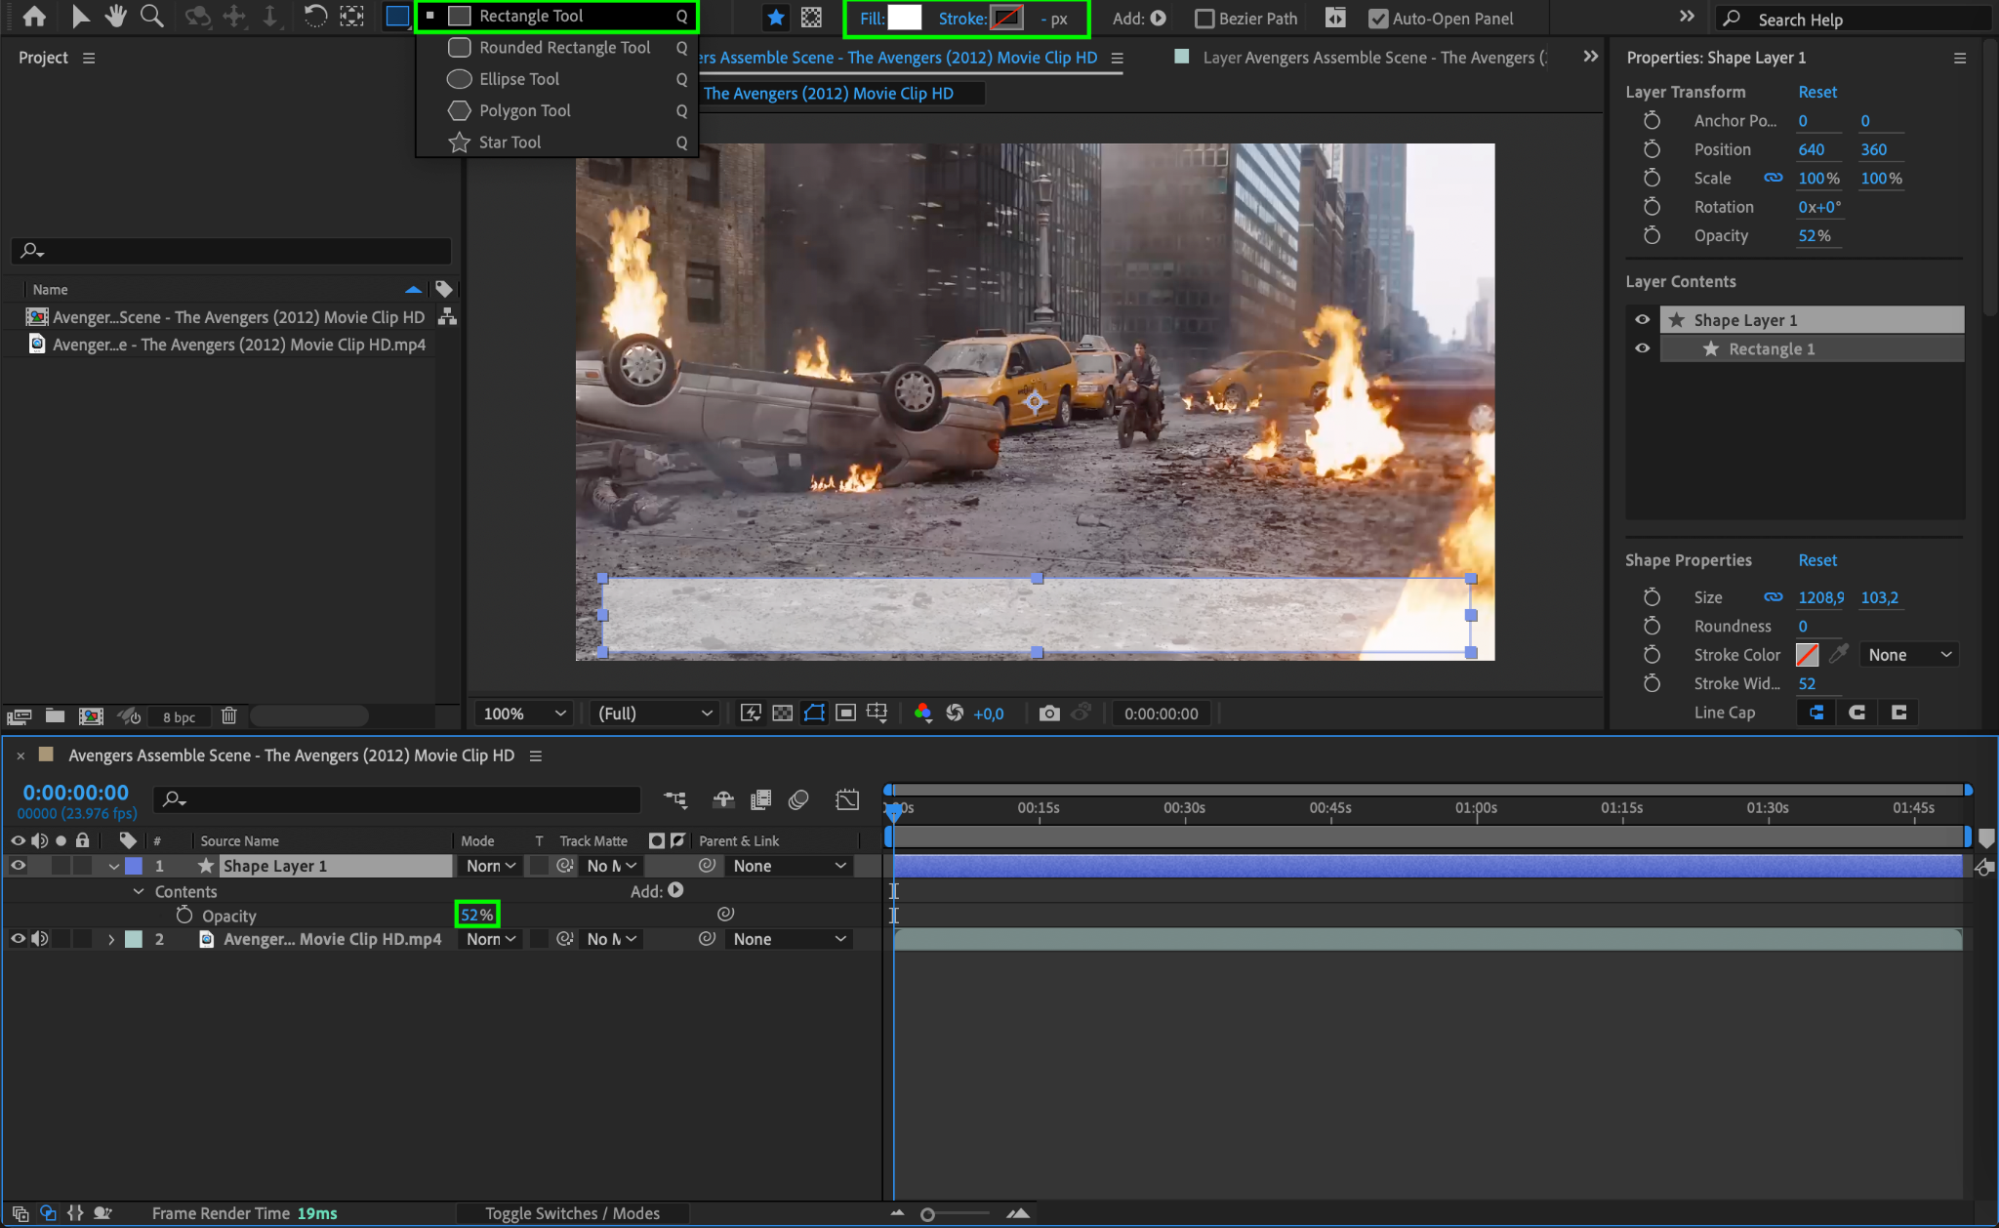
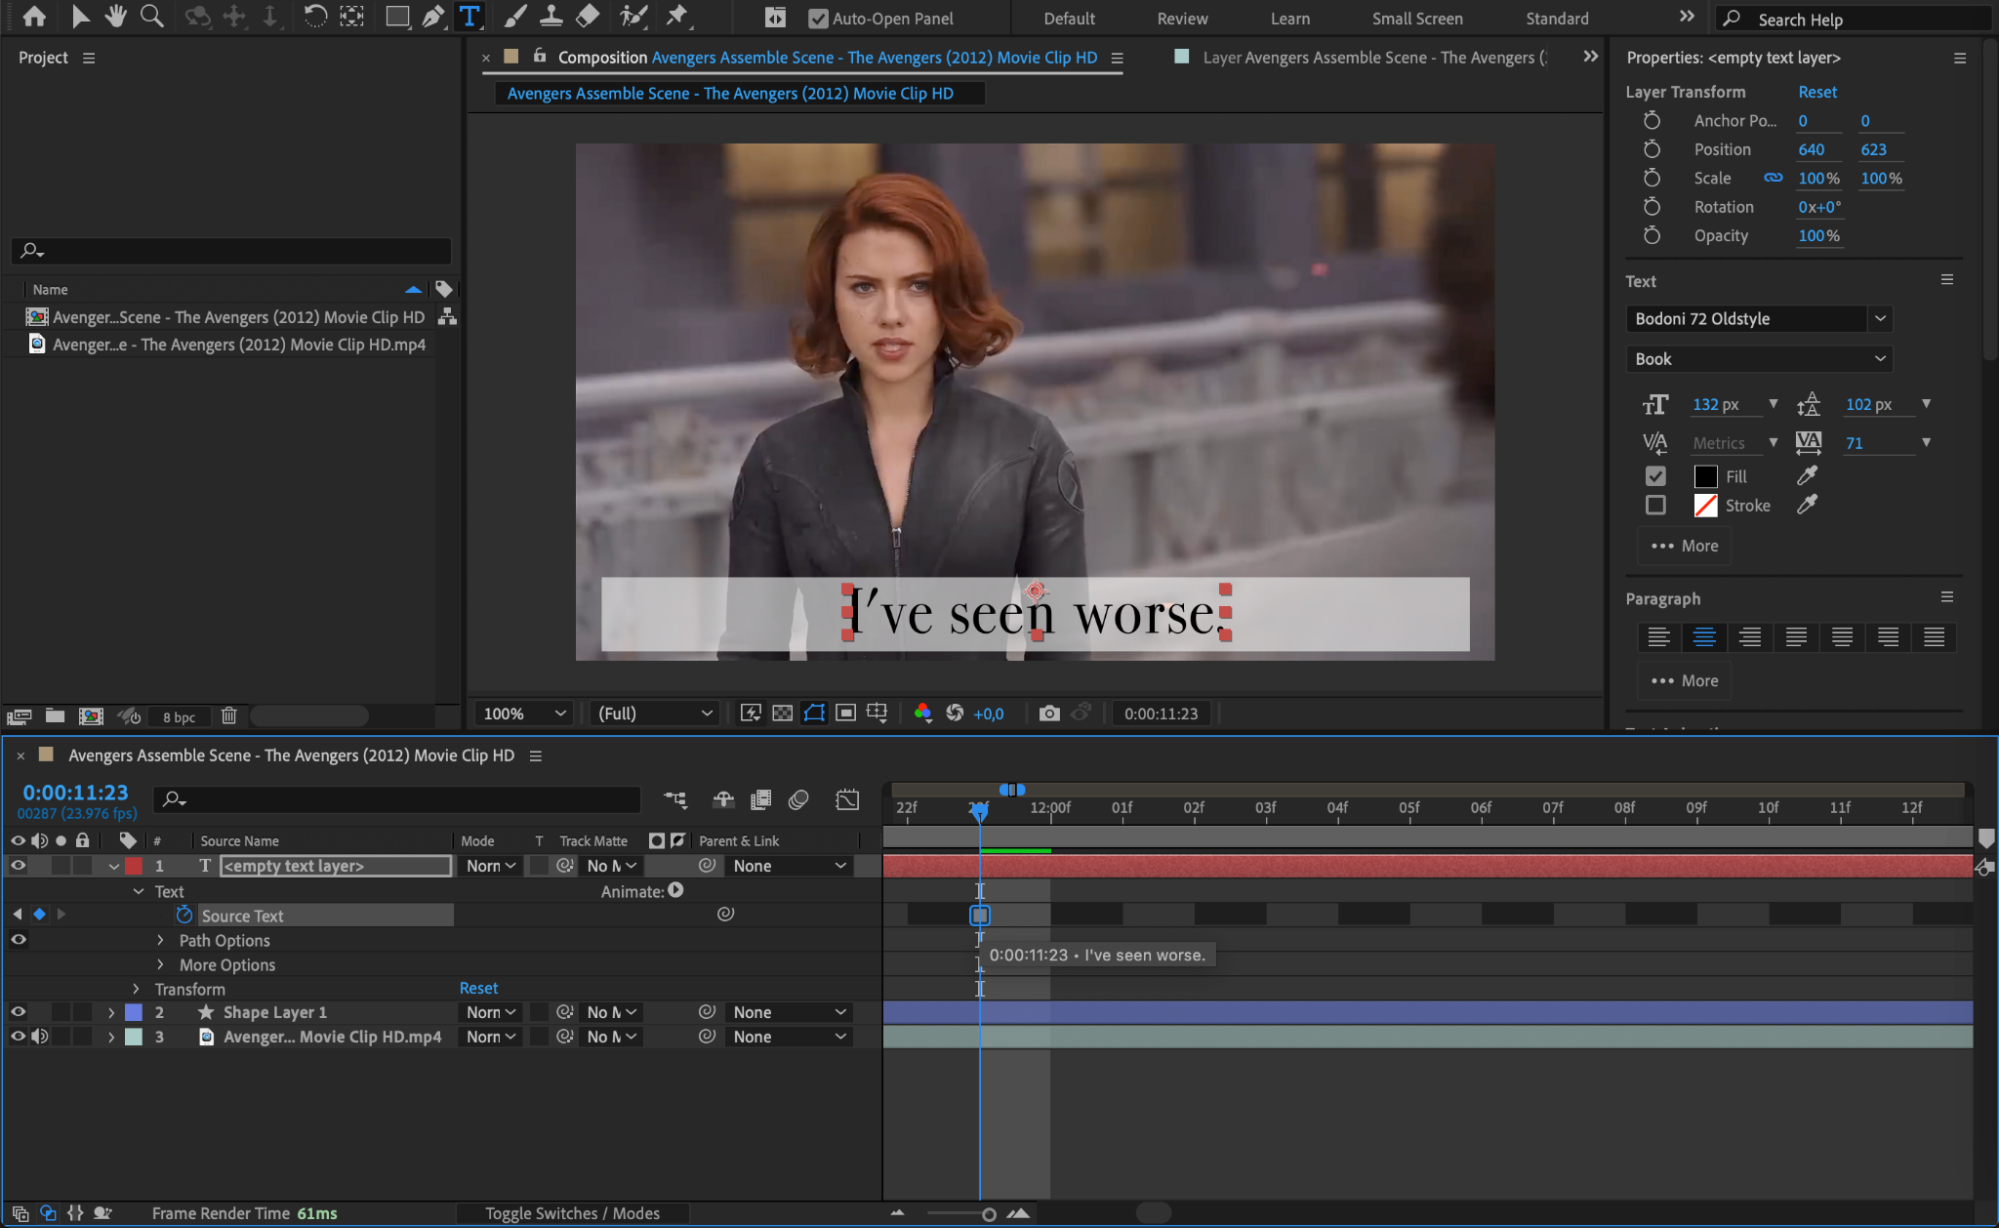
Step 5: Add a Text Layer for Subtitles
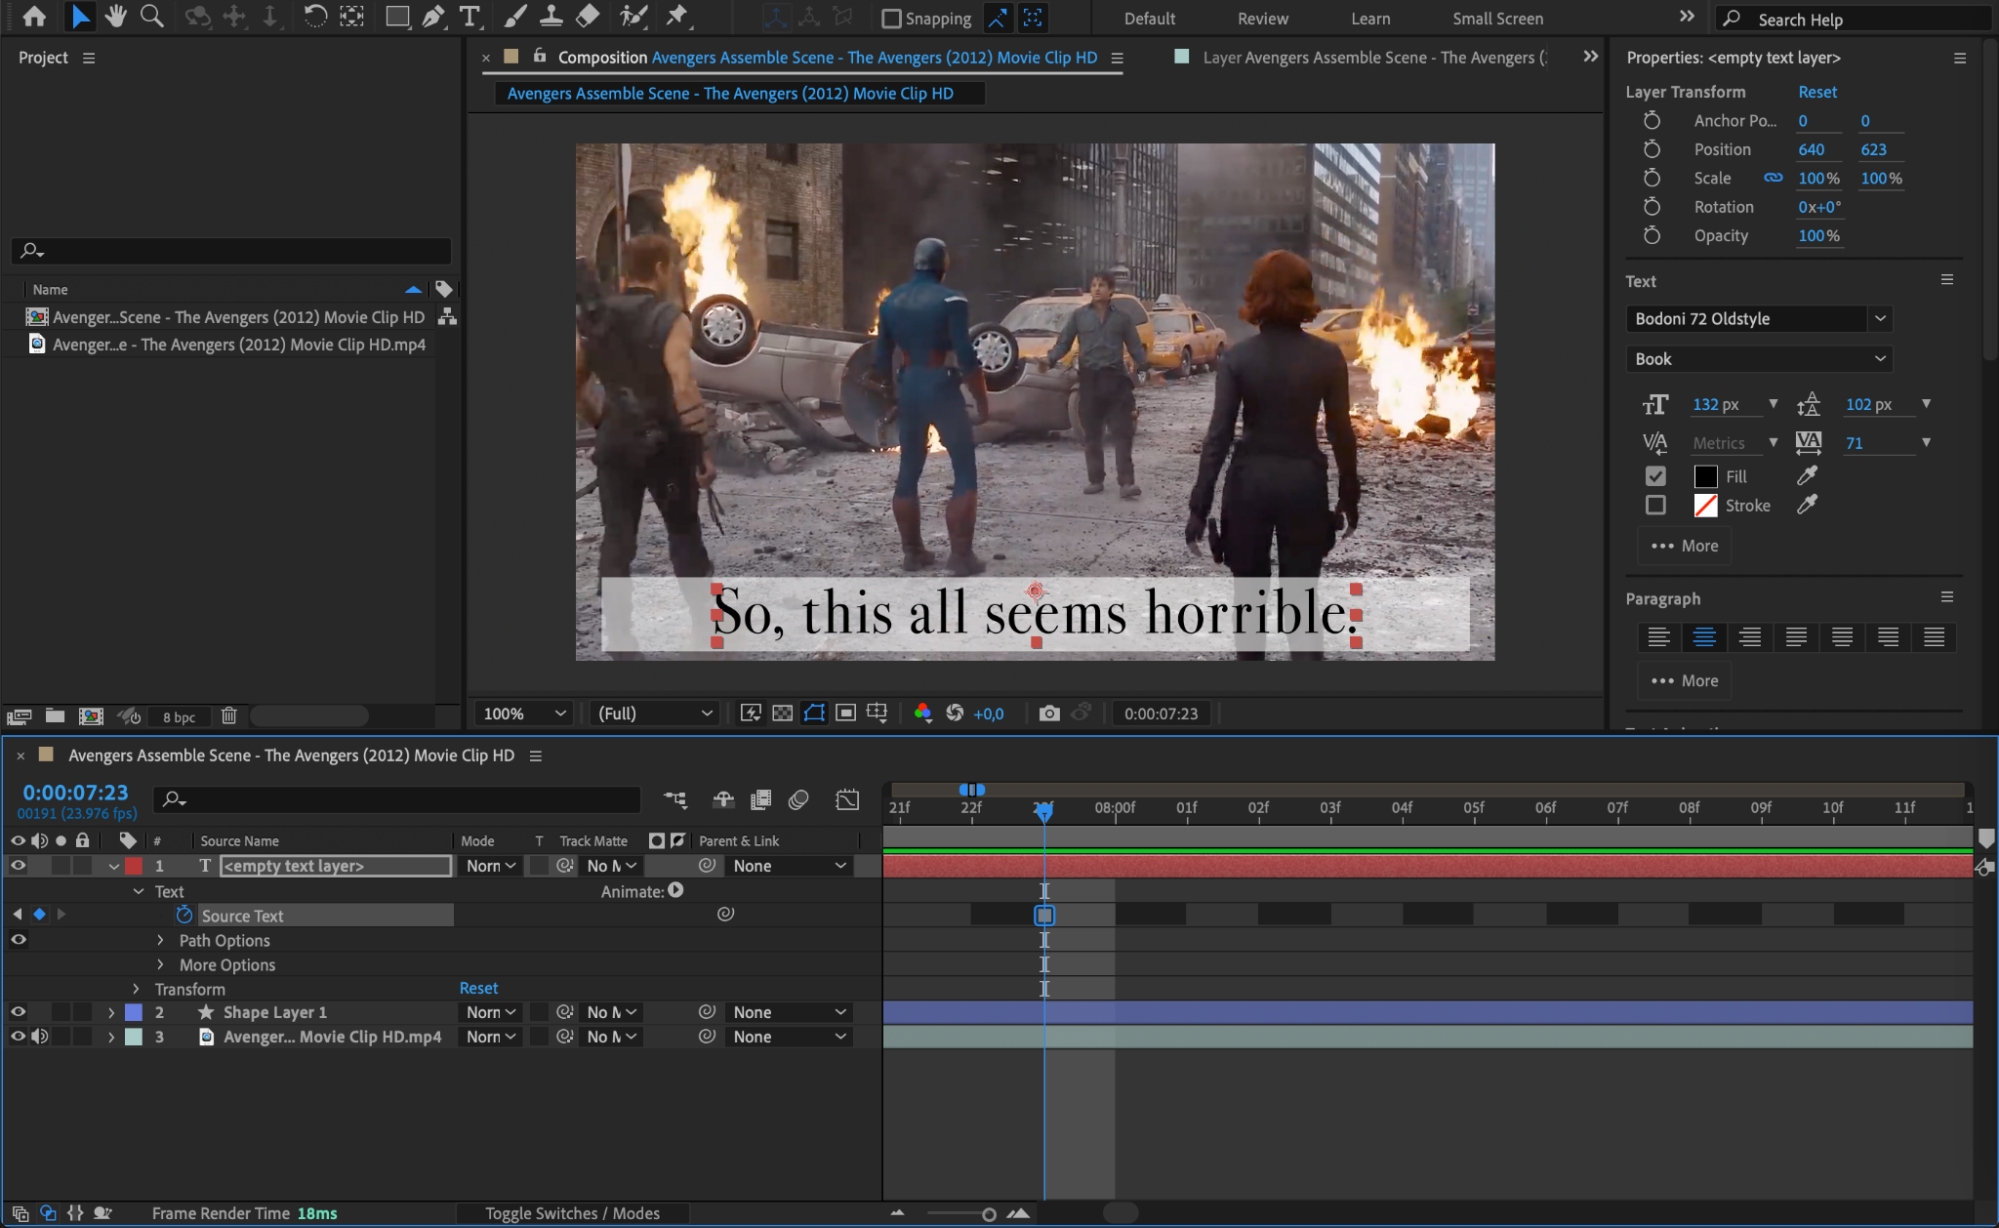
Select the Type Tool (Ctrl/Cmd + T) to create a new empty text layer. This layer will serve as the space where you input your subtitles. Customize the font style, size, and color to fit your video. You’ll be copying and pasting the subtitle lines from the SRT file into this text layer in the next steps.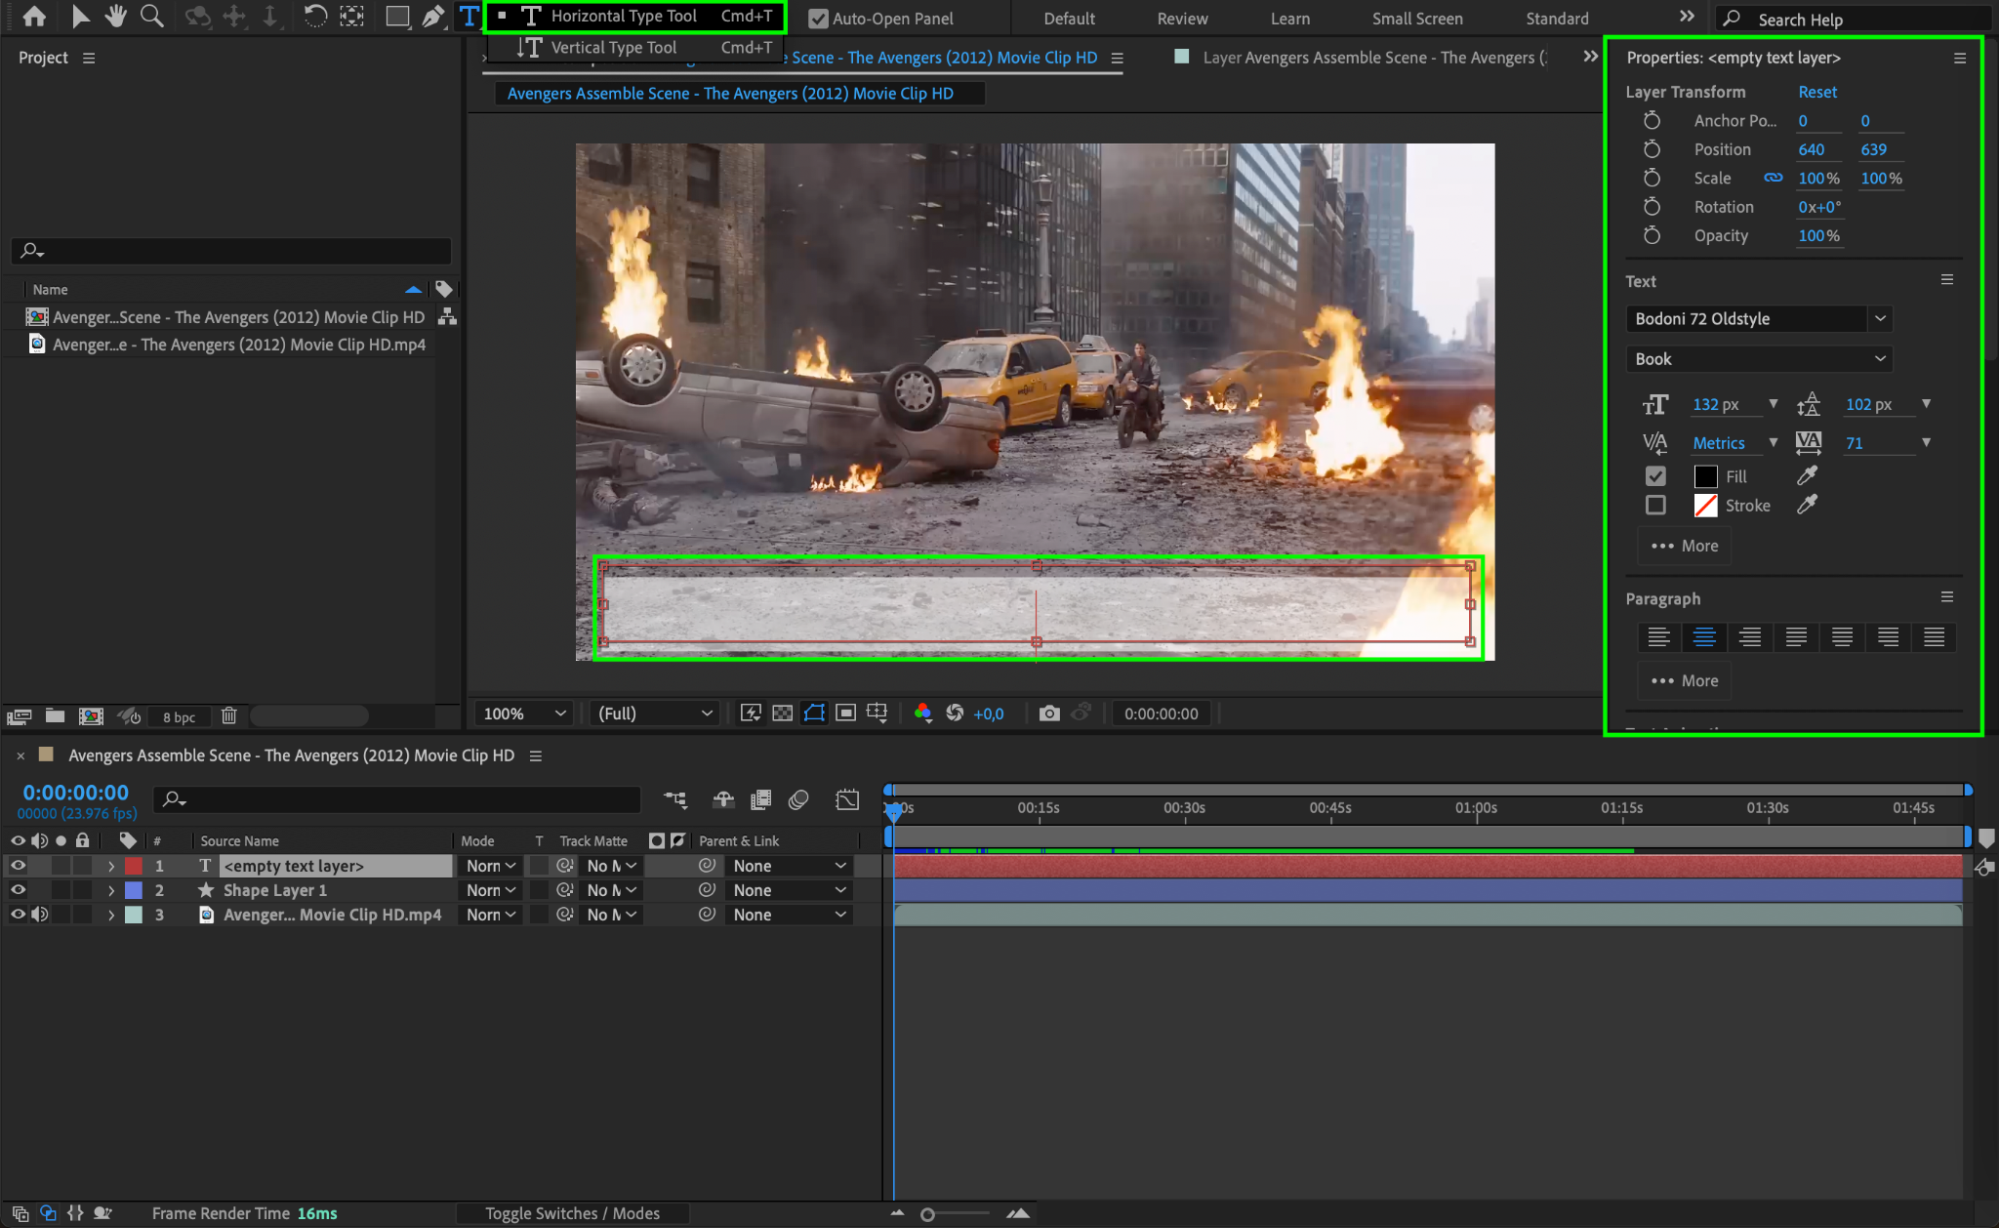 Step 6: Add Keyframes for Source Text
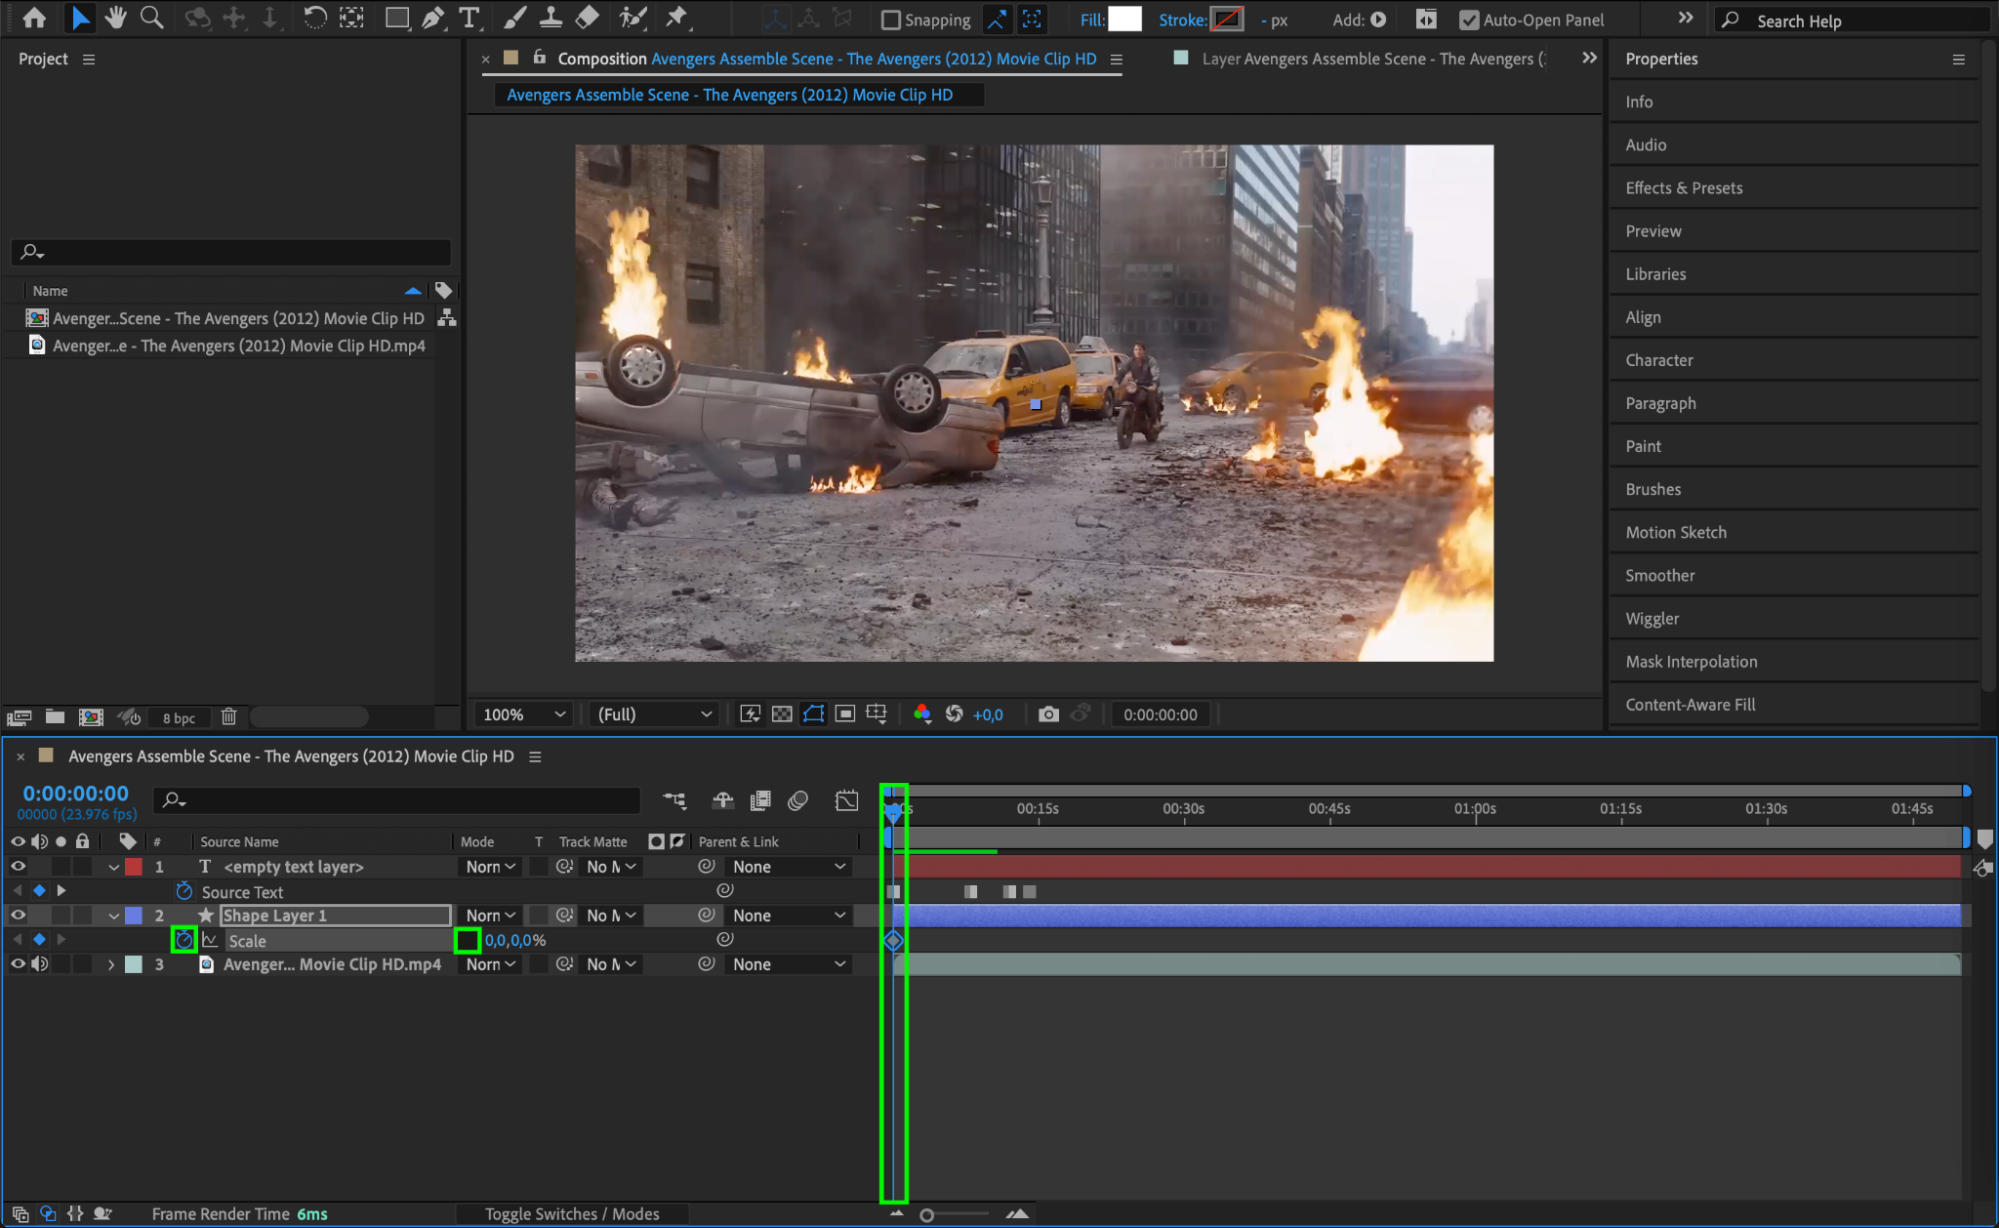
In the timeline, expand the properties of the text layer by clicking on the arrow next to it. Navigate to Text > Source Text and enable keyframes by clicking the stopwatch icon. Keyframes allow you to change the text over time, syncing it with the audio in your video based on the timecodes from the SRT file.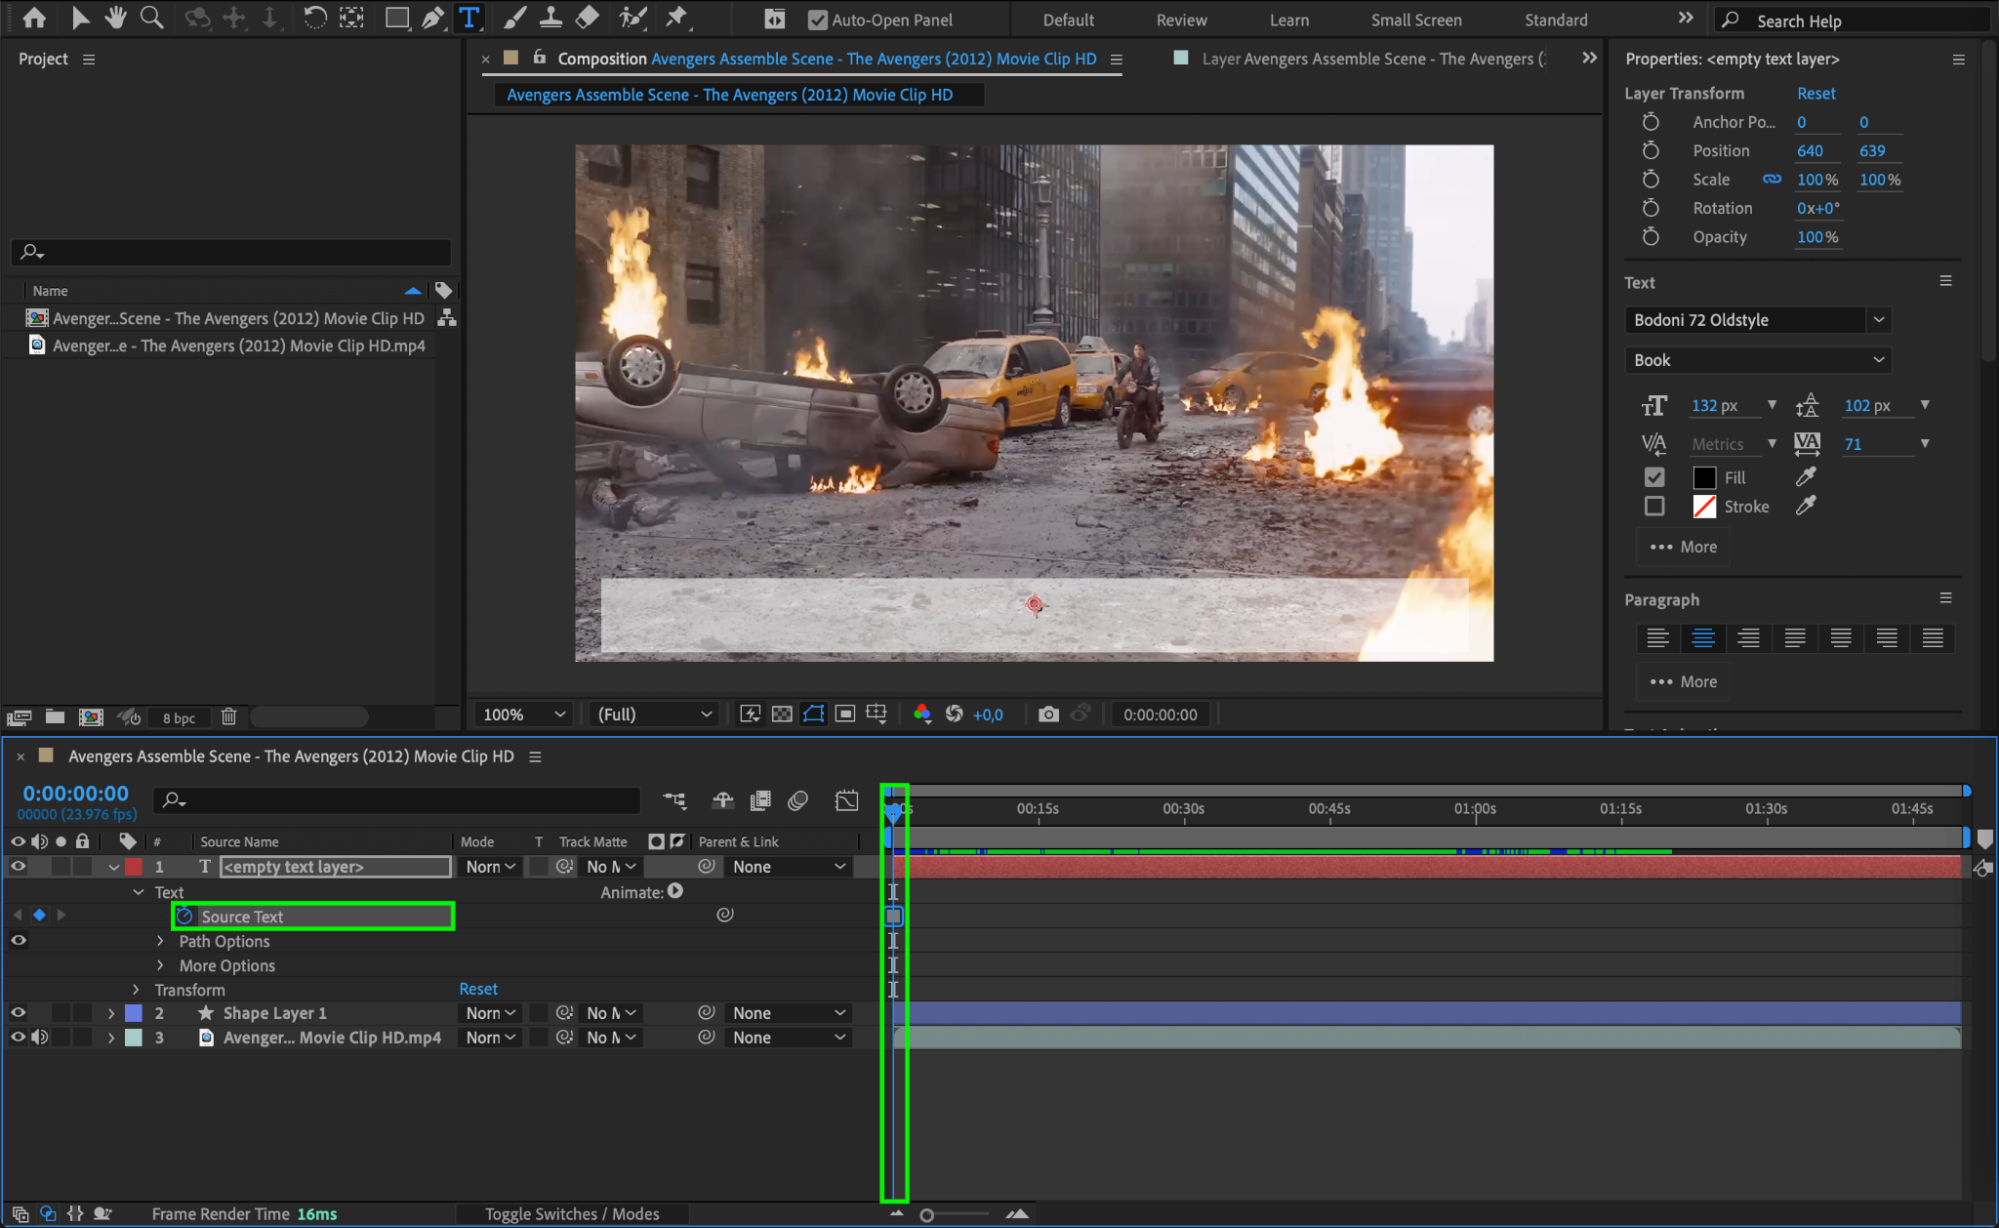 Step 7: Copy and Paste the First Subtitle
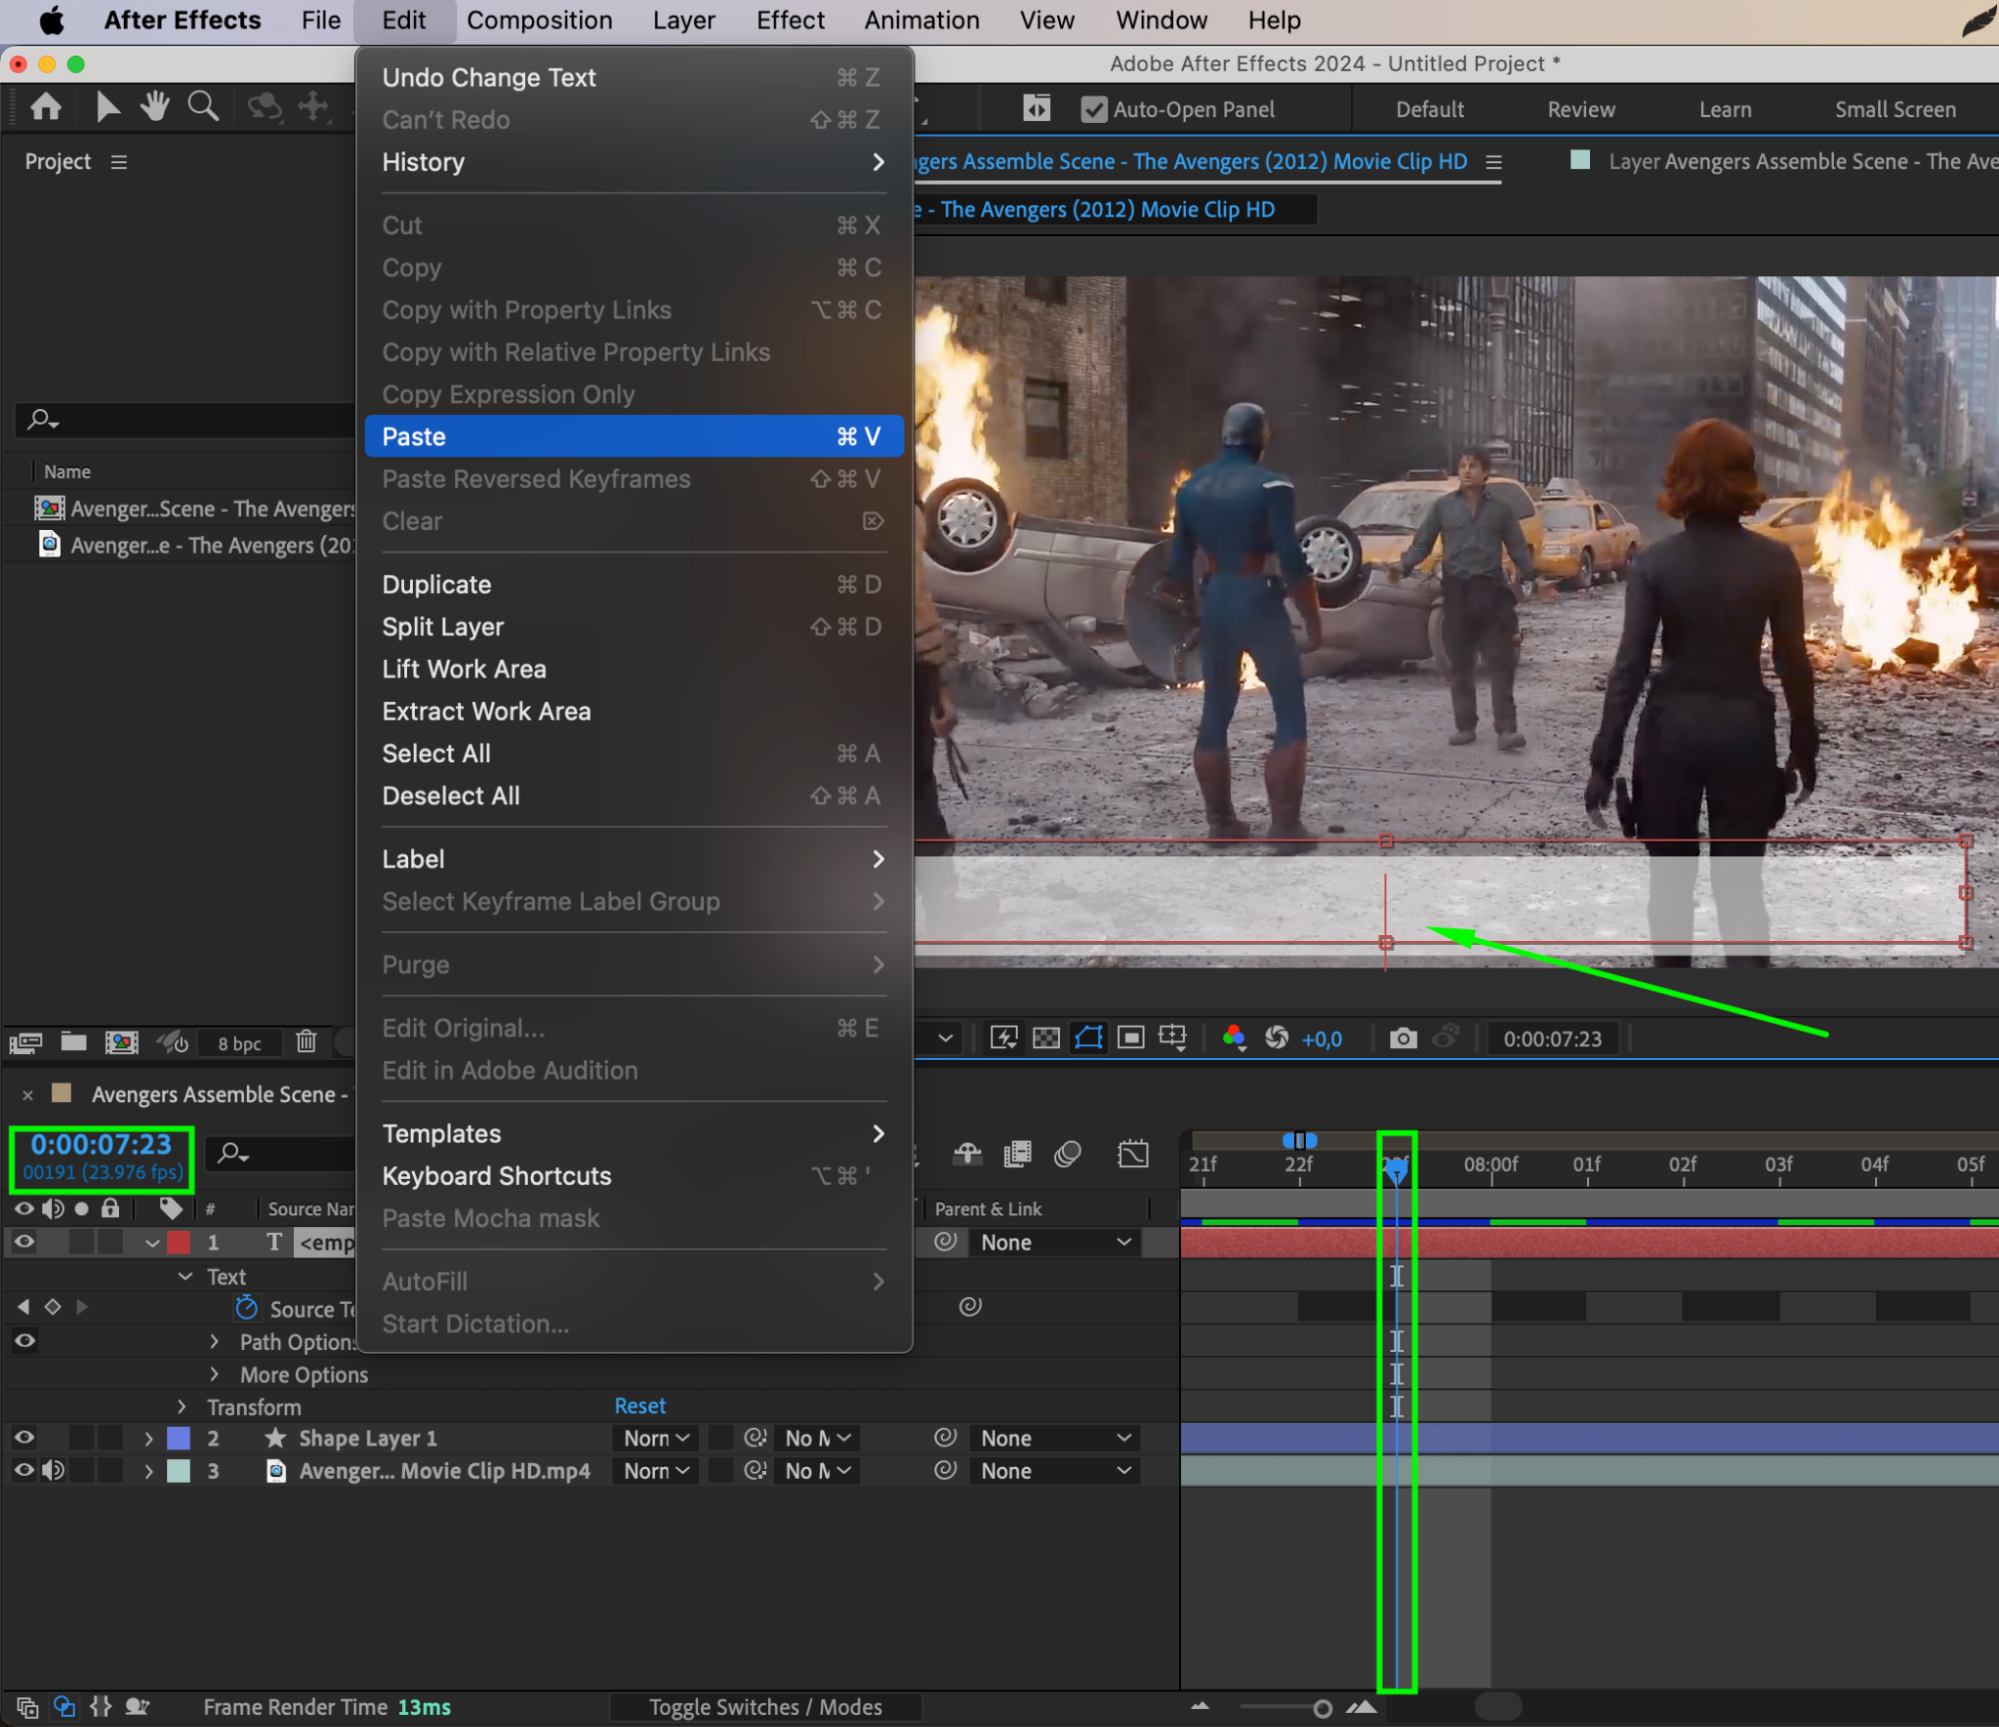
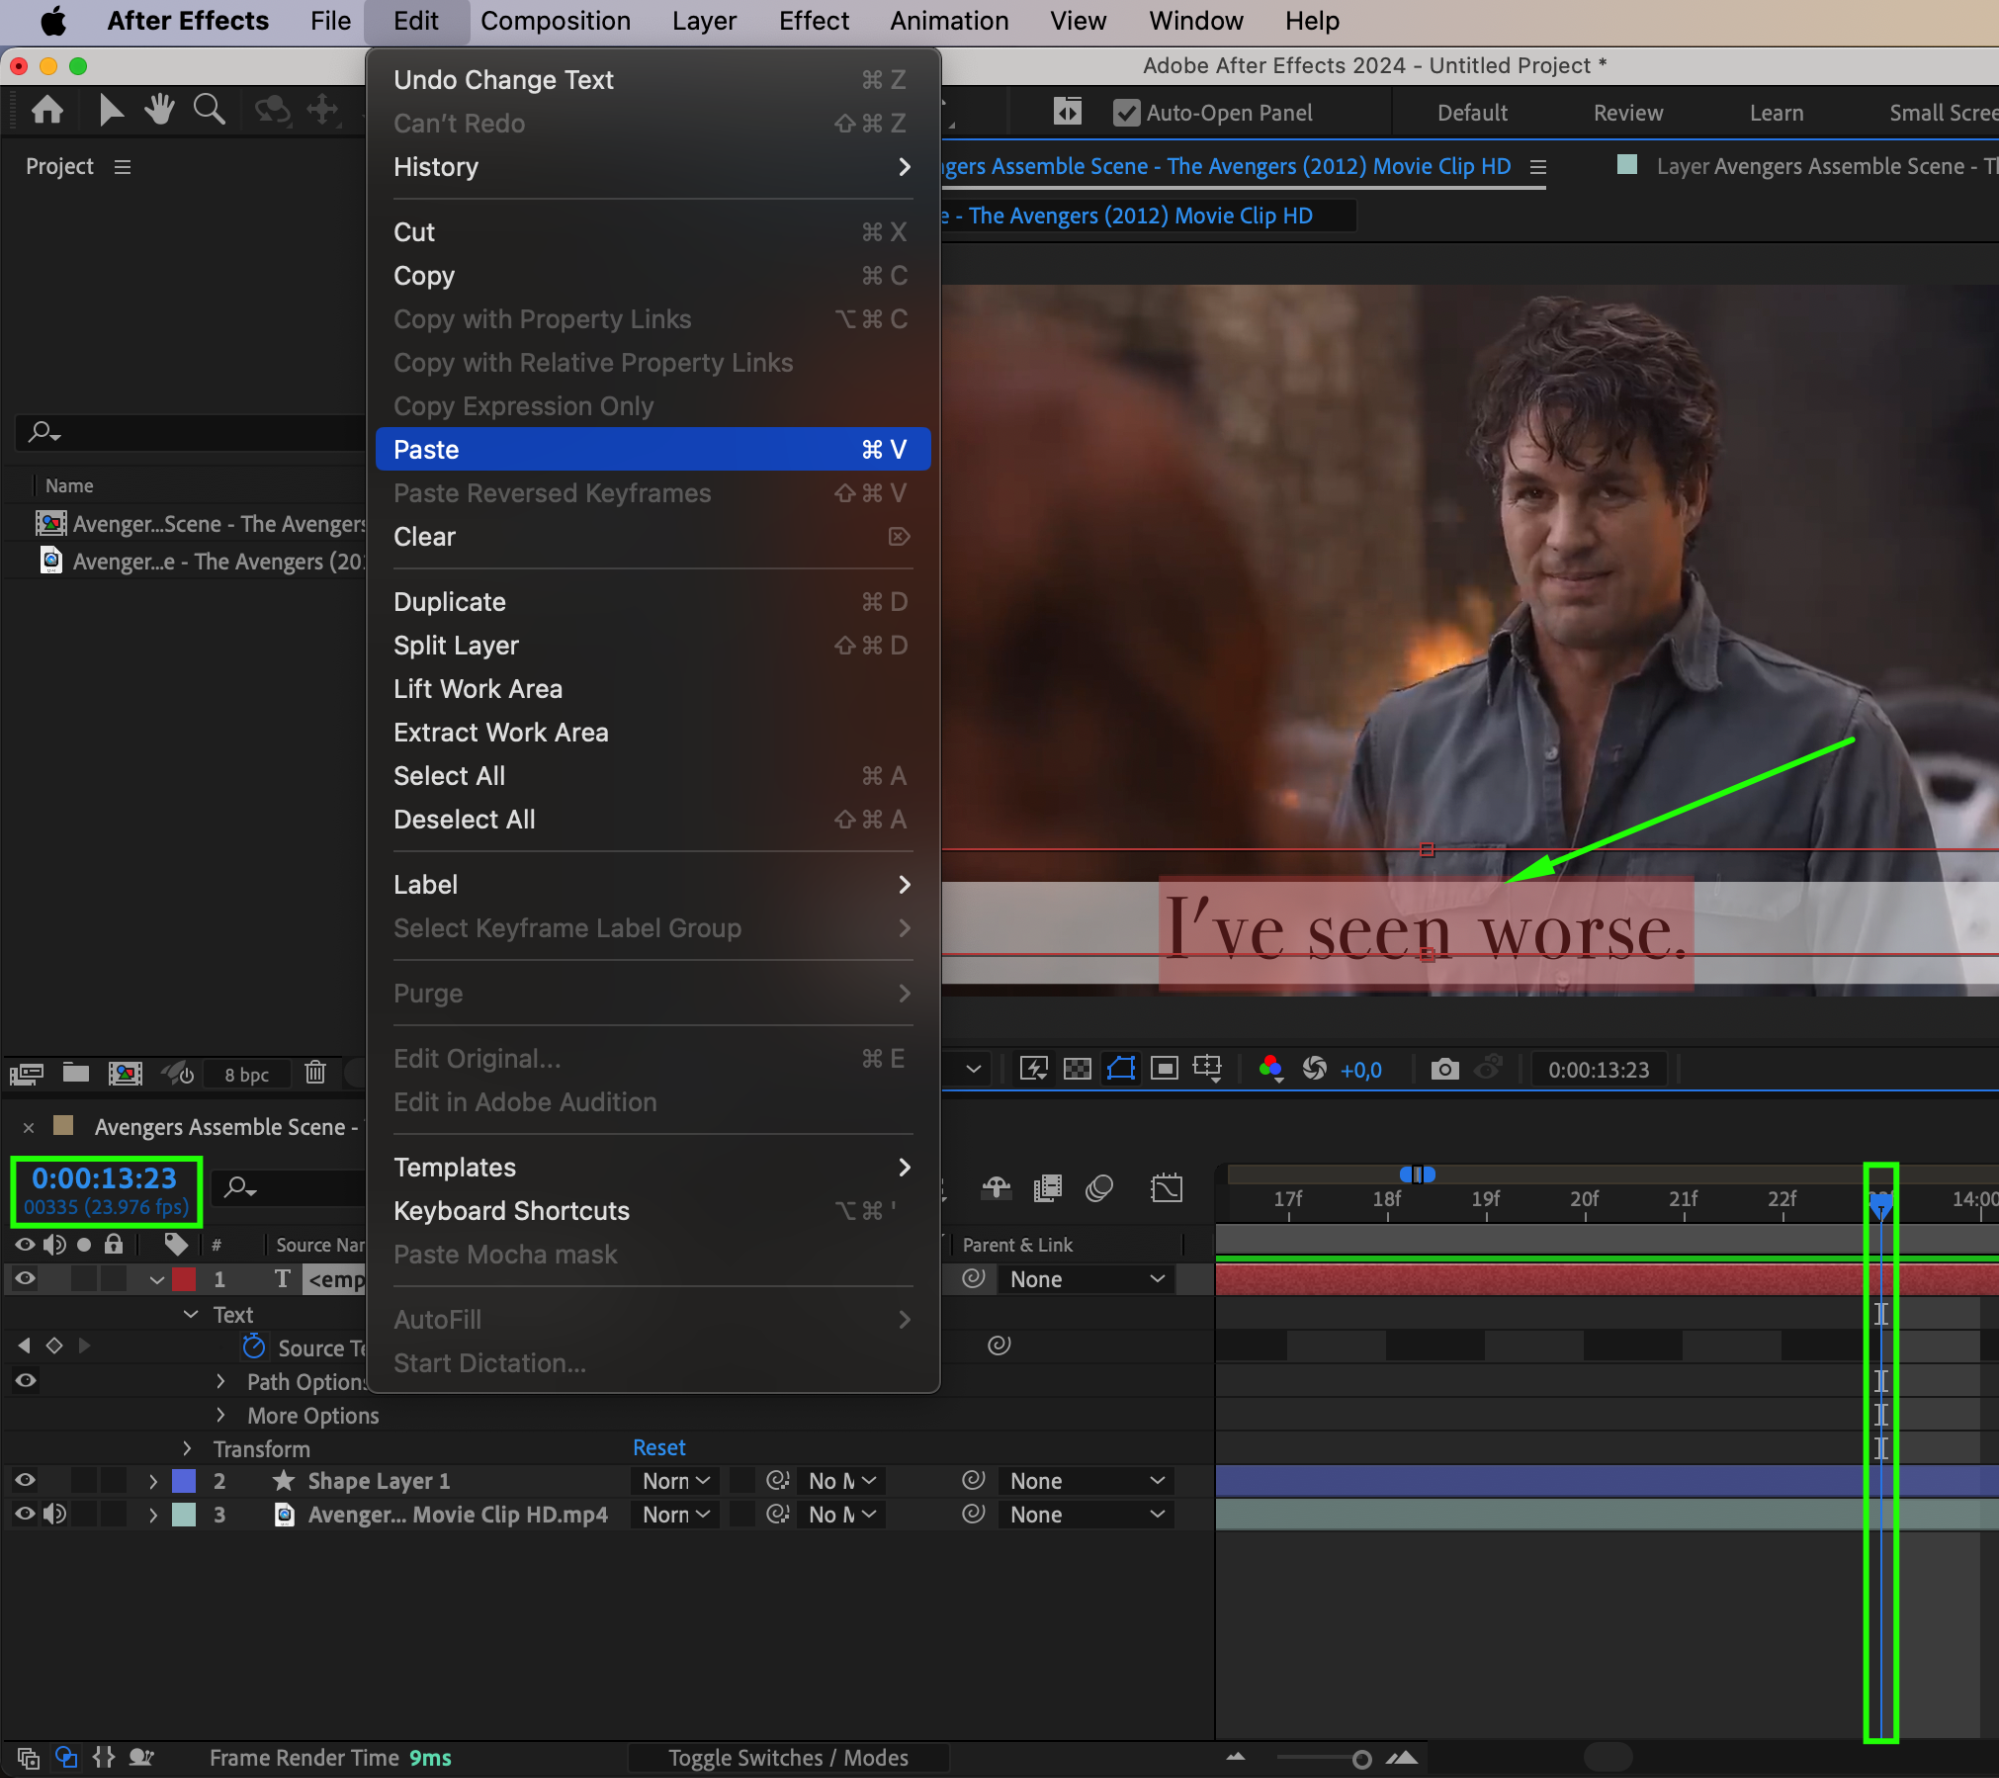
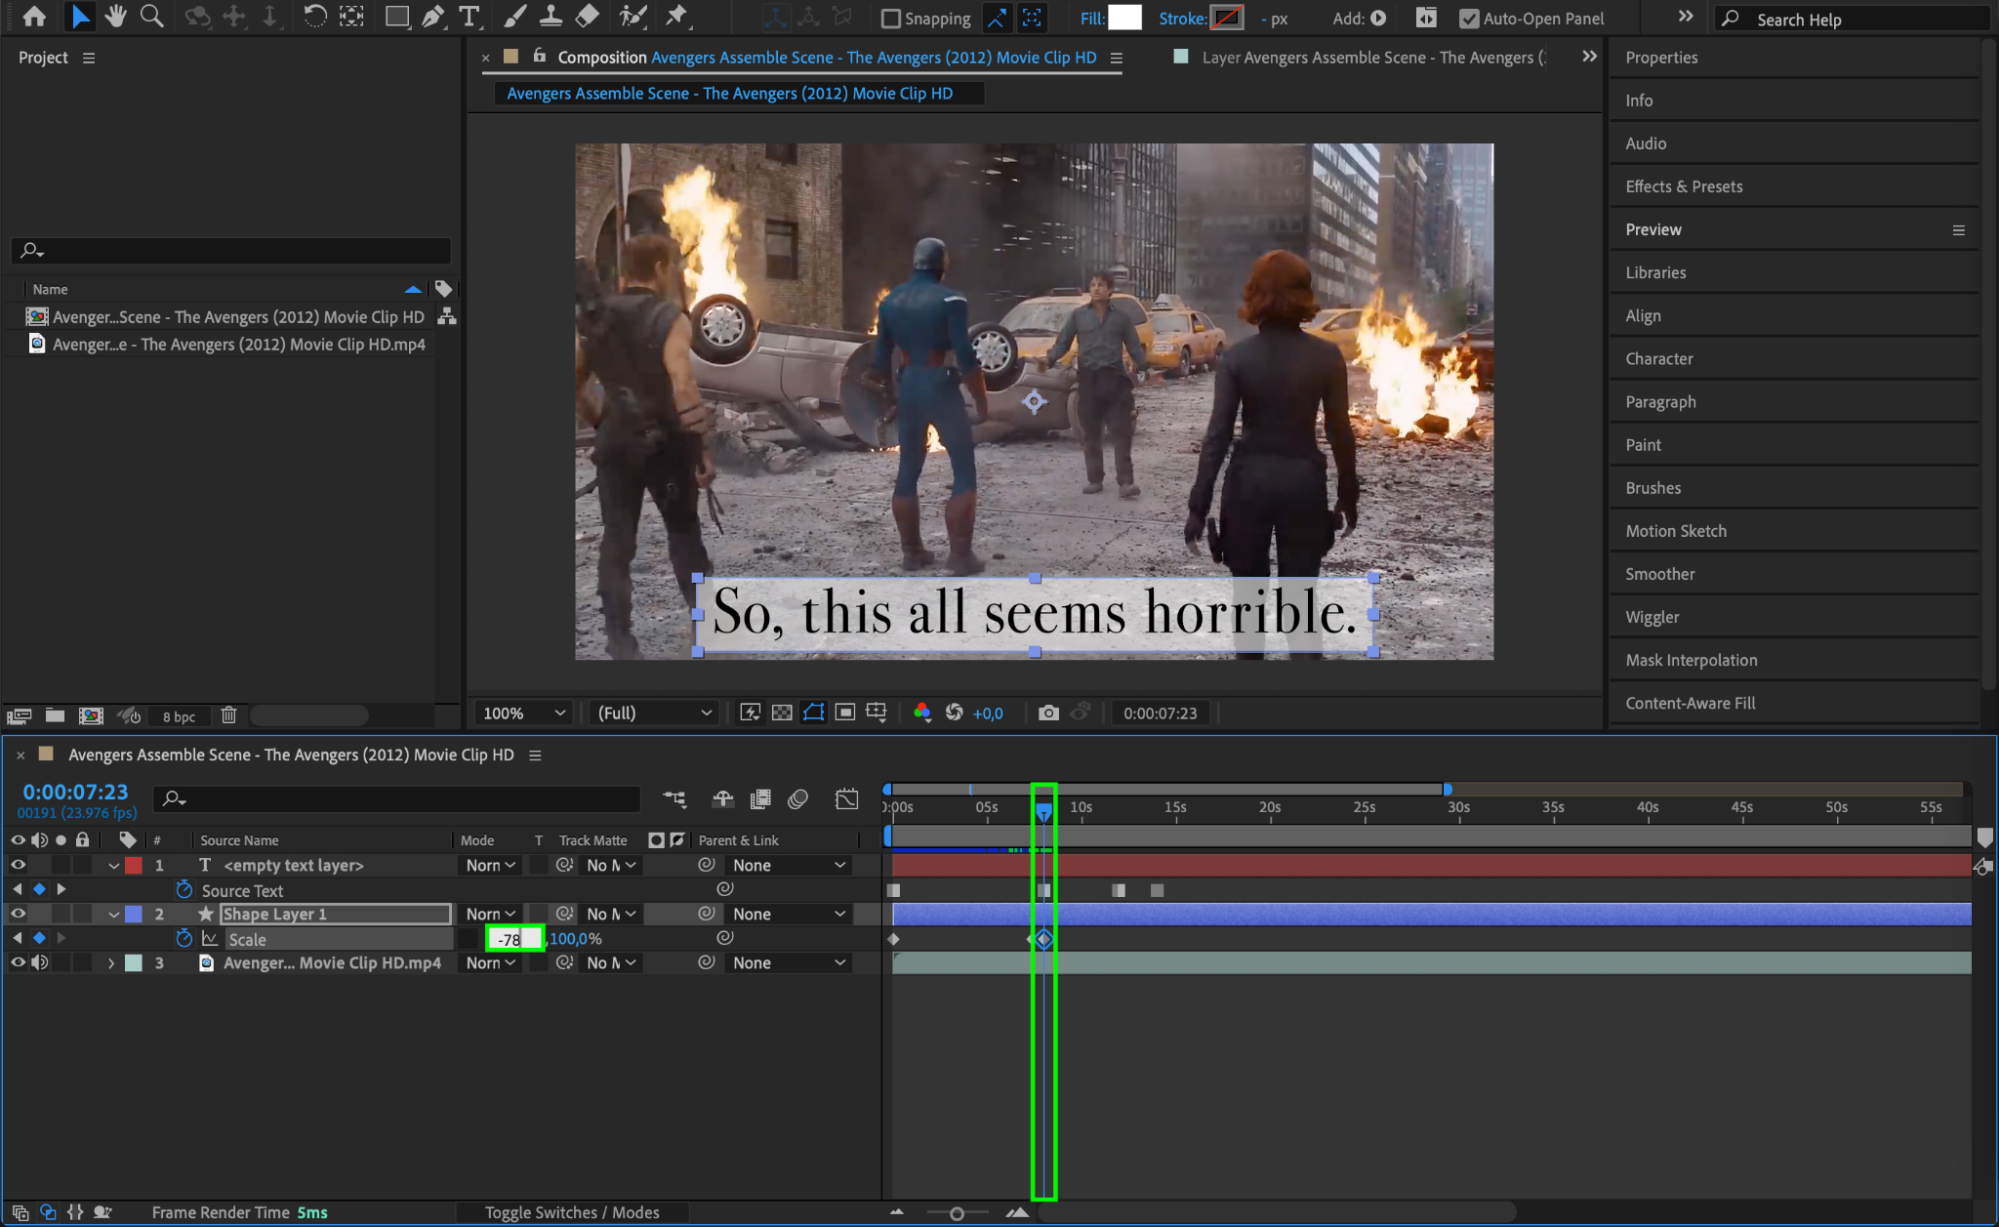
Go back to your open SRT file and copy the first line of the subtitle text. Return to After Effects, and place the CTI (Current Time Indicator) at the exact time that matches the subtitle’s timecode (or slightly before). Paste the copied text into the source text field, creating the first keyframe for your subtitle.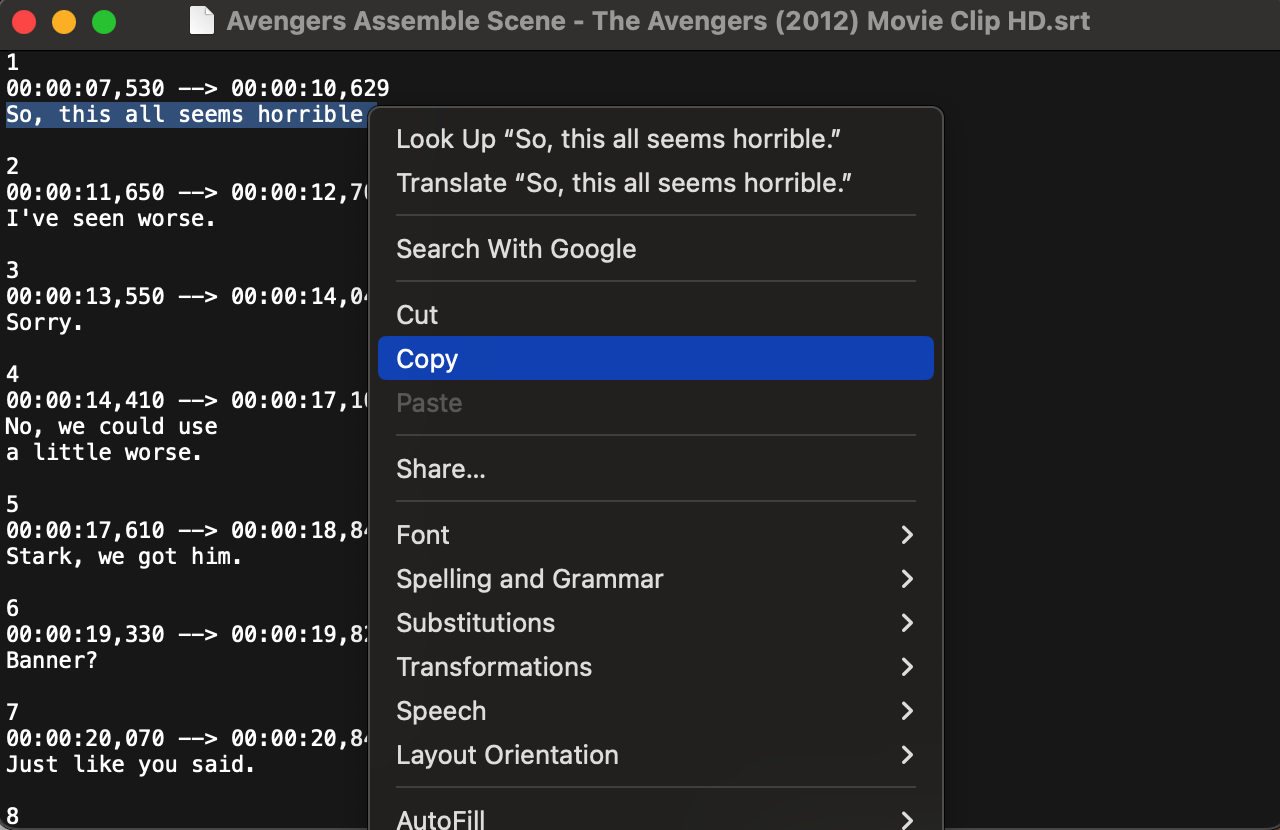
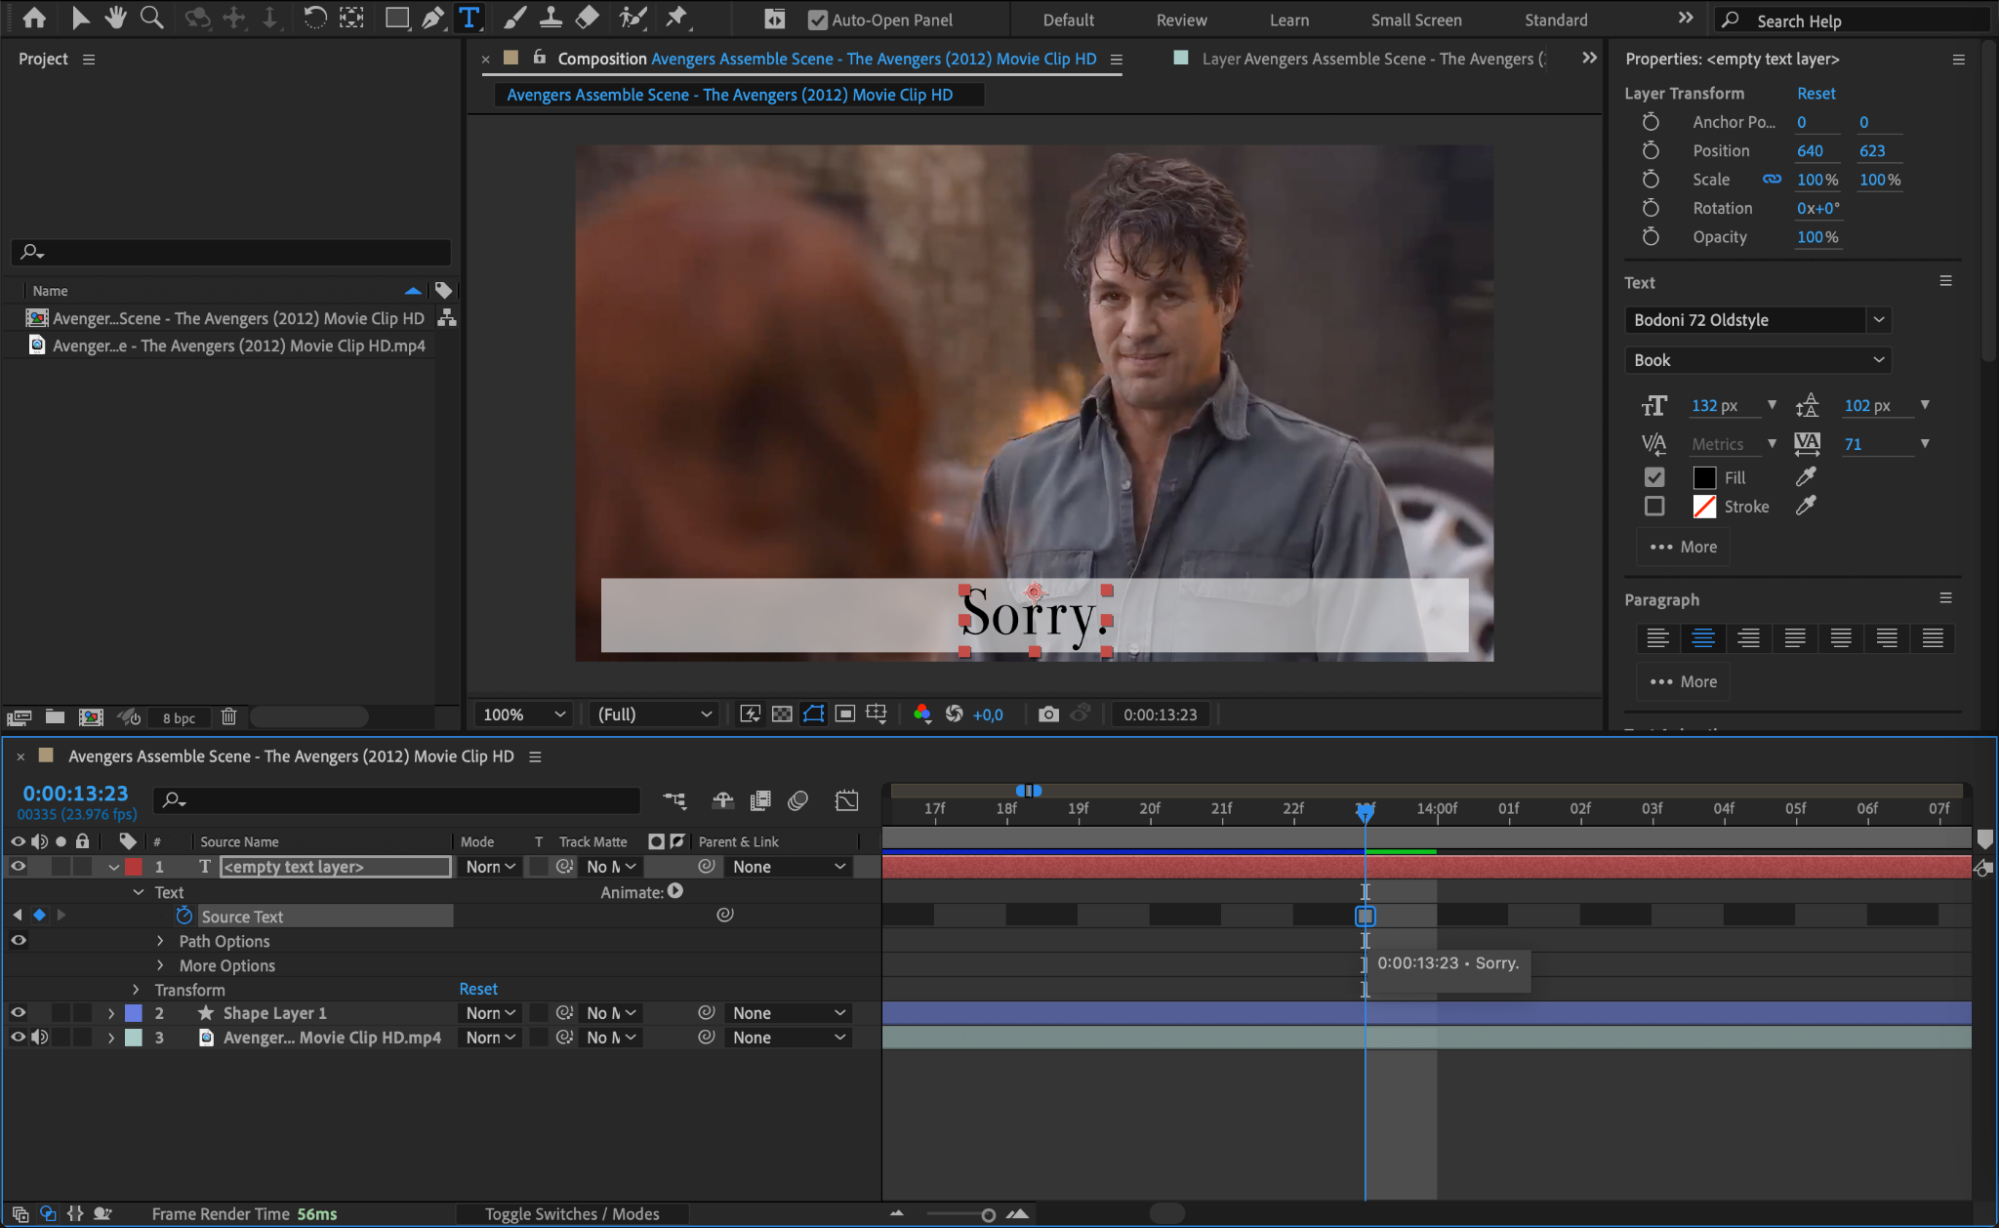
 Step 8: Repeat for Each Subtitle Line
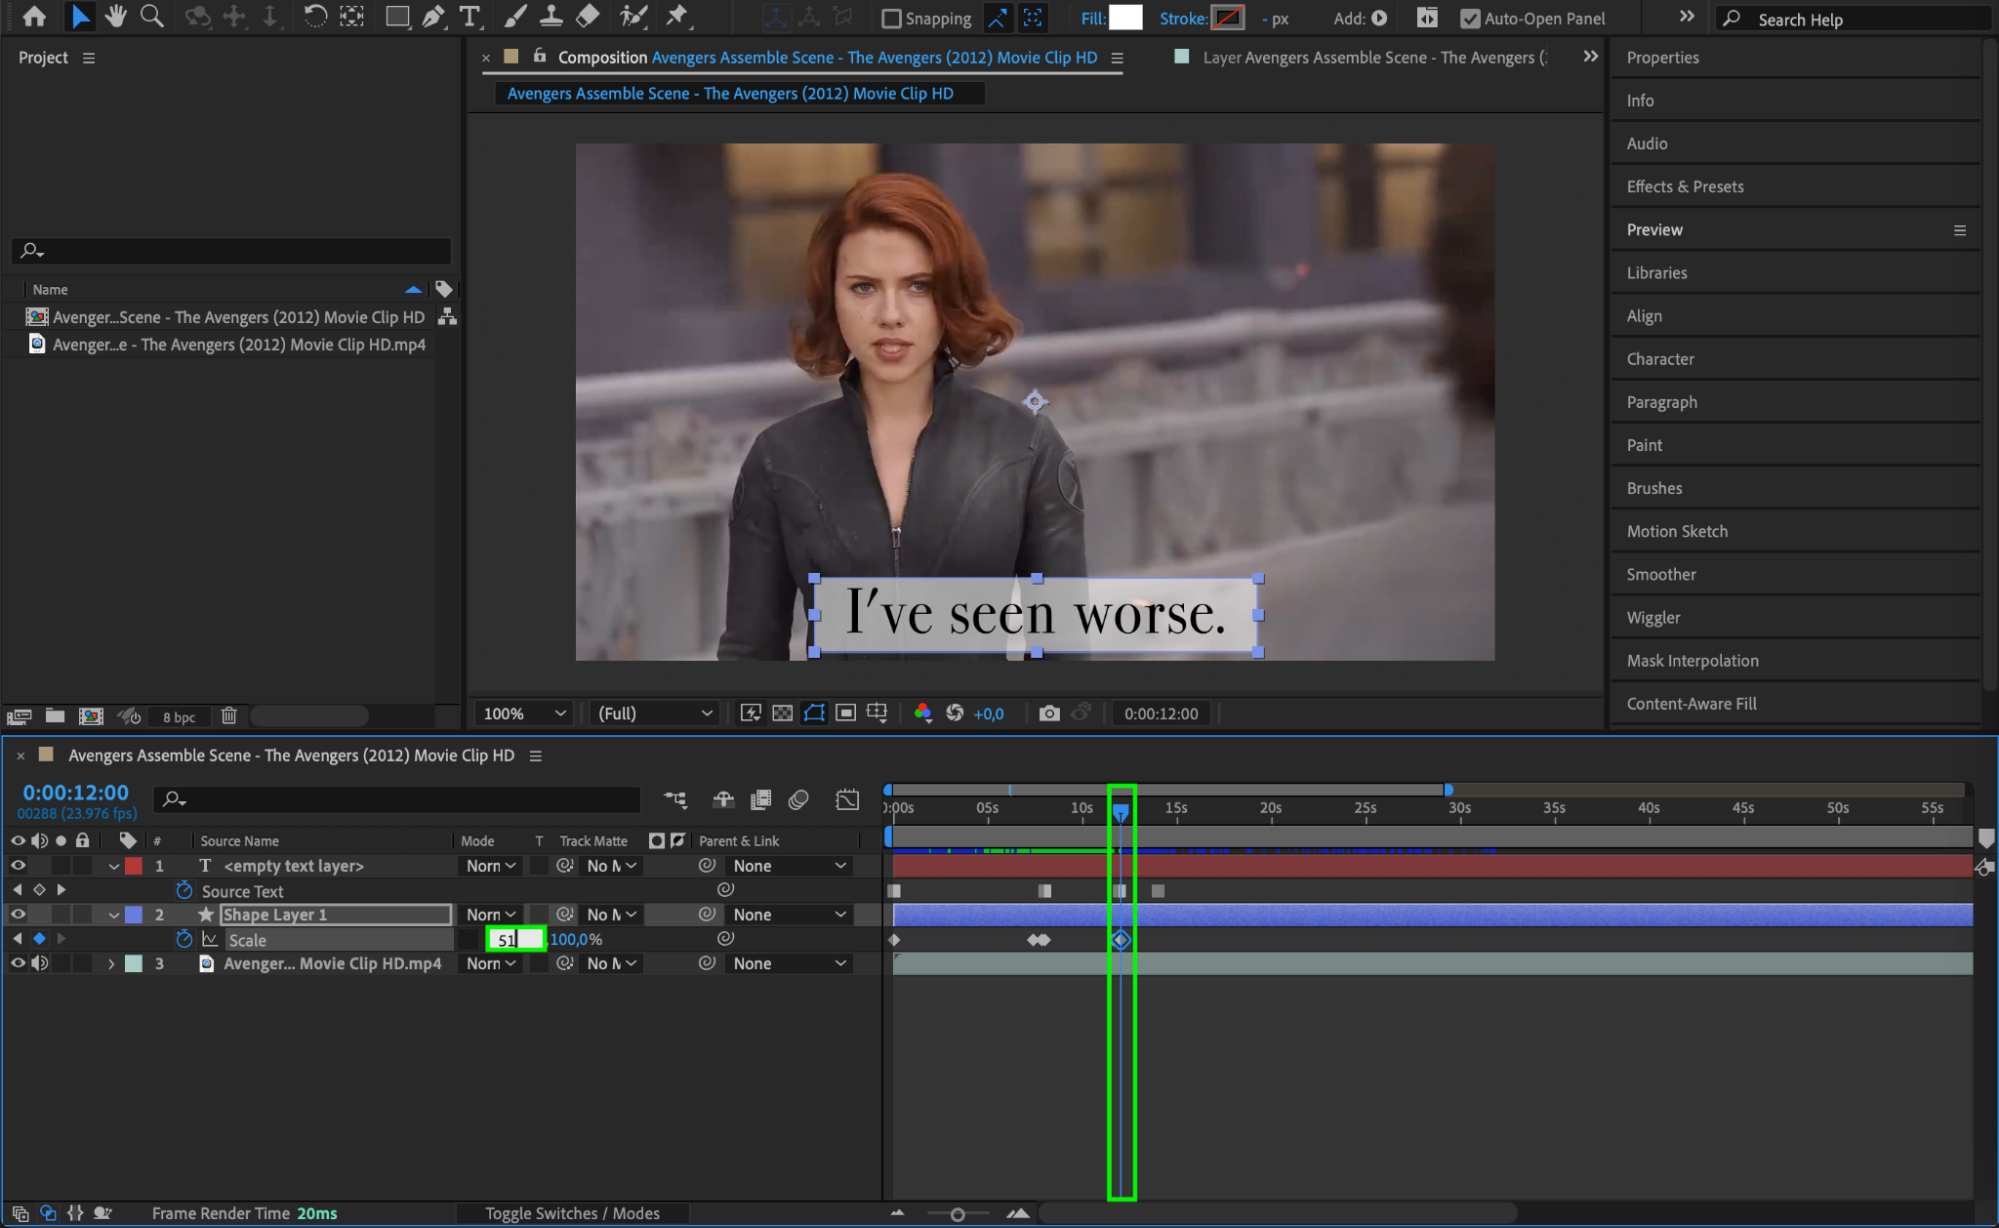
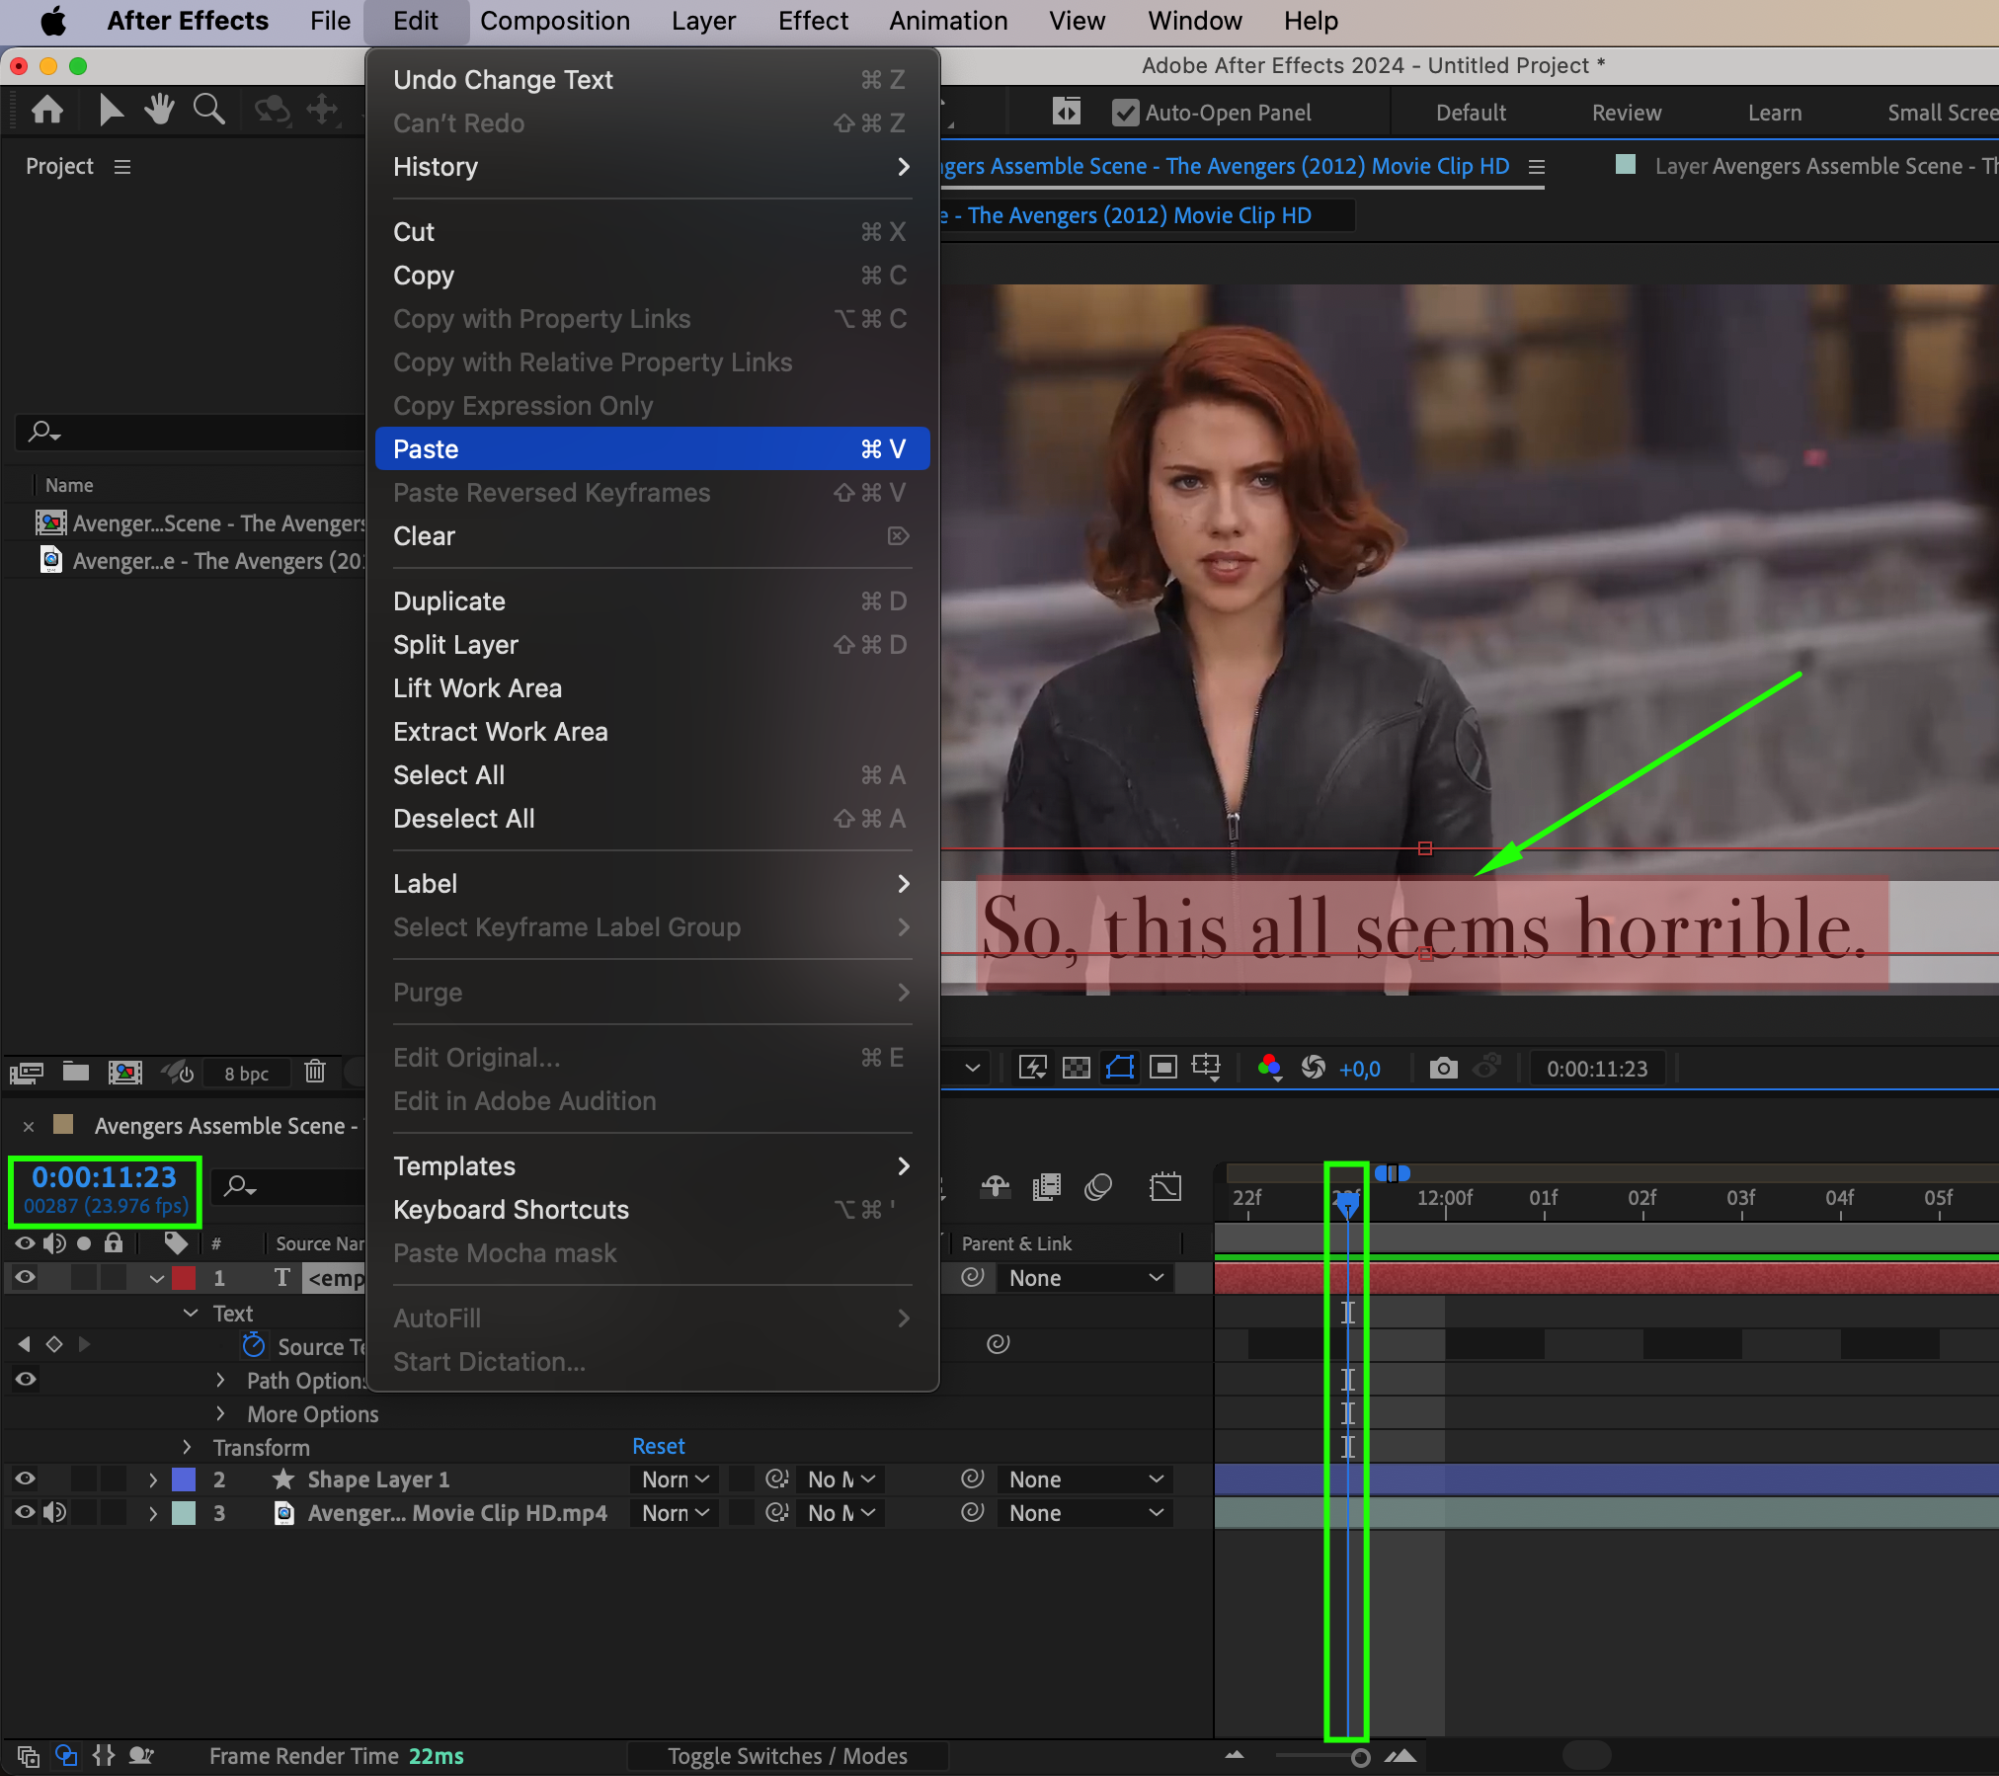
Repeat the same process for every subtitle line in your SRT file. Make sure to adjust the CTI each time according to the timecode in the SRT file. This will ensure that each subtitle appears at the right moment in the video. The timeline will automatically create keyframes as you input the text.
Step 9: Adjust the Scale of the Shape Layer
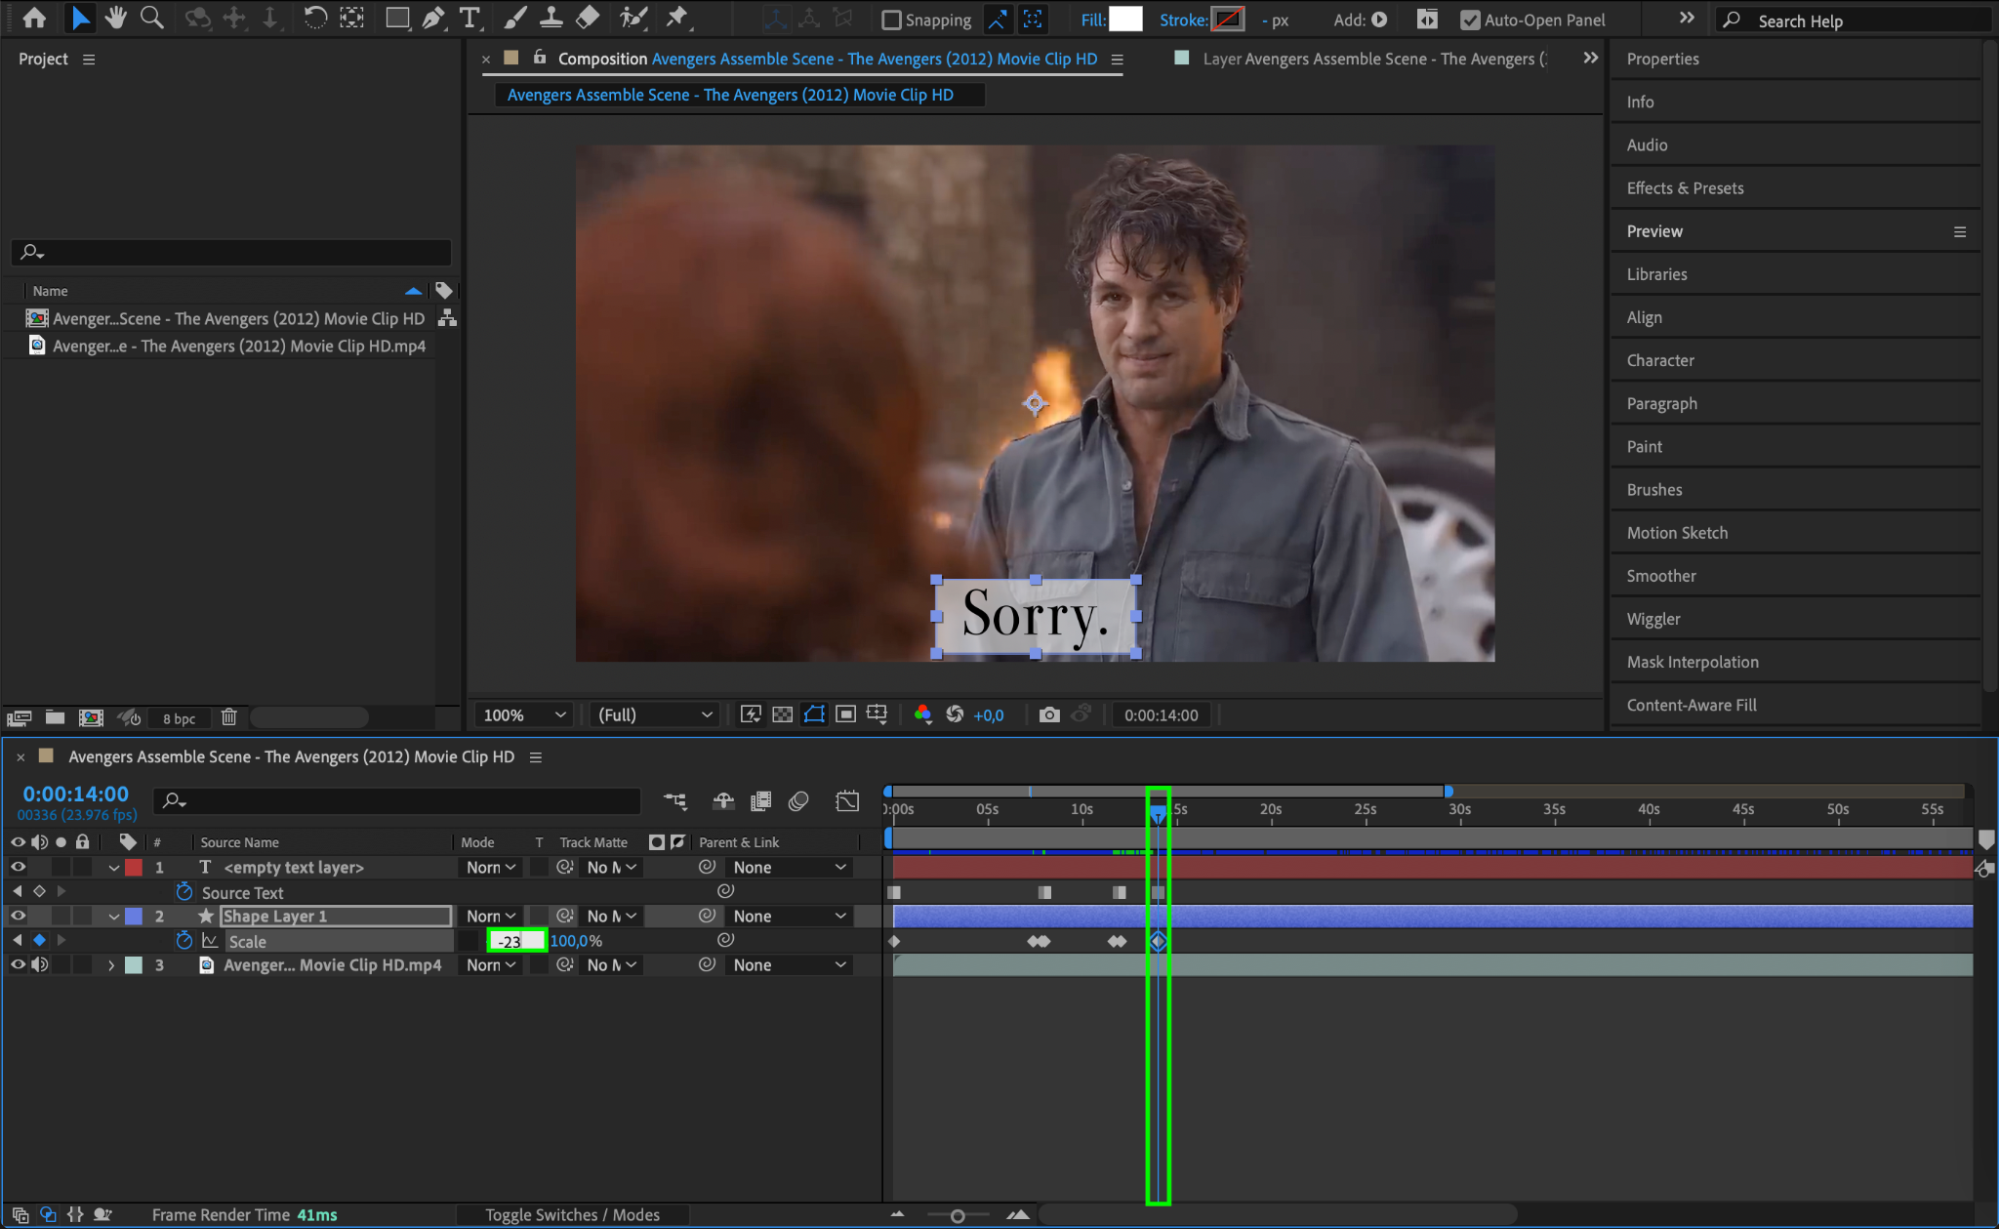
To enhance readability, adjust the size of your shape layer background as the text changes. You can unlink the scale properties of the shape layer and set keyframes to change its size dynamically based on the length of the subtitle text. This ensures the background always fits snugly around the text.
Step 10: Preview Your Project
After you’ve added all the subtitle lines, use the Preview feature to play your video and check that the subtitles appear at the correct times and are properly formatted. Make any necessary adjustments to the timing, text size, or position at this stage.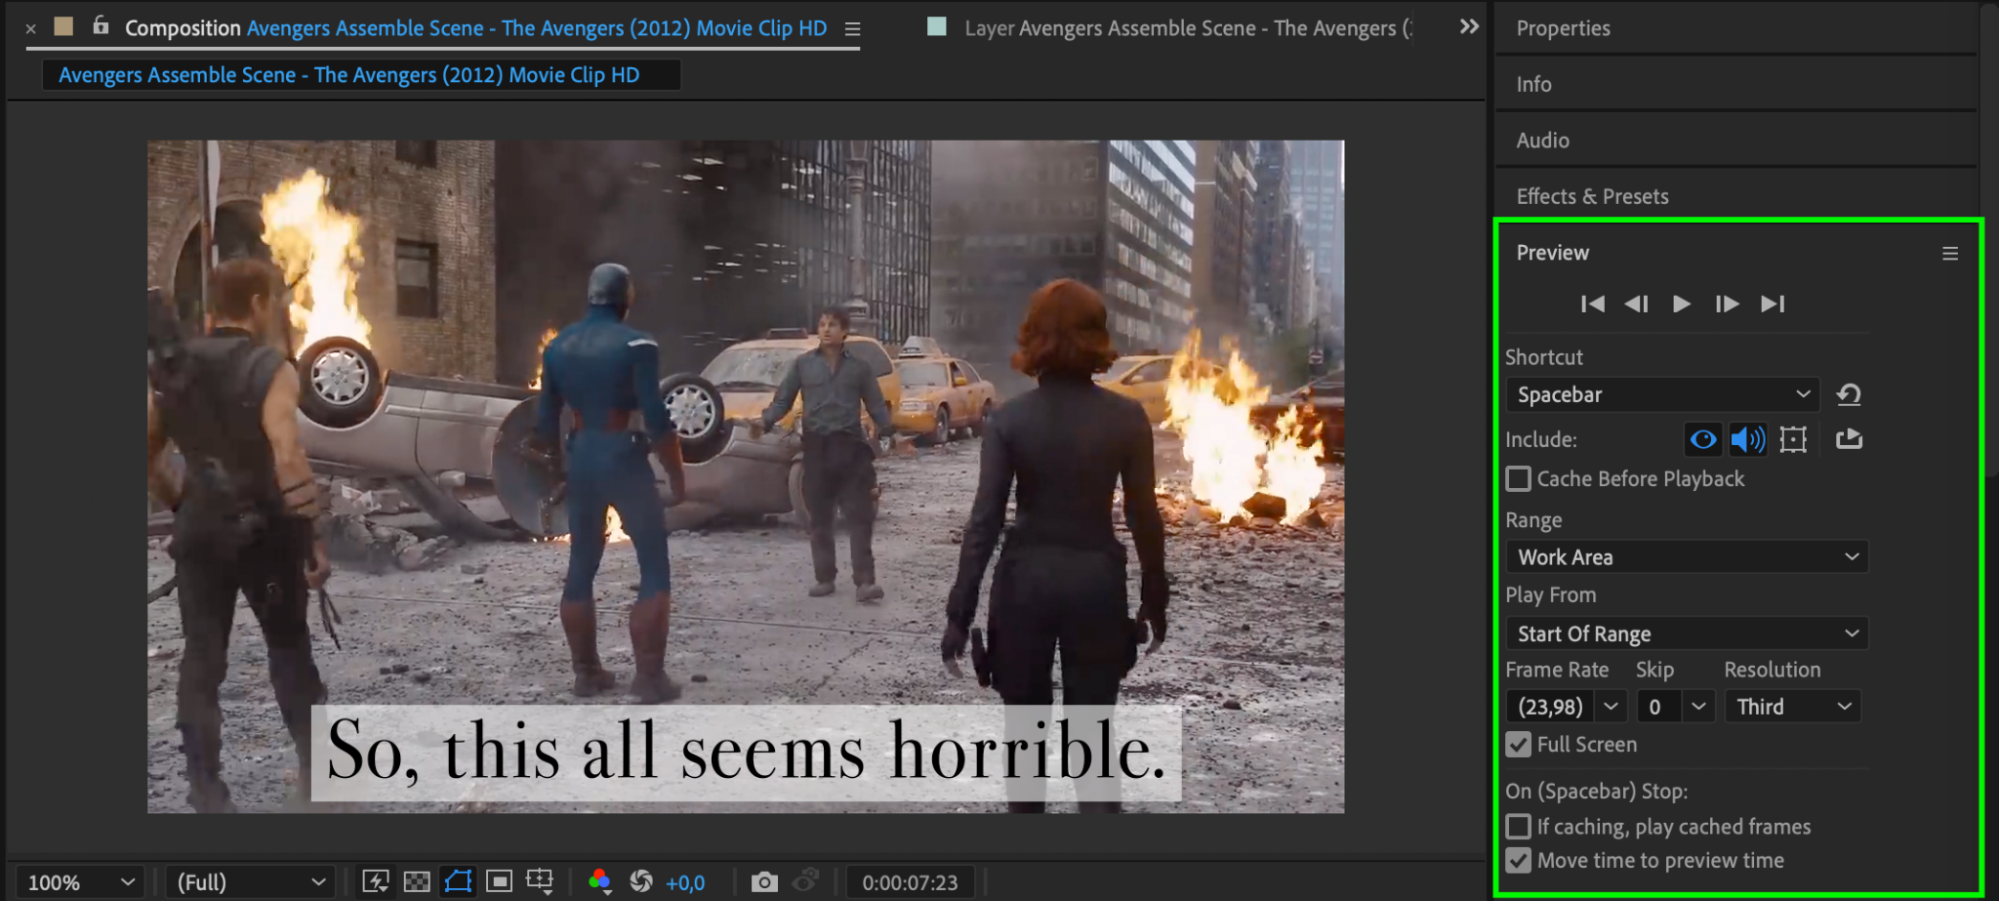
Step 11: Export Your Composition
When your subtitles are perfectly aligned, it’s time to export your video. Go to Composition > Add to Render Queue. In the render queue, you can adjust the settings for your final export, including format and output location. Once everything is set, click “Render” to export your video with subtitles.

Conclusion
By following these steps, you’ve successfully added subtitles to your After Effects project using an SRT file, all without needing any plugins. This method is perfect for those who want full control over the appearance and timing of their subtitles. Keep practicing this technique to master it, and remember that clear, well-timed subtitles can make your videos more accessible and engaging.
Our Bestsellers


