In the world of motion graphics and video editing, adding audio to your projects can significantly enhance the overall experience and captivate your audience. Whether you’re creating an animated video, a promotional clip, or a digital advertisement, incorporating synchronized sound effects and background music brings your visuals to life in After Effects 2019.
If you’re new to the software or simply want to brush up on your knowledge, this step-by-step guide will walk you through the process of adding audio to your After Effects projects. We’ll cover everything from importing audio files to synchronizing them with your animations, so you can create professional-quality videos with ease and precision.
Get ready to amplify your creativity and take your projects to new heights by harnessing the power of sound in After Effects 2019. Let’s dive in!
1. Importing Audio Files
One of the first steps to adding audio to your After Effects 2019 project is importing your desired audio files. Here’s how you can do it:
- Open After Effects and create a new project.
Get 10% off when you subscribe to our newsletter

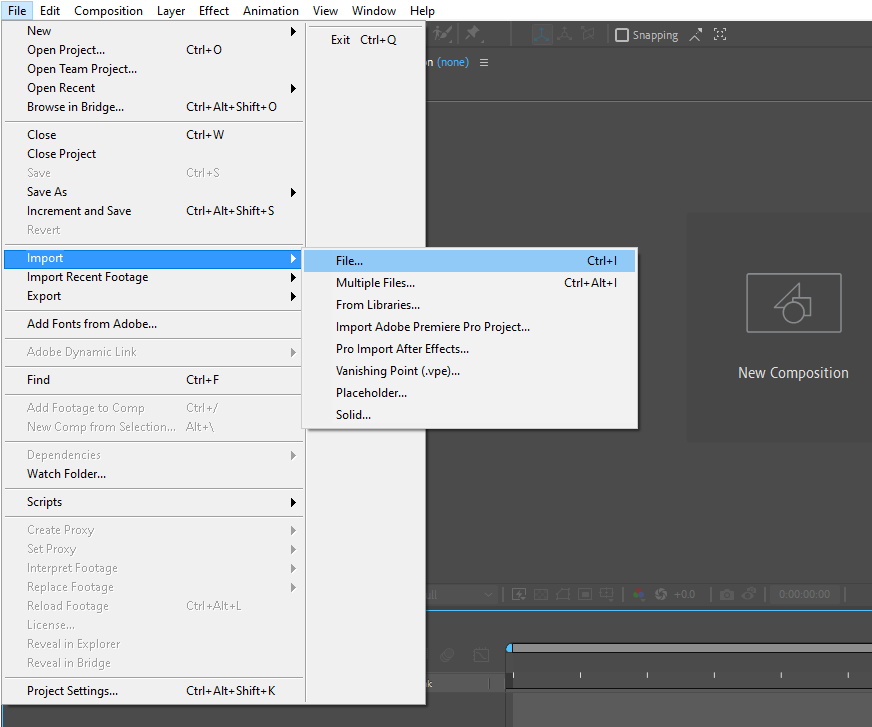
- Browse your computer for the audio file you want to add and click “Import”.
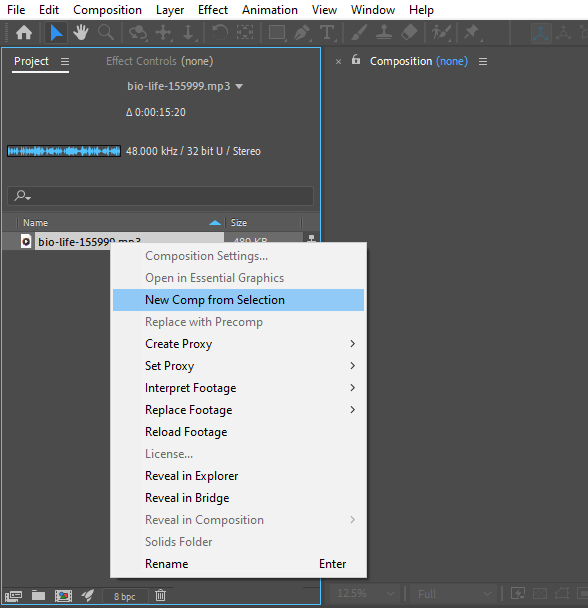
Once you’ve successfully imported your audio file, it will appear in the Project Panel. You can now proceed to add it to your composition.
2. Adding Audio to Your Composition
Now that you have your audio file imported, let’s add it to your After Effects composition:
- Drag and drop the audio file from the Project Panel into your composition timeline.
- Alternatively, you can right-click the audio file in the Project Panel – New Comp from Selection to add it directly to the composition.
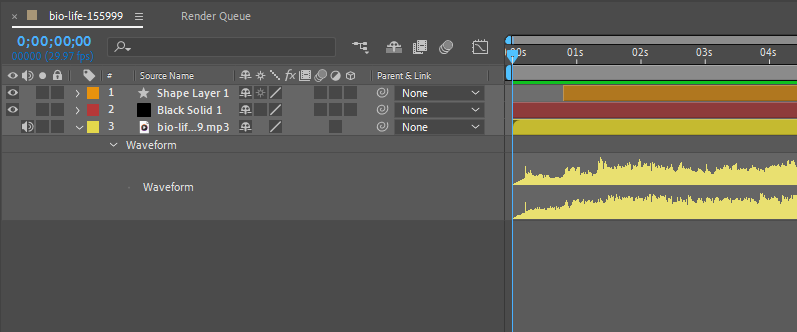
By default, the audio file will be added at the beginning of your composition timeline. You can easily move or trim the audio layer to align it with your visual elements
3. Syncing Audio with Visual Elements
After Effects offers several methods to synchronize your audio with the visual elements of your project. Here are two popular methods:
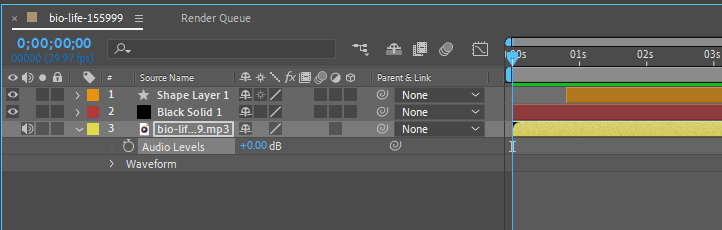
- For precise synchronization, use the hotkey L twice to open to the Waveform in the timeline. You can then manually align the audio with specific events or effects.
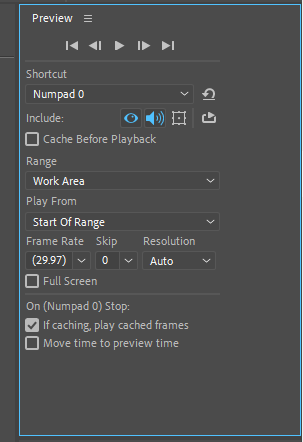
- If you prefer a more intuitive approach, use the “RAM Preview” feature. Press spacebar or the 0 (zero) key on the numeric keypad to initiate a RAM Preview. This will play your composition in real-time, allowing you to analyze and adjust elements based on the audio cues.
Remember, you can always fine-tune the timing by adjusting keyframes or right-clicking the audio – Time – Time Stretch feature to control the speed of your audio with better precision.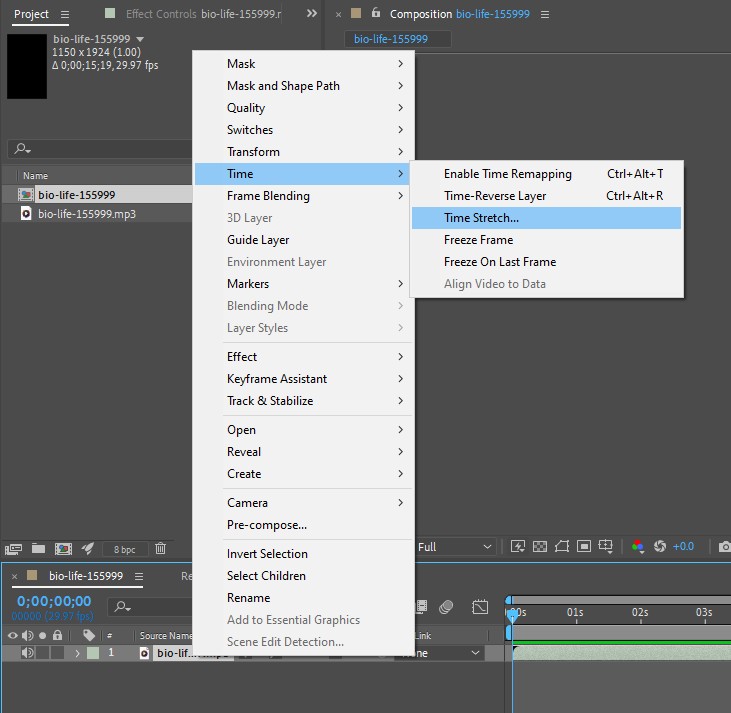
4. Adjusting Audio Levels
To achieve the perfect audio mix in your After Effects composition, it’s important to adjust the audio levels. Here’s how you can do it:
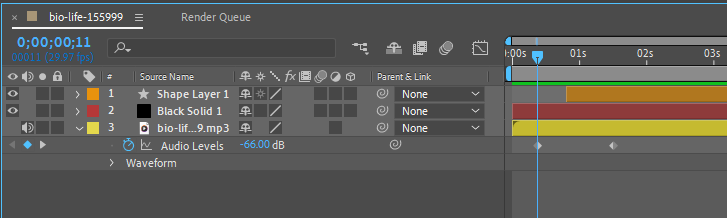
- Select the audio layer in your composition timeline.
- Use the hotkey L or U if you’ve set audio keyframes already.
- Drag the slider or manually adjust the keyframes to increase or decrease the audio volume at specific points.
Additionally, you can apply audio effects and filters using the “Effects & Presets” panel to further enhance the sound quality and create unique audio experiences.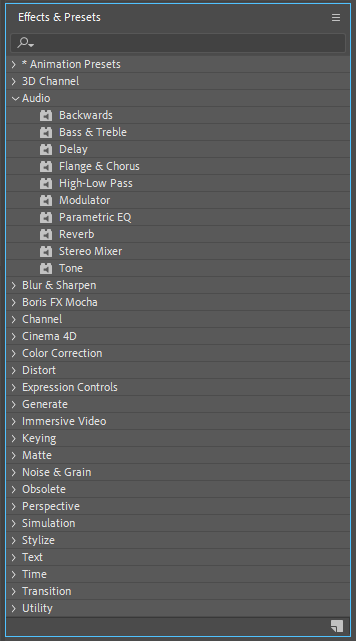 5. Finalizing Your Project
Once you’ve added and synchronized your audio in After Effects 2019, it’s essential to preview and make any necessary adjustments before exporting your final video. Use the spacebar or the hotkey 0 (zero) on the numeric keypad to play back your composition and ensure that the audio and visuals are in perfect harmony.
If you need to make any further changes to the audio, simply select the audio layer and edit as needed. After you’re satisfied with your project, go to the “Composition” menu and choose “Add to Render Queue” to export the final video with the integrated audio.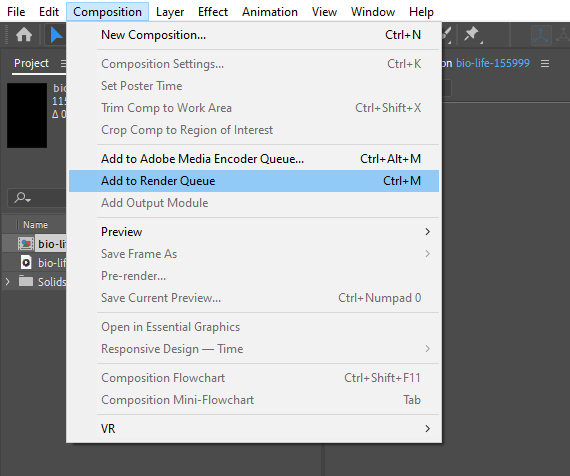 With these simple steps, you can take your After Effects projects to the next level by adding audio that engages and leaves a lasting impression on your viewers. Don’t be afraid to experiment and explore the vast possibilities audio can bring to your visuals. Happy creating!
Conclusion:
Adding audio to your After Effects 2019 projects is a simple yet powerful way to enhance your visuals and create a captivating experience for your viewers. By following the step-by-step guide outlined in this article, you can seamlessly integrate sound effects and background music into your animations, videos, and motion graphics.
Remember to import your audio files, add them to your composition, and synchronize them with your visuals using hotkeys and markers for precision. Adjust the audio levels to achieve the perfect mix, and don’t be afraid to experiment with audio effects to create a unique audio experience.
The key is to strive for a seamless blend of visuals and audio, ensuring that they complement and enhance each other. Preview and fine-tune your project before exporting the final video, and don’t hesitate to make any necessary adjustments to perfect the synchronization.
By harnessing the power of audio in After Effects 2019, you can elevate your projects to new heights and leave a lasting impact on your audience. So, dive in, get creative, and enjoy the process of bringing your visuals to life with synchronized audio. Happy editing!


