Aligning Keyframes for Smooth Animation in After Effects
Introduction
Keyframes are the foundation of animation in After Effects, allowing you to control movement, opacity, effects, and more over time. However, misaligned keyframes can create jerky animations or unwanted delays. Aligning keyframes properly ensures smoother transitions and better synchronization with other elements. In this guide, you’ll learn how to efficiently adjust and align keyframes for precise motion control.
Get 10% off when you subscribe to our newsletter

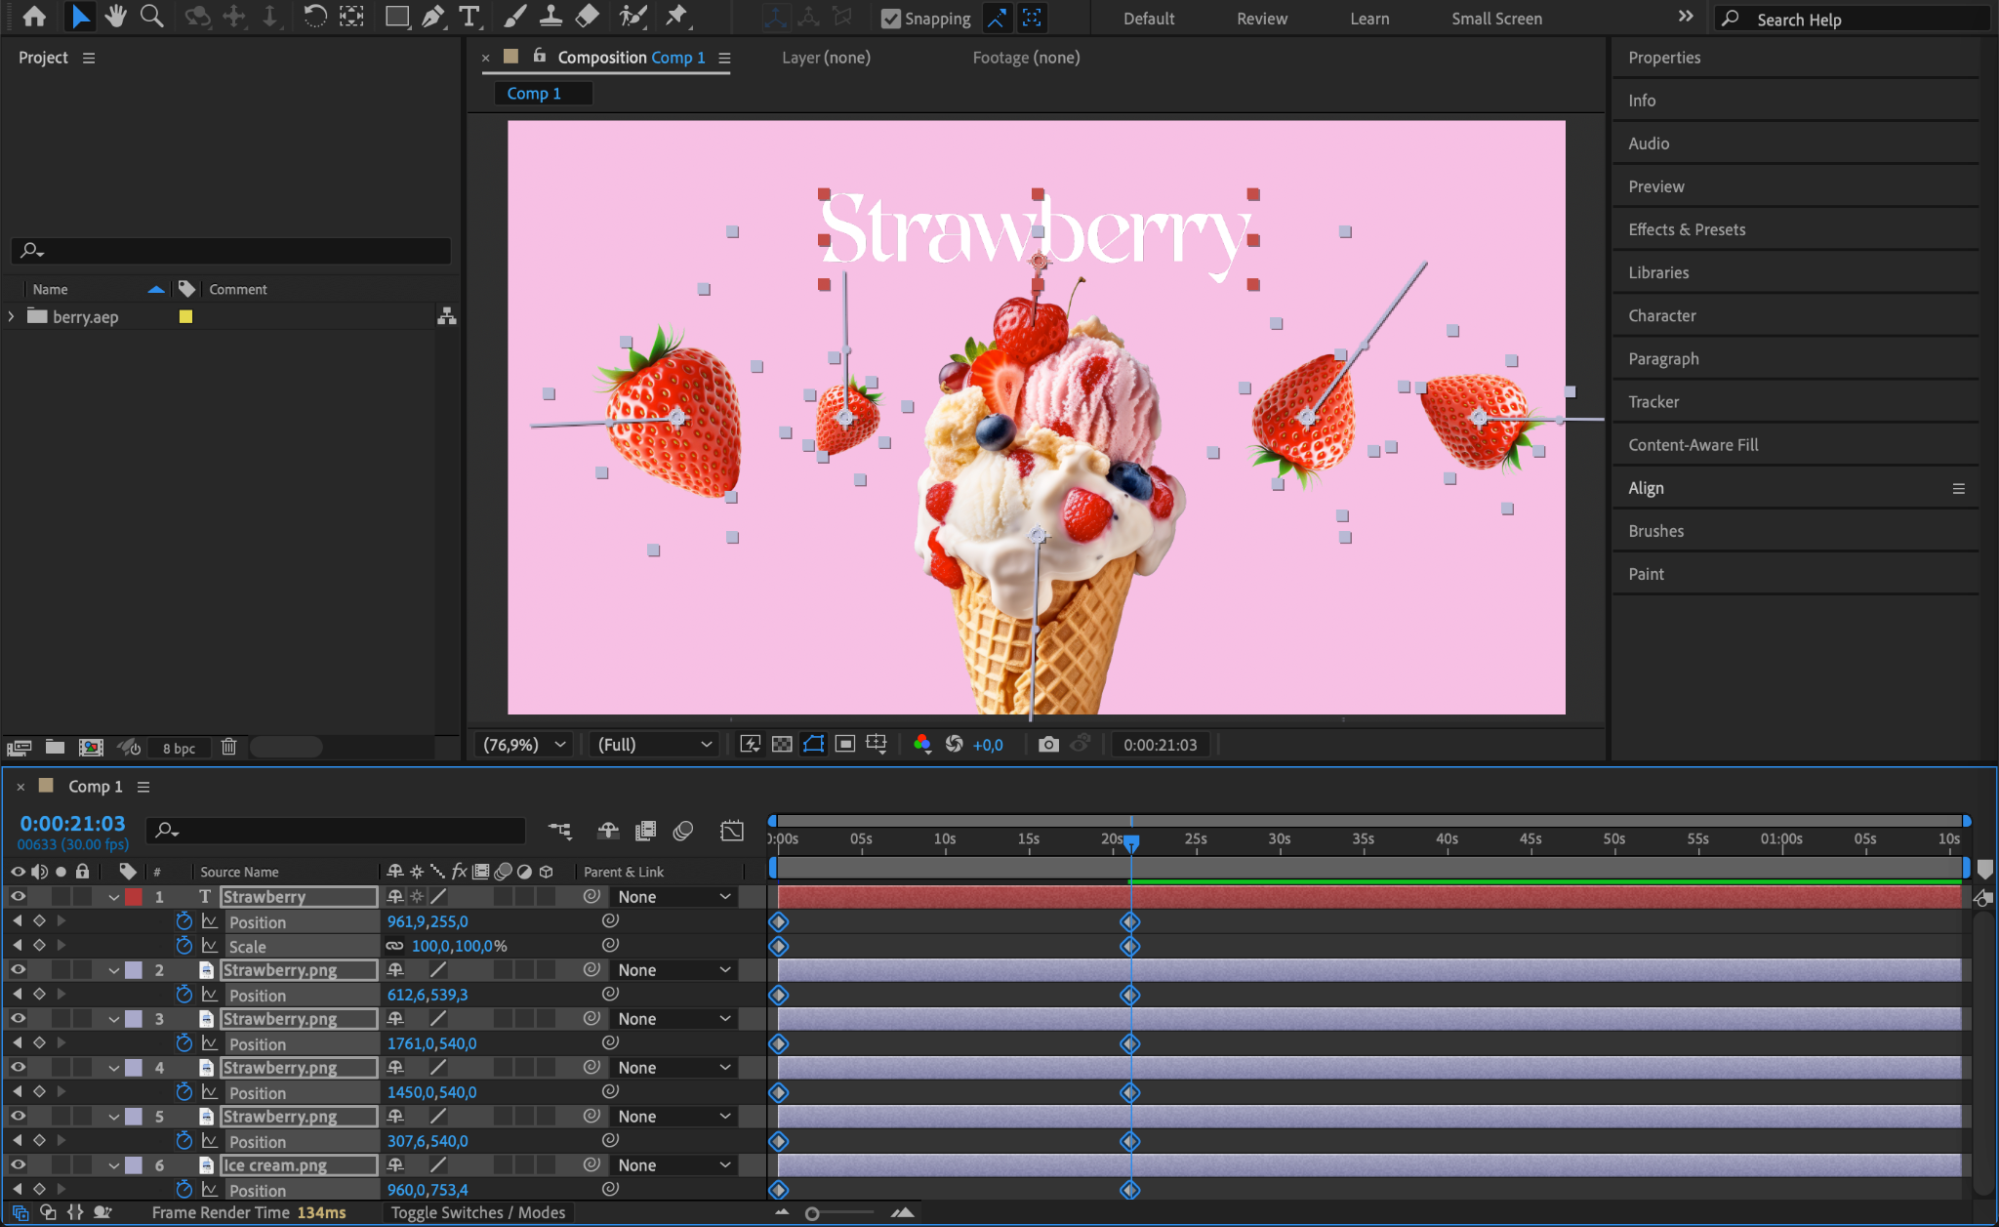
Step 1: Open the Timeline and Locate Keyframes
Start by opening your After Effects project and navigating to the Timeline panel. Select the layer that contains the keyframes you want to align. Expand the layer properties by pressing “U” to reveal all keyframes or “UU” to display modified properties.
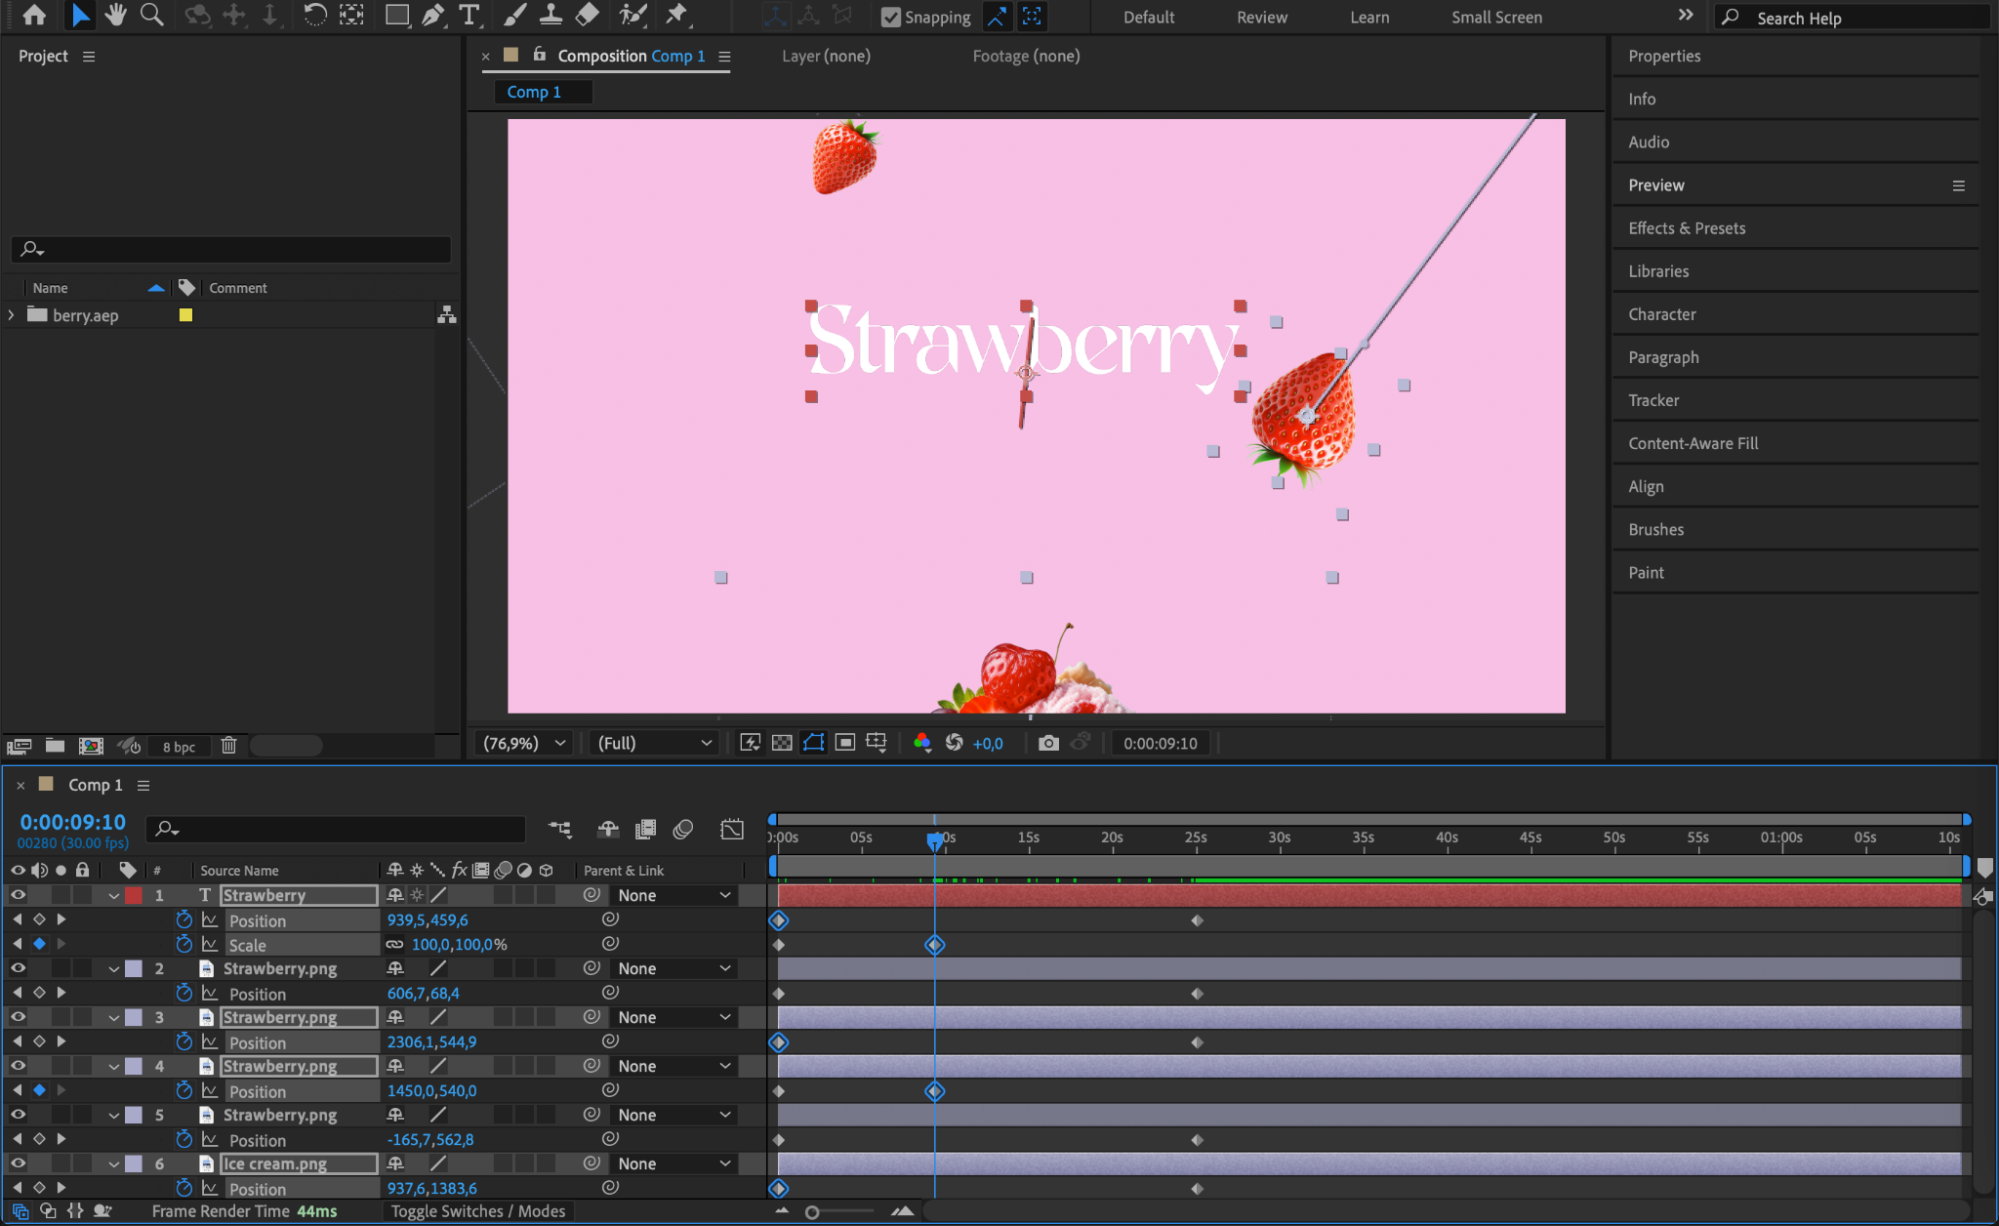
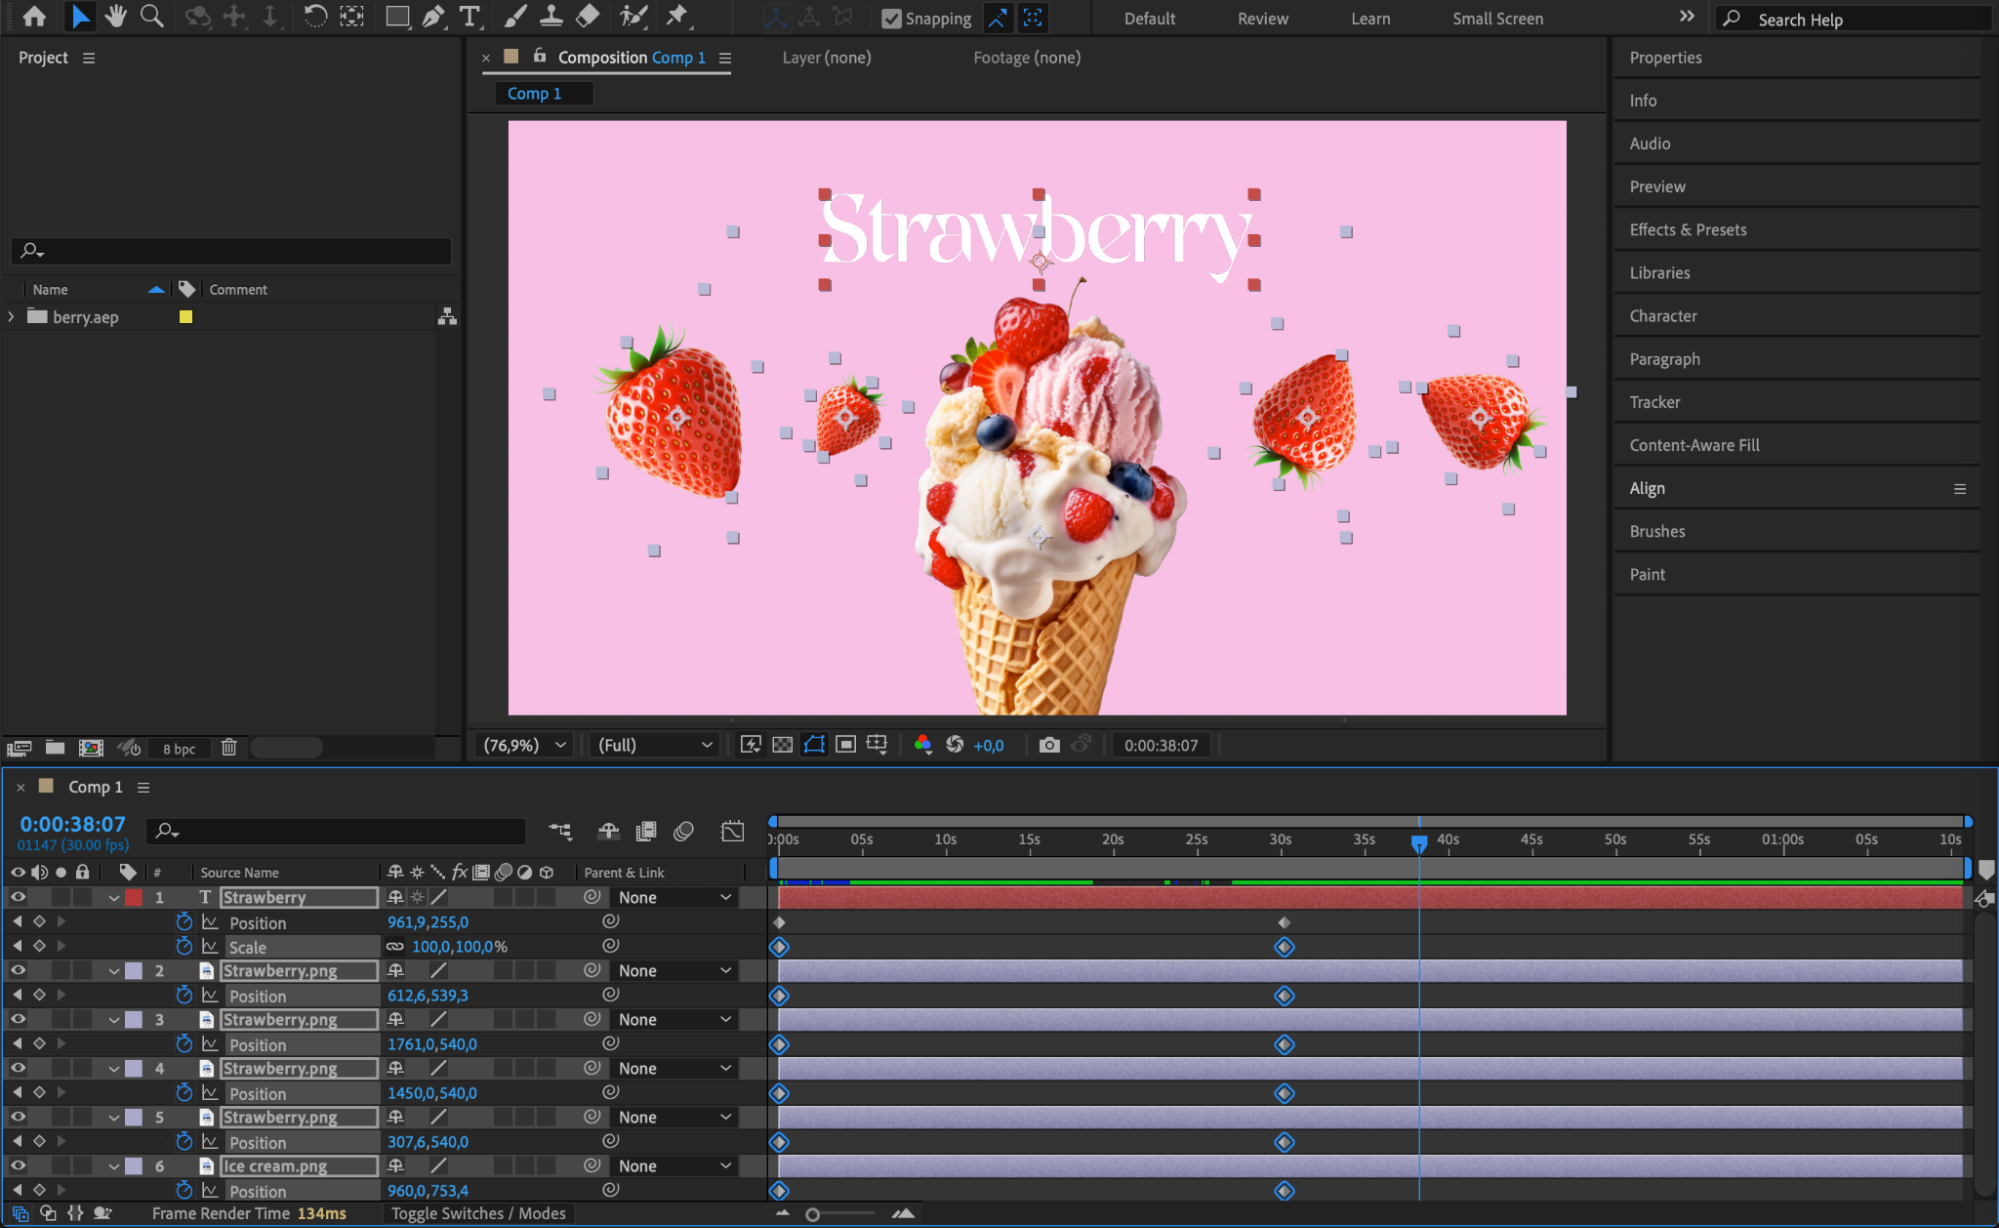 Step 2: Select the Keyframes
Click and drag to select multiple keyframes on the Timeline. If you need to select non-consecutive keyframes, hold “Shift” while clicking each keyframe. Selected keyframes will appear highlighted, indicating they are ready for alignment.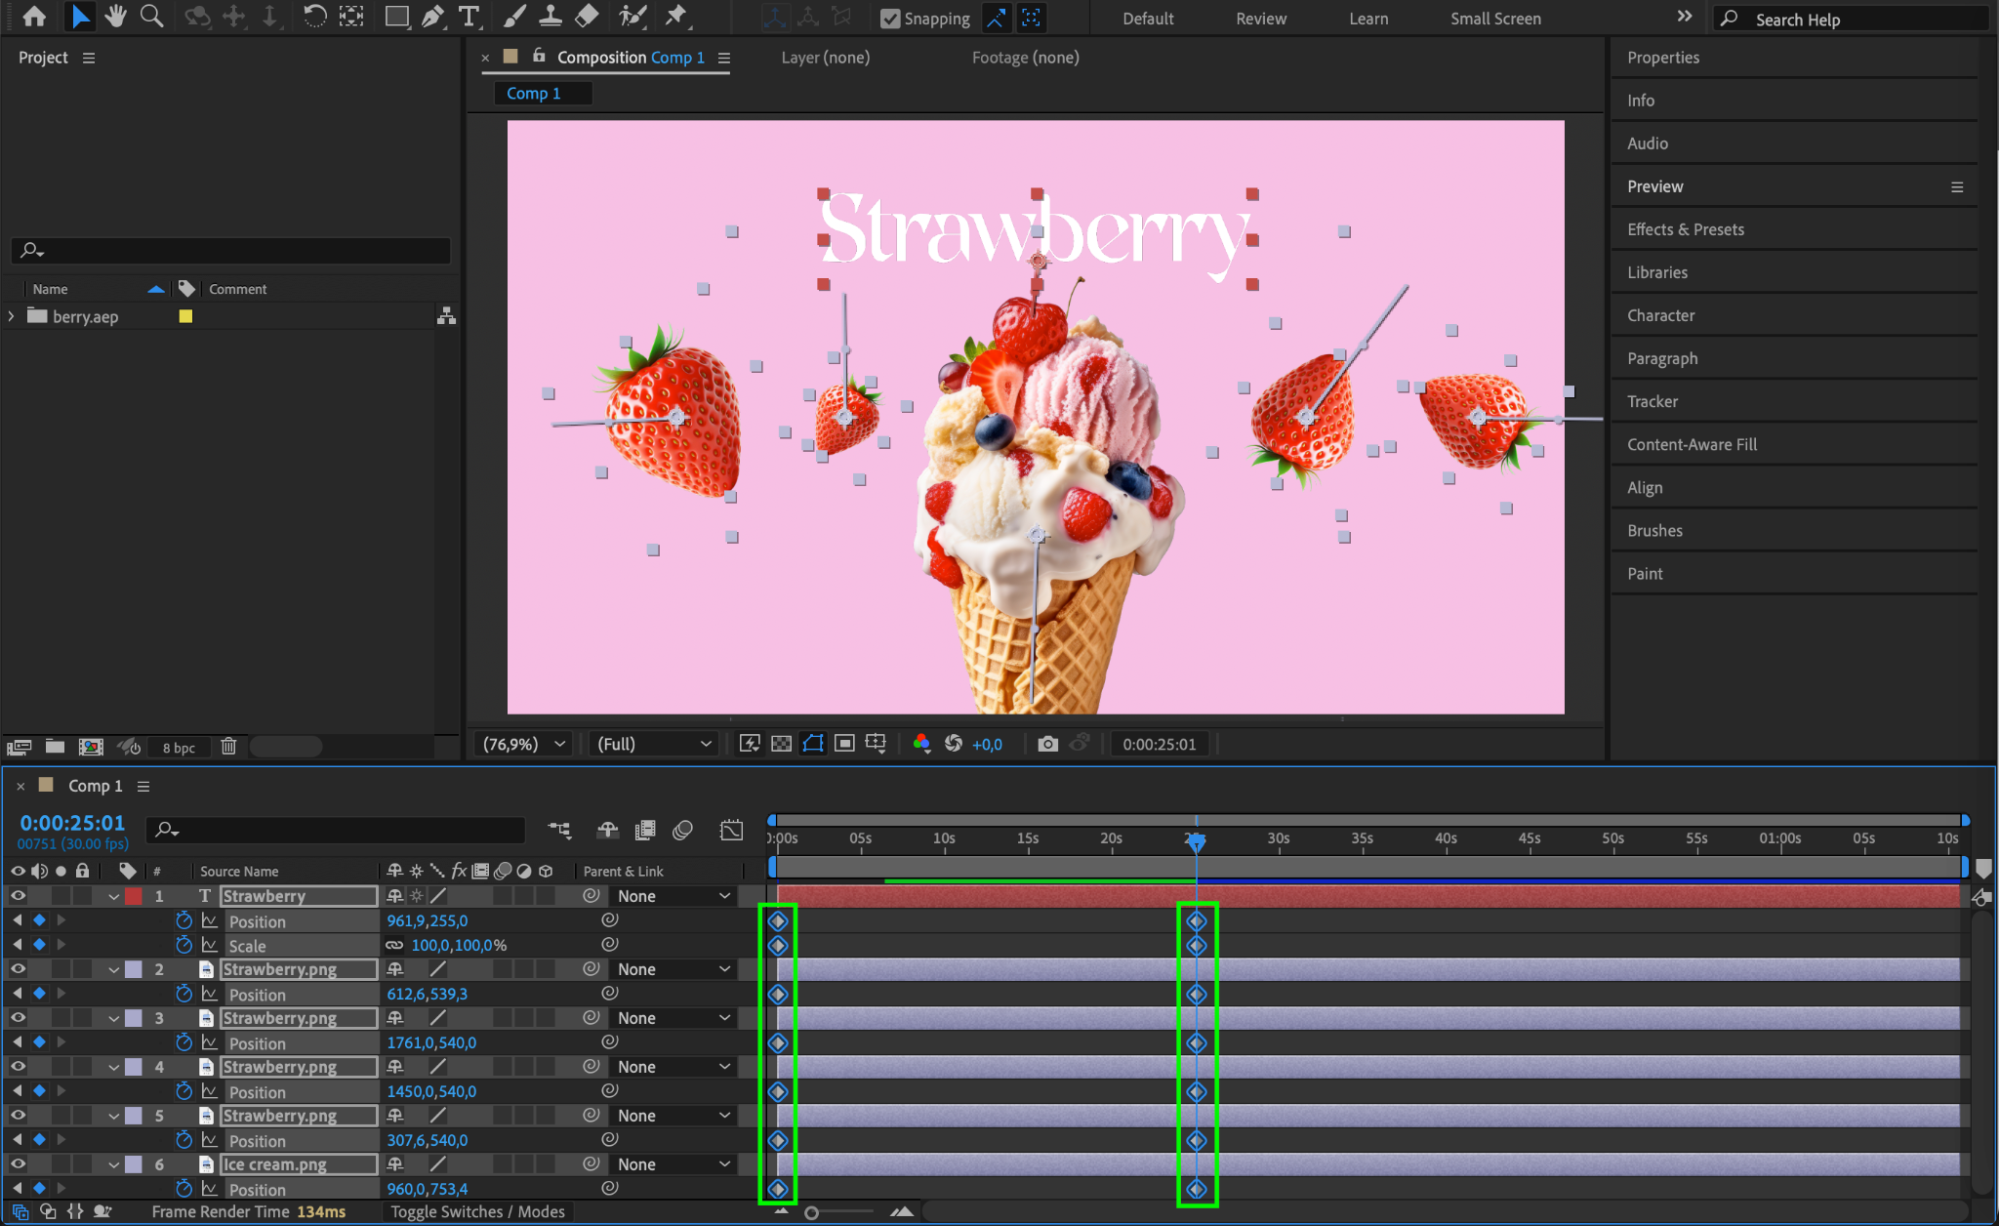
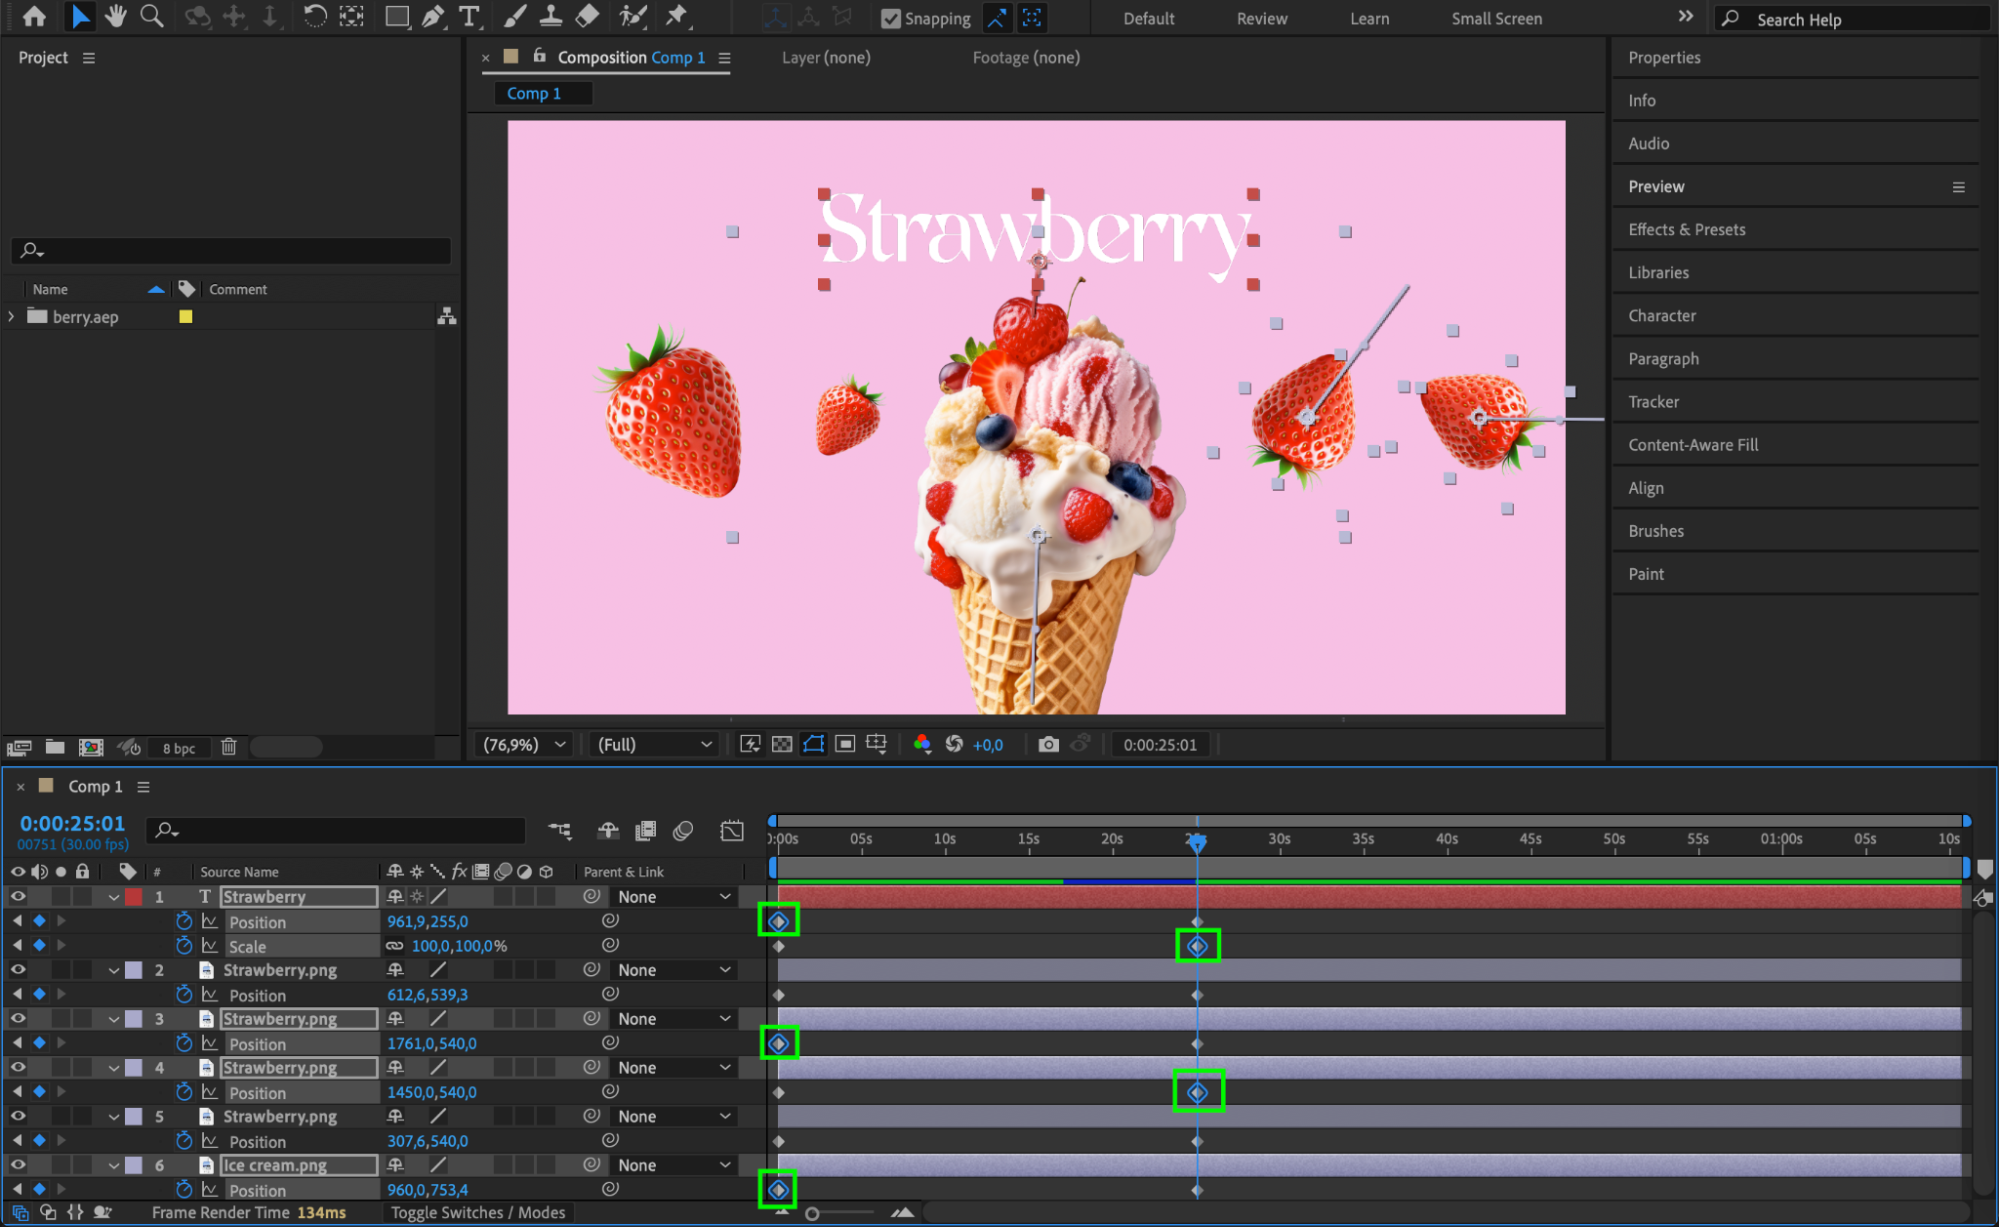 Step 3: Align Keyframes to a Specific Time
To align keyframes to a specific moment, drag them left or right while holding Alt (Windows) / Option (Mac) to snap them to the playhead (Current Time Indicator). This ensures all selected keyframes occur at the exact same time, making animations more precise.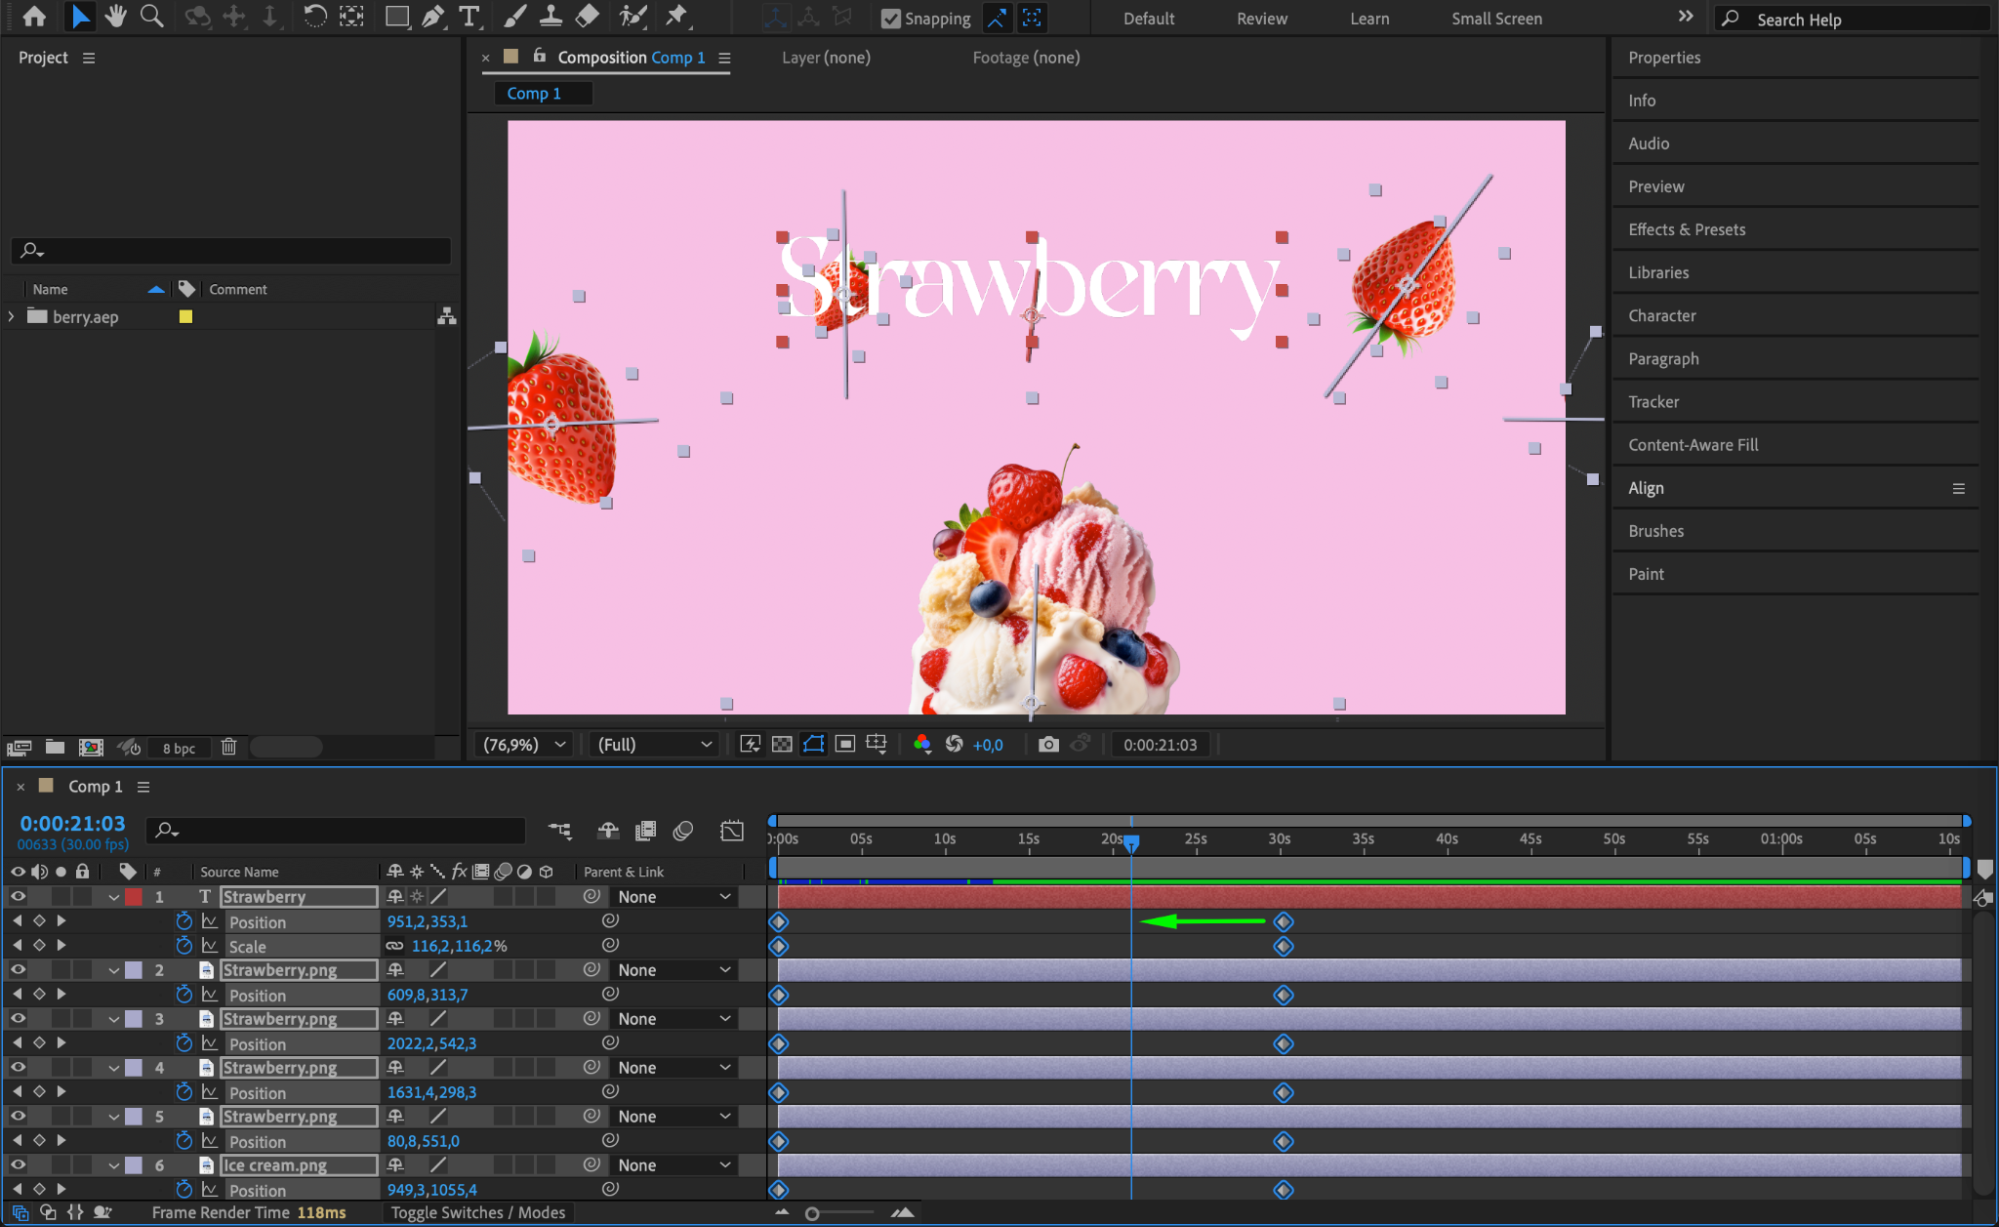
 Step 4: Apply Easy Ease for Smoother Motion
To make animations smoother and more natural, apply Easy Ease to keyframes. Right-click on the selected keyframes, go to Keyframe Assistant, and choose Easy Ease. This helps create smoother acceleration and deceleration in motion.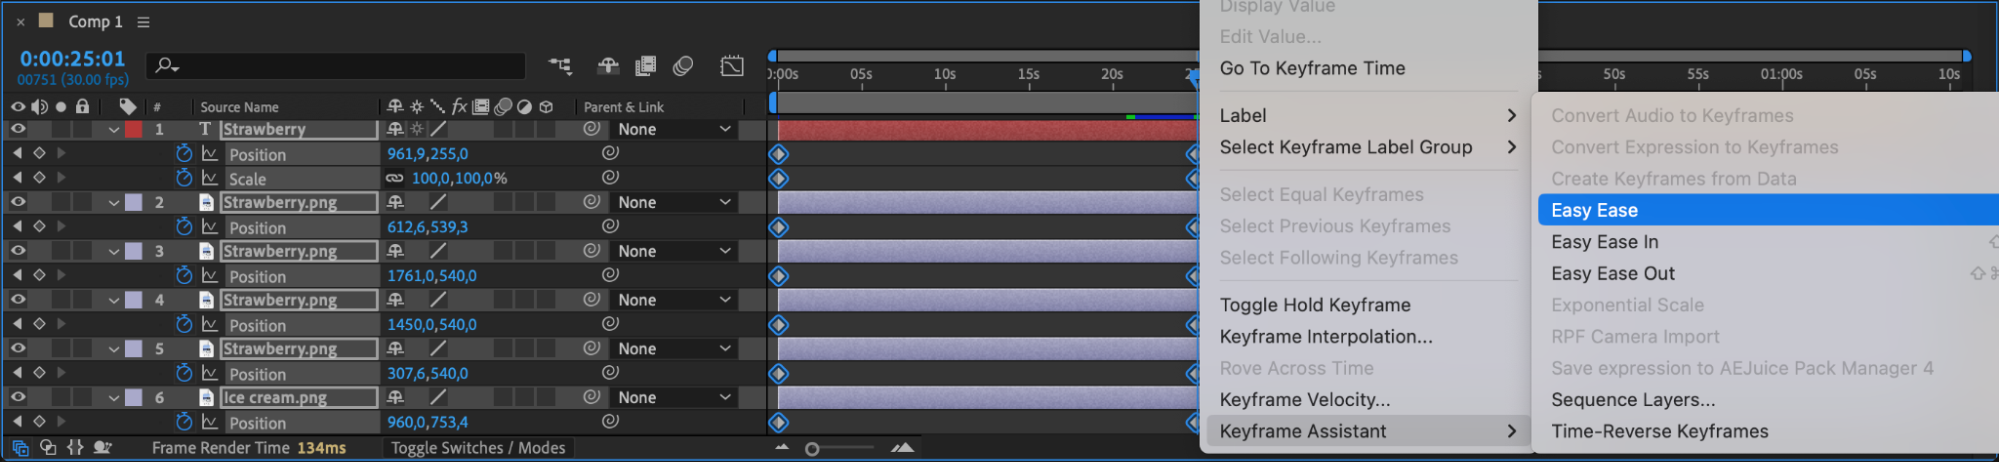 Step 5: Use the Graph Editor for Precise Adjustments
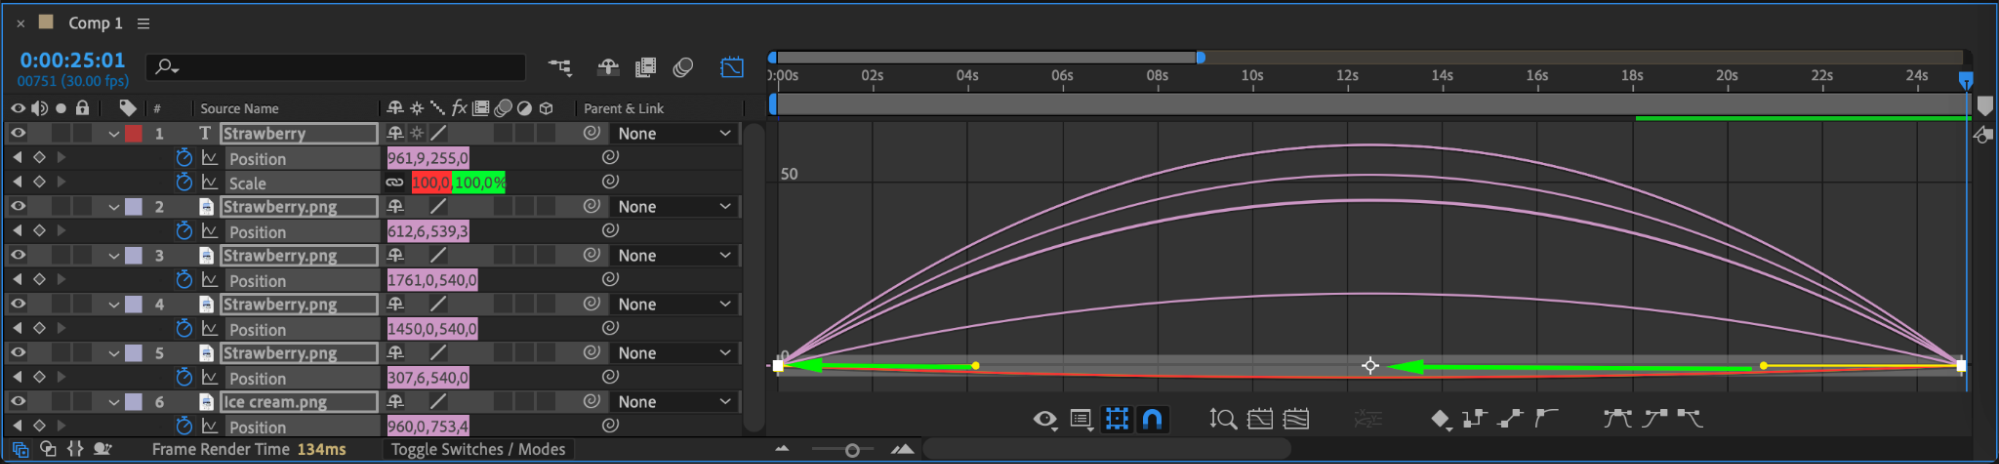
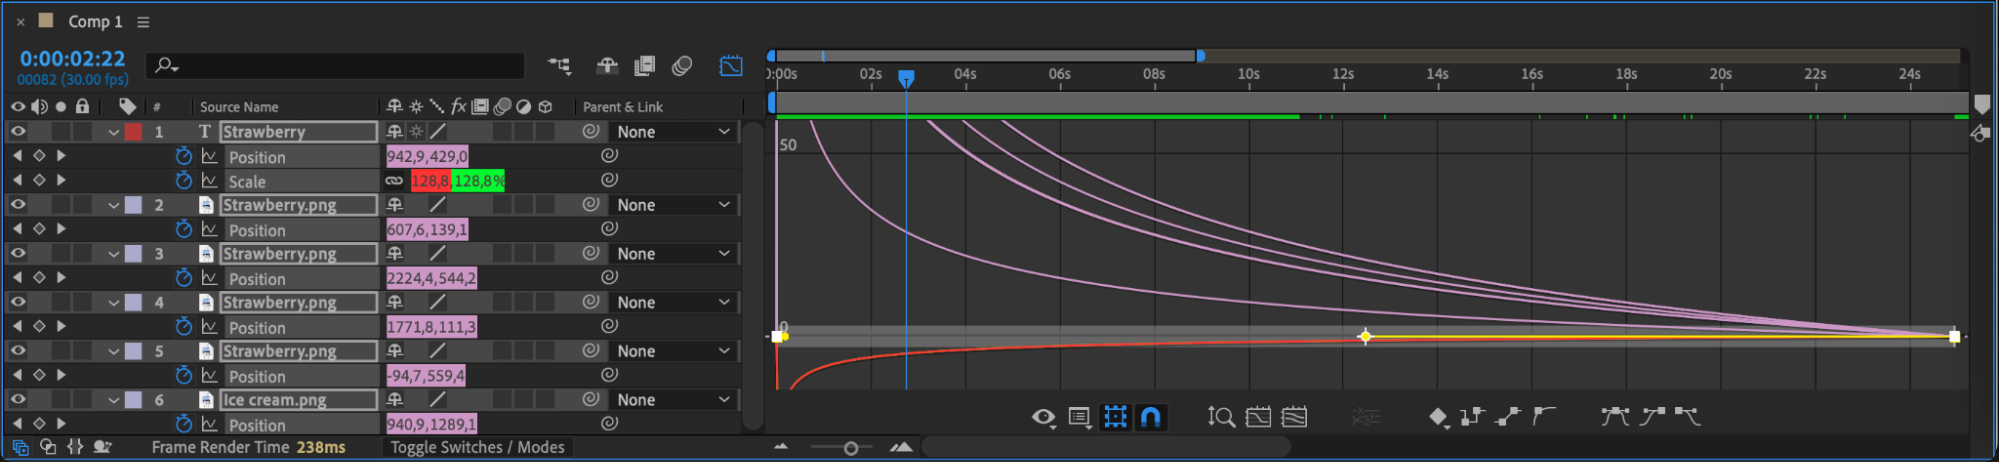
For more control over speed and motion, open the Graph Editor by clicking the graph icon in the Timeline panel. Adjust the keyframe handles to refine easing and timing, ensuring fluid movement between keyframes. You can modify the speed graph to create dynamic acceleration and deceleration effects.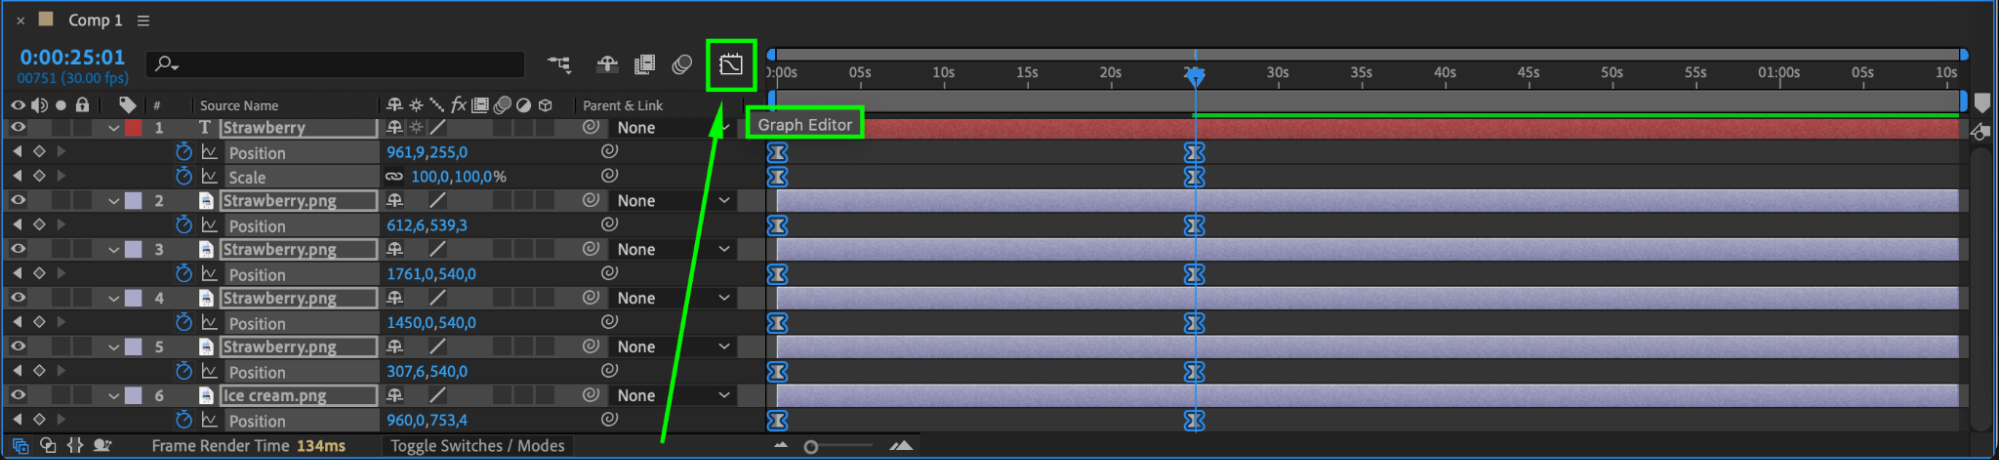
 Step 6: Preview the Animation
Press Spacebar to preview your animation in real-time. Observe the motion to ensure keyframes are aligned correctly. If necessary, tweak their positions or easing settings for a more natural effect.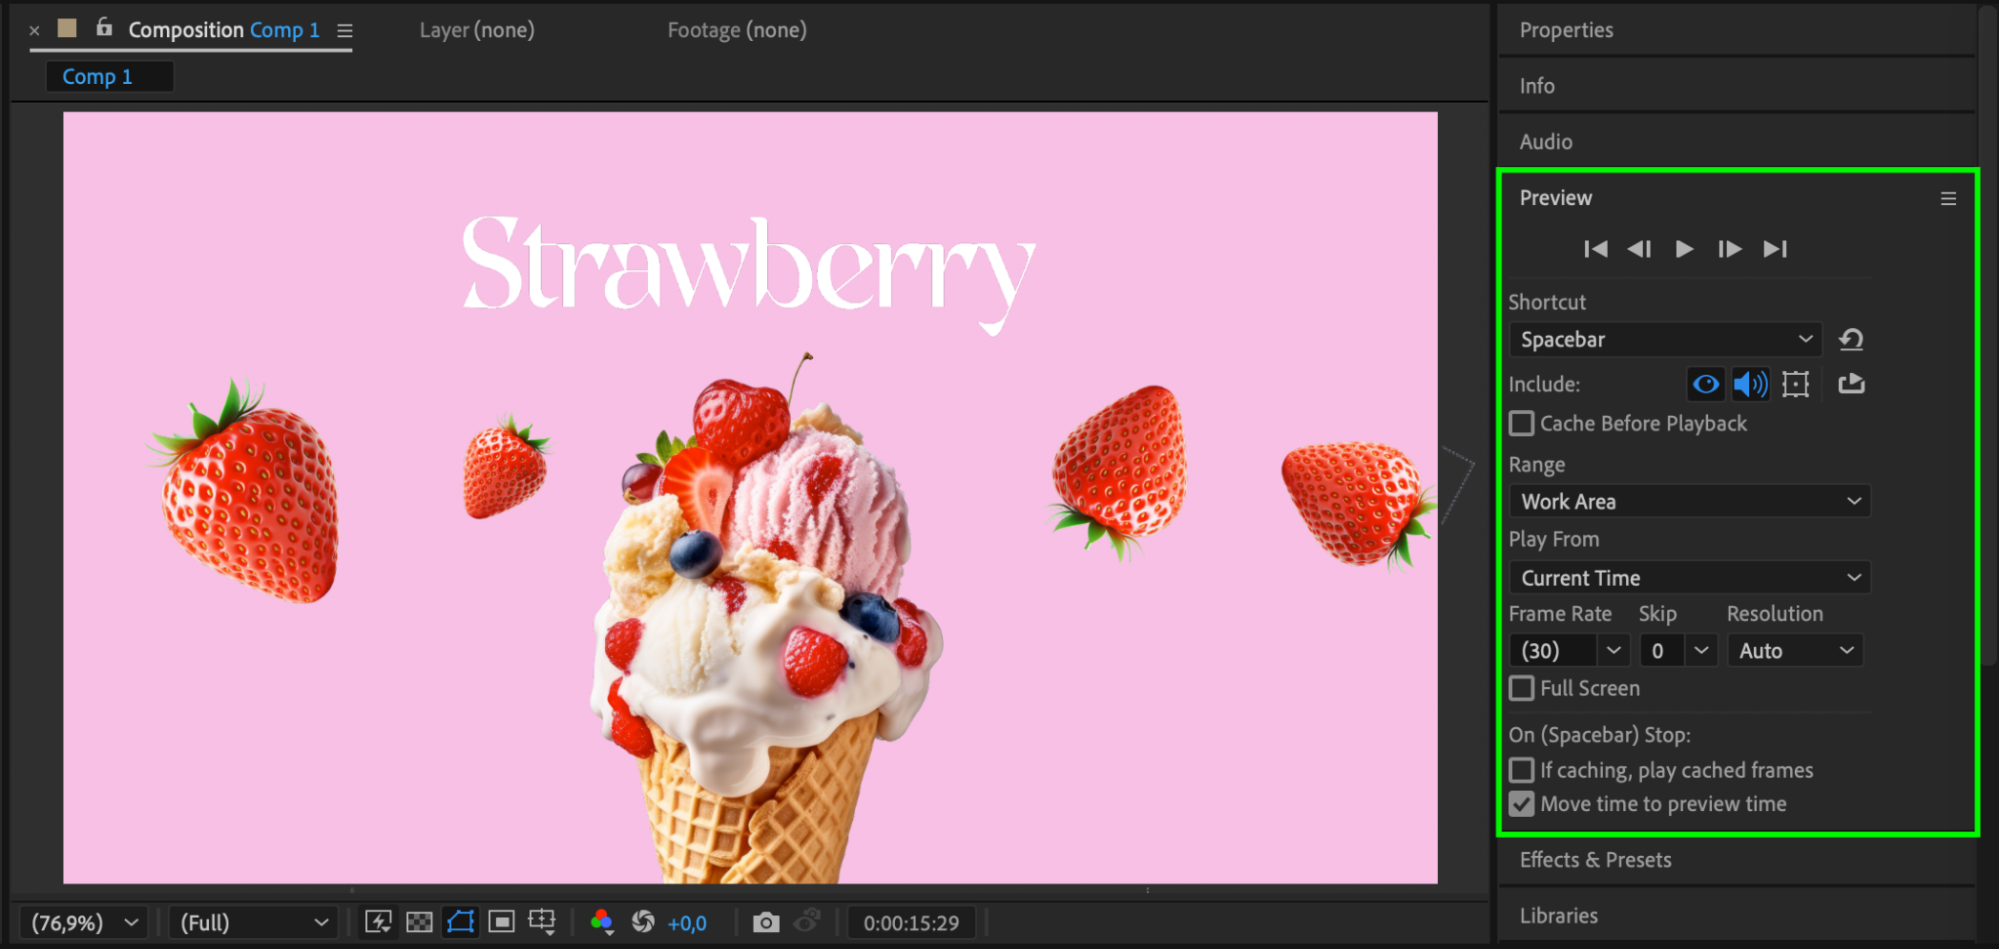 Step 7: Render the Final Animation
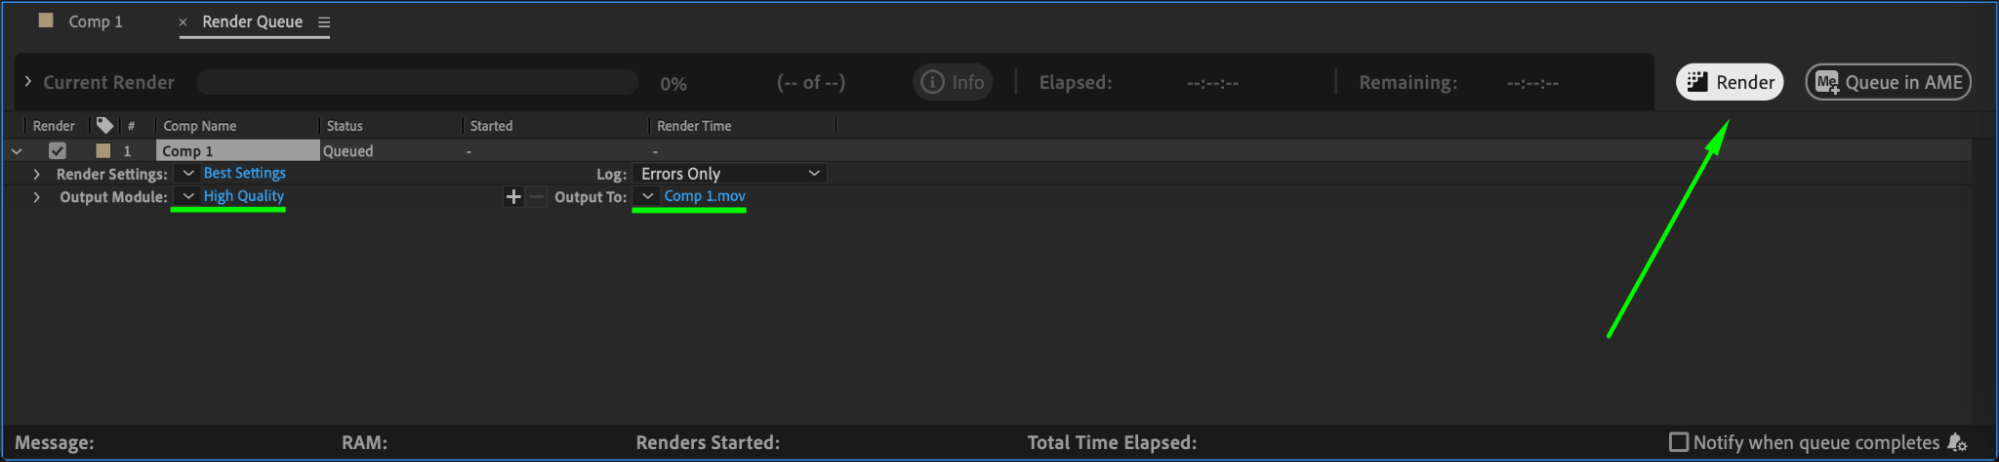
Once satisfied with the alignment, go to Composition > Add to Render Queue, choose your export settings, and render the final animation. Proper rendering ensures your animation maintains smooth playback across different platforms.
 Conclusion
Properly aligning keyframes in After Effects is crucial for creating smooth and professional animations. Whether synchronizing movement with other elements, applying easing for a natural flow, or fine-tuning motion in the Graph Editor, mastering these techniques will significantly improve the quality of your motion graphics.
Our Bestsellers


