Animating a Book Opening in After Effects
Introduction
Animating a book opening in After Effects is useful for creating storybook intros, magazine previews, or digital comic effects. By using 3D layers, anchor point adjustments, and null objects, you can achieve a smooth and realistic flipping animation. This guide will walk you through step-by-step instructions to animate a book opening dynamically.
Get 10% off when you subscribe to our newsletter

Step 1: Create a Vertical Composition for Pages
Go to Composition > New Composition and create a vertical composition with Width: 1080px, Height: 1500px. Name this composition “Front Page” – this will serve as the cover of the book.
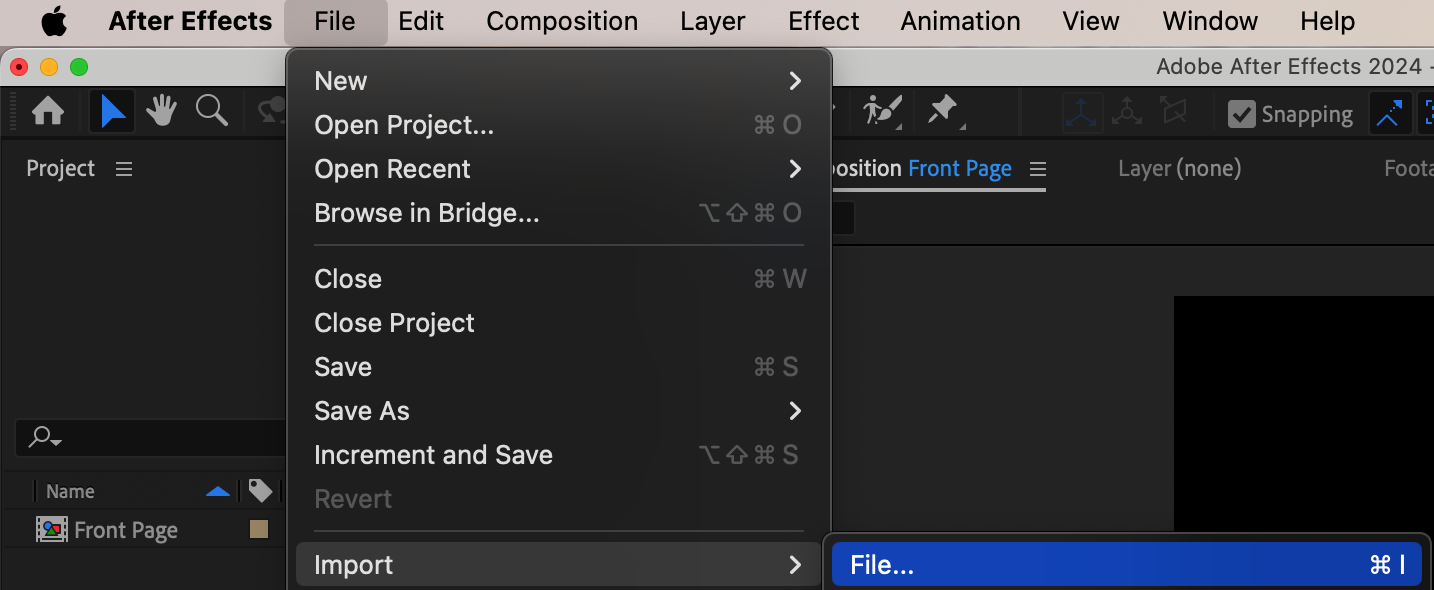
 Step 2: Import Page Images
Import your page images (front cover, page 2, and page 3) into After Effects. These will be used to animate the book opening.
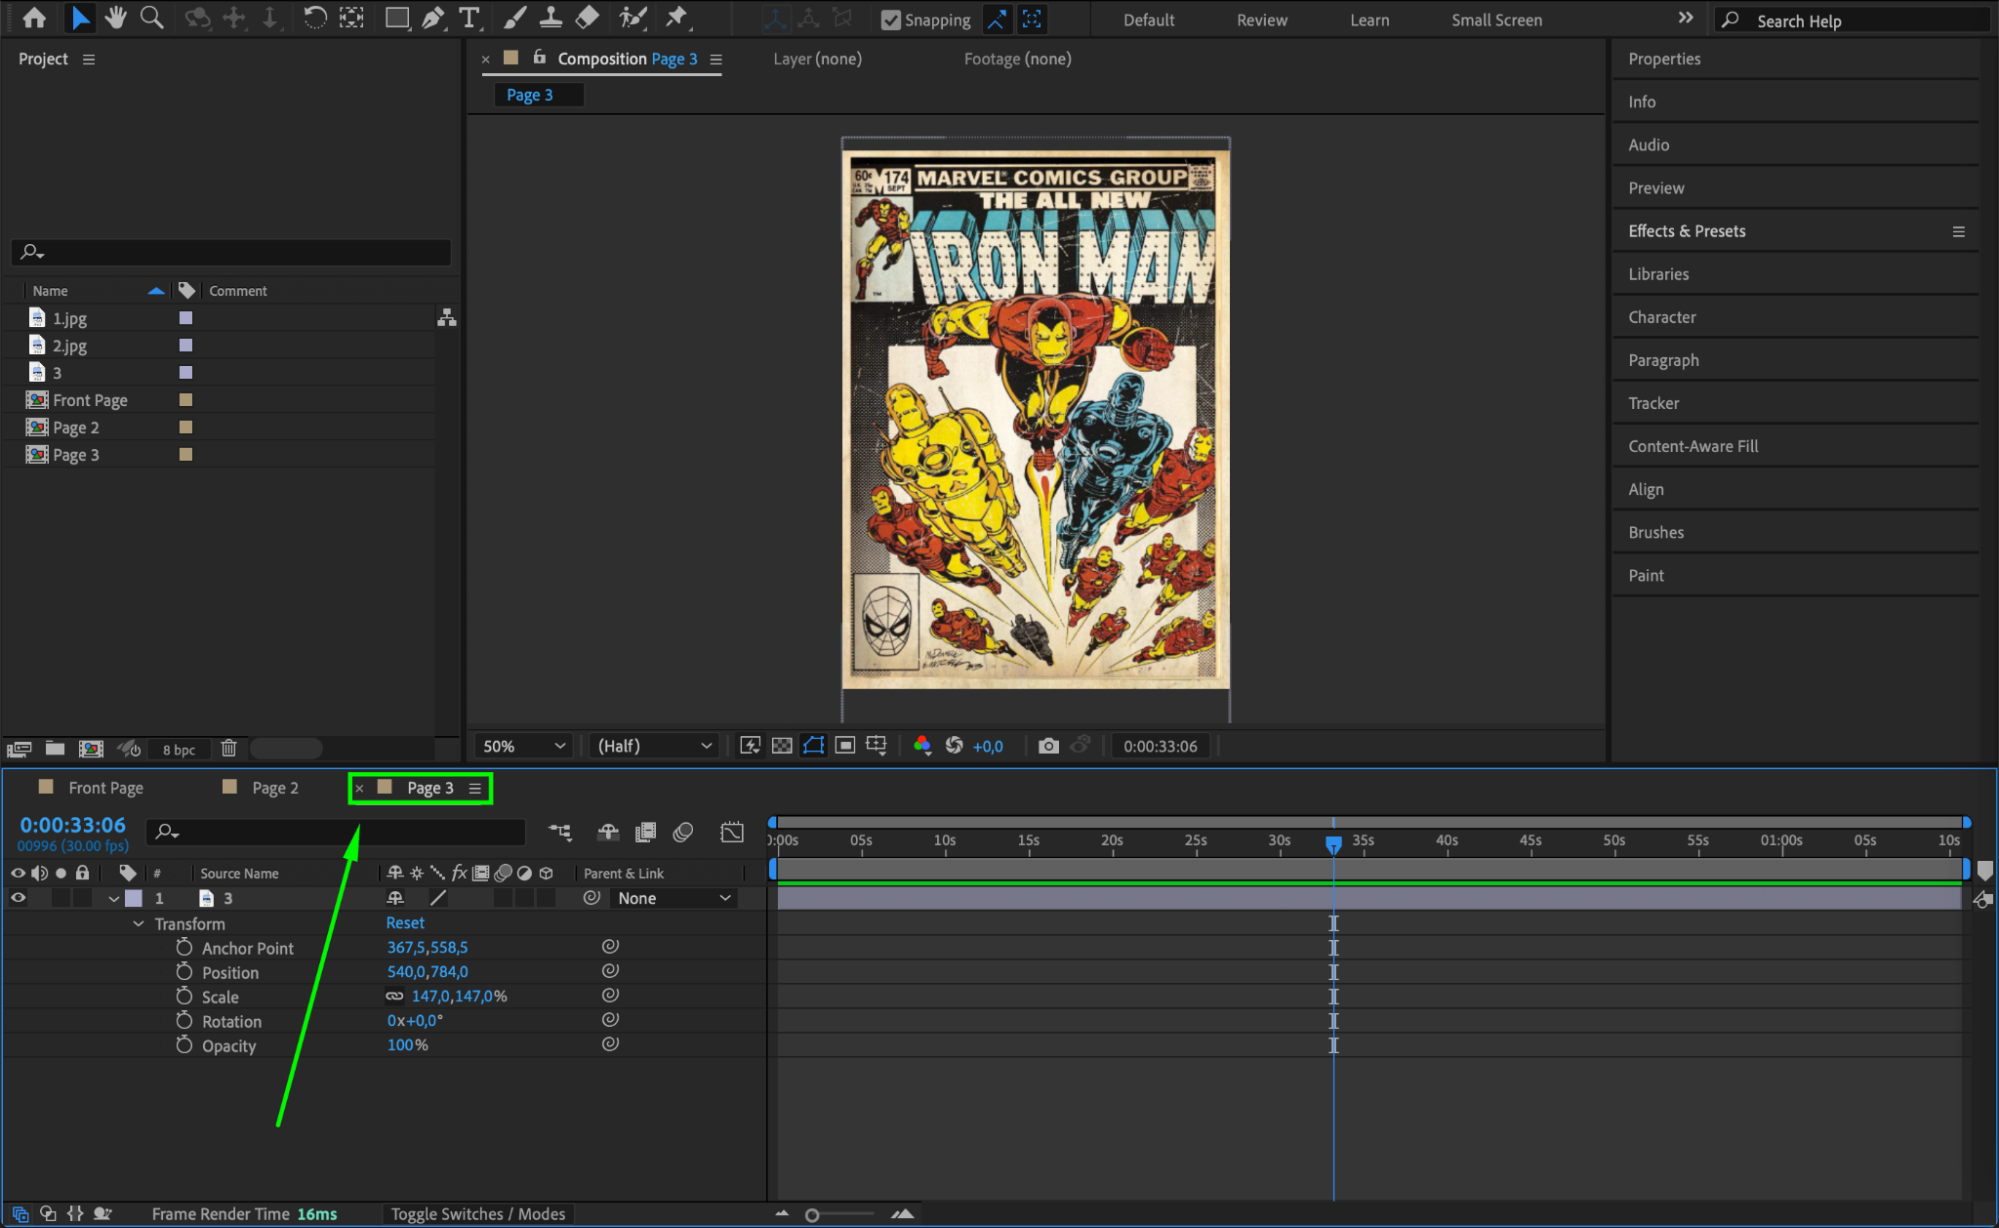
 Step 3: Add the Front Page to the Timeline
Drag the Front Page image onto the timeline of the “Front Page” composition. This will be the first page of your book.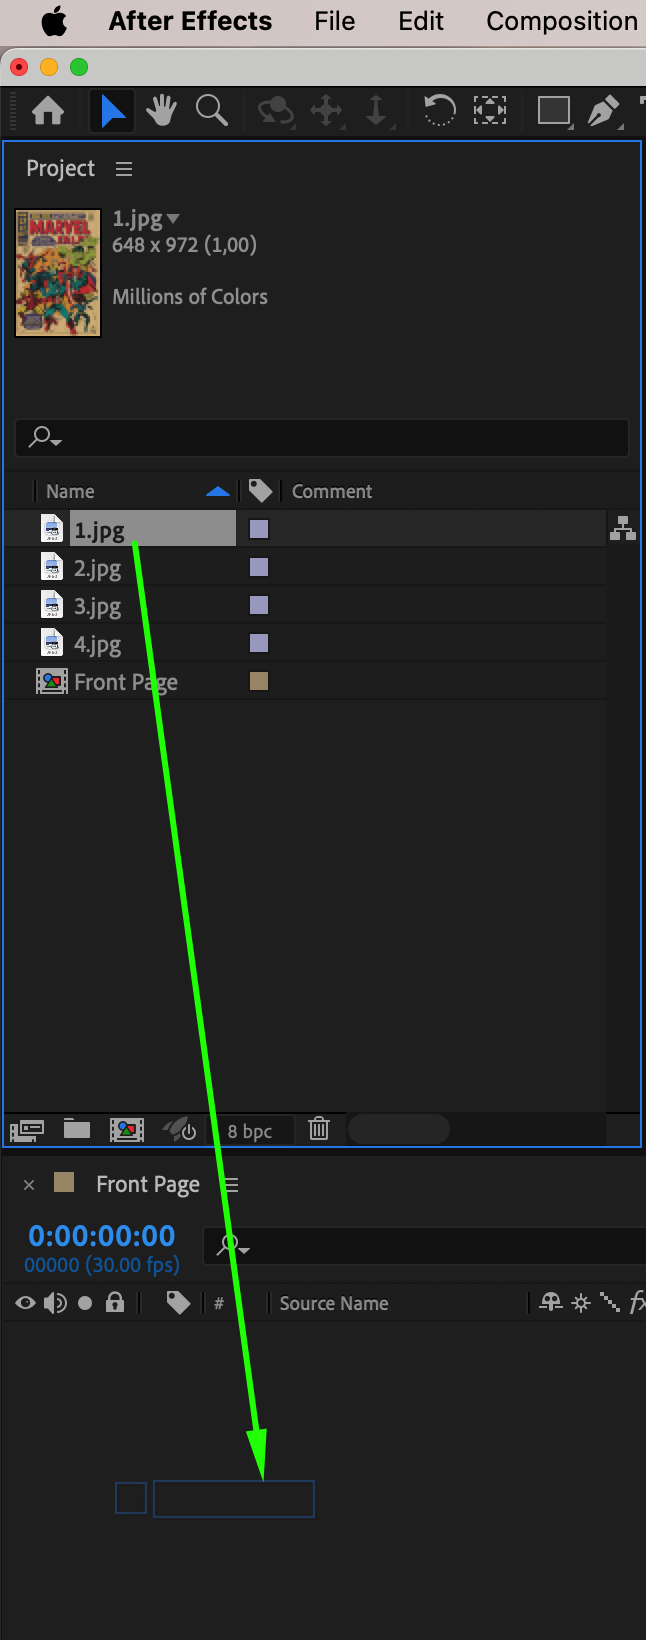 Step 4: Adjust Scale and Position
Resize and position the image to fit the composition properly. Ensure that the front page is aligned well and fills the space correctly.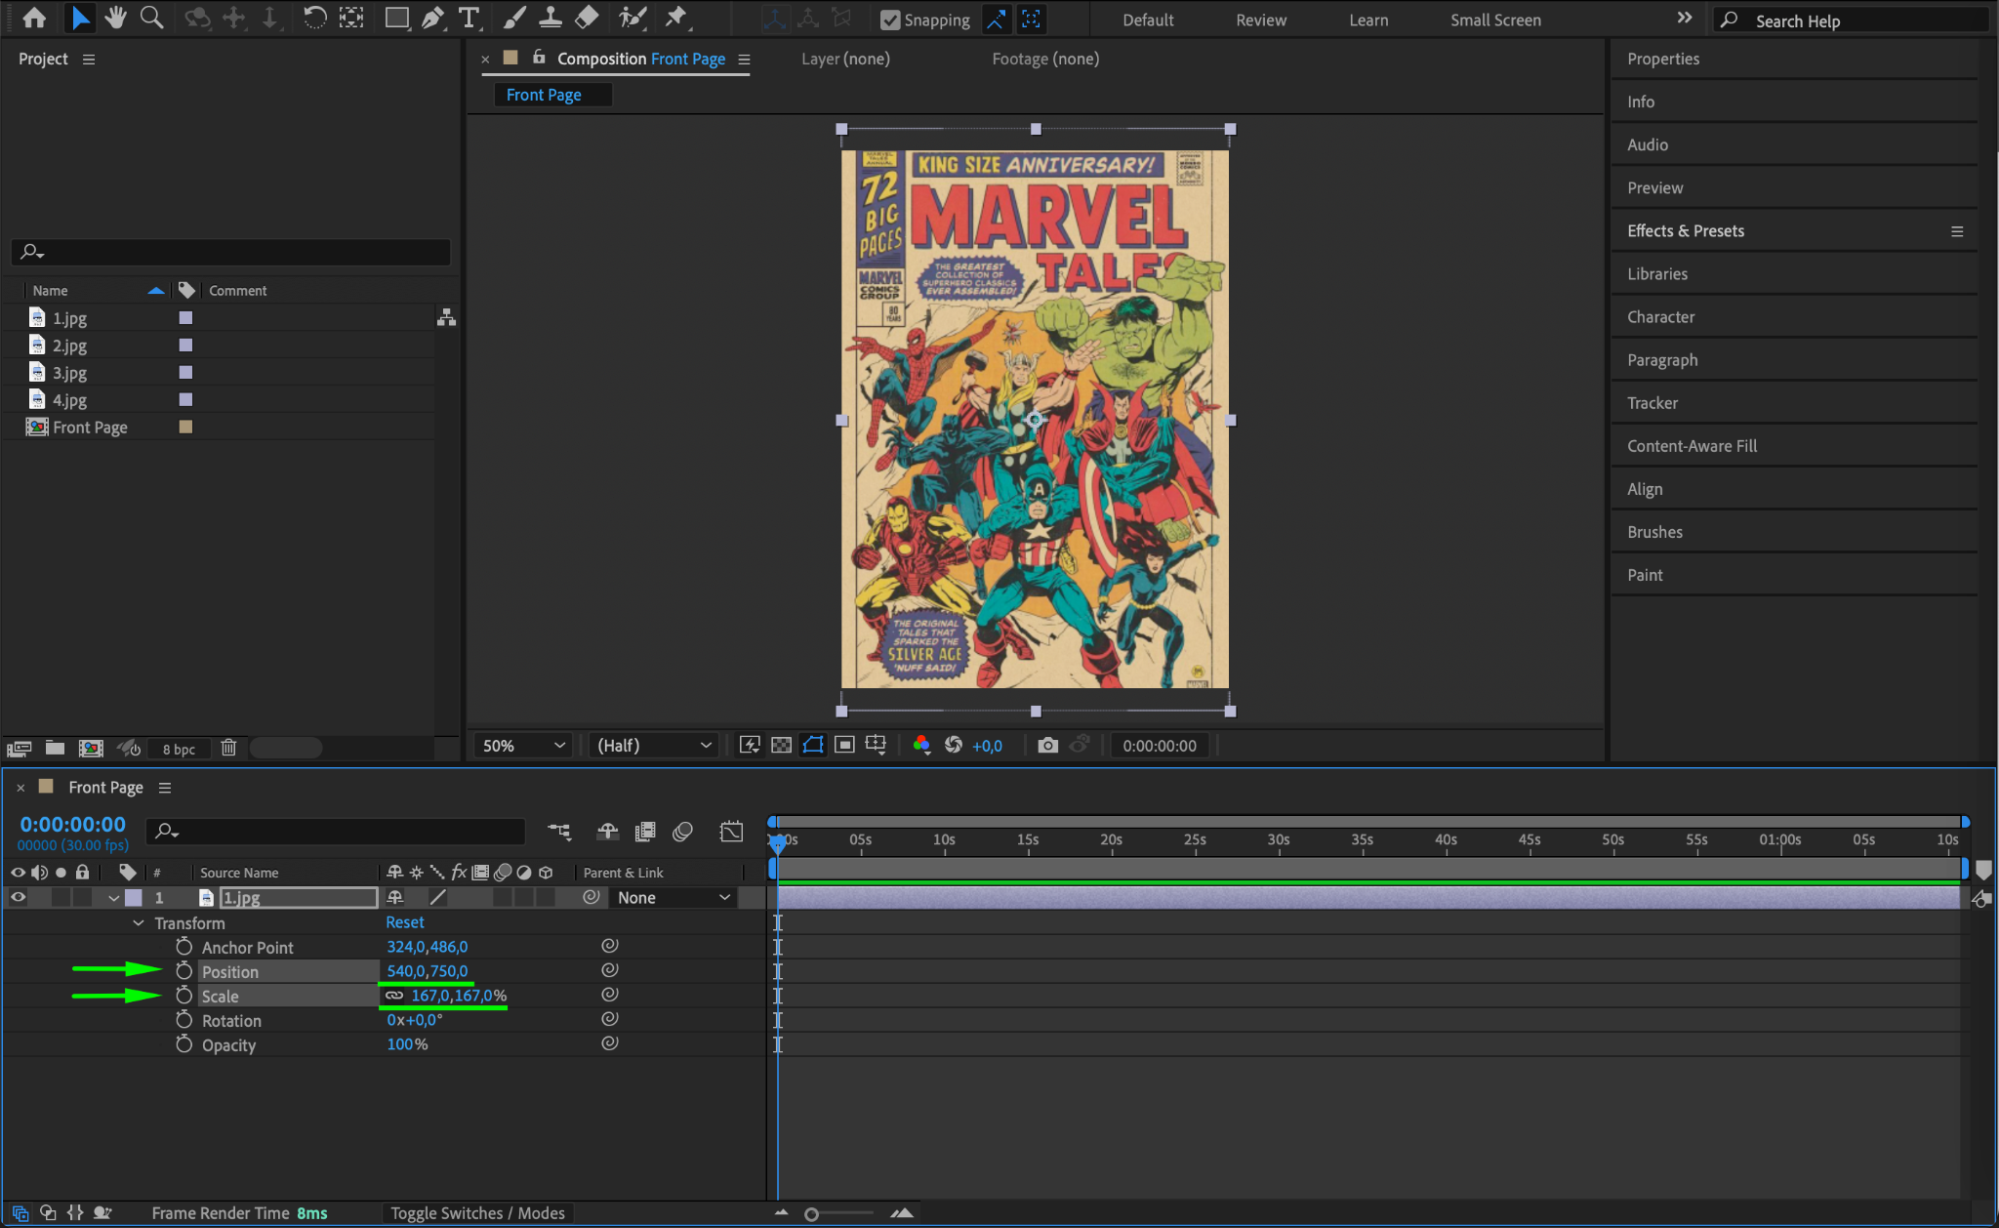
Step 5: Create Additional Page Compositions
Repeat the process for Page 2 and Page 3:
Create two new compositions: “Page 2” and “Page 3” (same dimensions: 1080×1500).
Drag the respective images into each composition.
Adjust the scale and position if necessary.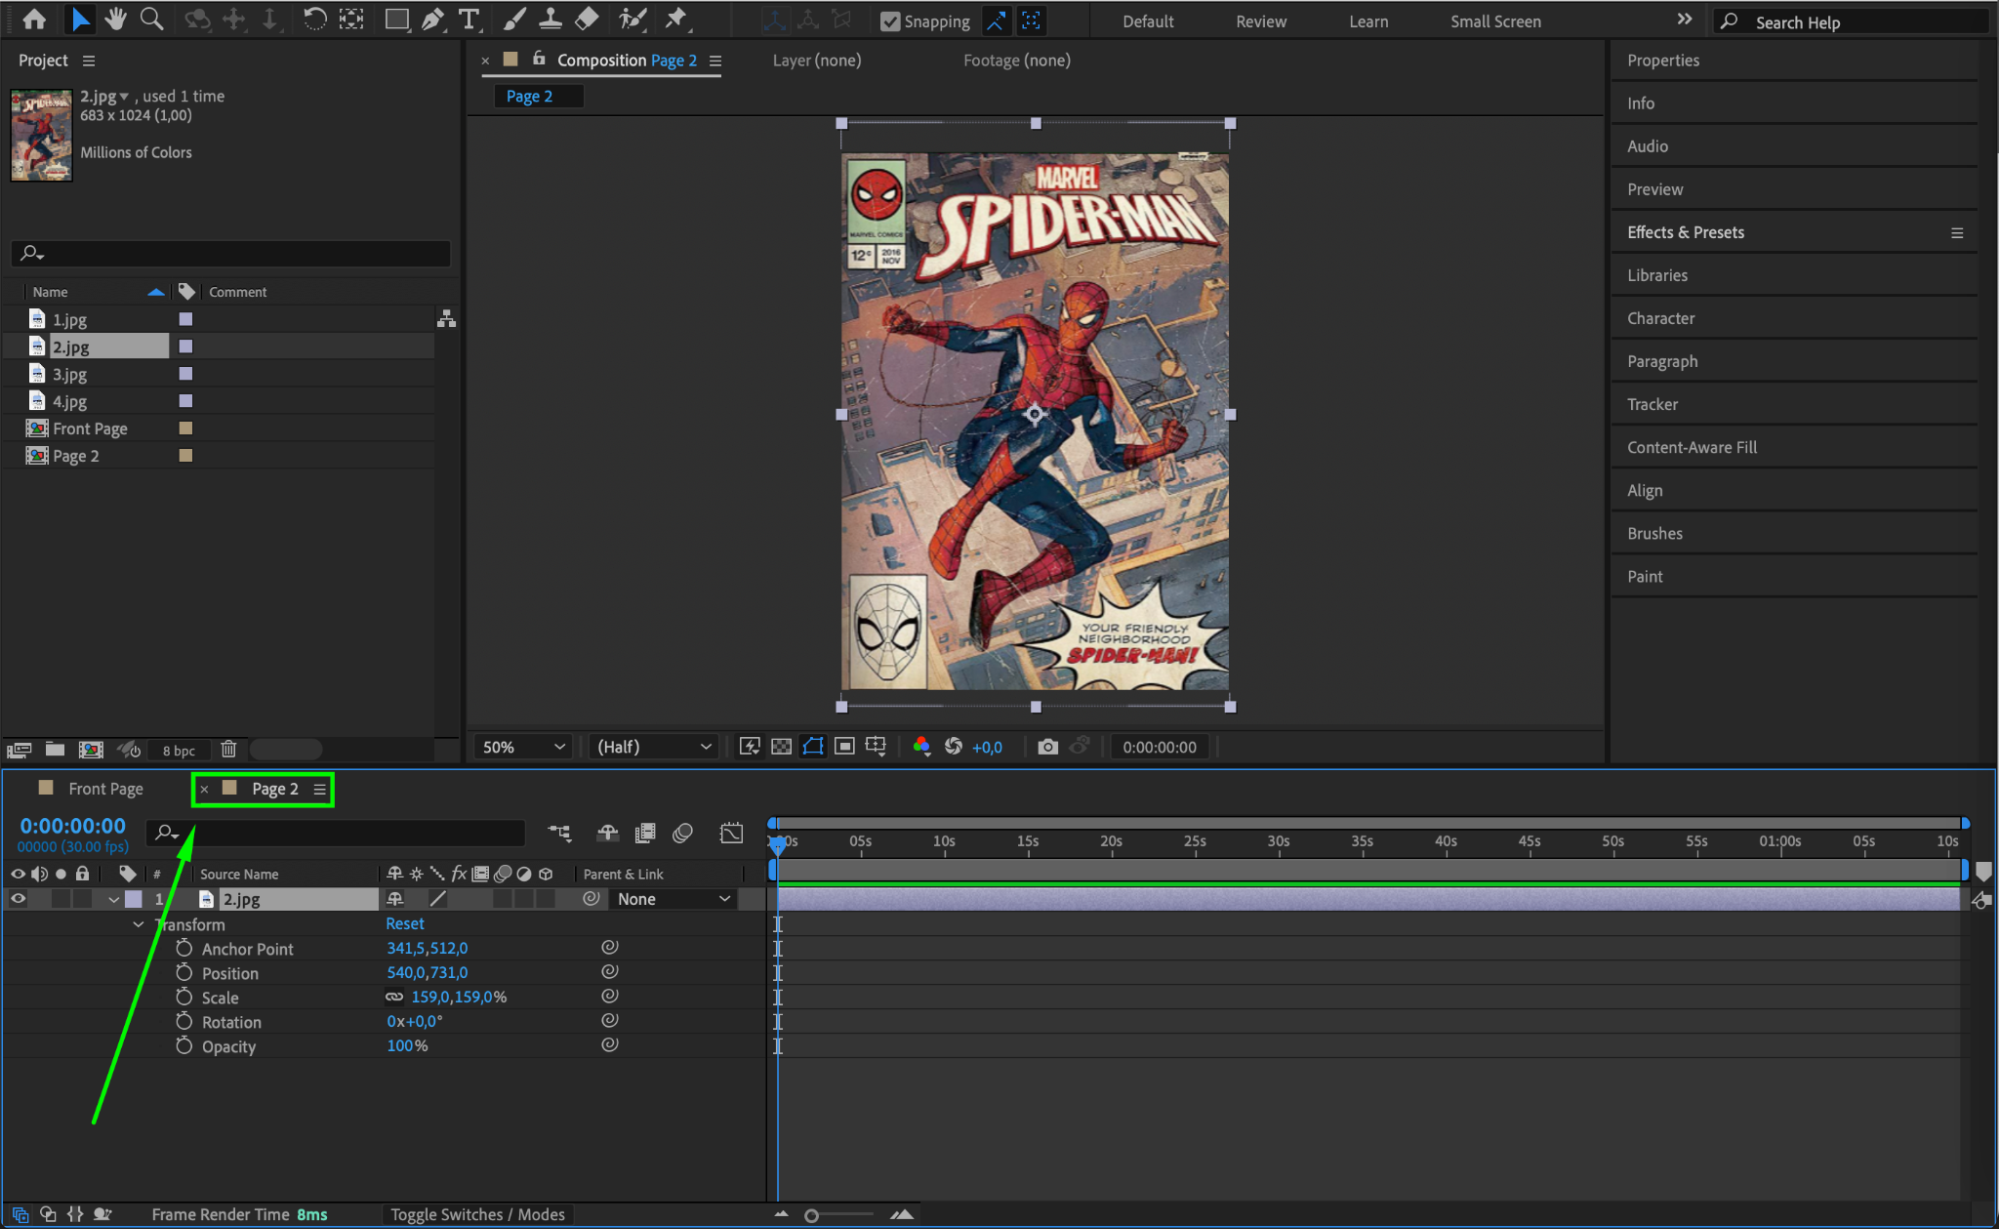
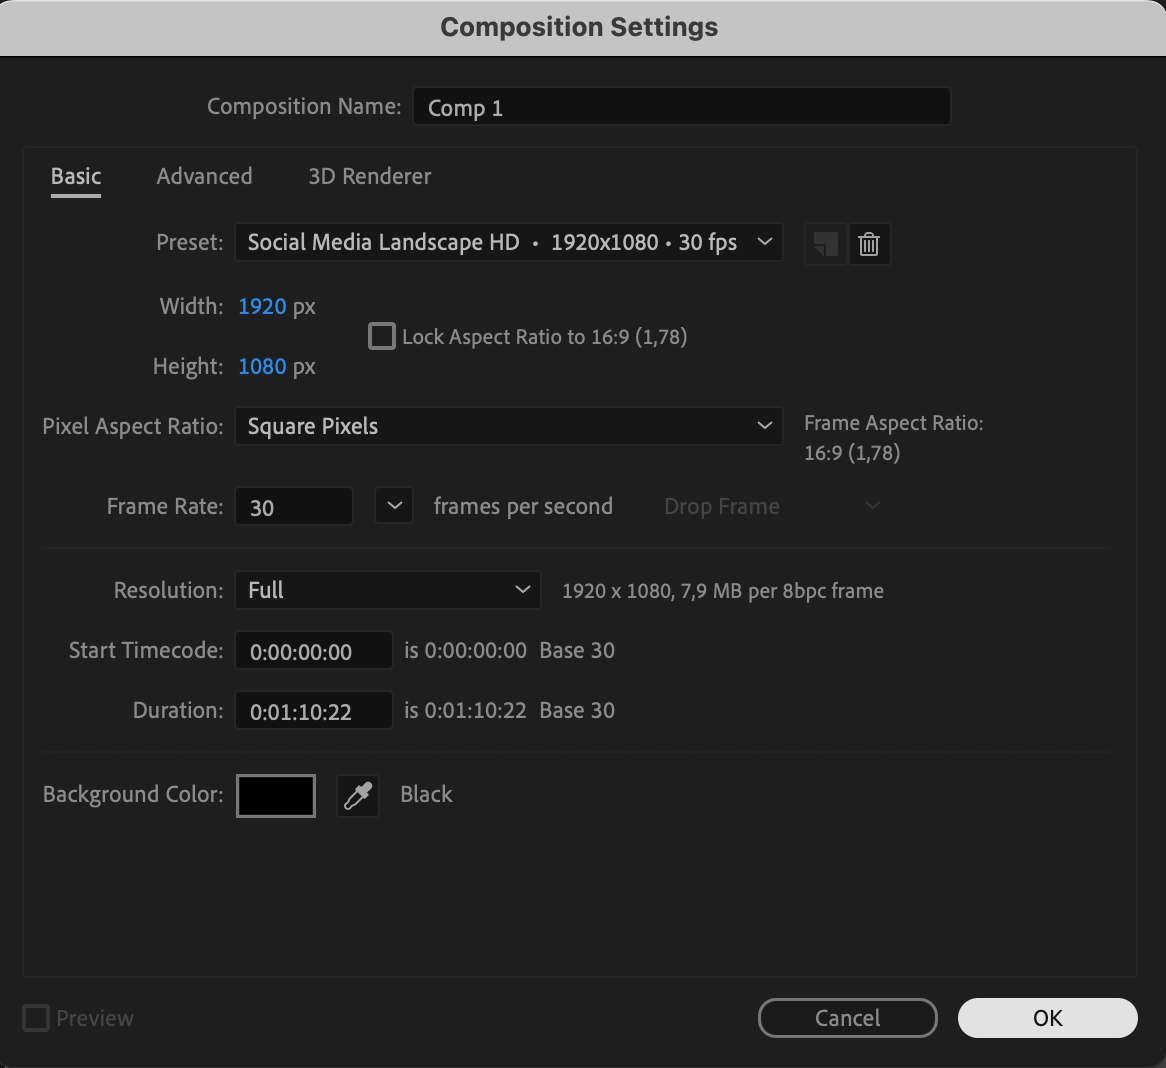
 Step 6: Create the Main Horizontal Composition
Now, create a new composition (1920×1080). This will be the main scene where the book opens. Name it “Comp 1”.
 Step 7: Add Page Compositions to the Timeline
Drag the “Front Page”, “Page 2”, and “Page 3” compositions from the Project Panel onto the timeline of the “Comp 1” composition.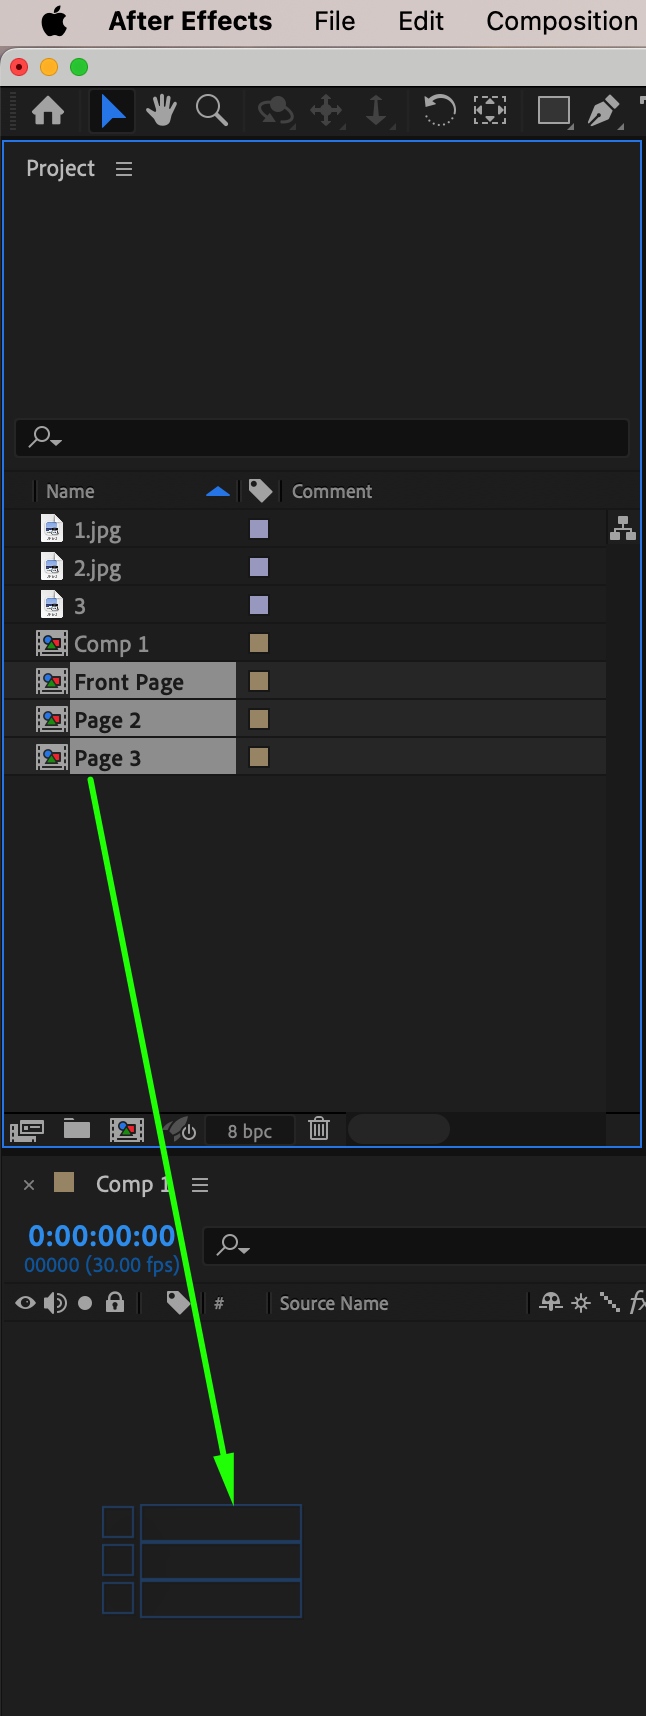 Step 8: Adjust Scale for Consistency
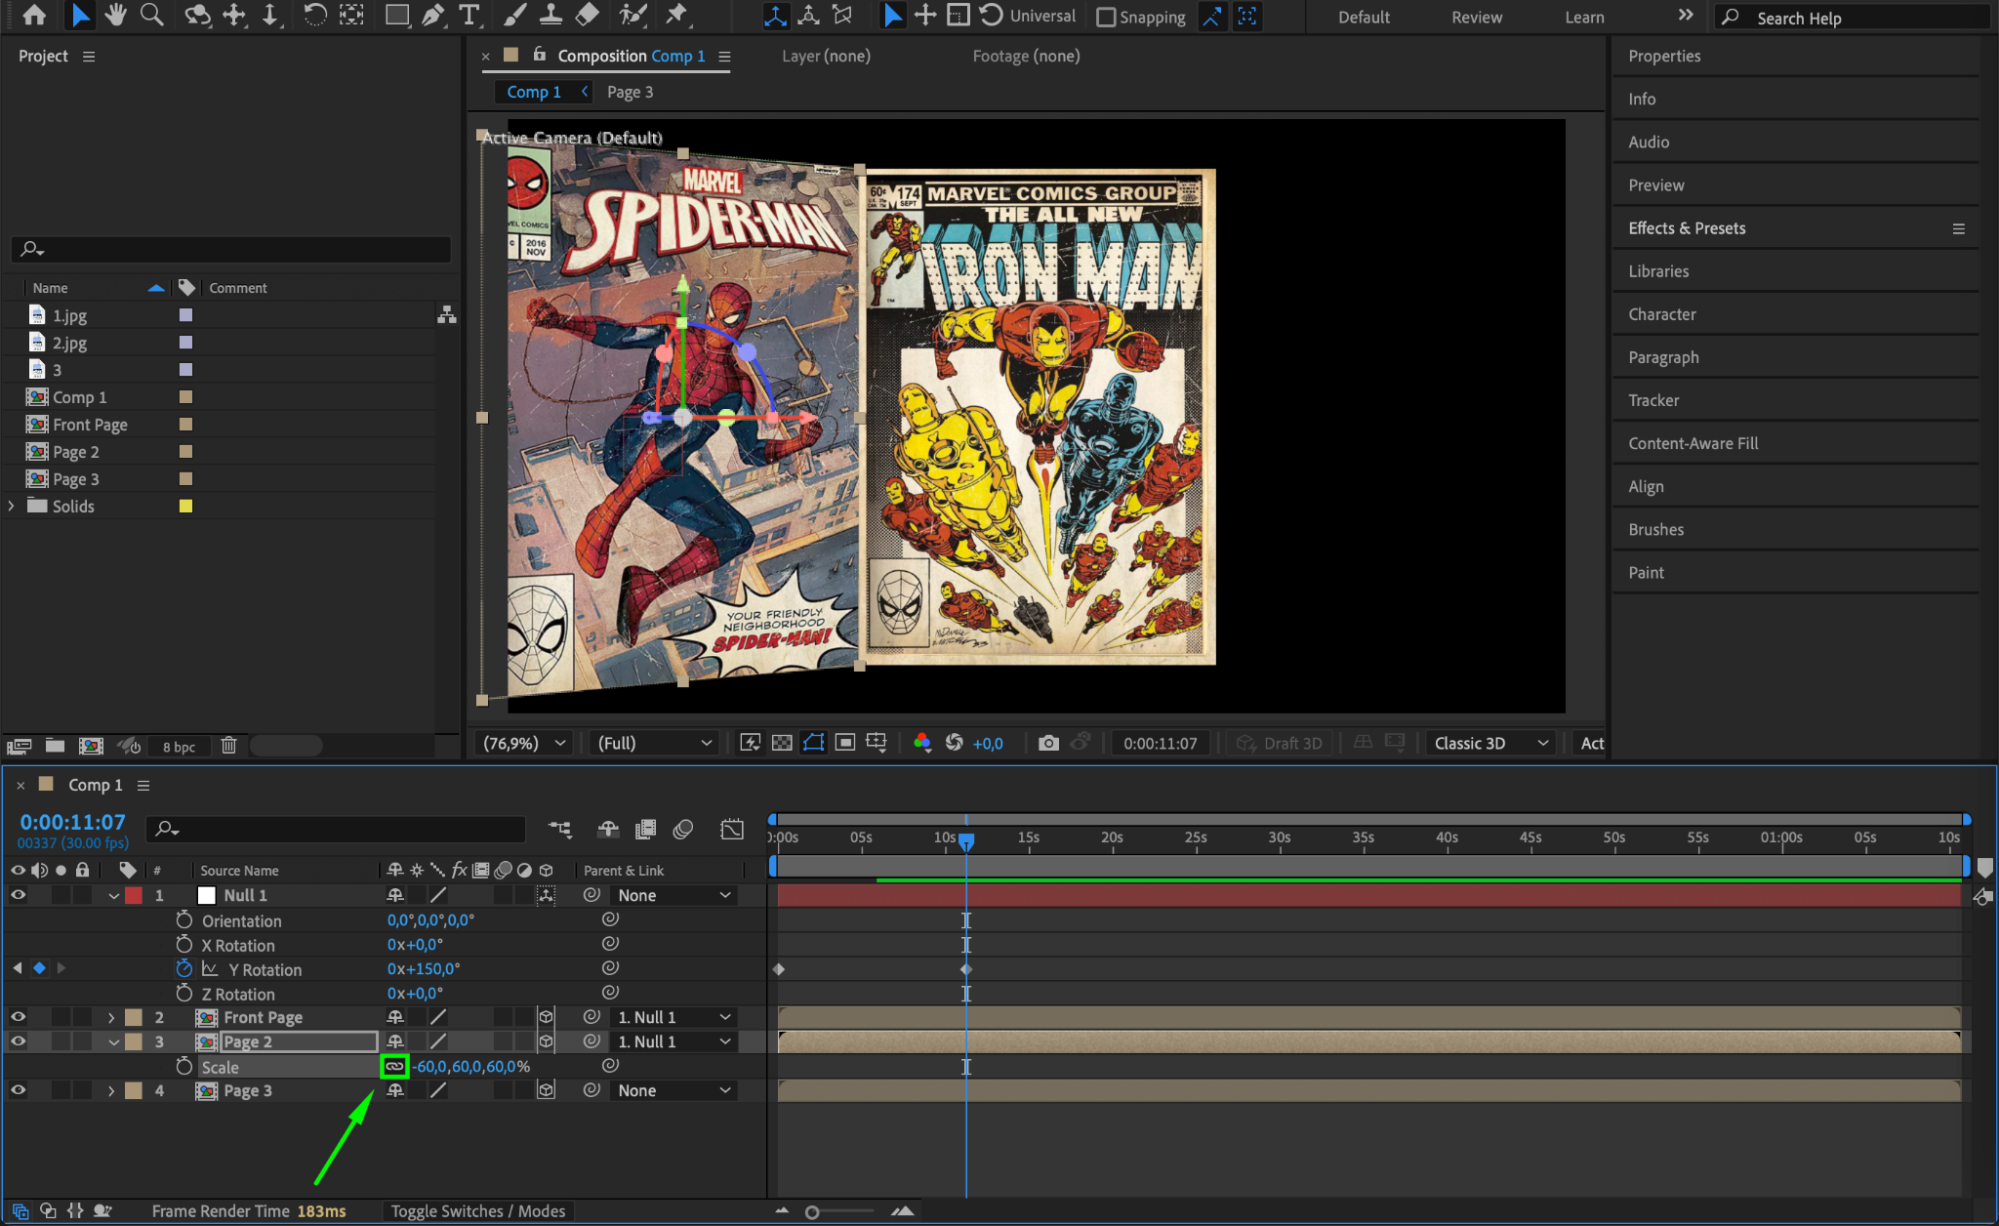
To maintain uniformity, select all page layers and set their scale to 60% (or any preferred size that fits the scene).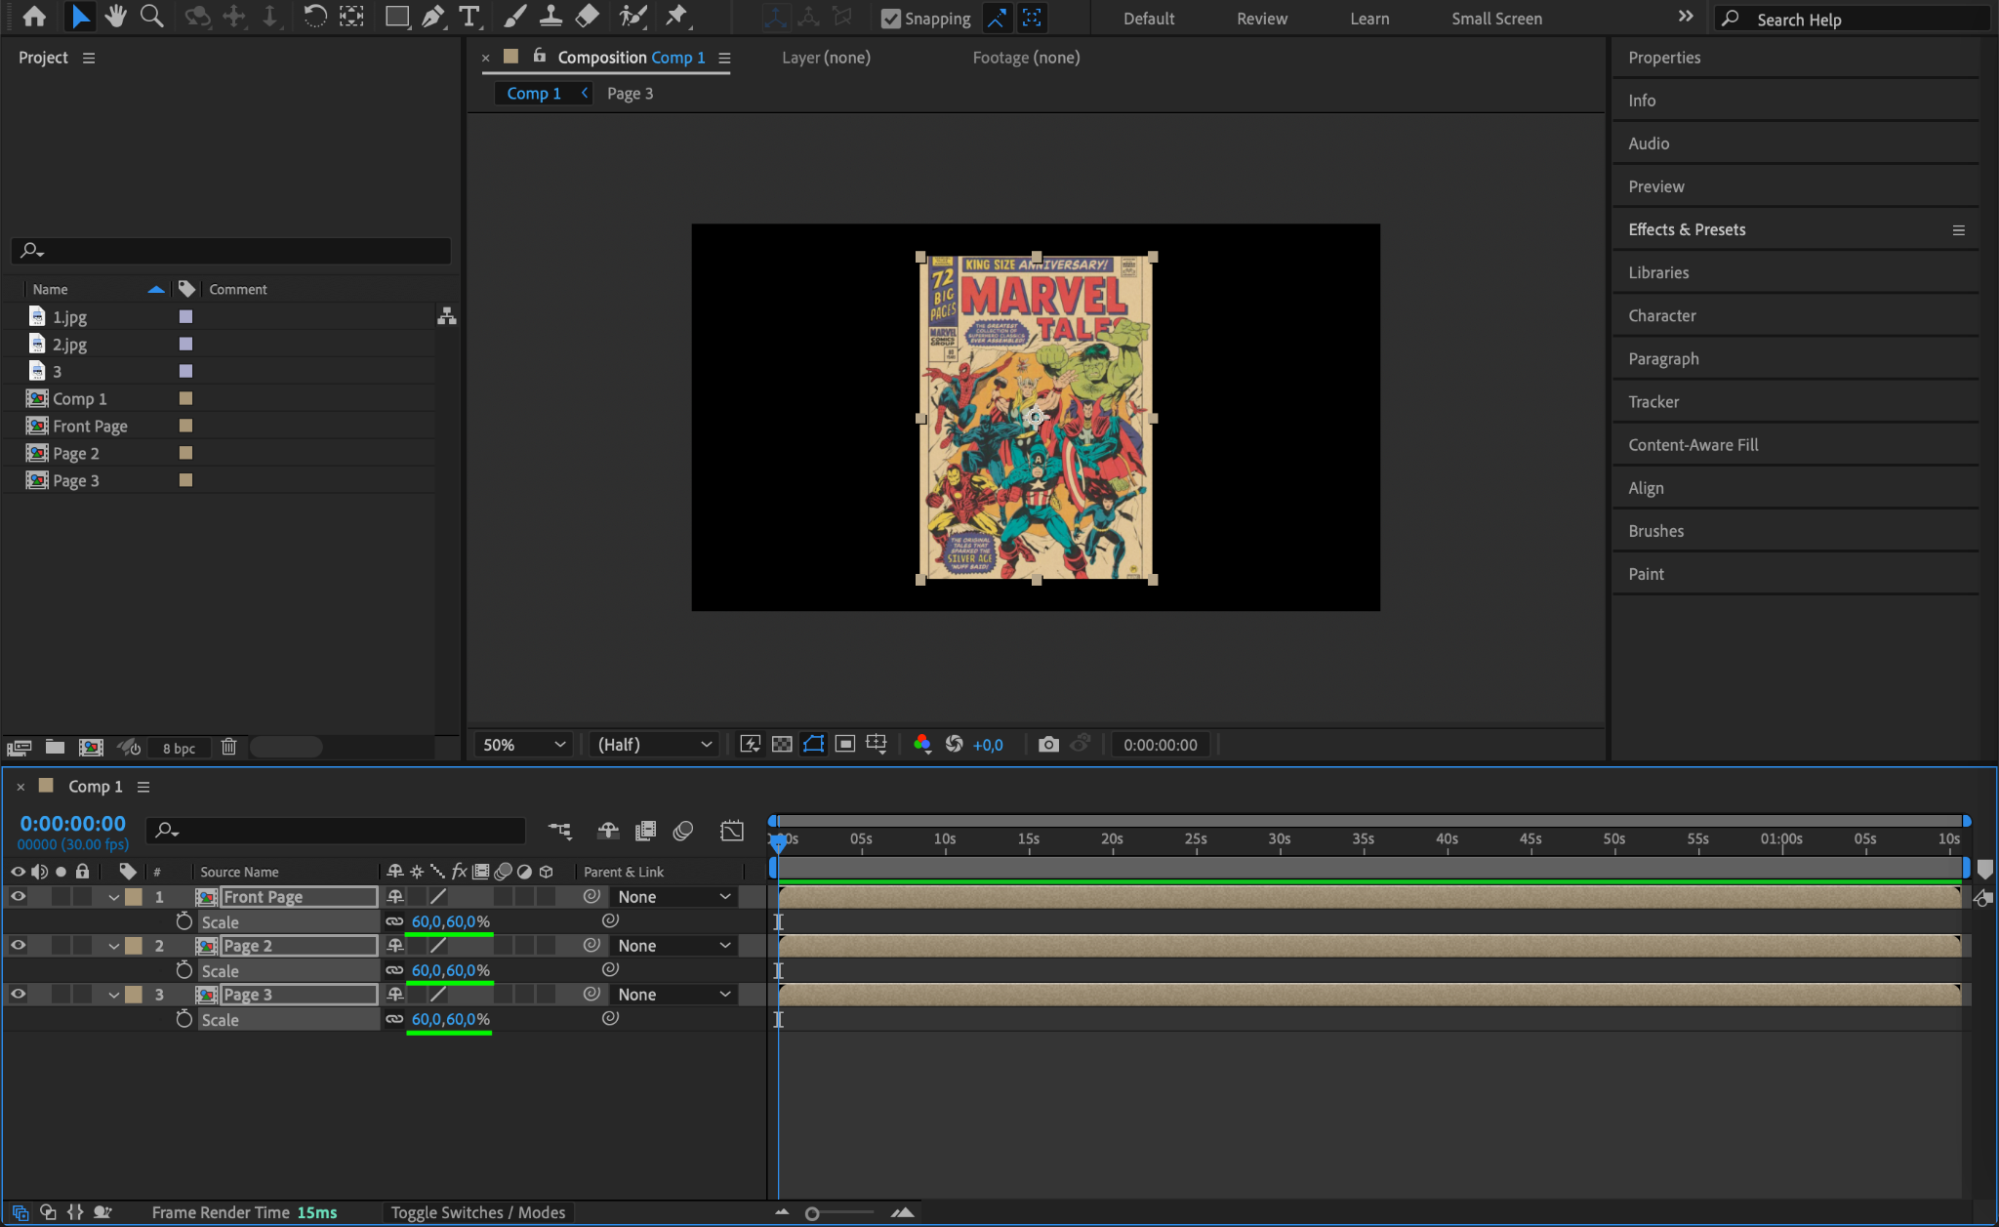 Step 9: Convert All Layers to 3D
Select all page compositions in the timeline and enable the 3D Layer option to allow rotation and depth adjustments.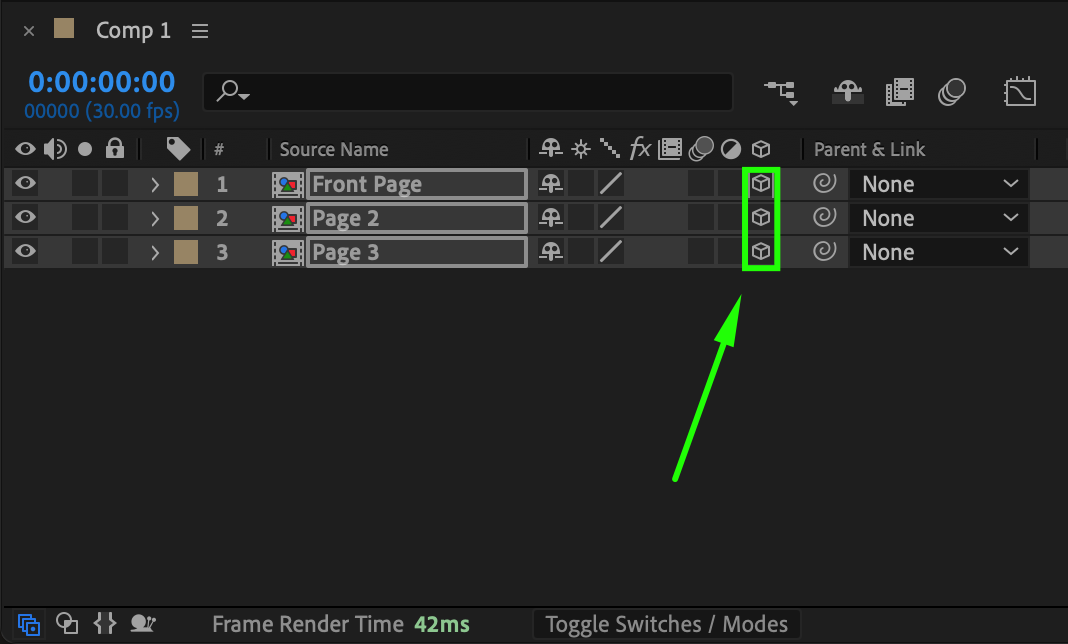 Step 10: Create a Null Object for Page Rotation
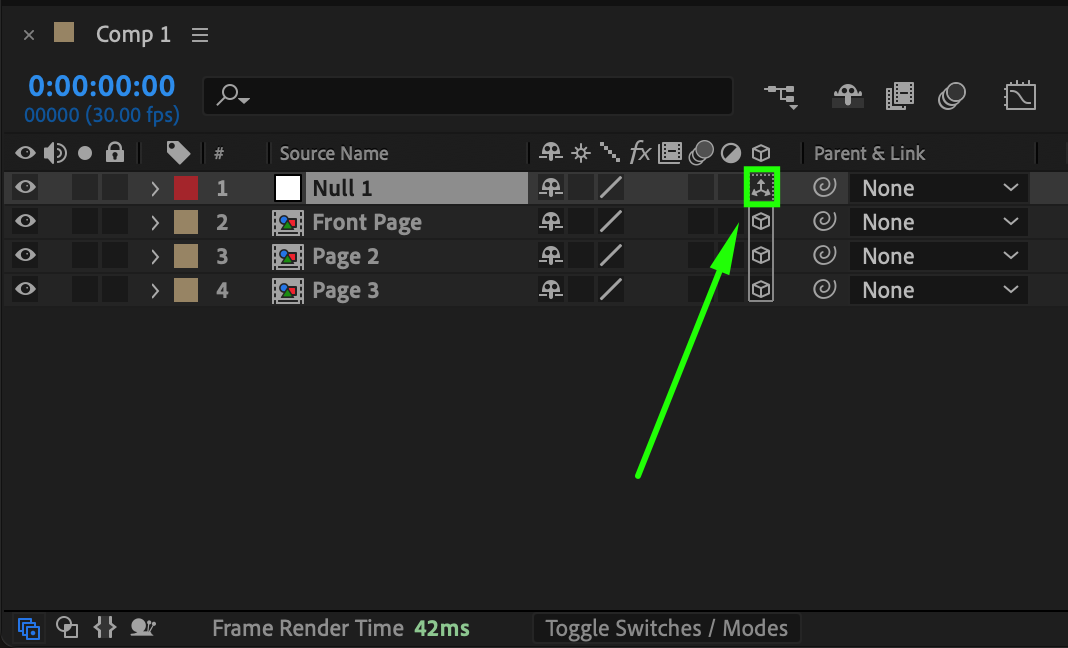
Go to Layer > New > Null Object and make it 3D. Name it “Null 1” – this will control the flipping of the first page.
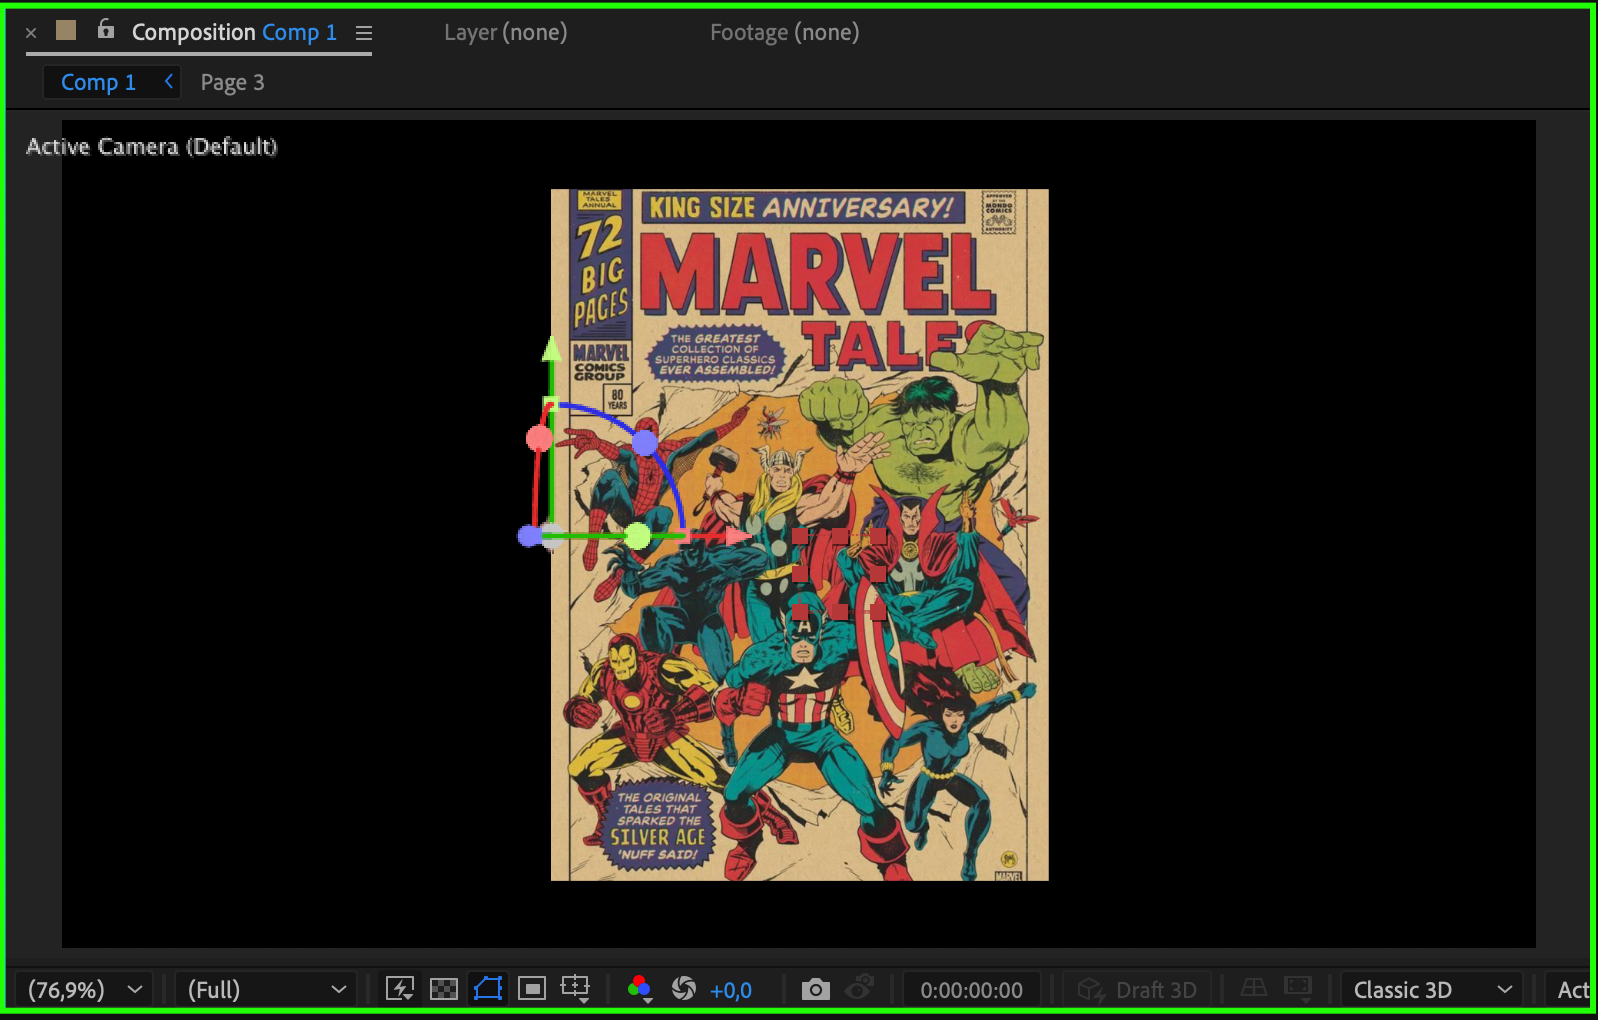
 Step 11: Adjust Anchor Point for Rotation
Use the Pan Behind Tool (Y) to move the anchor point of “Null 1” to the middle of the left edge of the front page. This will make the page rotate naturally from the spine of the book.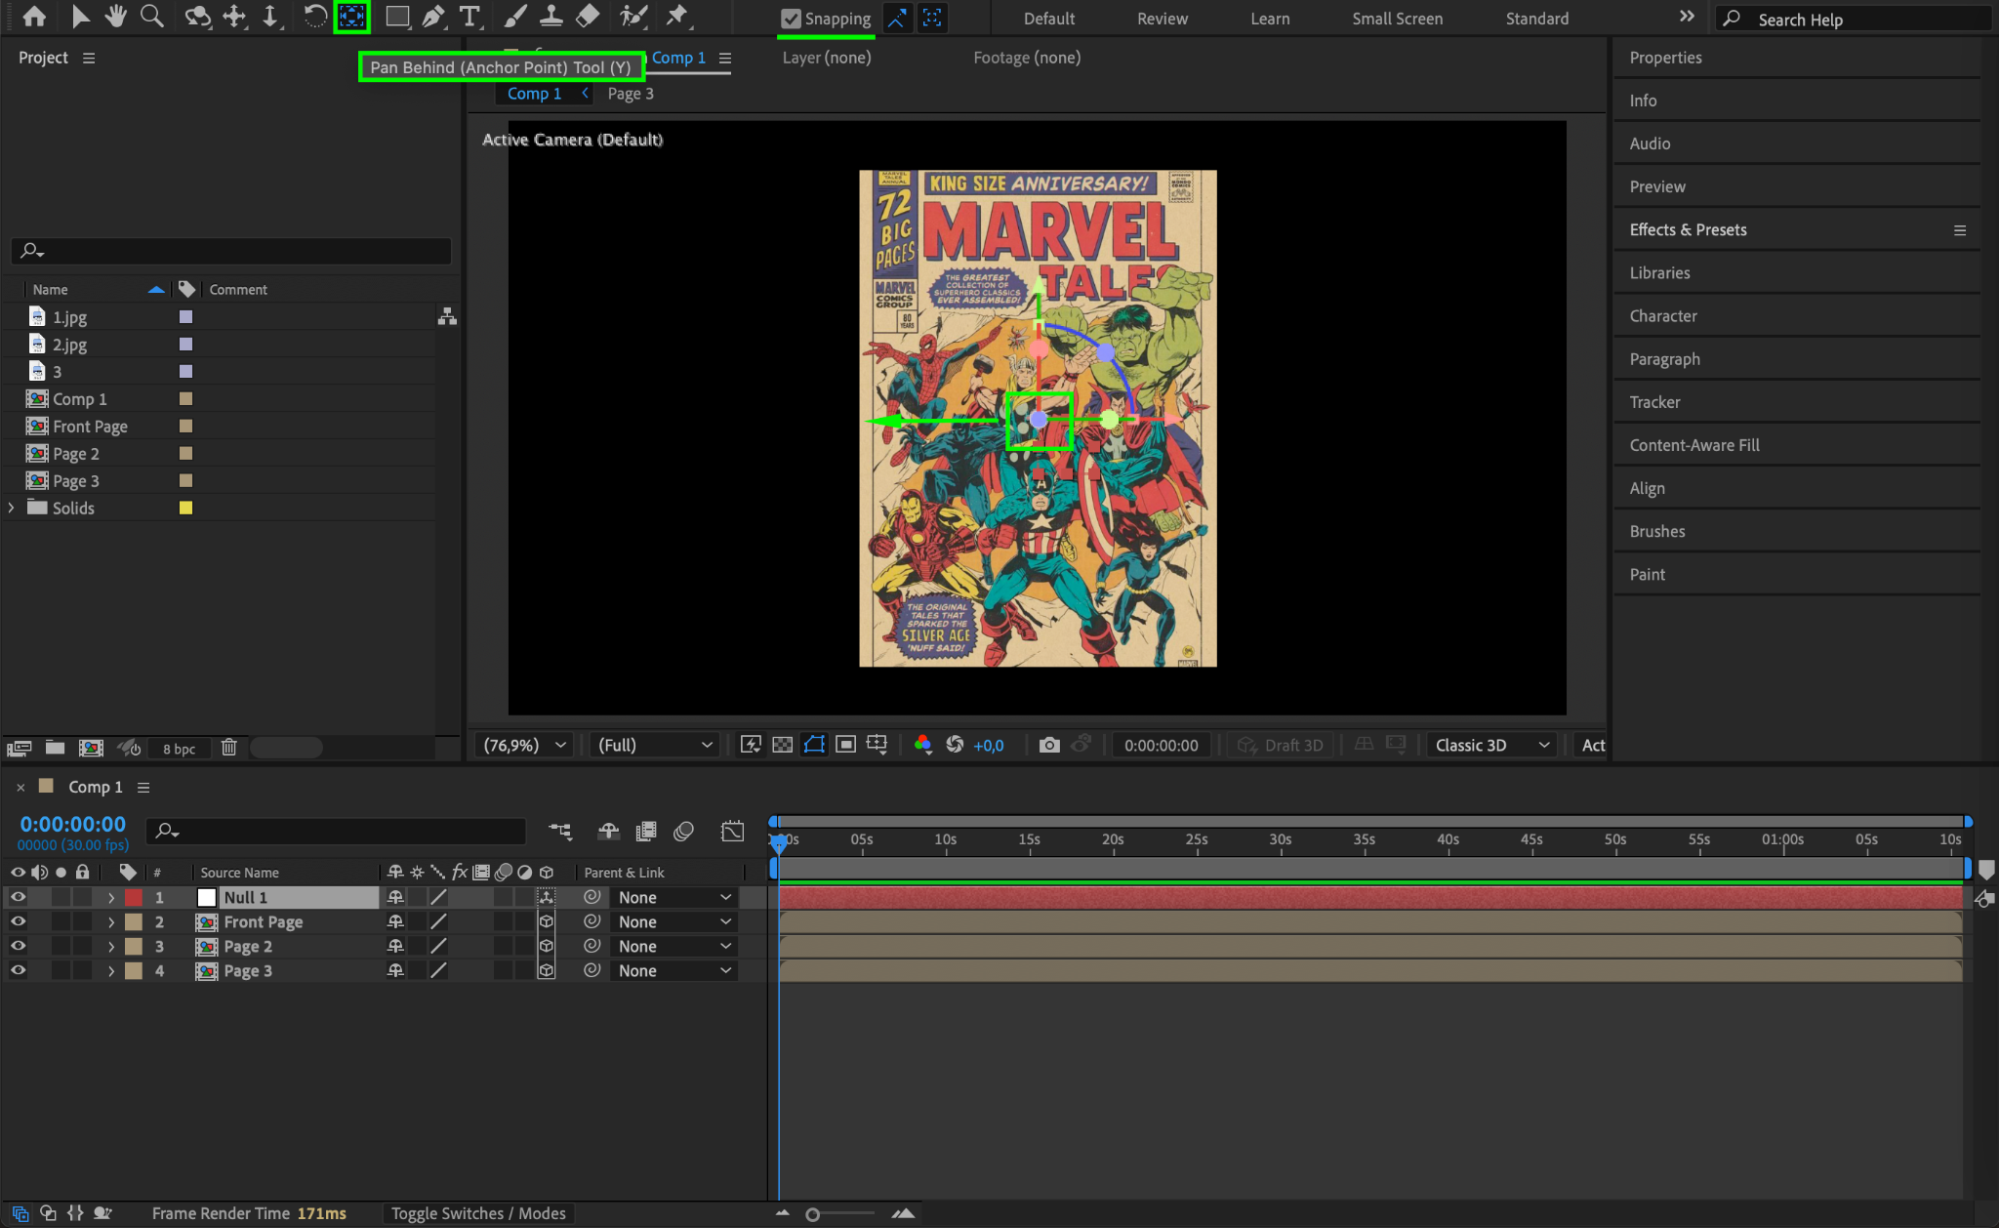
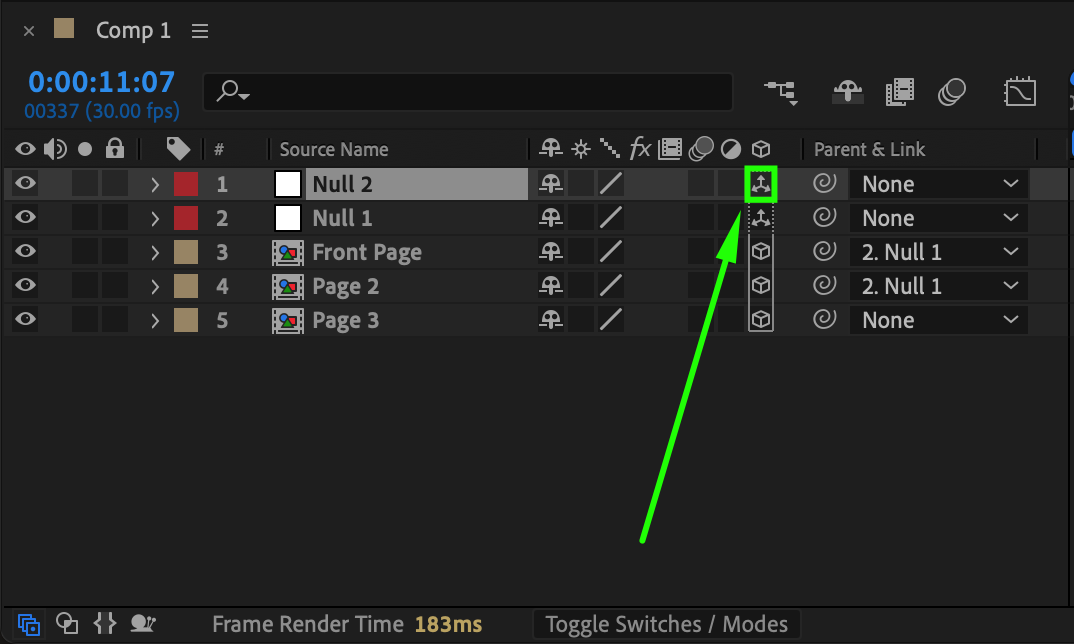
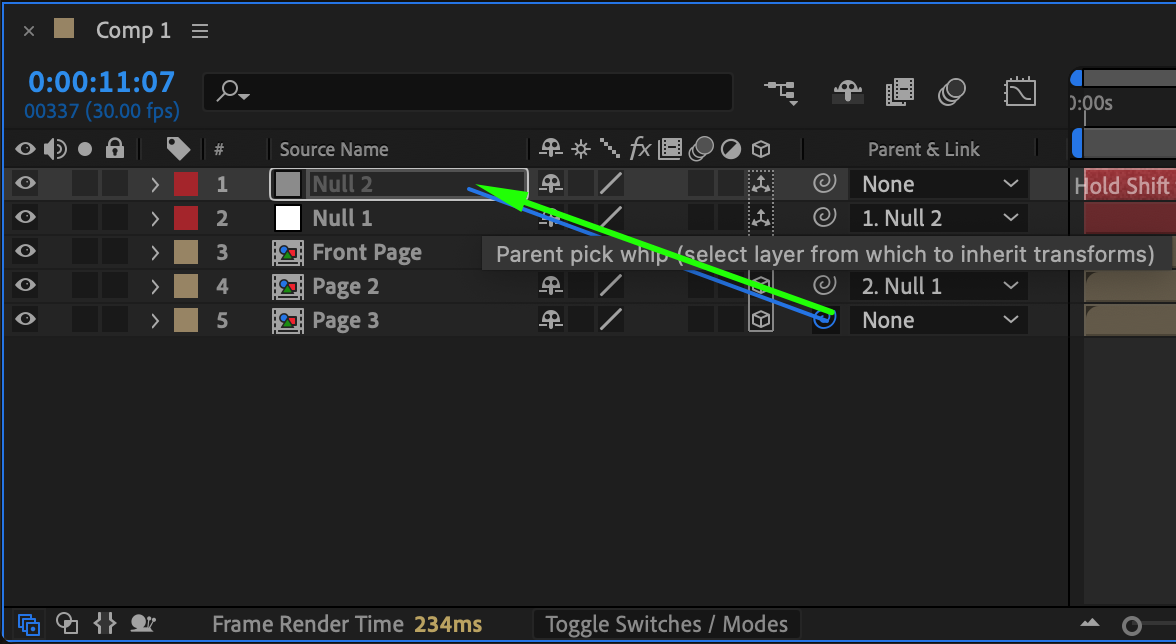
 Step 12: Parent Front Page and Page 2 to Null 1
Select both the “Front Page” and “Page 2” layers in the Timeline.
Use the “Parent & Link” dropdown menu or the Pick Whip tool to make them child layers of Null 1.
Now, when Null 1 rotates, both pages will follow its movement, creating a natural page-flipping effect.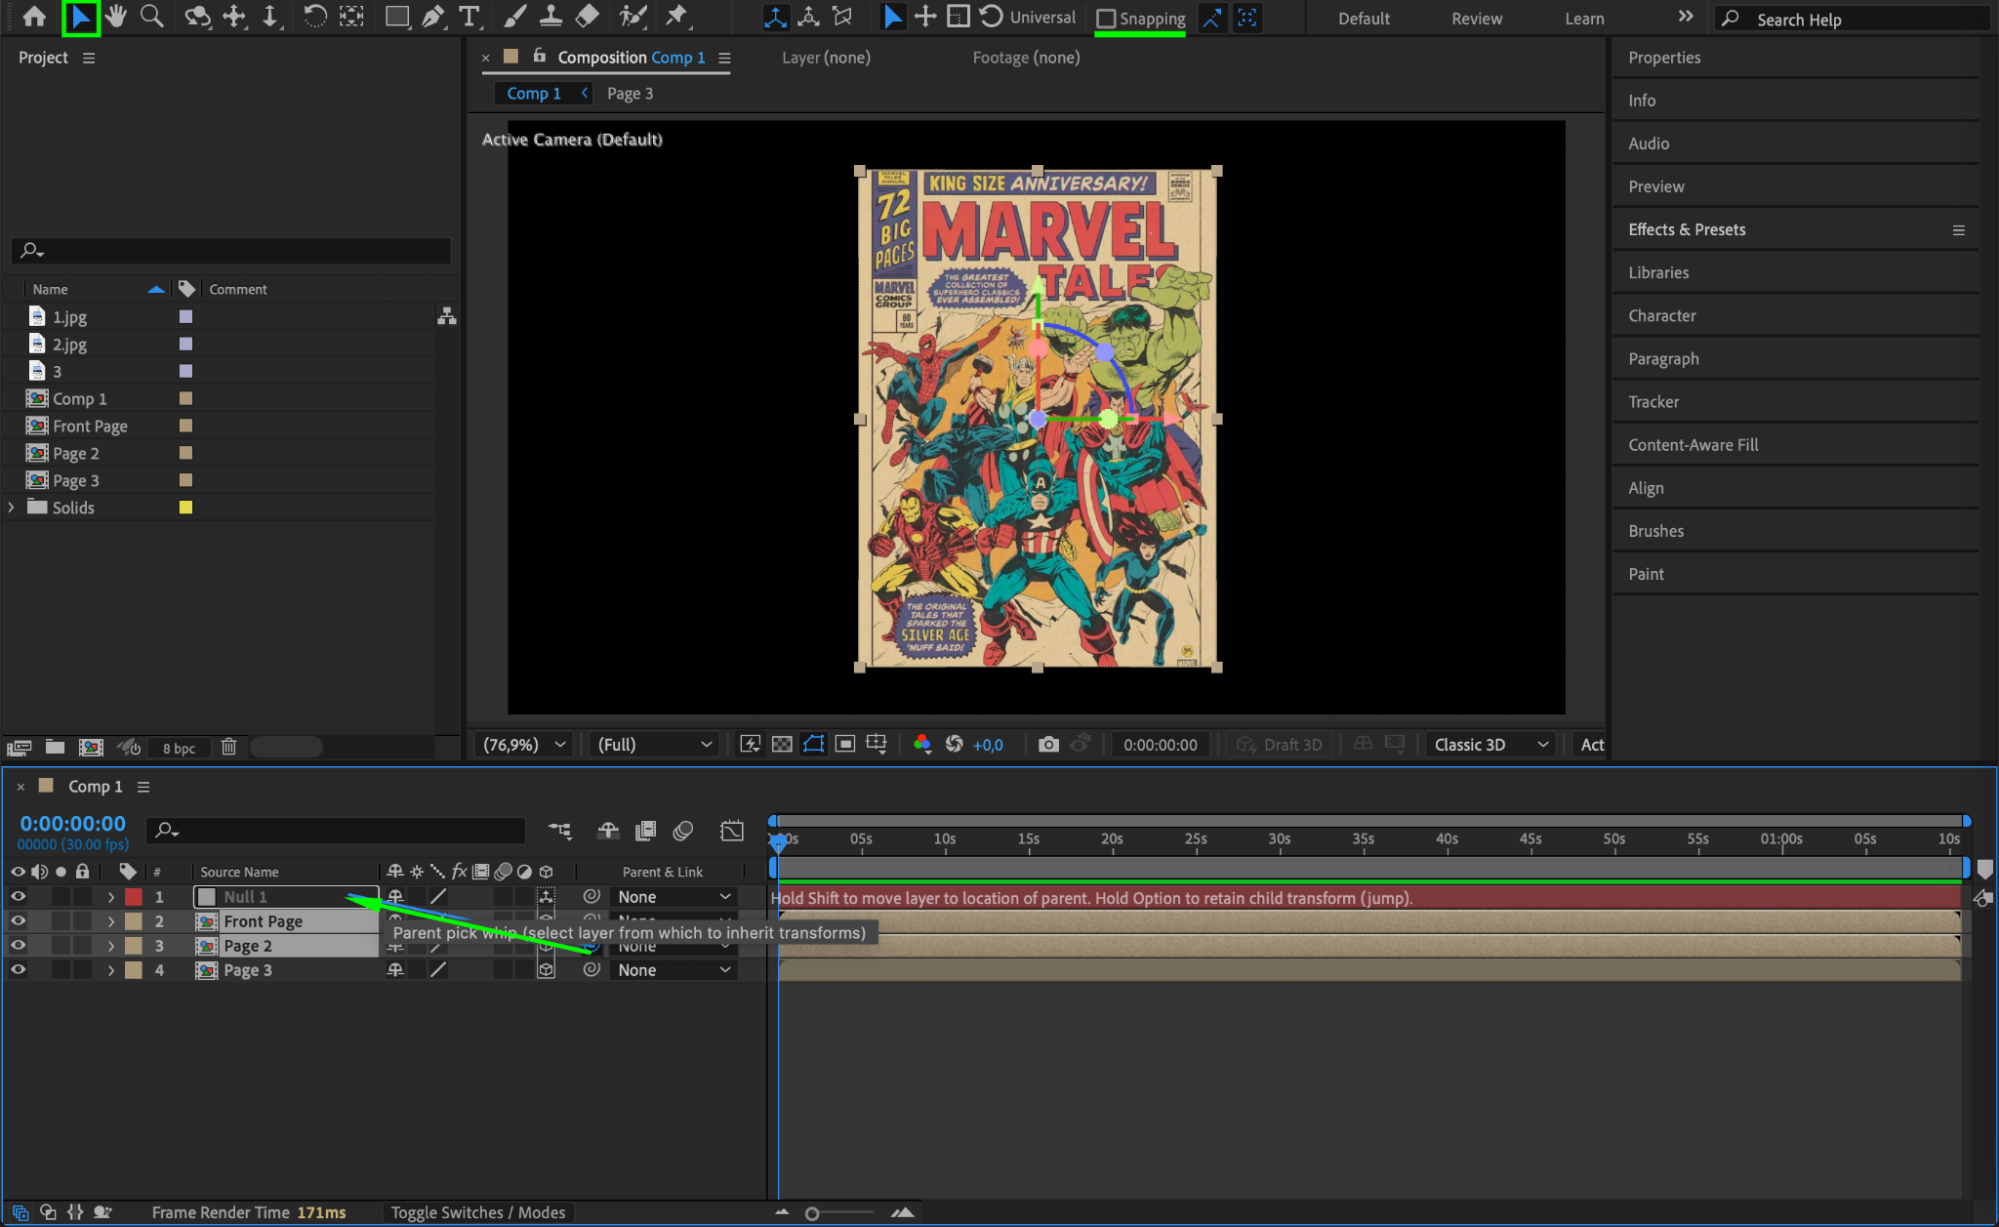
Step 13: Animate the Y Rotation of Null 1
Move the Current Time Indicator (CTI) to the start of the timeline.
Click the stopwatch next to Y Rotation in Null 1 to create a starting keyframe.
Move the CTI forward by 30 to 40 frames (adjust depending on the speed you want).
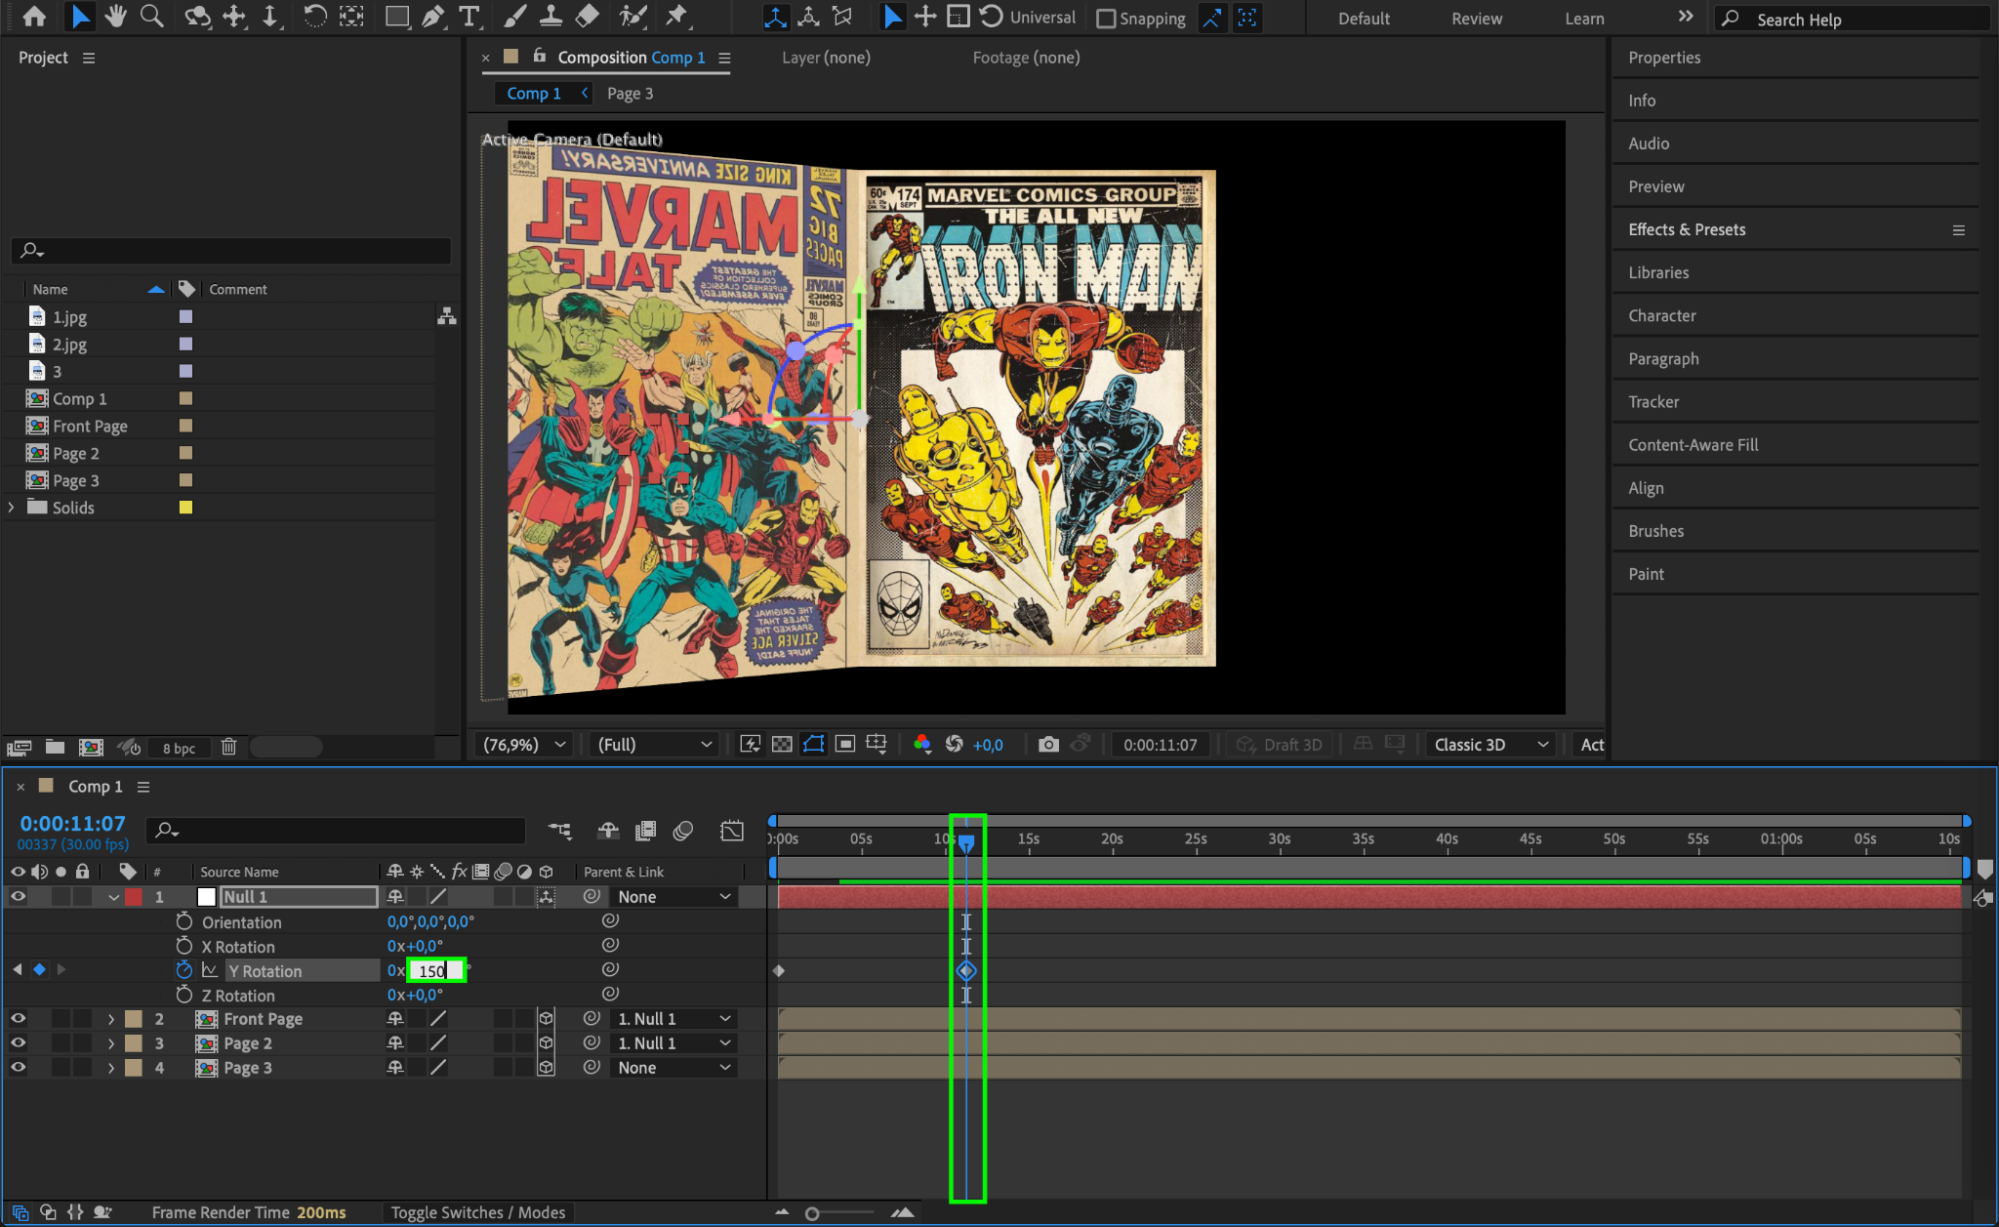
Change the Y Rotation value to 150° – this will make the page flip open.
This will create a smooth flipping motion. 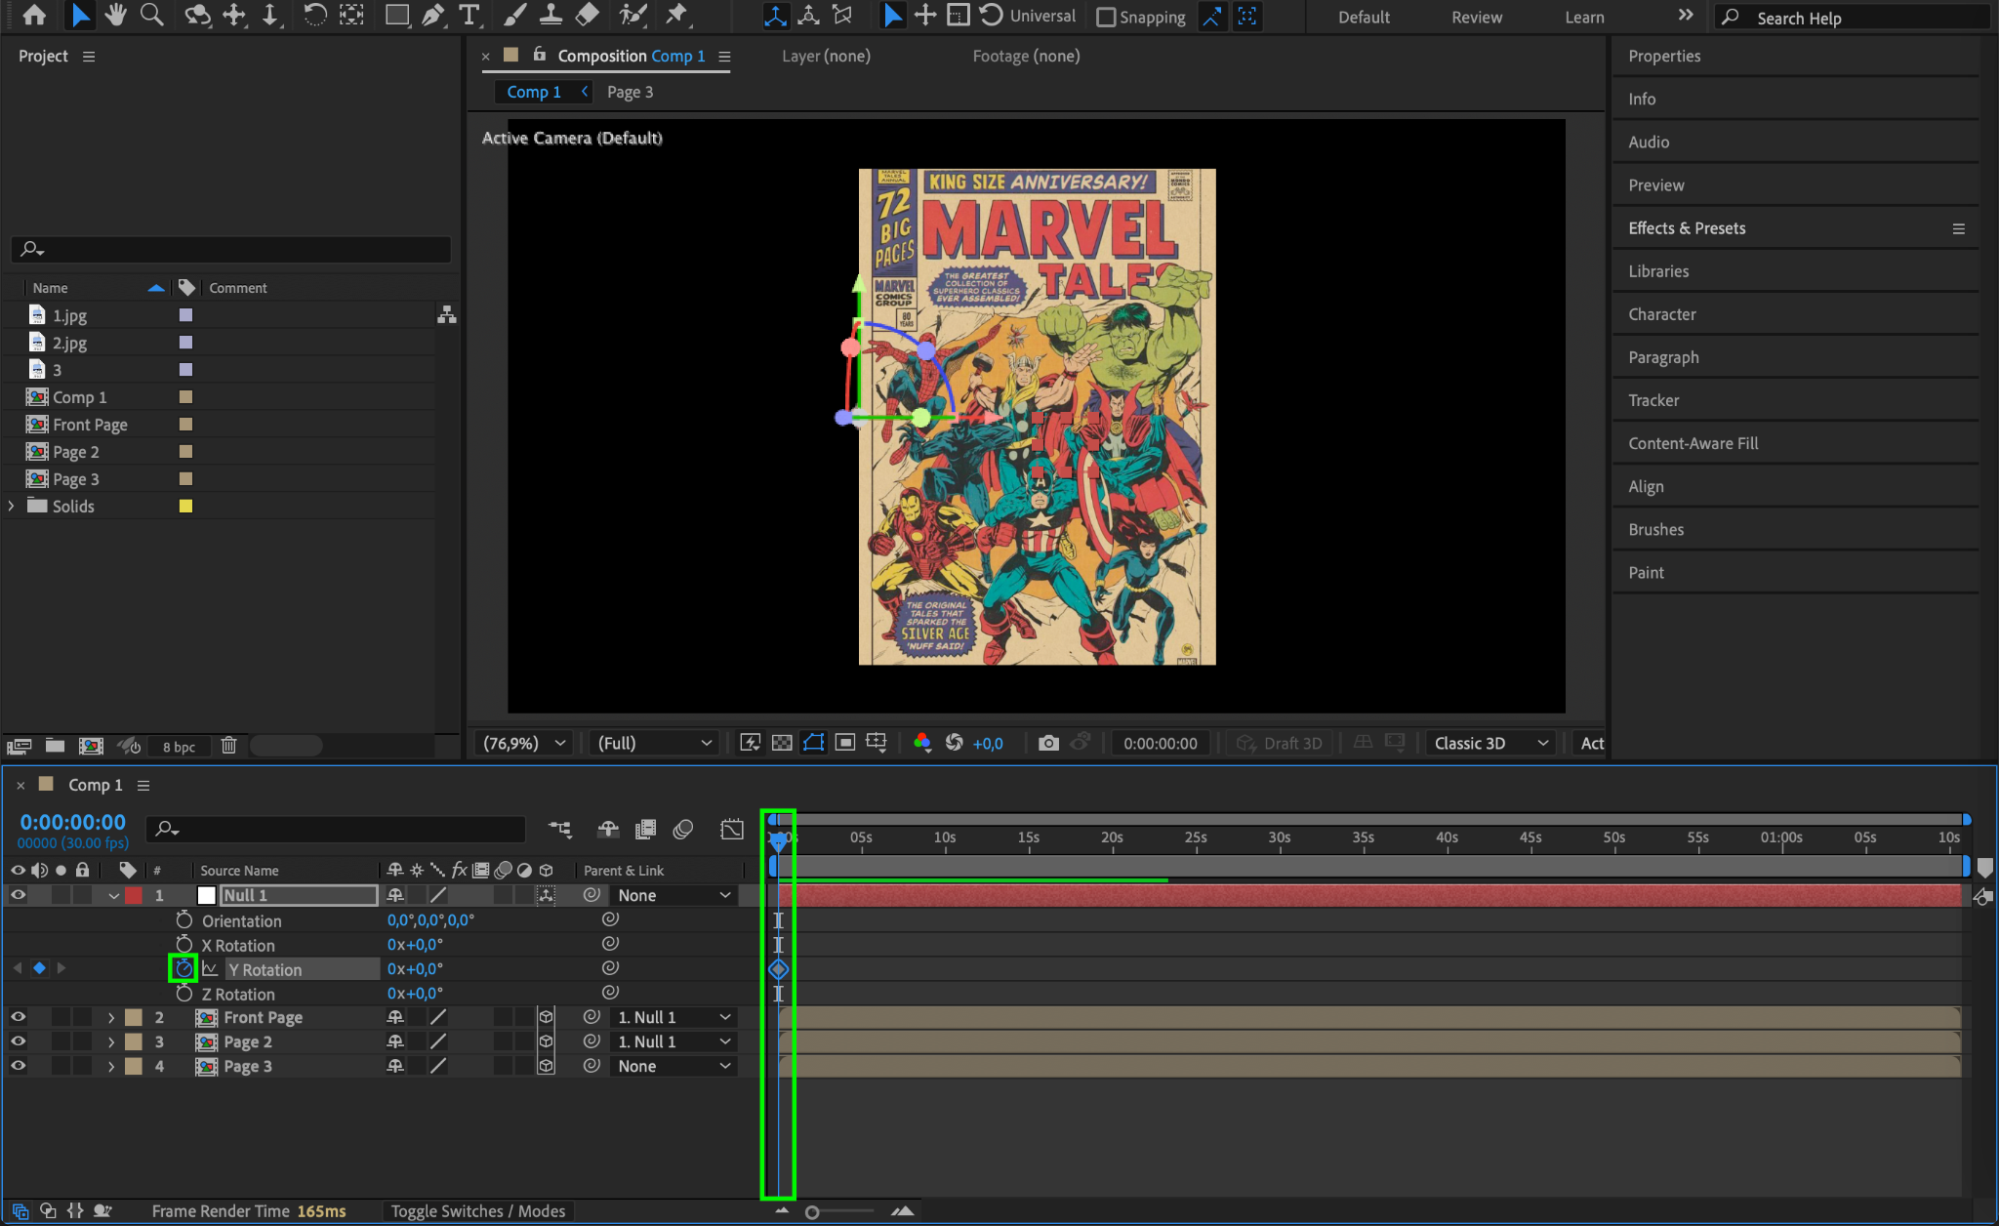
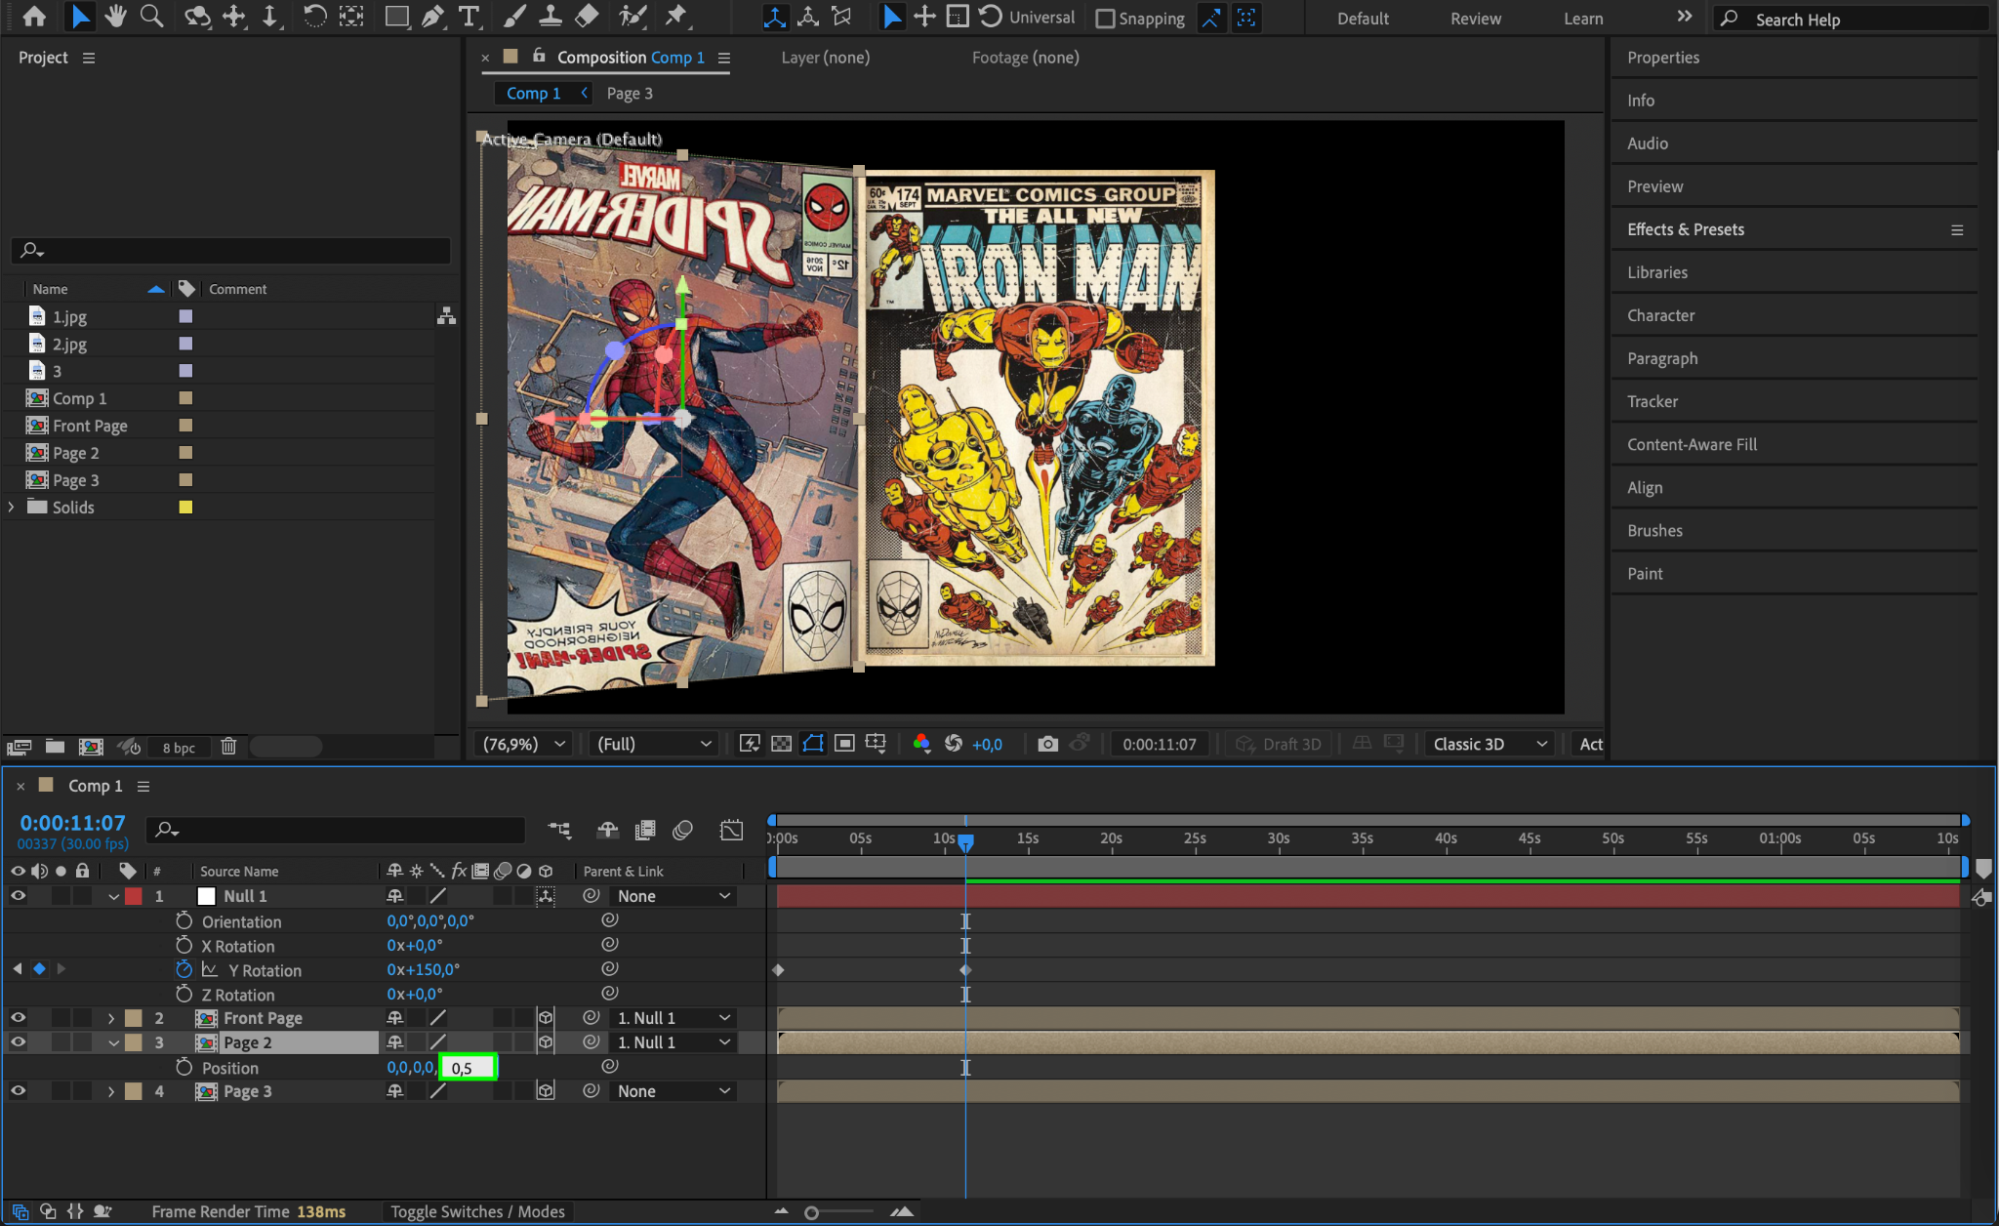
 Step 14: Adjust Position and Scale for Page 2
Open Position (P) settings for Page 2.
Change the Z position value to 0.5 to give depth.
Open Scale (S), unlink the chain icon, and set the X Scale to -60 (negative value flips the page correctly).
Re-enable the chain icon to maintain proportional scaling.

 Step 15: Create a Second Null Object for Book Movement
Go to Layer > New > Null Object and enable 3D. Name it “Null 2” – this will control the entire book’s position.
 Step 16: Adjust Anchor Point for Book Center
Use the Pan Behind Tool (Y) to move Null 2’s anchor point to the spine of the open book, where the pages meet.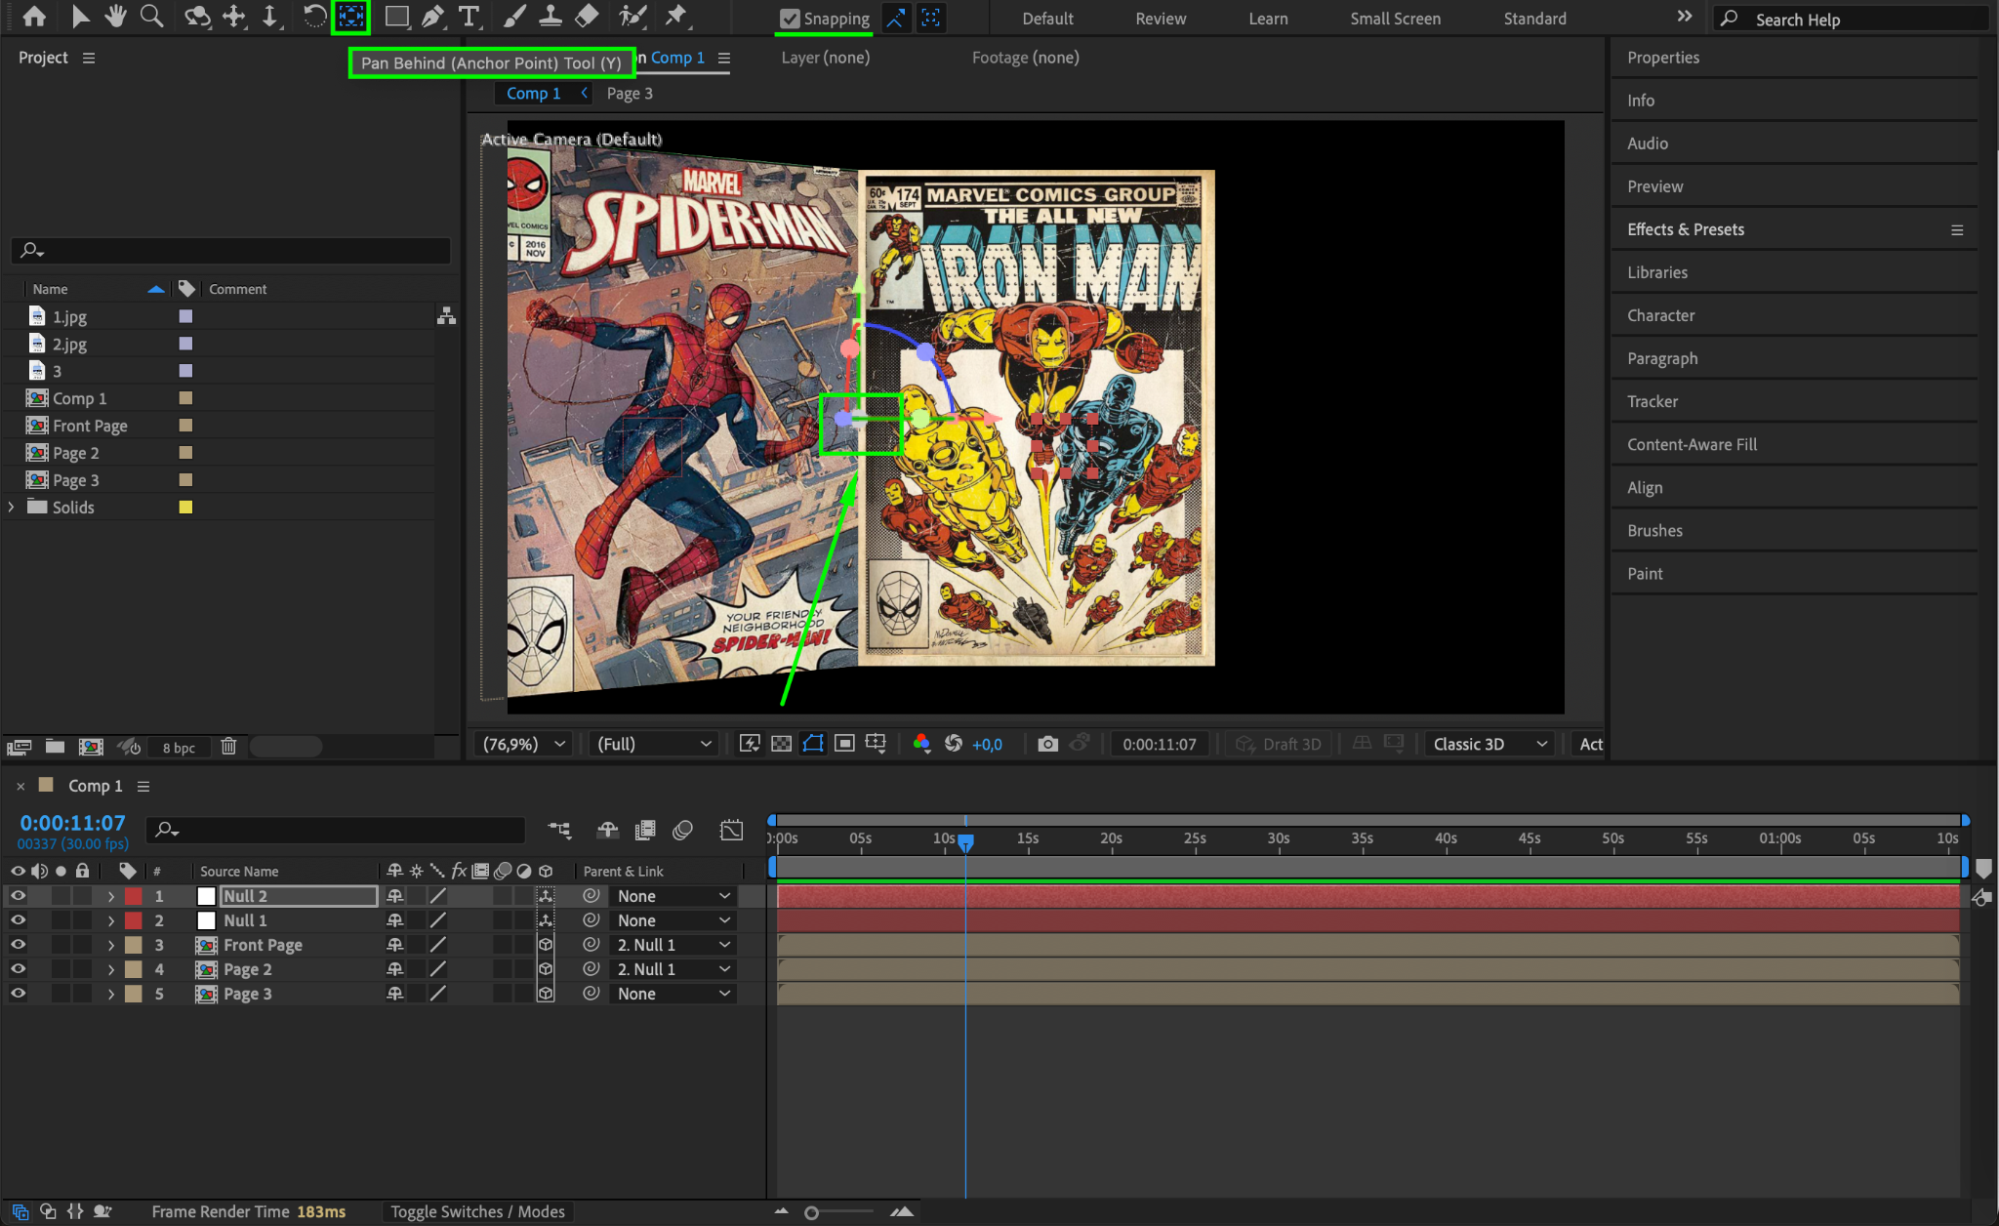 Step 17: Parent Null 1 and Page 3 to Null 2
Make Null 1 a child of Null 2 (so the front page moves with the book).
Also, parent Page 3 to Null 2.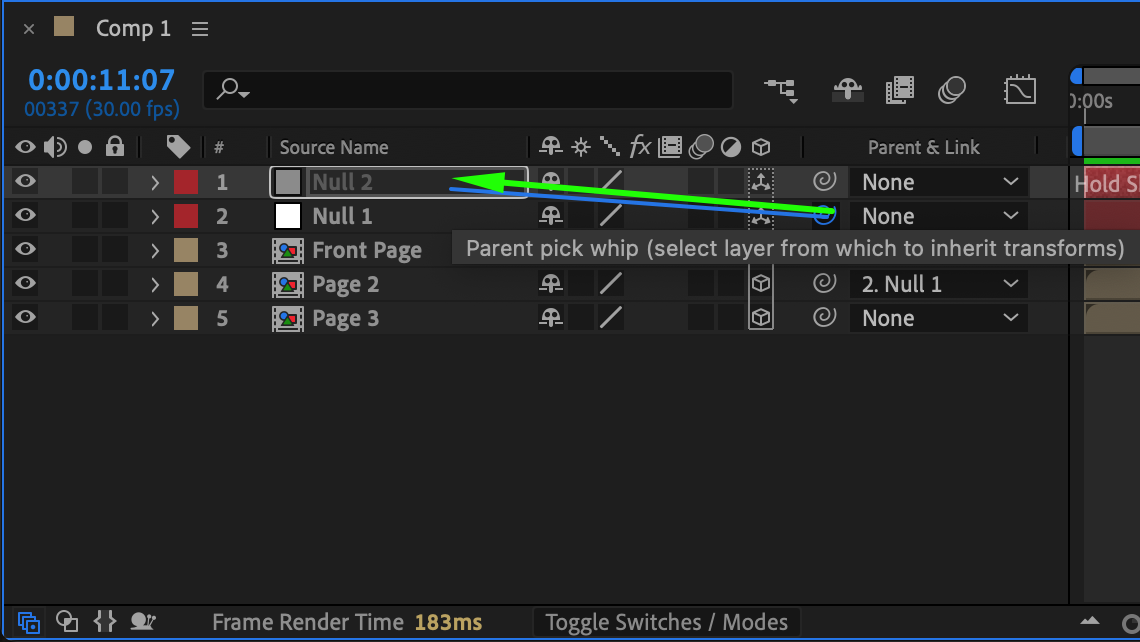
 Step 18: Animate the Position of Null 2
Move the CTI to the start of the timeline.
Click the stopwatch for Position (P) in Null 2.
Move CTI forward (to when the book is open).
Adjust X Position to move the book into a natural position in the scene.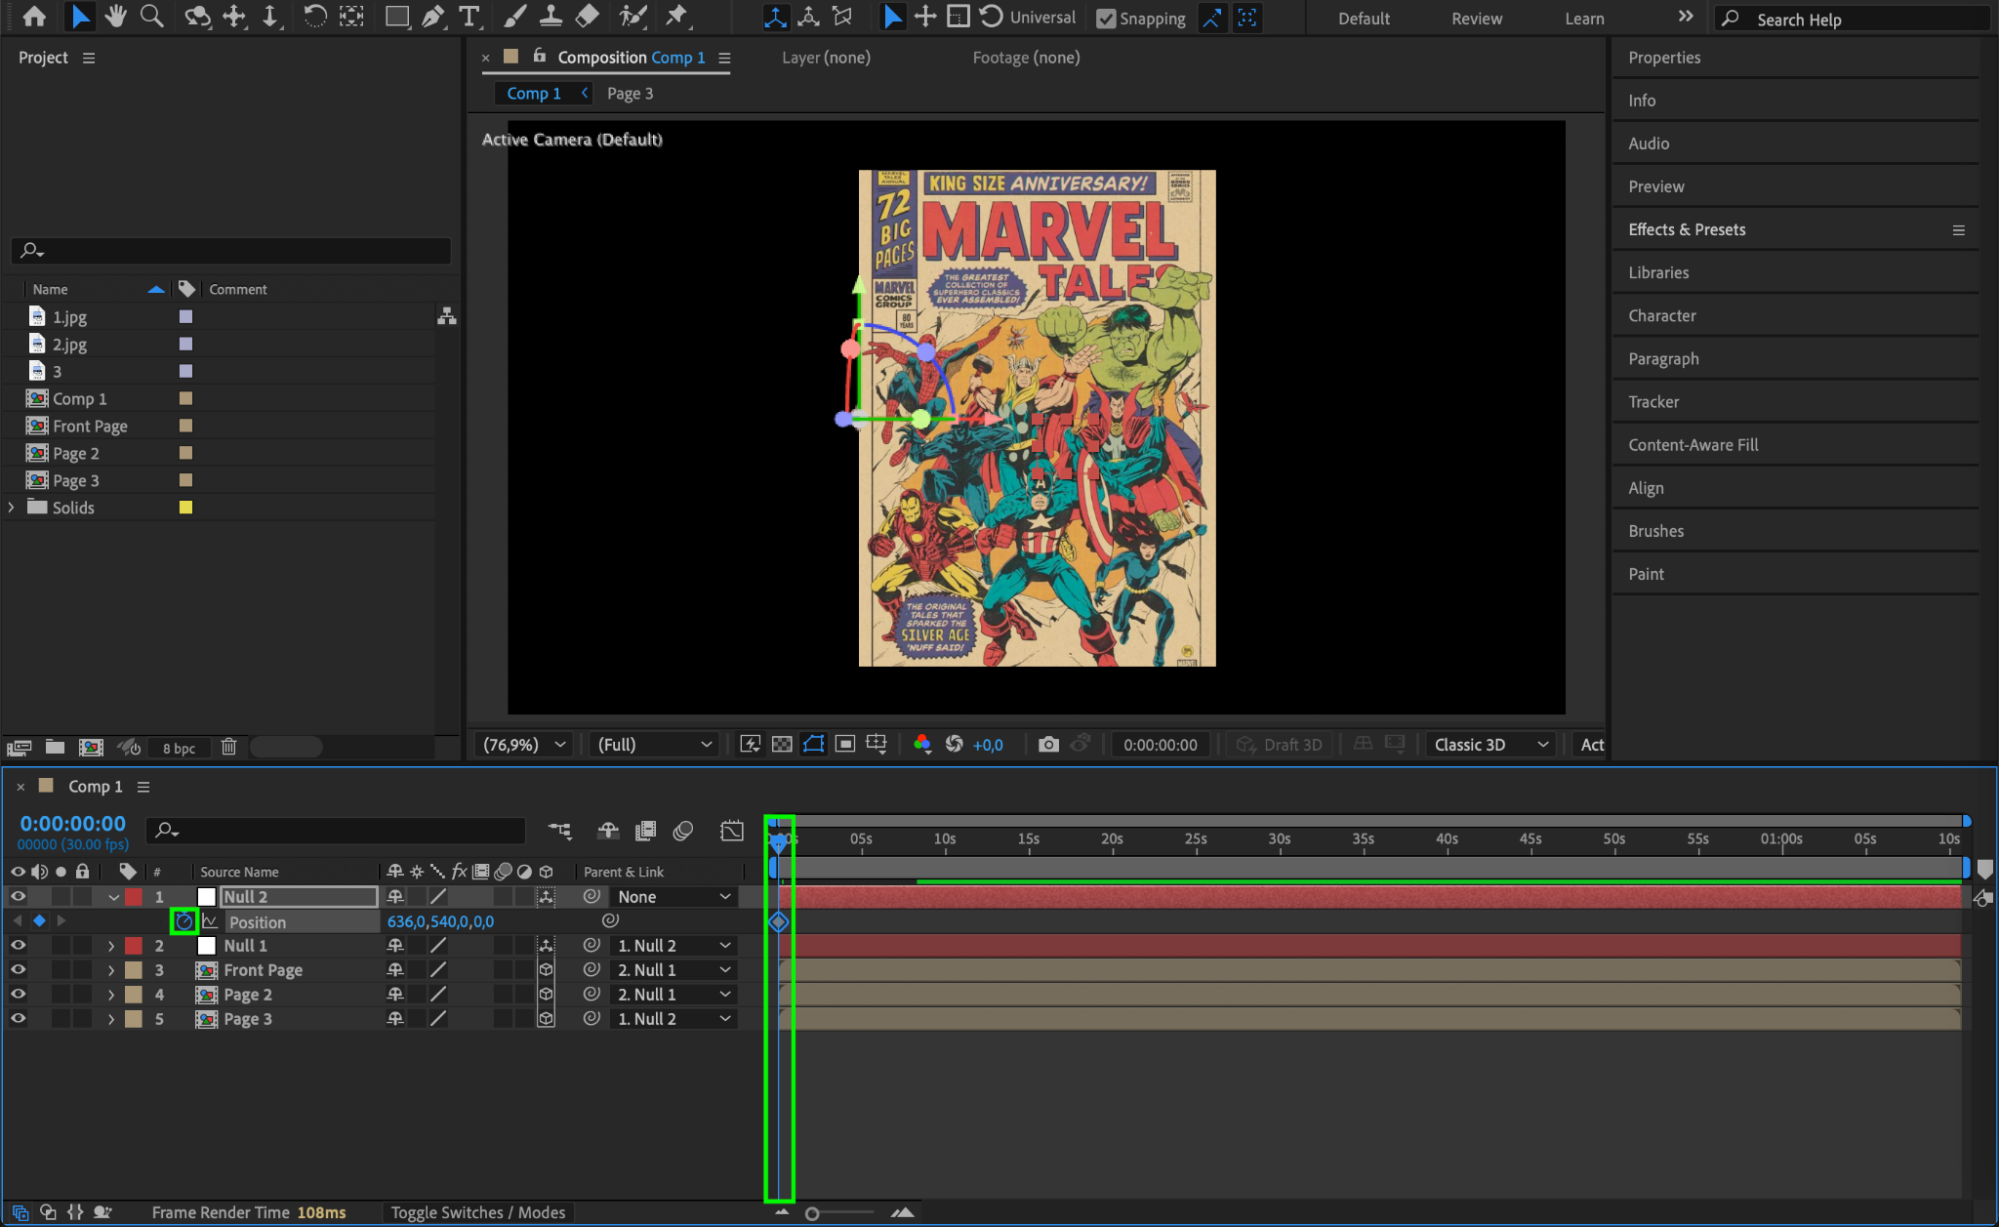
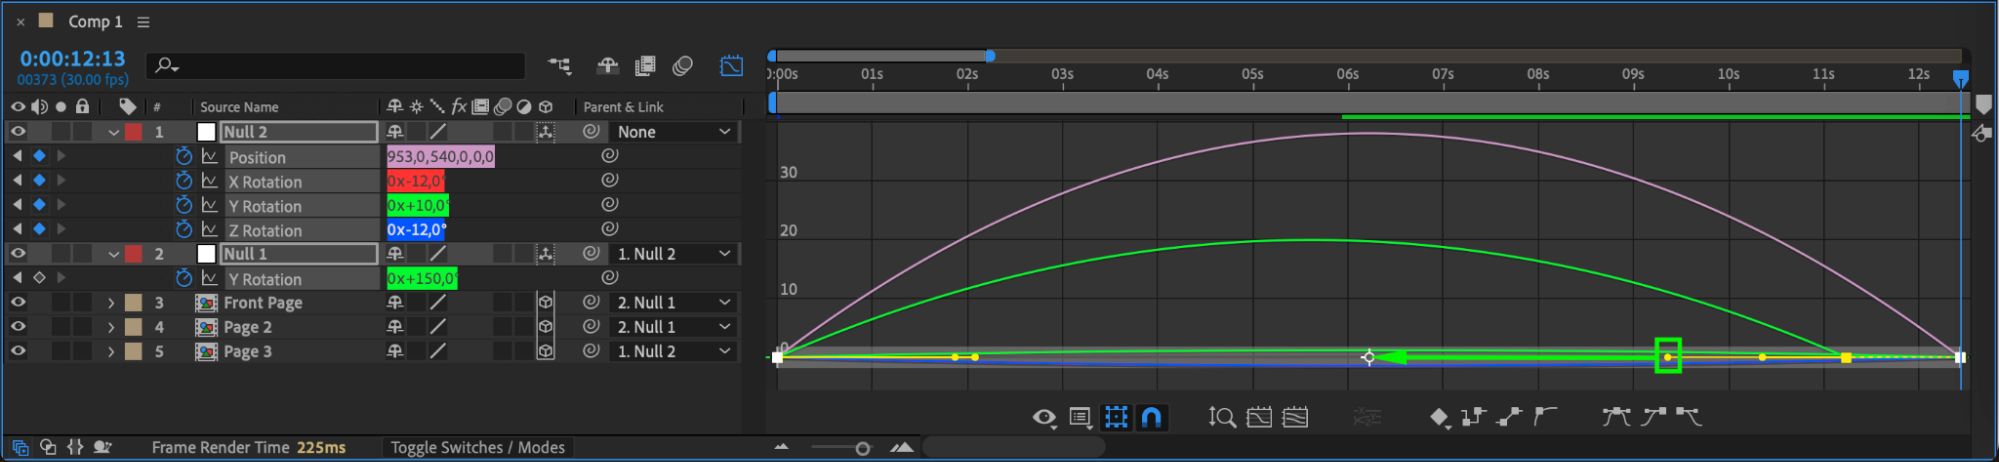
 Step 19: Animate the Book’s Final Rotation
Move the CTI to the moment when the book is fully open, then click the stopwatch for X, Y, and Z Rotation in Null 2 to create keyframes.
Select these keyframes and move them to the start of the composition so the book starts closed.
Next, move the CTI back to the open position and adjust the rotation values: X Rotation to -12°, Y Rotation to 10°, and Z Rotation to -12° for a smooth and natural opening motion.
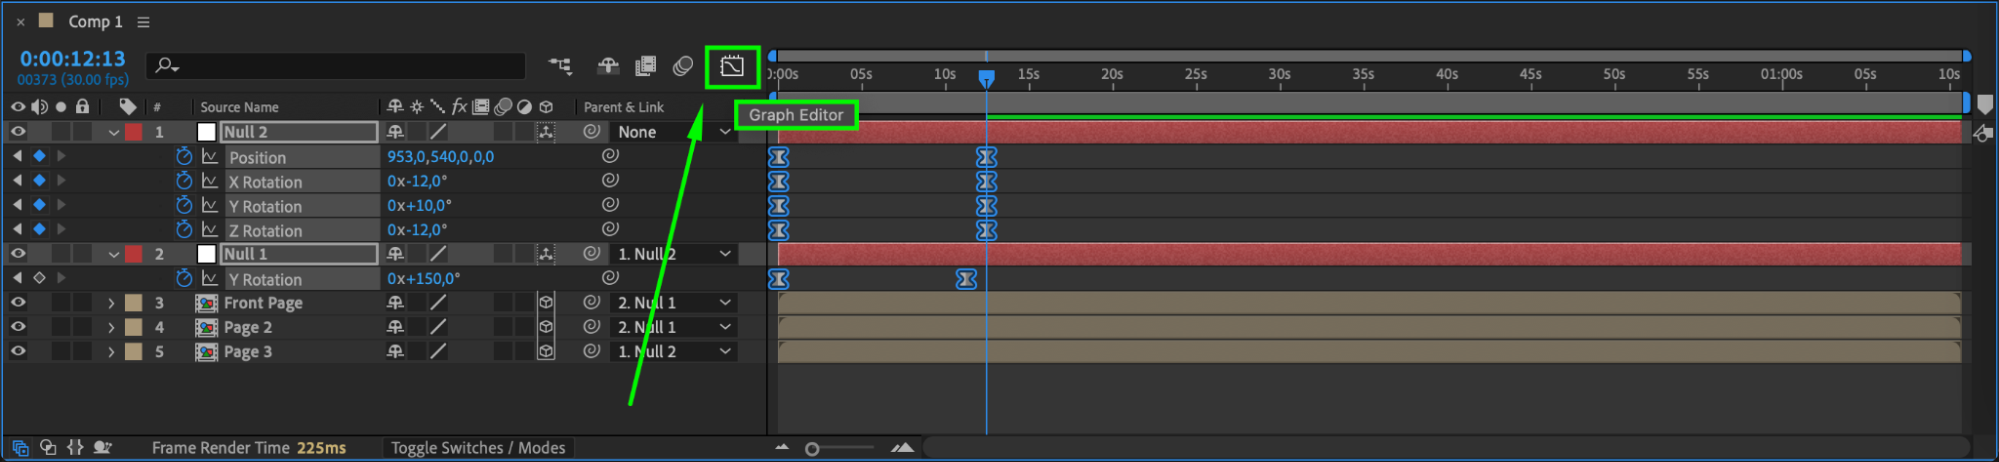
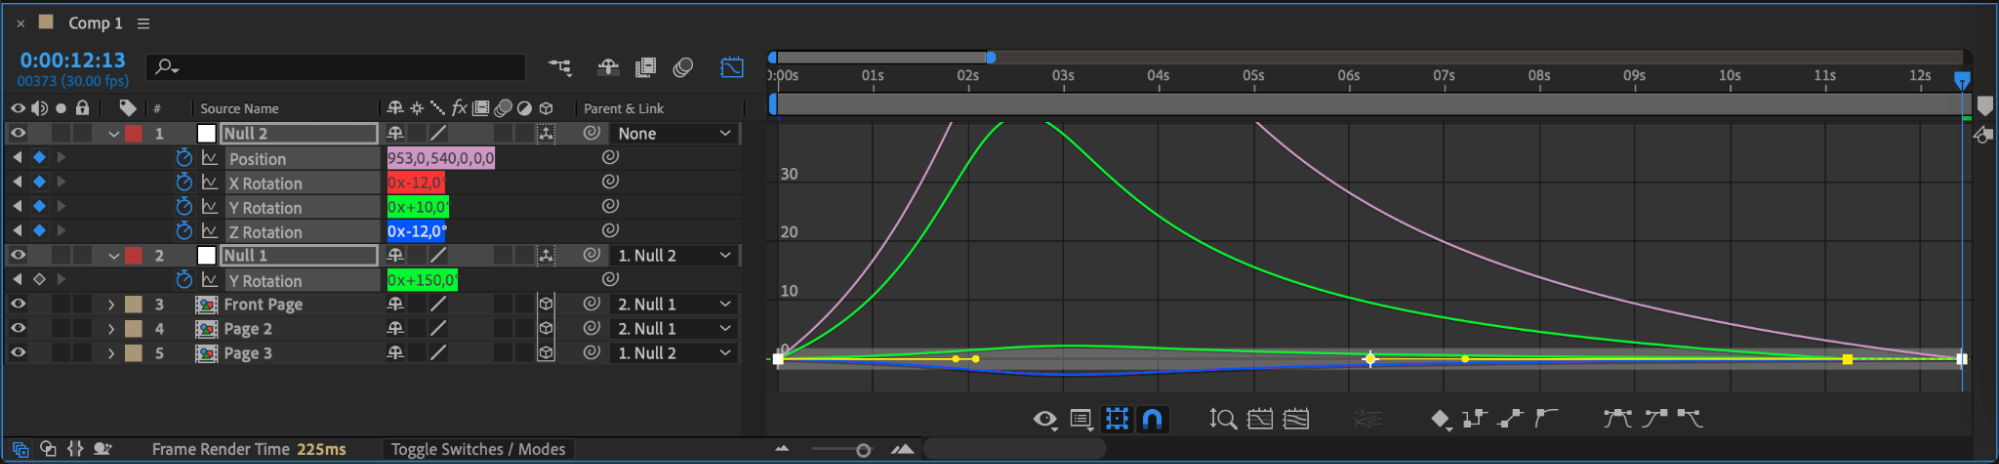
 Step 20: Apply Easy Ease and Graph Editor Adjustments
Select both Null Objects and press “U” to reveal all keyframes.
Select all keyframes, go to Keyframe Assistant > Easy Ease.
Open the Graph Editor and adjust the speed curves for a natural opening motion.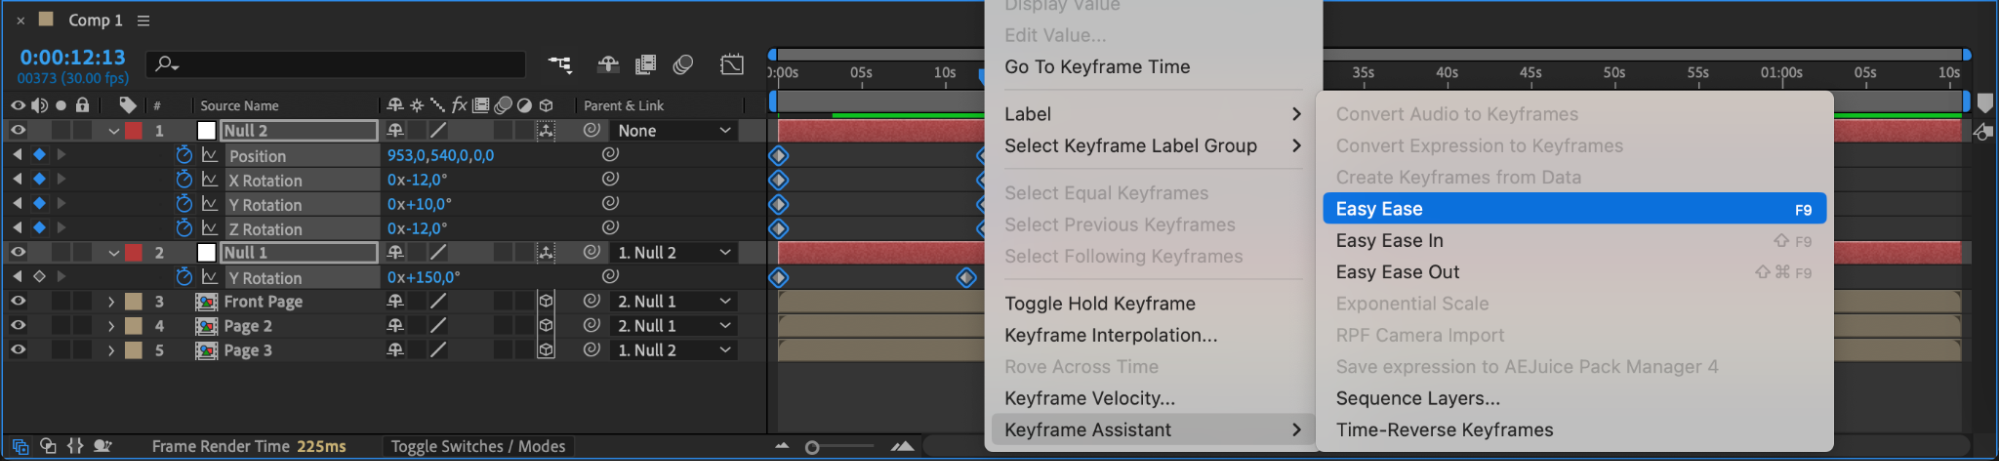
 Step 21: Enable Motion Blur
Enable Motion Blur for all layers to add realism to the page movements.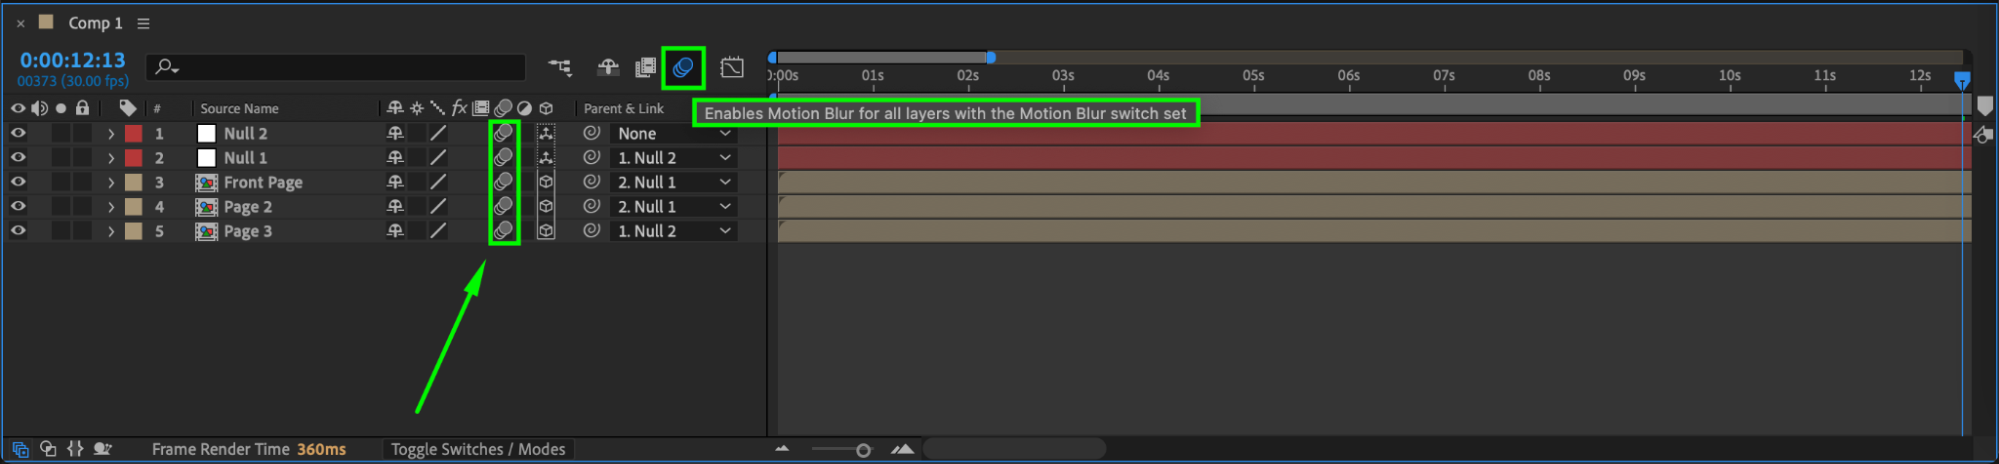 Step 22: Preview the Animation
Press Spacebar to preview your animation. Ensure that the book opens smoothly and naturally.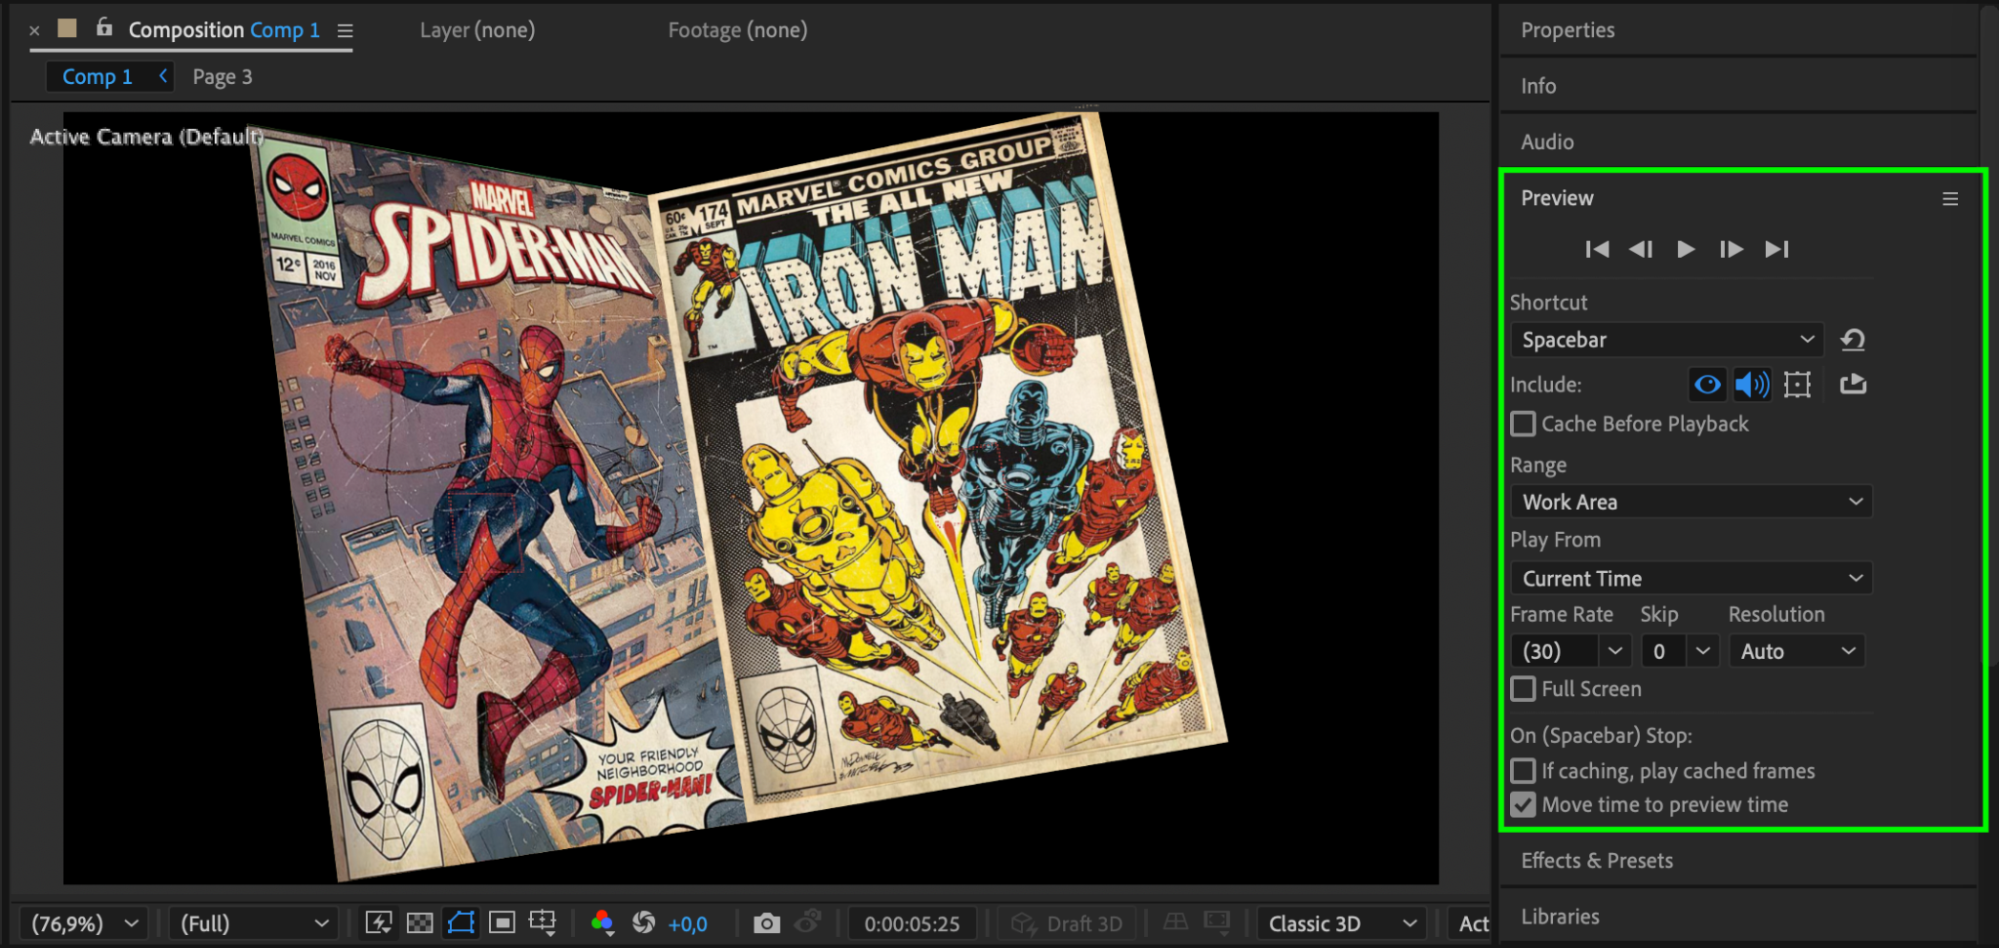 Step 23: Render the Final Animation
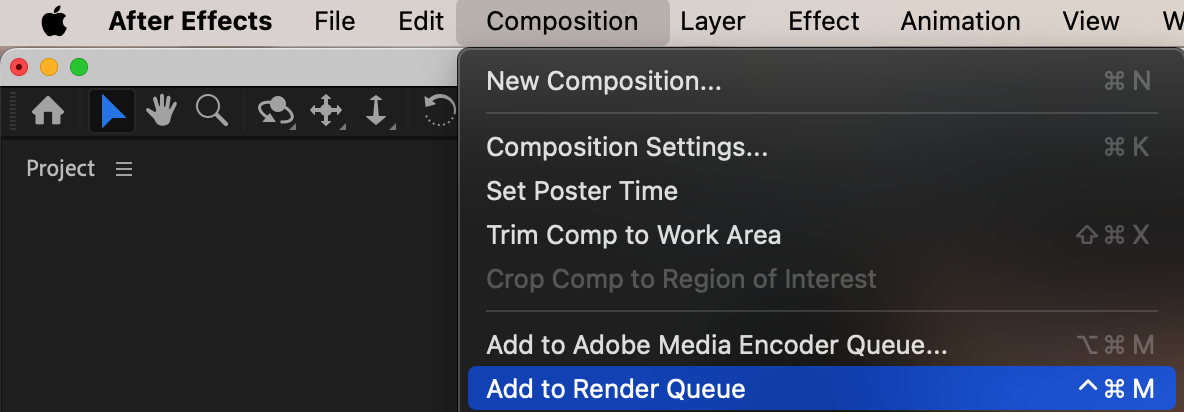
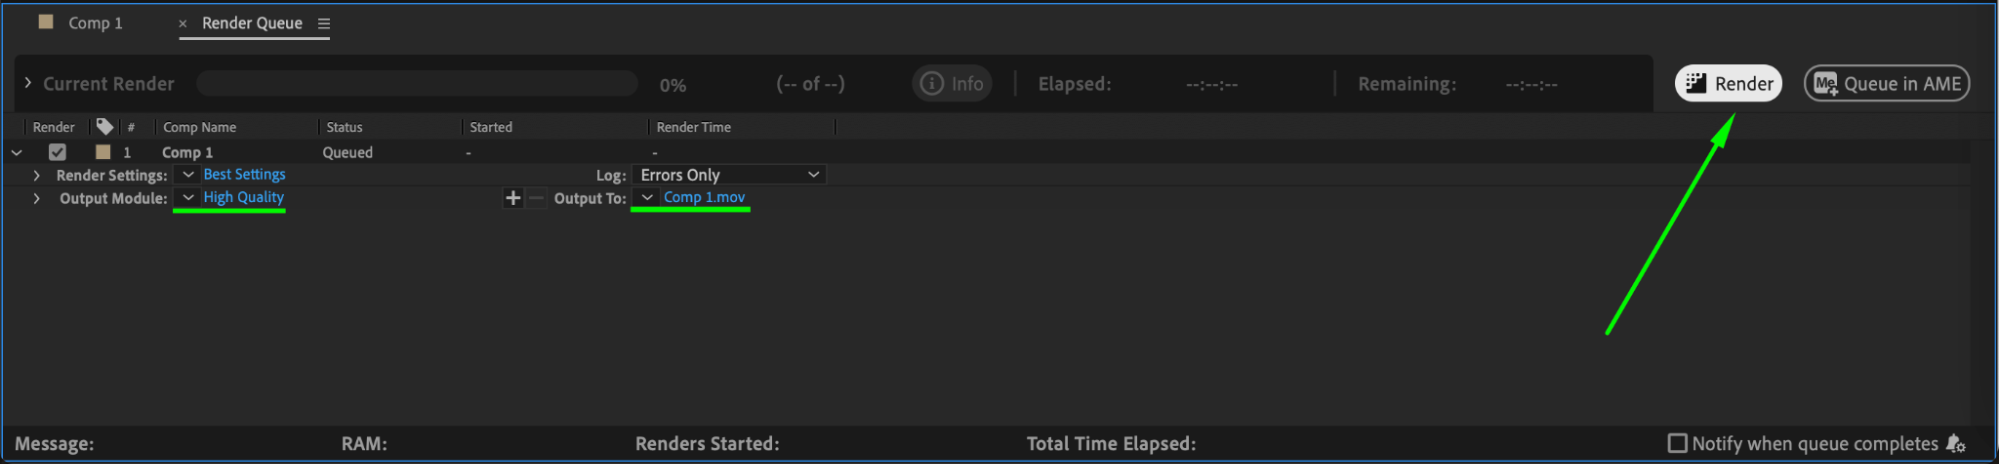
Go to Composition > Add to Render Queue, choose the desired format, and render your final animation.
 Conclusion
Animating a book opening in After Effects requires careful adjustments of 3D layers, anchor points, and keyframe animations. By following these steps, you can create a smooth, professional-looking animation for books, magazines, or comics. Experiment with rotation, motion blur, and easing curves to achieve a realistic page-flipping effect.
Our Bestsellers


