Learn how to bring your logo to life with captivating animations using After Effects. This comprehensive guide will walk you through the process, providing you with valuable tips and techniques that will make your logo stand out in any project.
A Beginner’s Guide to Animating Your Logo in After Effects
Introduction
A well-designed logo is a key component of any brand identity. But, a static logo alone is often not enough to make a lasting impression on your audience. In this scenario, animation is a great way to make your logo more visible and catch the viewer’s attention.
Get 10% off when you subscribe to our newsletter

When you add a professional touch to your brand’s logo through animation, it becomes visually engaging and eye-catching. Therefore, increasing the chances of a memorable connection with the viewer. One of the most powerful tools, to add animation to your logo, is Adobe After Effects – a popular software among motion graphics designers and animators.
This article covers the process that you can use to make your very own logo animation effortlessly, whether you are a beginner motion designer or an experienced logo animator.
Get 10% off when you subscribe to our newsletter

Follow this step-by-step guide to learn about setting up your project, adding keyframes and applying effects.
Getting Started: Setting Up Your Project
Before diving into logo animation, it’s essential to set up your After Effects project correctly. Here are a few tips to help you get started:
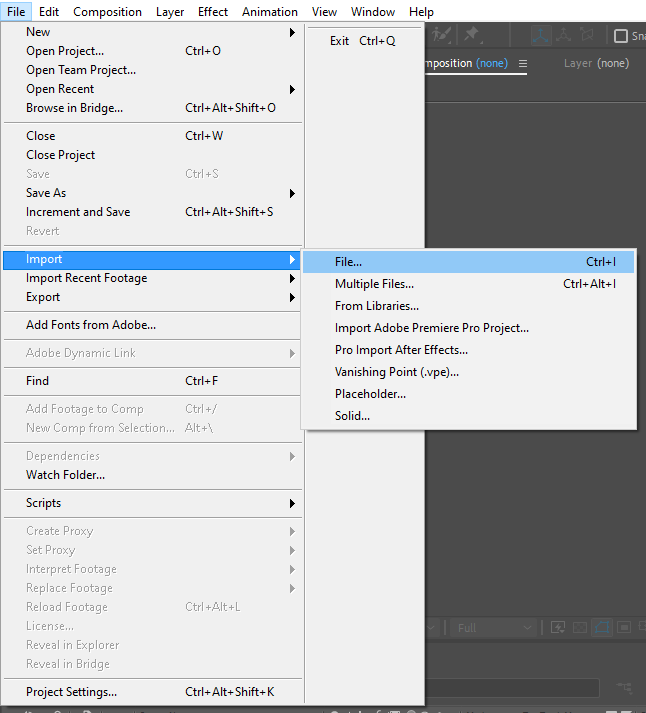
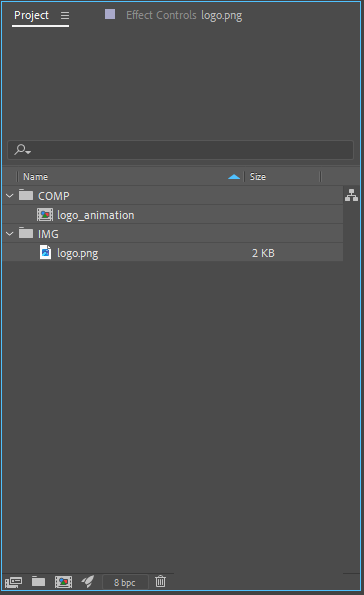
- Import Your Logo: Start by importing your logo file into After Effects. You can do this by going to File > Import > File or use a hotkey “Ctrl + I (Win)” or “Cmd + I (Mac)” and selecting your logo file.
Adding Animation: Keyframes and Effects
Now that your project is set up, let’s dive into animating your logo using keyframes and effects. Follow these steps to make your logo come to life:
- Position and Scale: Select your logo layer and press “S” on your keyboard to reveal the scale property. Add a keyframe at the beginning of your timeline, then move forward a few frames and adjust the scale to your liking. After Effects will automatically create a smooth transition between the keyframes.

Get 10% off when you subscribe to our newsletter


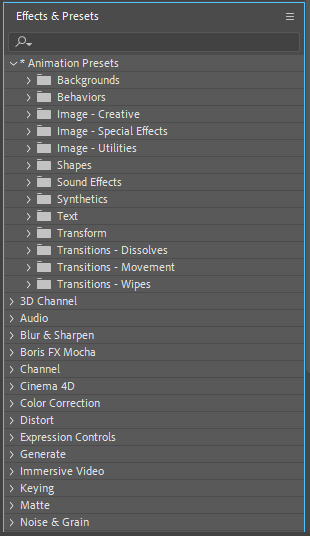 Fine-Tuning and RefiningOnce you have applied keyframes and effects to your logo, it’s time to fine-tune the animation for a polished result. Here are a few tips to help you refine your logo animation:
- Easing: To create a more natural and smooth motion, adjust the easing of your keyframes. Use the Graph Editor to modify the speed and acceleration of your logo’s movement.
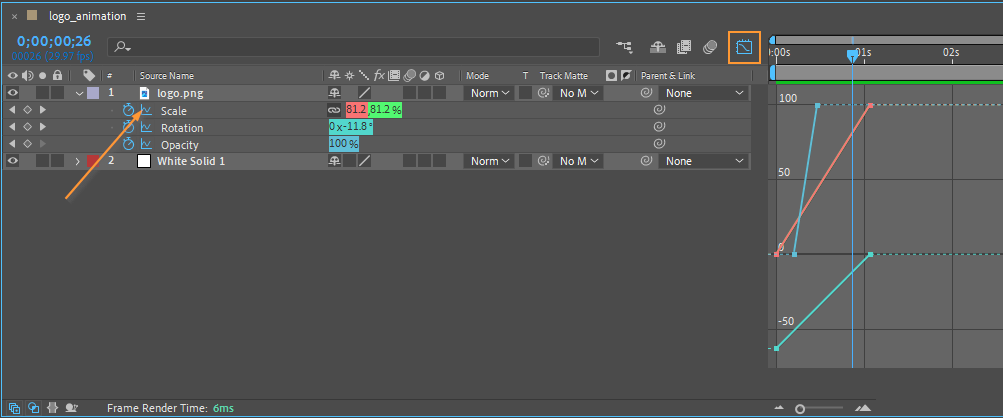
- Timing: Pay attention to the timing of your animations. Use the keyframe icon to enable or disable them at specific moments, creating pauses or syncing with other elements in your project.

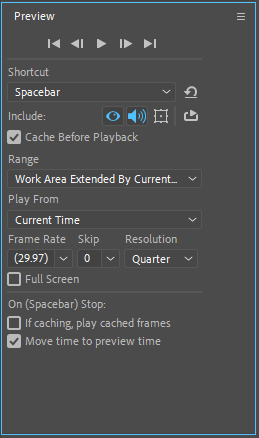 Exporting Your Animated Logo
Once you are satisfied with your logo animation, it’s time to export it for use in your projects. Follow these steps to export your animated logo:
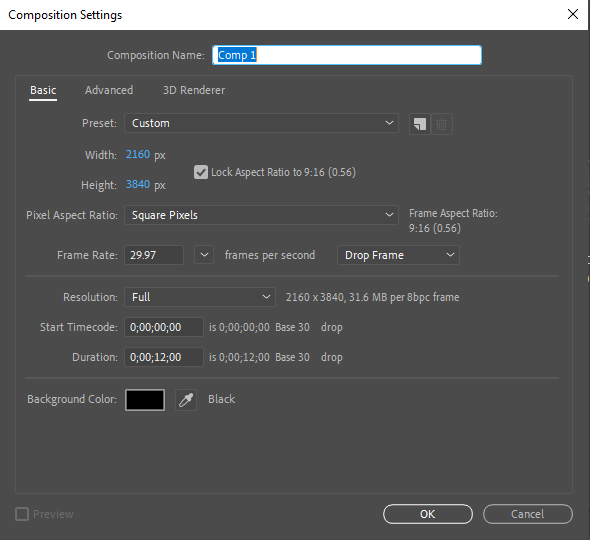
- Composition Settings: Make sure your composition settings match your desired output. Go to Composition > Composition Settings, and adjust the resolution and frame rate if needed.
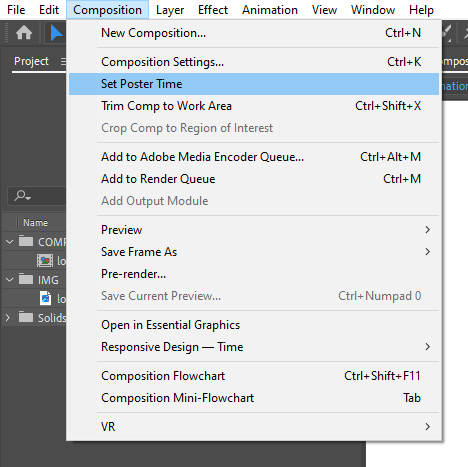
- Render Queue: Click on Composition > Add to Render Queue to add your composition to the render queue. Set your desired output format and location.

Get 10% off when you subscribe to our newsletter


Conclusion
Animating your logo in After Effects can elevate your brand identity and captivate your audience. By using keyframes, effects, and fine-tuning techniques, you can bring your logo to life with stunning animations.
Throughout this article, we’ve explored the essential steps to animate a logo in After Effects. From setting up your project and adding keyframes to applying effects and exporting your animation, you now have a solid foundation to create professional logo animations.
Keep in mind that logo animation is a creative process, so don’t be afraid to experiment and try different techniques. Allow your brand’s personality to shine through your animations and strive for a design that aligns with your brand’s message and values.
Get 10% off when you subscribe to our newsletter

As you continue to practice and explore the vast possibilities in After Effects, your logo animations will become more refined and visually compelling. Don’t hesitate to seek out tutorials and online resources to expand your knowledge and learn new techniques.
Now it’s time to take what you’ve learned and apply it to your own logo animation projects. So go ahead, unleash your creativity, and let your logo stand out with captivating animations in After Effects.

