To animate a logo using After Effects, you will need to follow a specific set of steps:
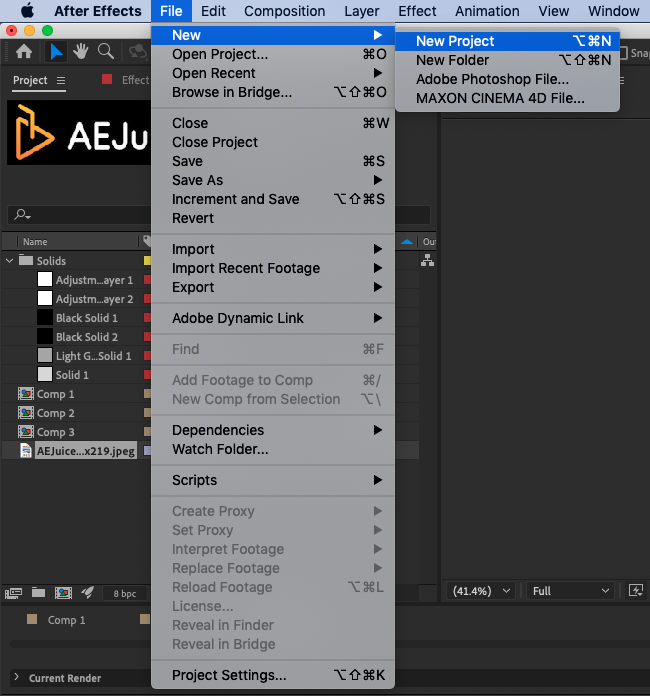
Open After Effects and create a new project by going to File > New > New Project or using the shortcut Ctrl + Alt + N on Win or Command + Option + N on Mac.
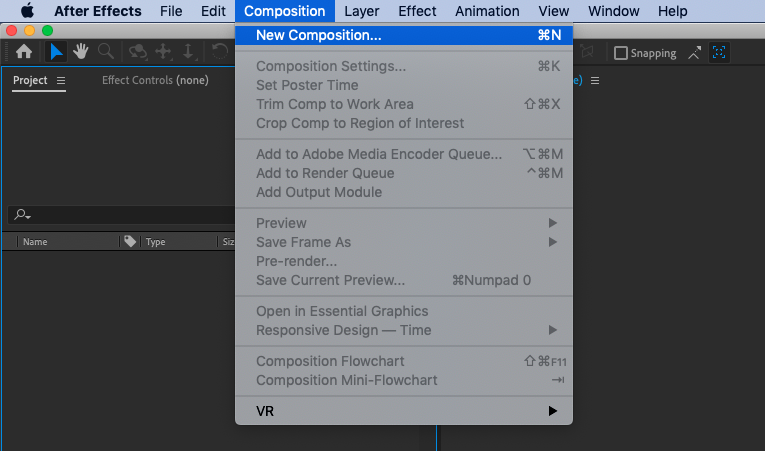
Create a new composition by going to Composition > New Composition, or using
Ctrl + N on Win or Command + N on Mac
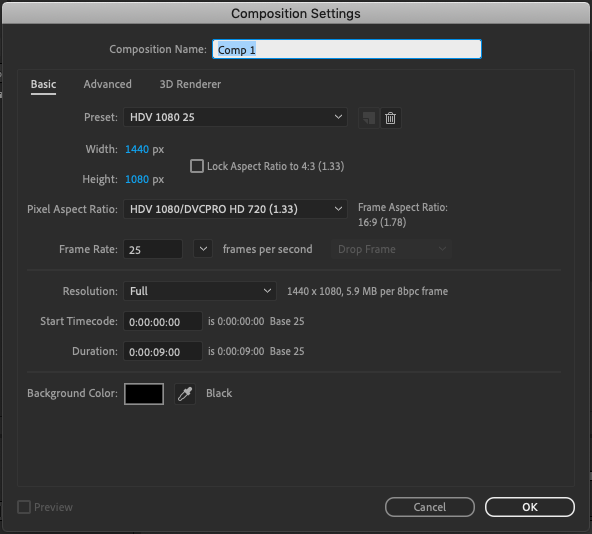
Set the desired width, height, and frame rate for your animation in the Composition Settings window and hit OK.
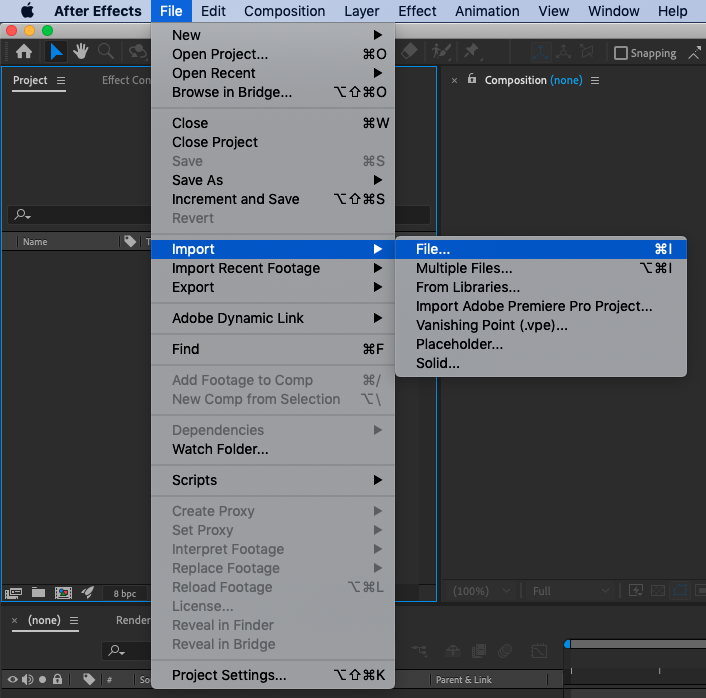
Import your logo into the project by going to File > Import > File… or hit Ctrl + I on Win or Command + I on Mac
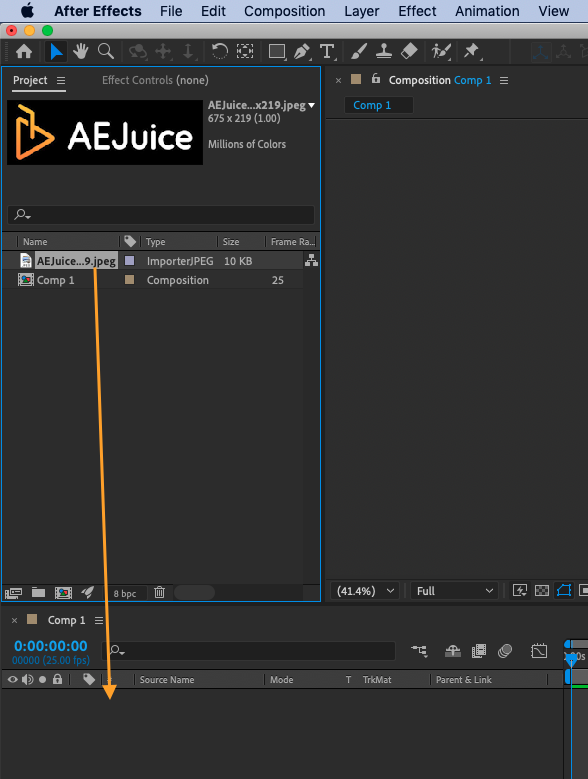
Add the logo file to the composition by dragging it from the Project panel onto the Timeline panel.
Get 10% off when you subscribe to our newsletter

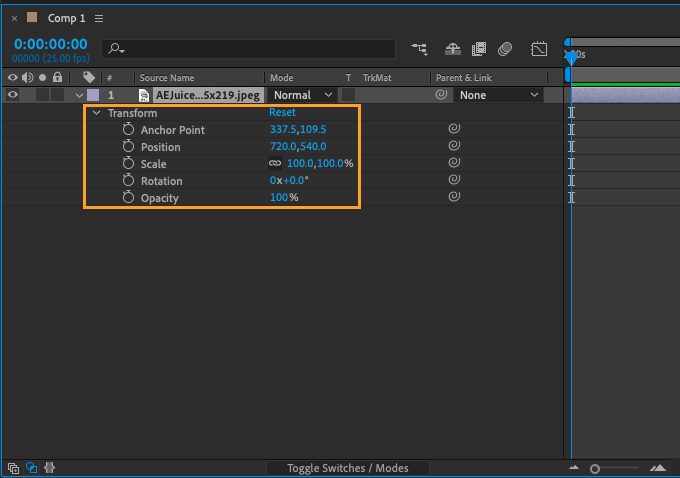
Use the Transform properties, such as Position, Scale, and Rotation, to animate the logo. These properties can be accessed by unfolding the logo layer in the Timeline panel.
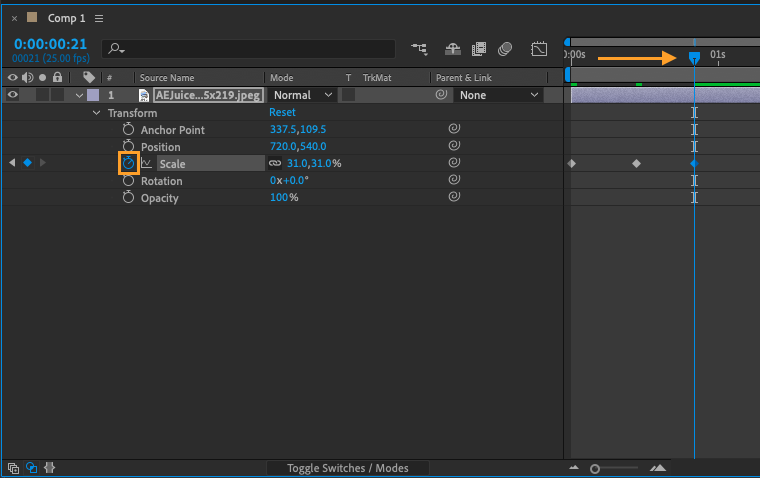
Create keyframes to specify the values of the Transform properties at specific points in time.
- Click the stopwatch icon next to the property you want to animate.
- Move the playhead to a new time and specify a new value for the property.
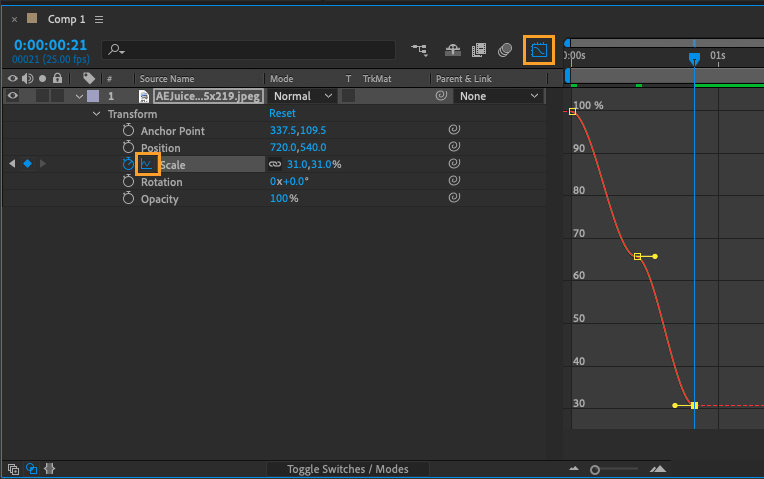
Using the Graph Editor to fine-tune the animation curves and achieve smoother, more natural-looking motion.
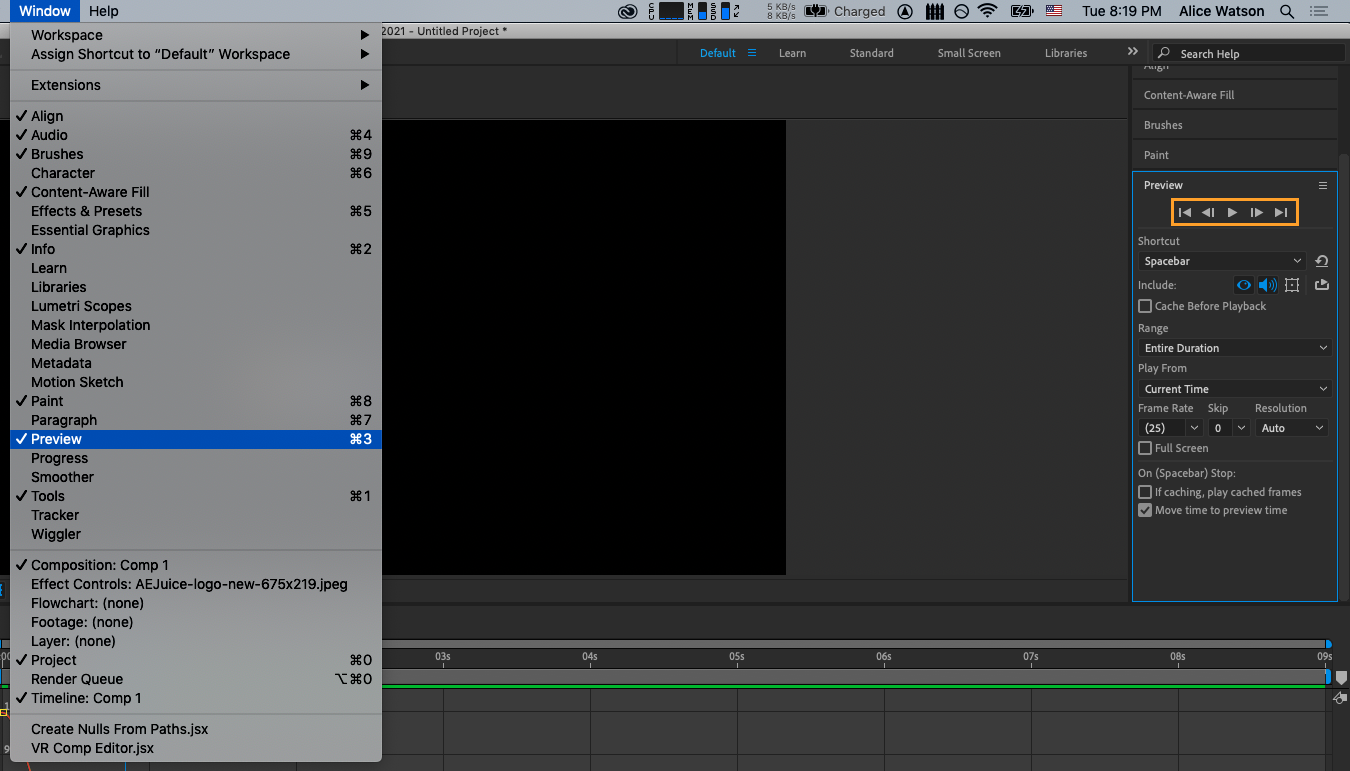
Hit a Space bar or use the Preview panel to view the animation and make any necessary adjustments.
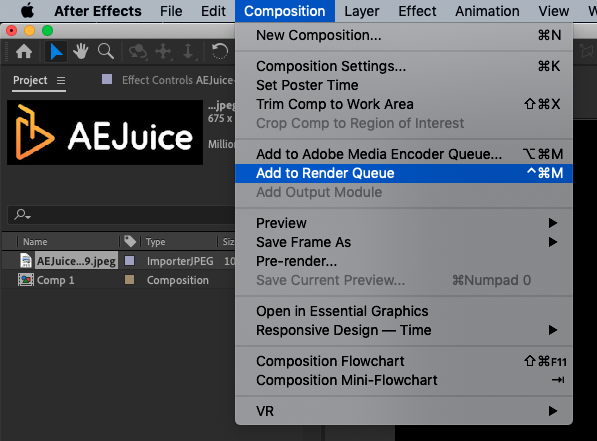
Render the composition by going to Composition > Add to Render Queue or using the shortcut Ctrl + M on Win or Command + Ctrl + M on Mac.
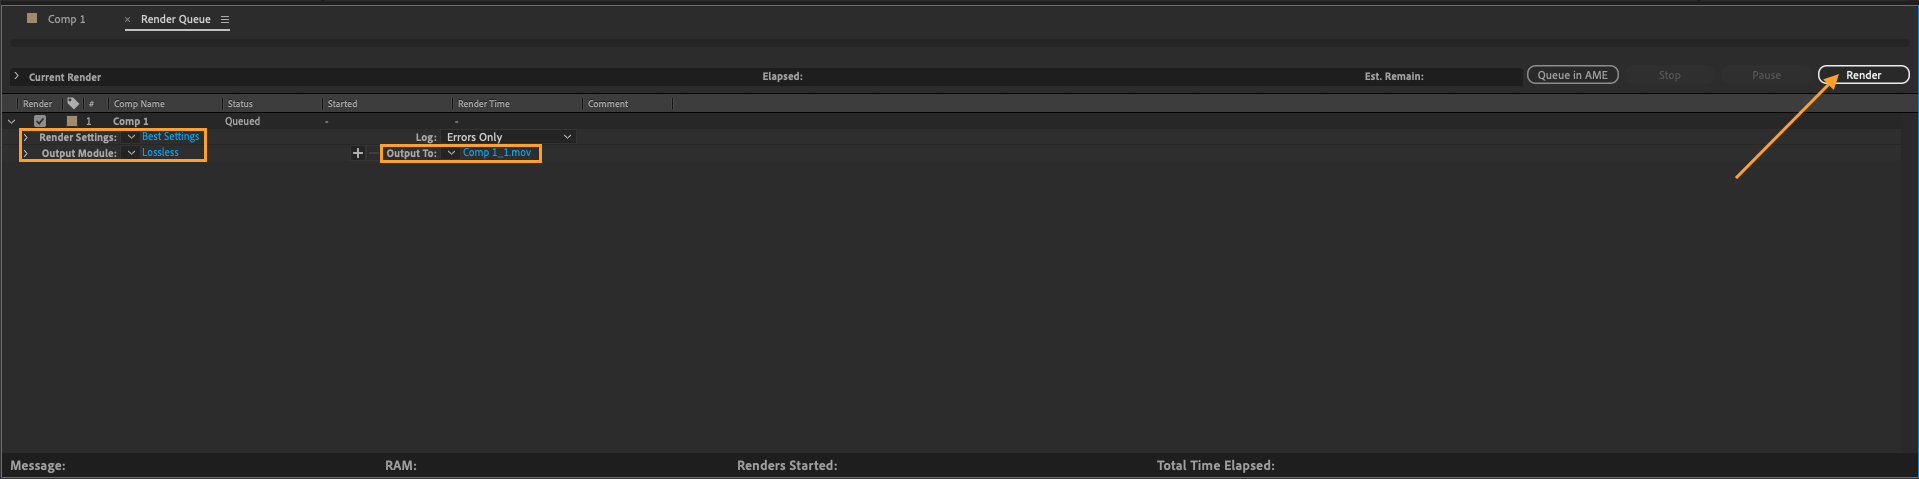
In the Render Queue, specify the desired output settings and click Render to create a finished video file.
By following these steps, you should be able to successfully animate your logo using After Effects.
Our Bestsellers

