Creating a Flower Animation in After Effects
Introduction
Animating flowers in After Effects allows you to create organic and visually appealing motion graphics. This effect is useful for backgrounds, decorative elements, or animated transitions. In this tutorial, you will learn how to create a blooming flower using shape layers, animate it with the Pucker & Bloat effect, and enhance the animation with glow effects and looping expressions.
Get 10% off when you subscribe to our newsletter

Step 1: Create a New Composition
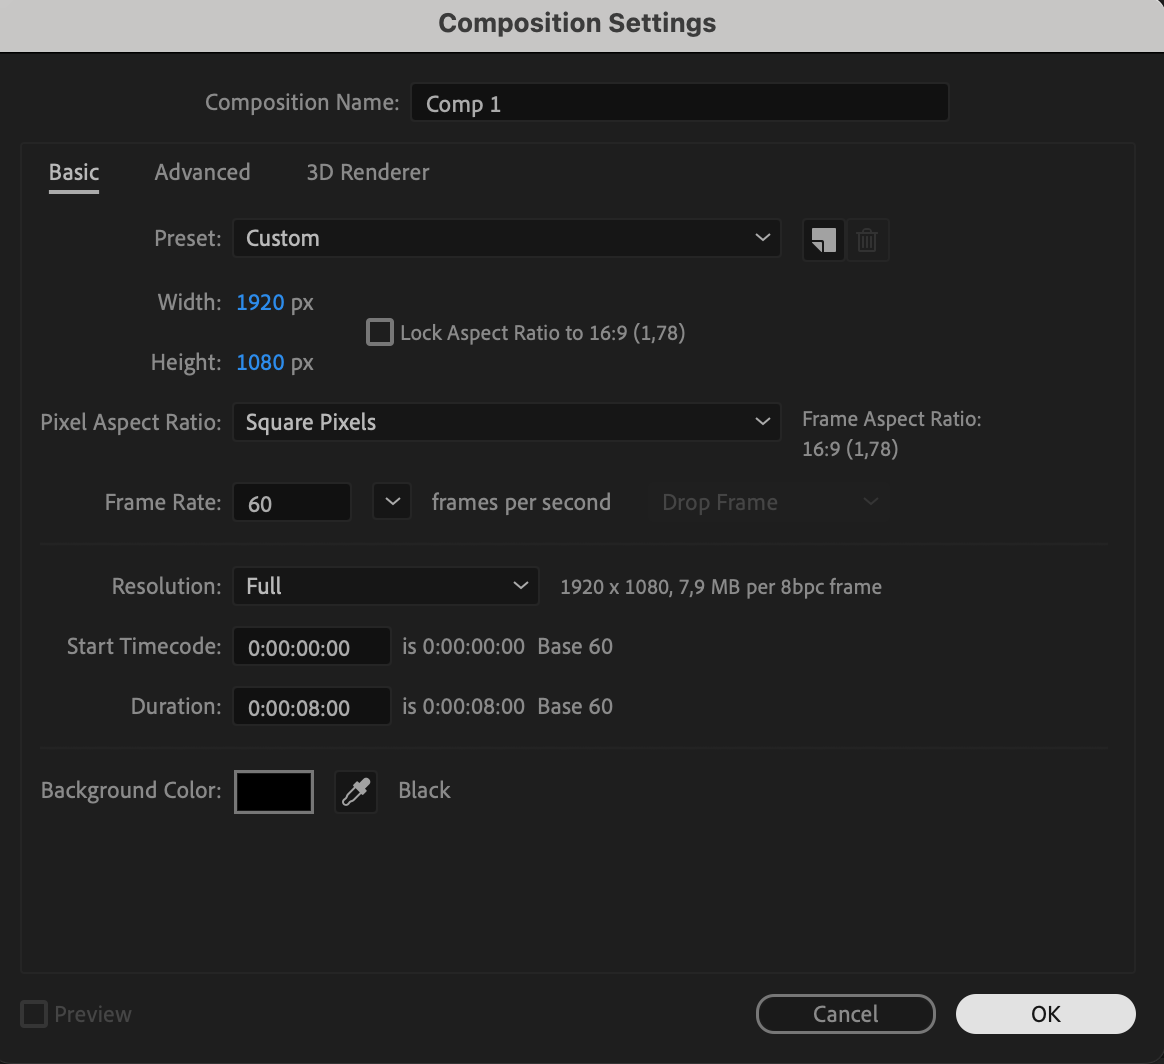
Go to Composition > New Composition and set the resolution to 1920×1080 pixels, frame rate to 60 fps, and duration to 8 seconds. This will be the workspace for your animation.

 Step 2: Create a Flower Shape
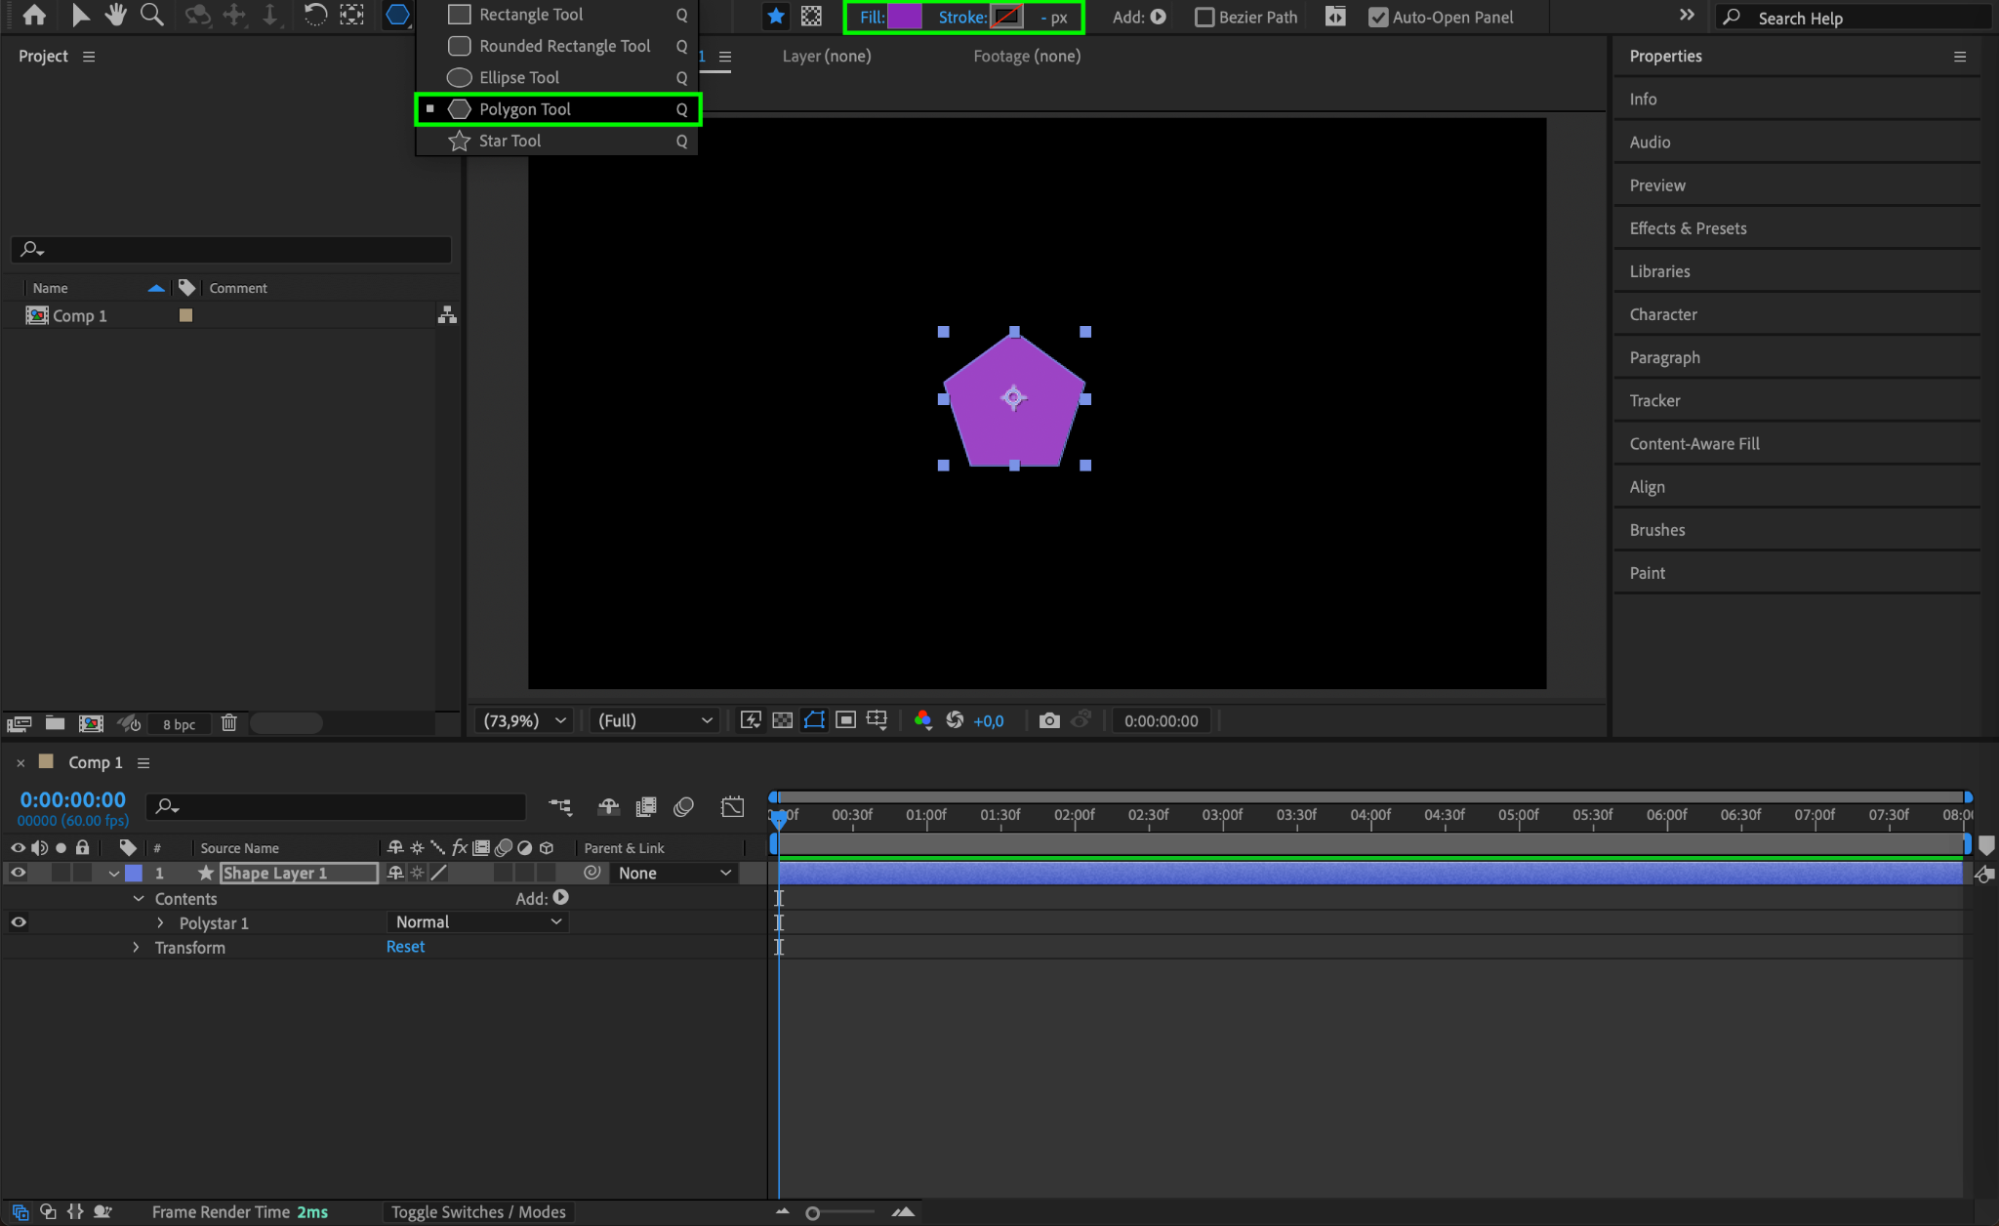
Select the Polygon Tool (Q) from the toolbar. Click anywhere on the composition and adjust the fill color to your desired hue. This will be the base shape for the flower.
 Step 3: Add the Pucker & Bloat Effect
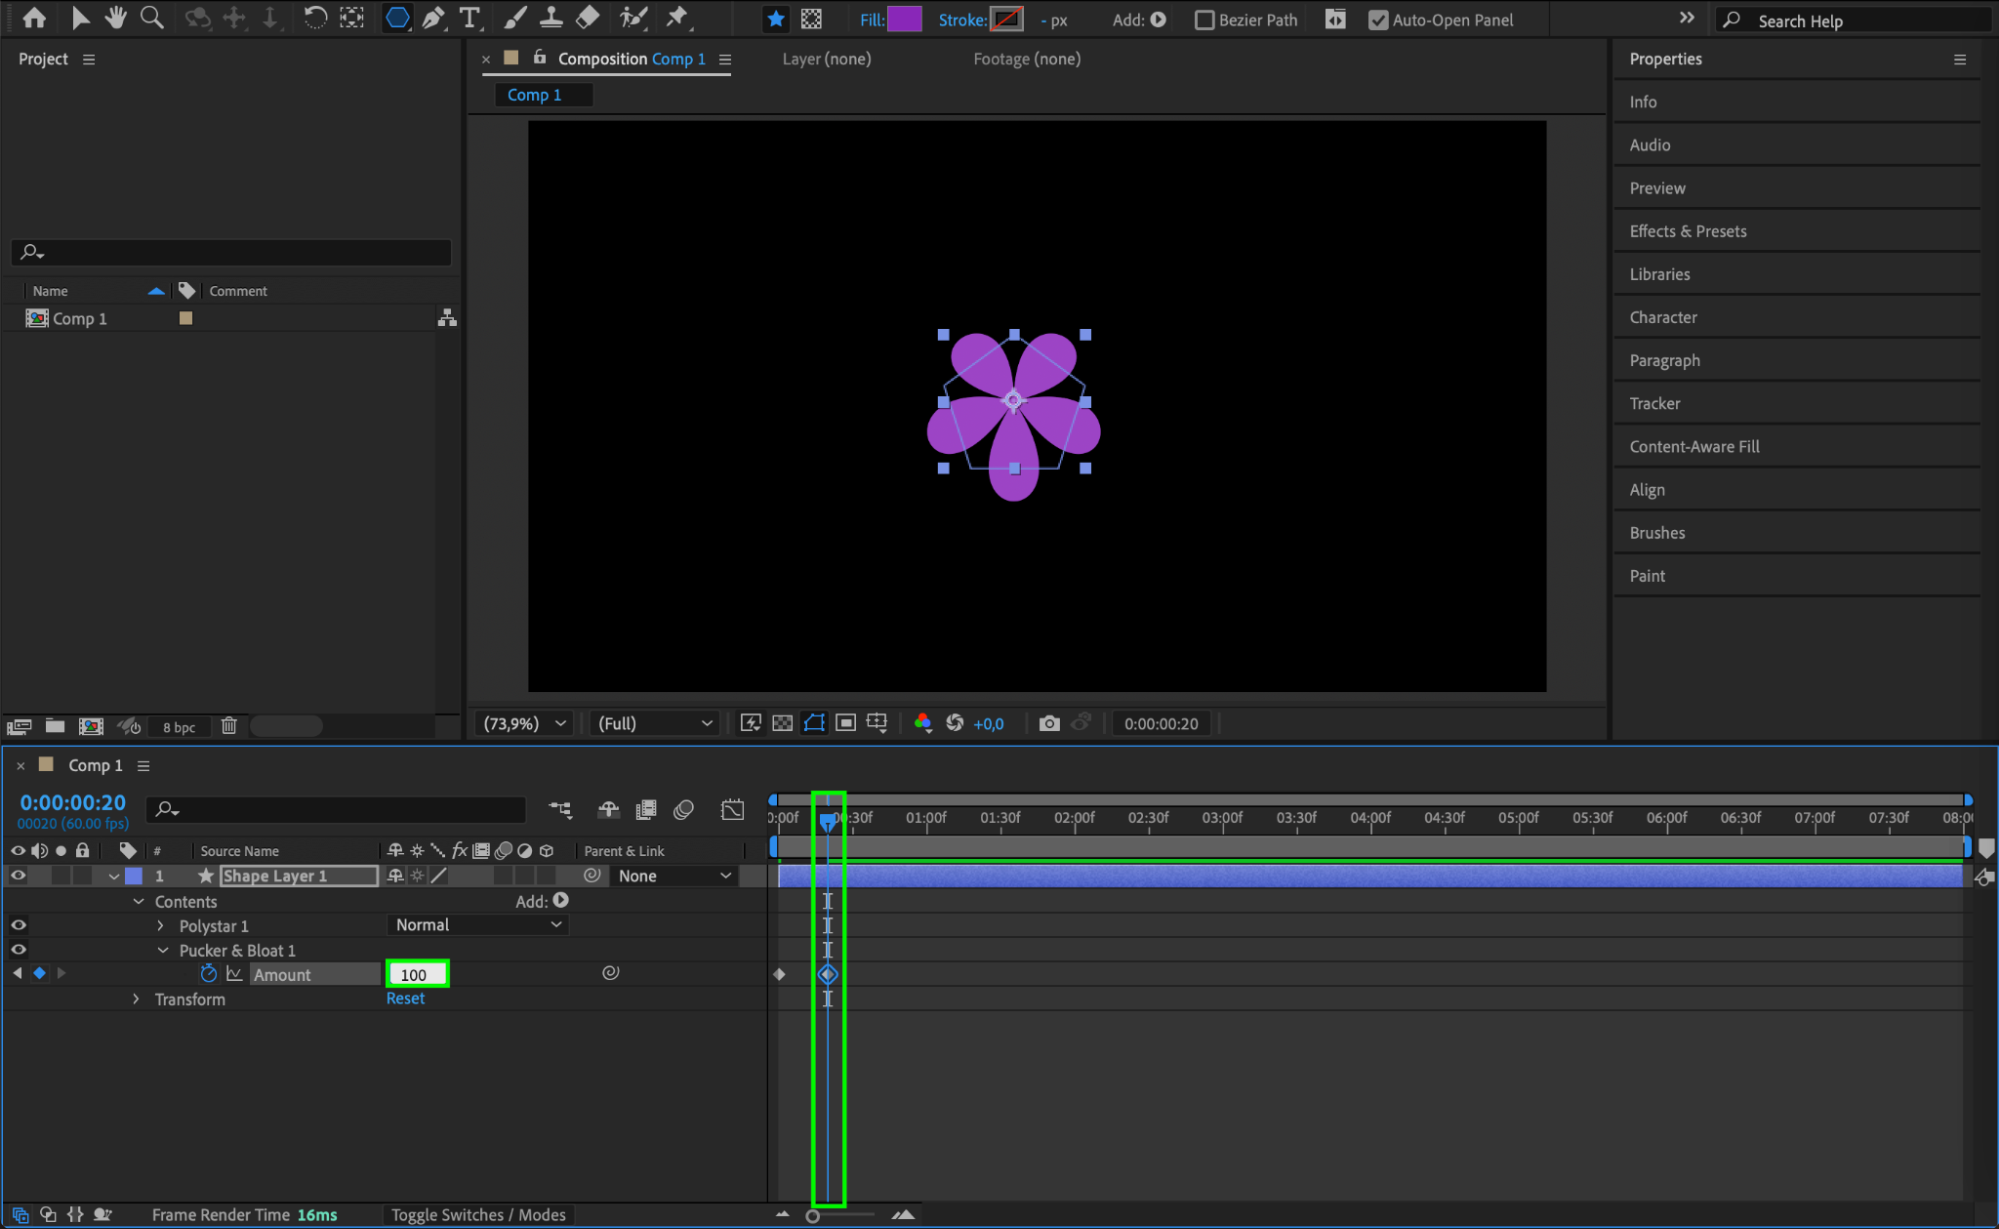
Expand the properties of Shape Layer 1, then next to Contents, click the small triangle immediately after the Add button and select Pucker & Bloat. This effect will help shape the petals of the flower.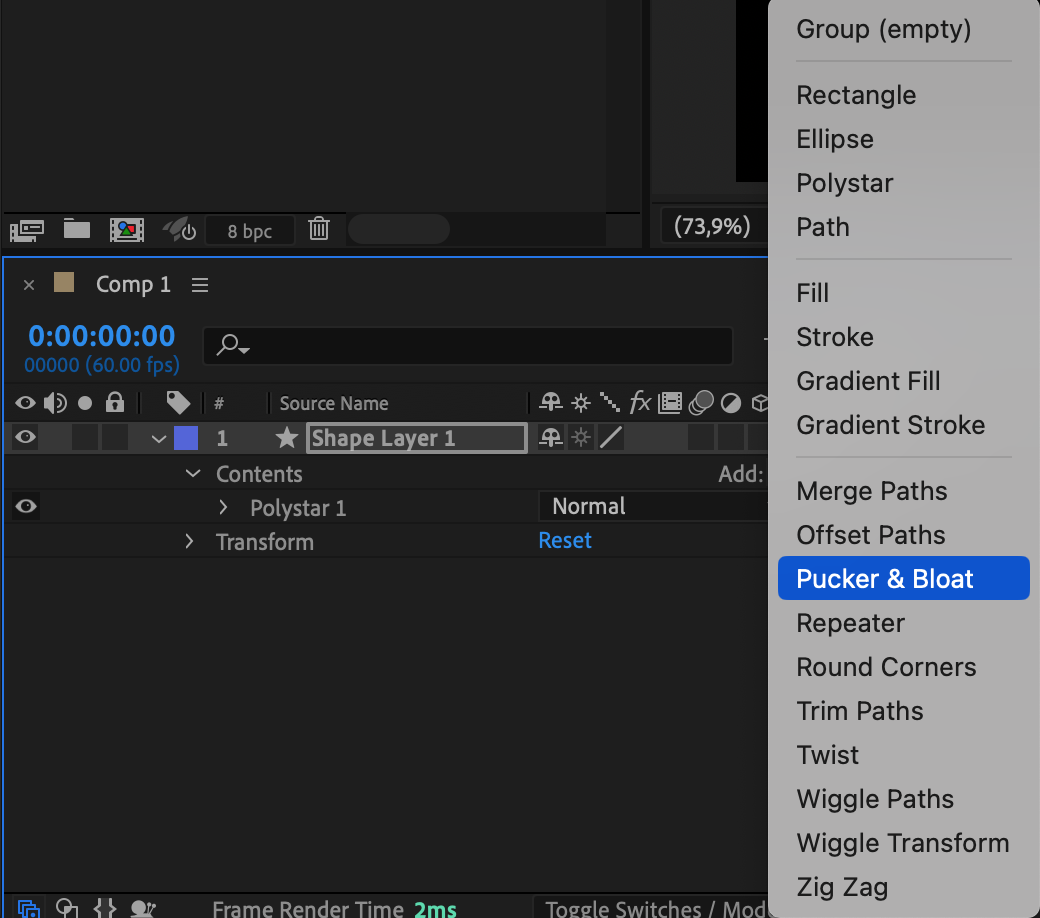 Step 4: Animate the Blooming Effect
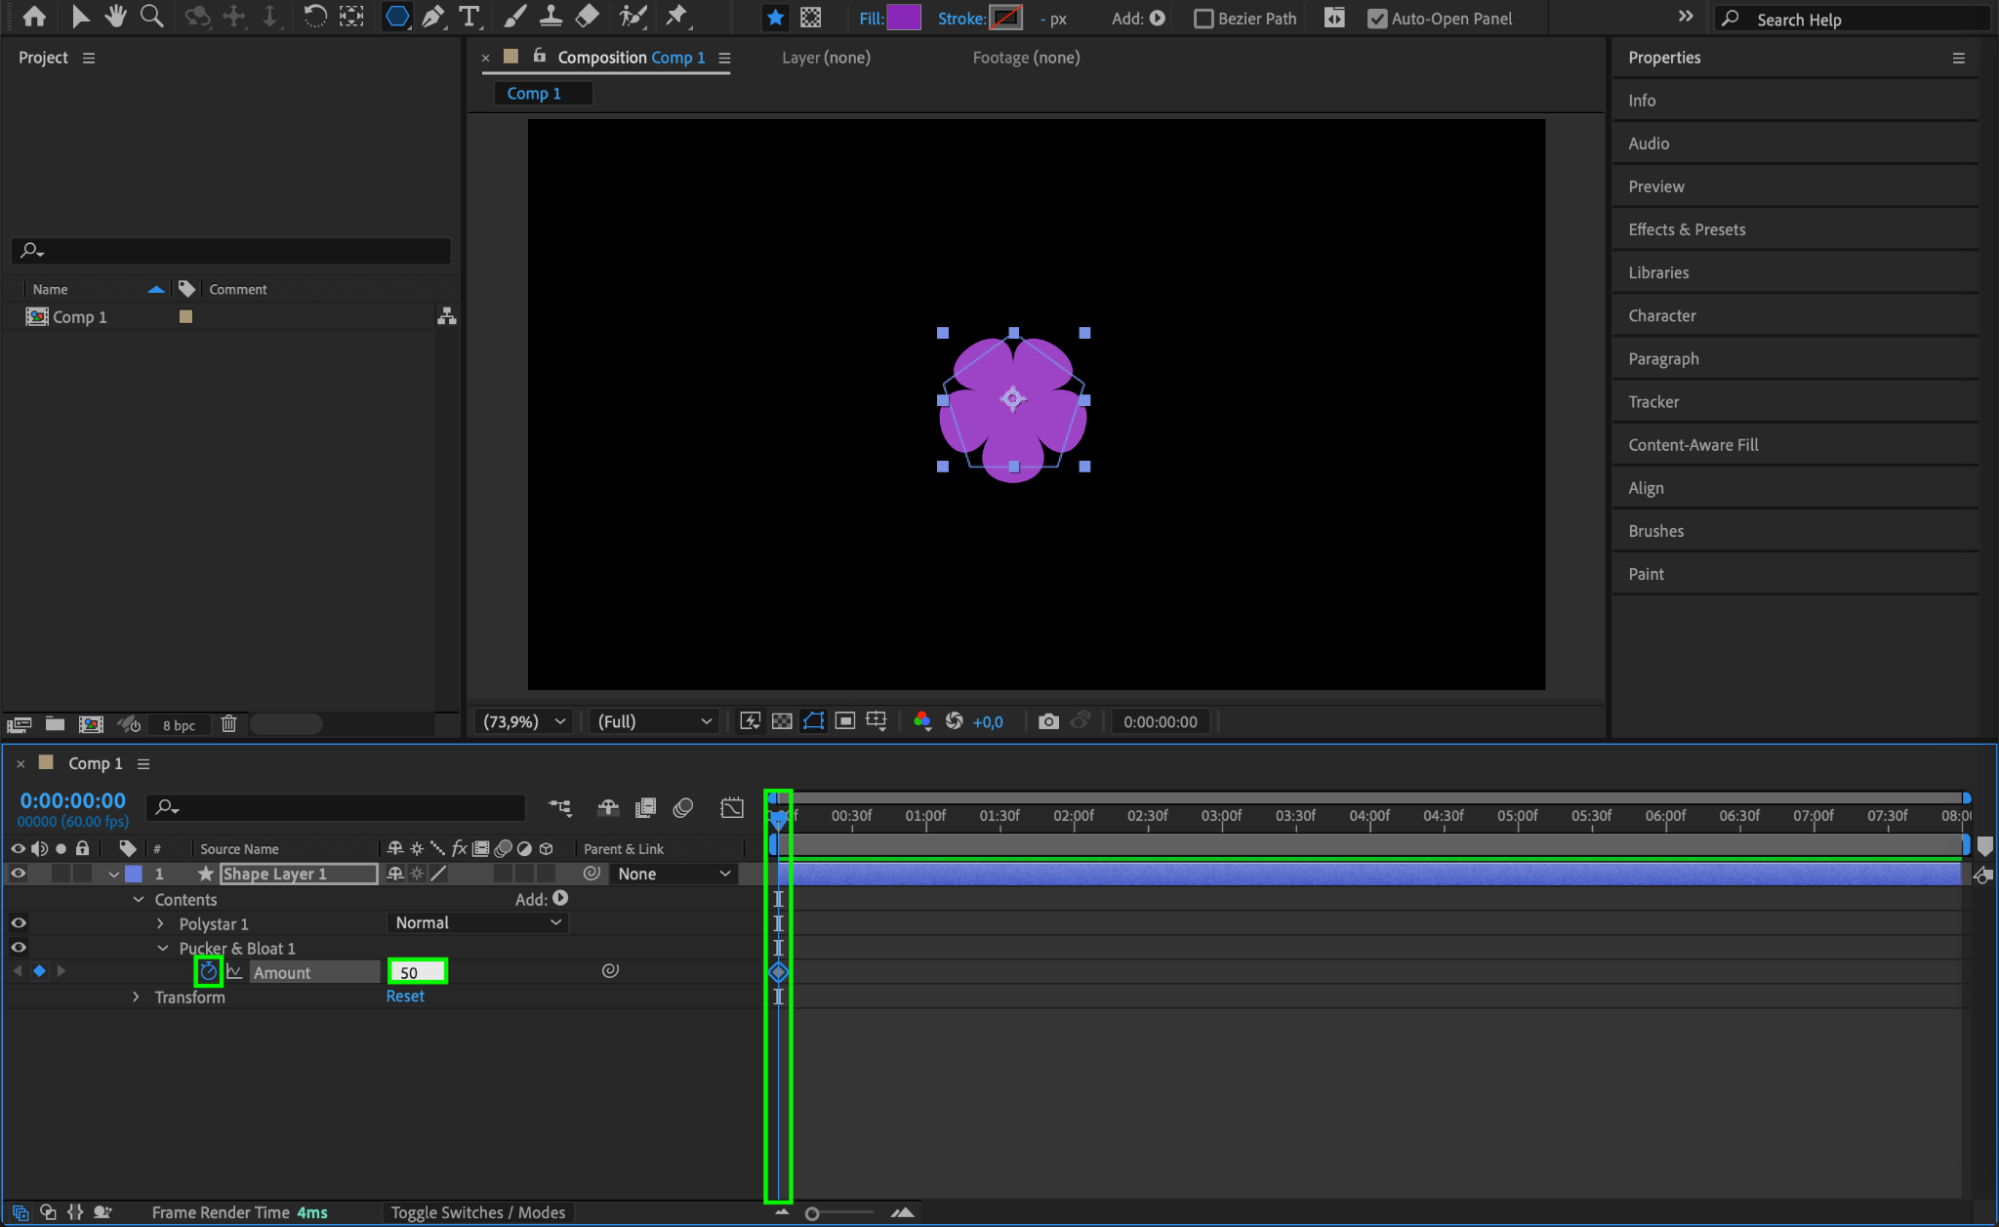
Expand Shape Layer 1 > Contents > Polystar 1 > Pucker & Bloat and locate the Amount property.
Move the Current Time Indicator (CTI) to the beginning of the timeline.
Set Amount to 50 and click the stopwatch to create a keyframe.
Move the CTI forward 20-30 frames and set Amount to 100 to create an opening effect.
 Step 5: Loop the Animation with Expressions
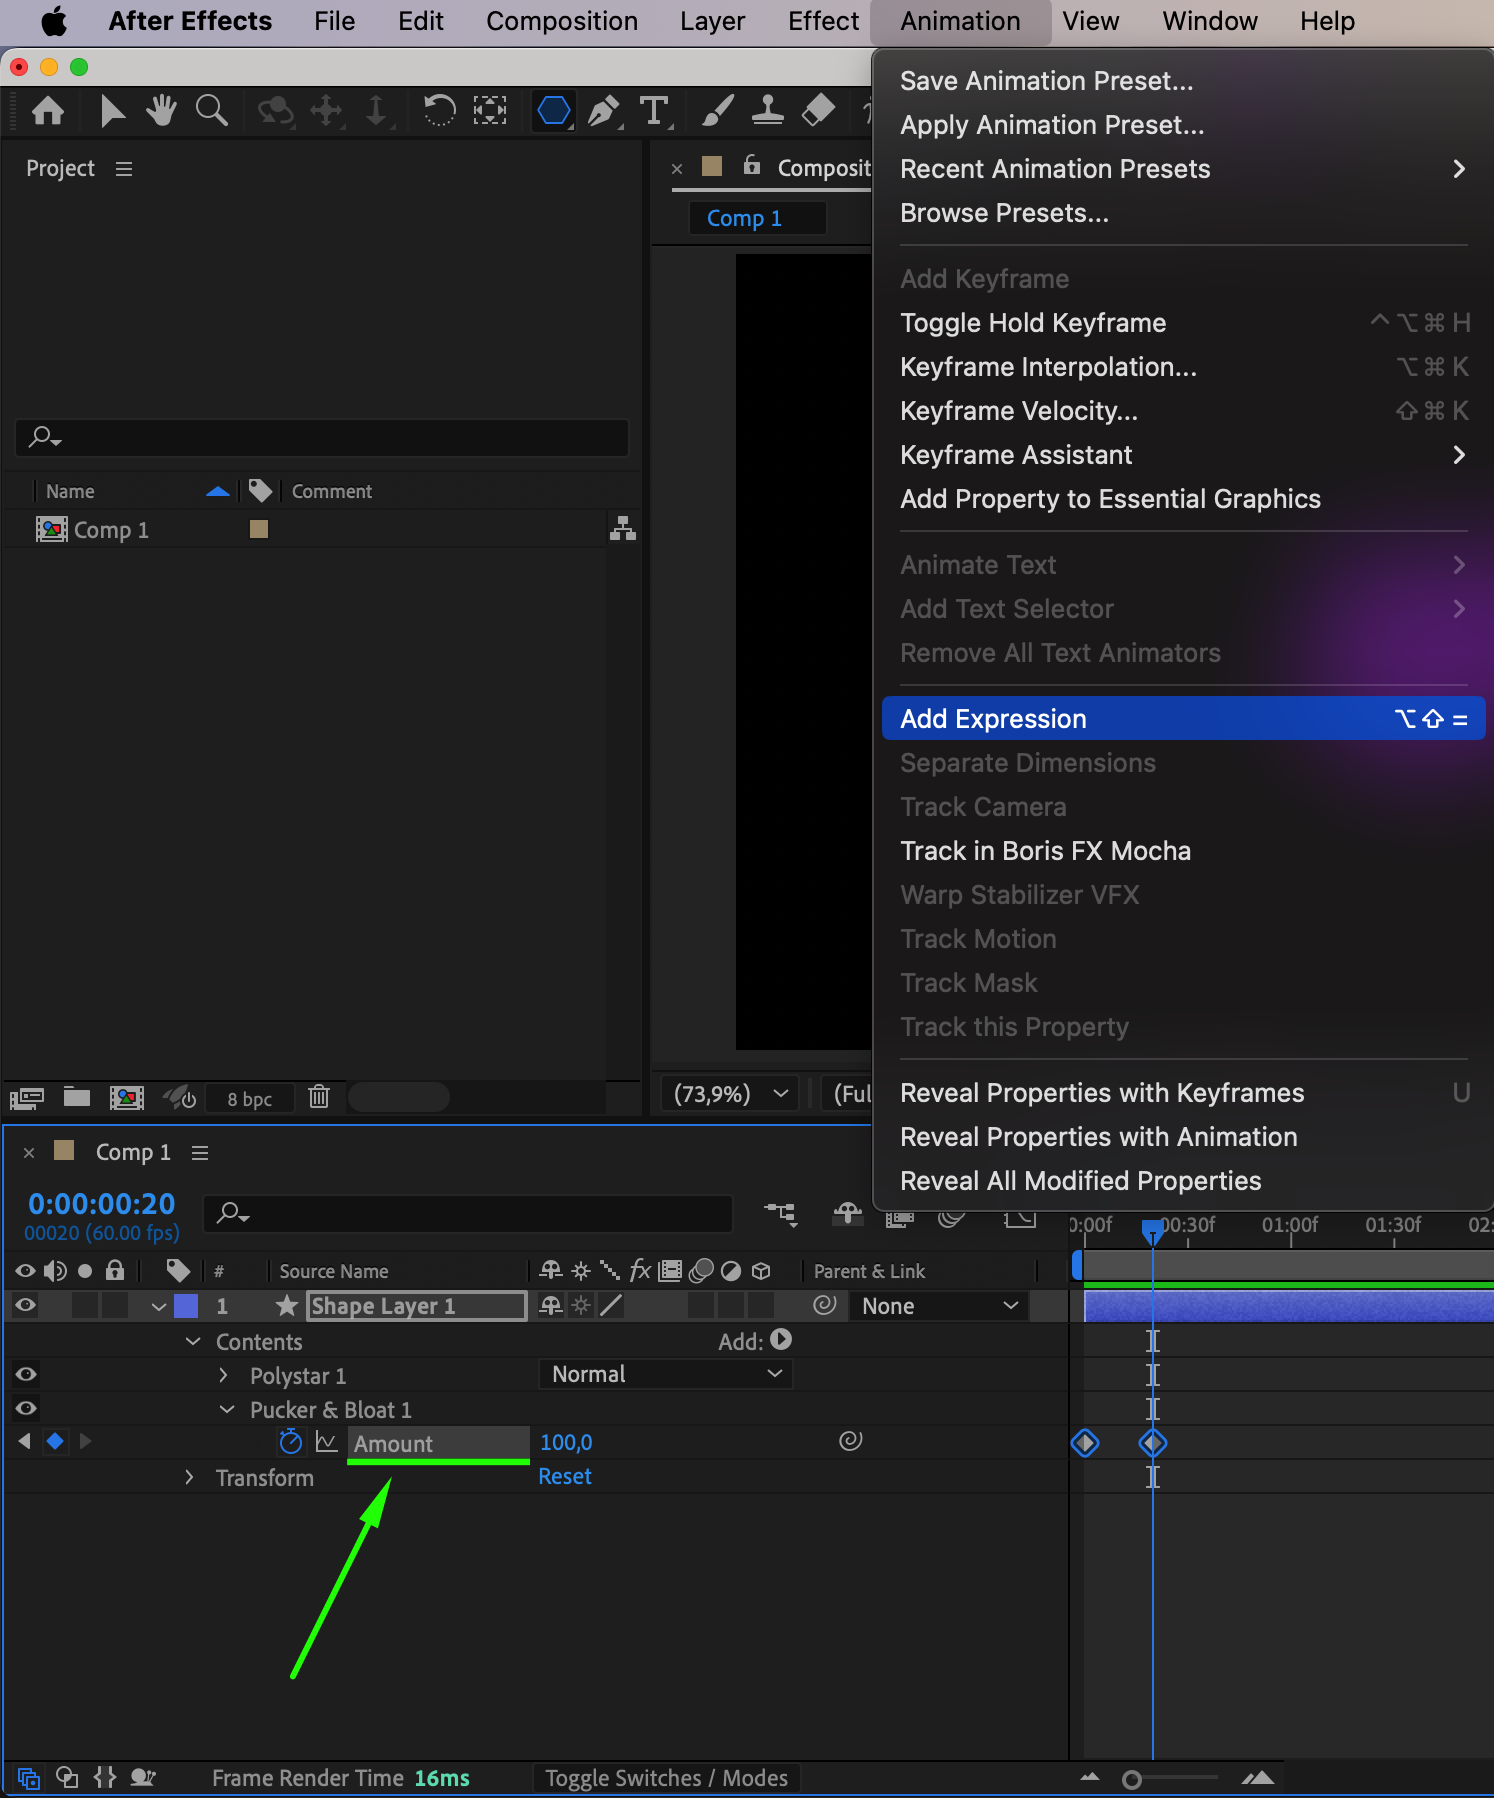
Select the Amount property, go to Animation > Add Expression, and type:
loopOutDuration()
This ensures the blooming effect will continuously loop throughout the animation.
 Step 6: Apply Effects for Enhancement
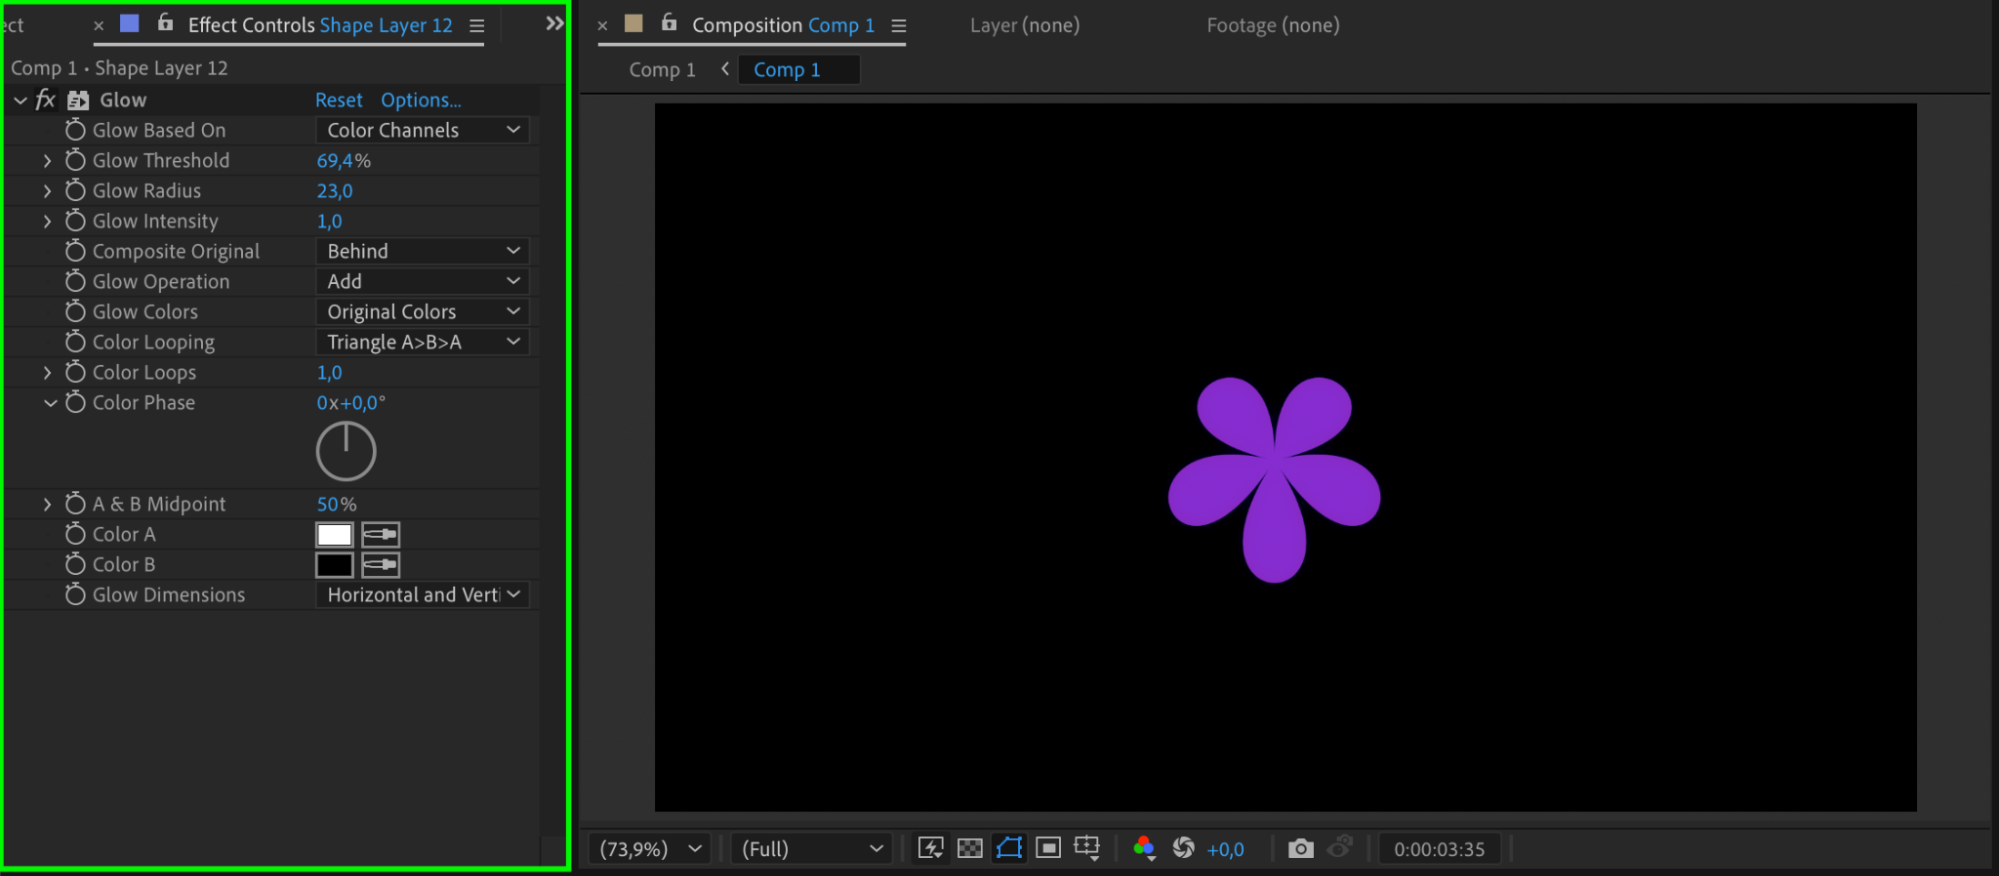
Open the Effects & Presets panel and search for the Glow effect. Drag it onto your shape layer to add a soft glow effect. Adjust the Intensity and Radius to enhance the appearance of the flower. You can experiment with other effects like Drop Shadow or CC Kaleida for additional variations.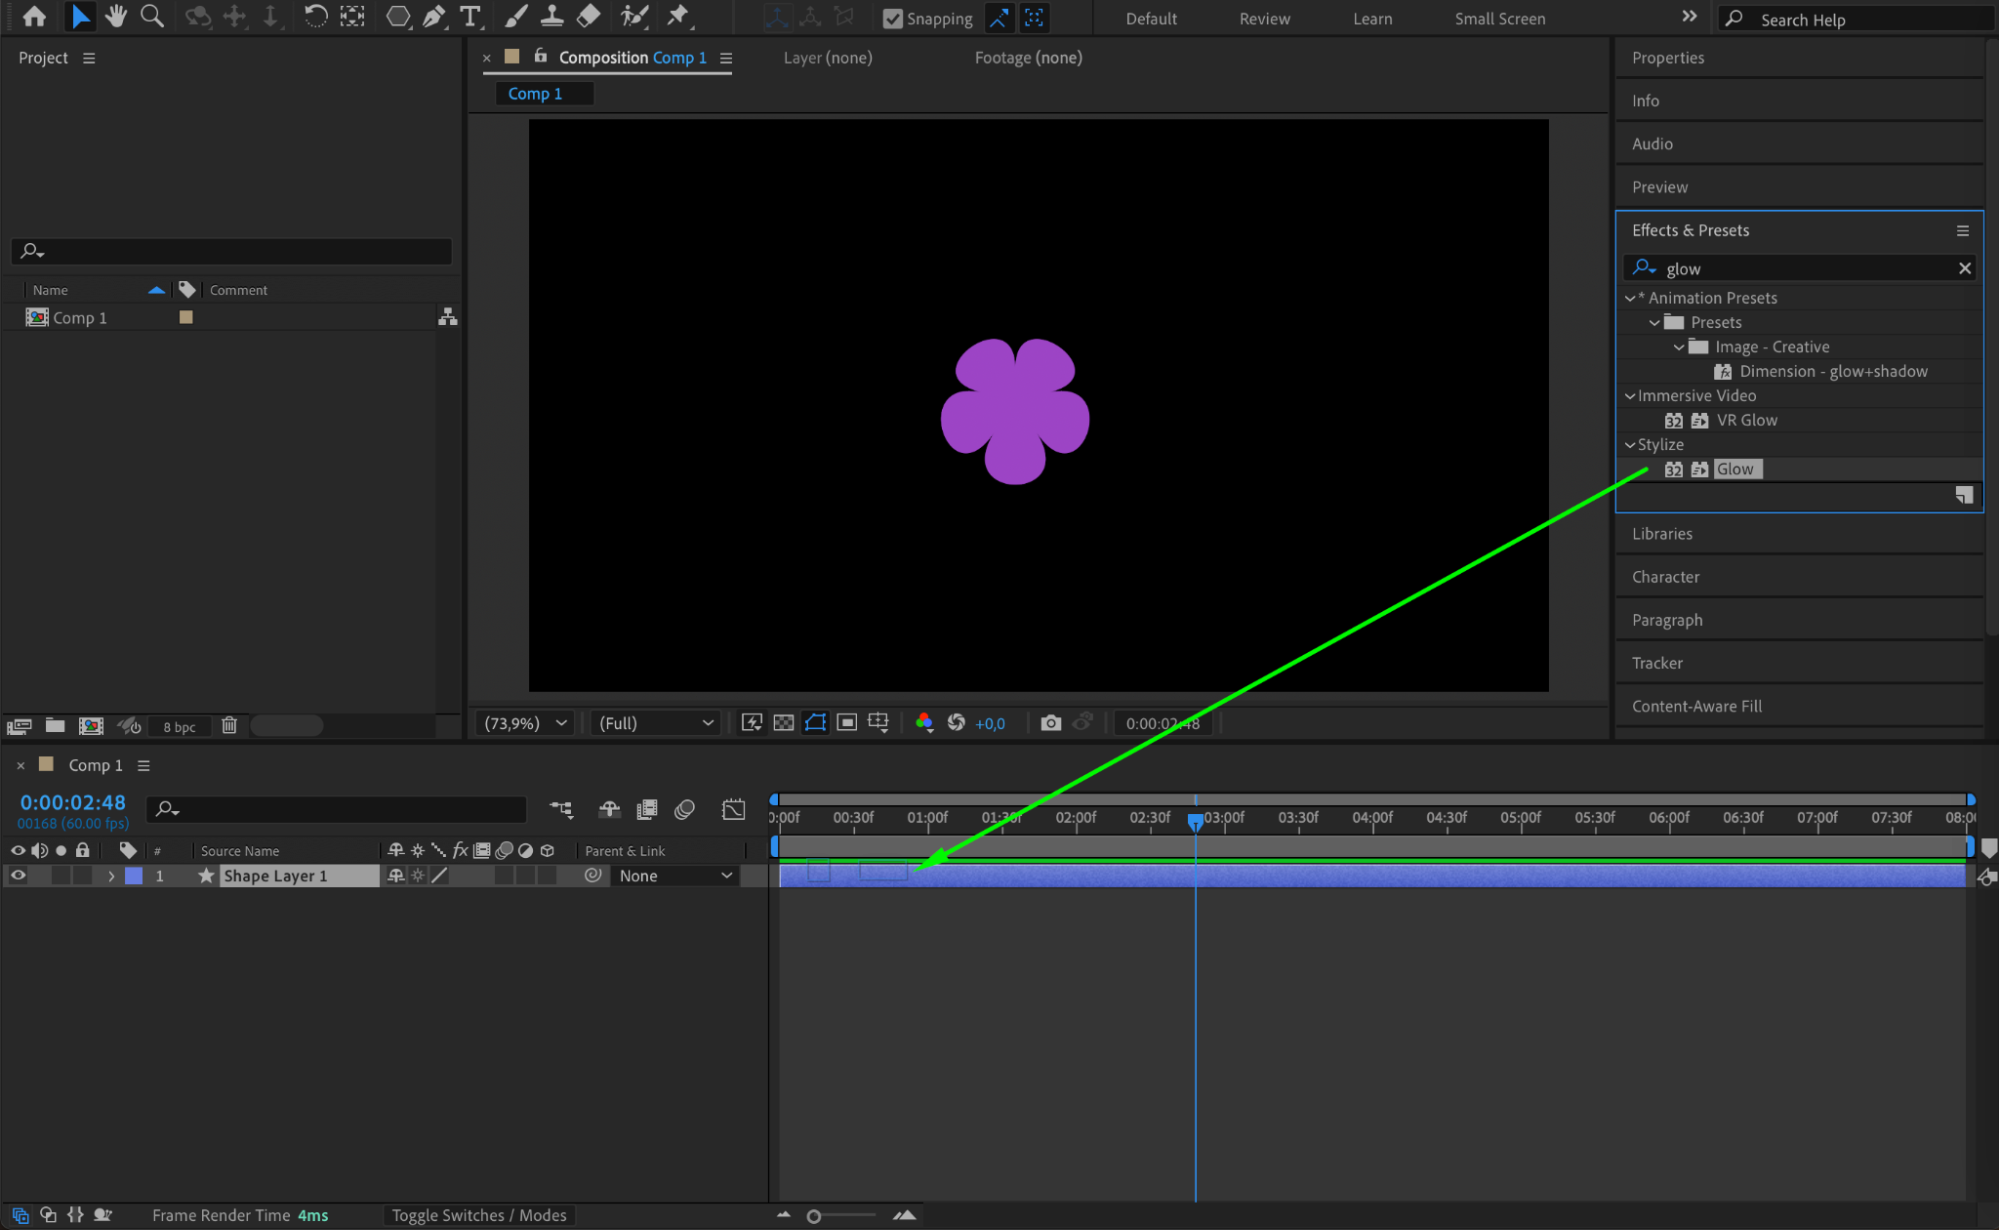
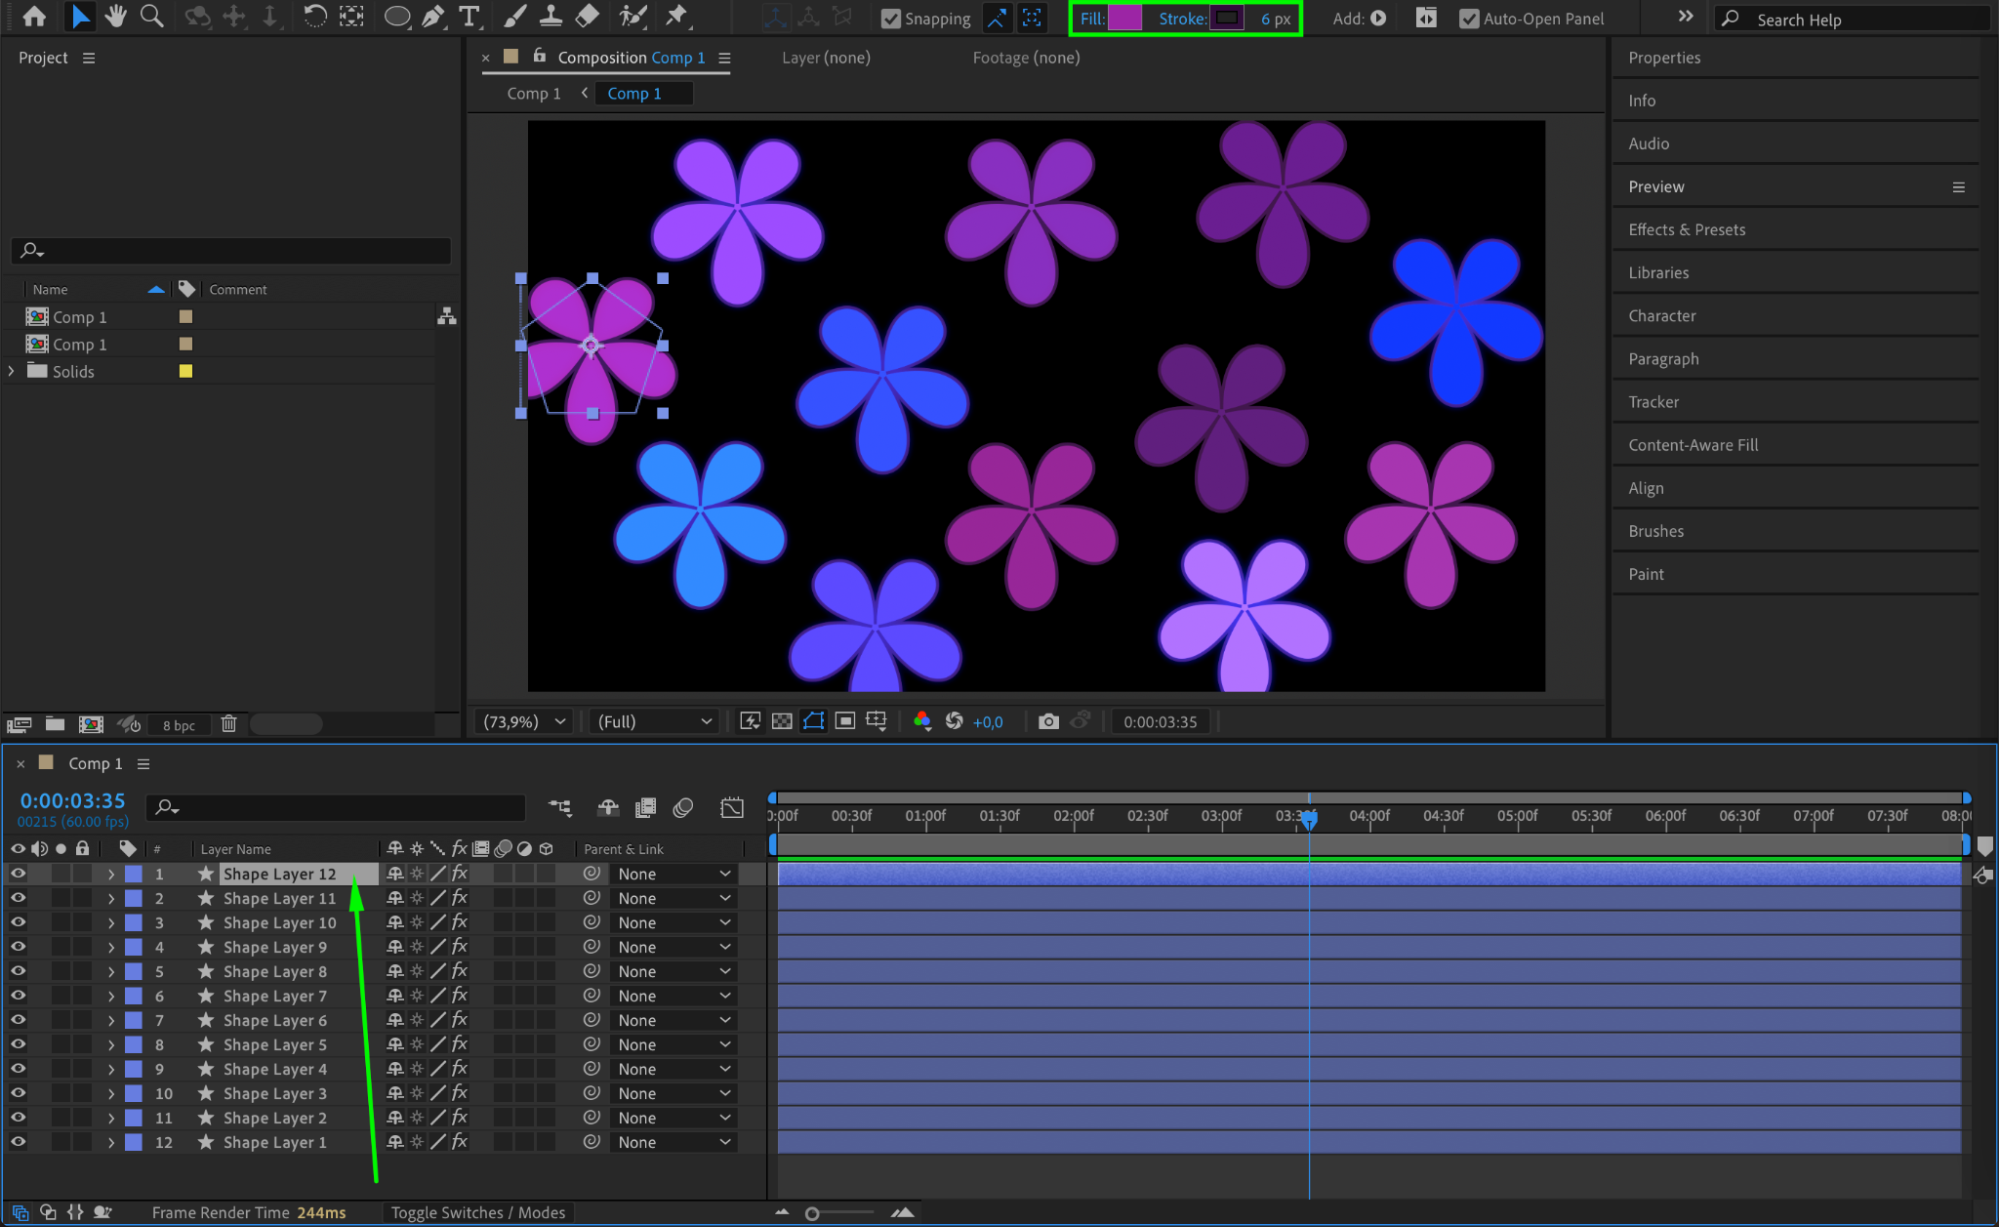
 Step 7: Duplicate the Flower to Create a Pattern
Select the flower layer, go to Edit > Duplicate to create multiple copies. Move and scale the duplicated layers to form a visually interesting background pattern. You can also adjust the Fill and Stroke properties to add variation in color.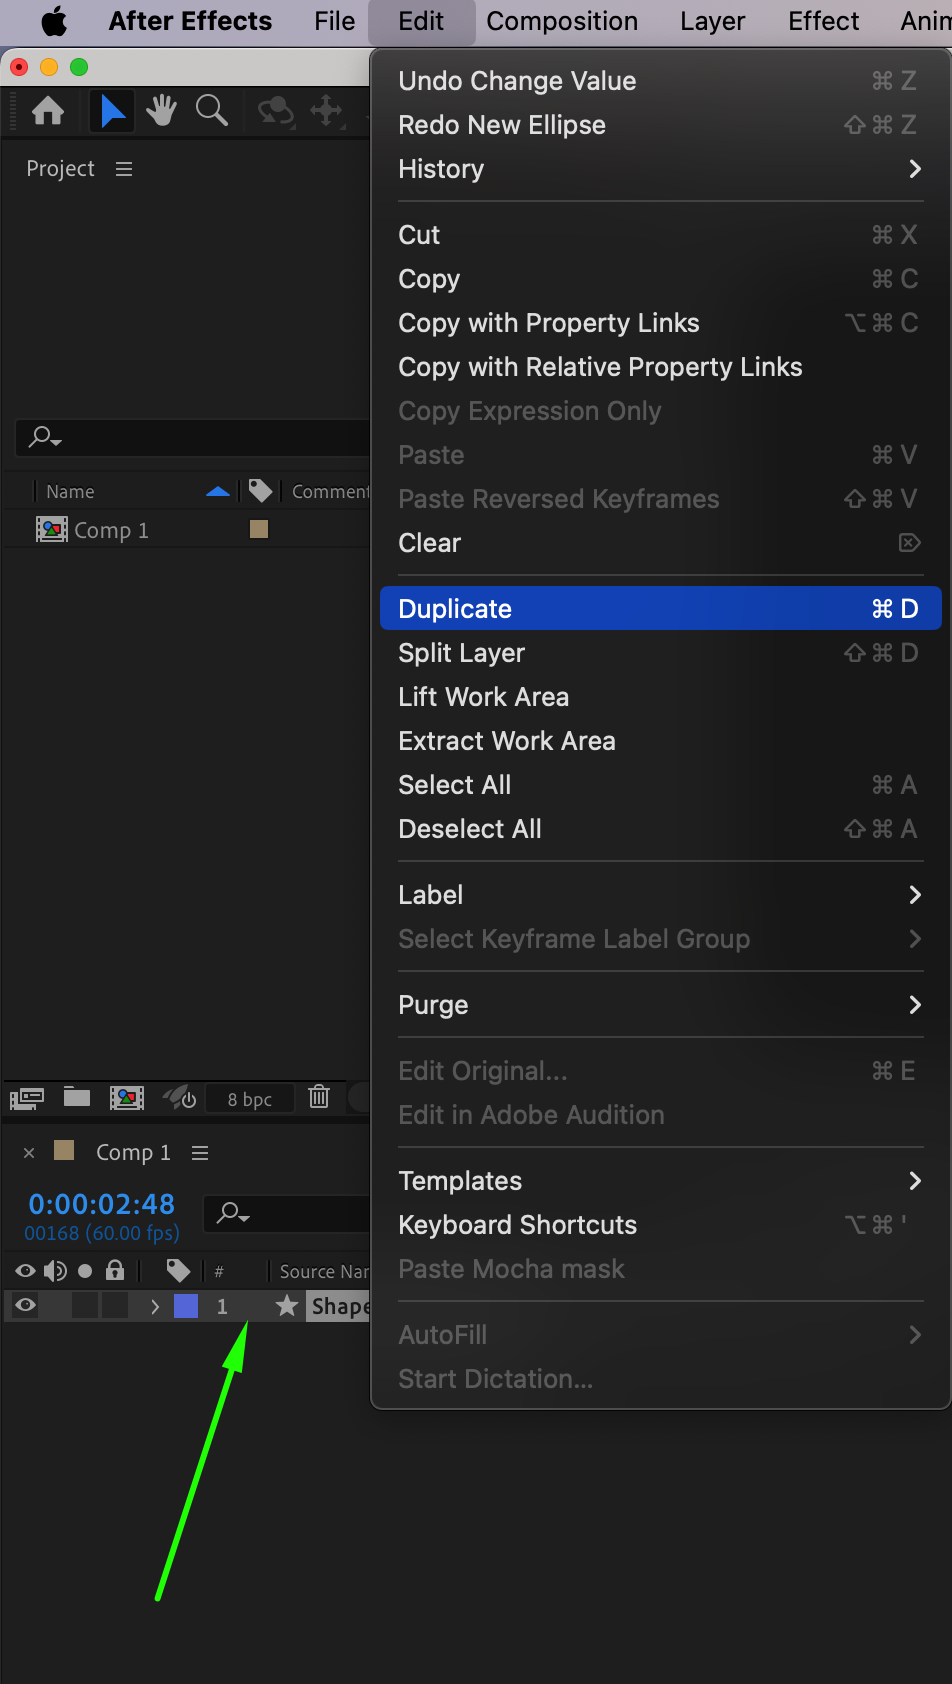
 Step 8: Preview the Animation
Press the Spacebar to preview the animation. If necessary, adjust the keyframe timing, expression values, or effect settings to refine the movement.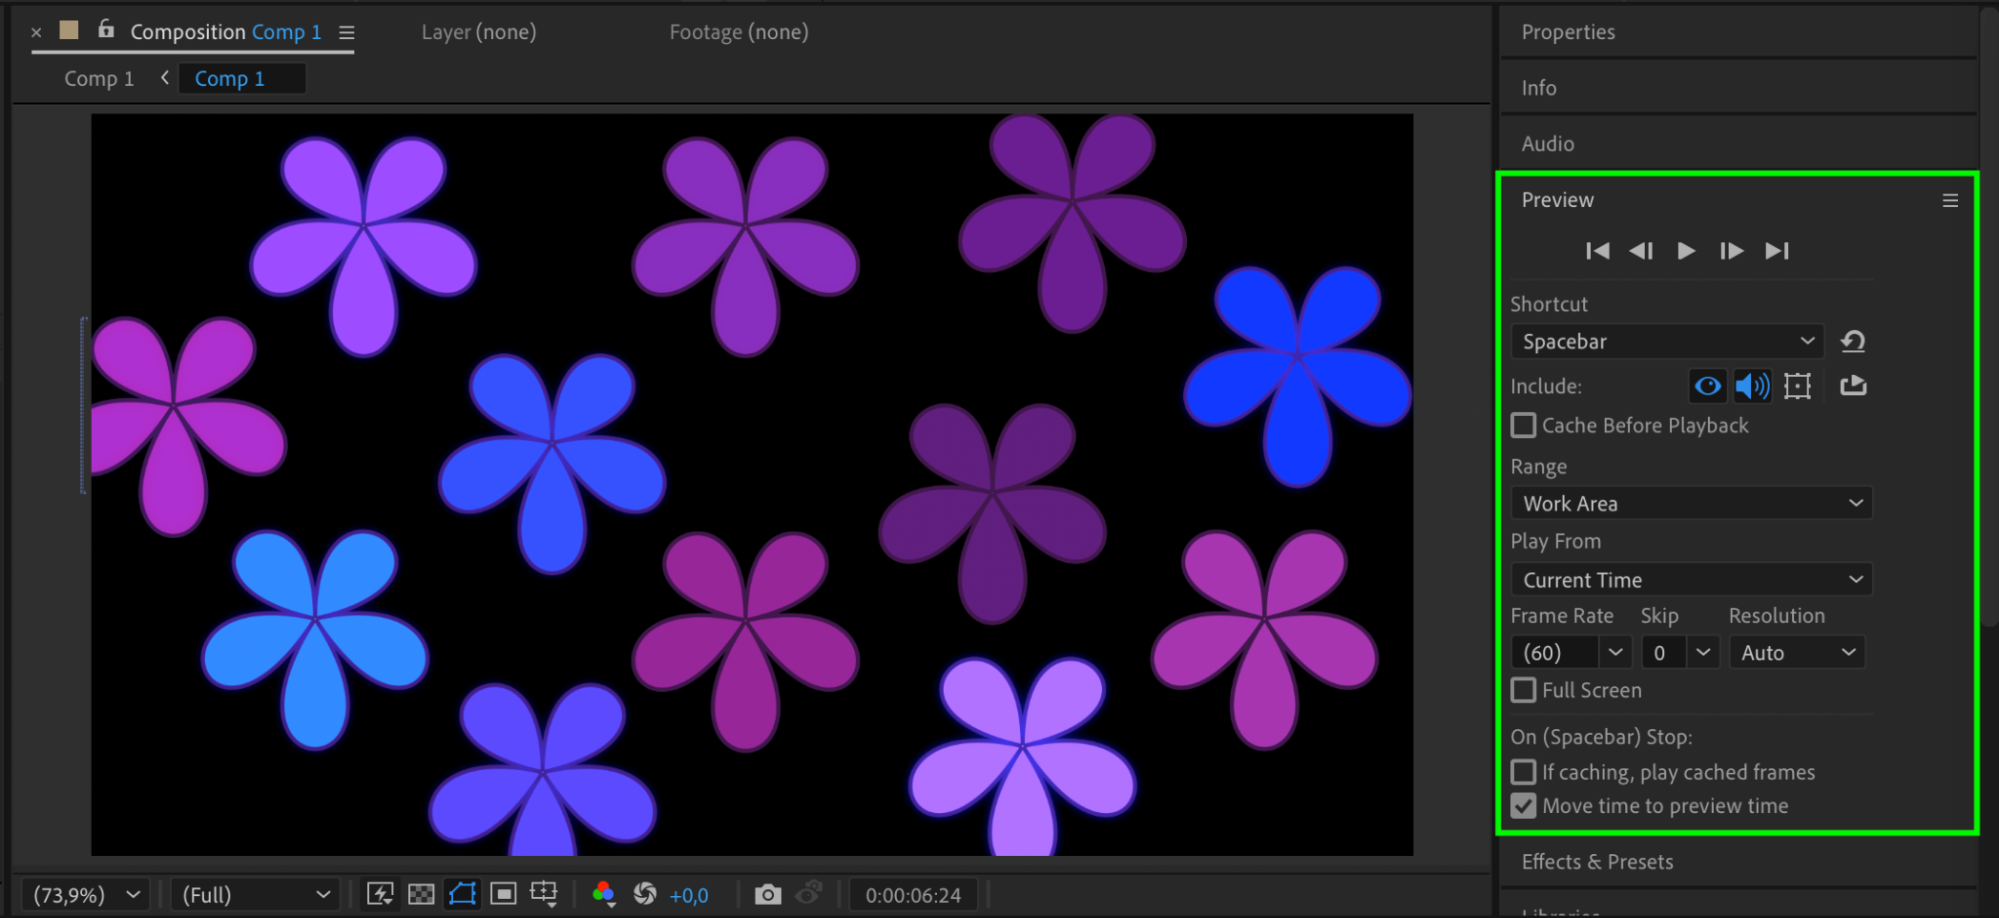 Step 9: Render the Final Animation
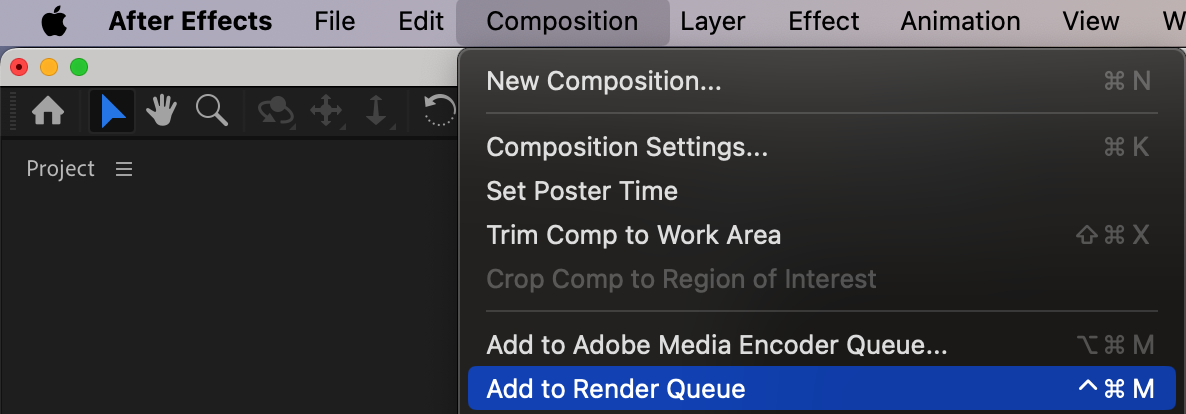
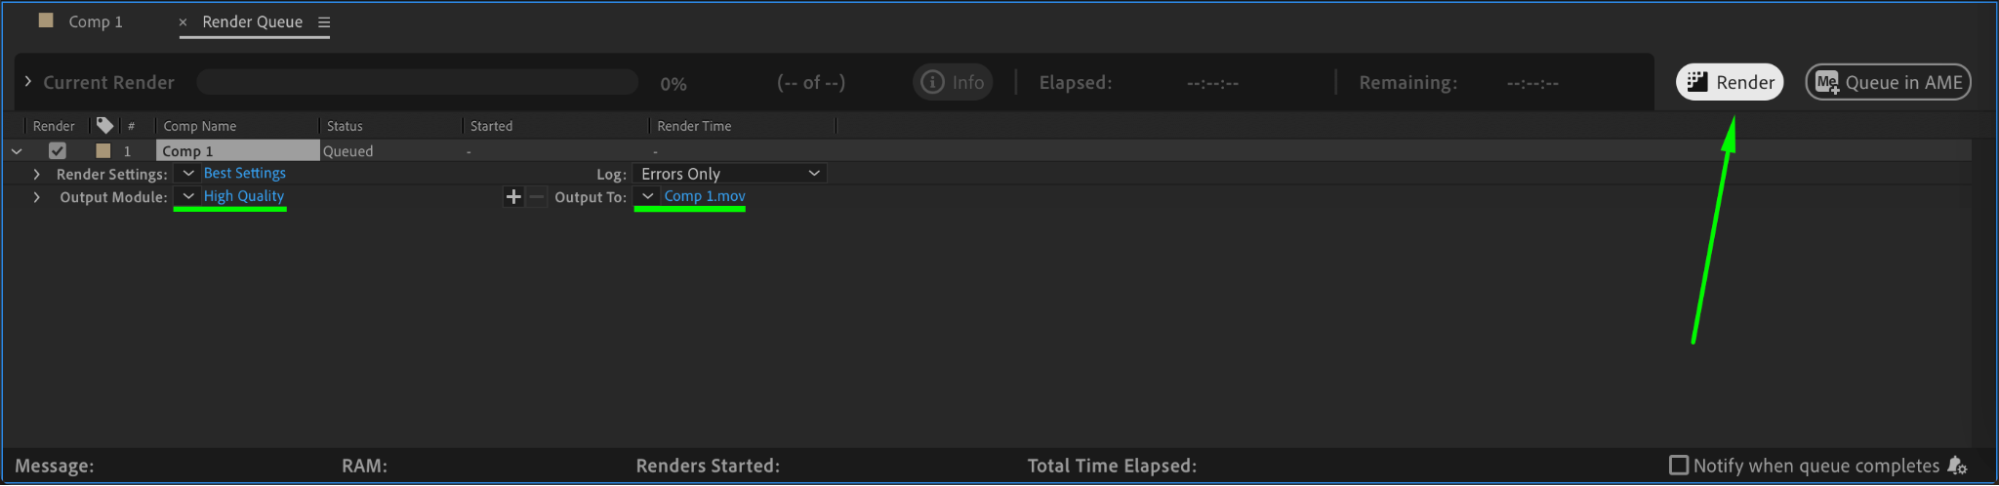
Once satisfied, go to Composition > Add to Render Queue, choose your preferred format, and click Render to export the animation.
Conclusion
Animating flowers in After Effects using shape layers and the Pucker & Bloat effect allows for dynamic and seamless looping animations. This technique is useful for background elements, animated patterns, or decorative motion graphics. Experiment with different colors, effects, and layering techniques to create unique designs.
Our Bestsellers


