A Comprehensive Guide to Animating Paths in After Effects
Introduction to Path Animation
Animating paths in After Effects enables you to introduce dynamic motion and elevate the visual appeal of your projects. By mastering path animation, you gain precise control over timing, trajectory, and style, allowing you to craft smooth and captivating animations. In this tutorial, we will guide you through the process of animating paths using After Effects’ built-in tools. You’ll learn how to create engaging motion graphics that bring your designs to life with fluidity and precision.
Get 10% off when you subscribe to our newsletter

Step 1: Import Your Files
Begin by importing the files you plan to work with, such as videos or images. To do this, go to the “File” menu, select “Import” > “File,” and choose the desired files. Importing your assets ensures they are available in your project for easy access.
 Step 2: Create a New Composition
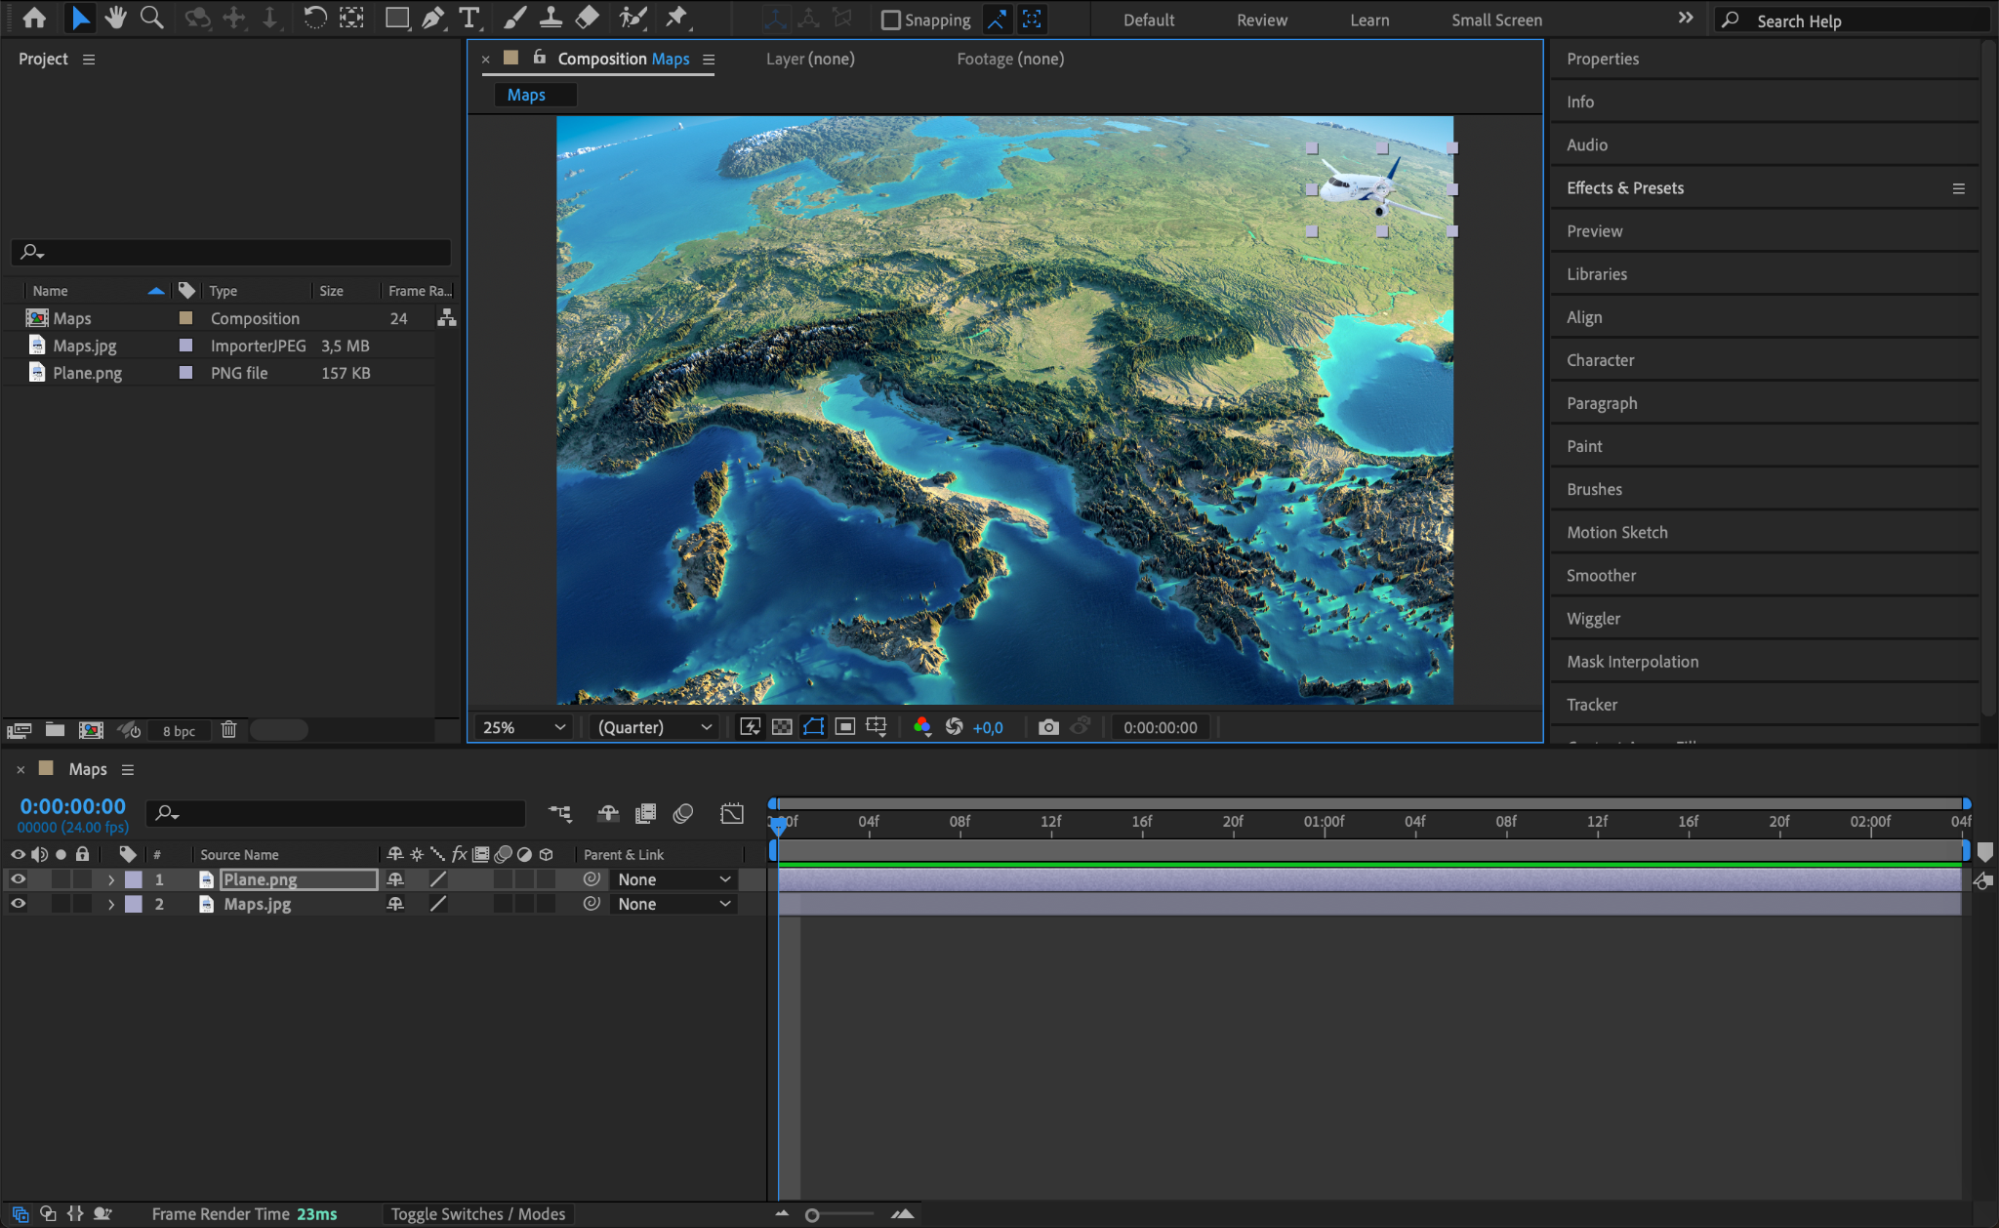
Drag your imported files onto the timeline to automatically create a new composition. This step sets up your workspace and allows you to start editing your project right away.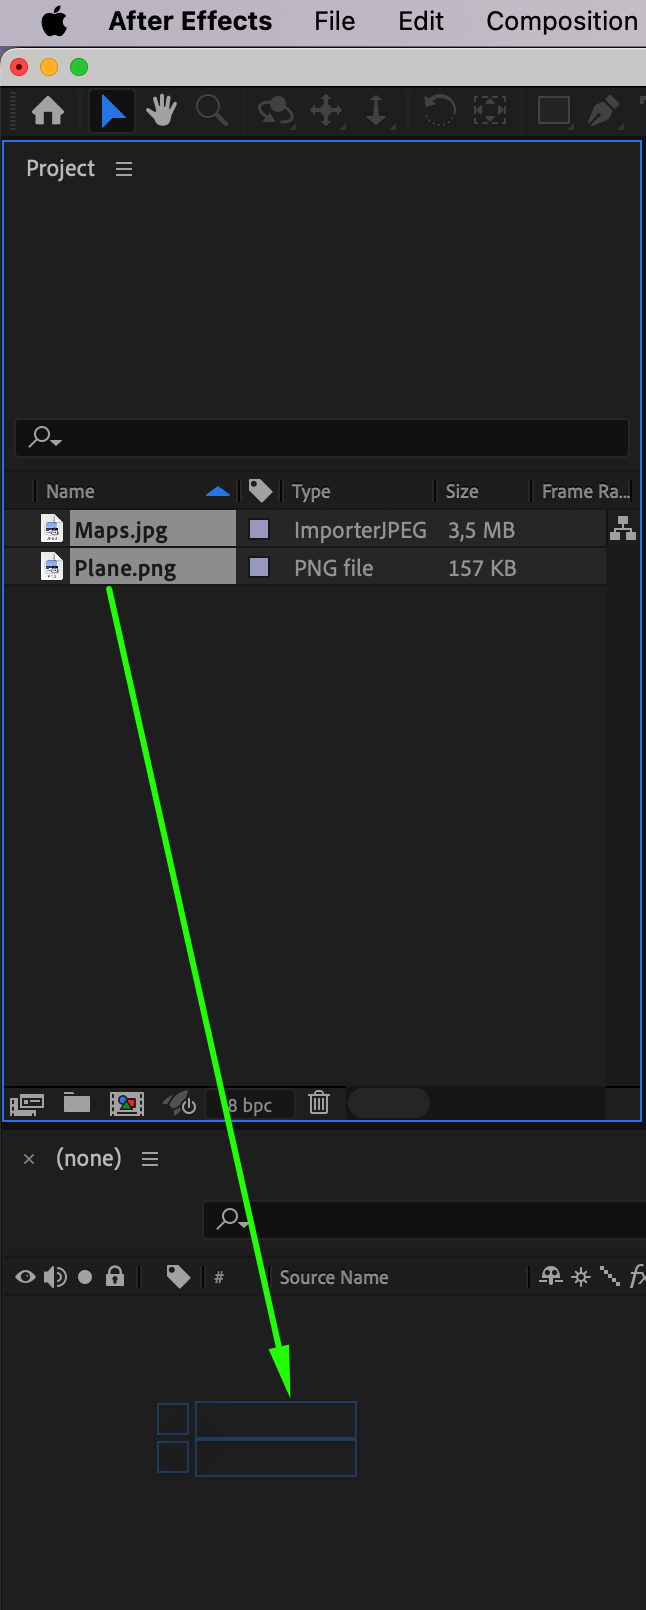

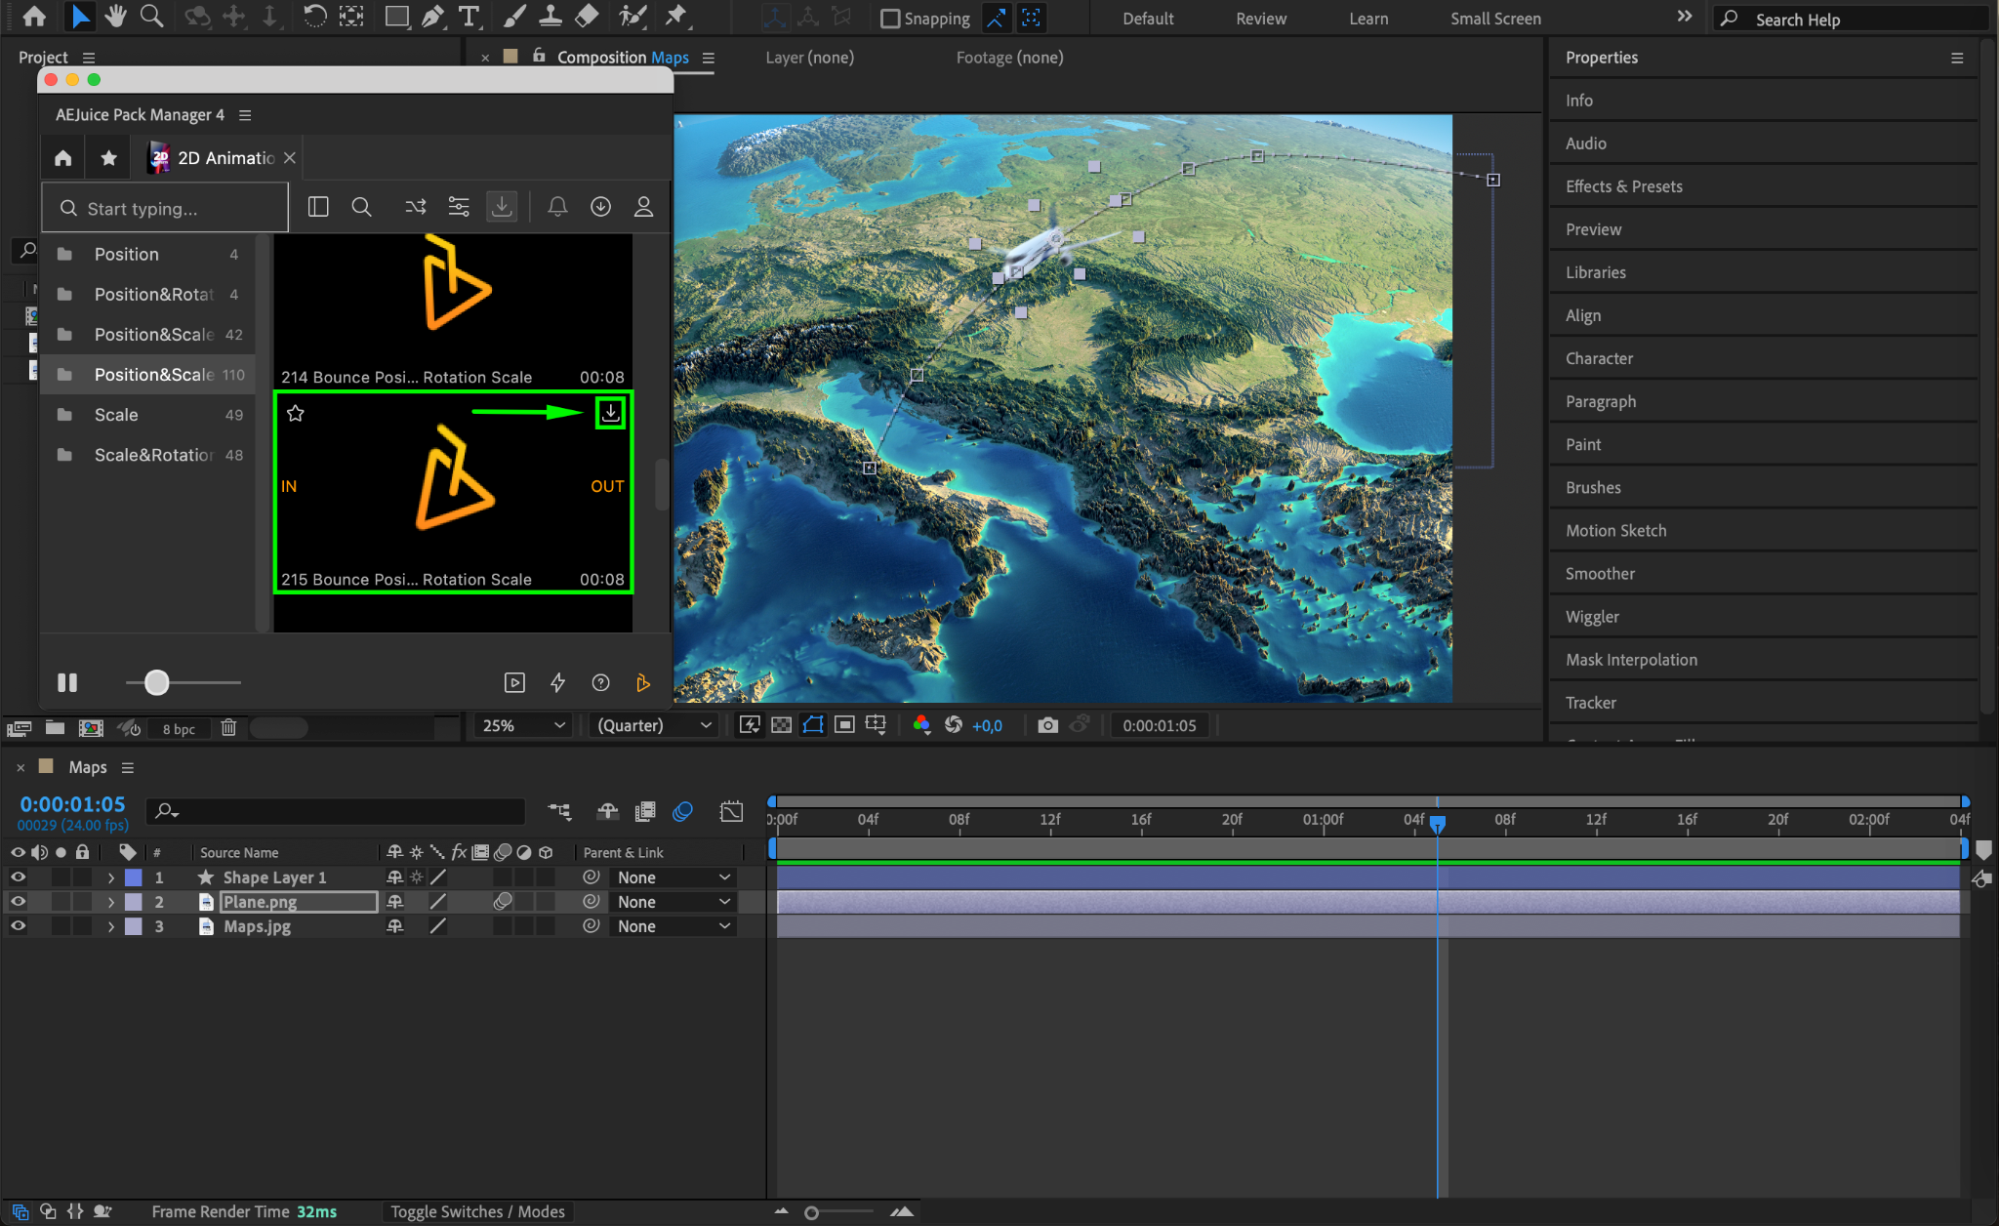
 Step 3: Create a Path with the Pen Tool
Select the Pen Tool (G) from the toolbar to draw a path for your object. Click to create points and shape the path according to your desired trajectory. This path will guide the movement of your object during animation.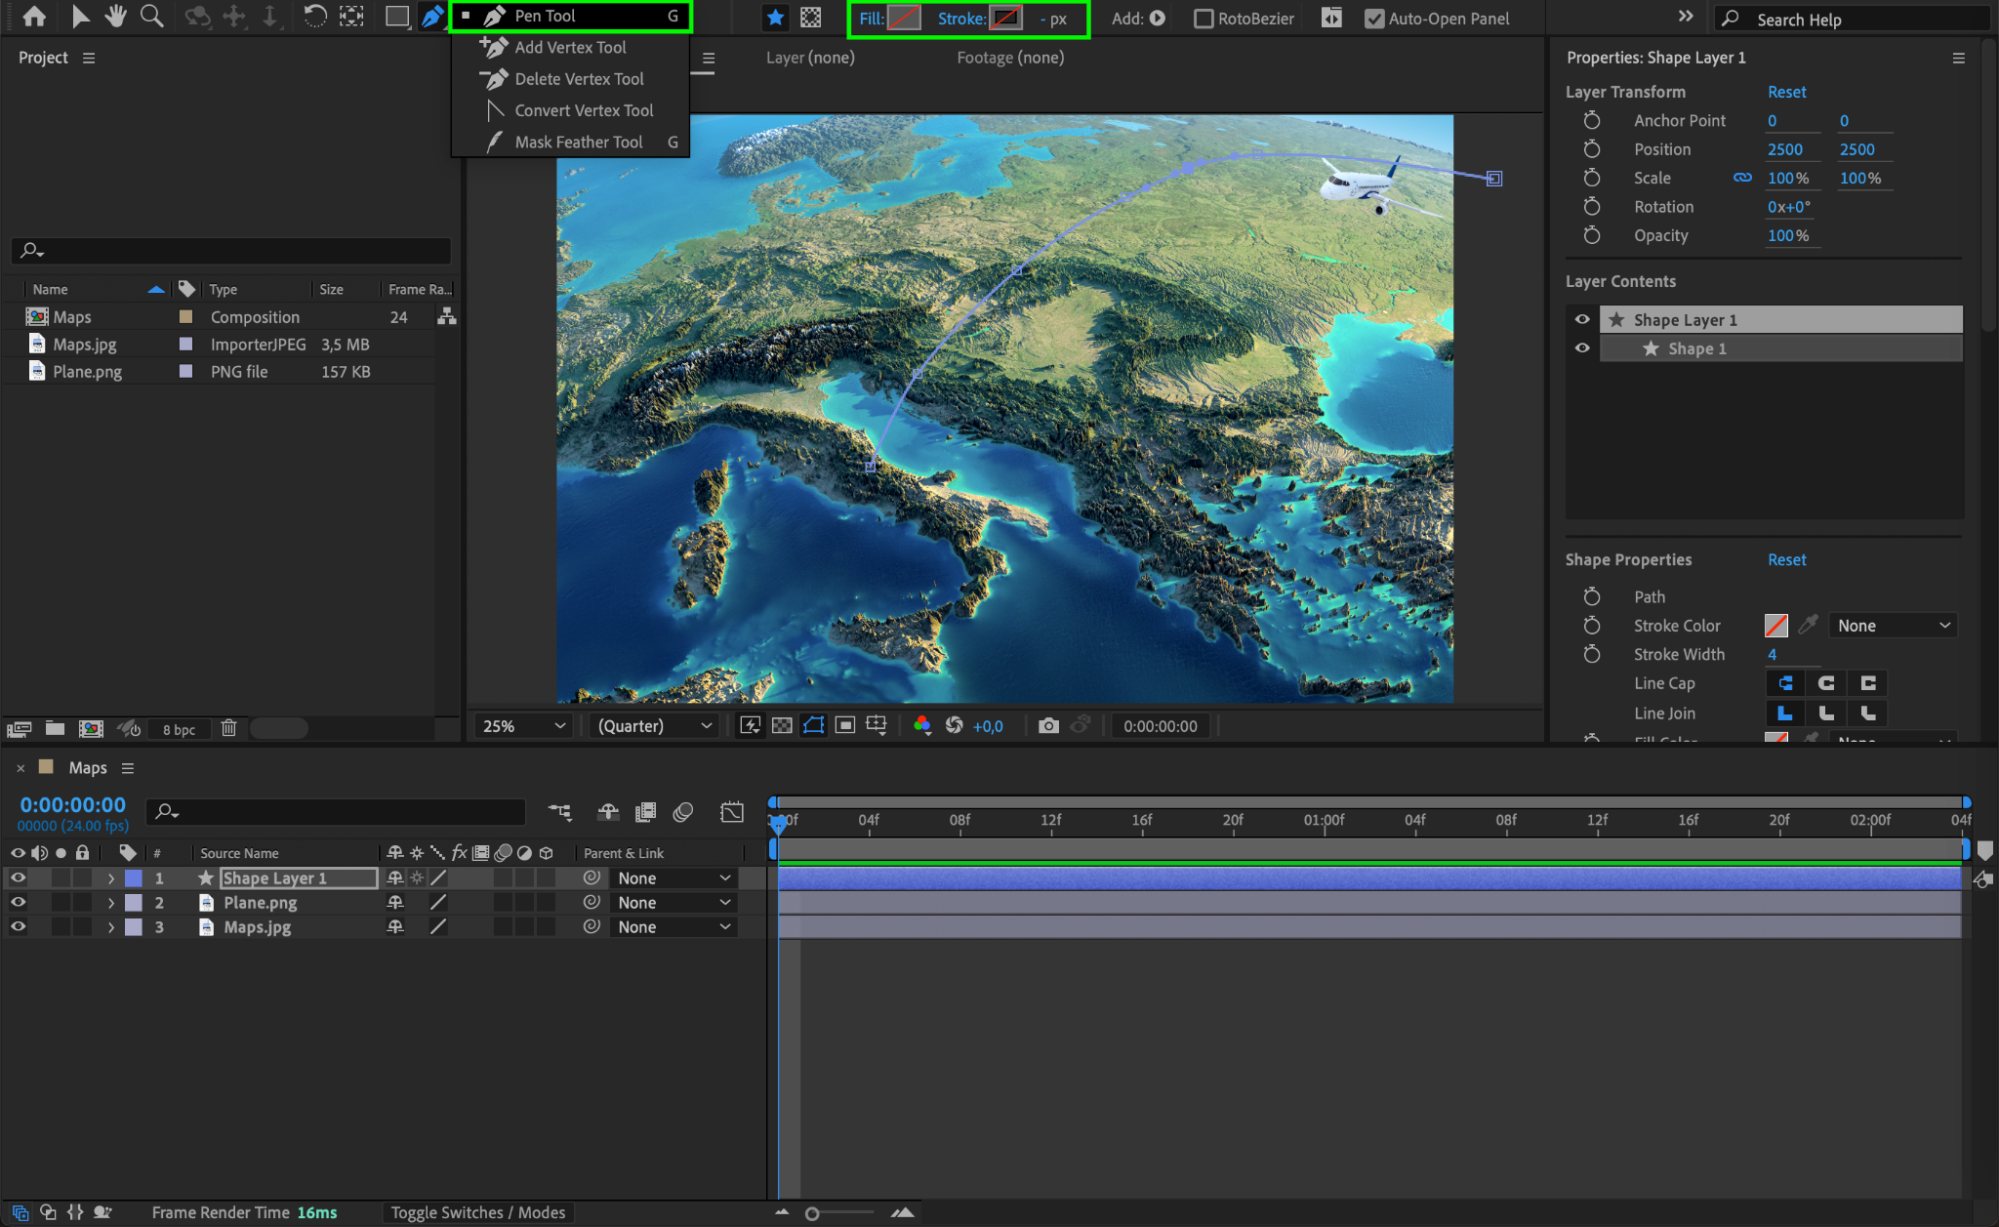 Step 4: Copy the Path
Expand the properties of the path you created by navigating to Contents > Shape 1 > Path 1 > Path in the timeline. Click on the “Path” property and copy it using the shortcut “Ctrl/Cmd + C”. This copies the path data for use in animating your object.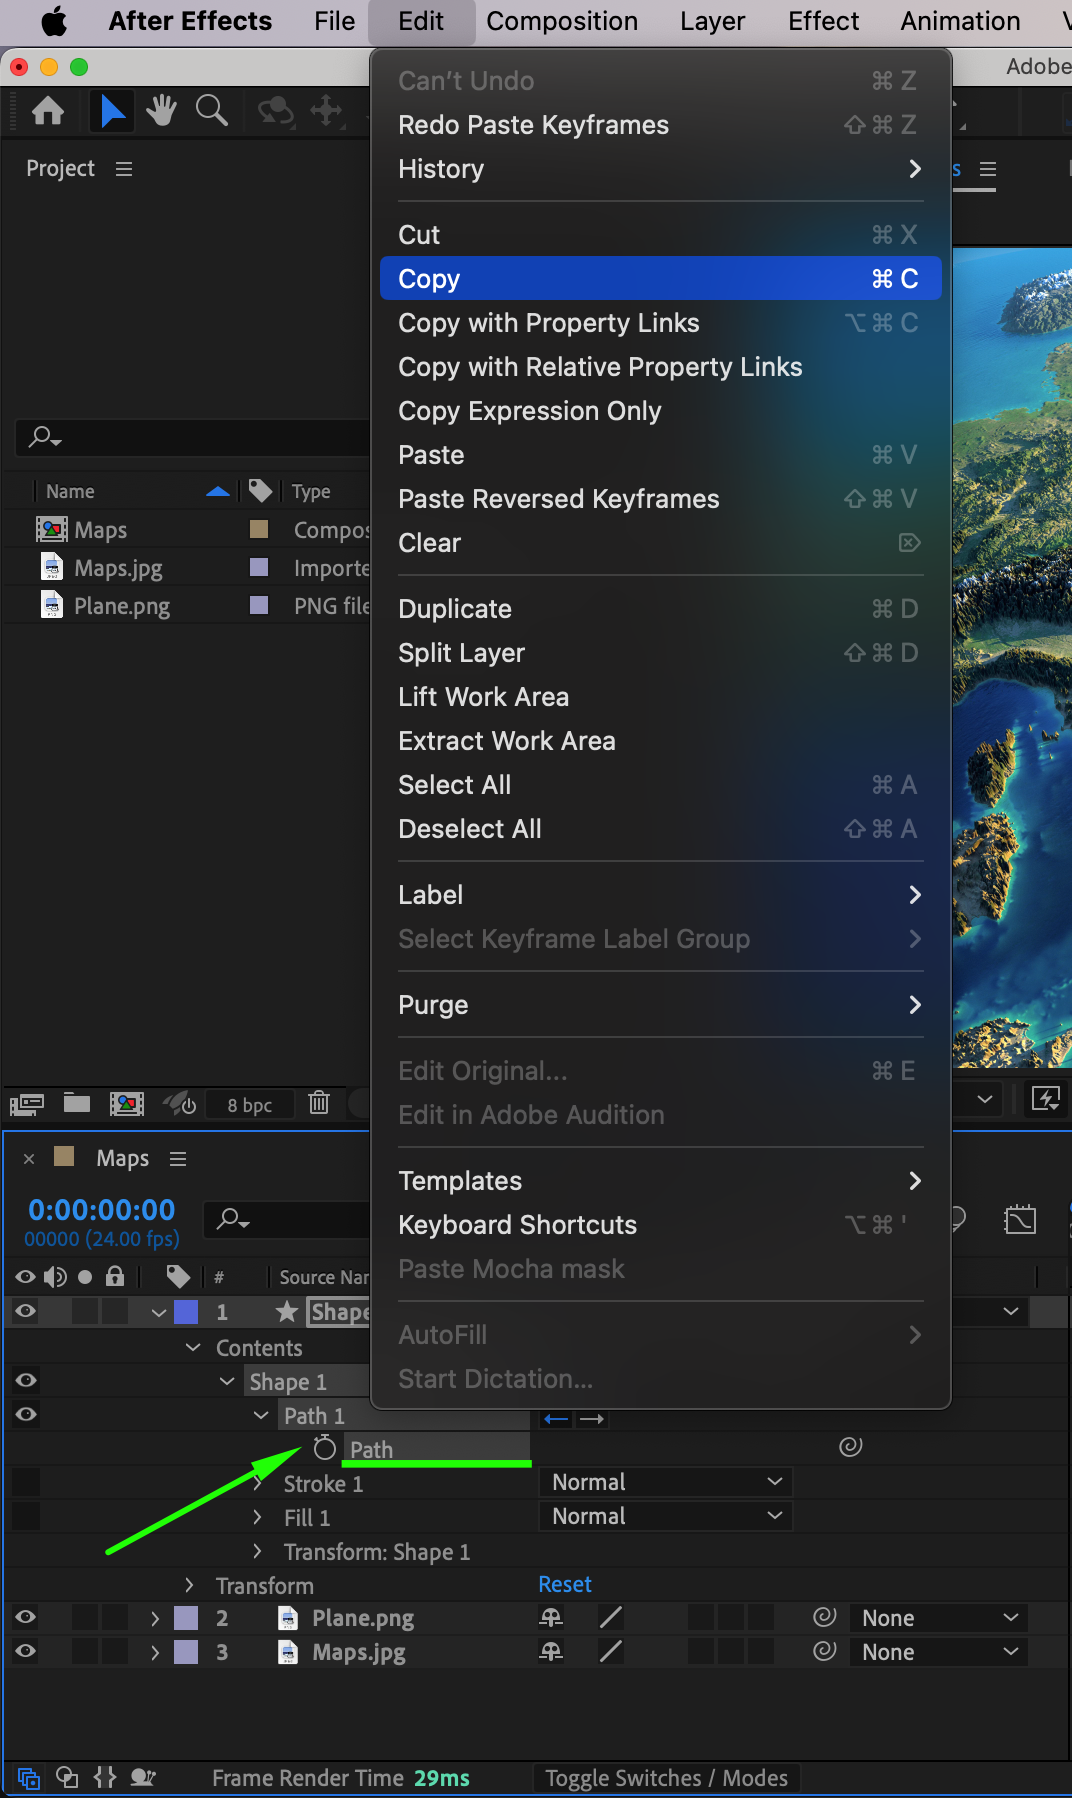 Step 5: Apply the Path to Your Object
Select the layer containing the object you want to animate. Press “P” to open the Position property, then paste the copied path using “Ctrl/Cmd + V”. This applies the path data to your object, making it follow the trajectory you created.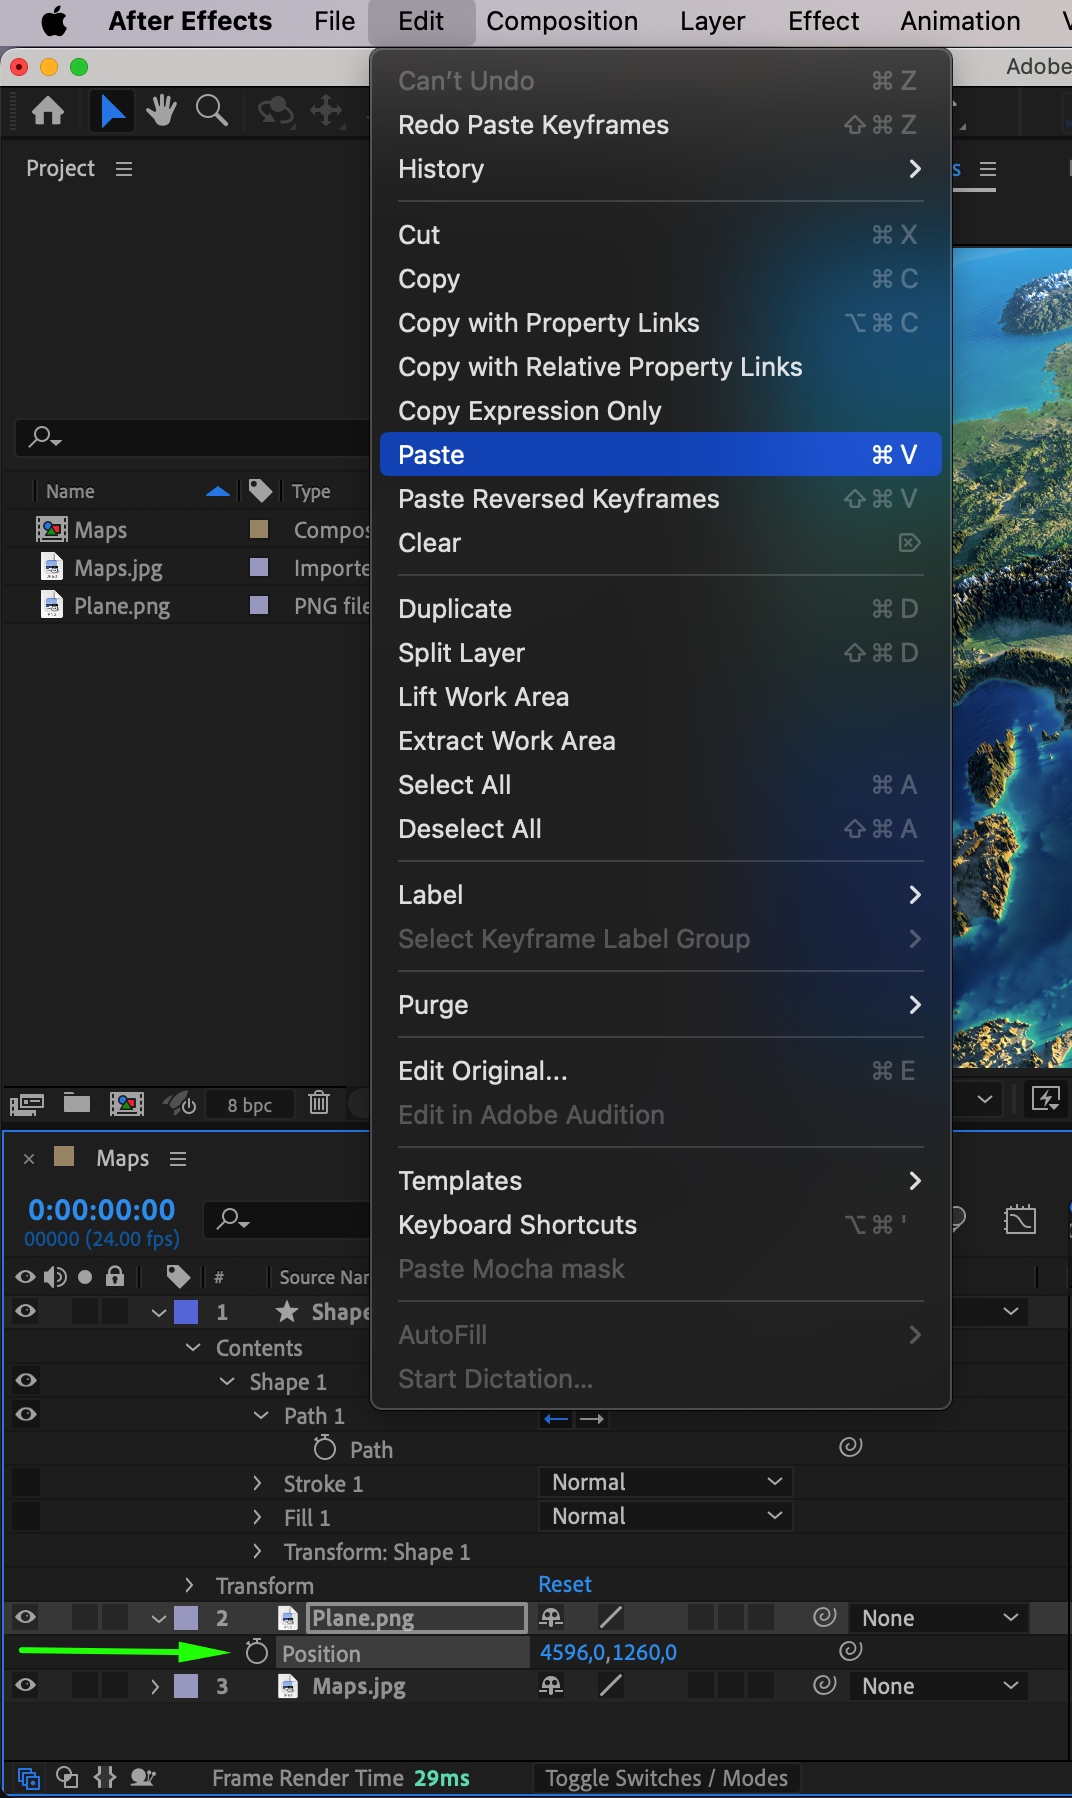
 Step 6: Animate Additional Parameters
You can animate other properties of your object, such as scale, opacity, or rotation, to enhance the animation. Simply open the desired property (e.g., Scale, Opacity) and set keyframes to adjust these attributes over time.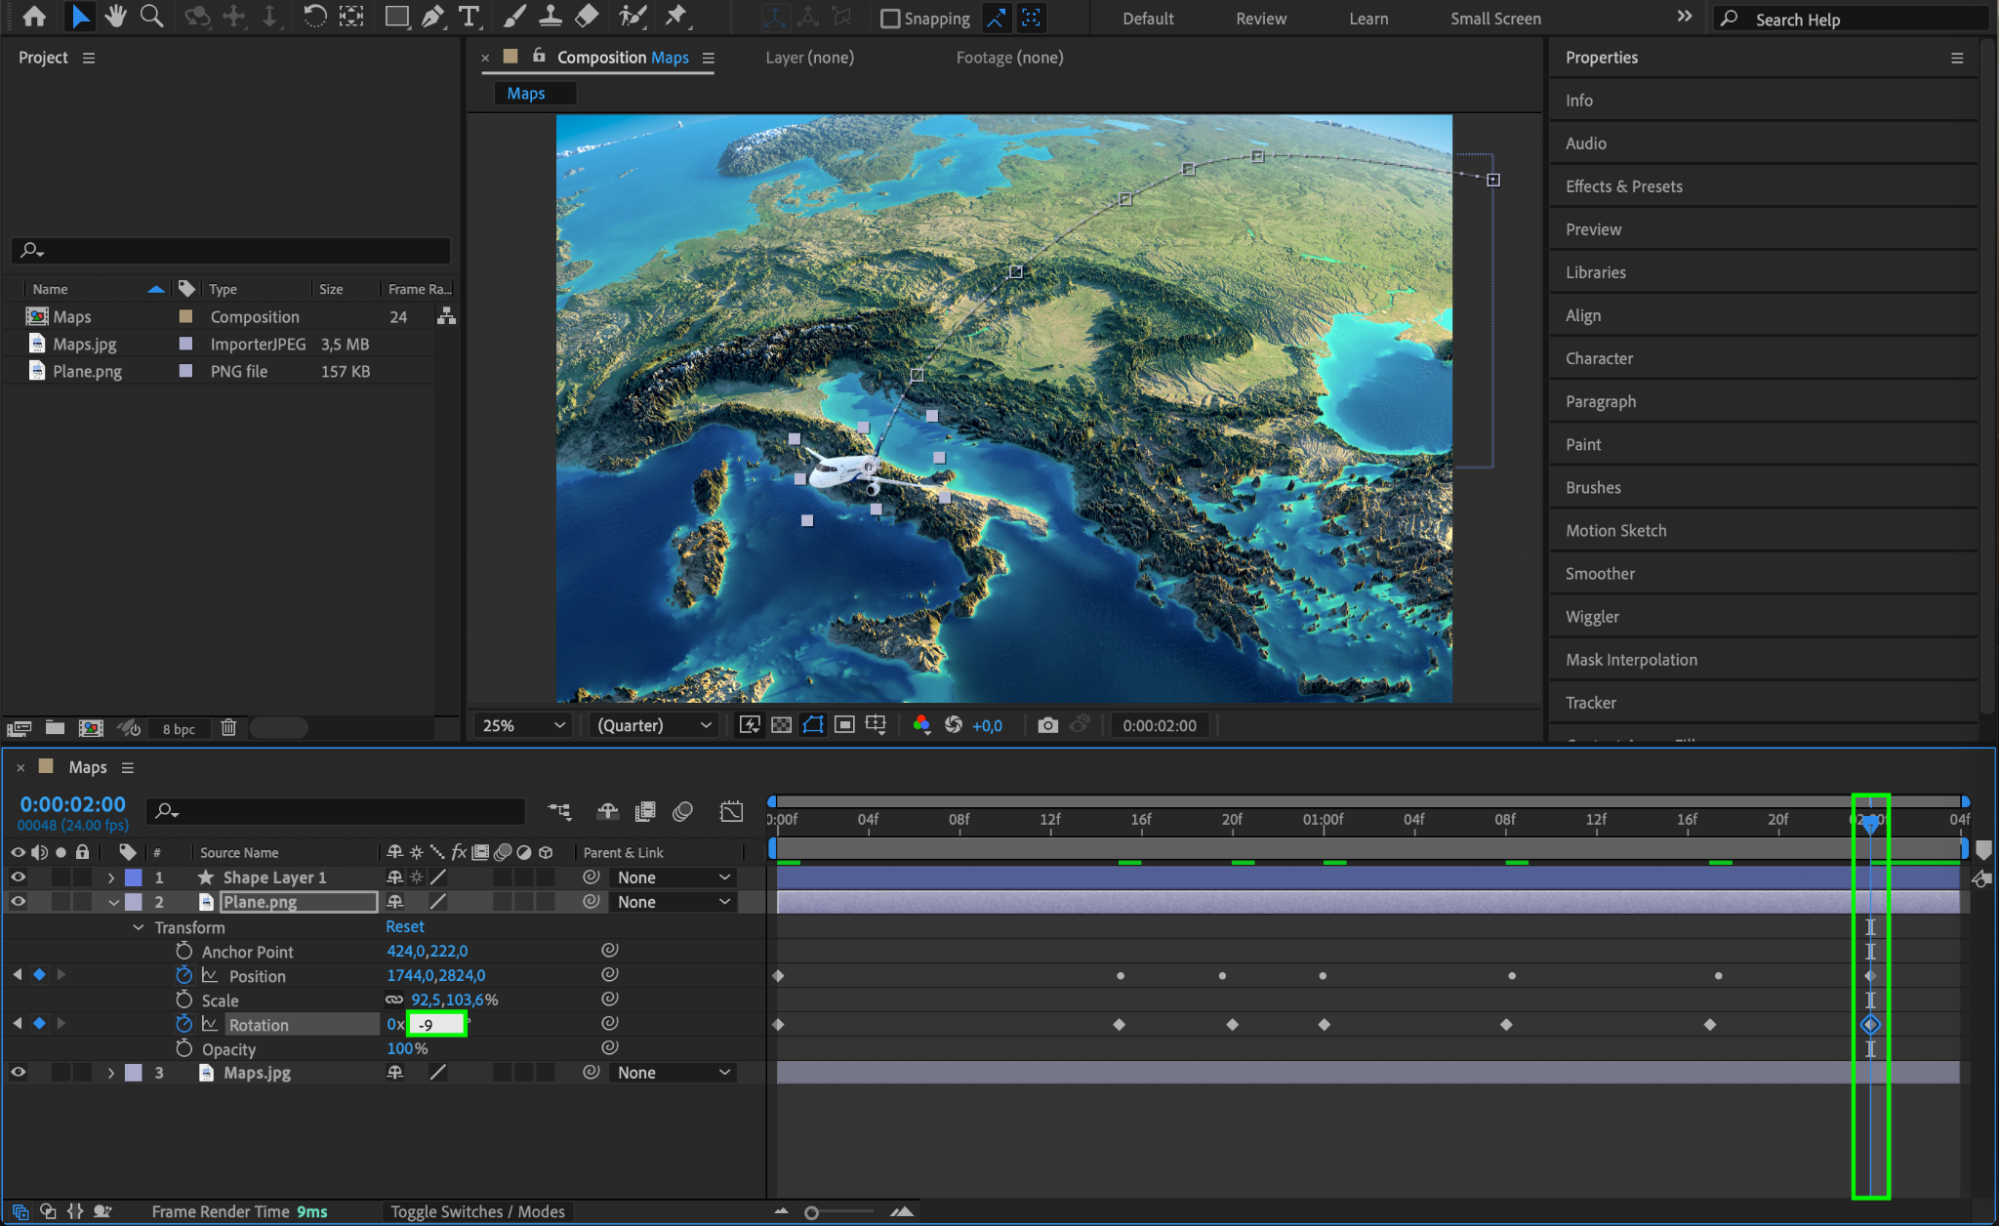 Step 7: Enable Motion Blur
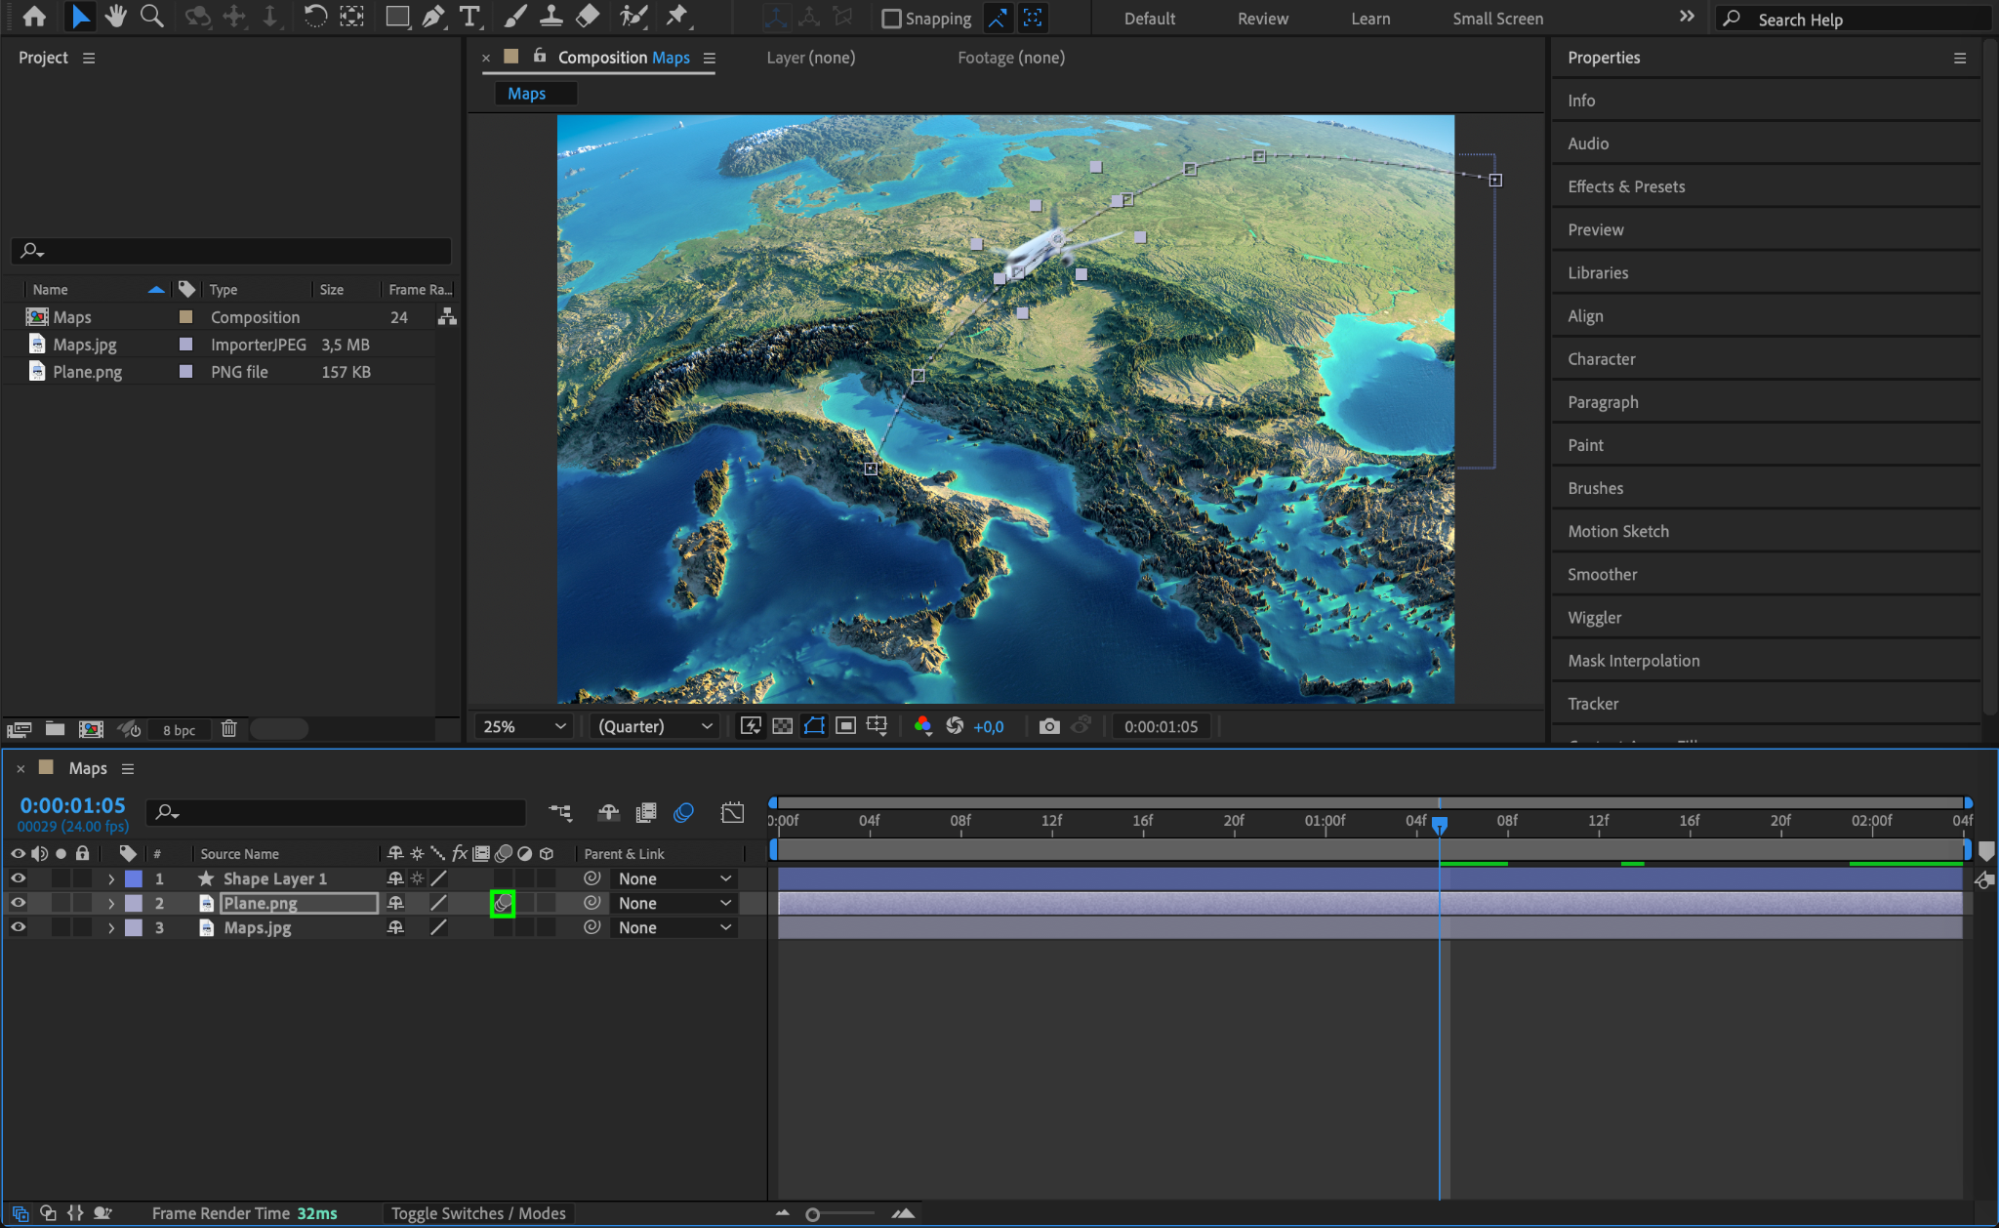
For a more realistic animation, enable motion blur. Click on the “Enable Motion Blur” button in the timeline panel and activate it for the layer containing your animated object. This adds a blur effect that simulates fast movement.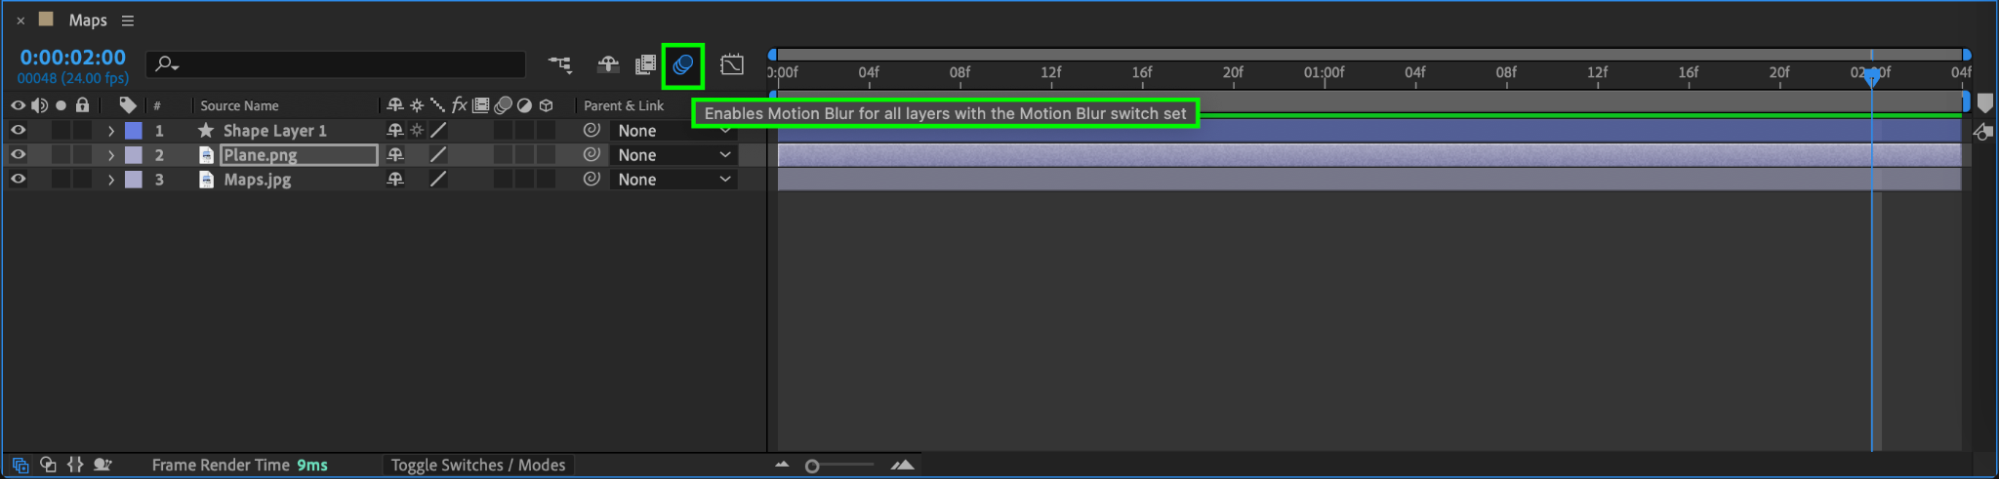
Step 8: Use AEJuice Plugins for Advanced Control
Leverage AEJuice plugins to further refine your path animation. The plugins provide additional tools for setting keyframes and controlling position, scale, rotation, and other parameters. This gives you enhanced control over the timing and movement of your animation, helping you achieve more polished results.


Conclusion
By following these steps, you can animate paths with precision and creativity. This technique adds dynamic motion to your projects, making them more engaging and visually appealing. Dive into After Effects and start animating paths to elevate your motion graphics to new heights!
Our Bestsellers


