A Step-by-Step Guide to Animating Rain in After Effects
Introduction: Creating Realistic Rain Effects in After Effects
Animating rain in After Effects can add a cinematic touch to your projects, bringing them to life with dynamic weather effects. This guide walks you through the process of adding and customizing rain effects, including adjusting parameters for a more realistic look.
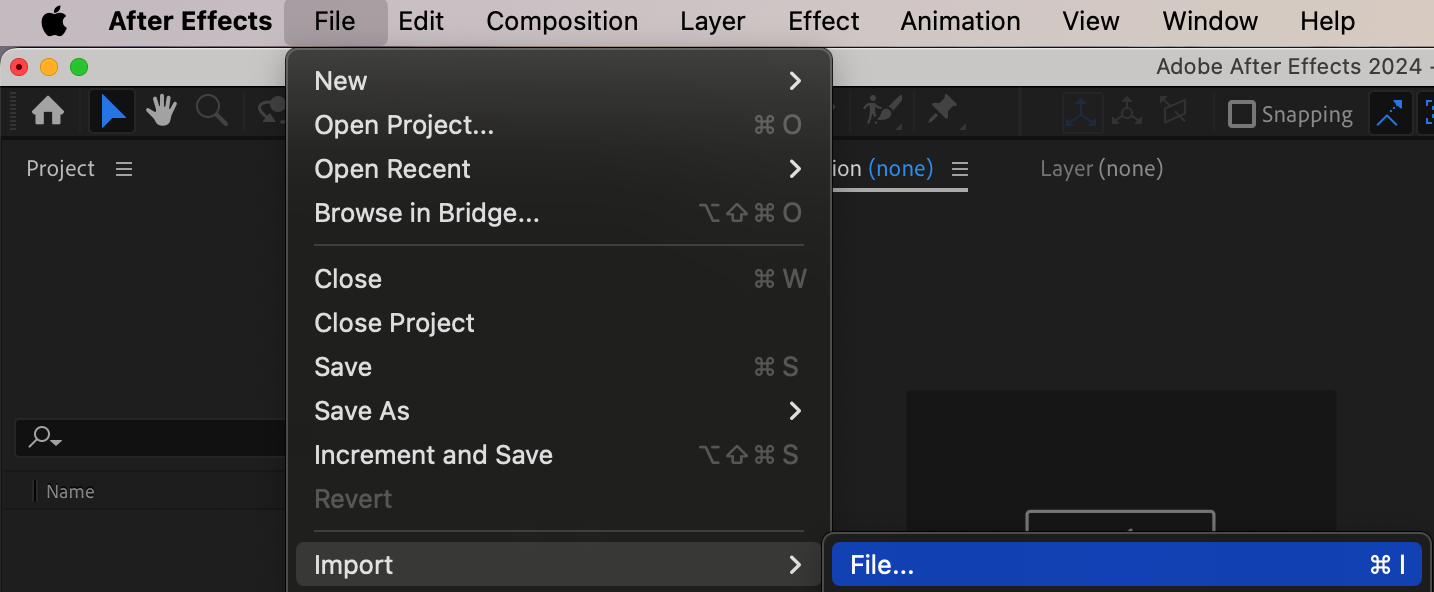
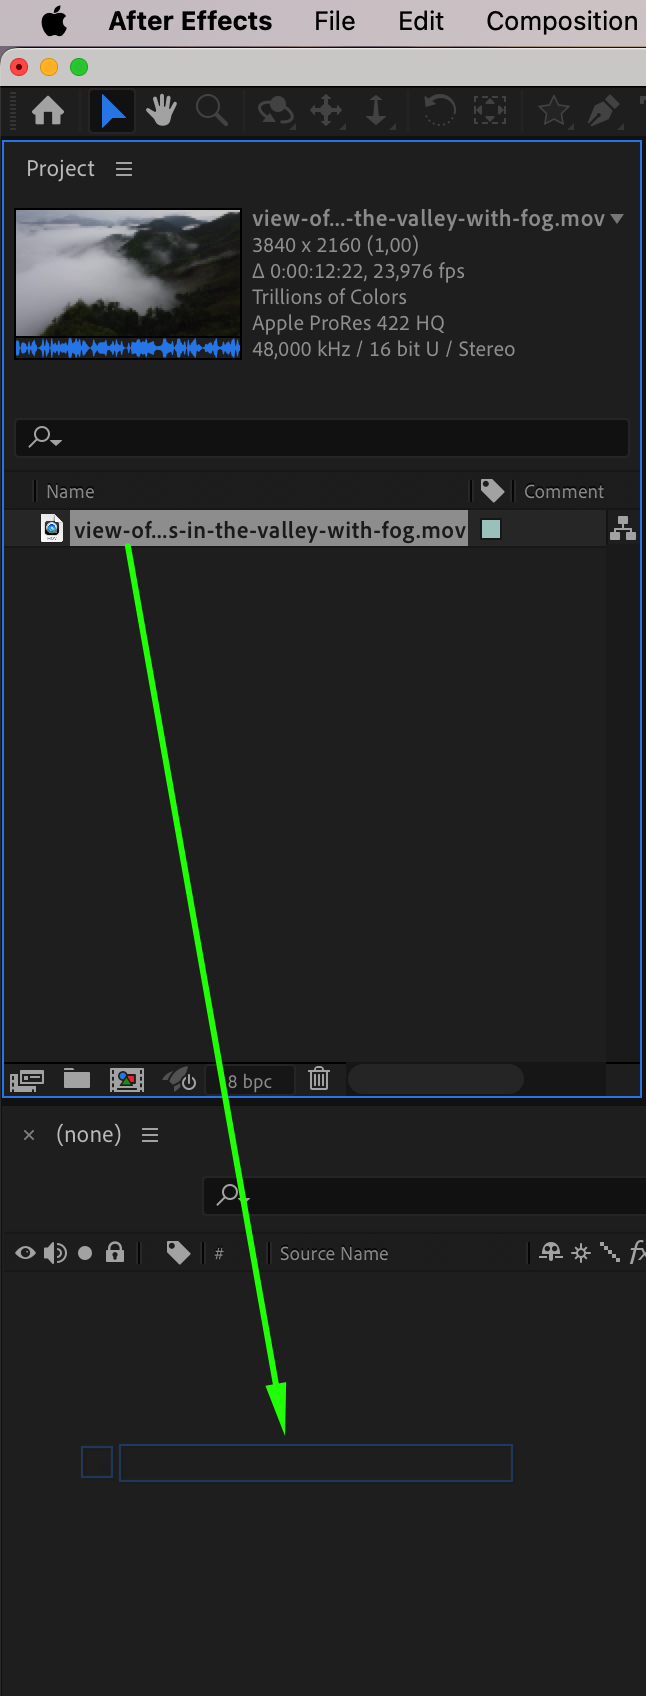
Step 1: Import Your Video
Begin by importing the video or footage you want to apply the rain effect to. To import, go to File > Import > File and select the video file from your computer. After importing, drag the video onto the timeline.
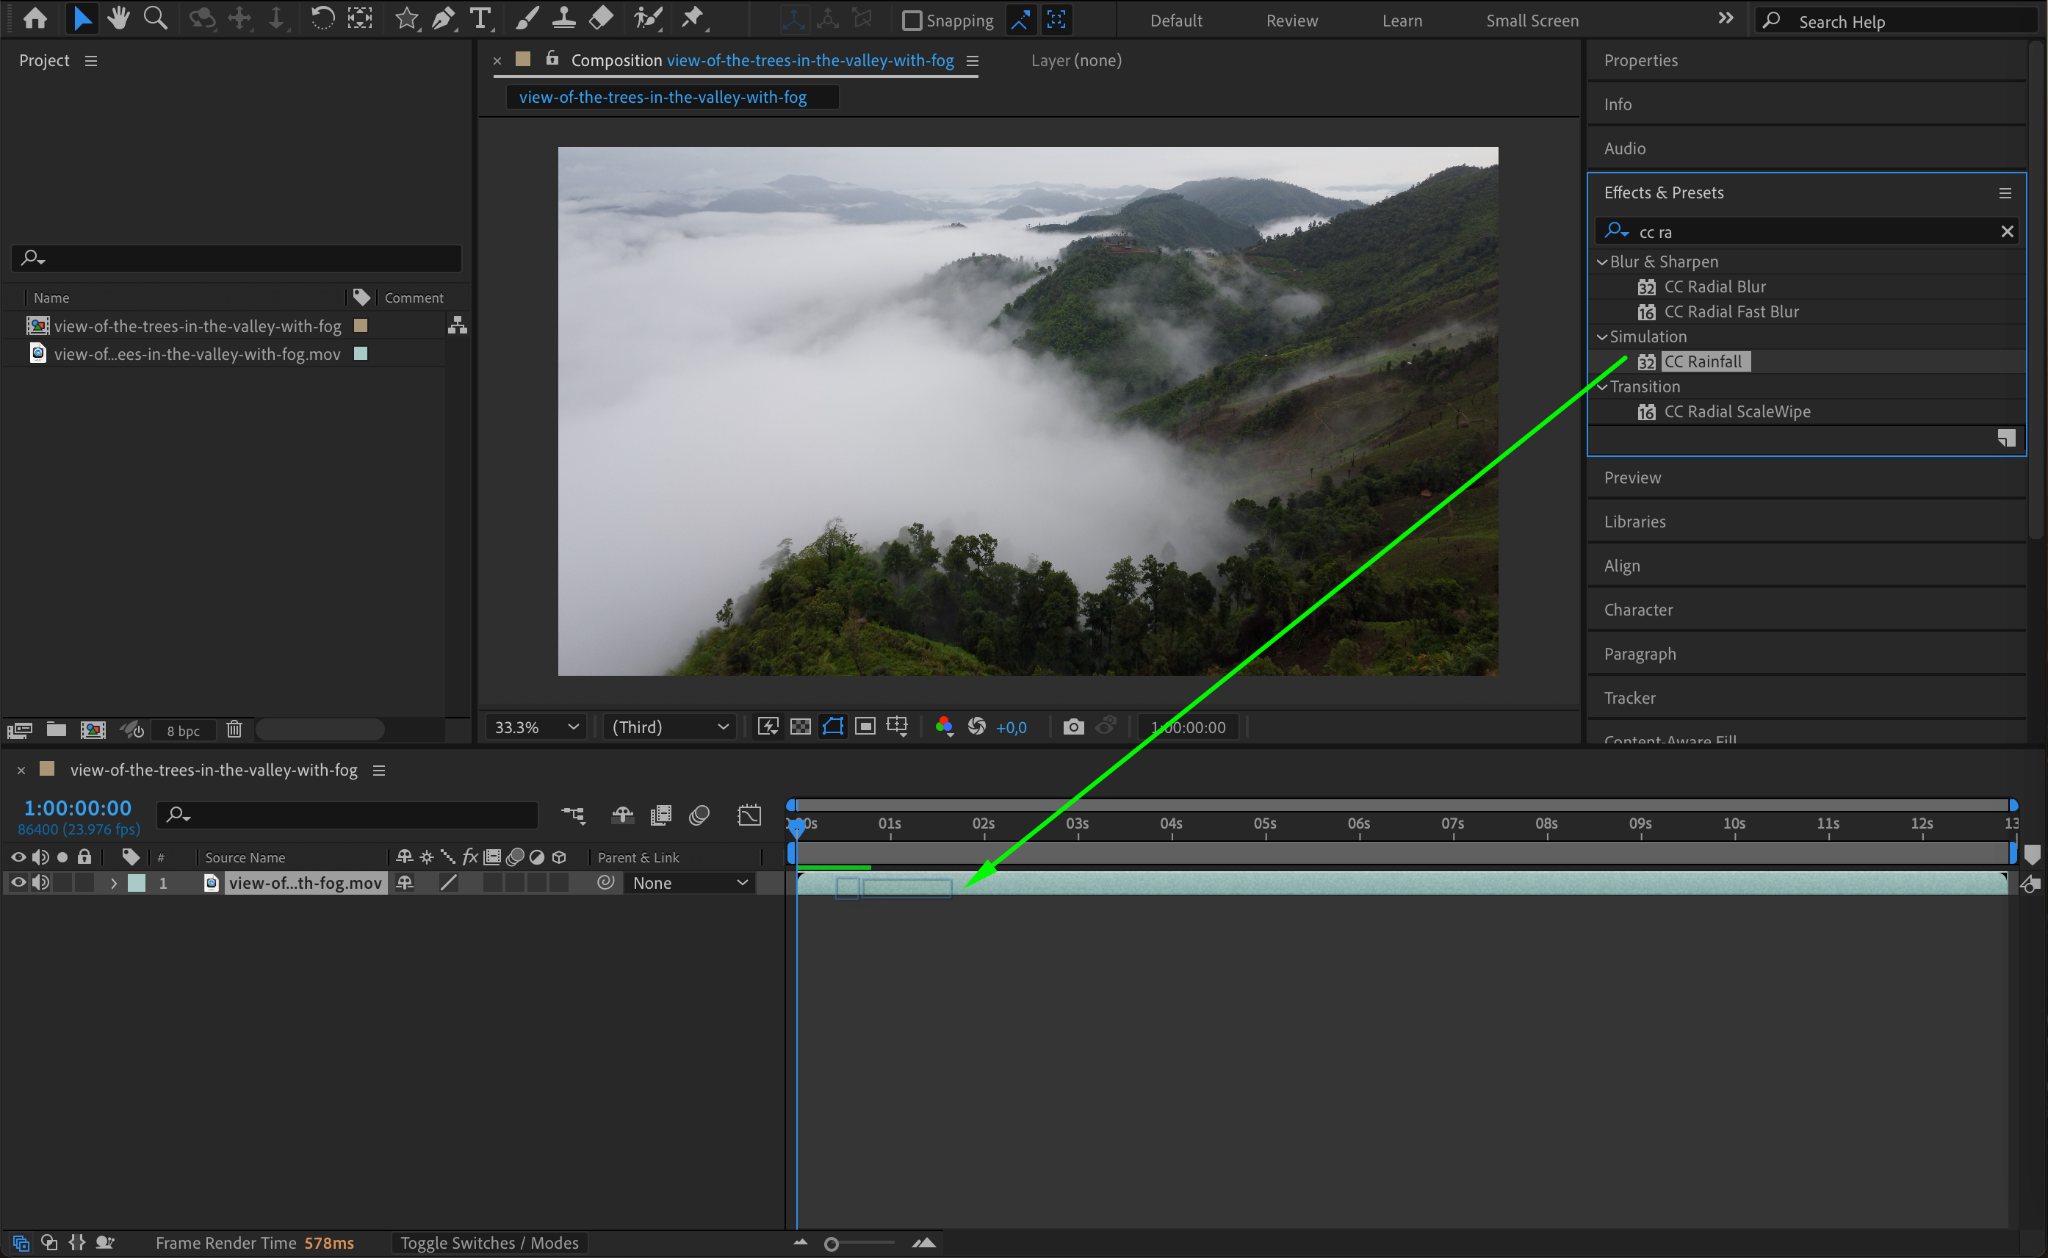
Step 2: Add the Rain Effect to the Layer
In the Effect & Presets panel, search for the effect CC Rainfall. Once you locate it, drag and drop it onto your video layer in the timeline. The rain effect will be applied to the layer, but you’ll need to adjust its settings to achieve the desired look for your scene.
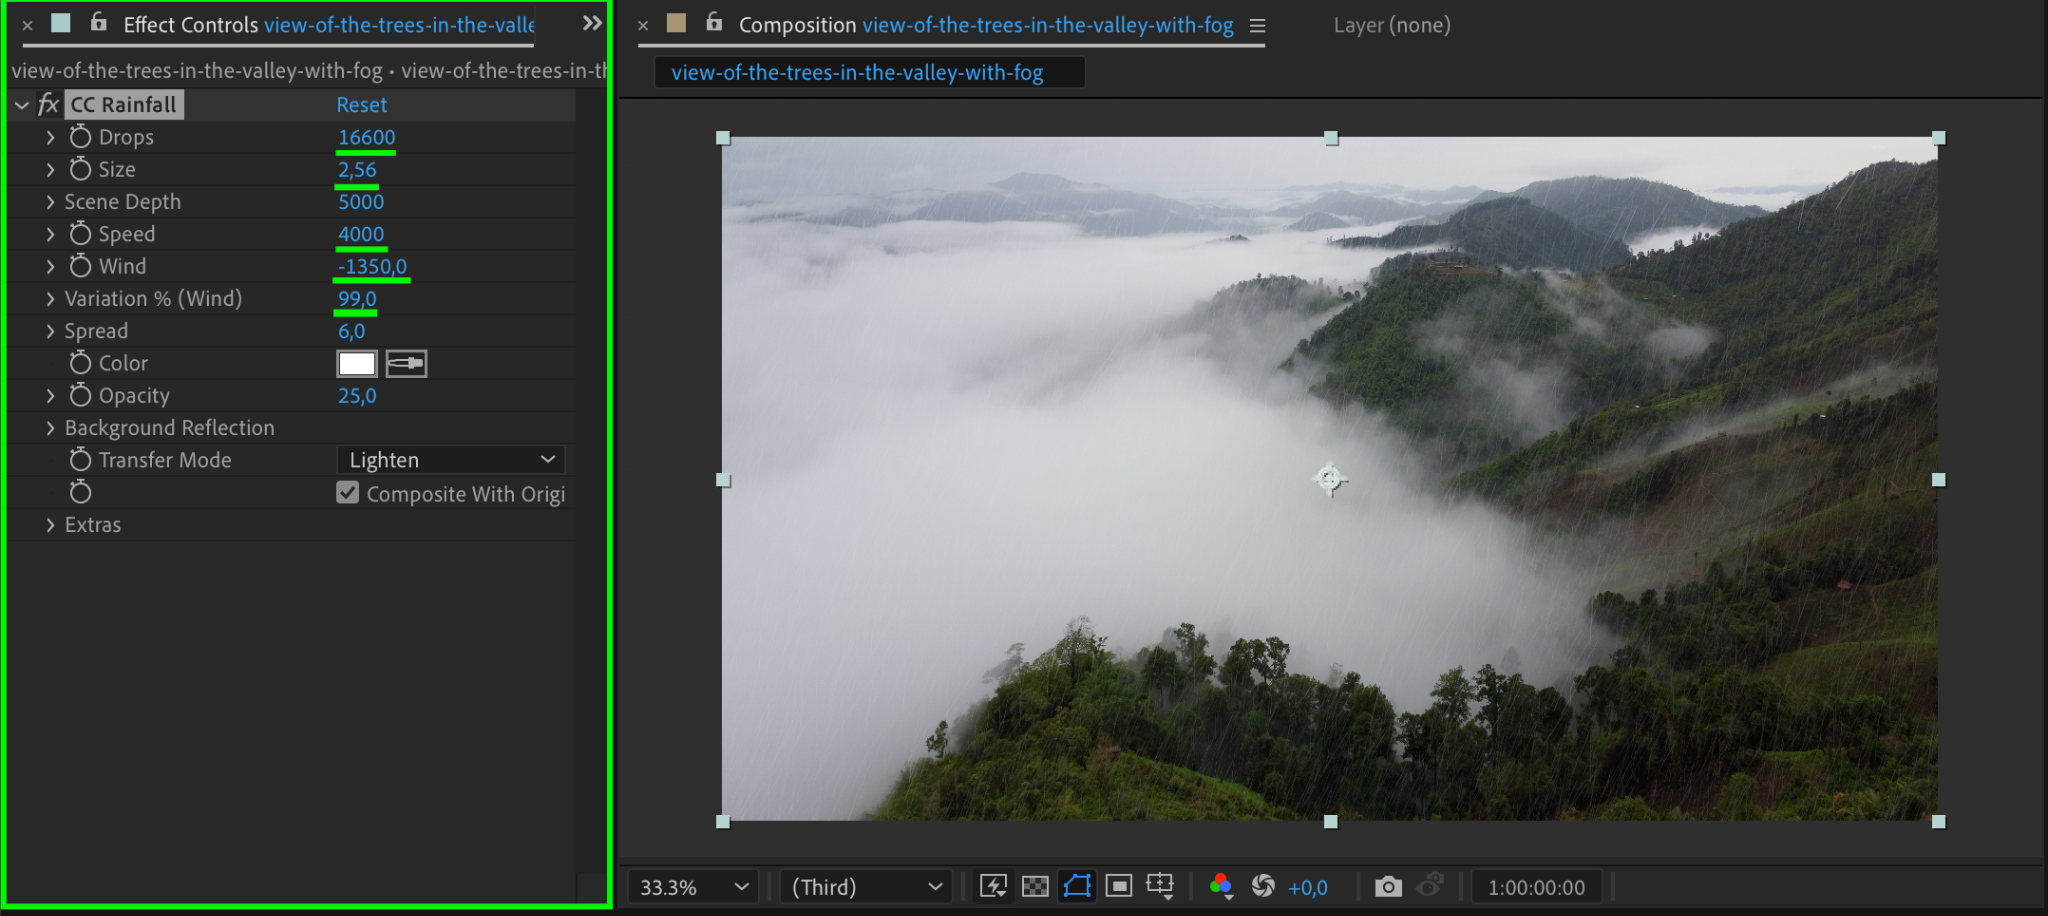
Step 3: Customize the Rain Parameters
With the CC Rainfall effect applied, adjust the parameters in the Effect Controls panel to achieve the look you want:
Drops: Set this to 16,600 for a dense rain effect.
Size: Adjust the size to 2.56 for a more natural, variable drop size.
Speed: Set the speed to 4000 to control the rate at which the rain falls.
Wind: Use -1350 for wind direction, adjusting the angle of the rain.
Variation (Wind): Set to 99 to introduce randomness in the wind direction, creating a more natural look.
These parameters will give you a realistic rain simulation.
Get 10% off when you subscribe to our newsletter

Step 4: Add a Noise Effect for Realism
To further enhance the rain effect and make it blend better with your video, apply a Noise effect. This will add grain to the footage, simulating the visual texture of real rain hitting surfaces. In the Effect & Presets panel, search for Noise and drag it onto the video layer. Adjust the noise settings to match the look of the rain.


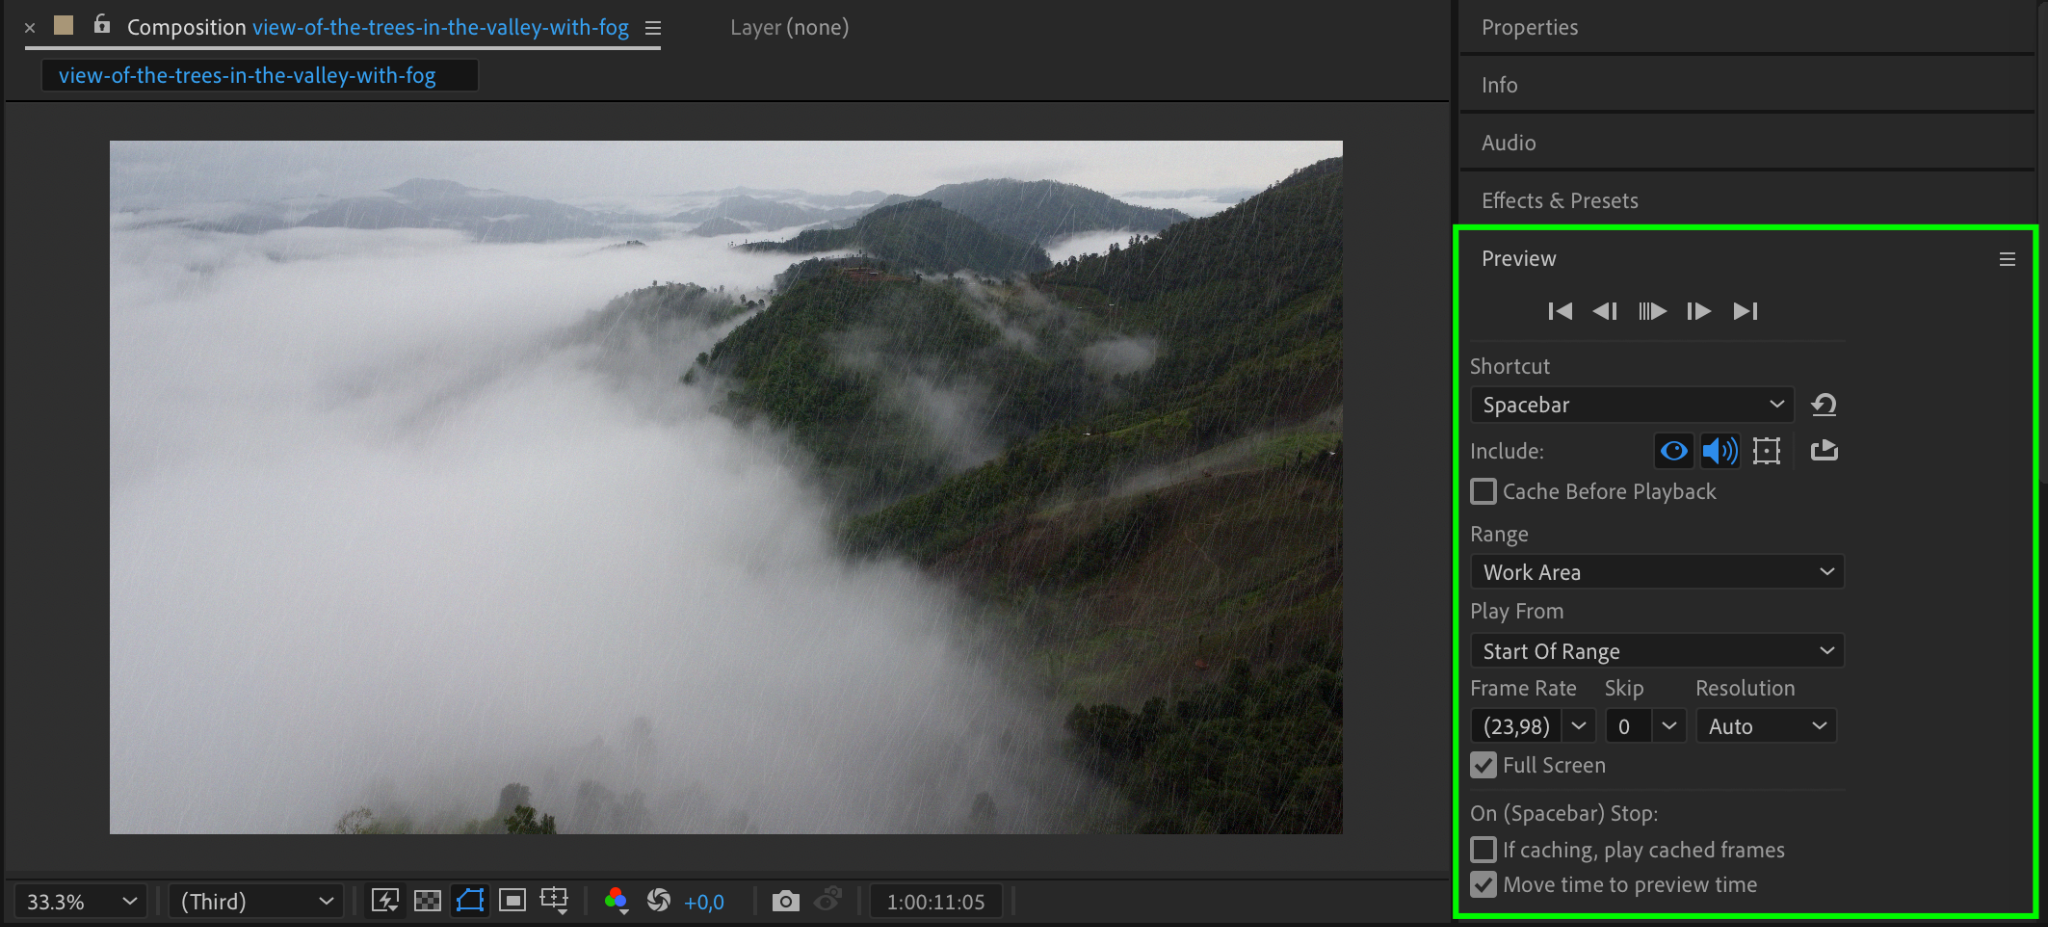
Step 5: Preview Your Composition
Press the Spacebar or use the Preview panel to review your animation. This step is essential for evaluating how the rain effect interacts with your video. Make adjustments to the speed, size, or direction of the rain if necessary, based on your preview.
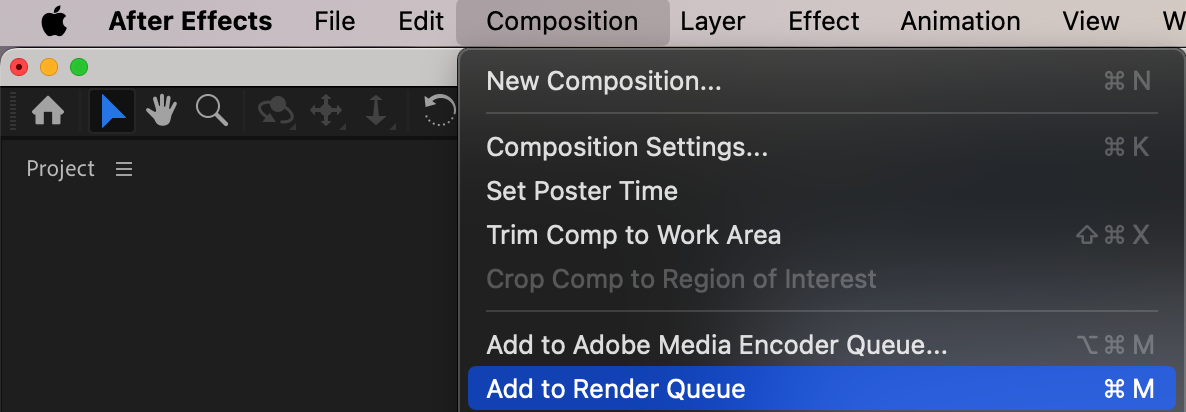
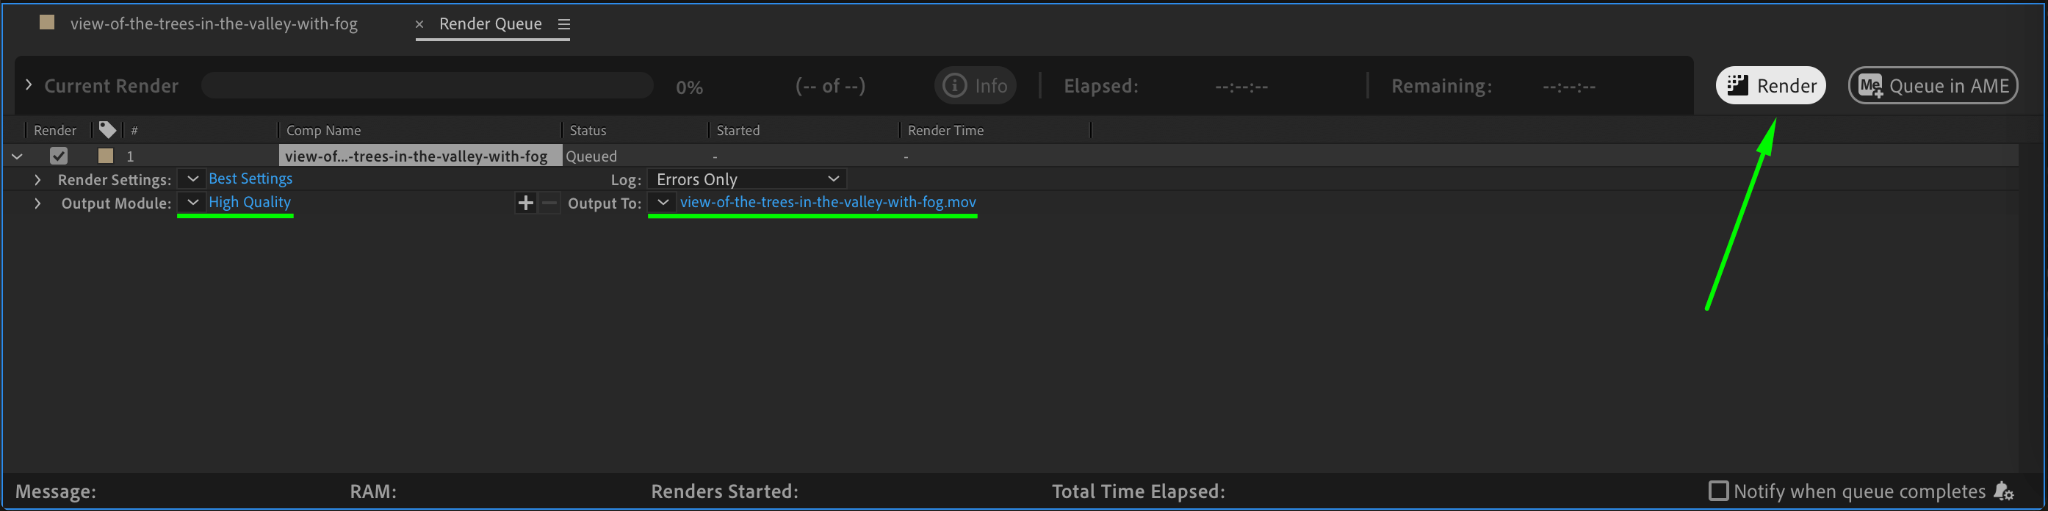
Step 6: Render Your Composition
Once you’re satisfied with the rain effect and your video looks as desired, it’s time to render. Go to Composition > Add to Render Queue and adjust your output settings, such as format and resolution. Once everything is set, click Render to export your final composition.
Conclusion
Animating rain in After Effects is a straightforward process that can add atmosphere and mood to your videos. By customizing the CC Rainfall effect and adding a noise layer, you can create a dynamic and realistic rain simulation. Practice experimenting with different settings to perfect your rain animation for any scene in your projects.
Our Bestsellers


