How to Arch Text in After Effects
Introduction
Creating arched text in After Effects is useful for designing dynamic titles, logos, and animated typography. By using masks and path options, you can curve text around a shape, making it more visually engaging. This tutorial will guide you through the steps to achieve this effect.
Step 1: Create a New Composition
Get 10% off when you subscribe to our newsletter

Open After Effects and go to Composition > New Composition. Set your desired resolution and frame rate, then click OK to create your working space.
 Step 2: Add a Text Layer
Select the Type Tool (Ctrl/Cmd + T) from the toolbar and click anywhere in the Composition panel to create a text layer. Type your desired text and adjust the font, size, and color in the Properties panel.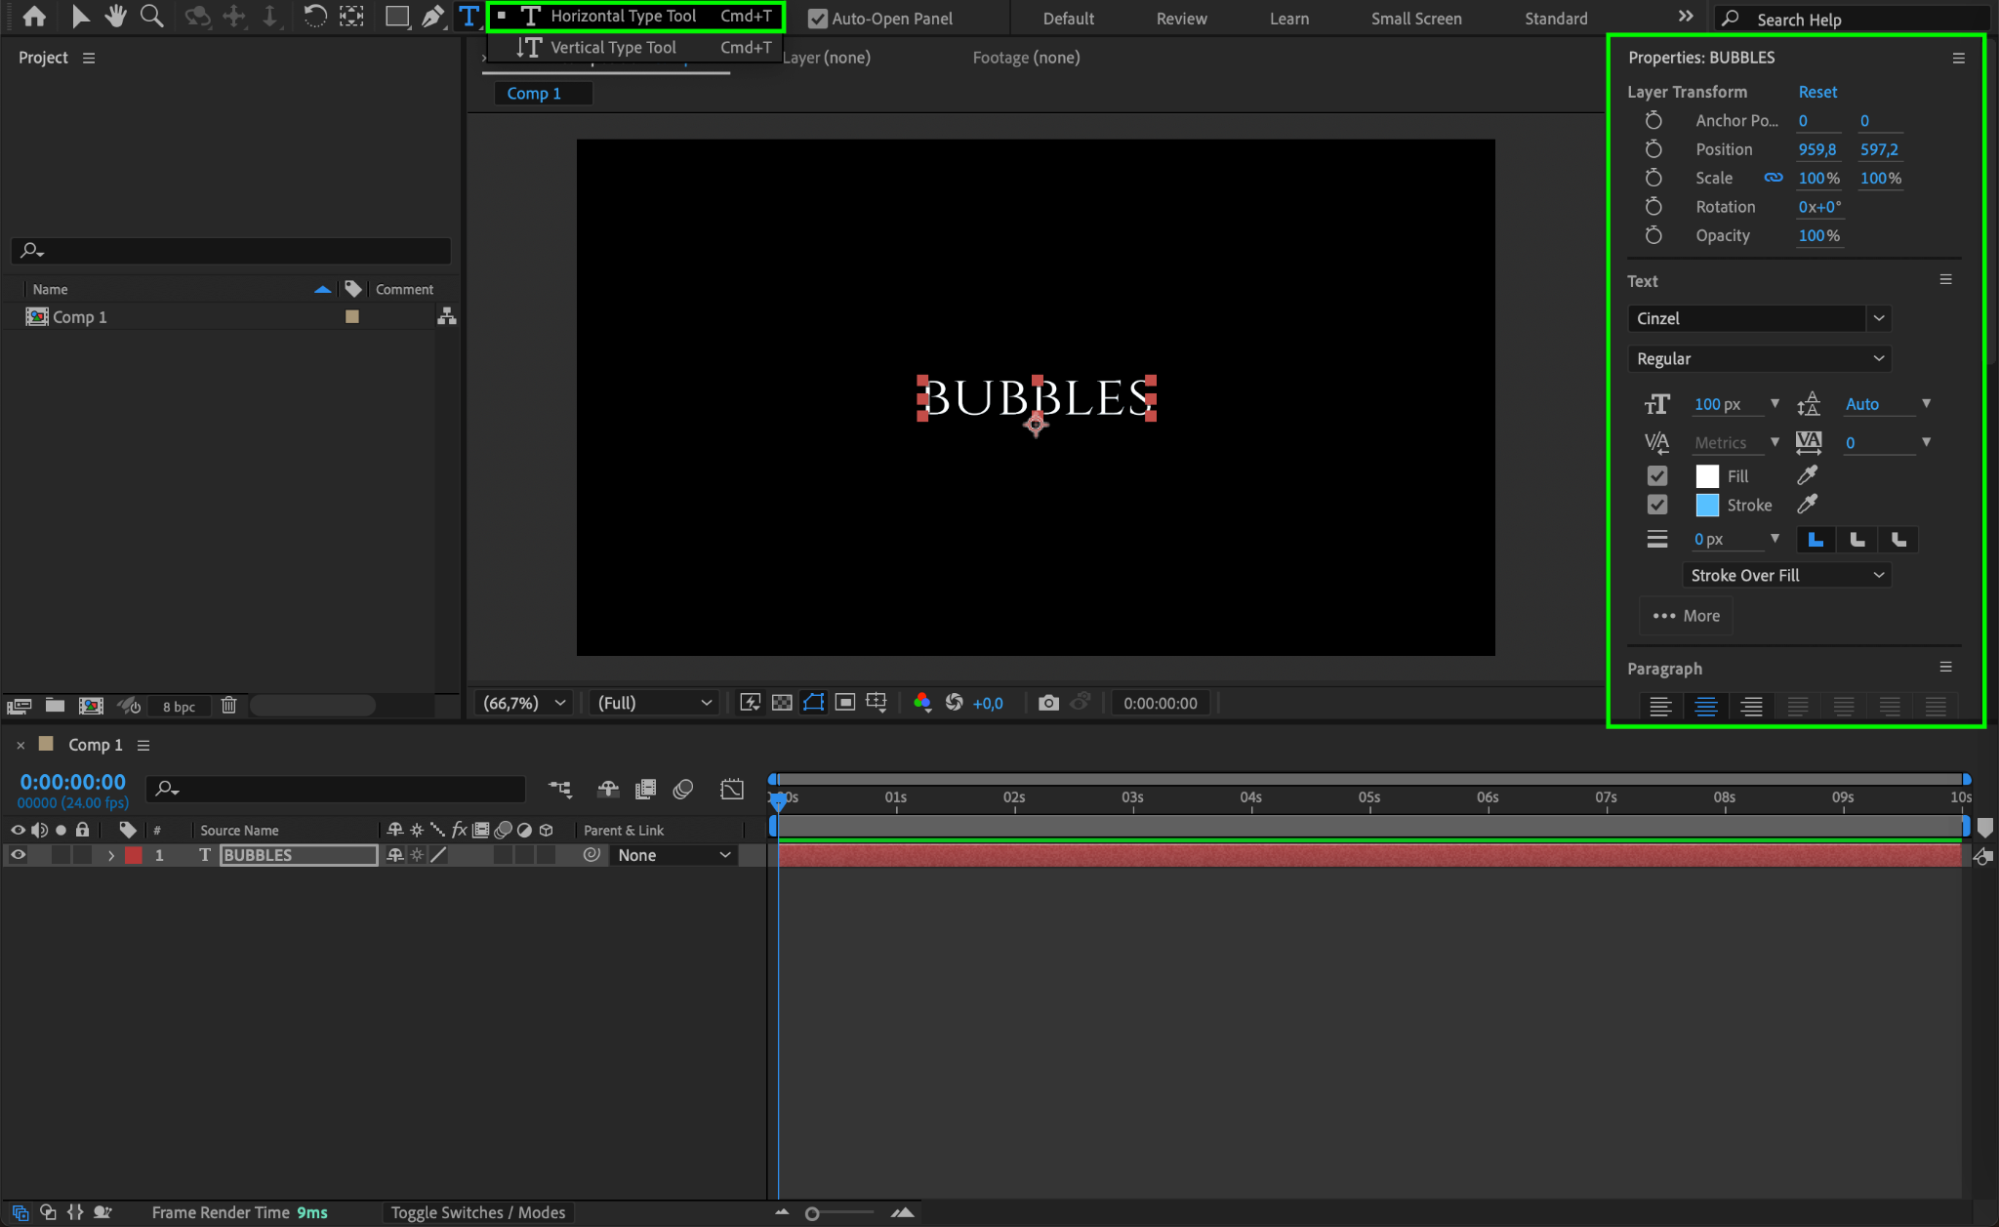 Step 3: Create a Circular Mask Around the Text
Before selecting the mask tool, make sure the text layer is selected. Then, choose the Ellipse Tool (Q) and draw a circular mask around the text. This mask will serve as the path for the curved text.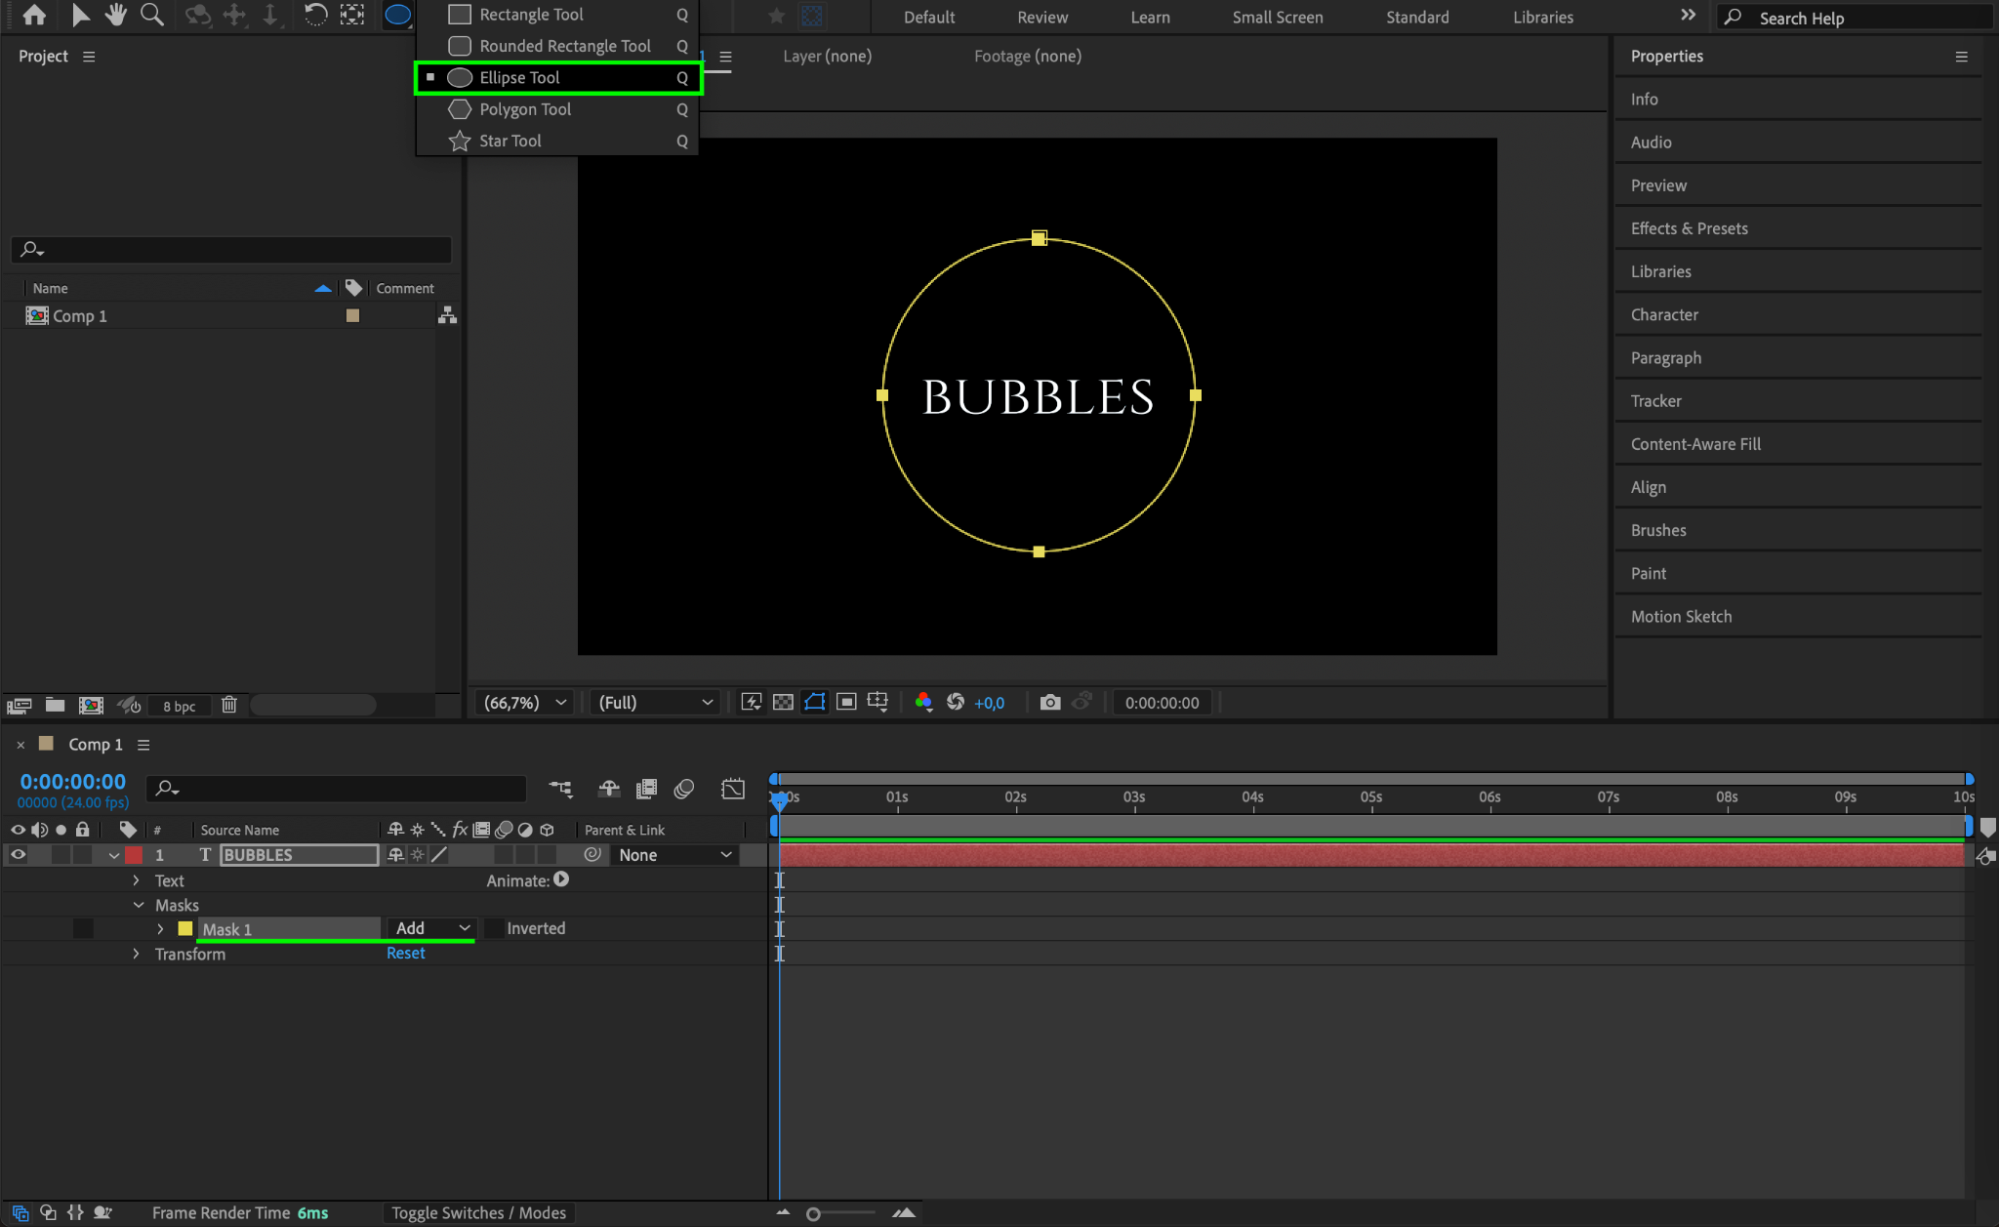 Step 4: Enable Path Options and Adjust the Text Path
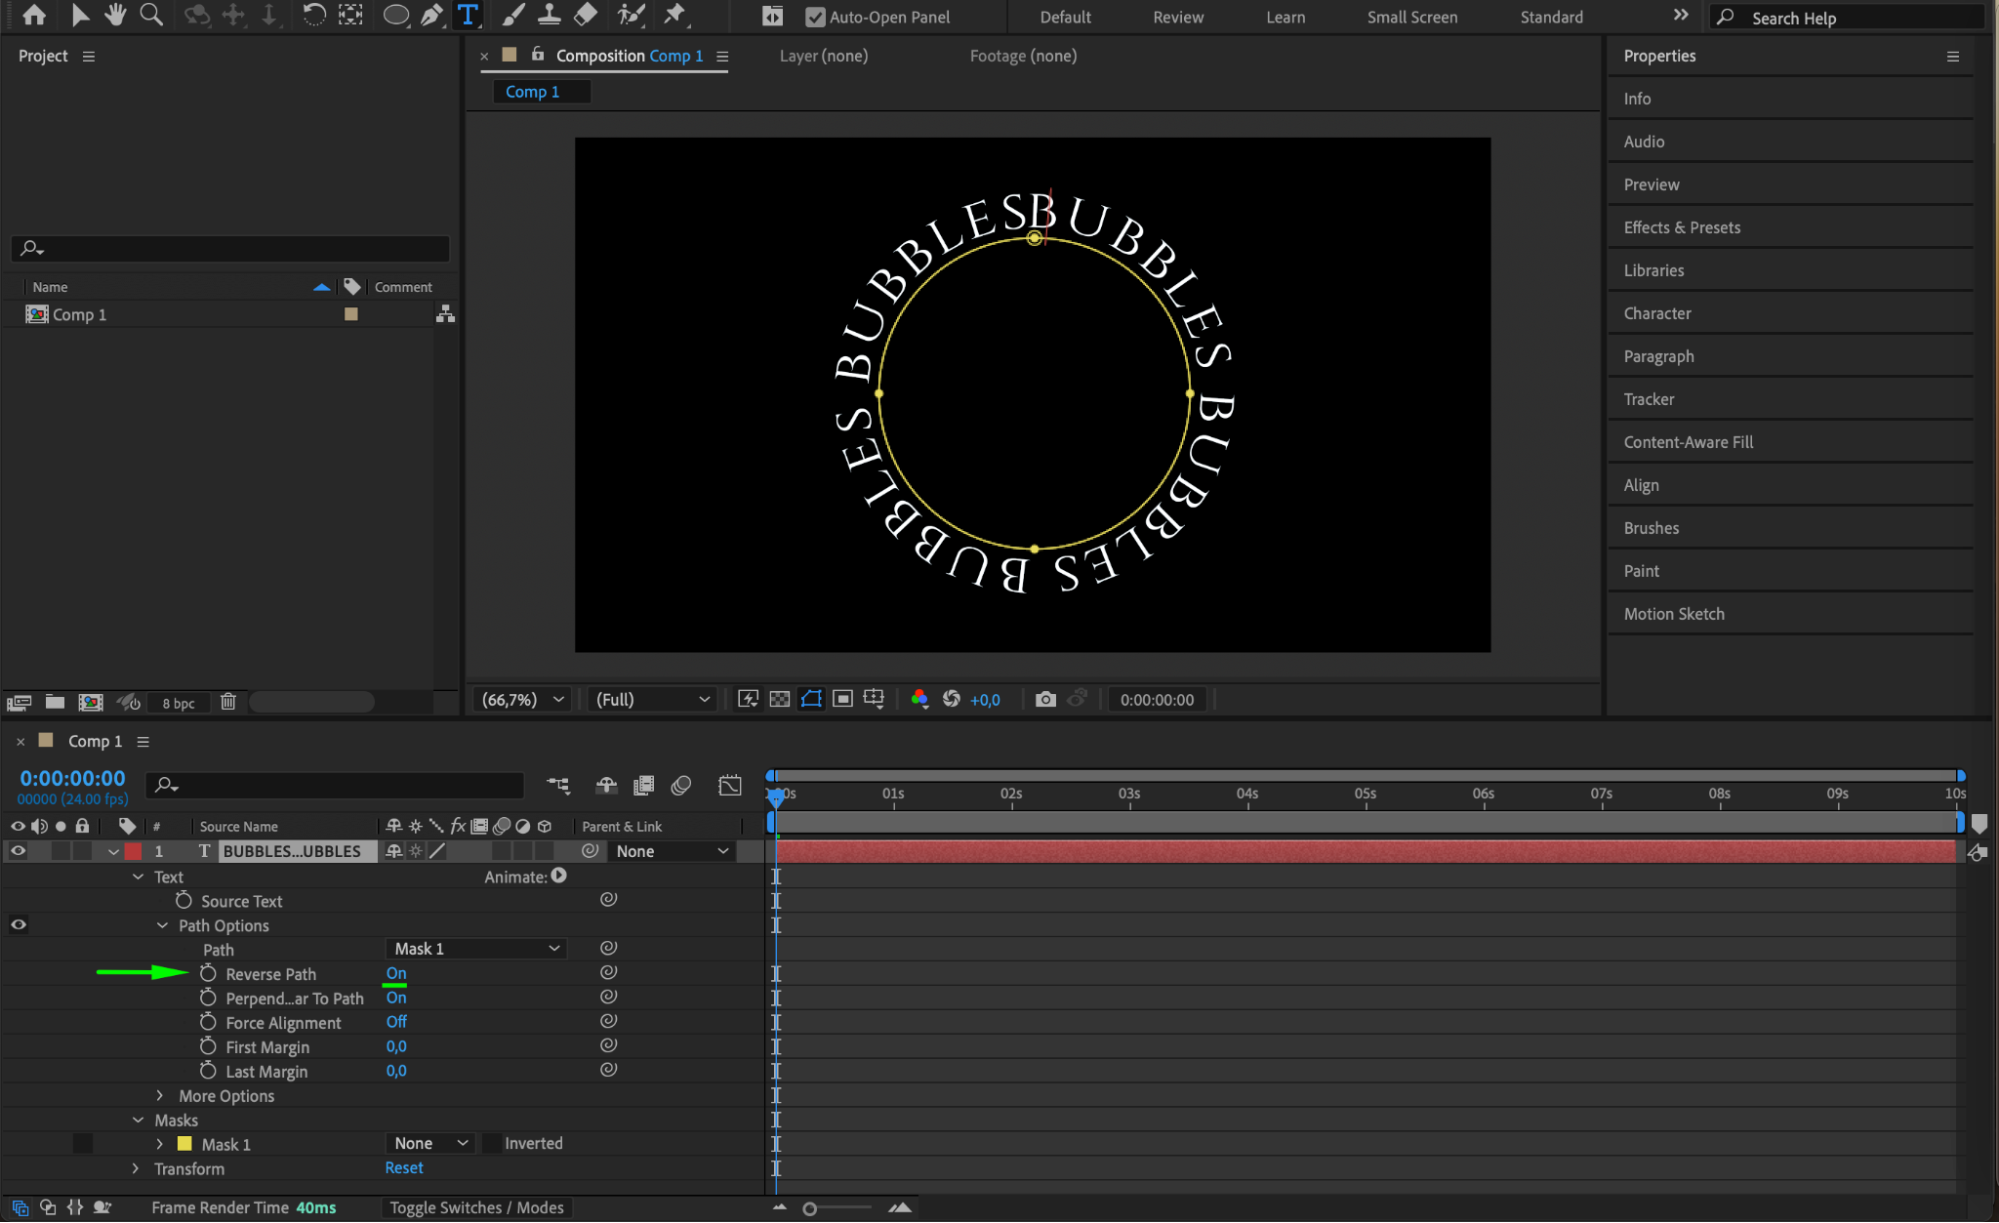
Expand the Text Layer Properties in the Timeline Panel, then navigate to Text > Path Options. Click on the Path dropdown and select Mask 1. Your text will now follow the shape of the mask. Enable Reverse Path if needed to flip the text direction. To create a looping effect, duplicate the text multiple times (e.g., “Bubbles Bubbles Bubbles Bubbles”) so it flows smoothly along the curve.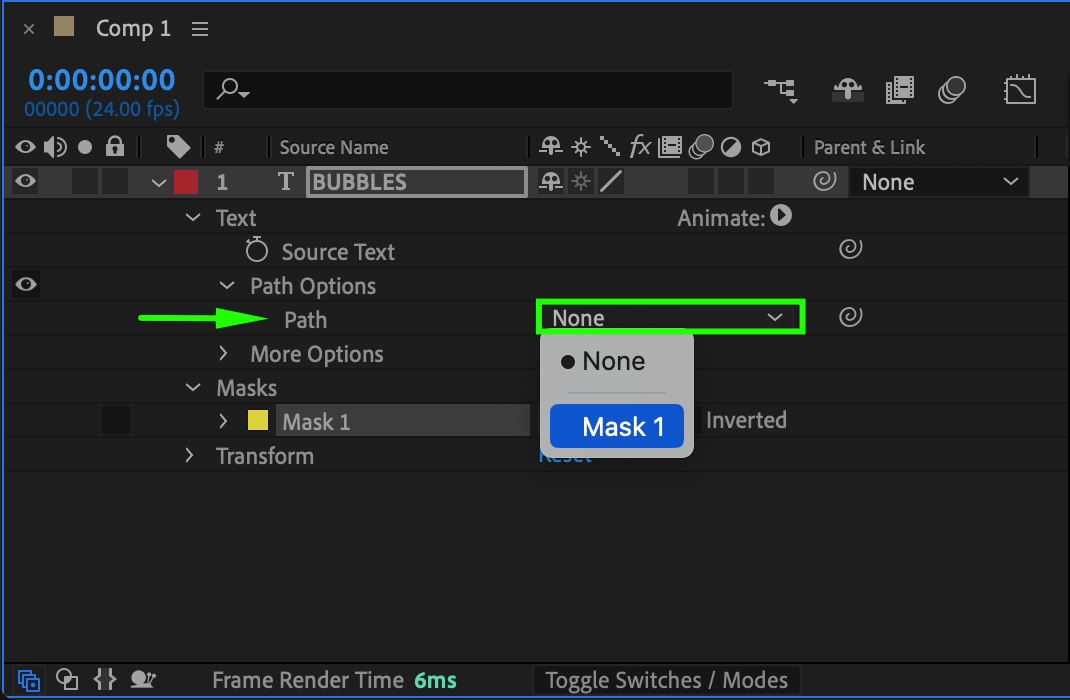
 Step 5: Adjust Text Size and Spacing
Use the Character Panel to modify the font size, tracking, or spacing between letters to ensure the text is readable and evenly distributed along the curve. Step 6: Animate the Text Using Expressions
In the Path Options, locate the First Margin parameter. Hold Alt (Windows) / Option (Mac) and click the stopwatch next to First Margin. In the expression editor, type:
time * 200
This will animate the text along the circular path, making it rotate over time.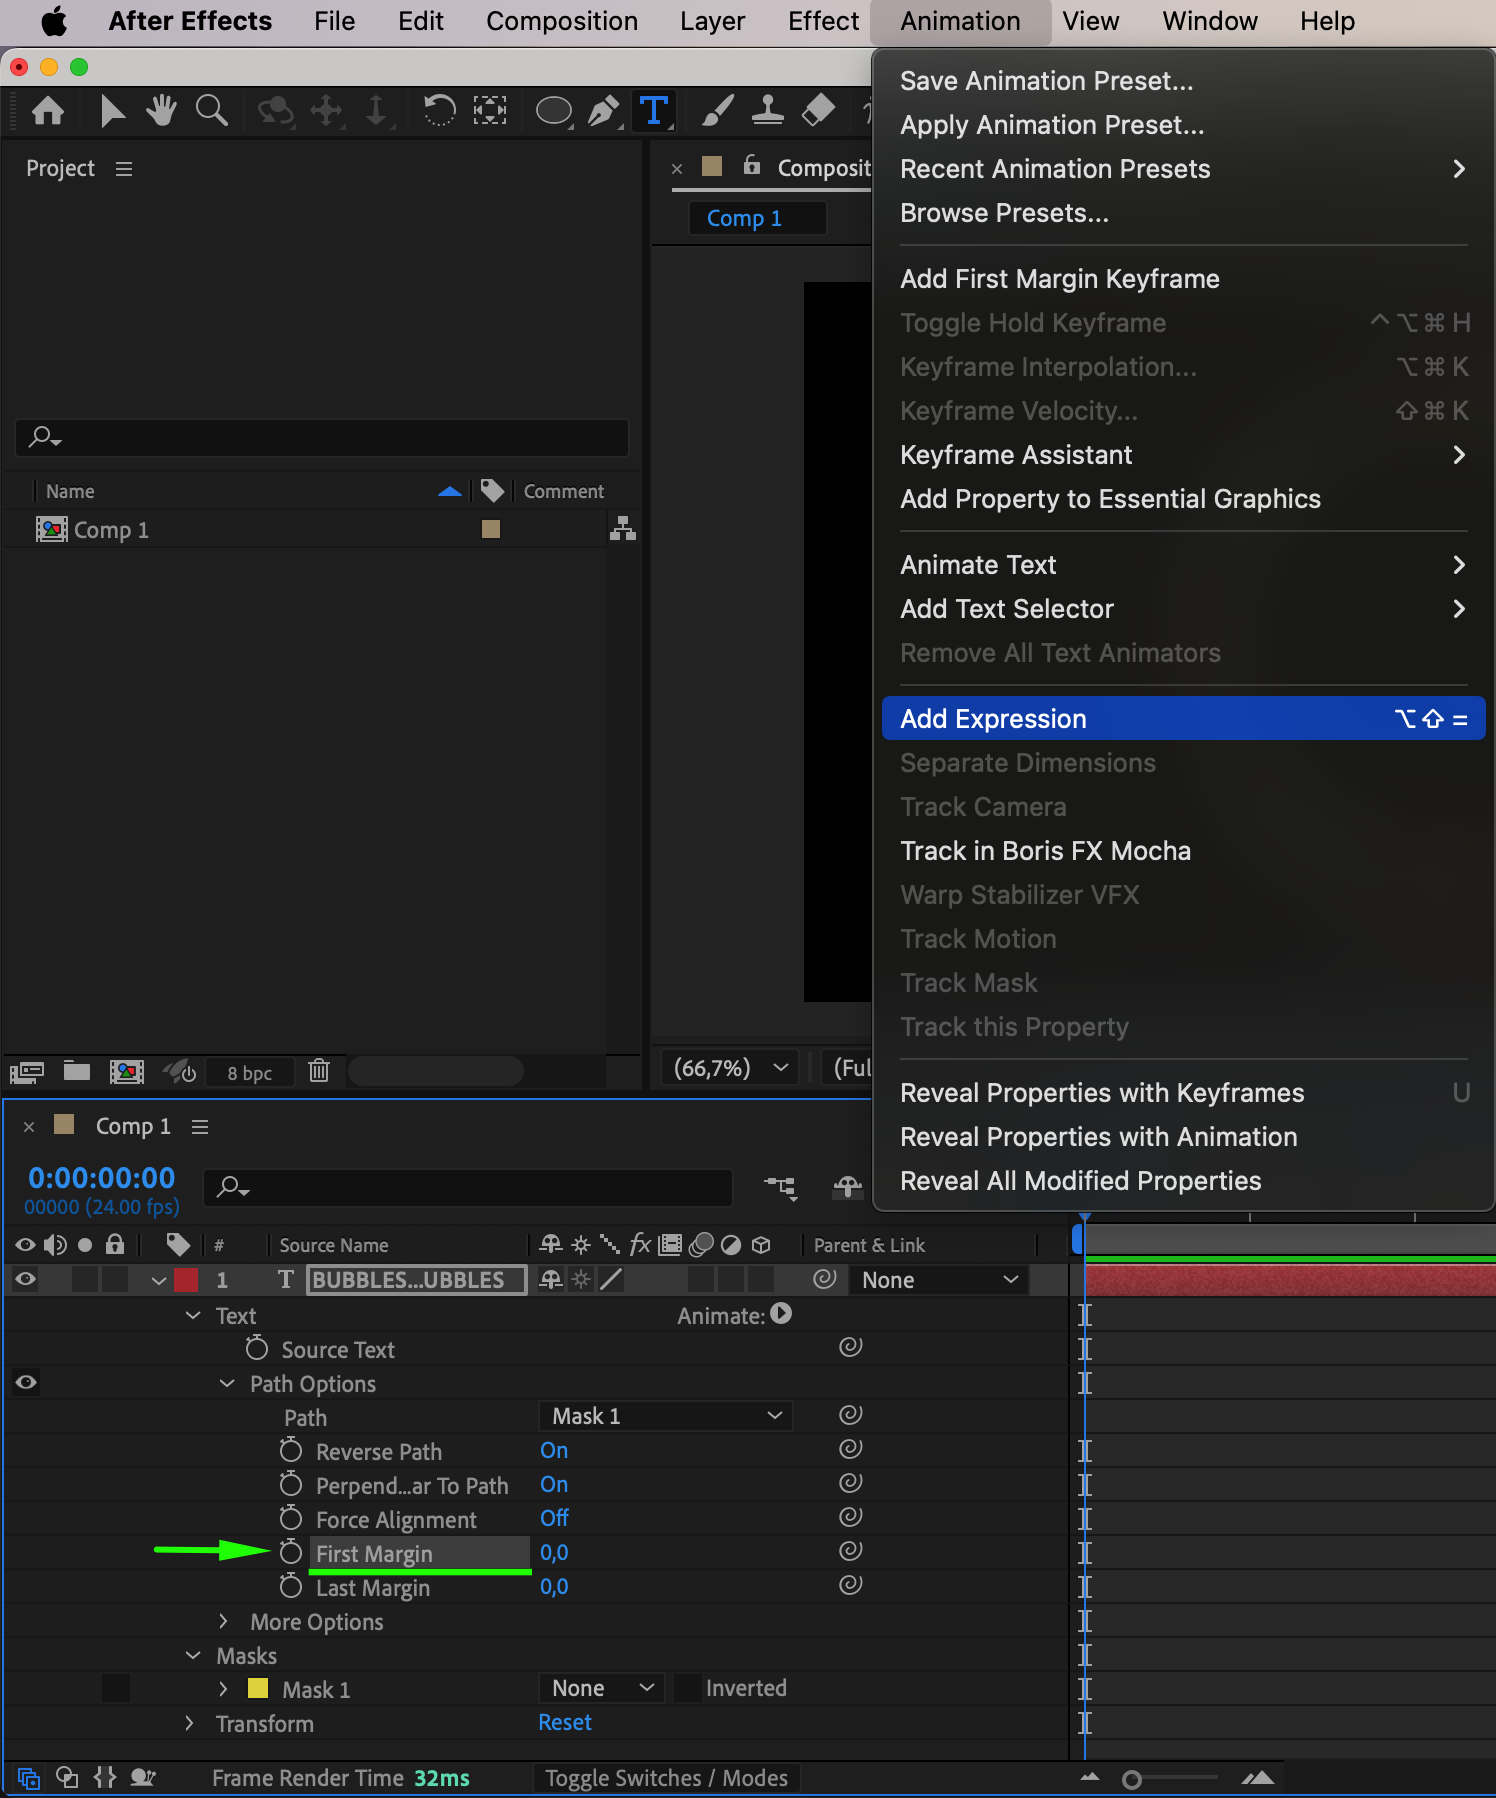
 Step 7: Preview the Animation
Press Spacebar to preview the animation. Adjust the First Margin value or text spacing if needed to refine the motion Step 8: Render the Final Animation
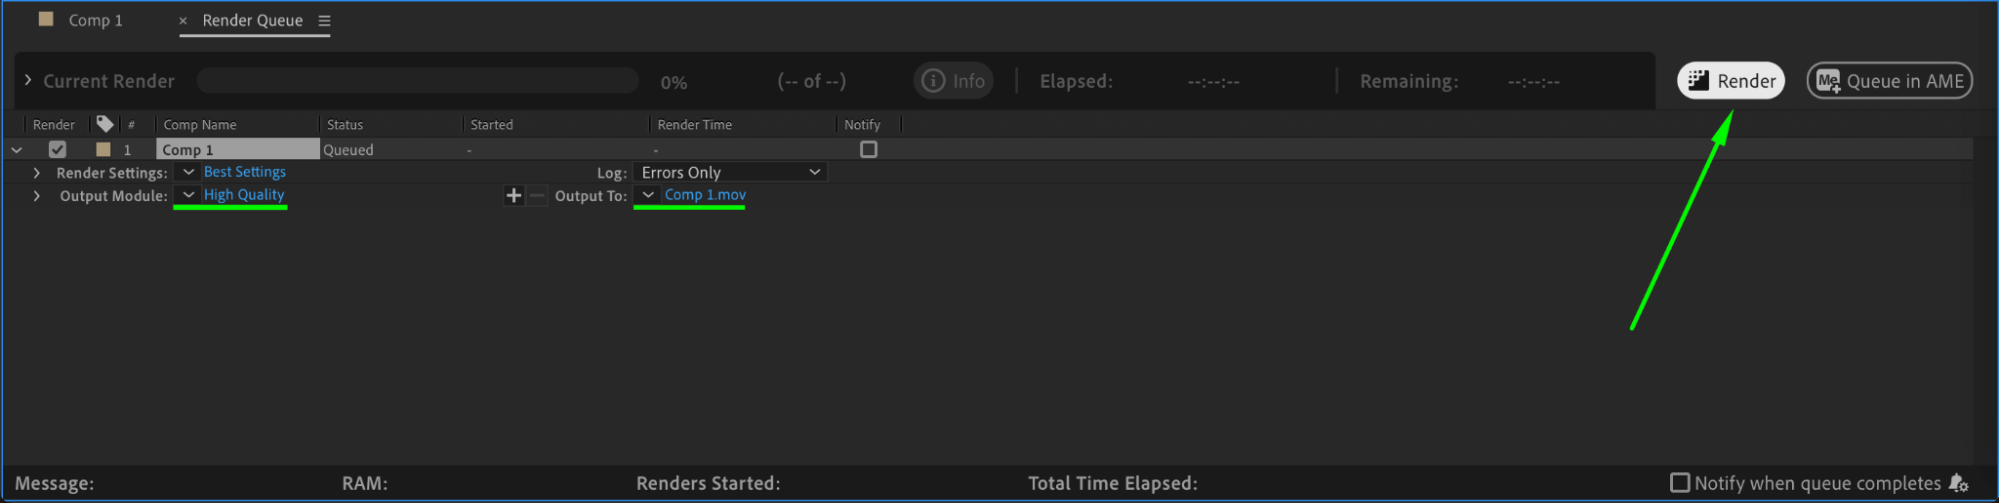
Once satisfied with the effect, go to Composition > Add to Render Queue, select your output format, and click Render to export your animated arched text.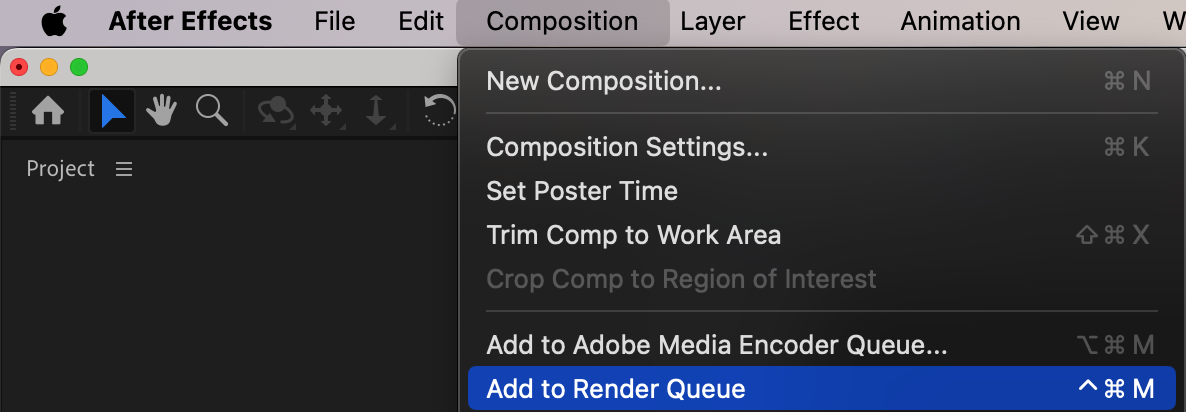
 Conclusion
By using masks, path options, and simple expressions, you can create arched text that moves dynamically along a path in After Effects. This technique is great for animated logos, motion graphics, and creative typography effects.
Our Bestsellers


