How to Blur an Image in After Effects
Introduction
Blurring an image in After Effects can create various effects, from soft background blurs to dramatic focal points. Whether you’re aiming for a smooth and soft blur or a more intense, focused blur, After Effects offers several tools to help you achieve the desired result. Here’s a simple guide to blurring images in After Effects.
Step 1: Import the Image
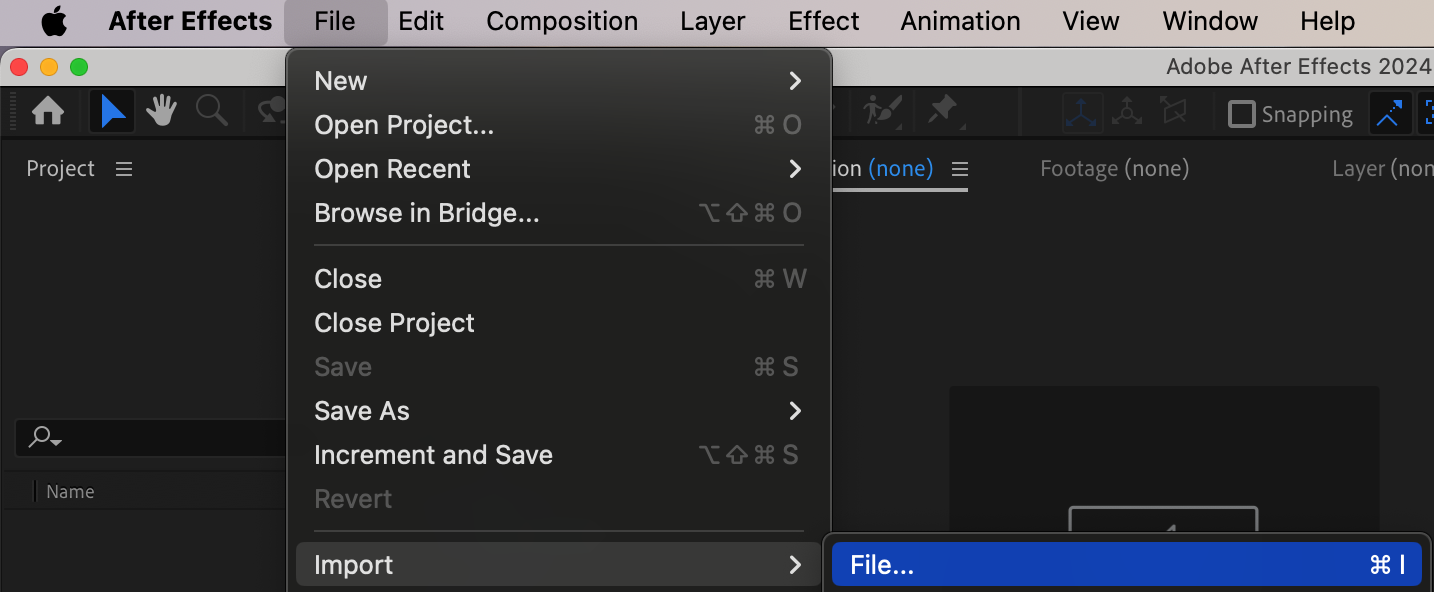
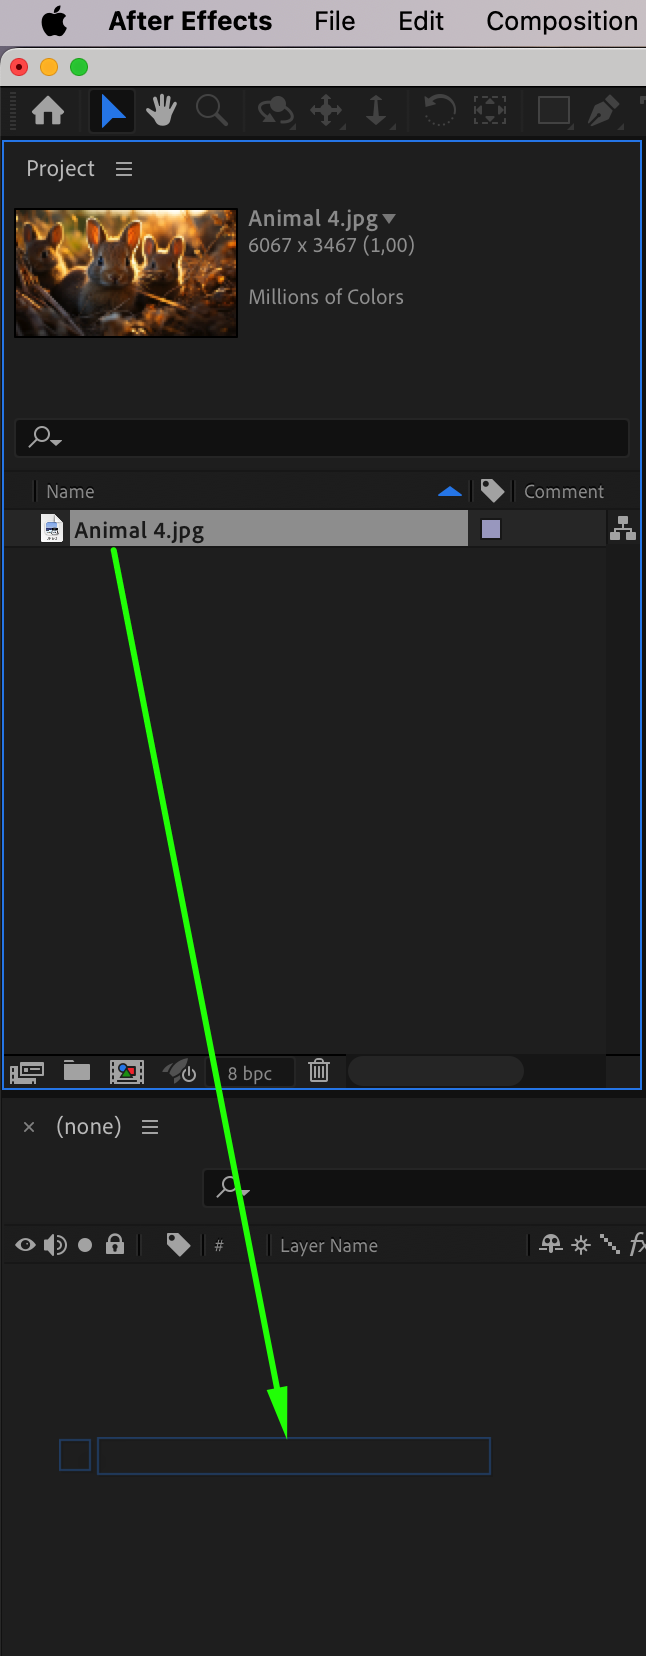
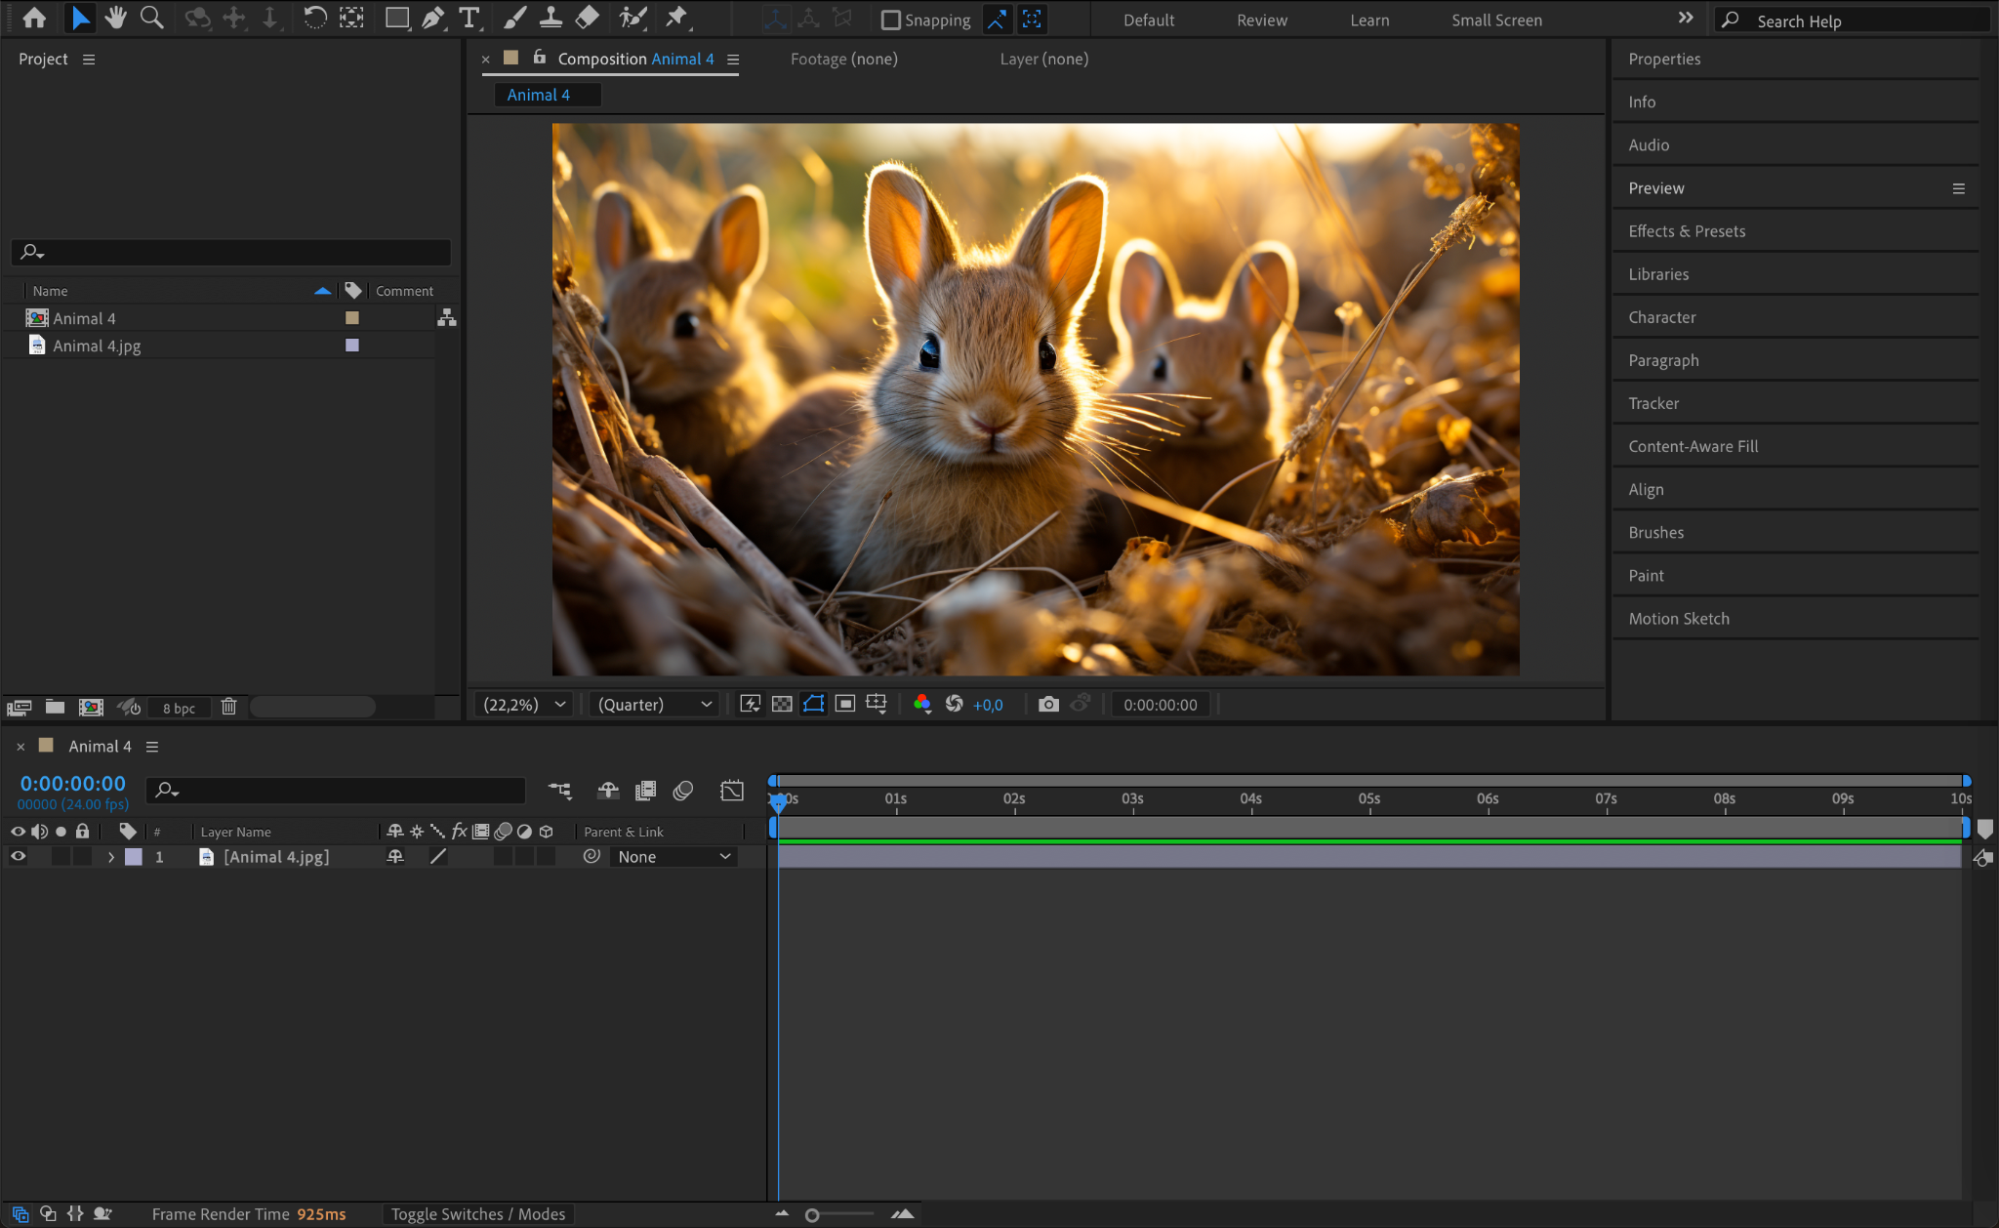
Go to File > Import > File and choose the image you want to blur. After importing, drag the image to the Timeline Panel to add it to your composition.
 Step 2: Create an Adjustment Layer
Get 10% off when you subscribe to our newsletter

Go to Layer > New > Adjustment Layer. This layer will allow you to apply the blur effect without affecting the original image directly.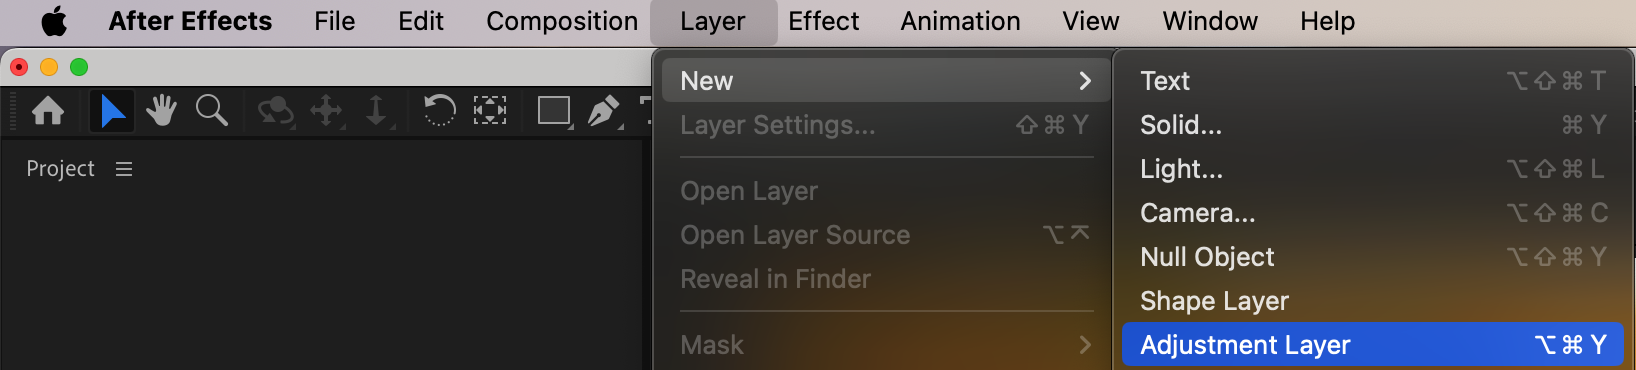
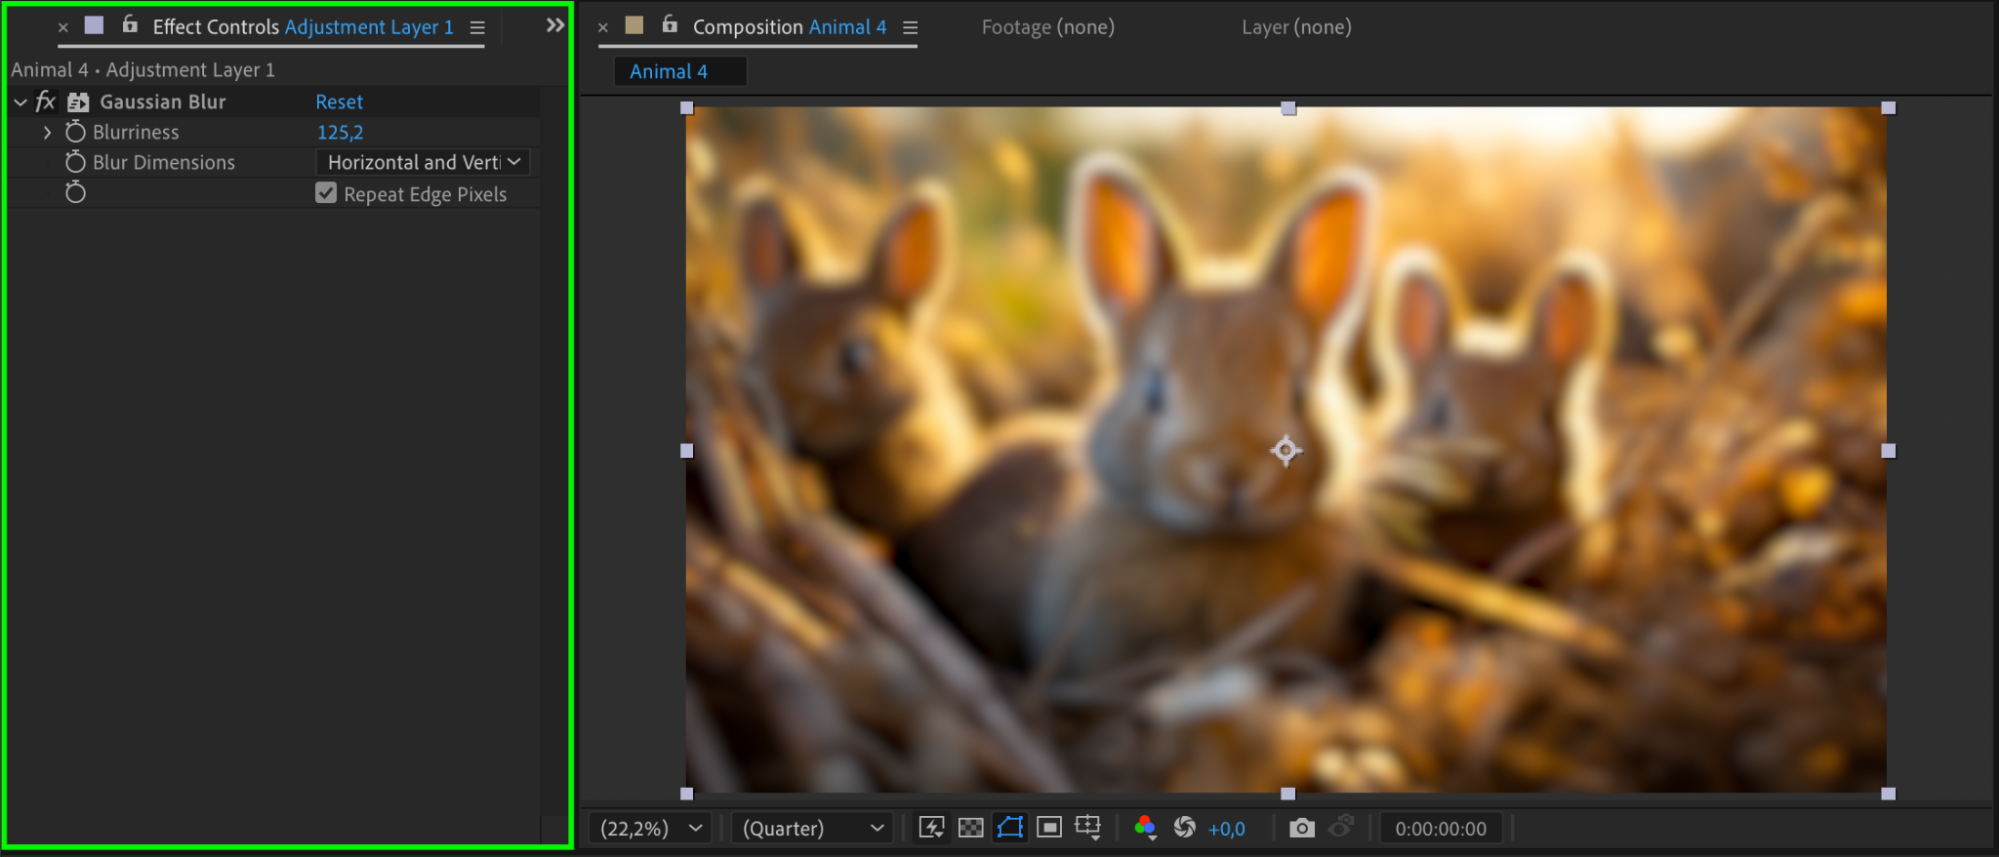
Step 3: Apply Gaussian Blur
In the Effects & Presets Panel, search for Gaussian Blur and drag it onto the Adjustment Layer. In the Effect Controls Panel, adjust the Blurriness slider to create a soft blur effect. The higher the value, the stronger the blur.
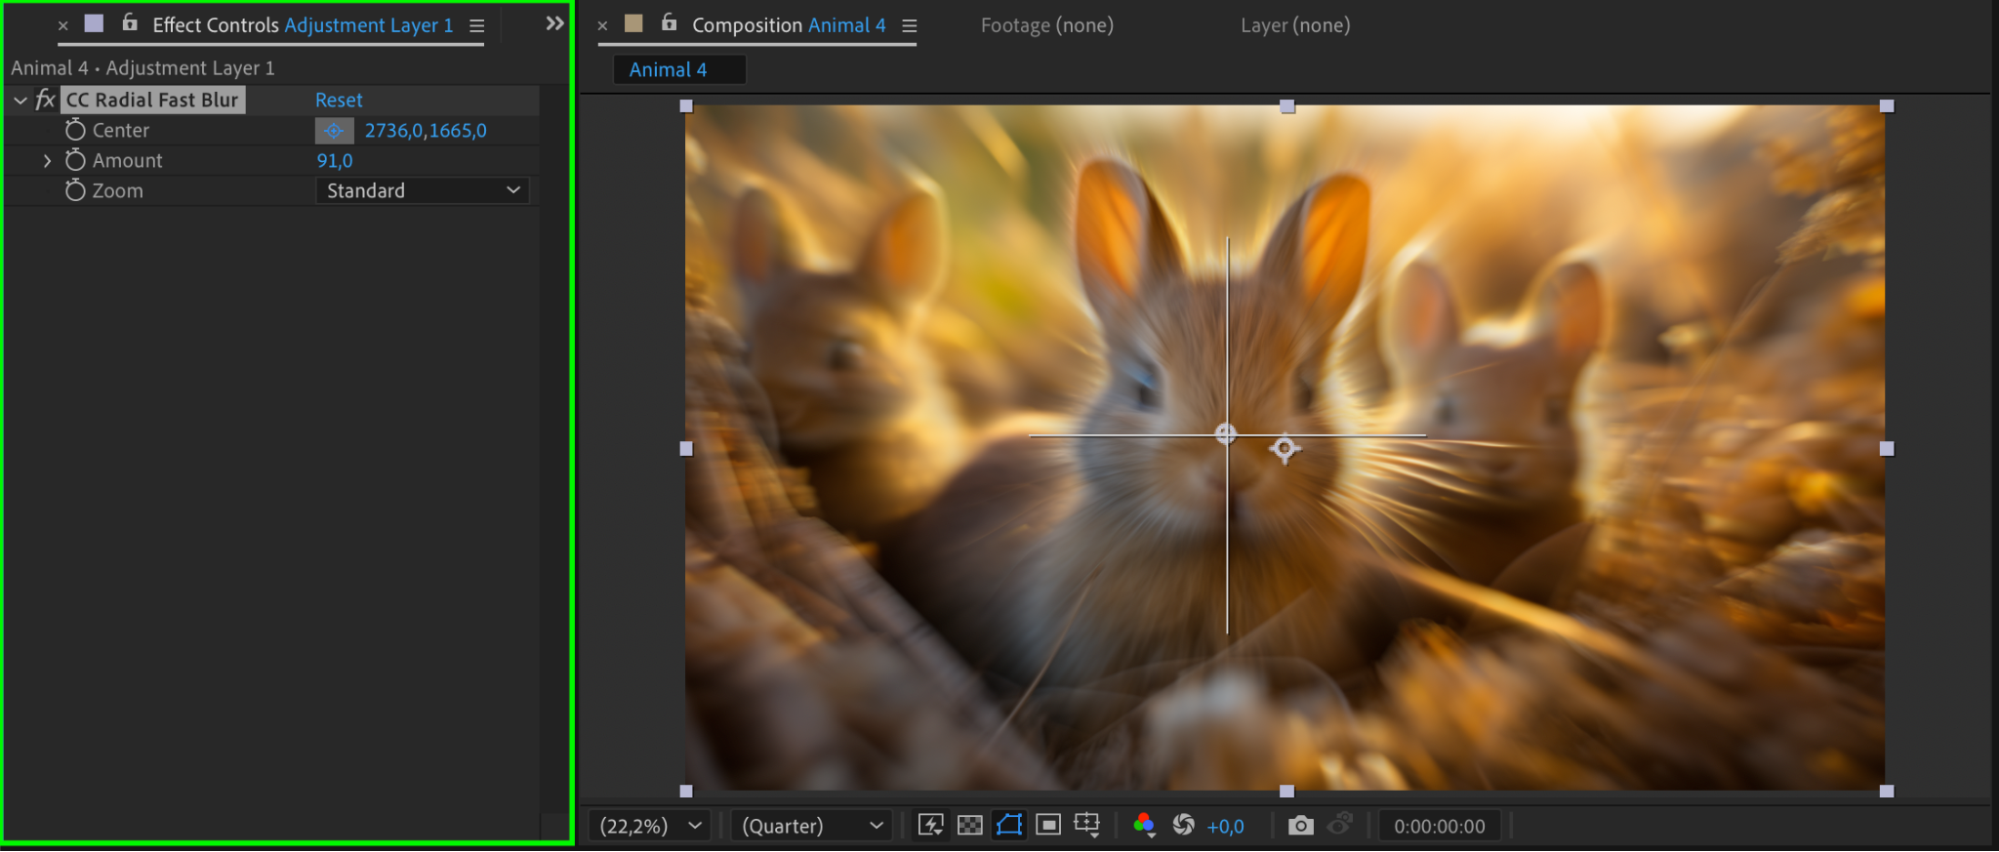
 Step 4: Apply Radial Fast Box Blur
Alternatively, if you want a more dynamic blur effect, use CC Radial Fast Box Blur. Adjust the Center of the Effect to control the point where the blur radiates from. This is ideal for creating a focal point or radial blur around a subject.
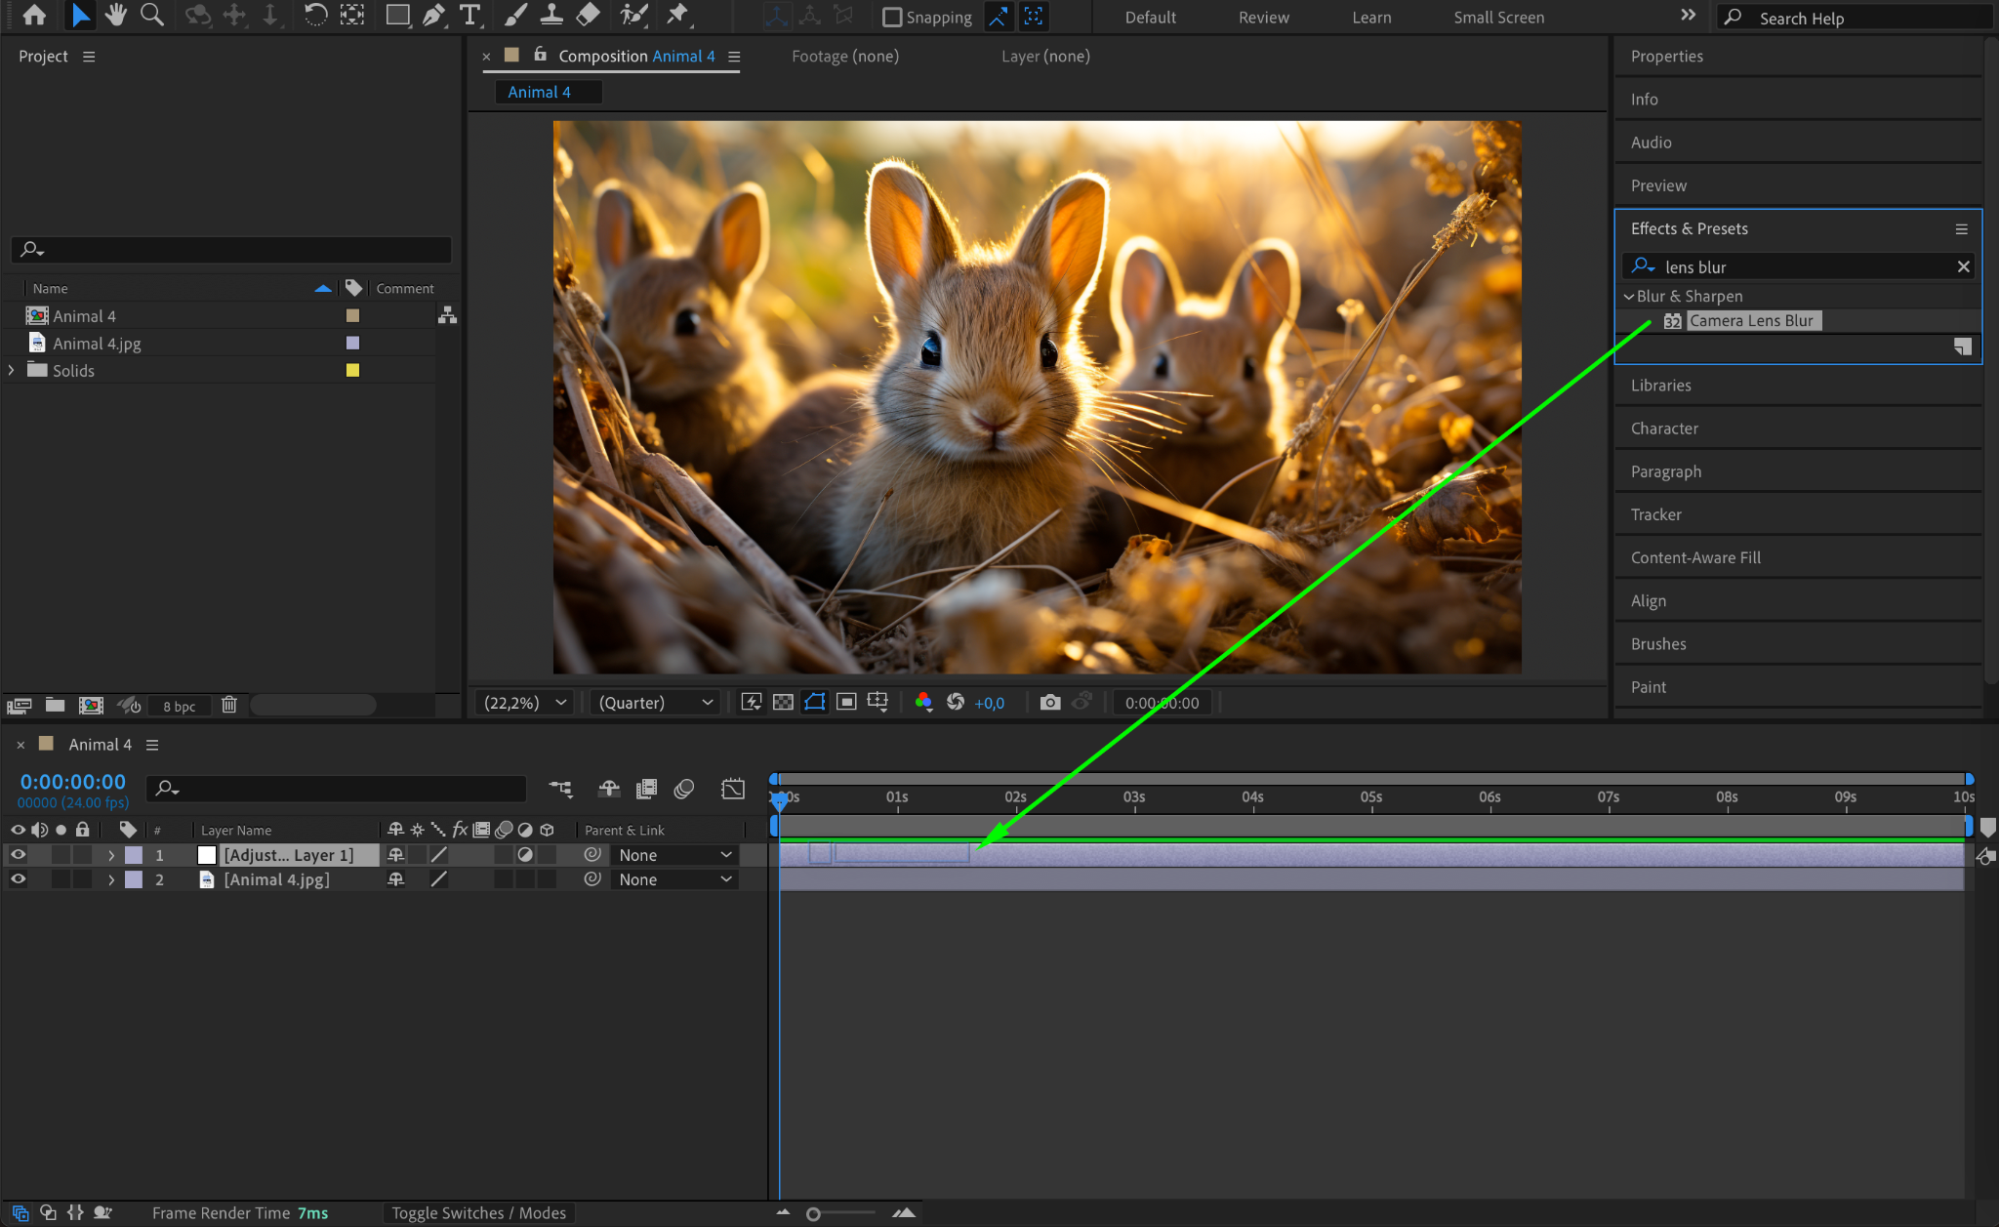
 Step 5: Use Camera Lens Blur for Realistic Effect
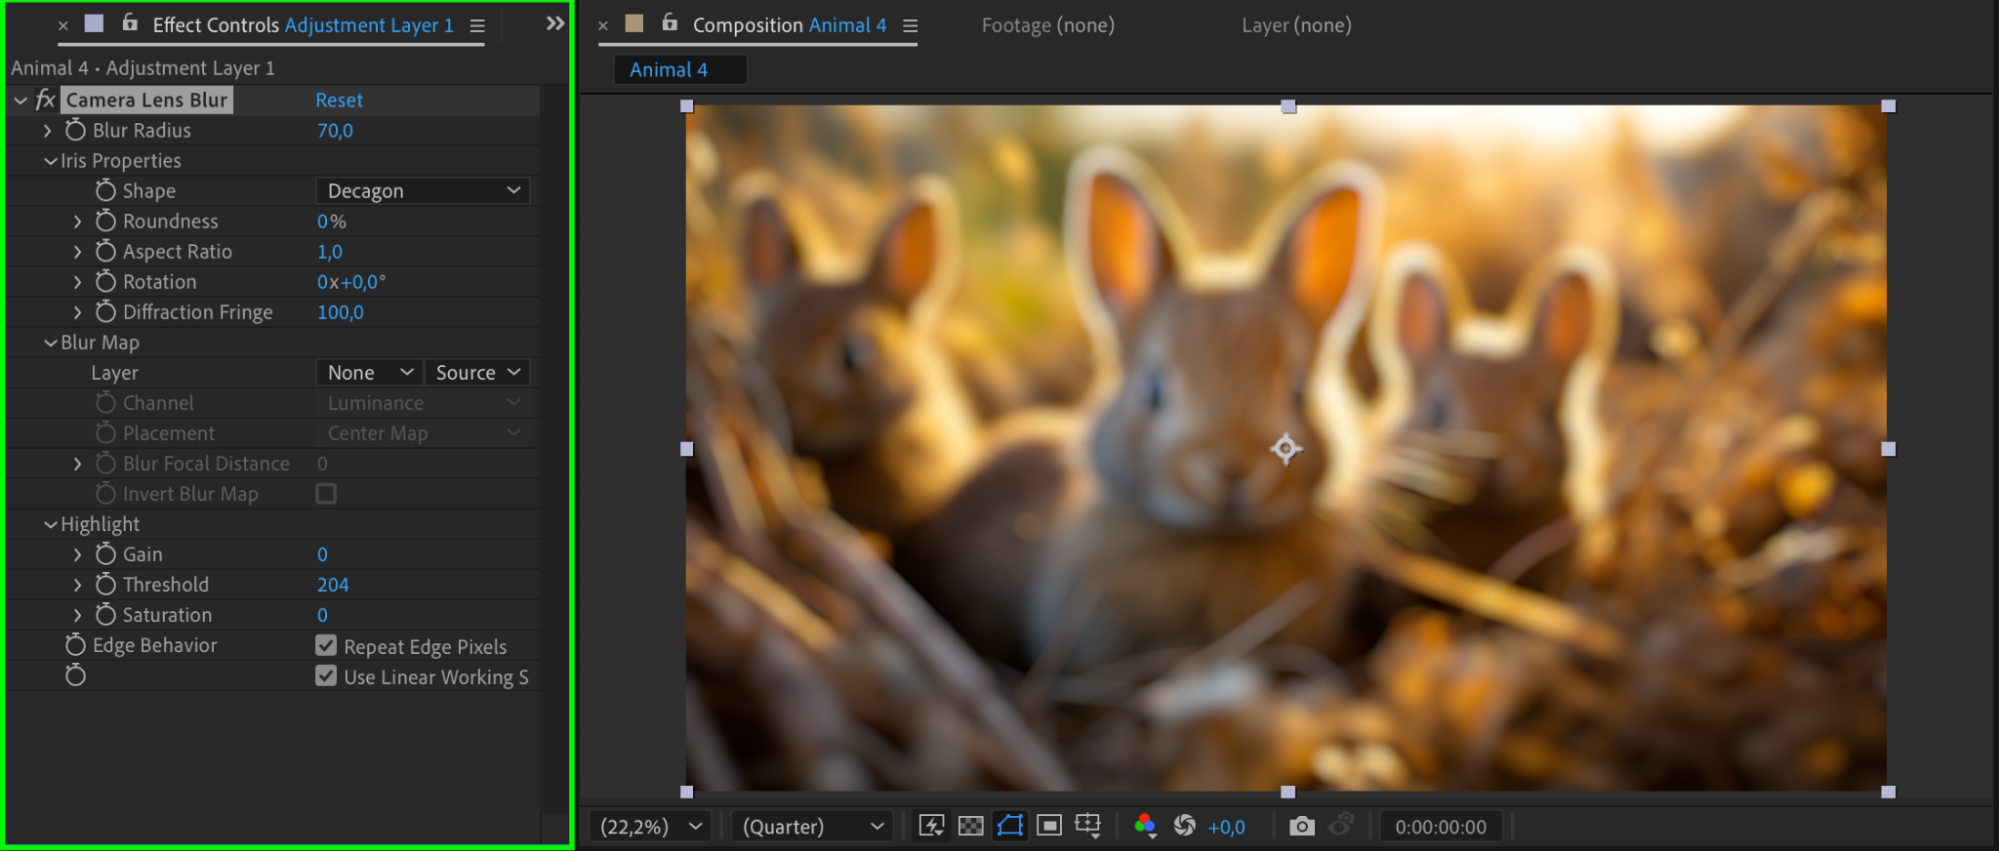
For a more realistic blur, apply the Camera Lens Blur effect. In the Effect Controls Panel, adjust the Blur Radius to control the intensity of the blur. This mimics the look of real camera lens blur.
 Step 6: Use Masks for Selective Blurring
To apply the blur effect to specific areas of your image, use masks. Select the Shape Tool (Q) and draw a mask around the area you want to blur. In the Mask properties, set the Mode to one that fits your project needs.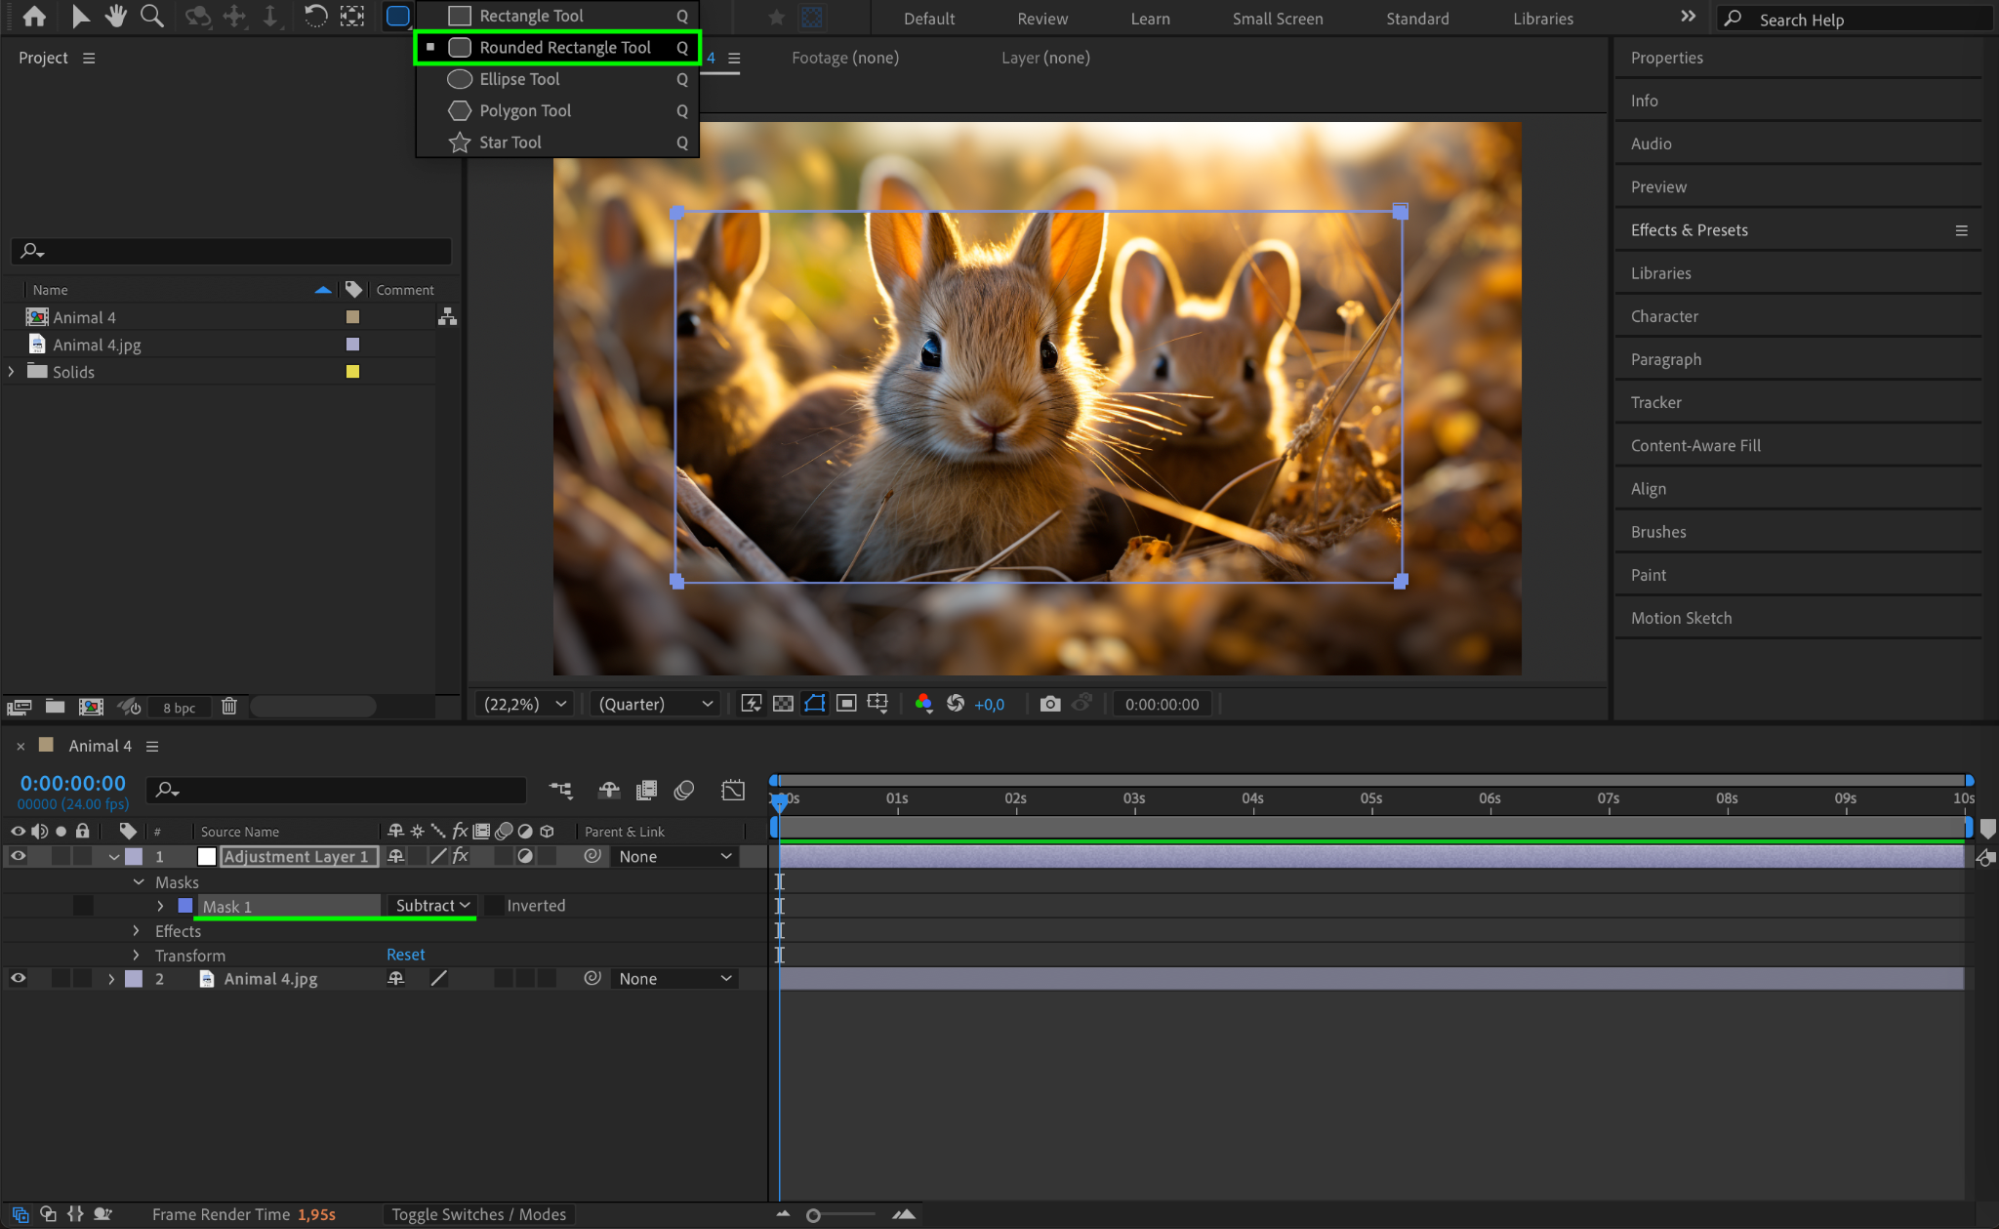 Step 7: Refine the Mask with Feather
Expand the Mask properties and adjust the Mask Feather to soften the edges of the mask. This creates a smoother transition between the blurred and sharp areas.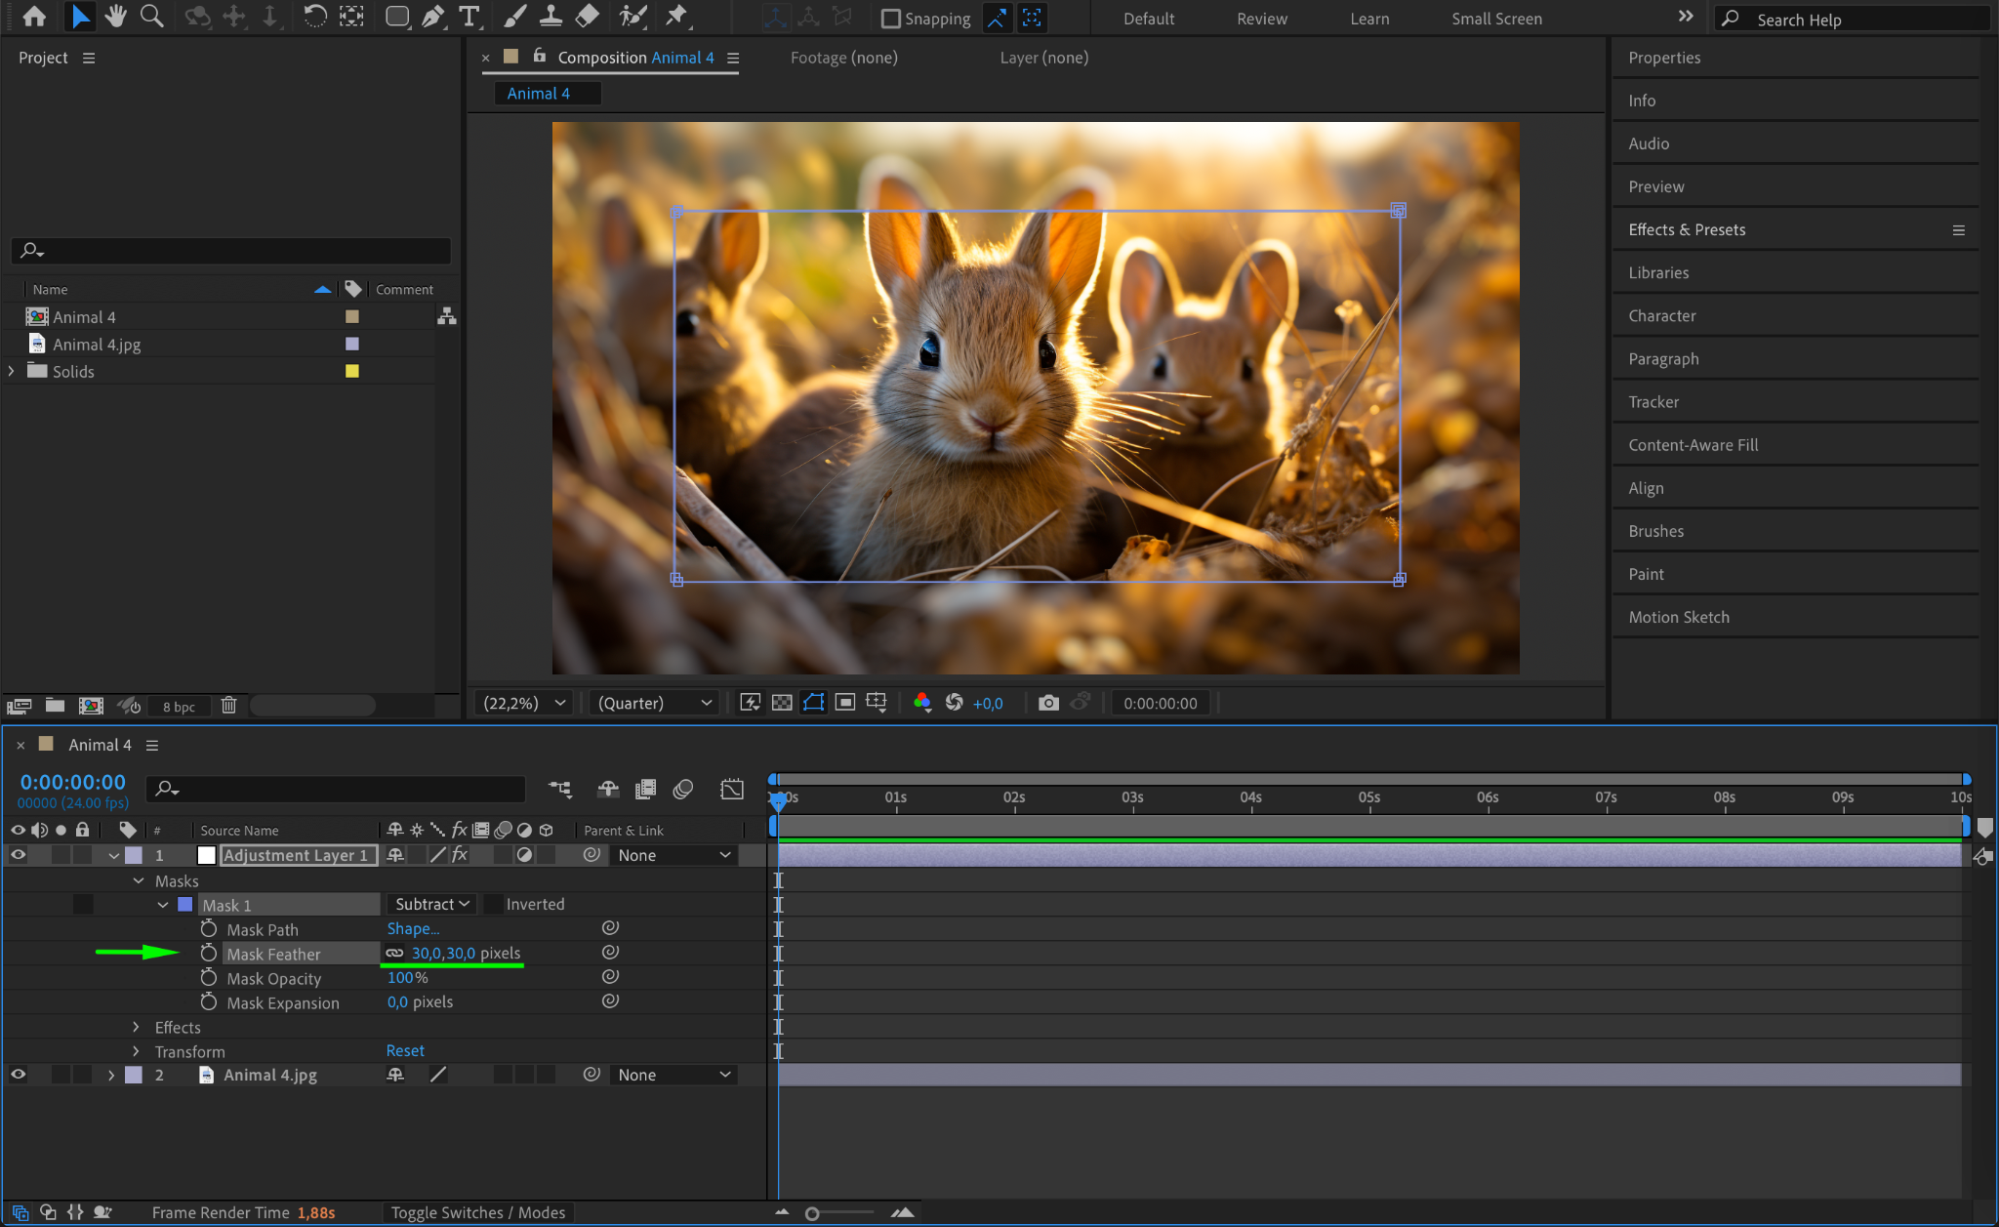 Step 8: Preview the Changes
Press the Spacebar to preview your animation or image with the blur effect applied. Make adjustments as needed to ensure the blur looks natural and seamless.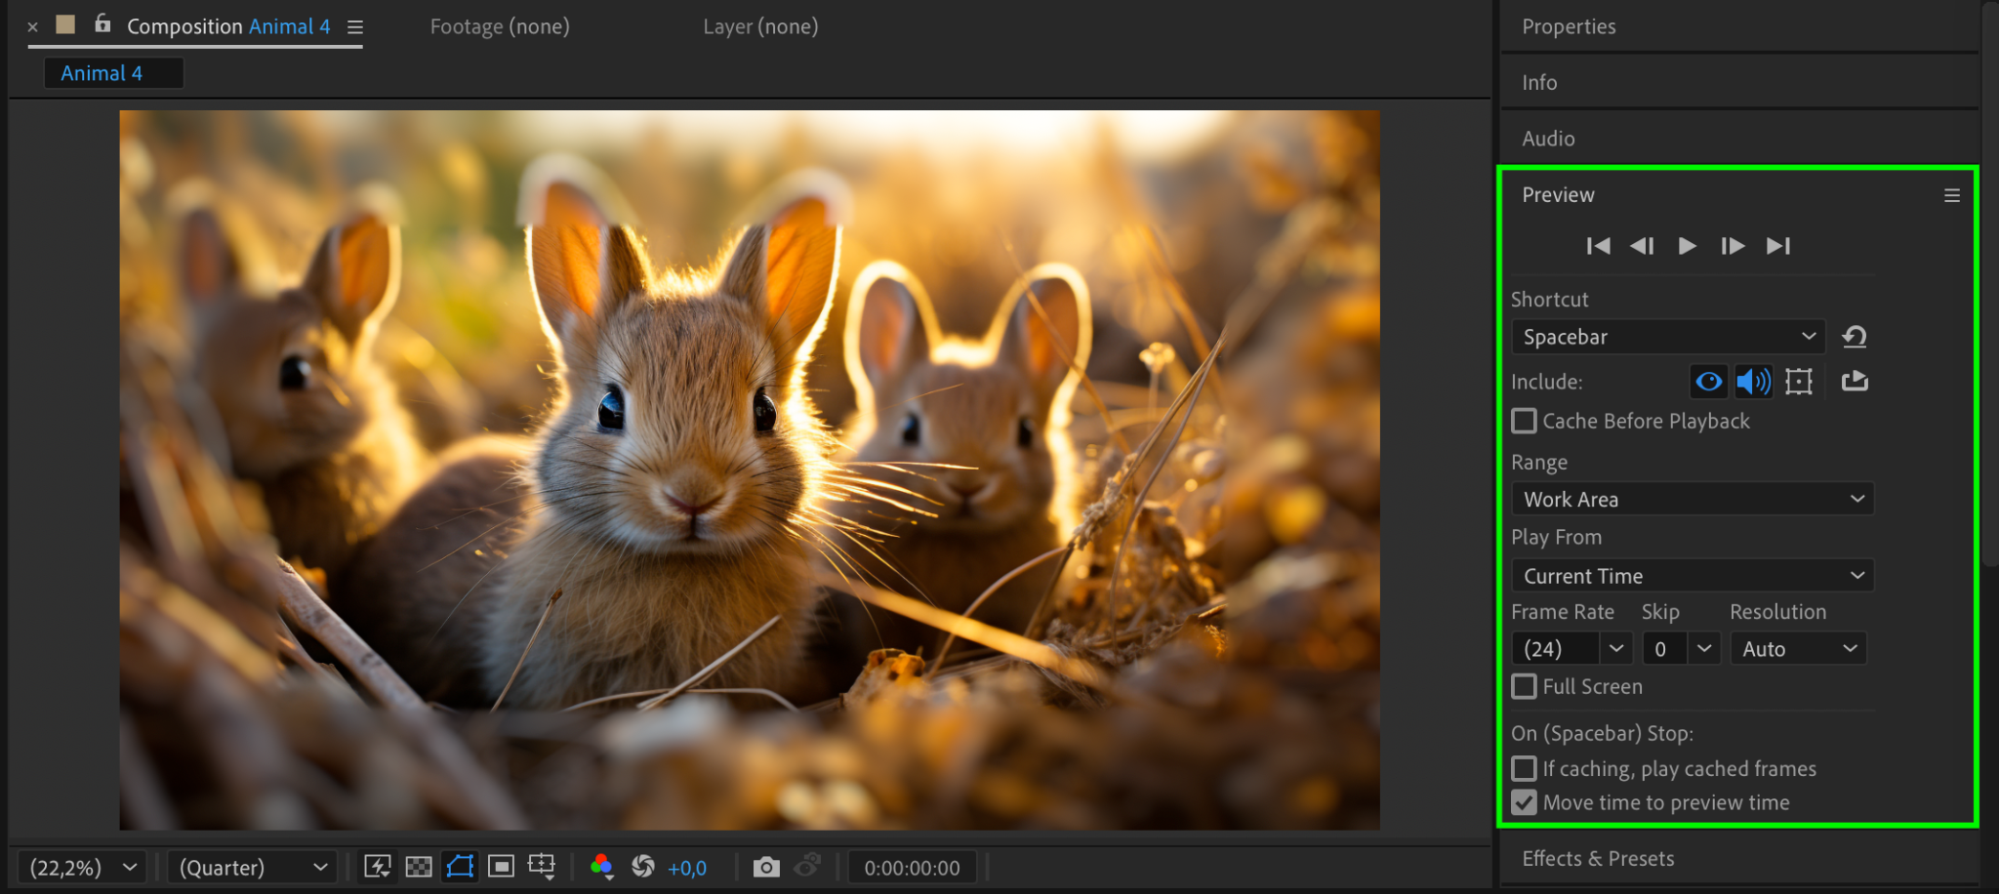 Step 9: Render the Final Image
Once satisfied with the blur effect, go to Composition > Add to Render Queue, select your preferred output settings, and click Render to export your blurred image.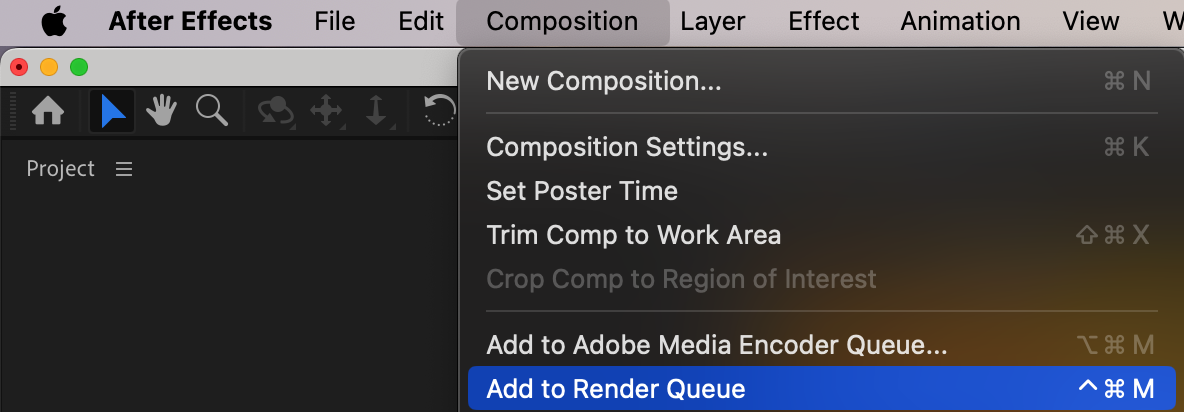
 Conclusion
Blurring an image in After Effects is a straightforward process that offers many creative possibilities. Whether you’re using Gaussian Blur, Radial Fast Box Blur, or Camera Lens Blur, you can easily customize the effect for your project. Using adjustment layers and masks adds flexibility and control, allowing you to create professional-quality blurred images in After Effects.
Our Bestsellers


