How to Change the Color of a Mask in After Effects
Introduction
Changing the color of a mask in After Effects is a simple process that helps improve the visibility of your masks or adds creative elements to your project. This technique can be useful when working with multiple masks or when you need to emphasize a particular area in your composition. In this guide, we’ll walk you through the steps to change the mask color.
Get 10% off when you subscribe to our newsletter

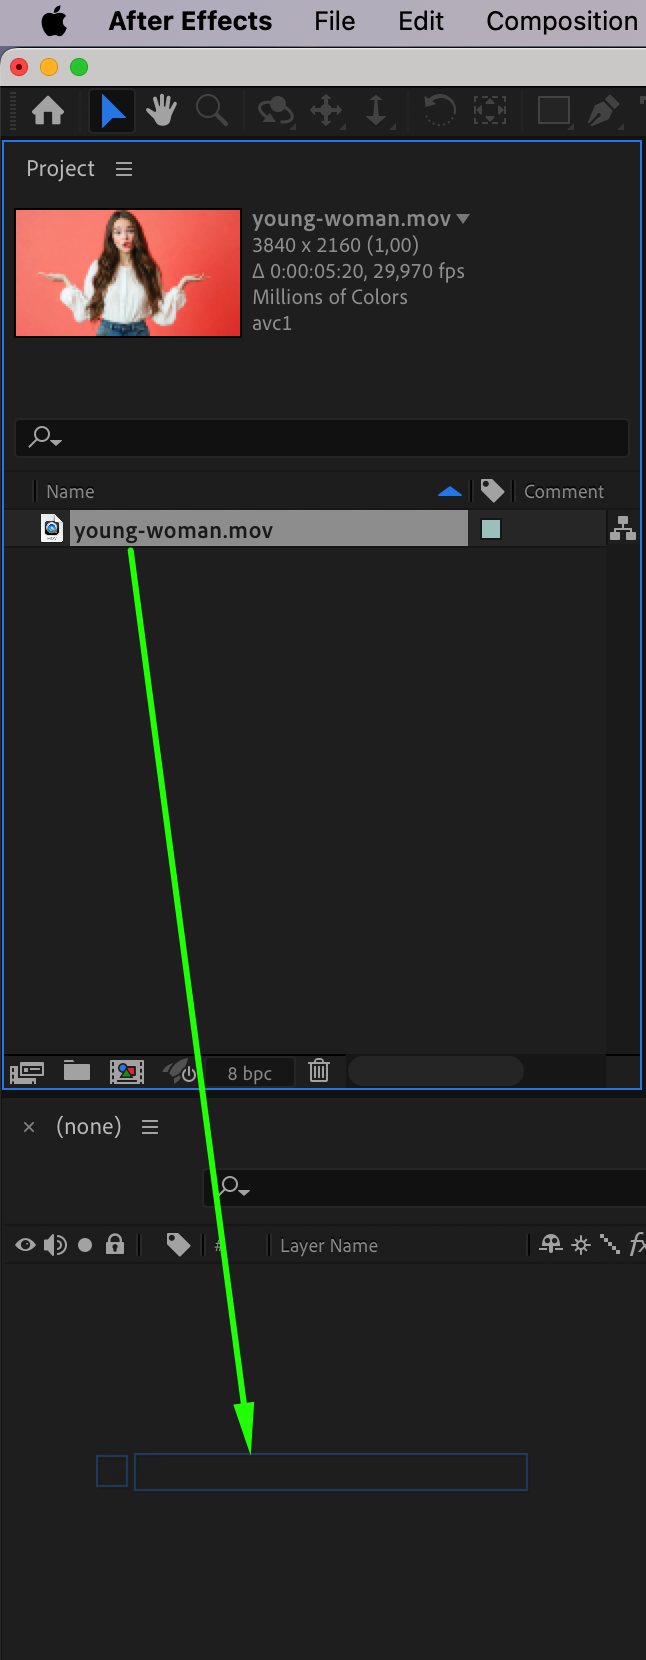
Step 1: Import Your Video or Image
Start by opening After Effects and go to File > Import > File to import the video or image you want to apply the mask to. Once the file is imported, drag it to the Timeline to start working on it.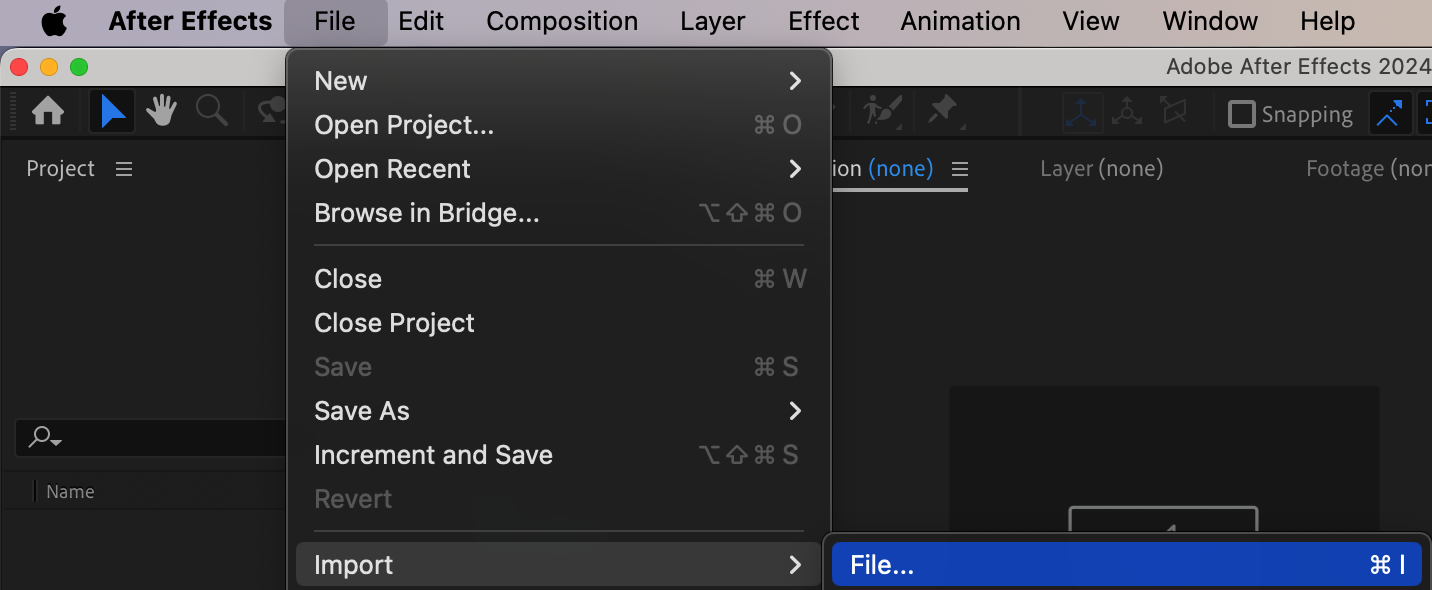
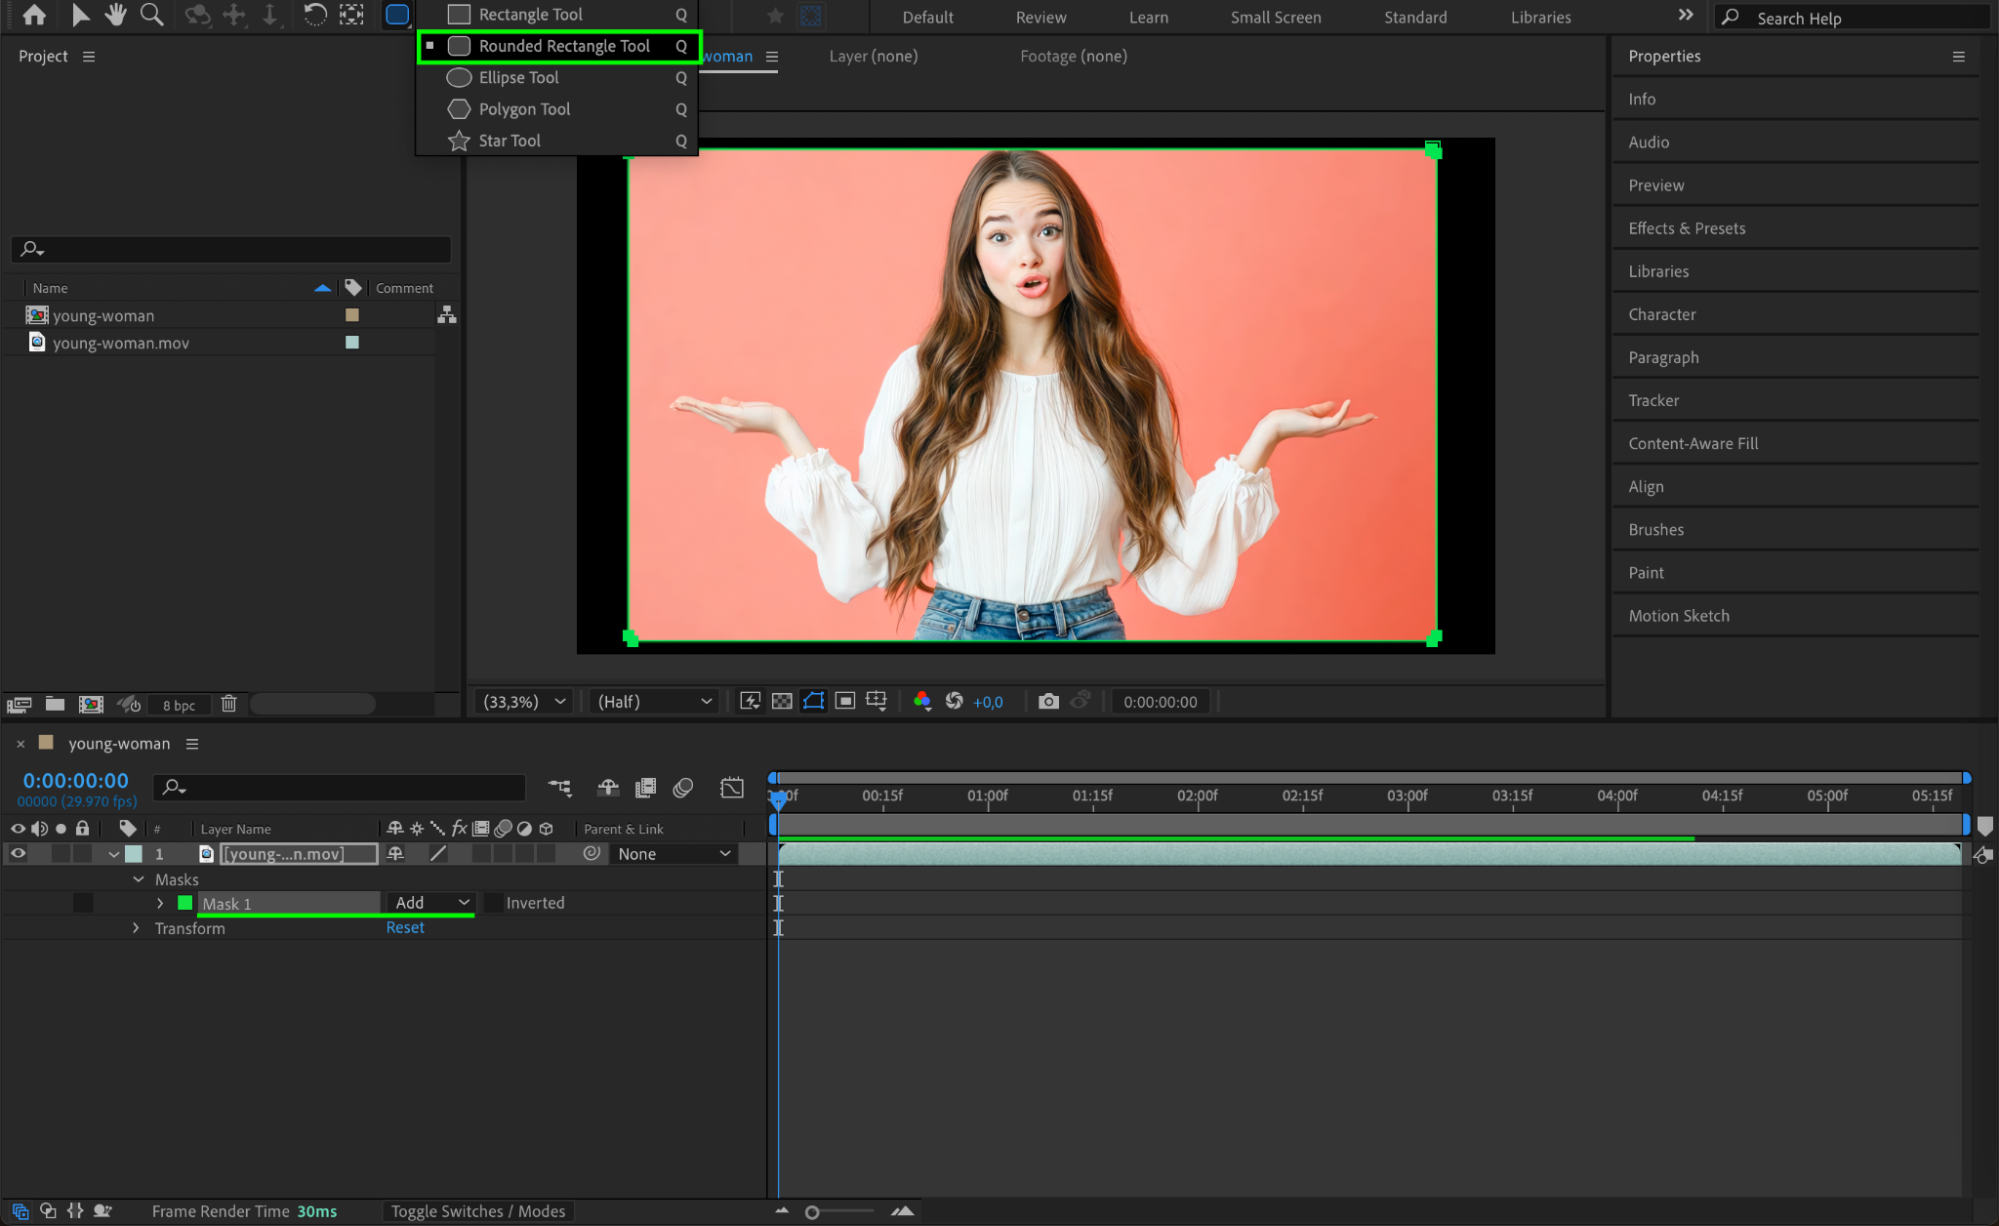
 Step 2: Create a Mask
Select the layer you want to mask, then choose the Shape Tool (Q) from the toolbar. Use it to draw a mask around the area you want to modify. This could be any shape, such as a rectangle or ellipse, depending on the area you’re working with.
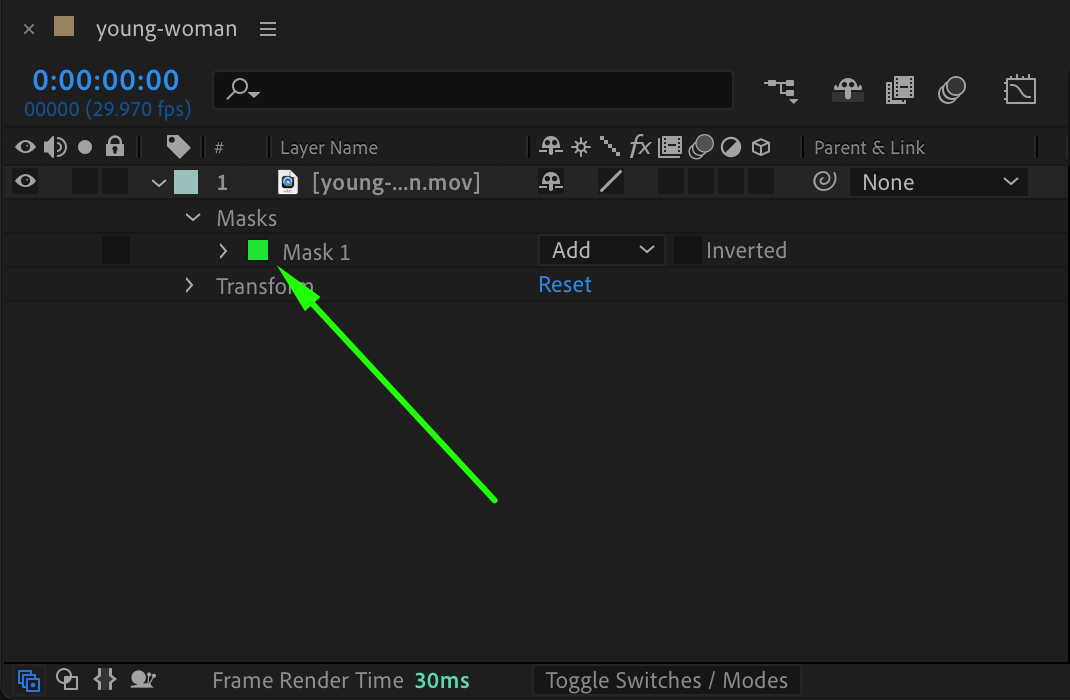
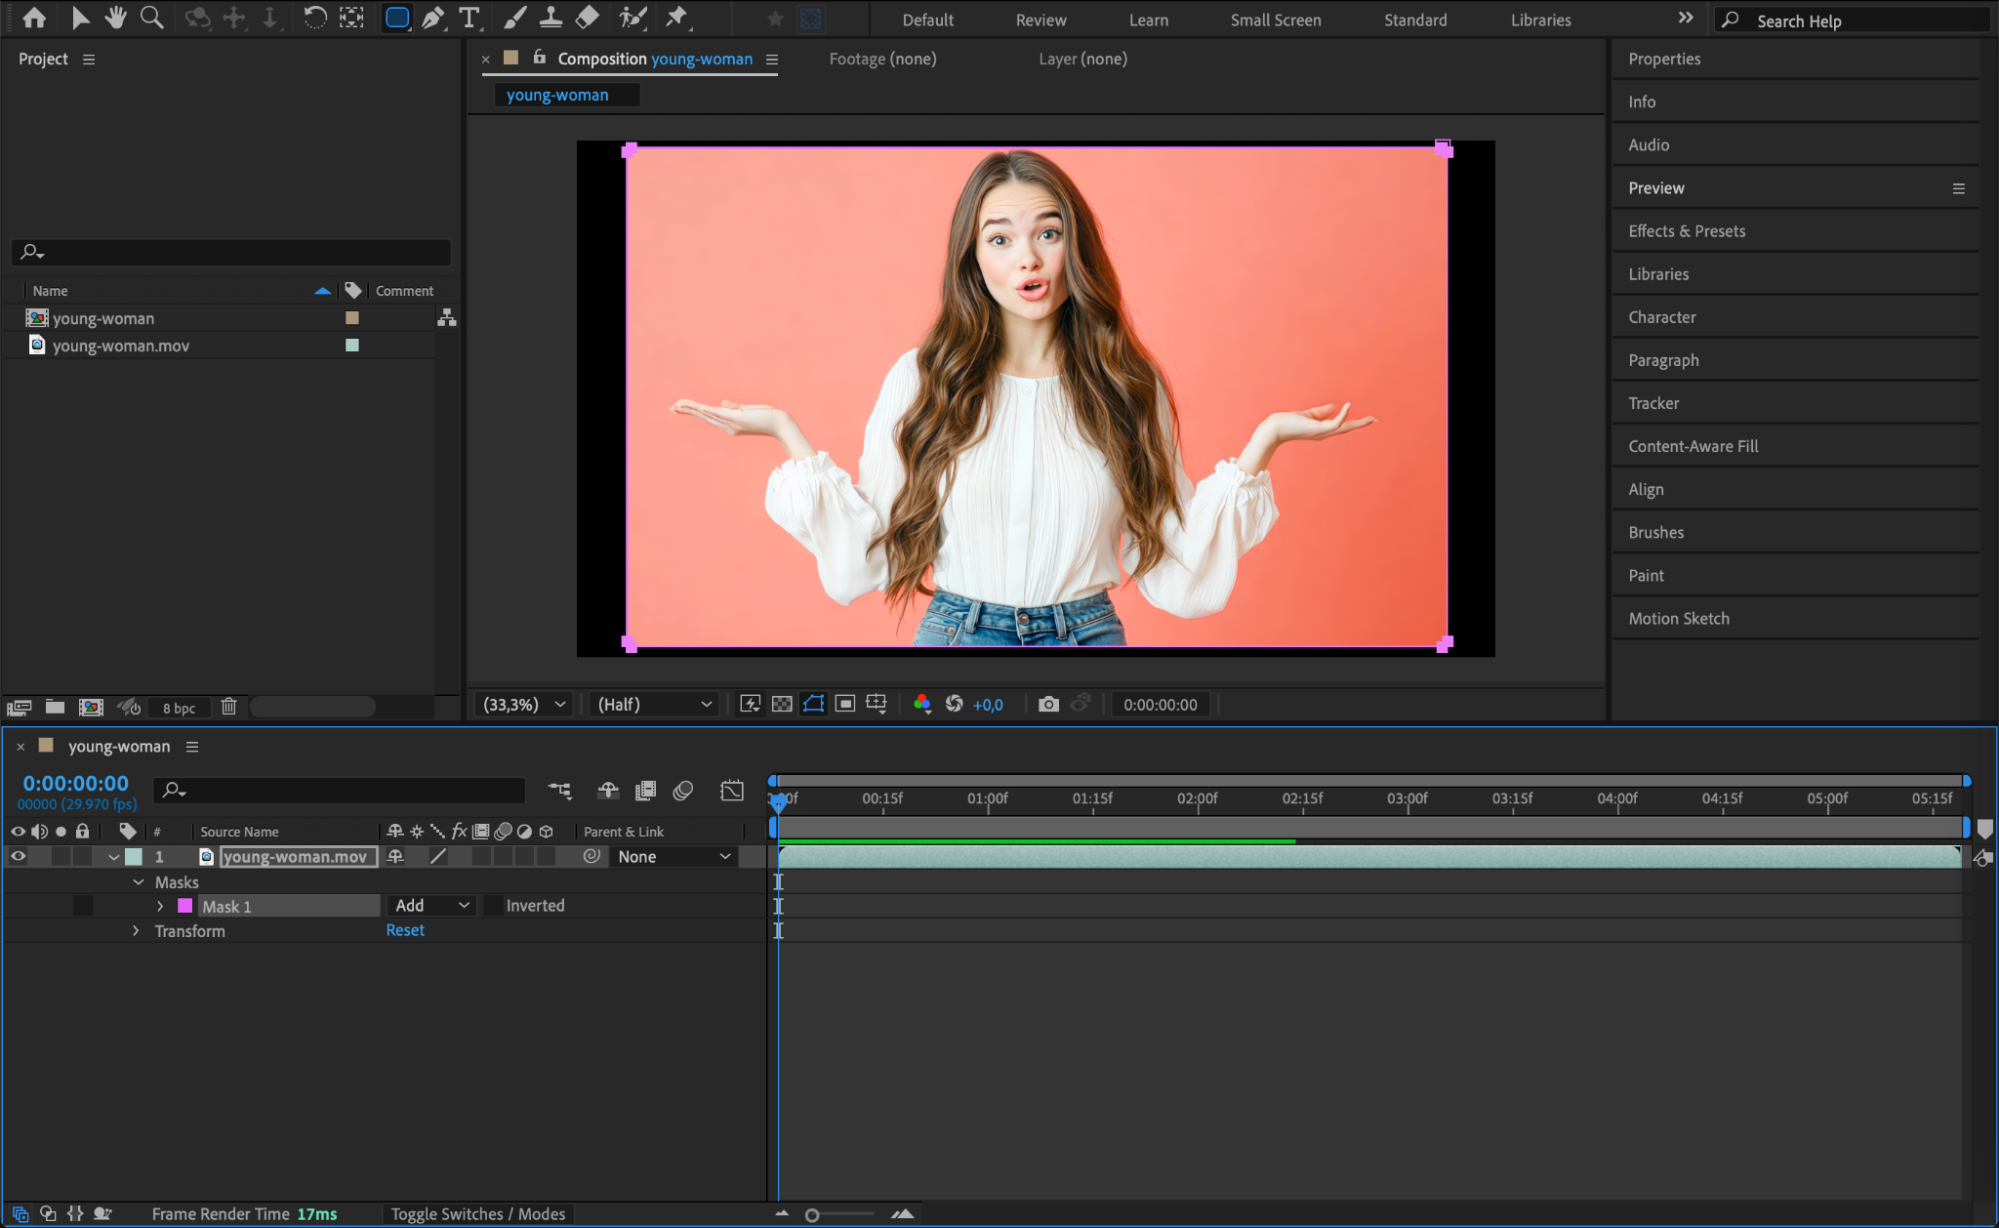
 Step 3: Access the Mask Color Settings
Once the mask is created, click on the color square next to the mask in the Timeline panel. This square shows the current mask color, and it allows you to change it.
 Step 4: Choose a New Mask Color
A window titled Mask Color will appear. In this window, select the color you want to apply to the mask. Once you’ve chosen your desired color, click OK to confirm the change.
 Step 5: Continue Editing and Preview the Changes
Once the mask color is changed, you can proceed with editing your project. Use the Preview feature and, if necessary, make any further adjustments to ensure everything aligns with your vision.

Conclusion
Changing the color of a mask in After Effects is a straightforward process that helps enhance your workflow and creativity.
Our Bestsellers


