Changing Icon Colors in Adobe After Effects
Introduction to Recoloring PNG Icons in After Effects
Recoloring icons is a common task in motion design. Whether you’re working with a monochrome PNG or a multicolor icon, Adobe After Effects gives you several tools to quickly update its look. This guide will show you different methods—from quick color shifts to advanced gradient overlays—to change the appearance of your icon and make it fit your design.
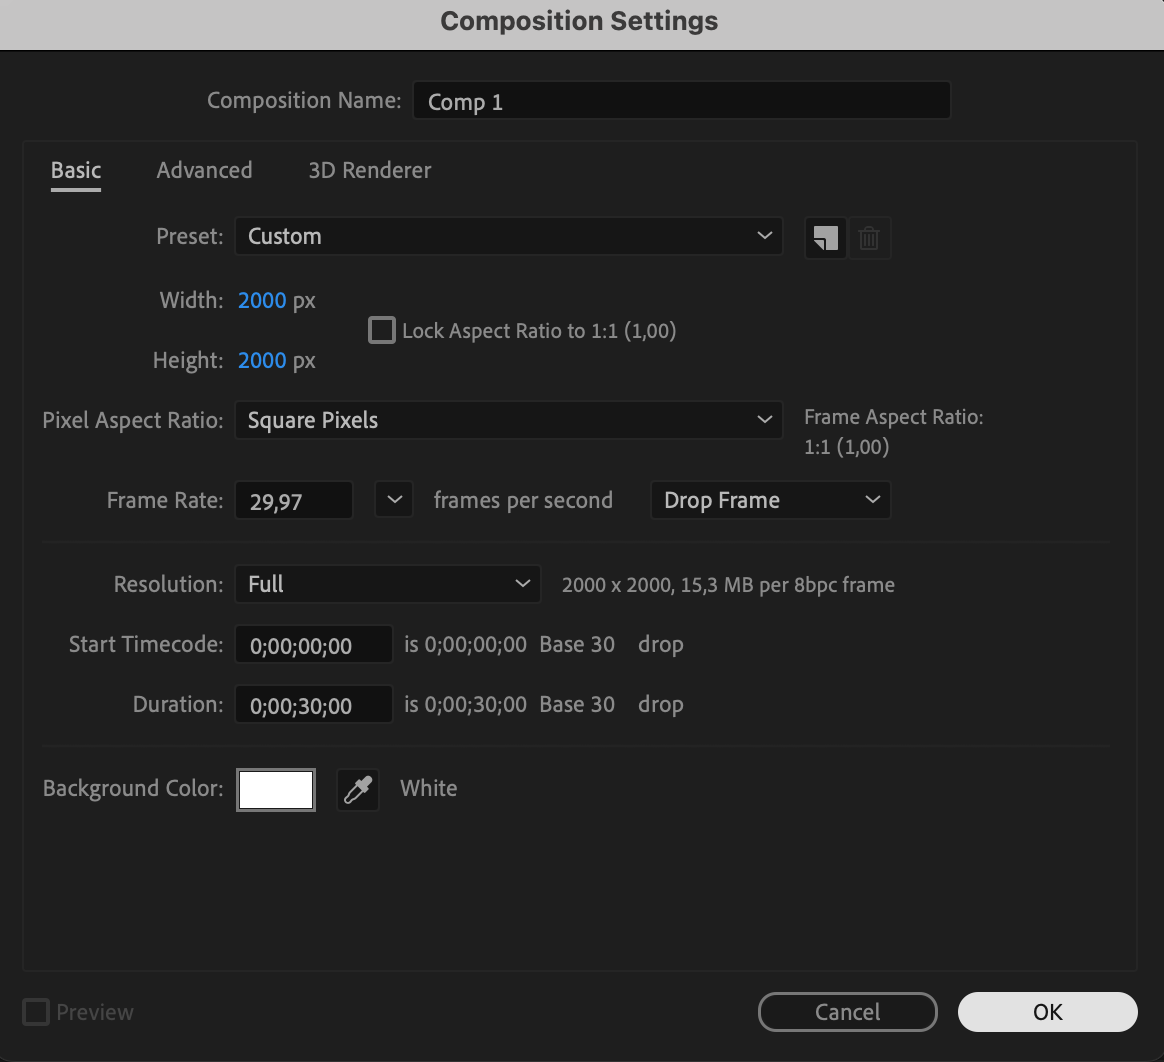
Step 1: Create a New Composition
Go to Composition > New Composition, set the resolution, frame rate, and duration as needed, and click OK. This is where you will place and edit your icon.
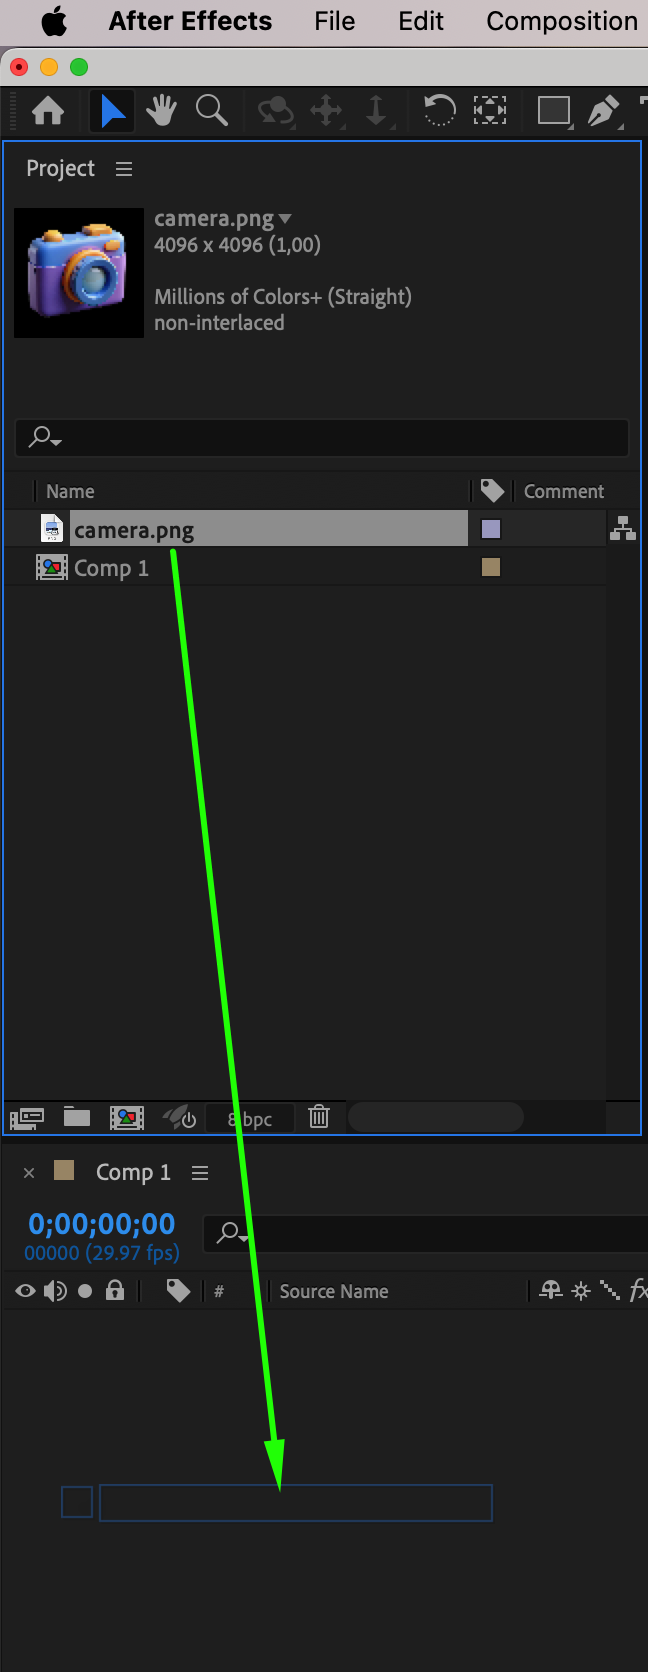
 Step 2: Import and Add Your PNG Icon
Navigate to File > Import > File and choose your PNG image. Once it appears in the Project panel, drag it into your timeline. You’ll now see the icon in the composition viewer.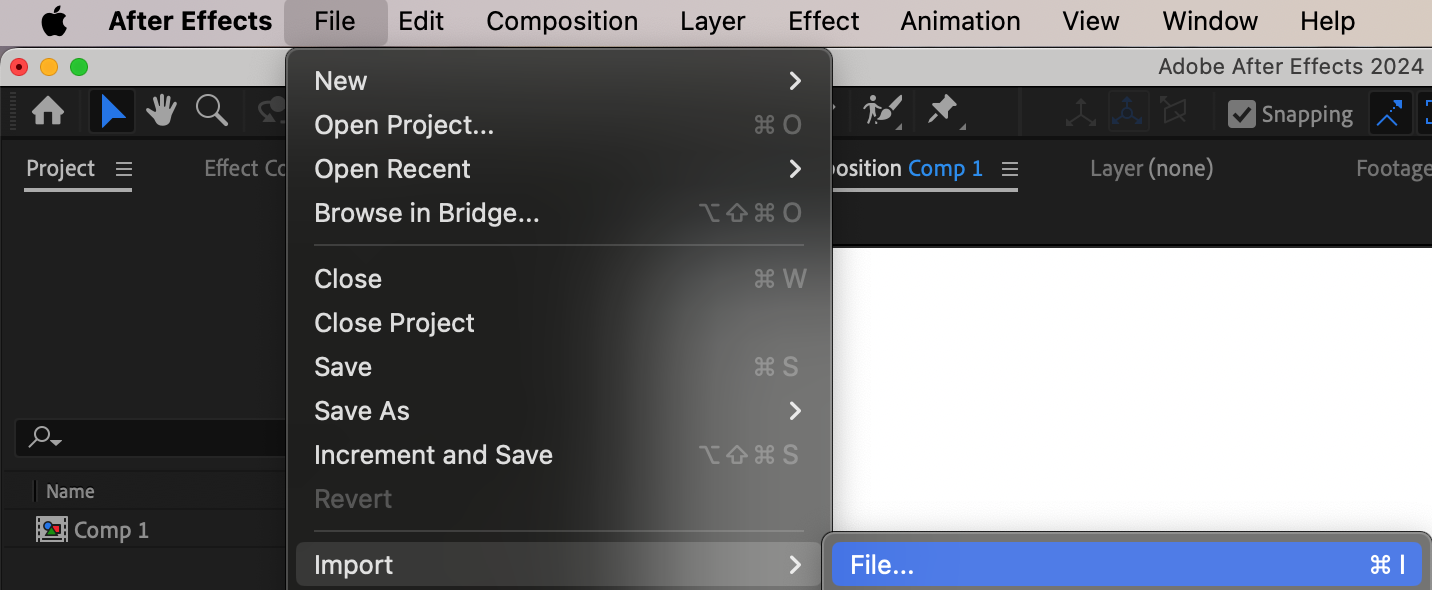
Get 10% off when you subscribe to our newsletter

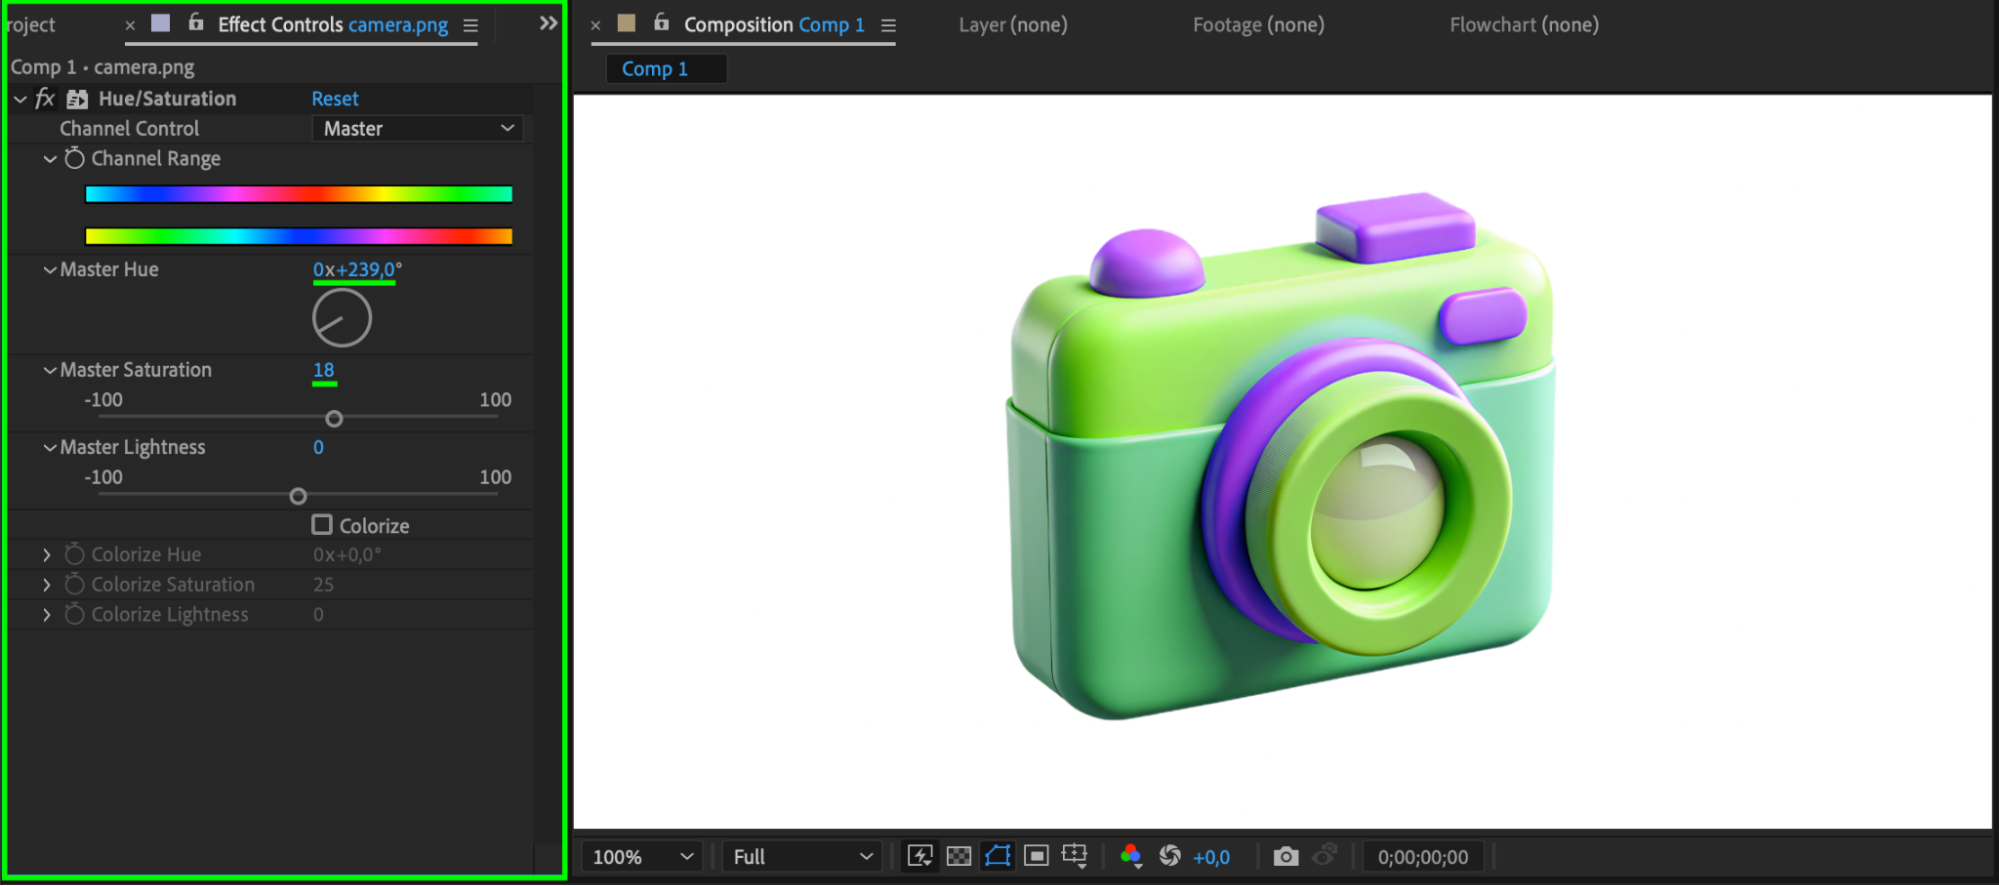
Step 3: Use Hue/Saturation for Quick Color Change
In the Effects & Presets panel, search for Hue/Saturation and drag it onto your icon layer. In the Effect Controls, adjust the Hue slider to shift the overall color. This method is fast and works well if your icon has a single base color.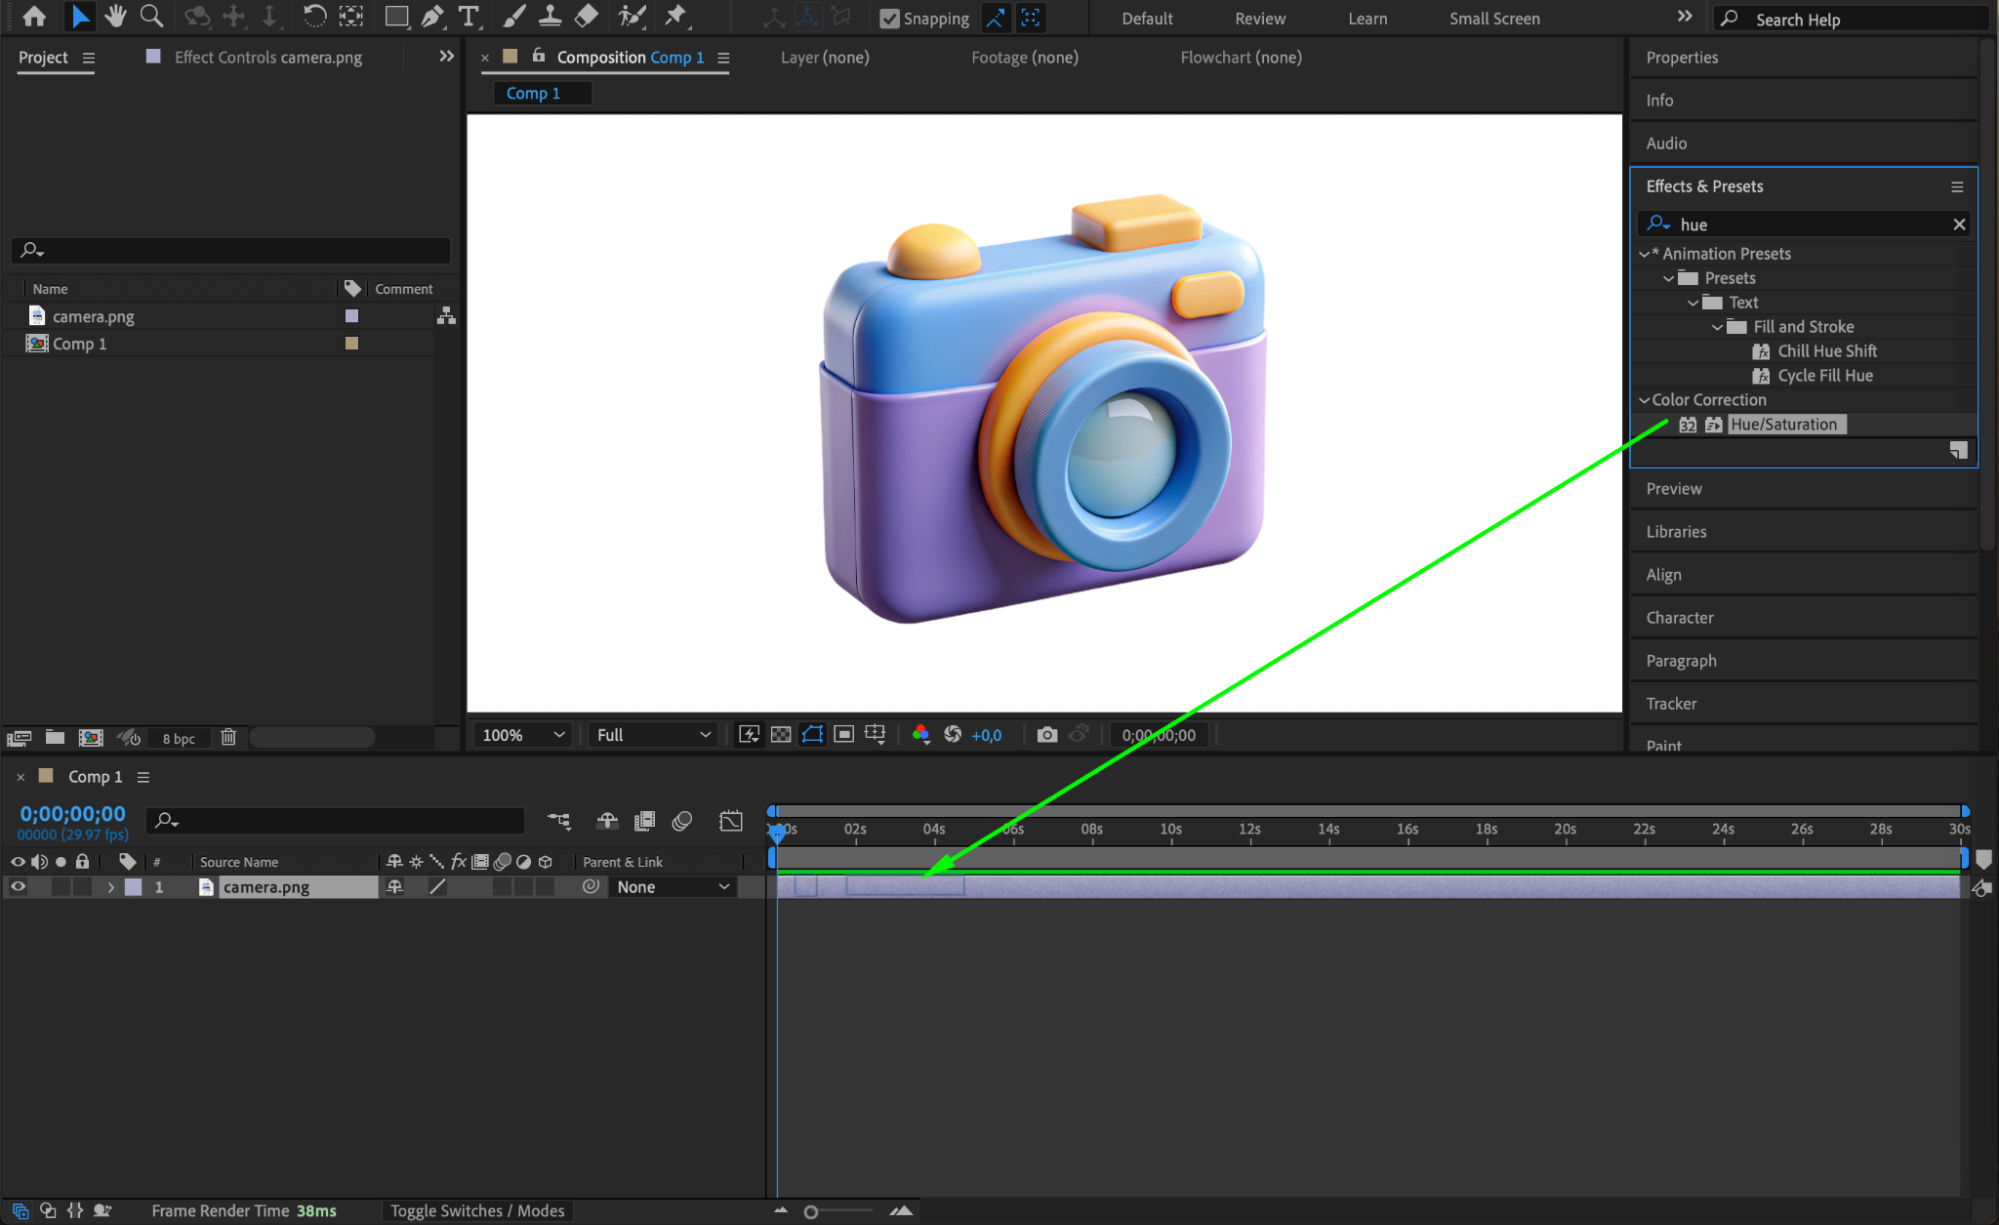
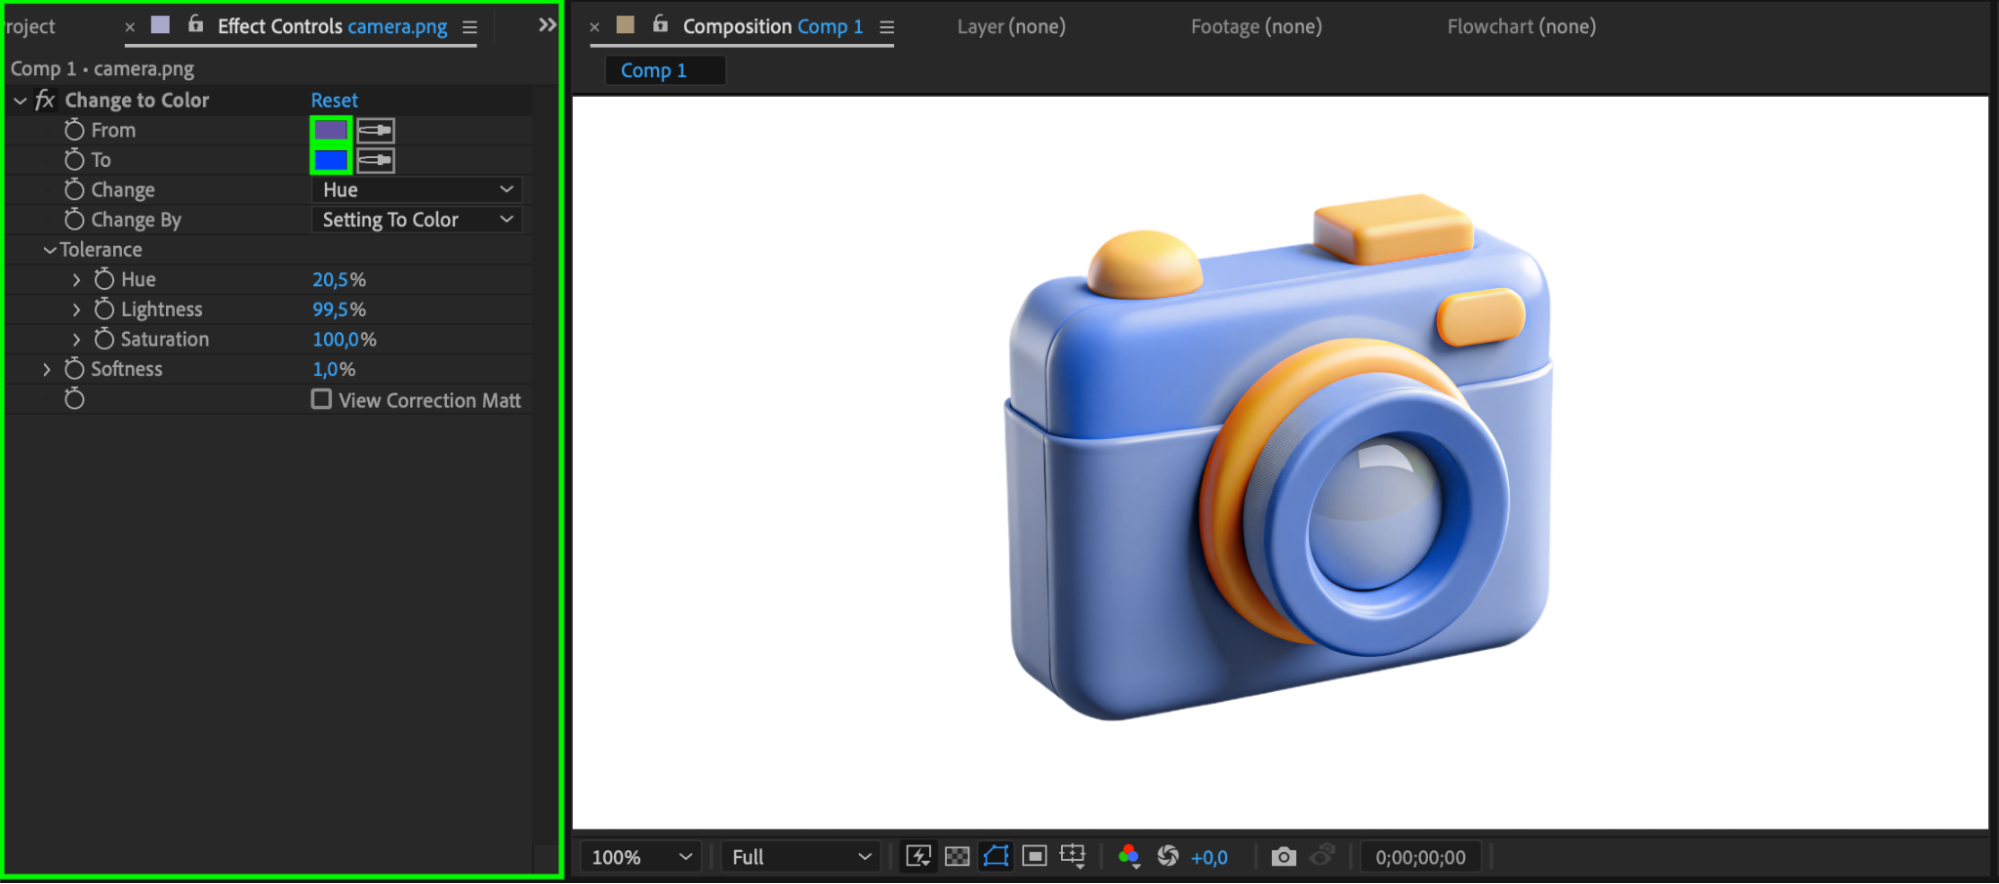
 Step 4: Use Change to Color for Targeted Adjustments
For more specific changes, apply the Change to Color effect. Set the From color to the original color you want to replace, and the To color to your new choice. Adjust Tolerance and Softness to make the transition smooth and natural.
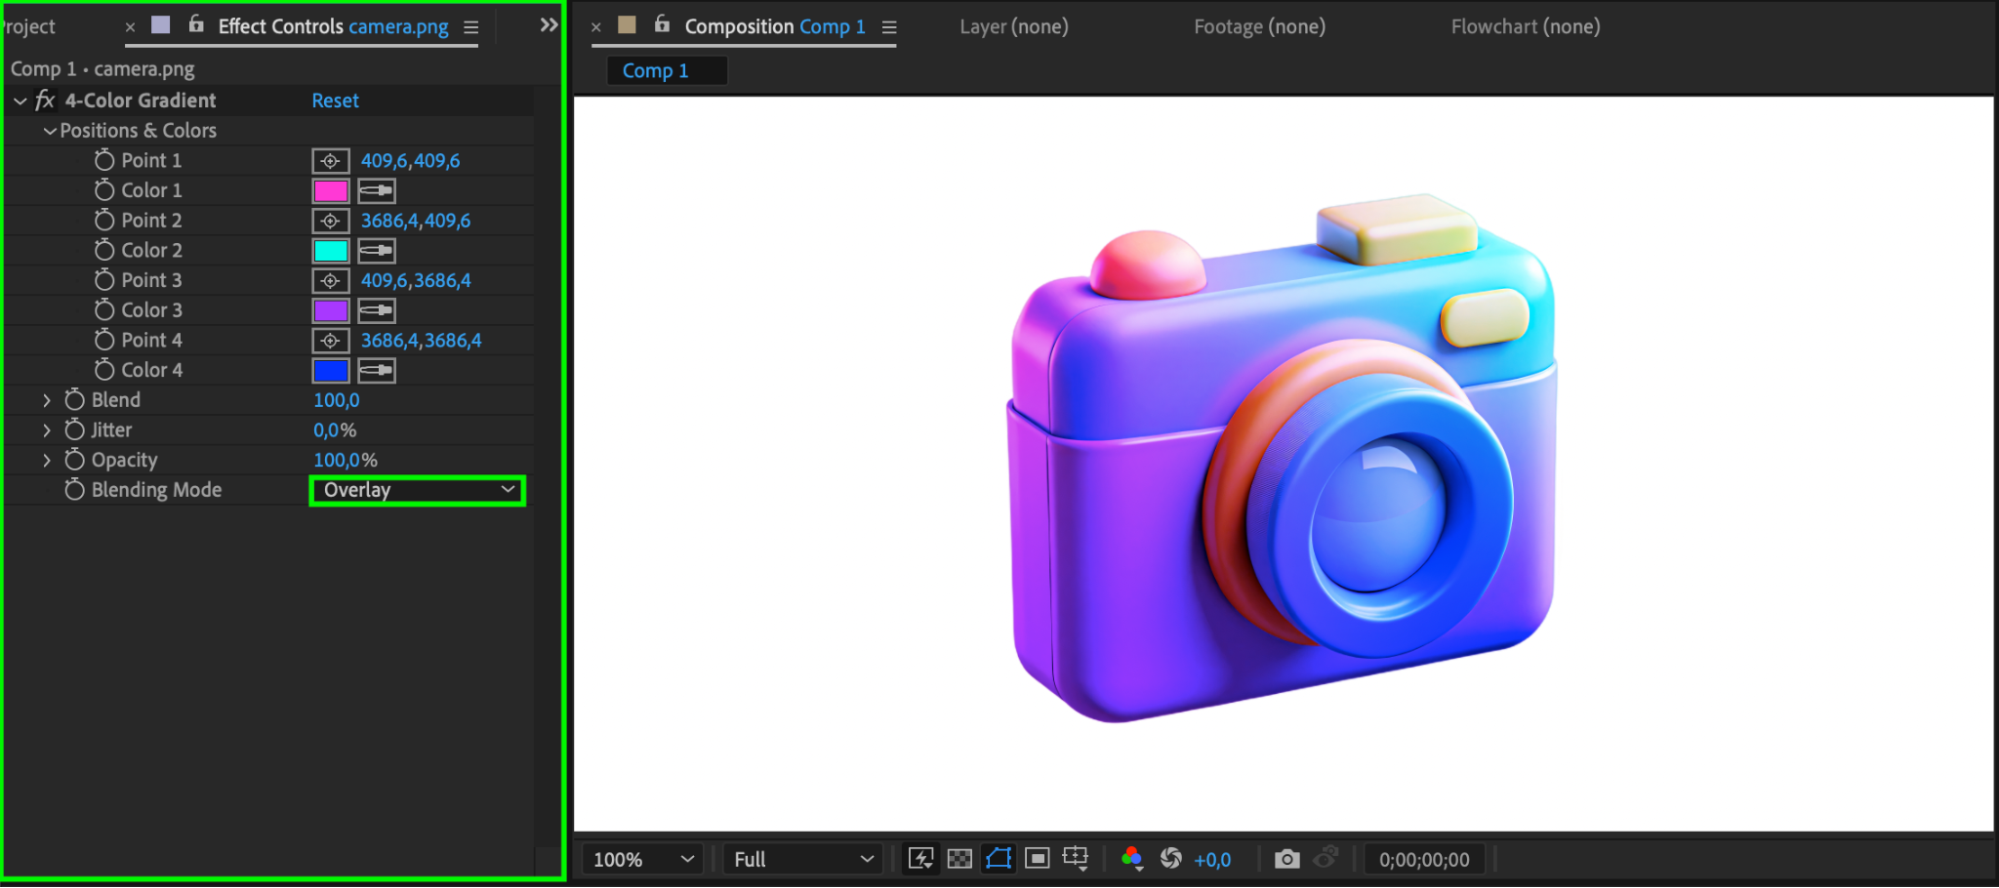
 Step 5: Add 4-Color Gradient with Blending Mode
To create a more dynamic look, apply the 4-Color Gradient effect. Choose four colors that fit your design. Then set the Blending Mode to Overlay or Soft Light to blend the gradient with the icon’s details. This gives the icon a modern, stylized appearance.
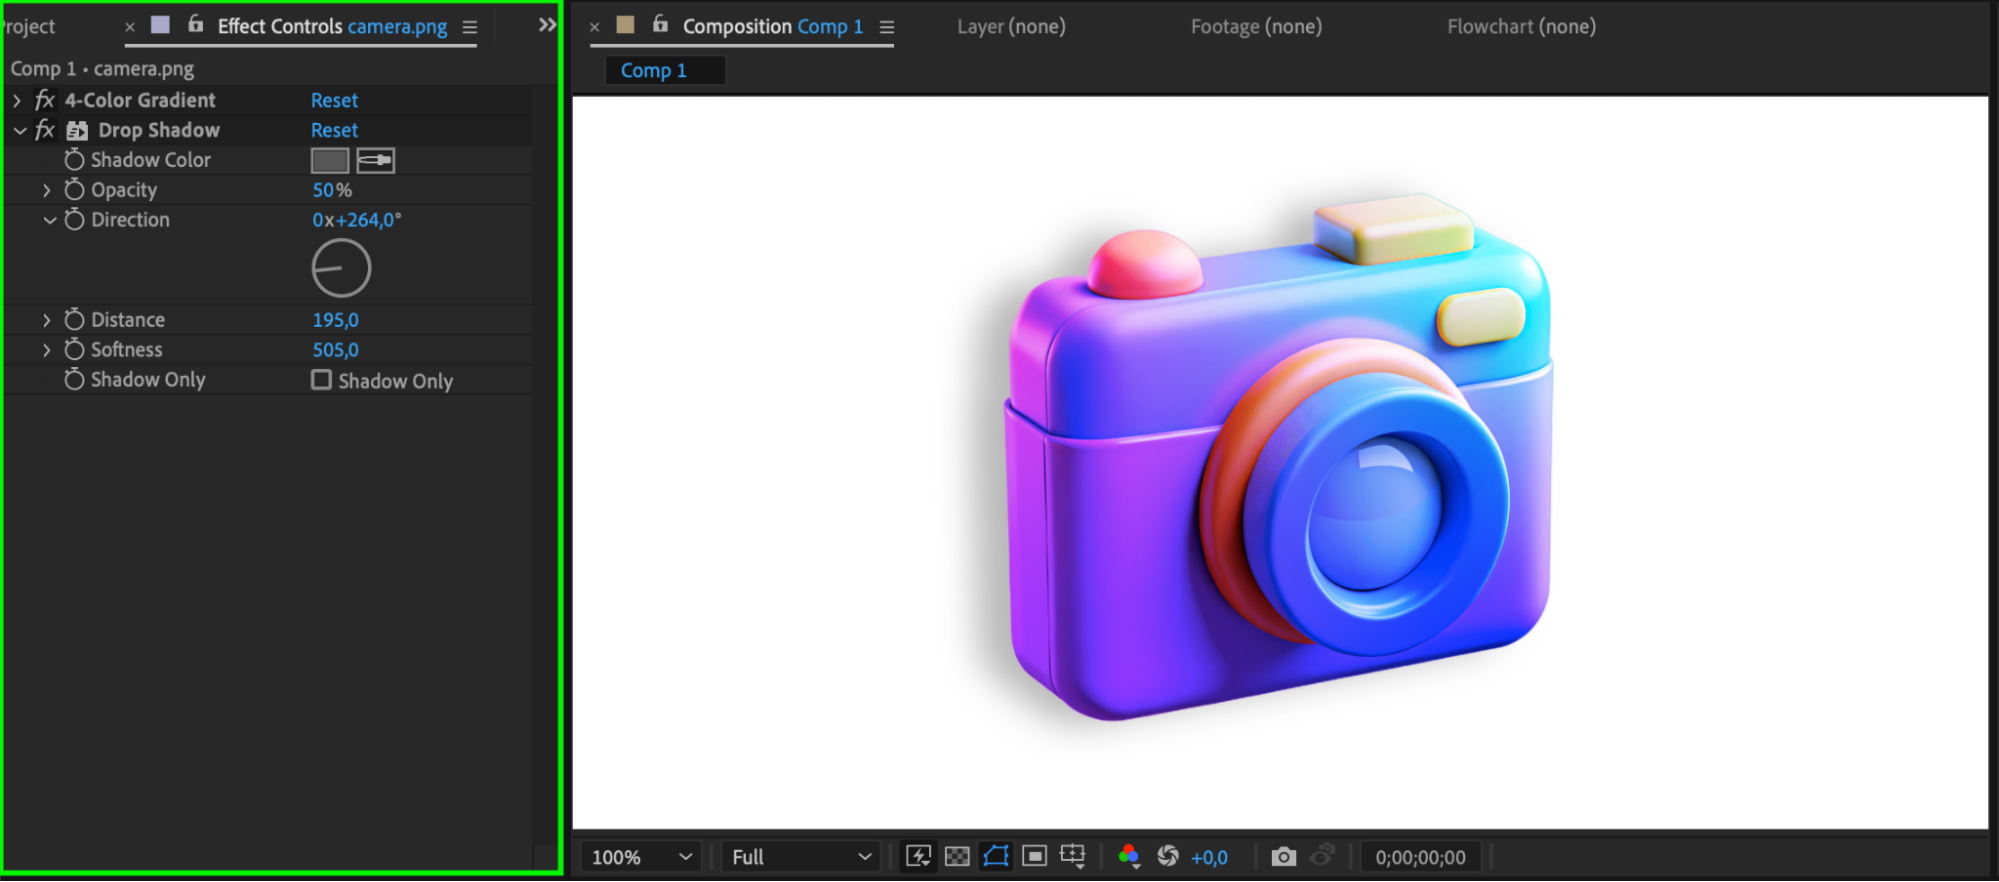
Step 6: (Optional) Add a Drop Shadow
To enhance the icon’s presence, you can add the Drop Shadow effect from the Effects & Presets panel. Simply search for Drop Shadow, then drag and drop it onto your icon layer. In the Effect Controls panel, adjust the Opacity, Direction, Distance, and Softness settings to achieve the desired look. This method gives you more flexibility compared to layer styles.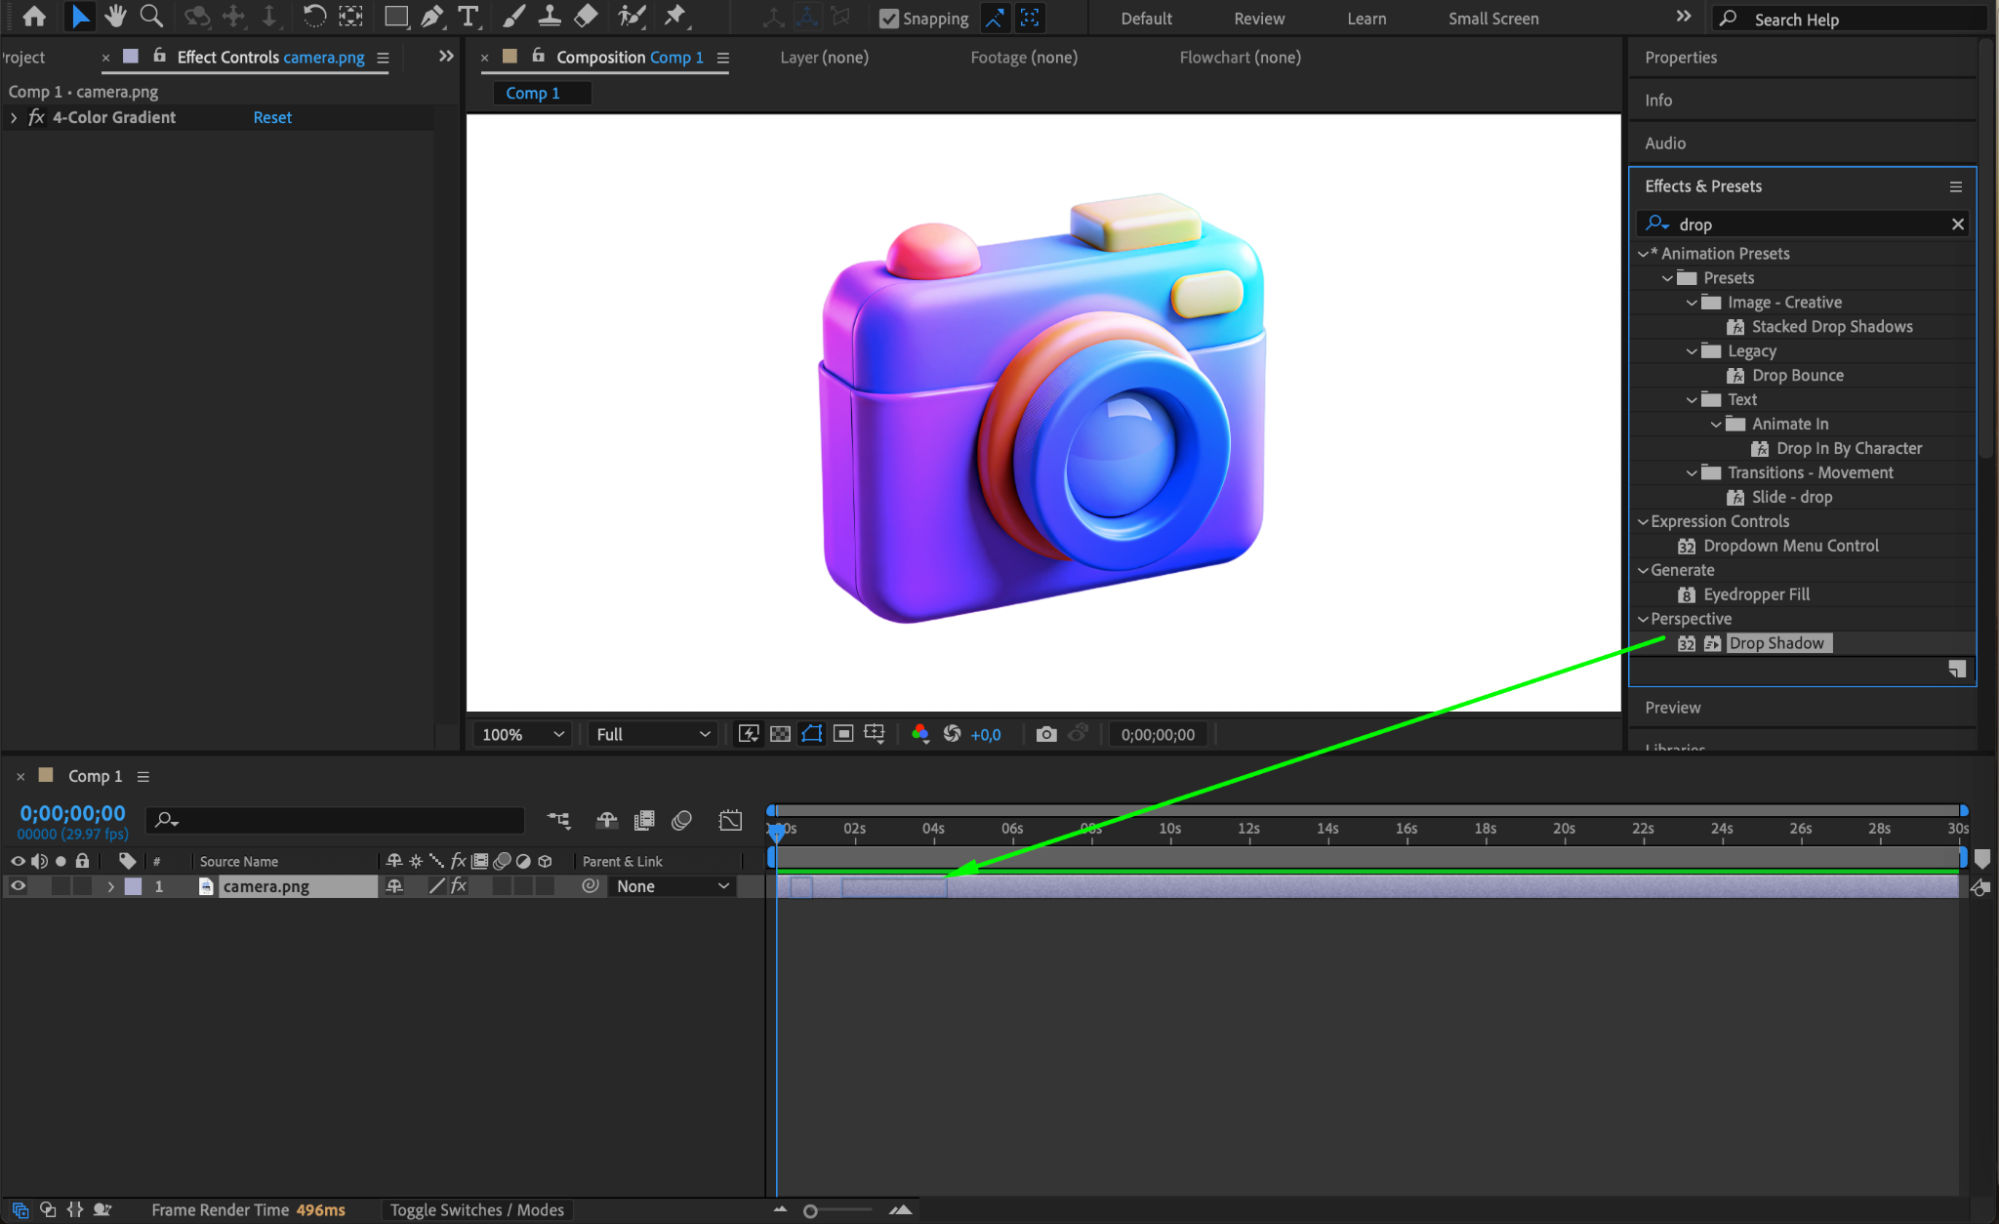
 Step 7: Preview and Export
Press the spacebar to preview your icon animation and see how the new colors look. Once you’re happy with the result, go to Composition > Add to Render Queue or use Adobe Media Encoder to export your final video.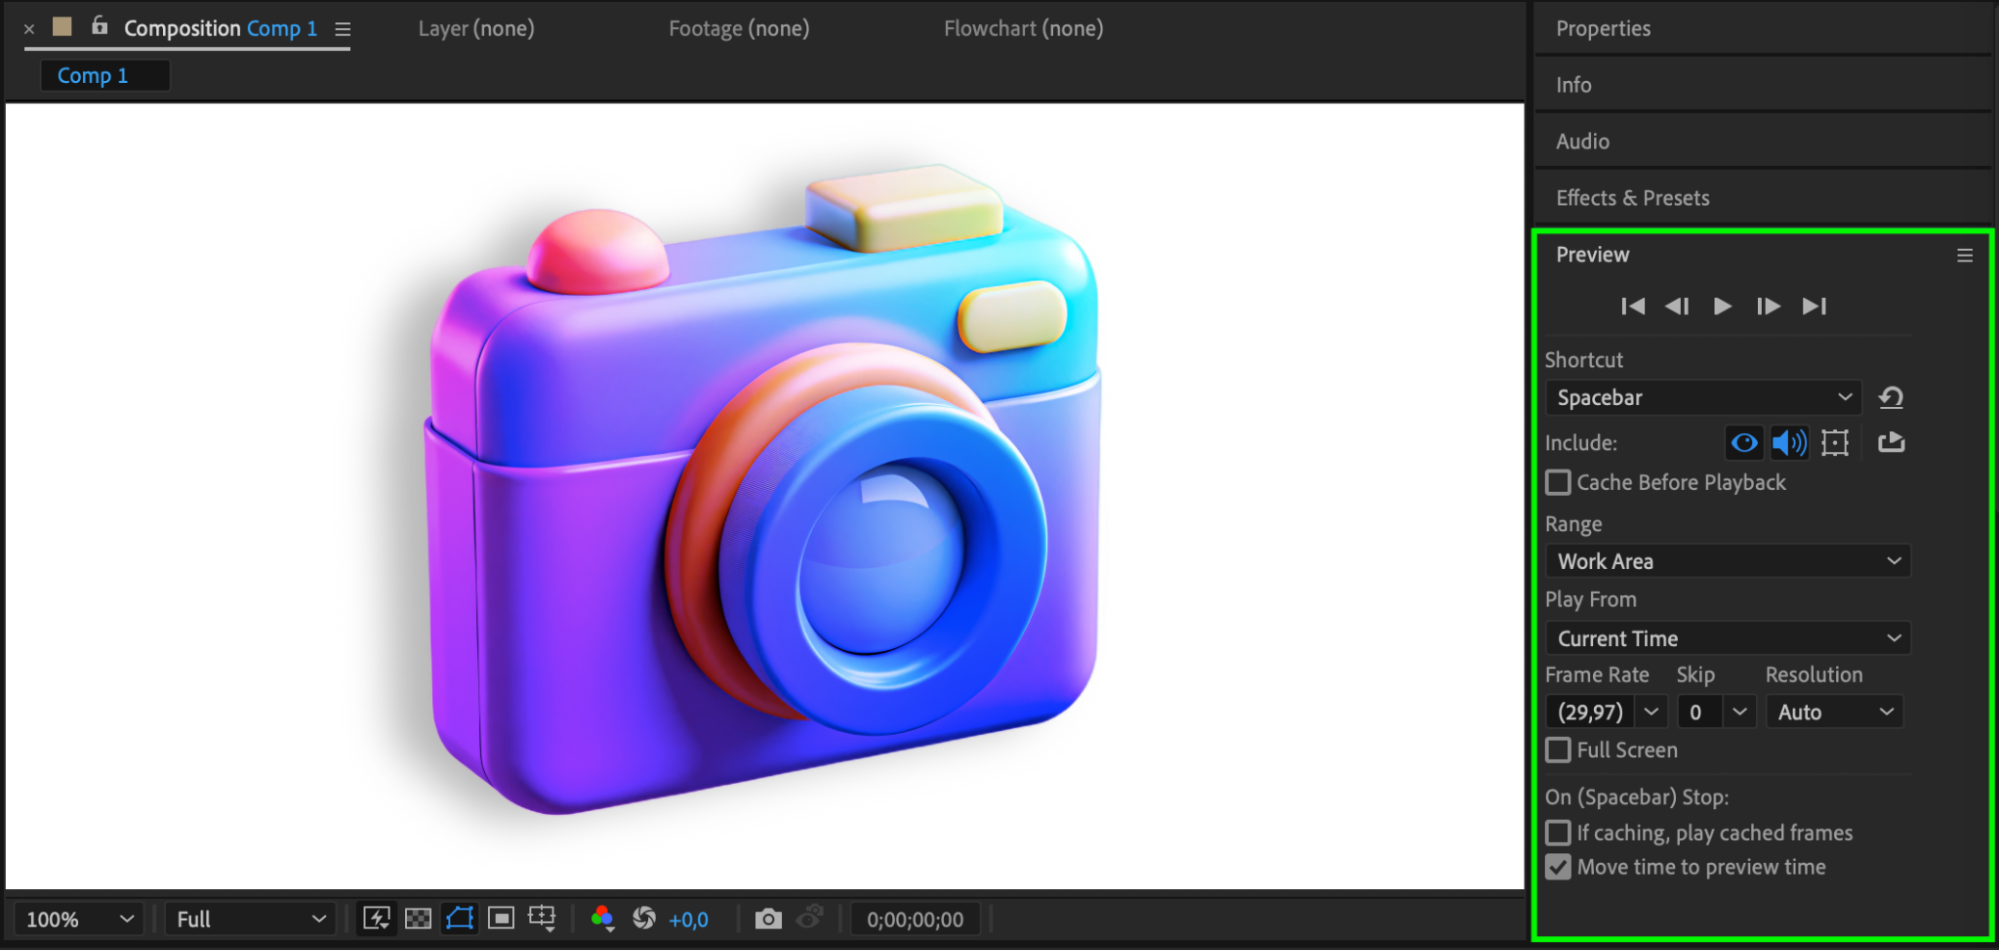
Conclusion
Changing the color of an icon in After Effects is fast, flexible, and doesn’t require switching to another program. Whether you need a quick color update or a more detailed stylization with gradients and shadows, these steps give you complete creative control.


