Step-by-Step Guide to Changing the Sky in After Effects
Introduction: Transform Your Video with a New Sky
Replacing the sky in your footage can dramatically alter its mood and make it more visually appealing. After Effects offers powerful tools like the Roto Brush and blending modes to help you achieve a seamless sky replacement. Follow these steps to master the process.
Get 10% off when you subscribe to our newsletter

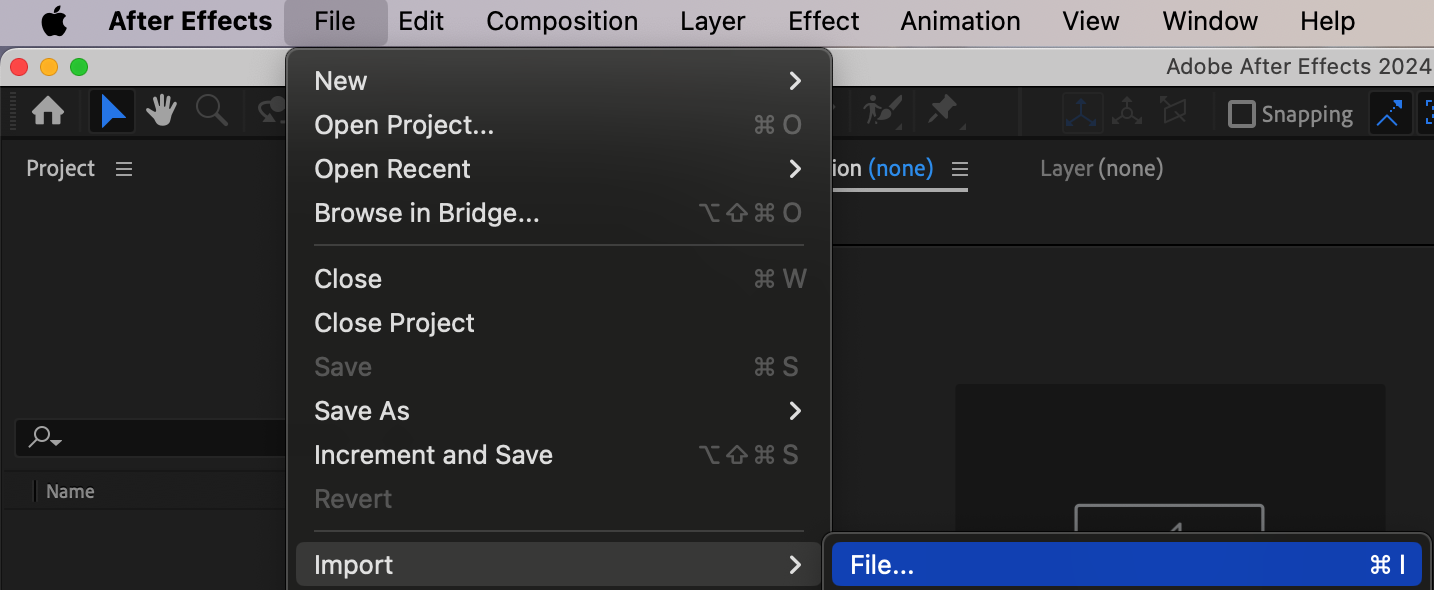
Step 1: Import Your Video Files
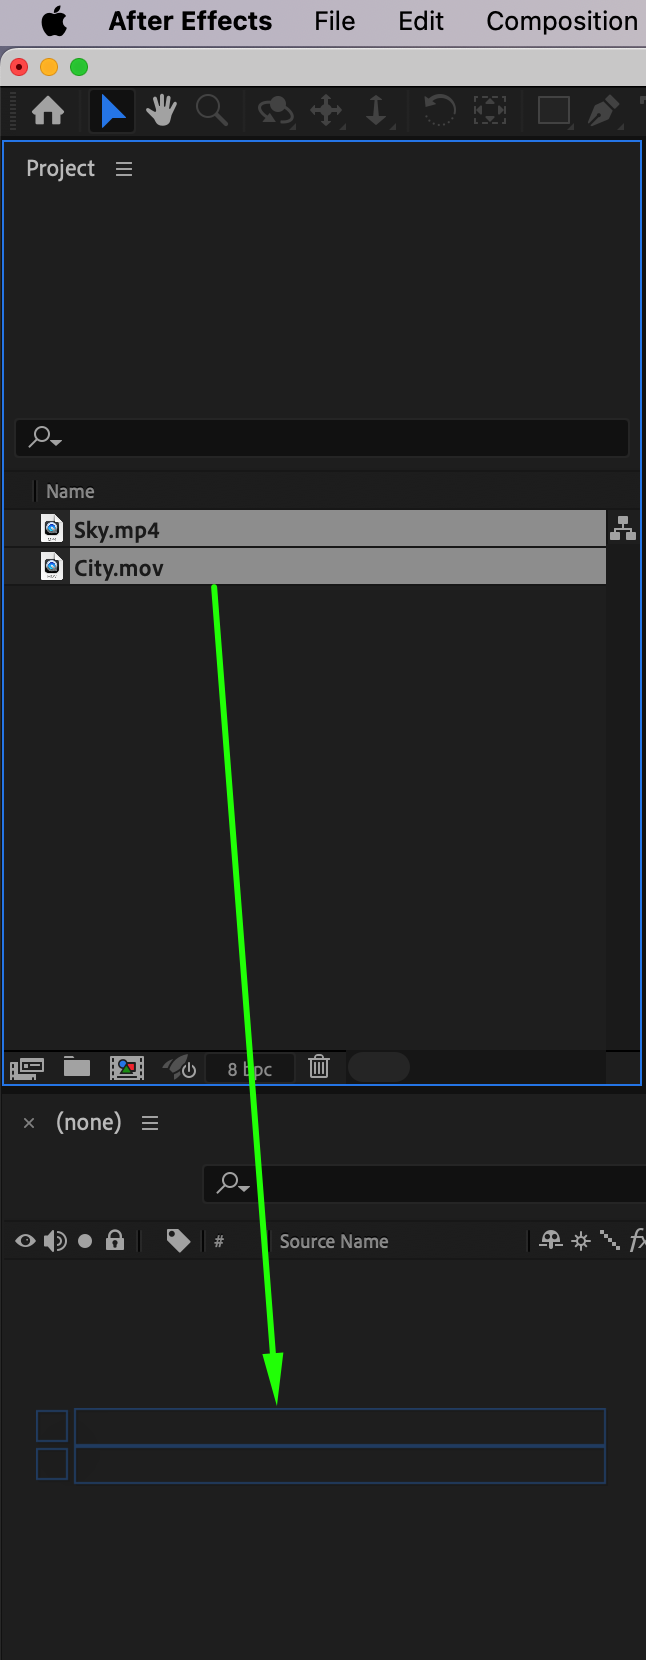
Import two video files: the main footage with the sky you want to replace and the replacement sky footage. Drag both files onto the timeline, placing the main footage above the replacement sky layer.
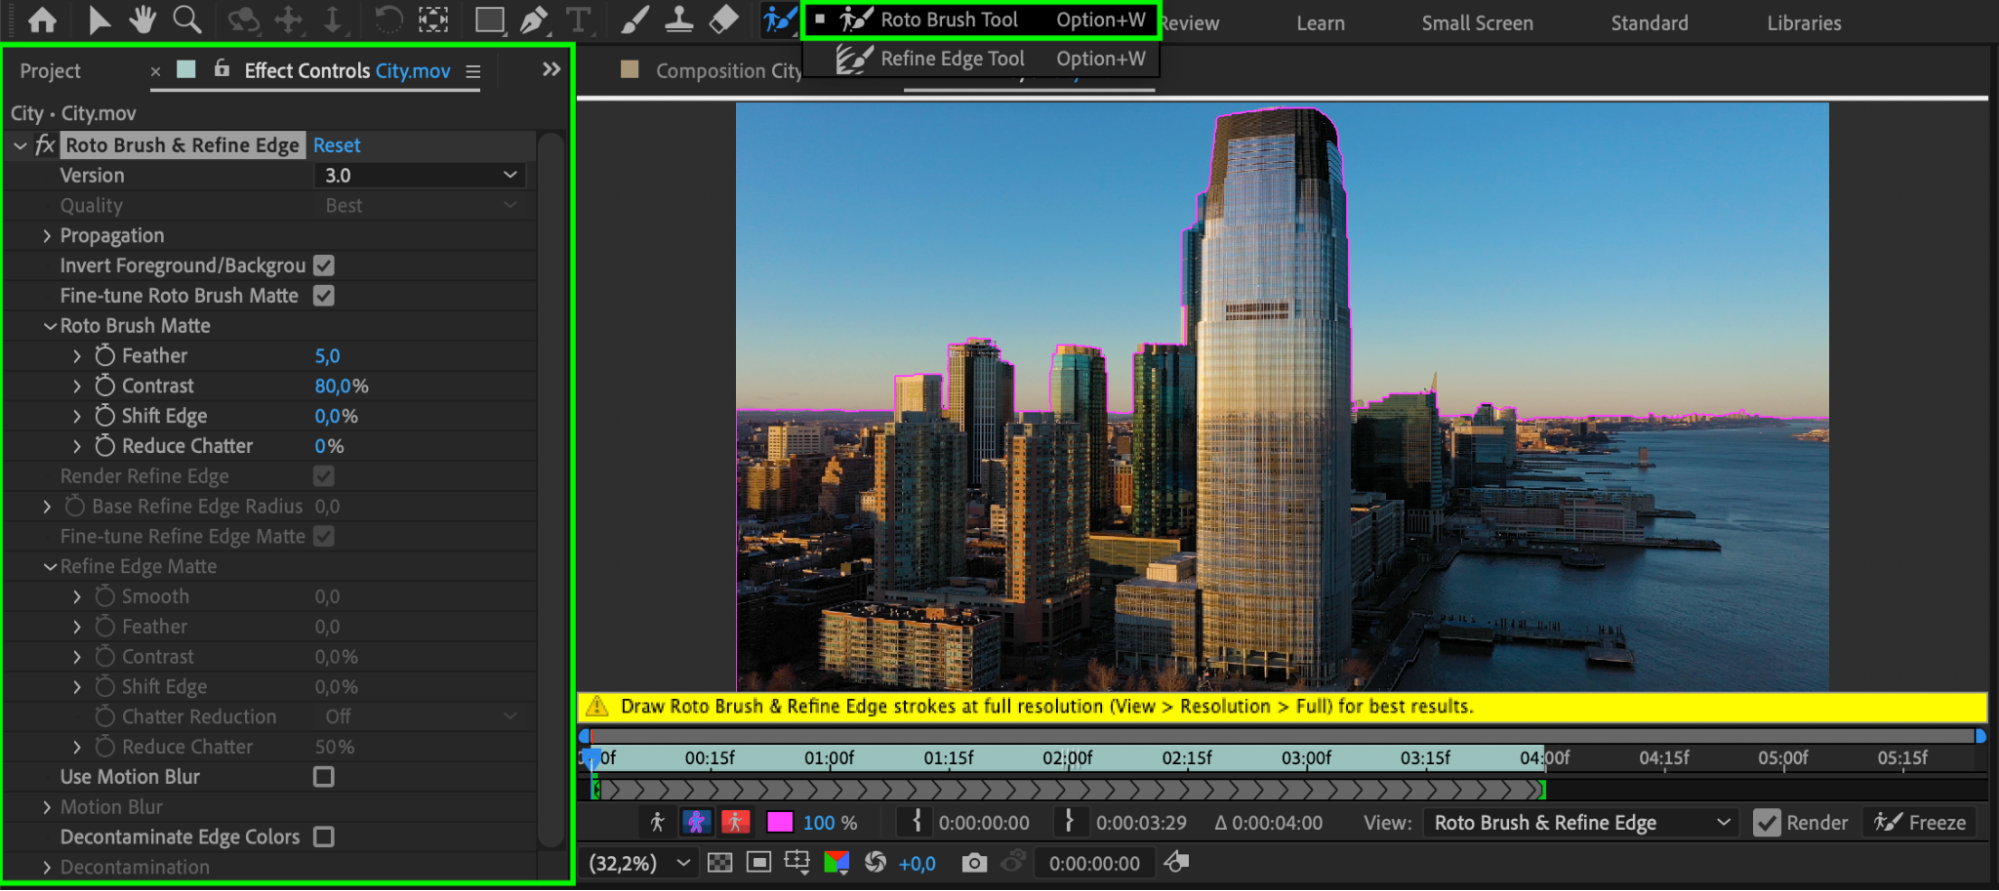
 Step 2: Use the Roto Brush Tool to Isolate the Foreground
Select your main footage layer and double-click it to open in the Layer panel. Activate the Roto Brush Tool (Alt/Option + W) and carefully outline the foreground elements you want to keep. Adjust the selection as needed.
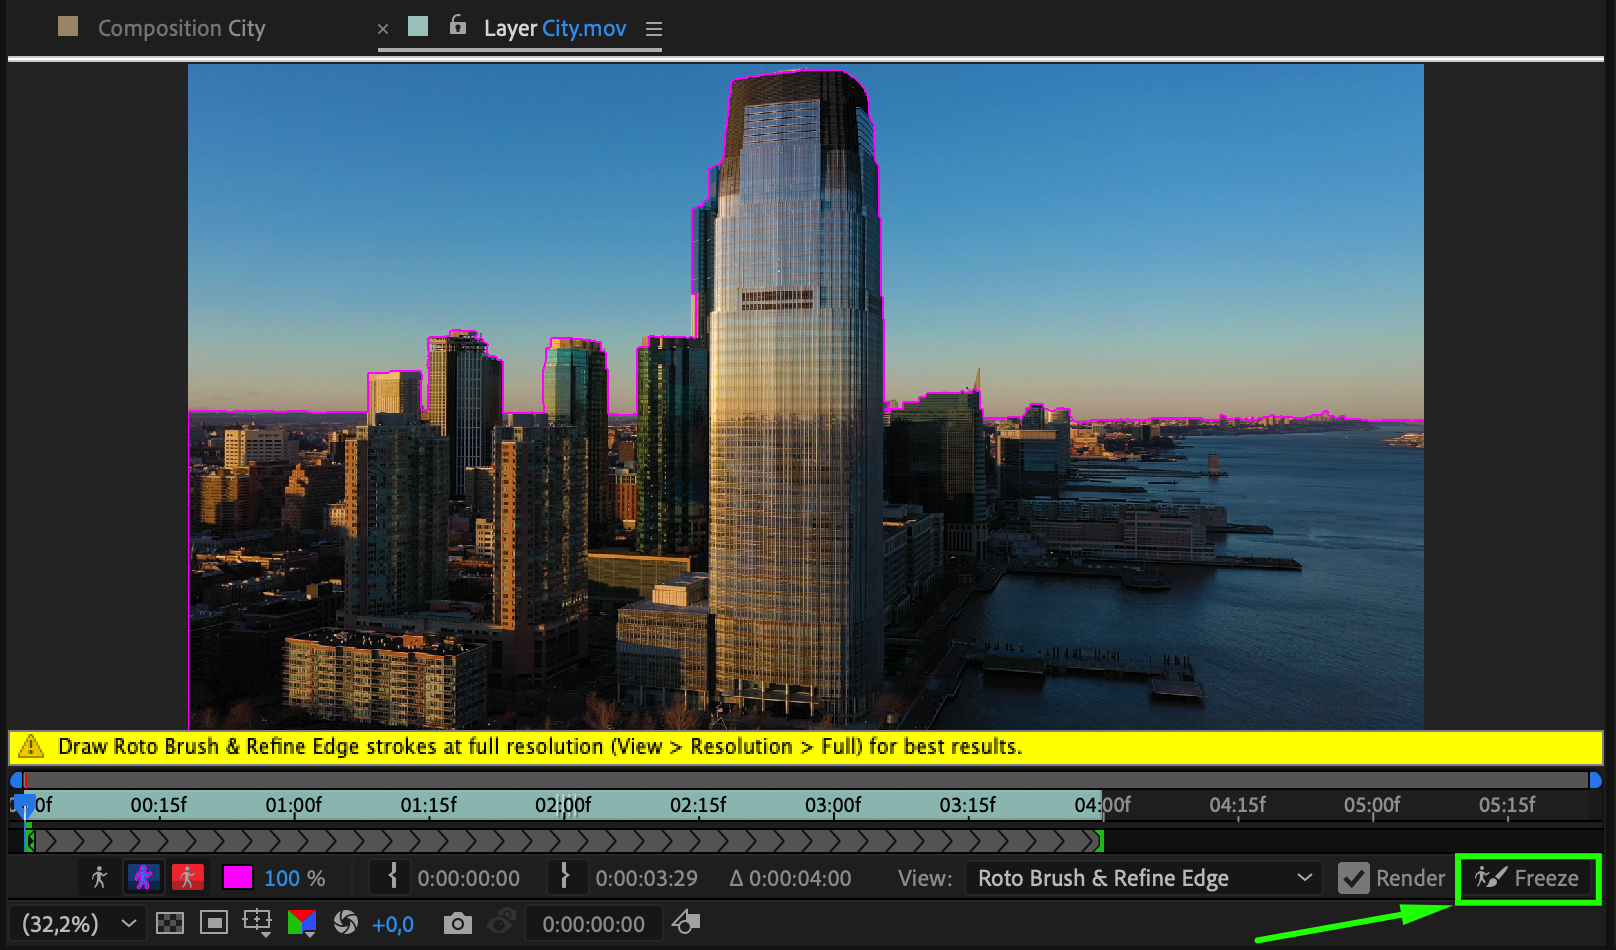
Once satisfied, go to the bottom of the Composition panel and click Freeze to lock the roto selection. This ensures the separation remains consistent throughout the clip.
 Step 3: Adjust the Sky Layer
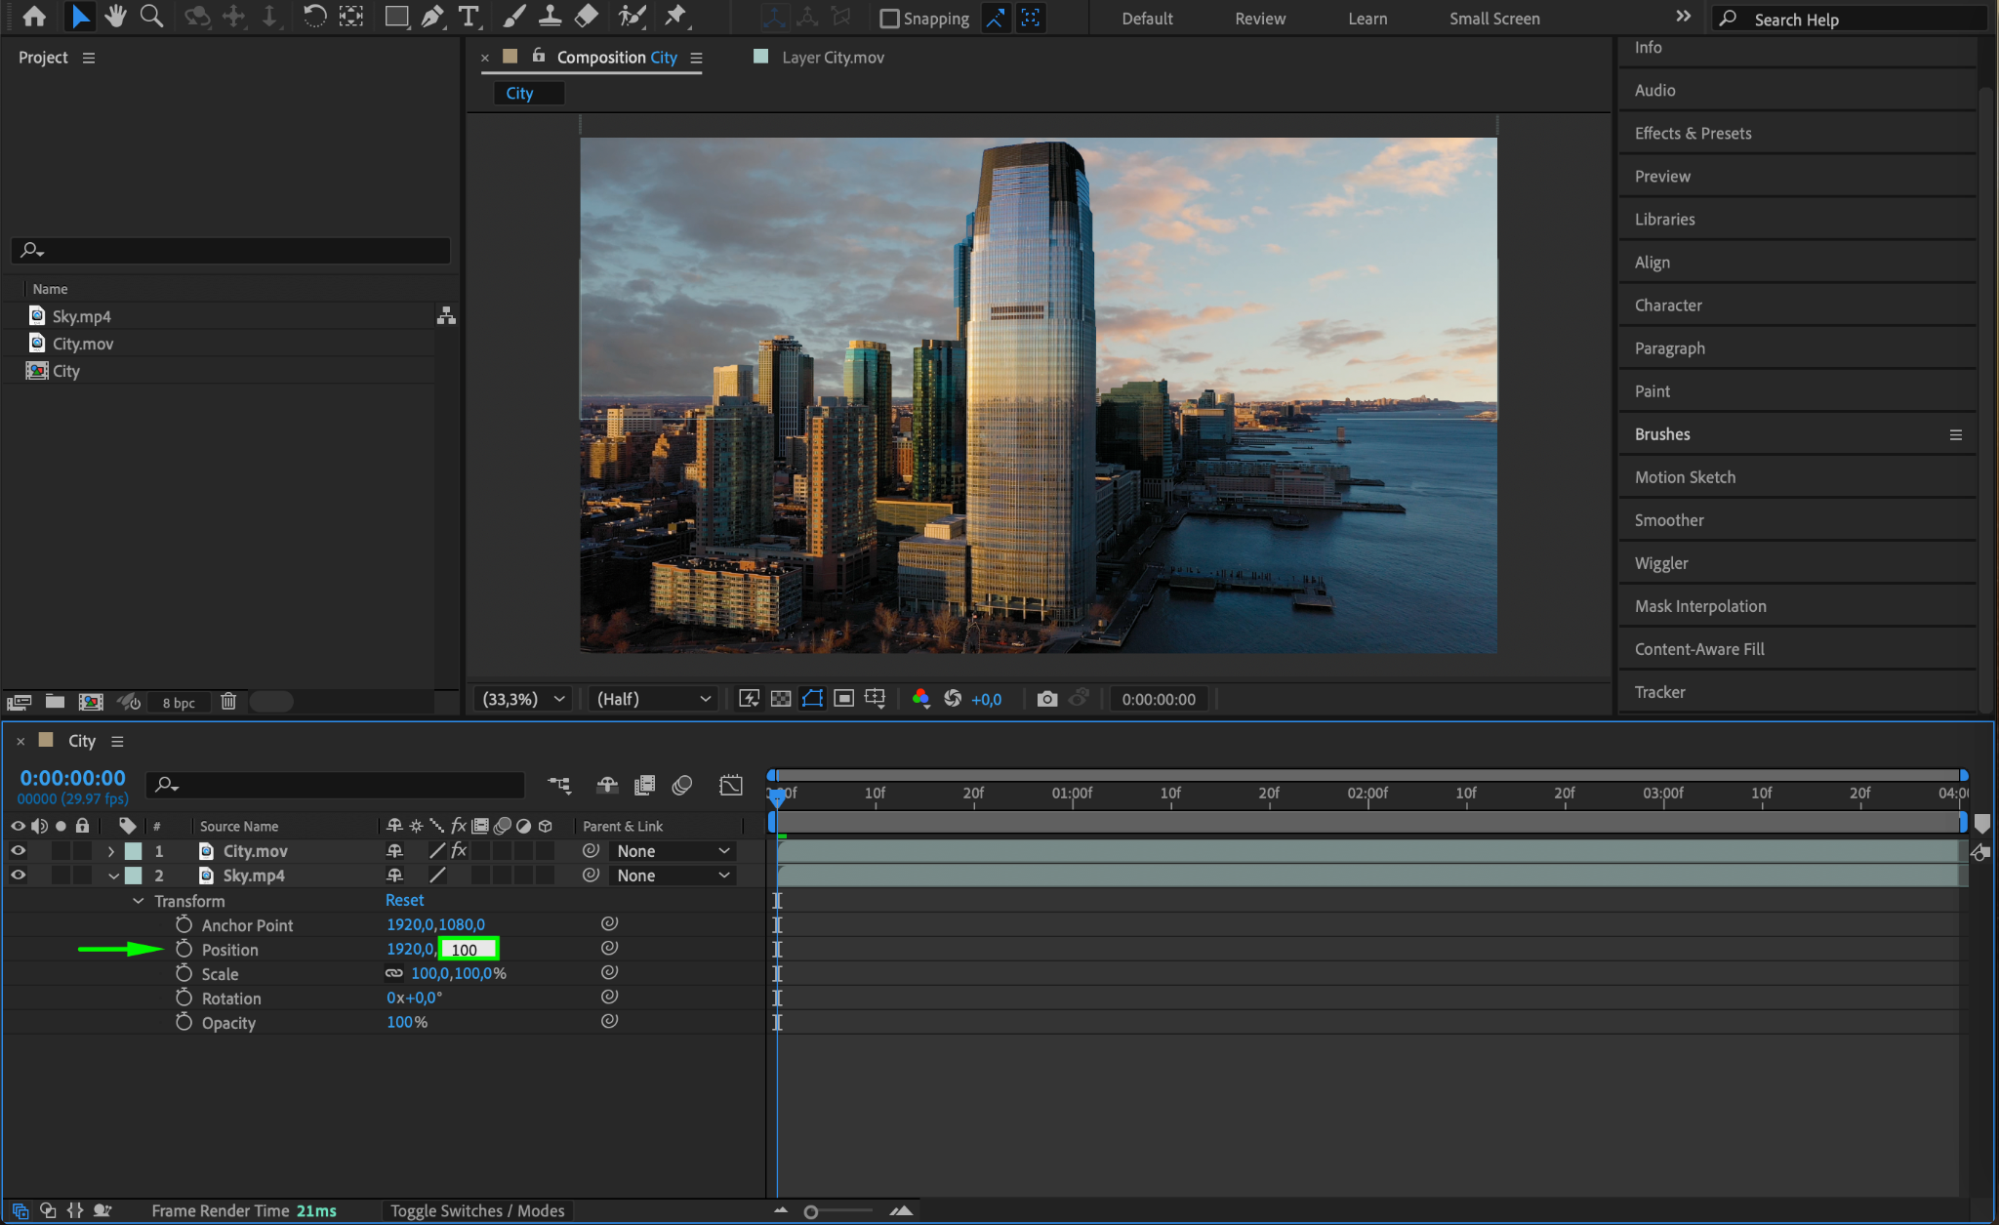
Return to the Composition panel and adjust the sky layer. Scale and position the sky footage to fit the composition. If necessary, reduce the opacity slightly to blend it naturally with the scene.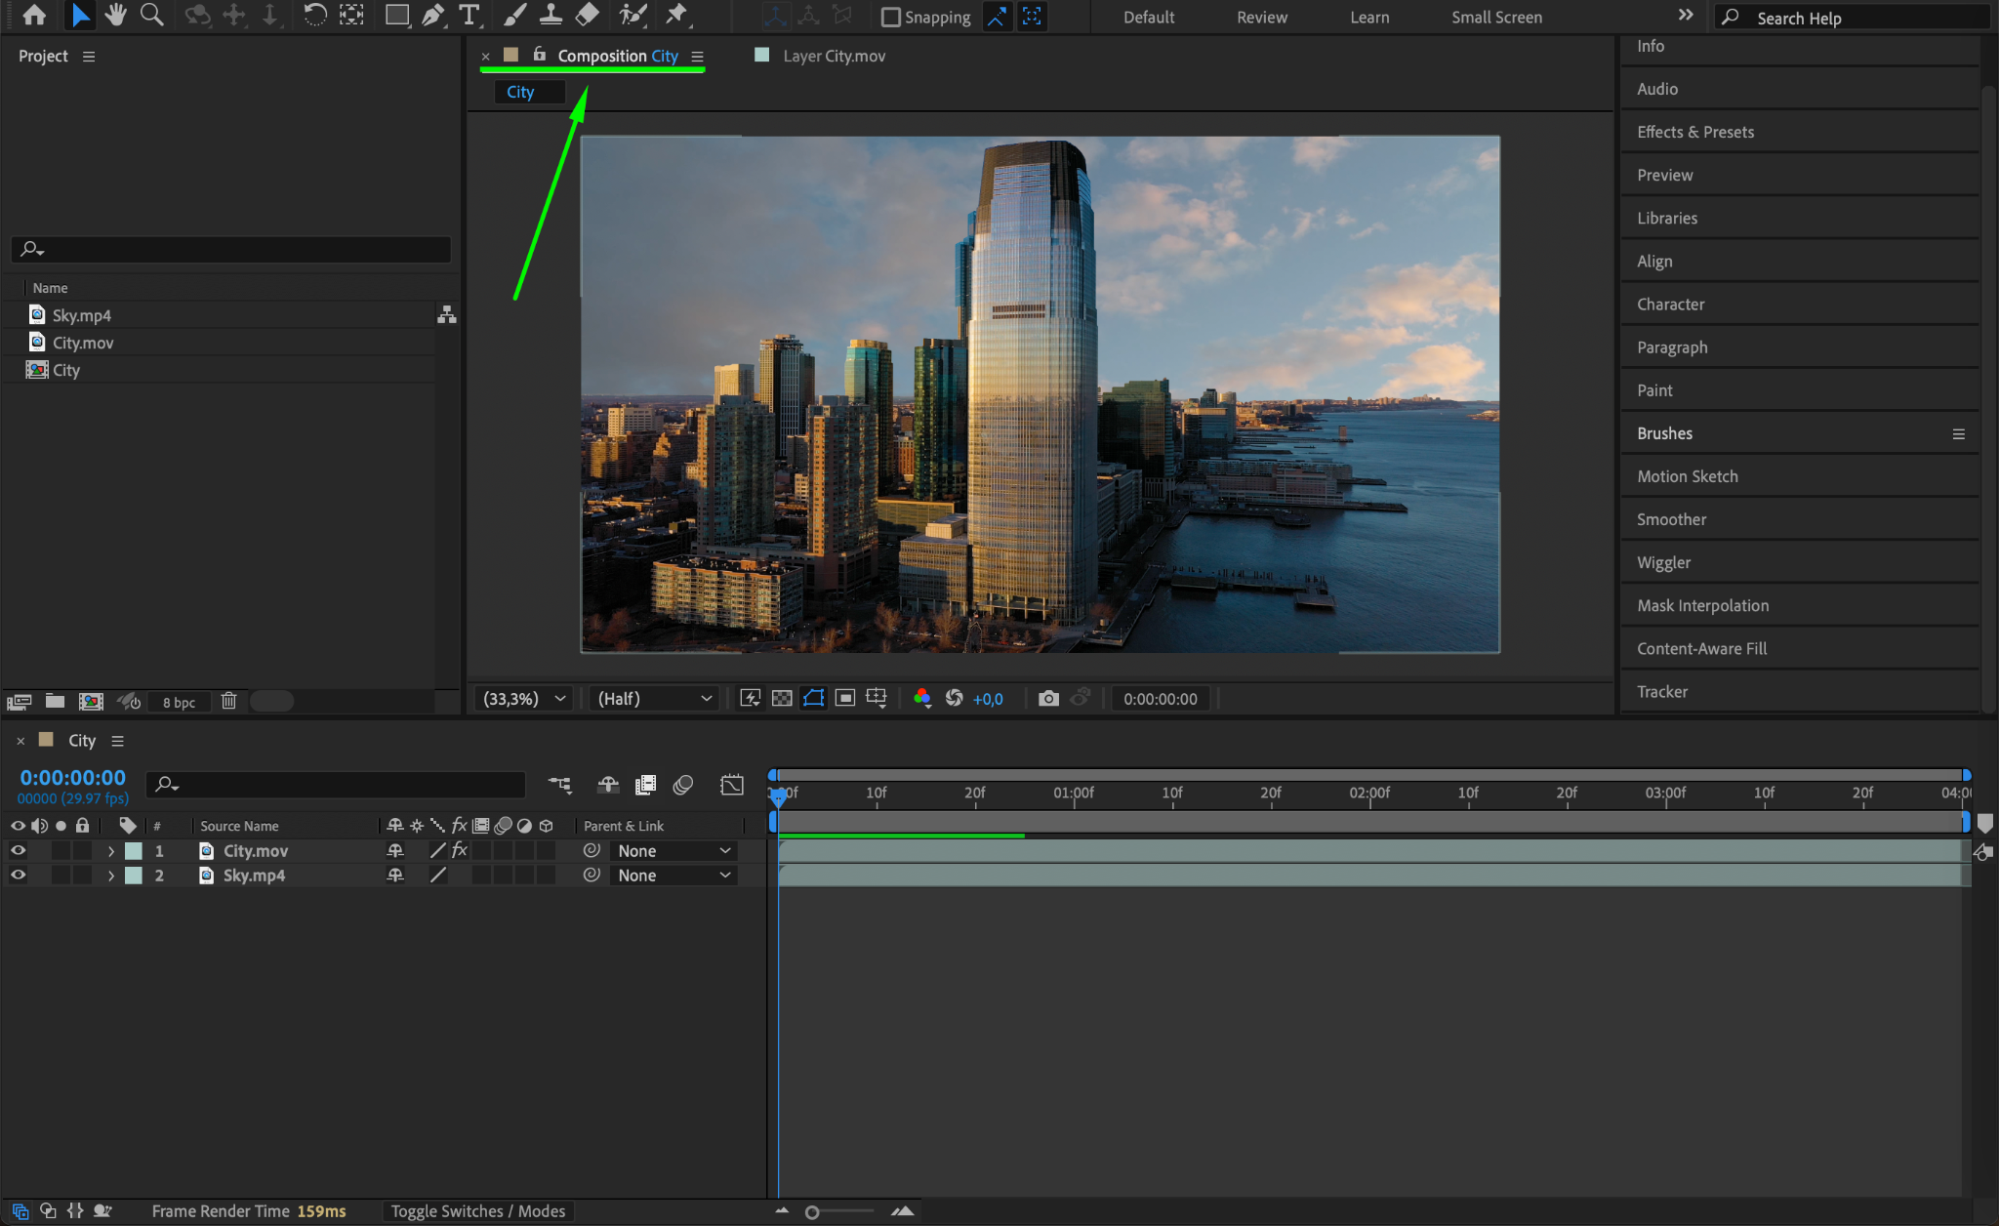
 Step 4: Apply Curves to the Sky Layer
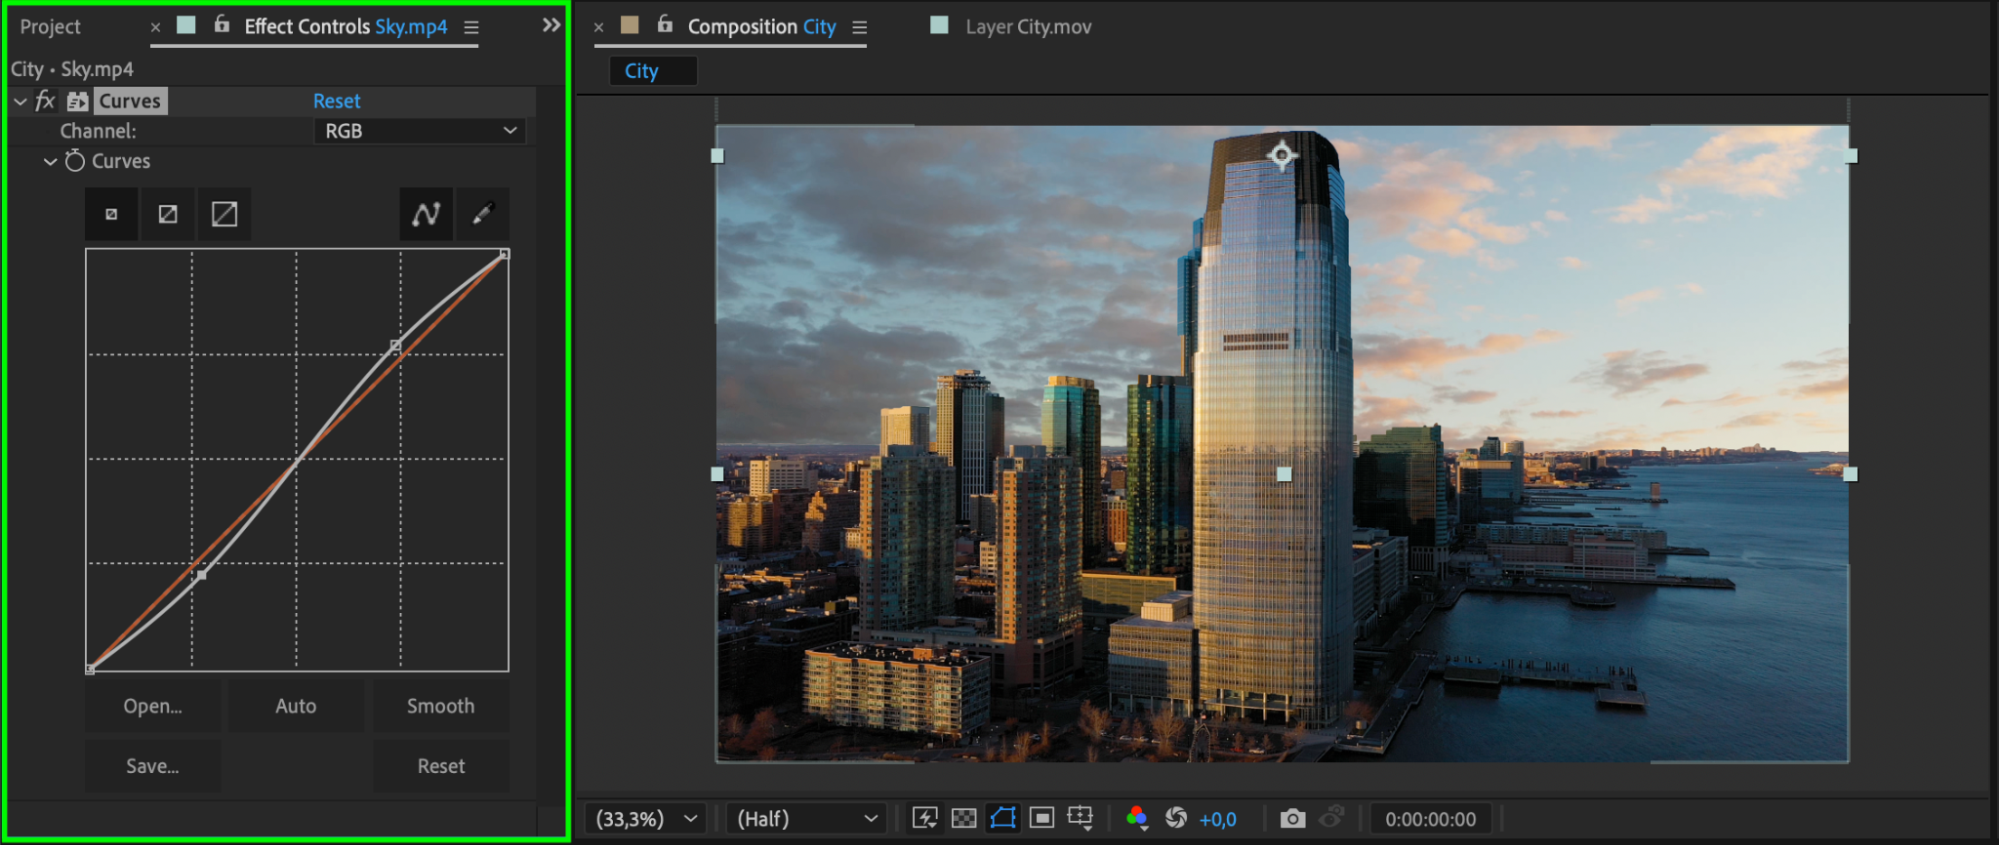
Add the Curves effect to the sky layer. Create an S-shaped curve to enhance contrast and make the colors pop. Adjust the curves to match the mood and lighting of your main footage.
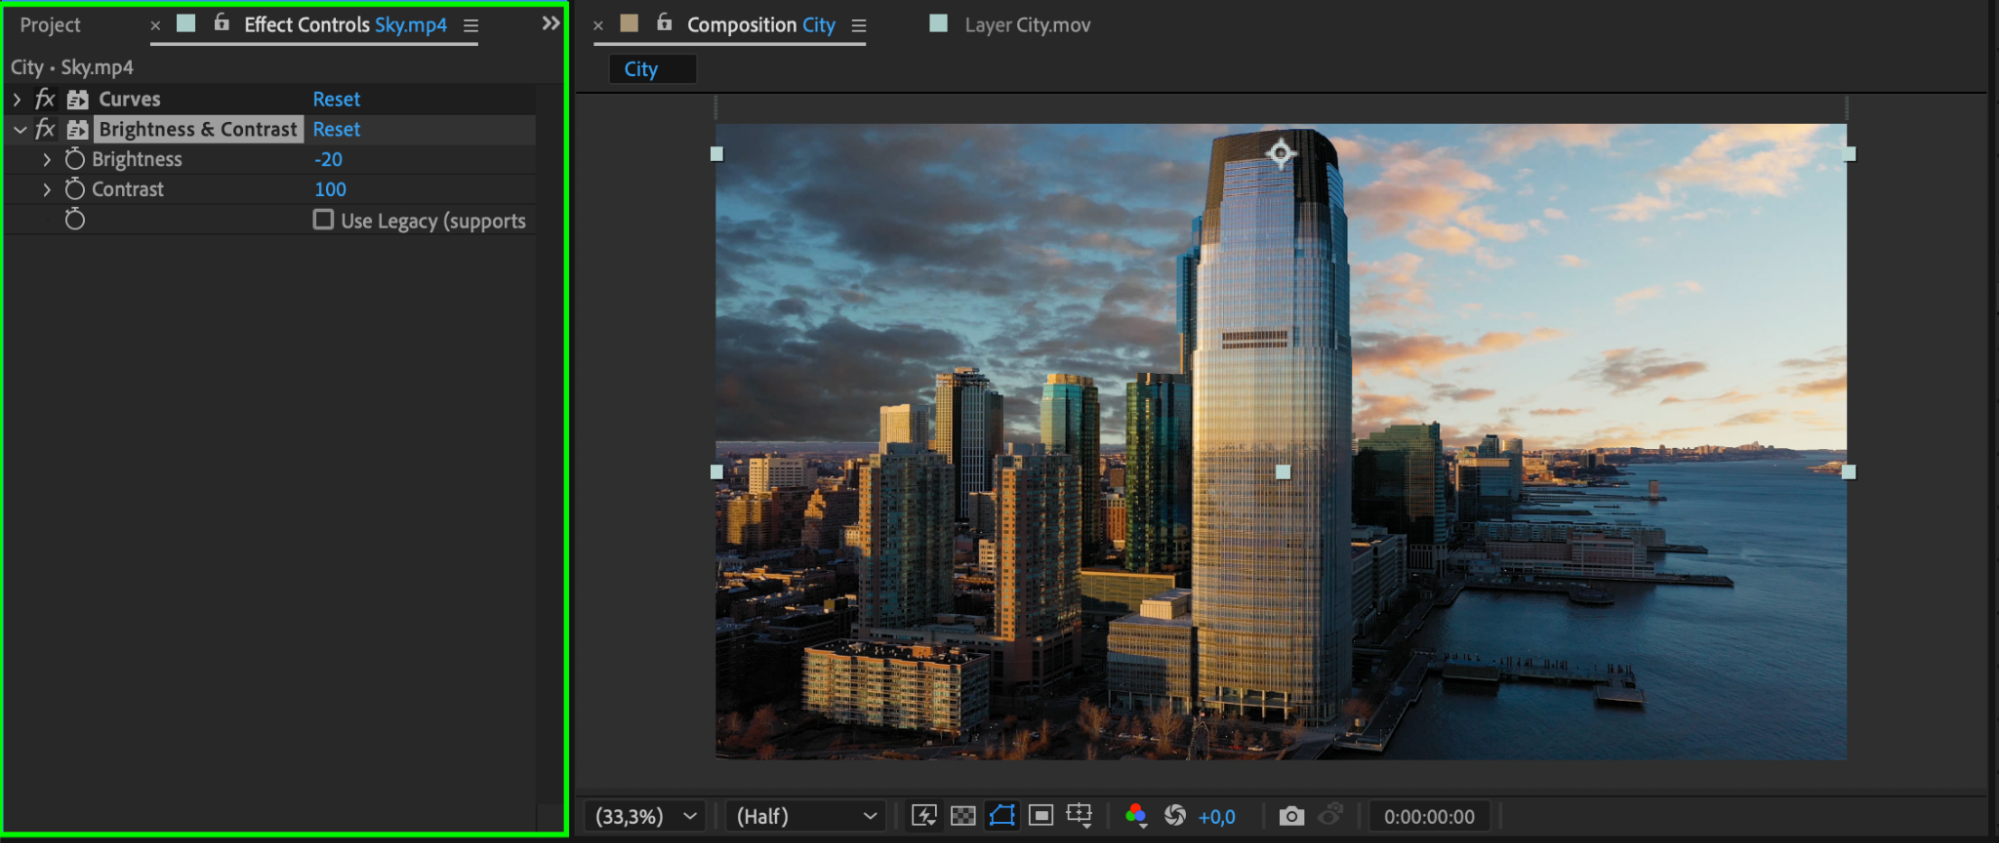
 Step 5: Adjust Brightness & Contrast of the Sky
Apply the Brightness & Contrast effect to the sky layer. Fine-tune the brightness and contrast settings to make the sky look natural and cohesive with the rest of the scene.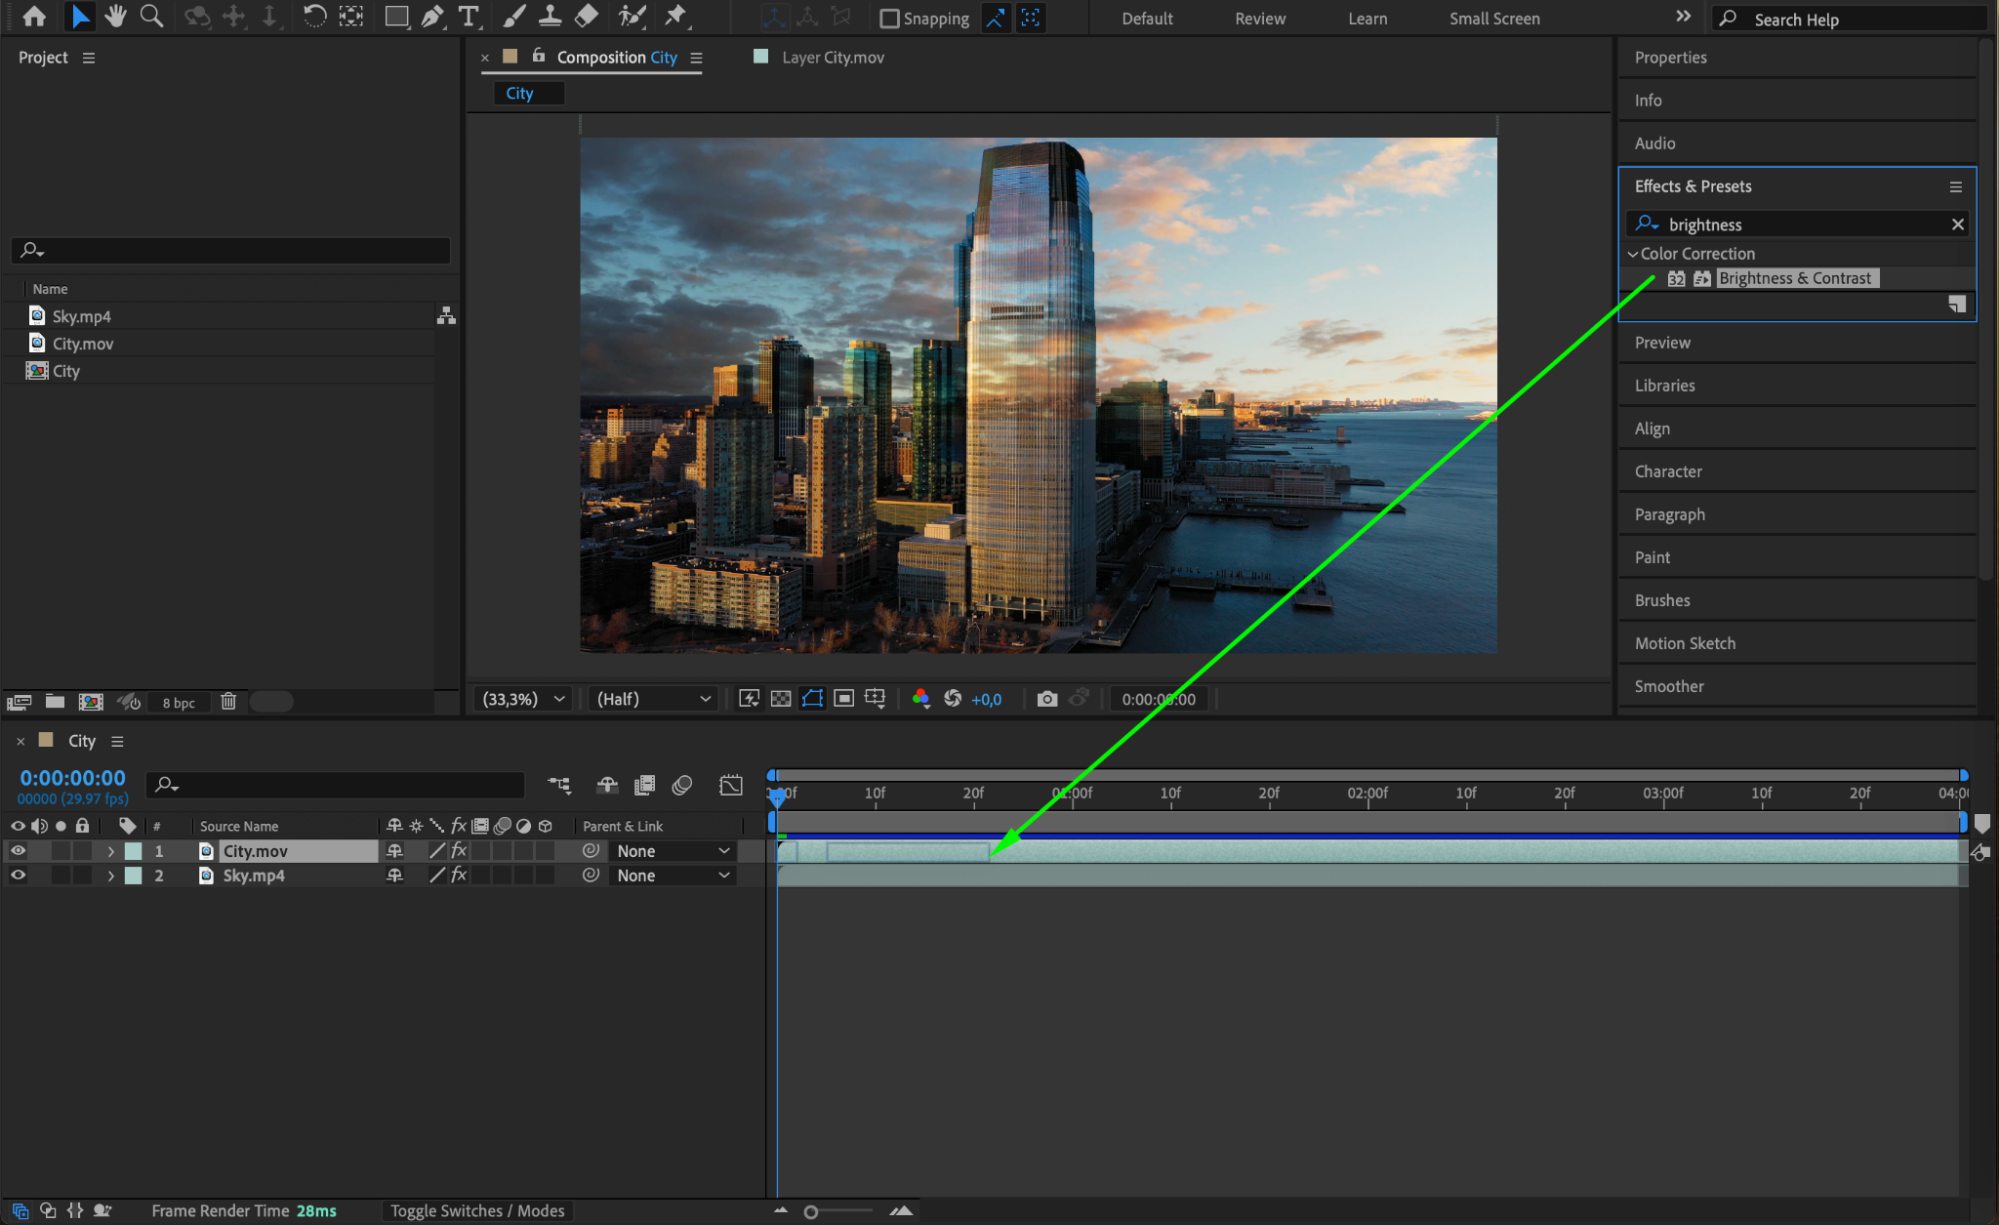
 Step 6: Blend the Foreground and Background
Set the foreground layer’s Blending Mode to Hard Light (or another mode that works for your scene). This helps the two layers integrate better by enhancing their interaction.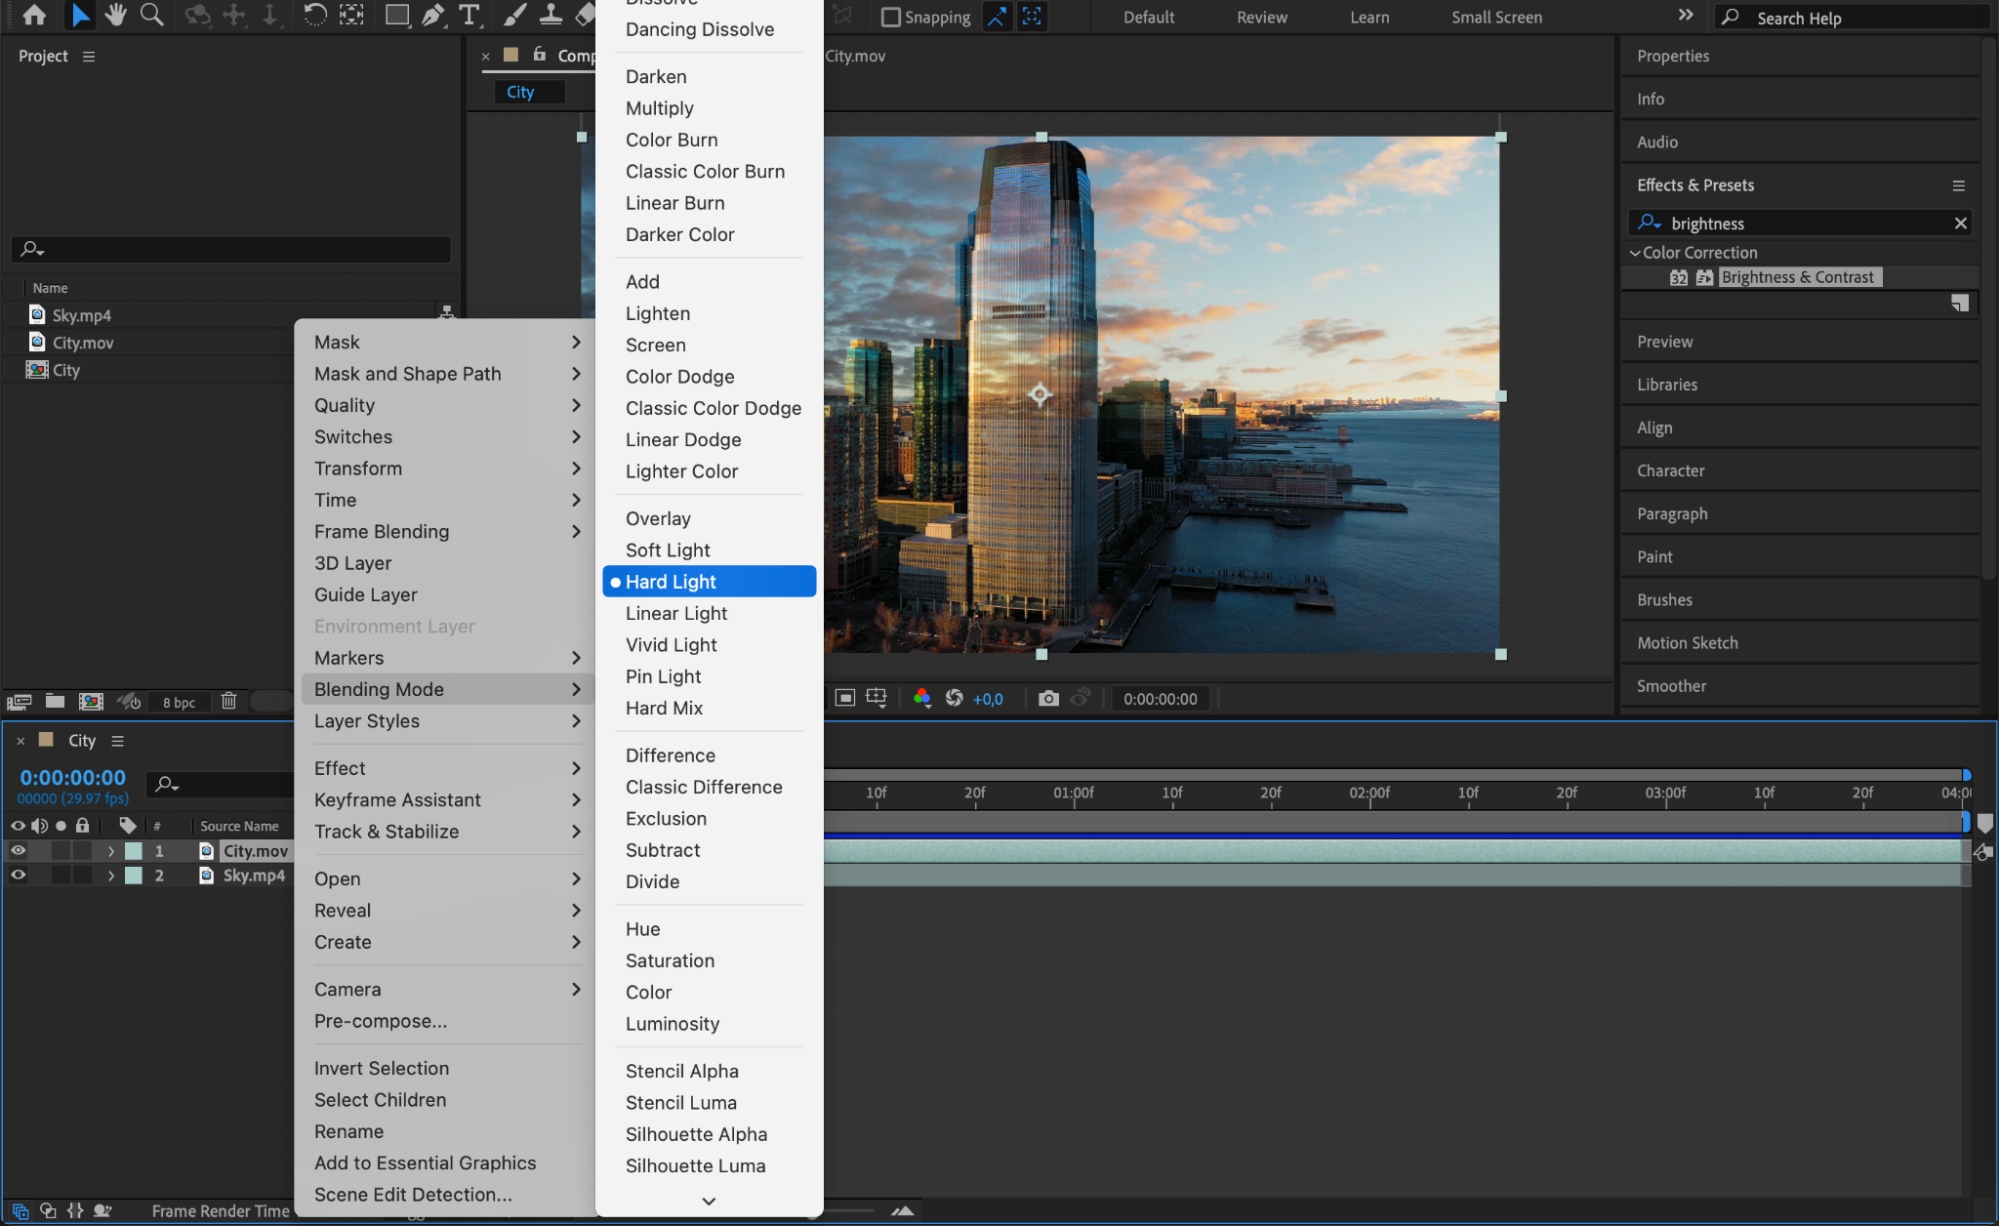 Step 7: Adjust Brightness & Contrast of the Foreground
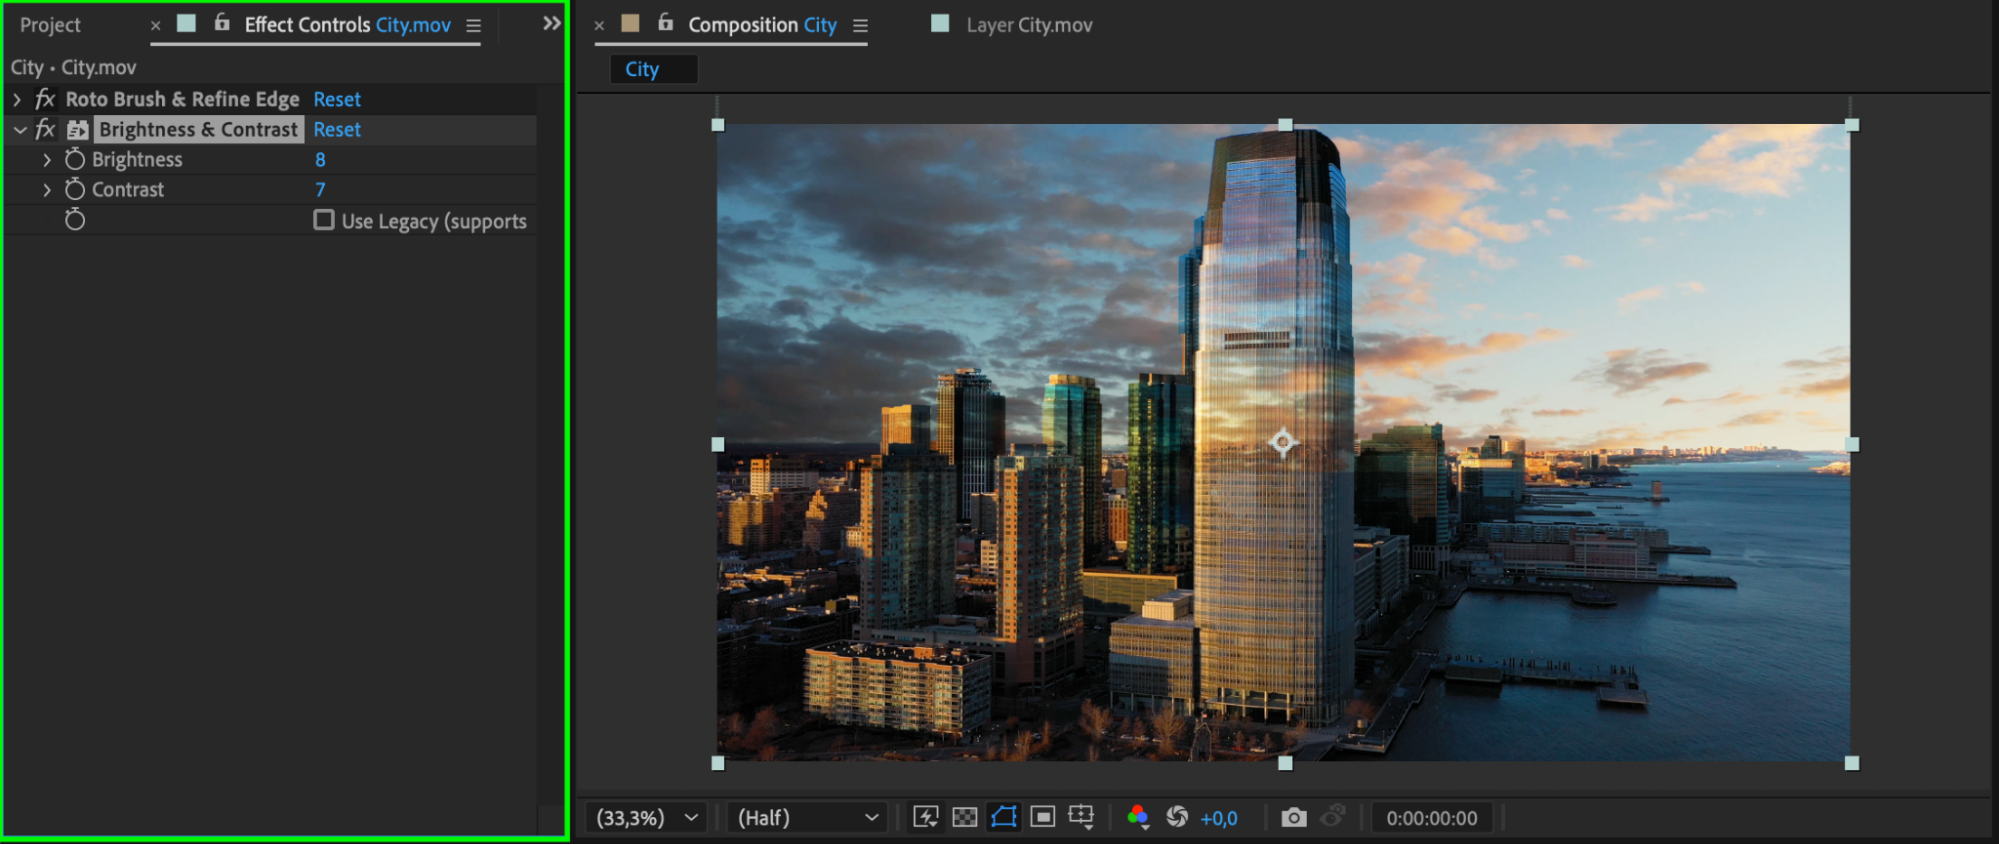
Apply the Brightness & Contrast effect to the foreground layer as well. Adjust the settings to ensure the lighting and colors align with the new sky, creating a consistent and realistic look.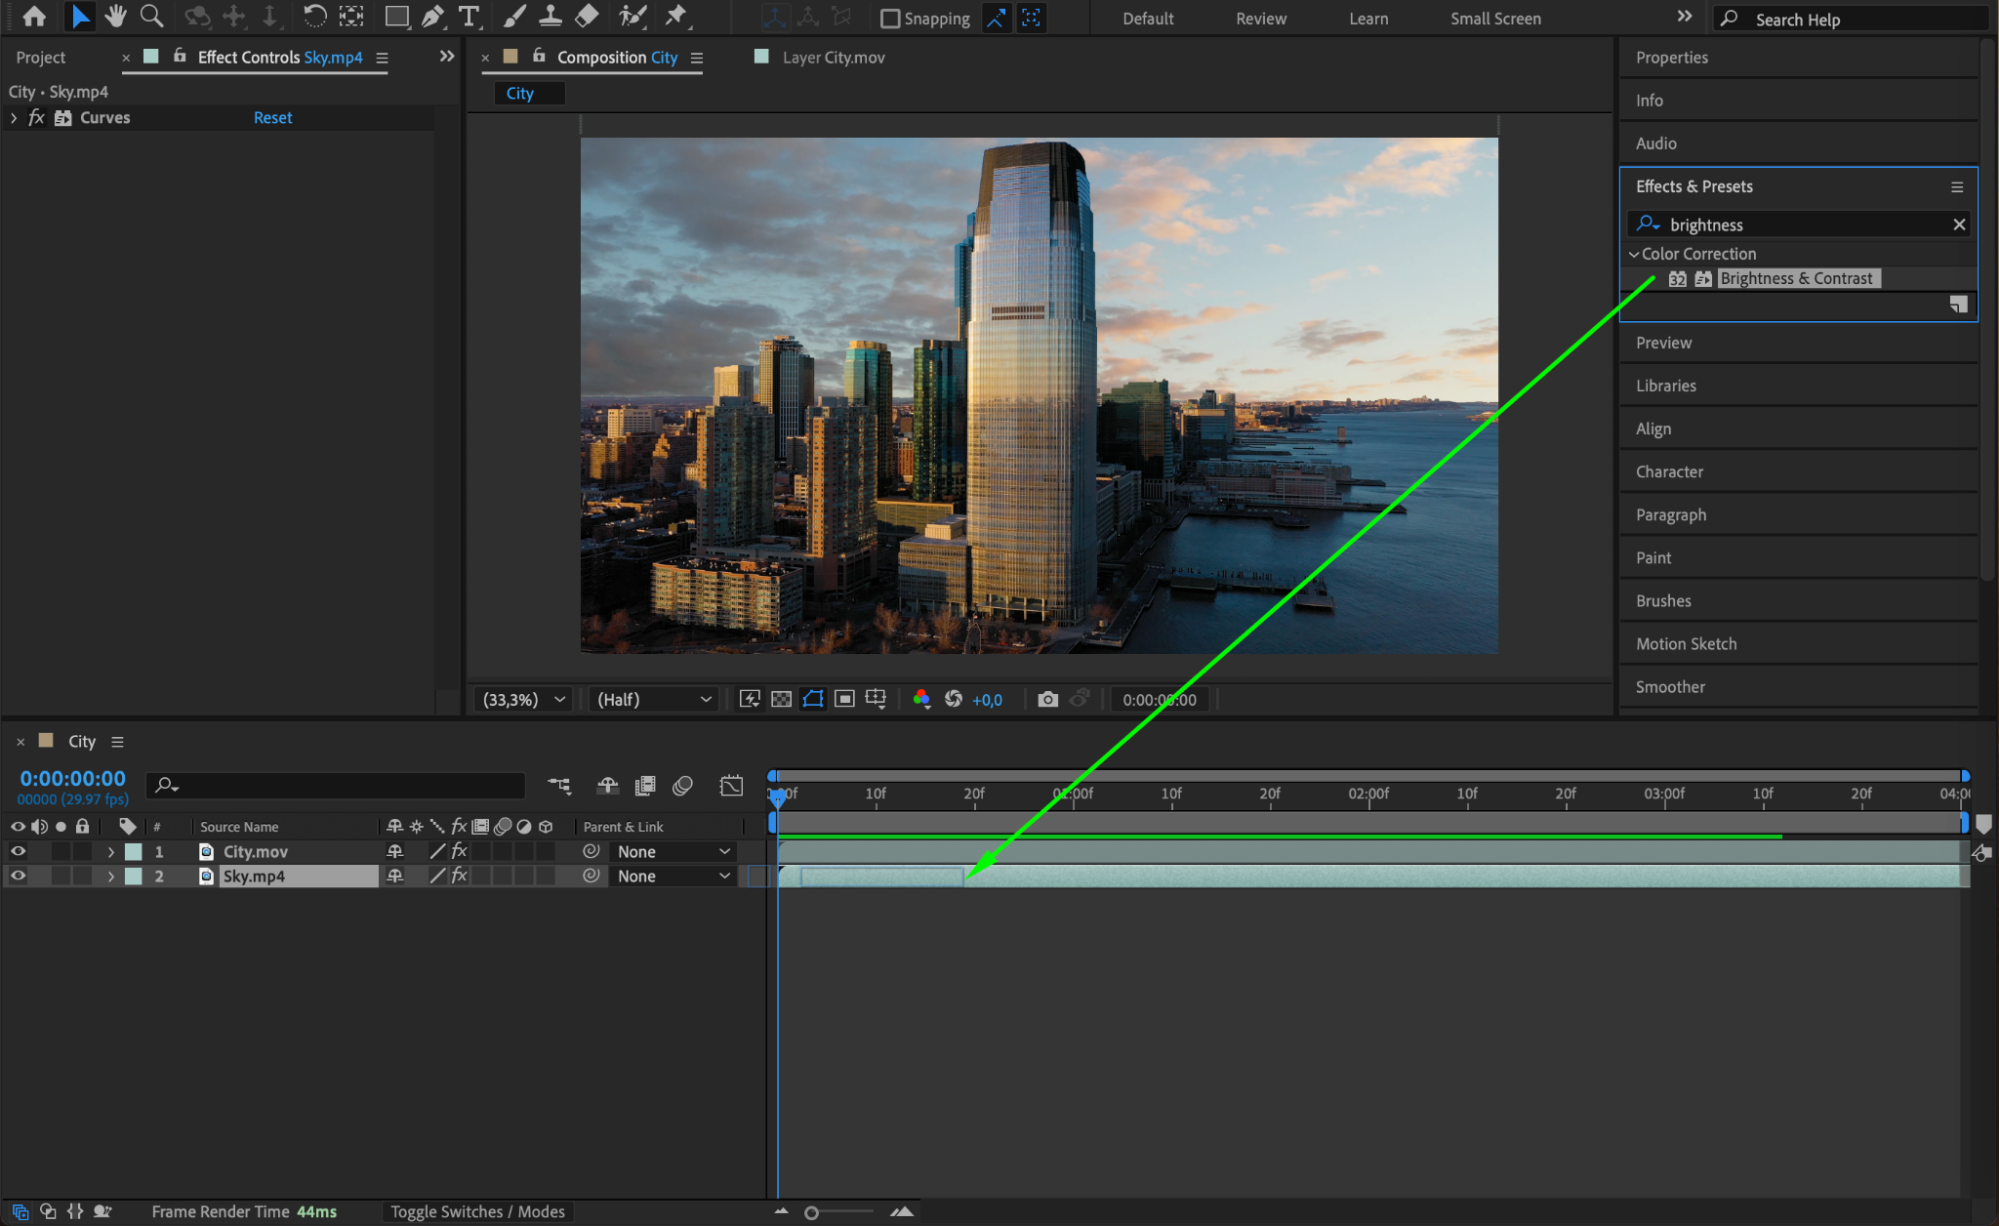
 Step 8: Preview Your Work
Press Spacebar to preview the composition. Watch for any unnatural edges or mismatches between the layers and fine-tune the settings as necessary. Step 9: Render Your Project
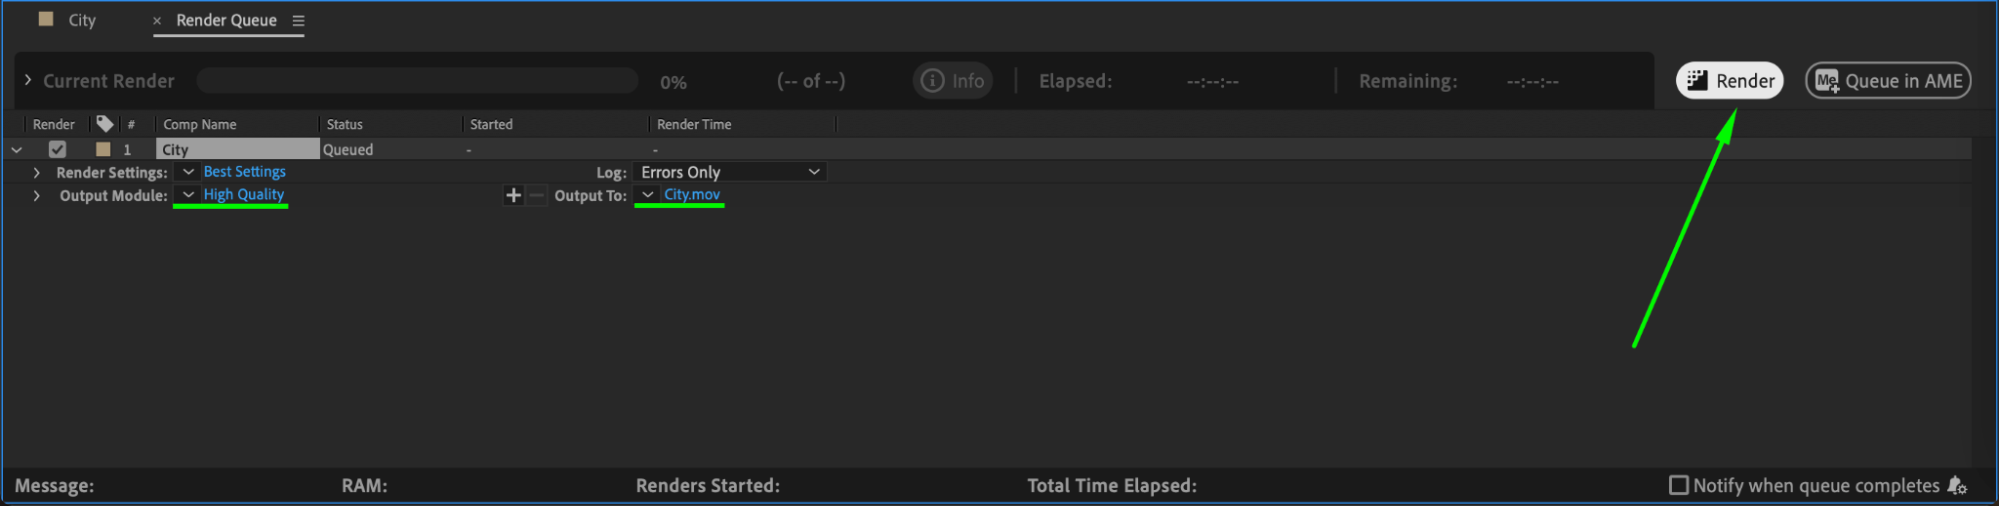
When satisfied with the result, render the project. Go to Composition > Add to Render Queue, select your preferred format (e.g., H.264 for video), and click Render.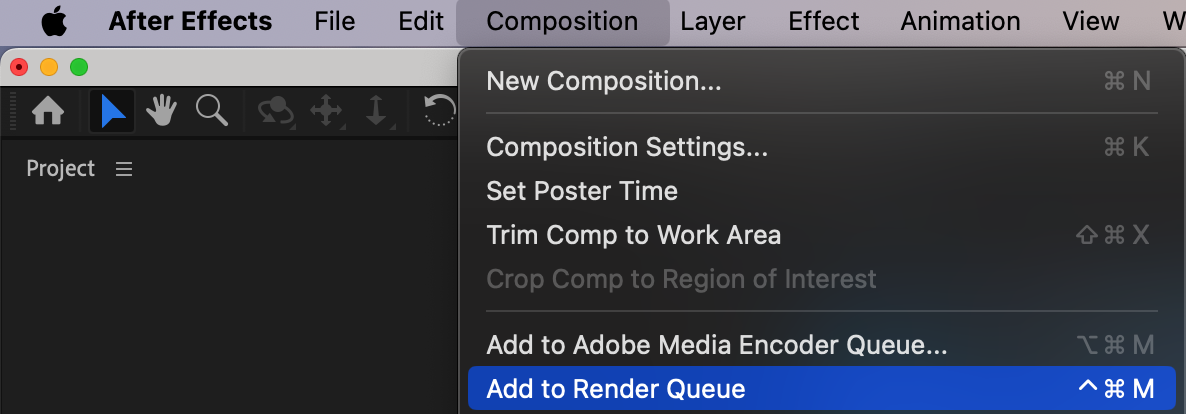
 Conclusion
Replacing the sky in After Effects is a powerful way to transform your footage. By using tools like the Roto Brush, Curves, and Brightness & Contrast effects, you can seamlessly blend a new sky into your scene. Experiment with different skies and settings to create stunning visual effects that elevate your videos!
Our Bestsellers


