How to Create a Cloning Effect in Adobe After Effects
Introduction: Cloning Yourself in After Effects for Dynamic Visuals
Creating the illusion of cloning yourself in a video can add an interesting dynamic to your project. In After Effects, you can achieve this by using the Echo Effect combined with animation. This tutorial will guide you through the process of cloning yourself within the same scene, enhancing your video with seamless visual effects.
Get 10% off when you subscribe to our newsletter

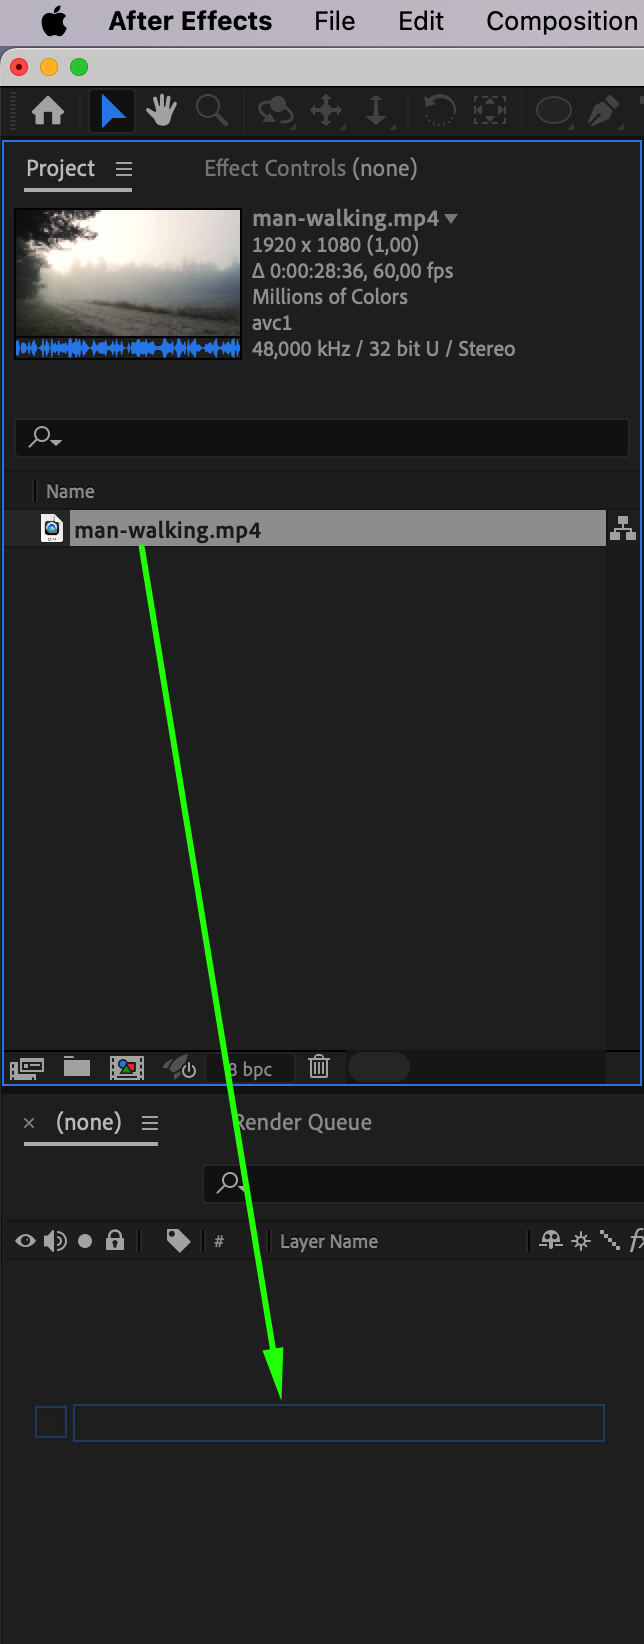
Step 1: Import Your Footage
Start by importing your video file into After Effects where you are moving within the frame. This is crucial as the cloning effect works best with video where the subject moves across the scene. Go to File > Import > File and choose the footage you want to work with.
 Step 2: Apply the Echo Effect
Next, locate the Echo Effect in the Effects & Presets panel. Simply search for “Echo,” and drag it onto your video layer in the Timeline. The Echo effect will duplicate the image of you, creating the initial cloning effect. Step 3: Adjust Echo Effect Settings
In the Effect Controls Panel, adjust the following parameters to refine your cloning effect:
Echo Time: Set to 2.87. This controls the delay between each “clone.”
Number of Echoes: Set to 6. This defines how many clones will appear in the scene.
Echo Operator: Set to Minimum. This blends the cloned images with the original layer, helping to achieve a more seamless effect.
These settings will help you control the timing and appearance of your cloned images.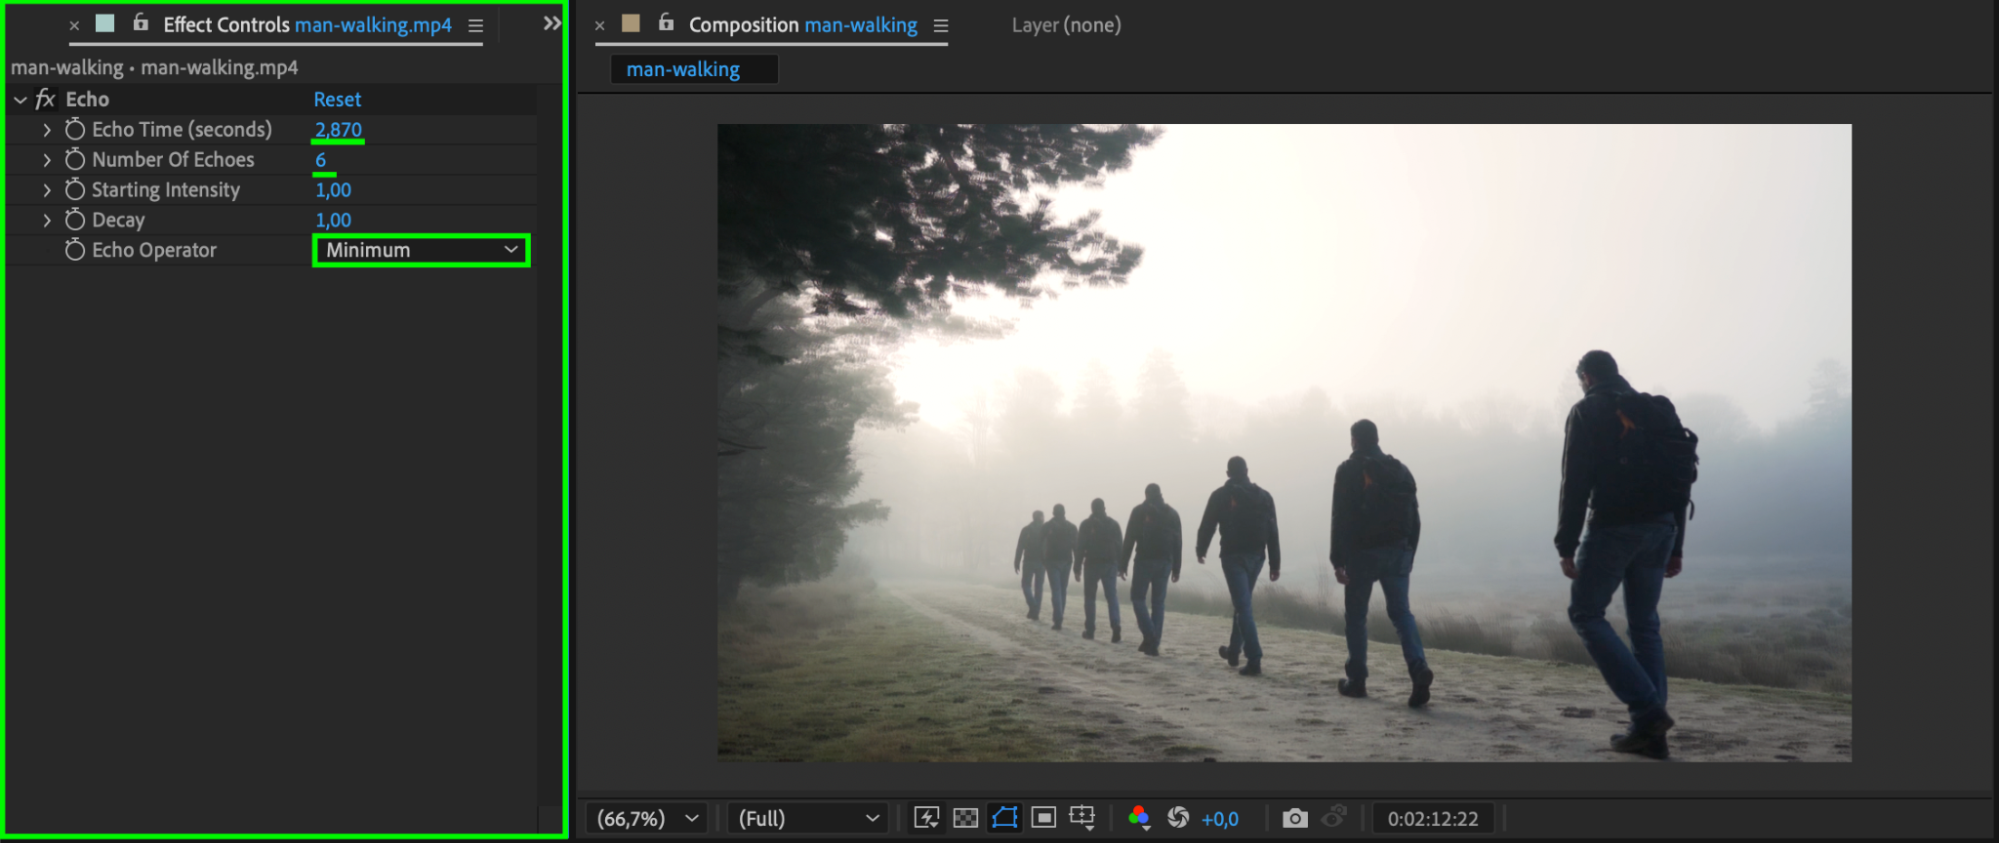 Step 4: Animate the Number of Echoes
Now, animate the Number of Echoes over time to create a smooth transition.
Move the Current Time Indicator (CTI) to the beginning of the Timeline.
Set the Number of Echoes to 0 to start with no clones visible.
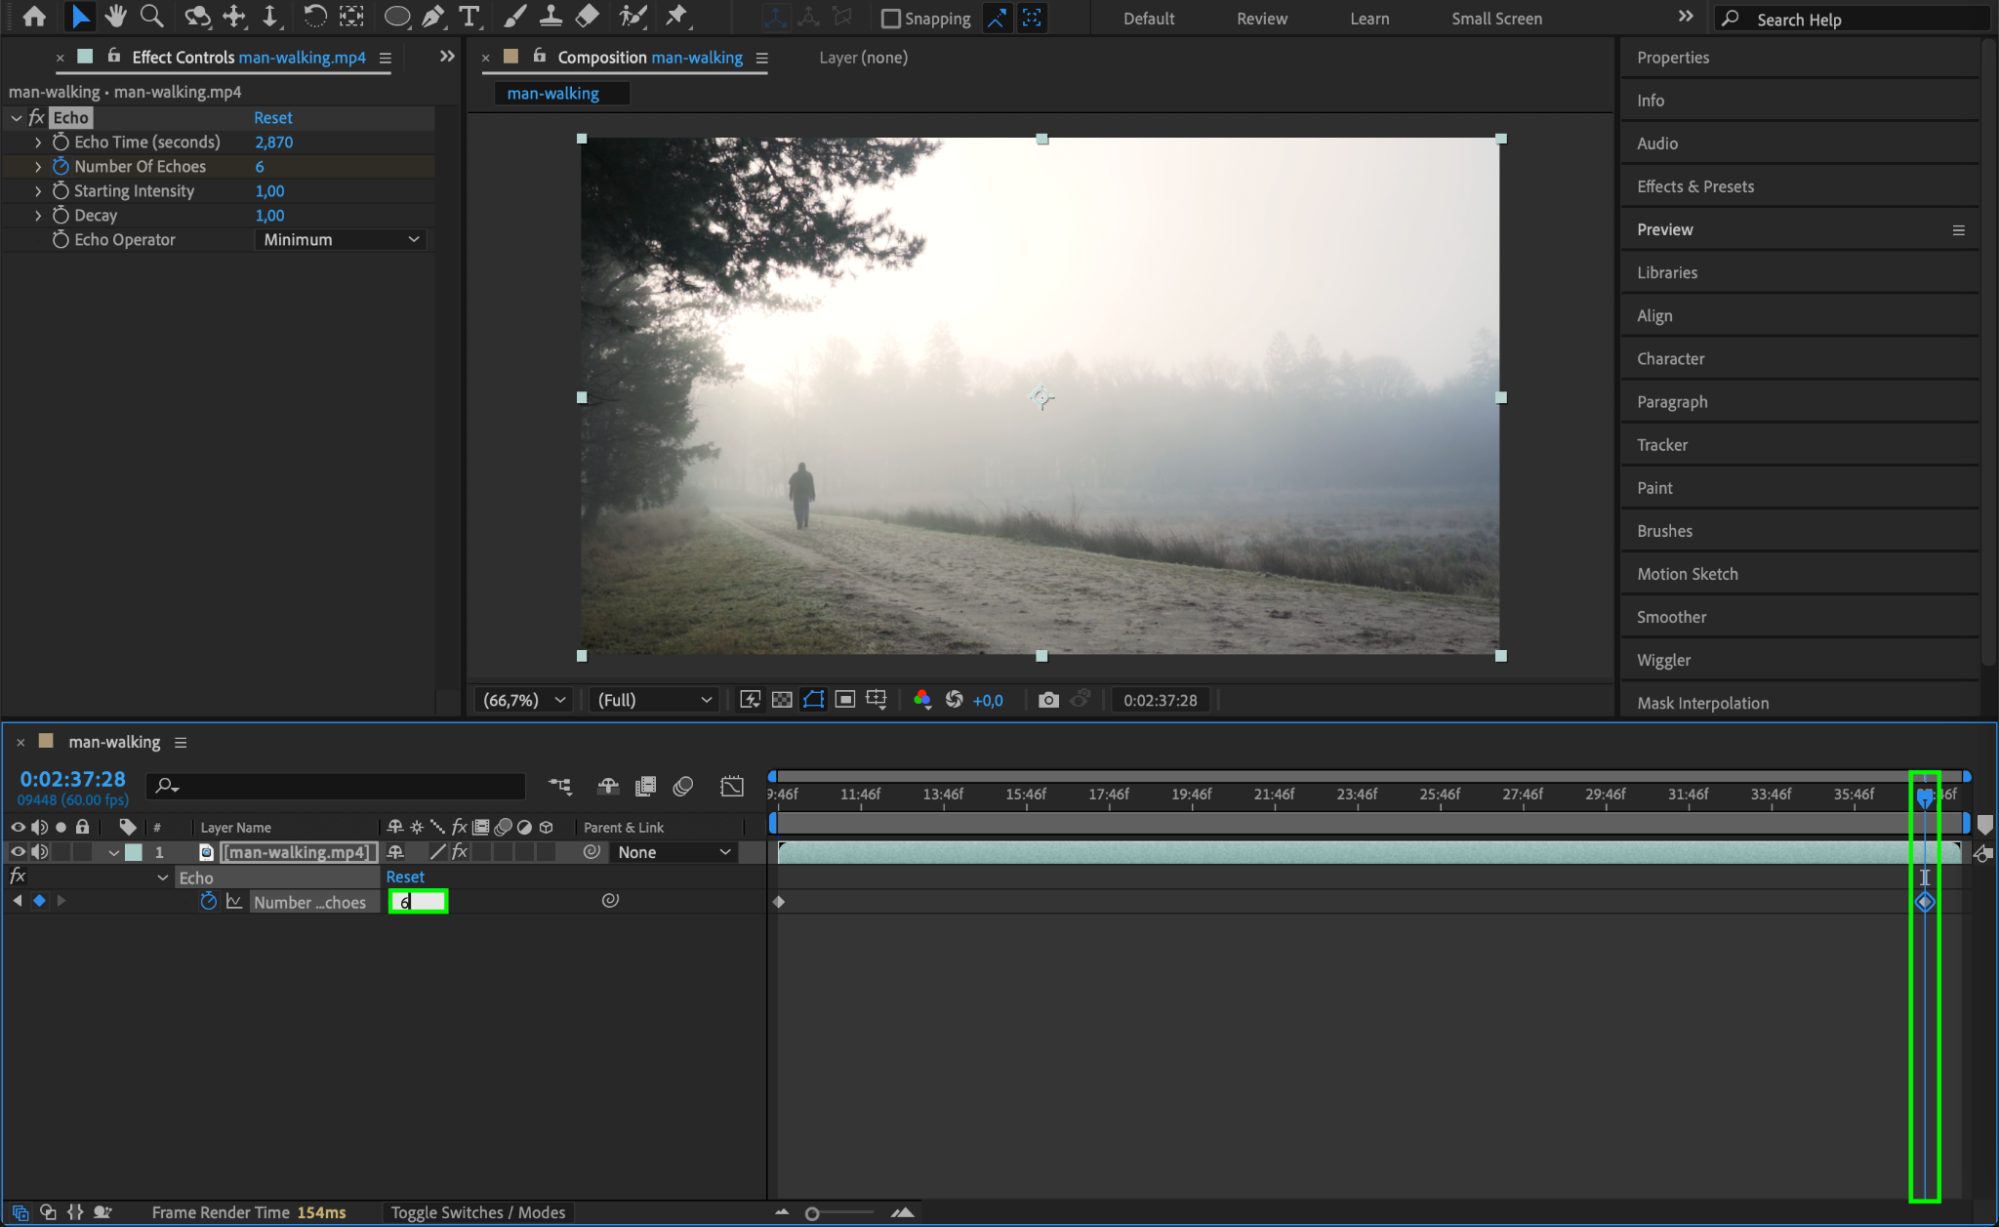
Then, move the CTI to the end of the Timeline and set the Number of Echoes to 6, ensuring the clones gradually appear throughout the duration of the shot.
This animation will allow the clones to appear dynamically over time.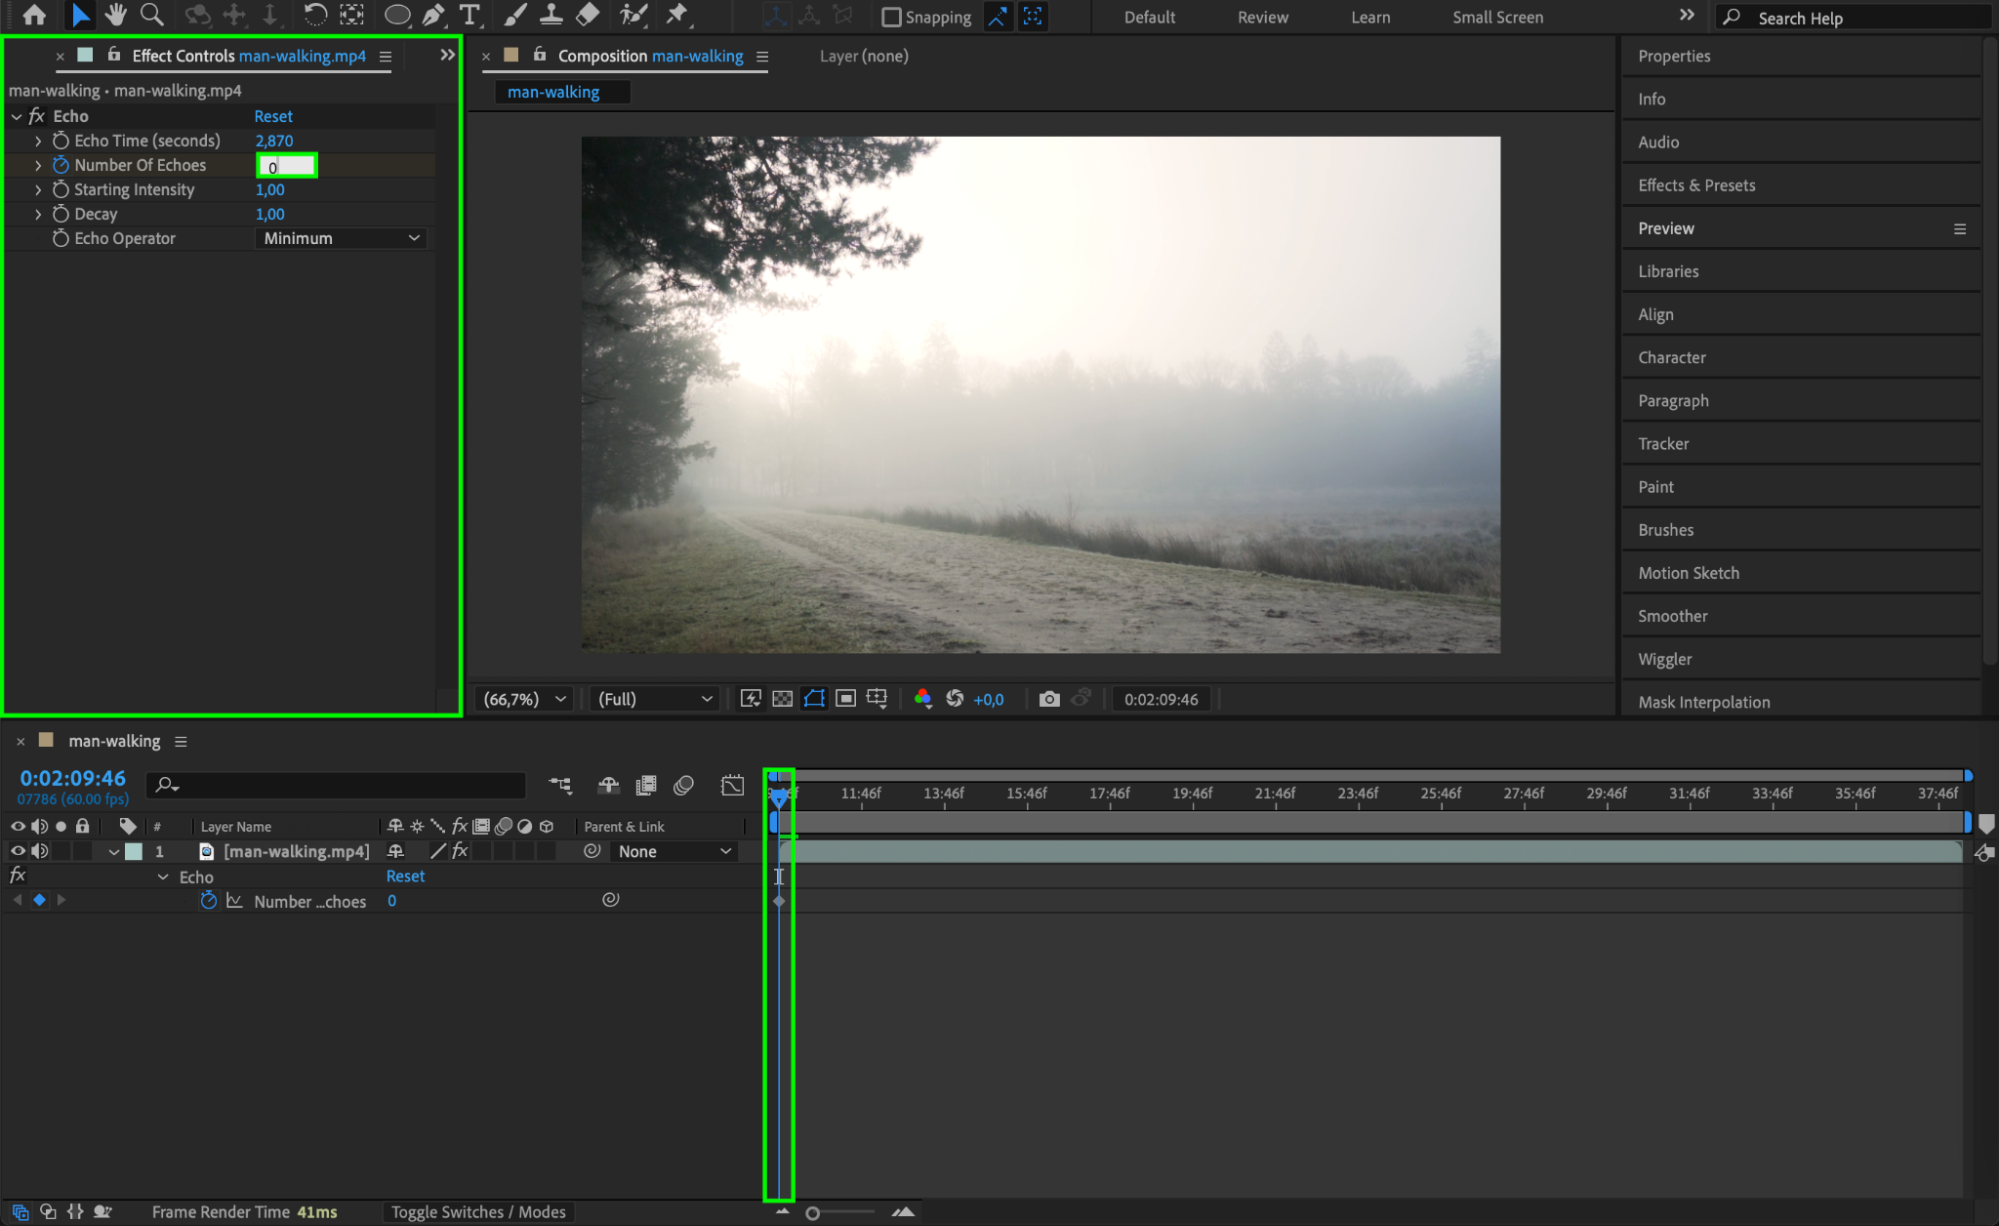
 Step 5: Preview Your Effect
Click Spacebar to preview the animation. Watch as the clones slowly start appearing throughout the scene. Make adjustments to the Echo Time and Number of Echoes if necessary to fine-tune the effect.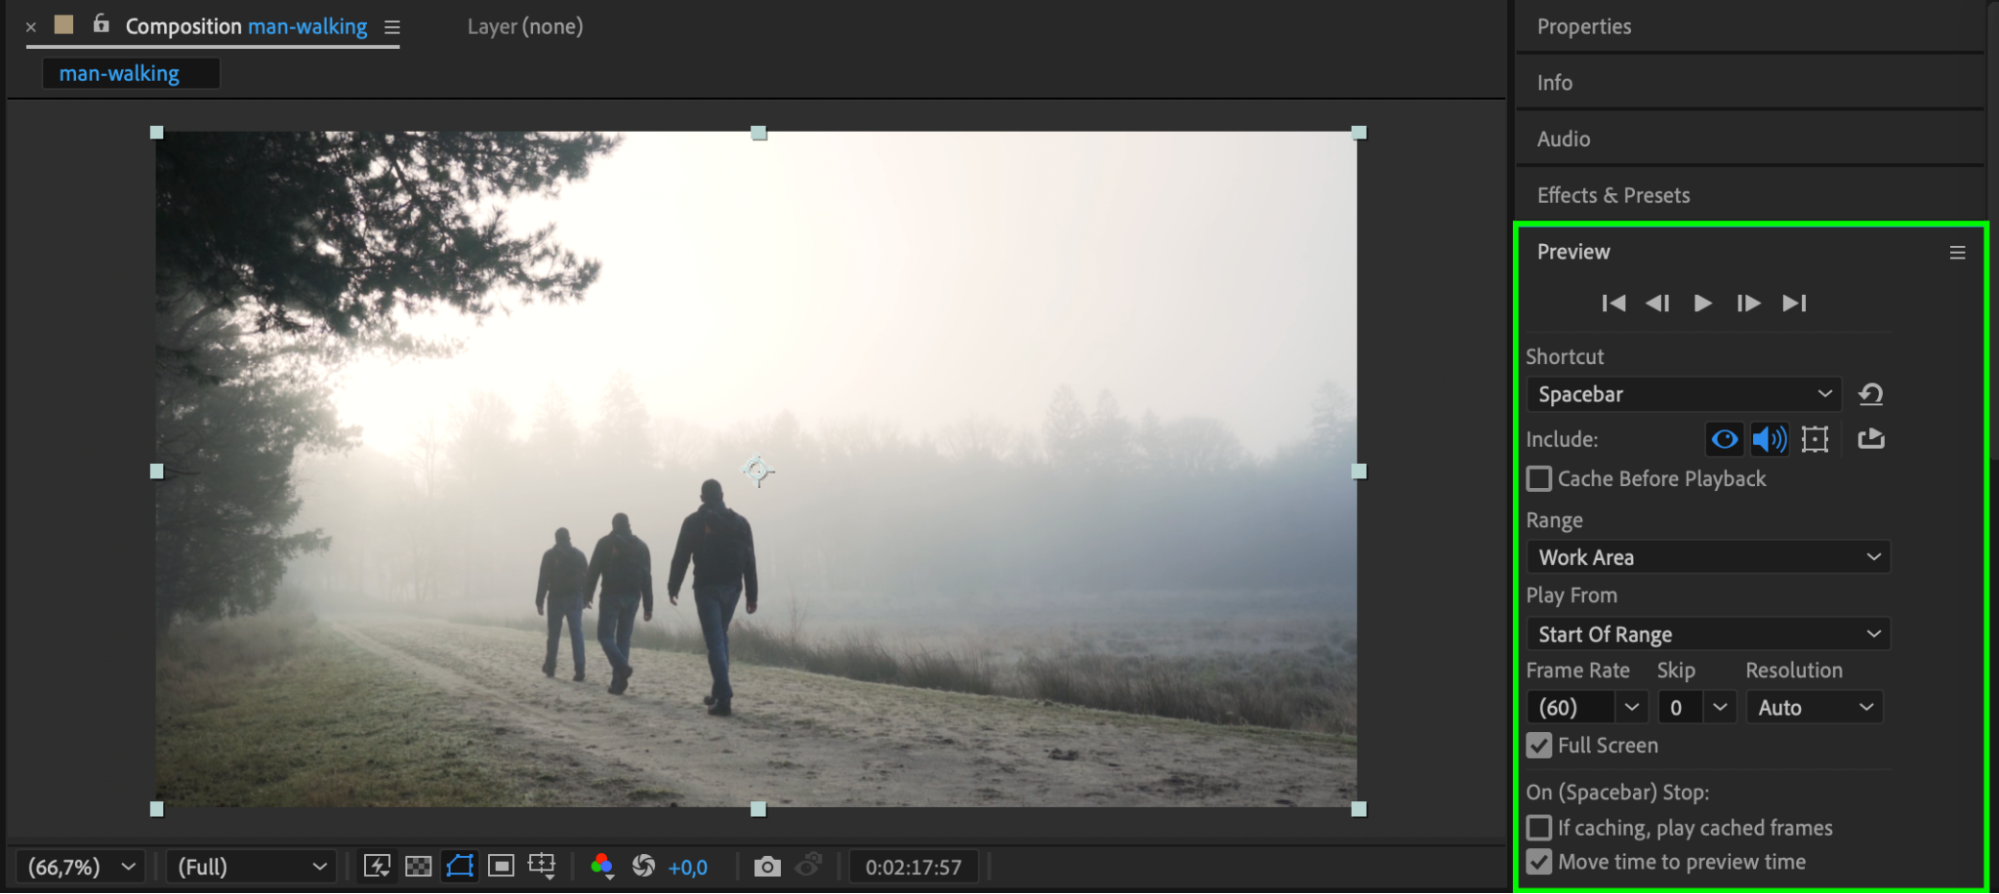 Step 6: Render the Final Result
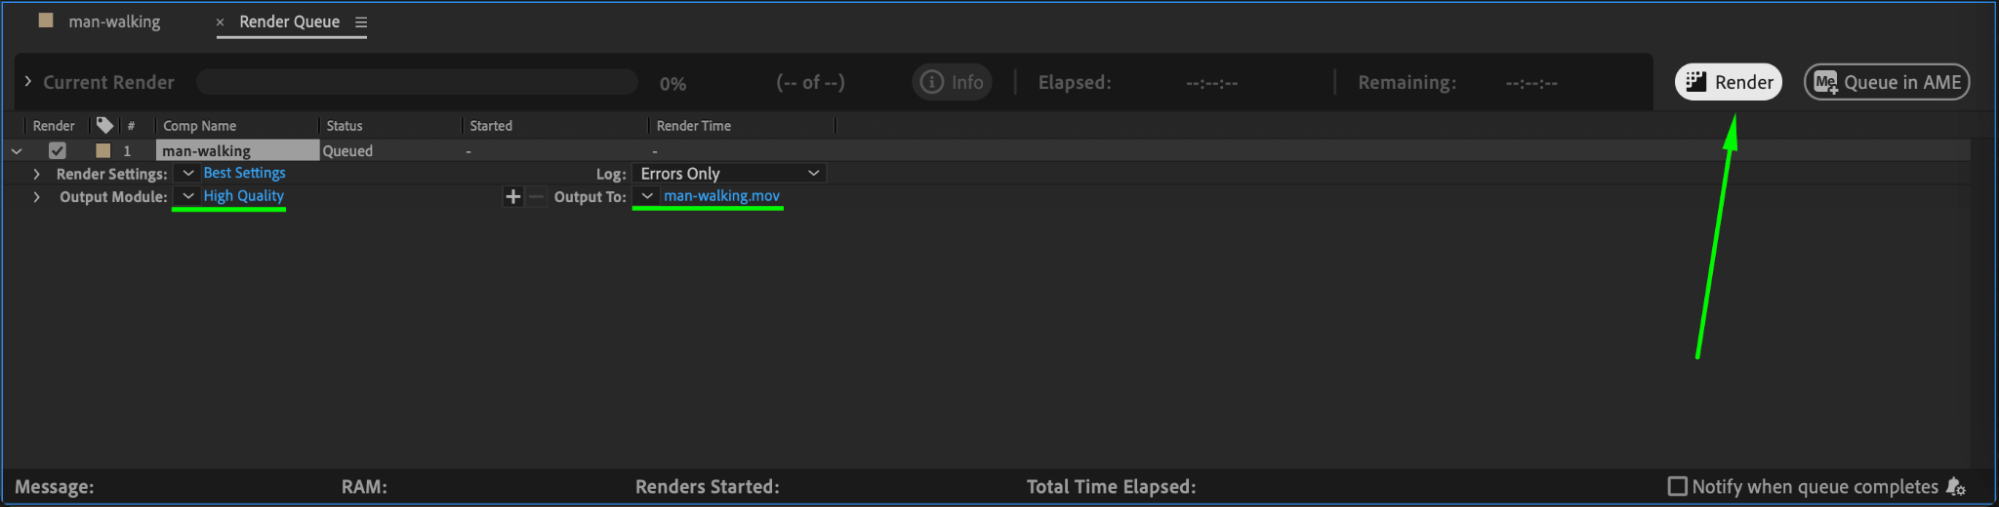
Once you are satisfied with the cloned effect, it’s time to render your composition. Go to Composition > Add to Render Queue, choose your preferred output format (e.g., H.264 for video), and click Render to save your final video.

 Conclusion
Cloning yourself in After Effects is an easy and effective way to add a unique touch to your videos. By using the Echo Effect and animating the number of echoes, you can create dynamic visuals that make it look like multiple versions of you appear in the same shot. Experiment with different settings and animation timing to achieve the perfect cloning effect for your project.
Our Bestsellers


